
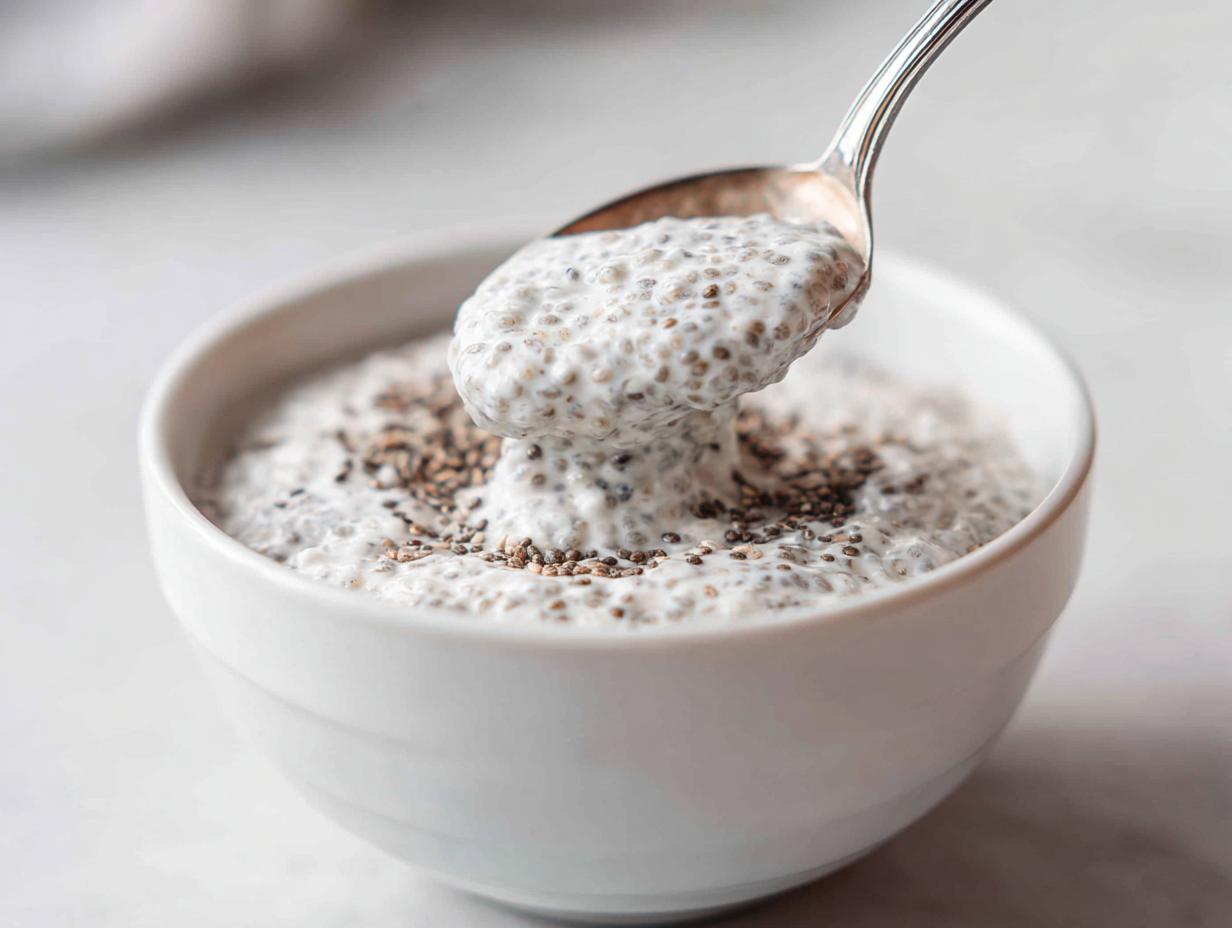
Okay, seriously, stop stressing about complicated breakfasts! If you’re like me, mornings are chaos, but that doesn’t mean we have to swap nutrition for speed. I’m handing over the keys to my absolute favorite life-saver: the ultimate coconut chia pudding recipe. This isn’t some watery, weird birdseed situation; this is genuinely the most incredibly creamy 5-ingredient coconut chia pudding you will ever try. It sets up perfectly overnight, and trust me, having these jars ready saved my sanity last week!
Why This Creamy Coconut Chia Pudding is Your New Favorite Overnight Healthy Breakfast
If you are looking for something that tastes like a decadent dessert but secretly fuels you like a superstar, this is it! The reason I keep coming back to this recipe is that it nails the texture. Forget those grainy puddings; we are aiming for seriously creamy chia pudding perfection here. It ticks every box: it’s completely vegan, totally dairy free, and it tastes like a little tropical vacation in a bowl. You honestly won’t believe how little effort goes into making something this satisfying.
This has completely revolutionized my mornings. It’s what I rely on when I need a truly reliable overnight healthy breakfast waiting for me that requires zero thinking before my first cup of coffee. Plus, since it’s so packed with nutrients, you get all that sustained energy without the sugar crash later on. It’s a total win-win situation!
Simple Chia Pudding: Only 5 Core Ingredients
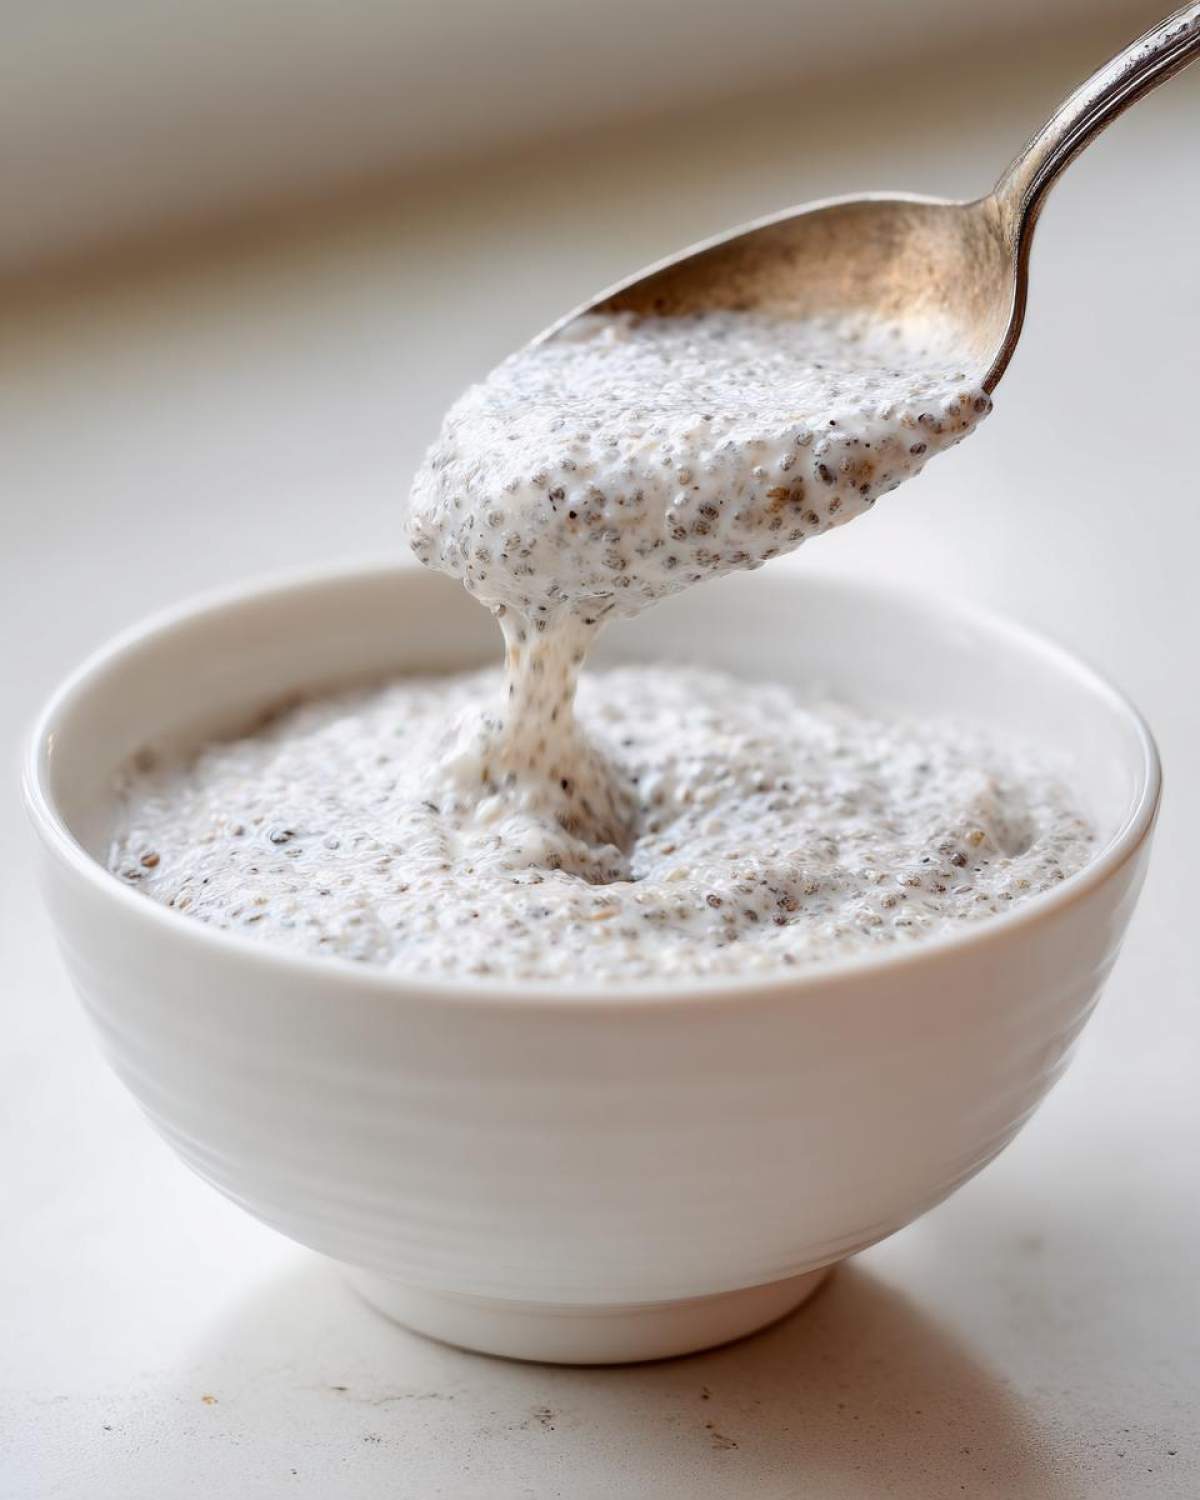
I mean, come on! Five ingredients. That’s barely any grocery shopping and certainly no complicated measuring mishaps at 6 AM. This is truly an easy pudding recipe. We use full-fat coconut milk, which is the secret sauce for that rich texture, alongside the standard chia seeds, vanilla, salt, and just a touch of sweetener. That’s it! It proves you don’t need a dozen exotic items to make something absolutely fantastic. It’s the definition of a simple chia pudding.
Perfect for Meal Prep and Quick Breakfast Jars
If you are into meal prep, you can stop looking right now. I usually make a big batch of this coconut chia pudding on Sunday night and portion it into my favorite glass jars. By Monday morning, it’s completely set and ready to grab. This is fantastic for keeping that healthy momentum going all week long. If you look at my other recipes like my apple cinnamon oats, you know I preach the ‘make-ahead’ gospel, and this is the easiest gospel to follow!
Gathering Ingredients for Perfect Coconut Chia Pudding
You know, the magic of a five-ingredient recipe relies entirely on those five ingredients being the absolute best they can be. Seriously, don’t skimp here, especially on the milk! I learned the hard way that watery results come from watery ingredients. When we’re aiming for that gorgeous, scoopable texture, we need the good stuff. I have a whole post dedicated to my favorite tropical chia variations, but for this base version, stick exactly to the list below. It’s non-negotiable for success!
The Essential Components for Your Coconut Chia Pudding
- 1/2 cup chia seeds (no funny business, just standard black or white!)
- 2 cups FULL-FAT canned coconut milk – I’m serious! This is what gives you that unbelievably rich texture.
- 2 tablespoons maple syrup (or whatever sweetener you prefer for your diet works here)
- 1 teaspoon vanilla extract (use the good stuff, it makes a difference!)
- A tiny, tiny pinch of salt (this wakes up all the sweet flavors, don’t skip it!)
How to Prepare the Best Coconut Chia Pudding
Now that we have our dreamy ingredients, let’s talk technique. Getting the best texture for your coconut chia pudding isn’t just about throwing stuff in a jar; it’s about avoiding that dreaded clump factor! The secret to a superior, smooth, dairy free dessert idea is the double-whisk method. If you just mix it once and walk away, you’re guaranteed to find a massive seed lump stuck at the bottom. Oh no, we don’t do that here!
Mixing for a Smooth Coconut Milk Pudding Base
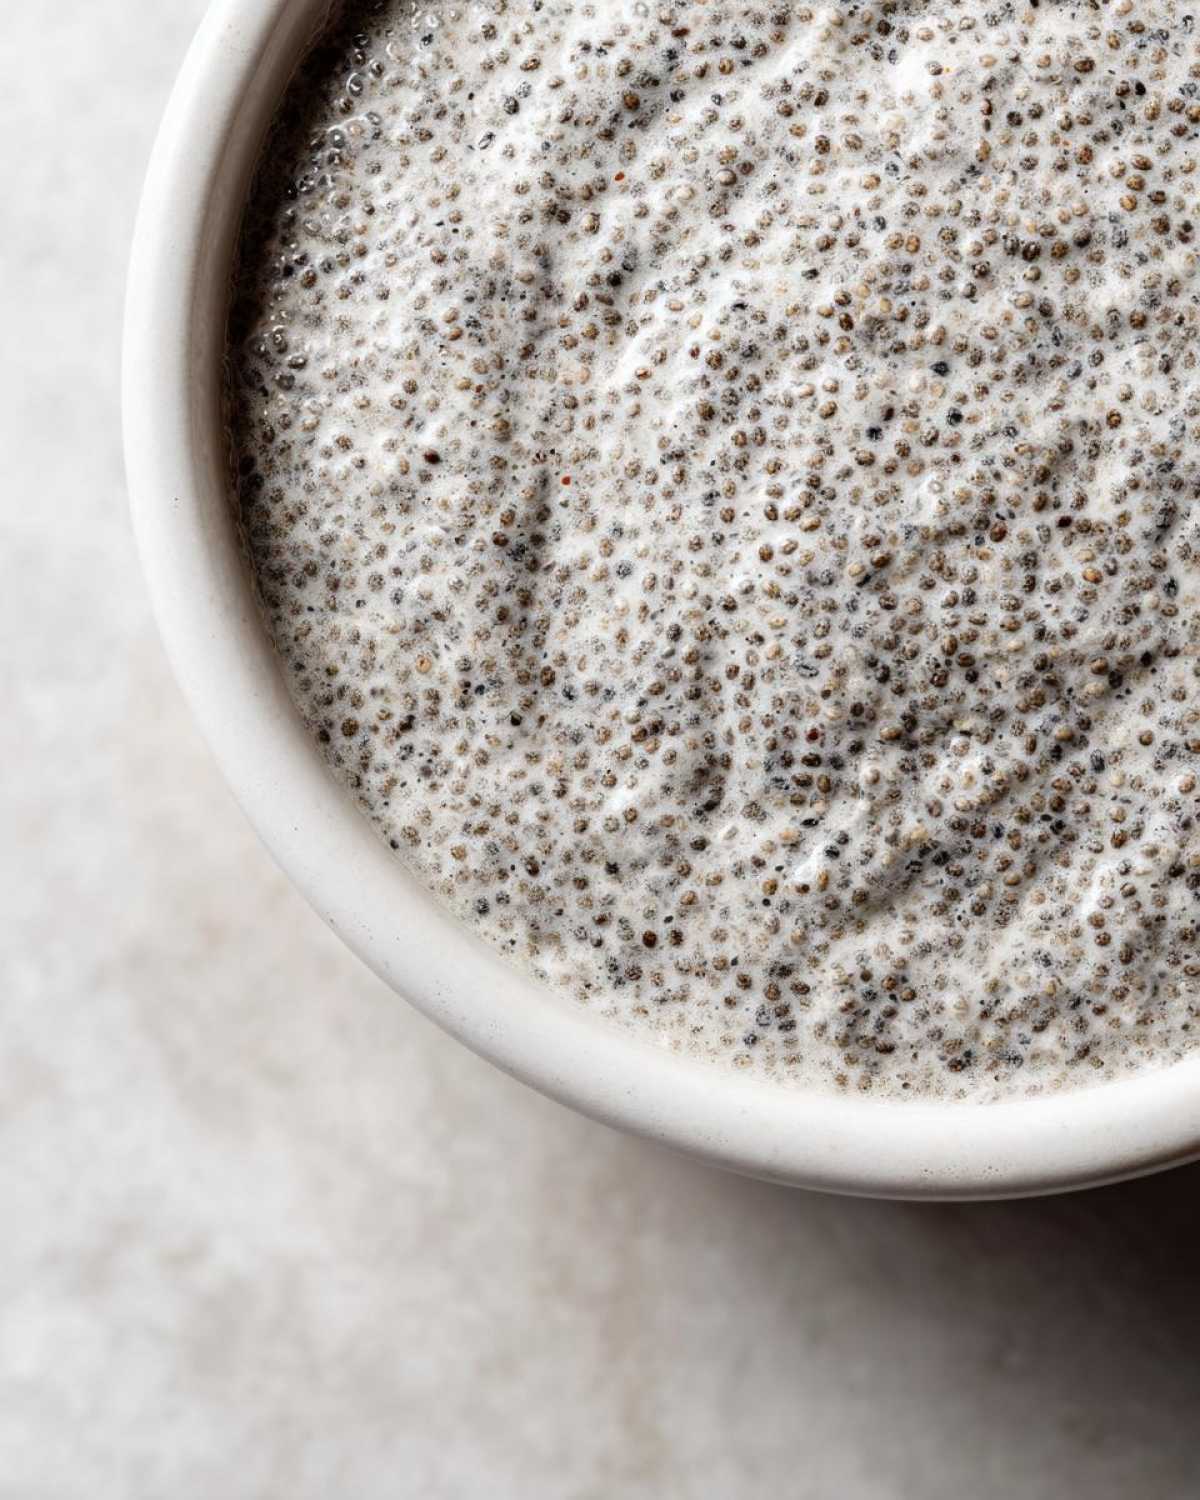
First things first: grab your bowl or your favorite quick breakfast jar. Toss in your chia seeds, the thick coconut milk, your sweetener, vanilla, and that pinch of salt. Now, grab a sturdy whisk and go to town for a solid minute. You need to incorporate everything really well right away. This initial aggressive mixing is what starts hydrating those little seeds evenly so they don’t all grab onto each other. Keep whisking until it looks relatively uniform!
The Secret Second Whisk for Creamy Chia Pudding
This is the step most people skip, and it’s why their puddings fail! After that first intense whisk, just set the bowl down on the counter and let it sit undisturbed for about five minutes. You’ll start to see the edges thicken up. Go back in with your whisk and give it one more, slightly less frantic, three-second swirl. That second whisk is absolutely crucial for breaking up any early clusters and achieving that unbelievably luscious, creamy chia pudding texture we talked about. Seriously, don’t skip this!
Chilling and Serving Your Coconut Chia Pudding
Once you’ve double-whisked, cover that masterpiece tightly. It needs time in the fridge—at least four hours, but honestly, overnight is where the real magic happens. When you pull it out in the morning, give it a good stir one final time. If it seems too stiff (which happens if you use extra-thick cream), just splash in a tiny bit of water or more milk until it feels right. Remember, this is supposed to be a make ahead pudding base, so serve it nice and cold straight from the fridge!
Ingredient Notes and Substitutions for Coconut Chia Pudding
Okay, I know everyone’s dietary adventure is a little different, and that’s totally fine by me! I love showing you how this versatile base can morph into exactly what you need, whether you’re cutting carbs or just want something extra decadent. Since we are using full-fat coconut milk, it’s already naturally vegan and dairy free dessert ideas gold, but we can tailor the sweetener easily. This is a flexible recipe, unlike some of those super rigid baking recipes out there. Knowing these little tricks makes it easier to incorporate into your weekly routine. If you’re interested in other carb-friendly favorites, check out my post on fluffy almond flour pancakes!
Making Keto Chia Pudding Adjustments
If you’re keeping things strictly low carb breakfast pudding style, ditch the maple syrup, please! I usually swap it out for about a tablespoon or two of erythritol or monk fruit sweetener—taste test as you go, since those can be super potent. For the richest, creamiest result for your keto chia pudding, skip pouring the whole can of coconut milk. Instead, chill the can overnight and just scoop off that thick, solidified cream layer from the top. That high fat content is exactly what keto loves!
Tropical Pudding Recipe Variations
Want to lean into the coconut flavor even harder? I totally recommend turning this into a more intense tropical pudding recipe. When you’re doing that initial whisking, throw in an extra quarter cup of shredded, unsweetened coconut flakes right along with the chia seeds. They plump up beautifully as the pudding sits overnight. It adds just a little chewy texture and really amps up that sweet, island vibe. It’s a perfect way to jazz up your morning routine!
Tips for Success with Your Make Ahead Pudding
Look, I want you to have the best experience making this coconut chia pudding. A great make ahead pudding shouldn’t cause stress the night before! There are just two things that can trip people up: the thickness and those stubborn clumps. If you follow the double-whisk method, you avoid 99% of problems, but sometimes you need a little extra insurance. Keeping these tips handy means you’ll always have perfectly set pudding waiting for you; it’s all about building confidence in your process!
Achieving Maximum Creaminess in Your Coconut Chia Pudding
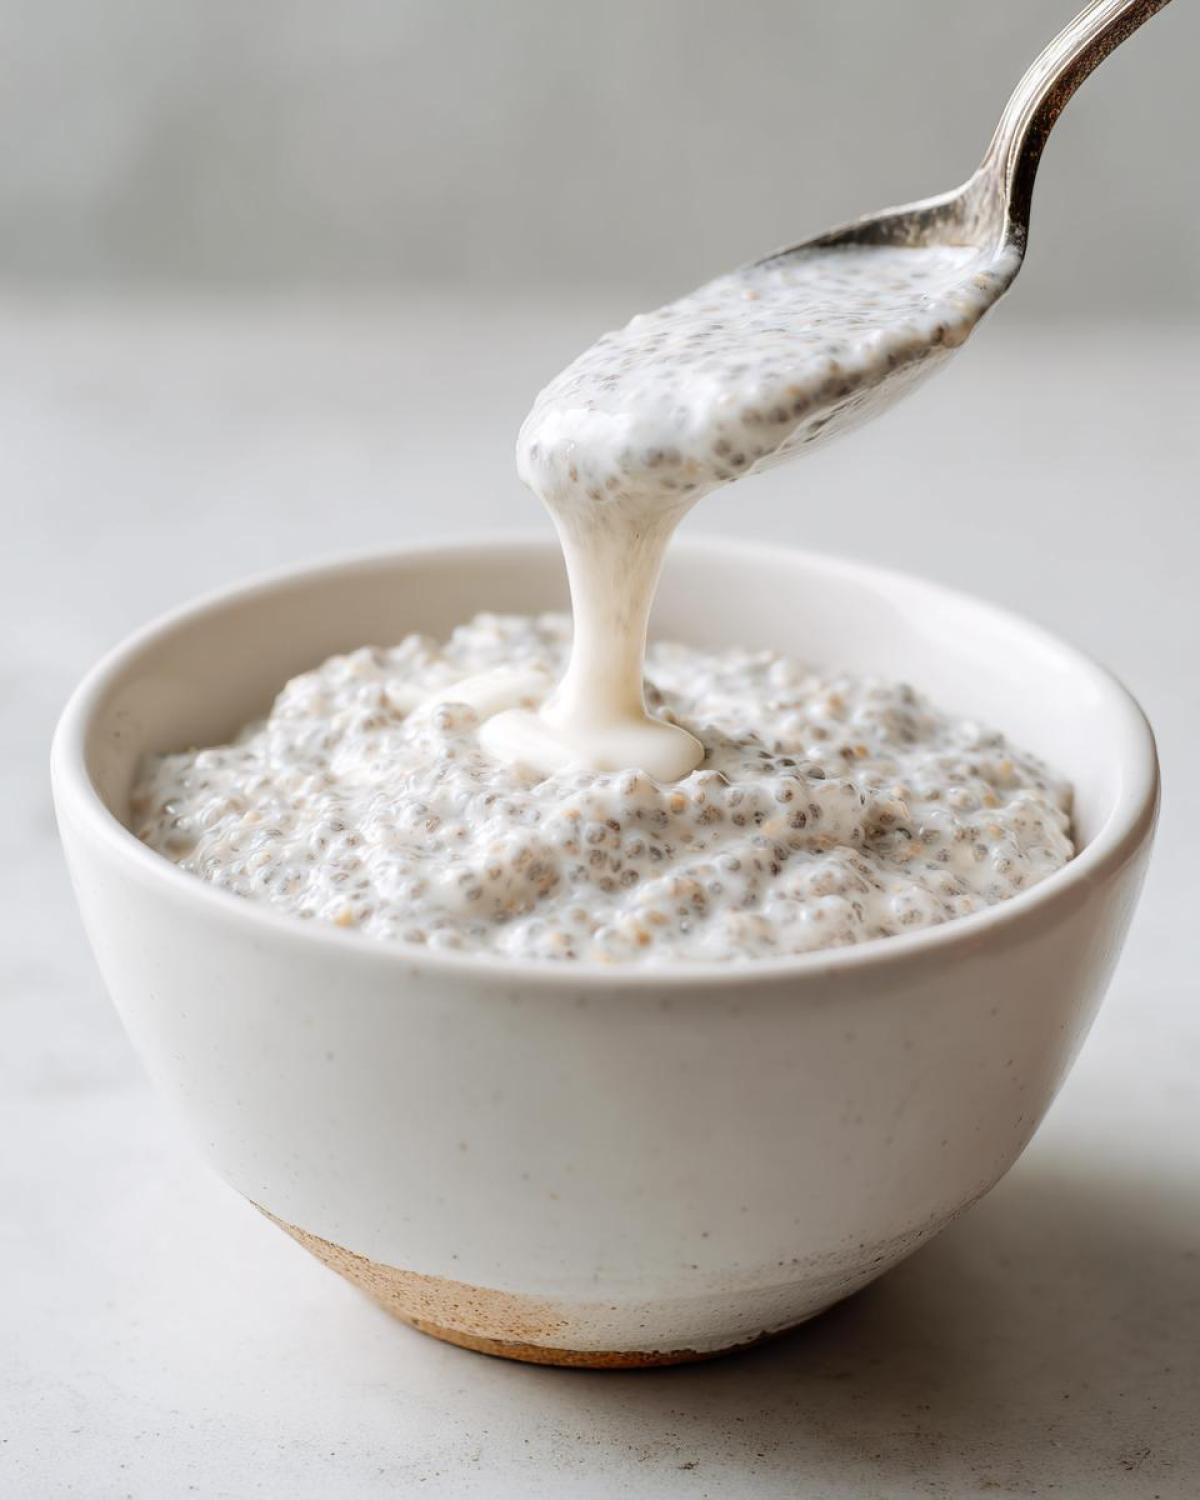
If you’ve already made your pudding and you pull it out the next day and it’s stubbornly lumpy, don’t panic or throw it out! Before you add extra liquid, try this: take a quick 5-second blast with an immersion blender right in the jar. It smooths everything out instantly. But honestly, relying on the whisking method is always better for the long haul, since it incorporates more air. Try my bran muffin recipe sometime; it taught me the value of proper initial mixing!
Serving Suggestions for Your Vanilla Coconut Pudding
We have the perfect vanilla coconut pudding base, so now it’s time for the fun part: loading it up! Serving suggestions are what turn this amazing overnight healthy breakfast into a real treat. You want texture contrast against that soft, yielding pudding, right? I never eat mine plain; that’s just a missed opportunity for crunch and flavor!
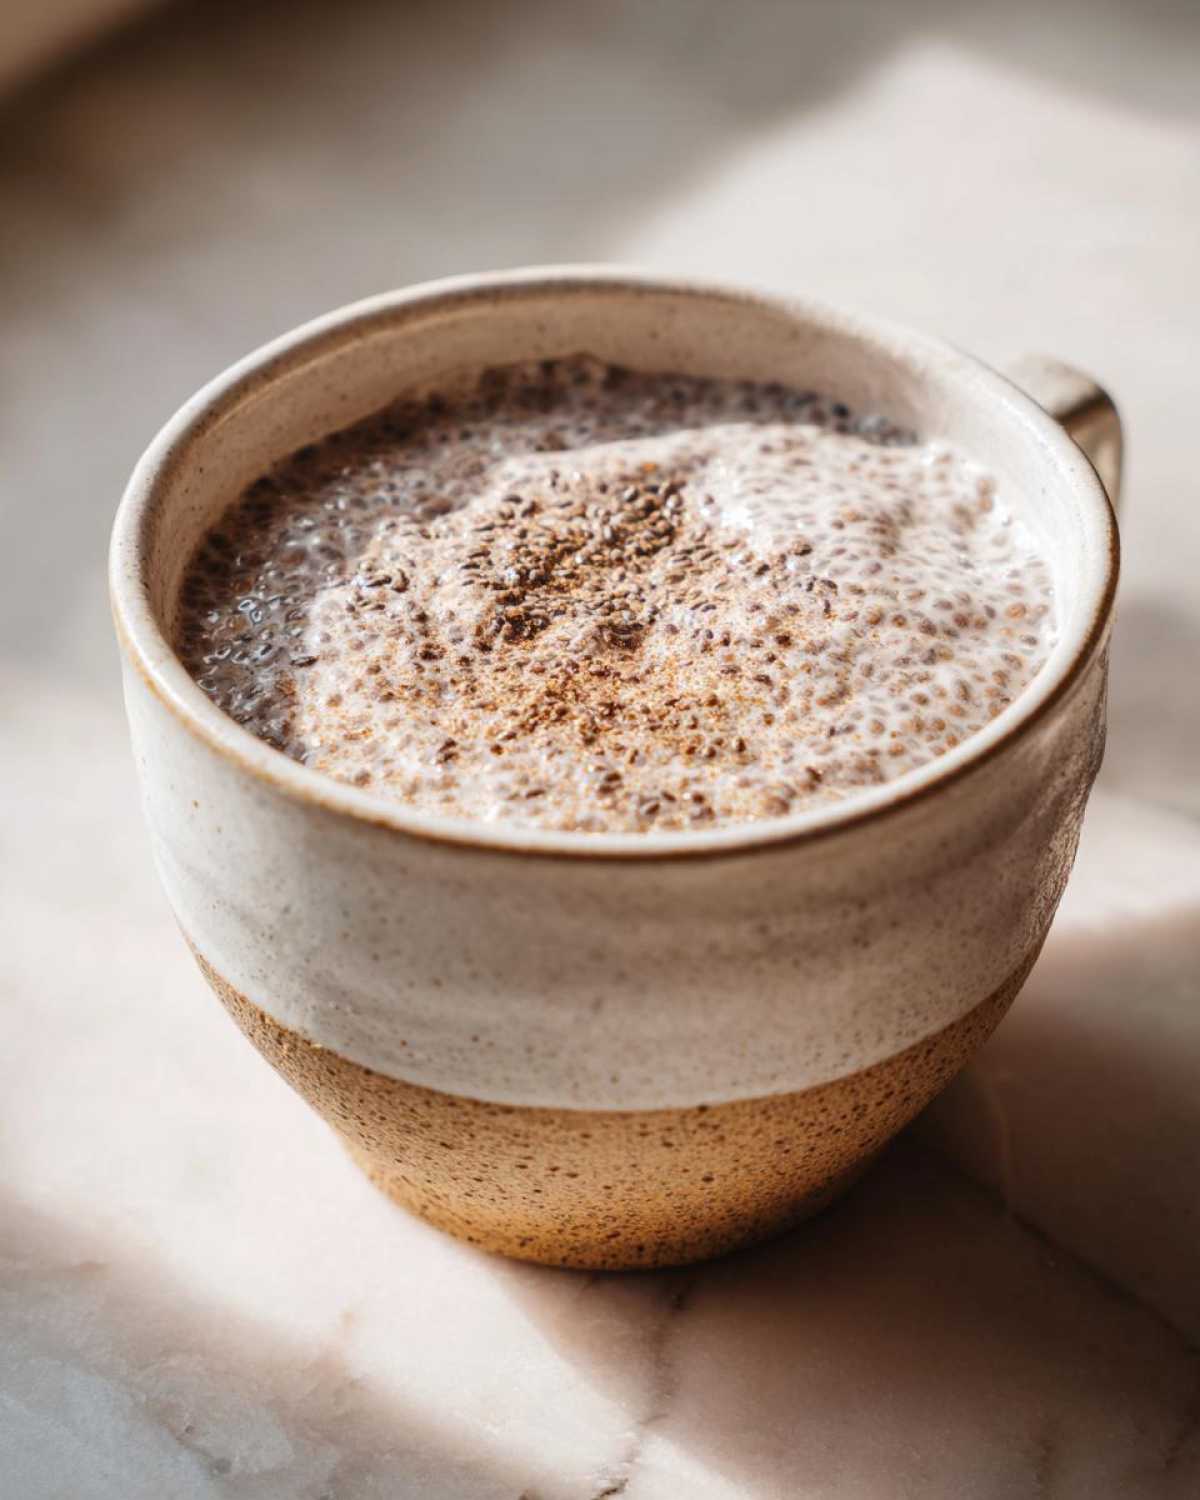
For toppings, keep it tropical! A scattering of fresh mango chunks or sweet raspberries really cuts through the richness of the coconut milk beautifully. If you want that extra satisfying crunch that makes it feel like a real dessert, you have to add nuts. Toasted pecans or slivered almonds are my go-to when I’m grabbing this as a nutrient dense snack. You could even look at some of the crunch elements I use in my pear salad for inspiration if you want something different! A tiny drizzle of honey right before serving just brings that vanilla flavor right up front. This simple upgrade makes your coconut chia pudding feel gourmet!
Storage and Reheating Instructions for This Easy Pudding Recipe
One of the best things about this coconut chia pudding is that it’s built for storage. Because it’s a no-cook recipe, you need to treat it right in the fridge. If you portion this out into those little jars like I mentioned earlier, I find that it stays perfectly delicious for a solid four days. That’s almost a whole work week handled! Seriously, it’s such a time saver.
Now, a quick word of warning: do not try to reheat this! It’s designed to be served beautifully cold. Heating it up changes the texture completely, and you’ll lose that lovely pudding consistency. Just pull your jar right out of the fridge when you need a quick breakfast. If you make freezer meals, you know how important reheating instructions are, but for this easy pudding recipe, cold is king. For other make-ahead tips, check out how I store my cheeseburger bowls!
Frequently Asked Questions About Coconut Chia Pudding
I totally get it—when you’re relying on a recipe for your overnight healthy breakfast, you want zero guesswork! People always have questions about texture and ratios, so let’s clear those up quickly so your next batch of coconut chia pudding is flawless. I’ve pulled the most common ones I see pop up. If you still have concerns, let me know in the comments, or check out my chicken fried rice post—sometimes the science of cooking relates across different recipes!
Can I use light coconut milk instead of full-fat for this coconut chia pudding?
You absolutely can, but I have to warn you: it won’t be the same! Light coconut milk is much thinner, so you’ll end up with a very liquidy result. If you want that thick, satisfying, creamy chia pudding feel that tastes like a real dessert, you need the fat from the full-fat canned version. Light milk works, but prepare for a thinner consistency!
How long does this vegan chia pudding recipe last?
Since this is a pure, no-cook vegan chia pudding recipe, it holds up really well for meal prep. I safely keep mine in the fridge in sealed jars for up to four full days. After day four, it’s still safe to eat, but sometimes the seeds get a little too plumped up for my liking. You can refresh the texture by stirring in a tiny splash of milk right before serving, though!
What is the best way to prevent chia seeds from sinking in my make ahead pudding?
This is the biggest textural hurdle, hands down! The key isn’t just the initial mix; it’s the follow-up. You need that initial hard whisk to get everything moving, and then you MUST set it aside for five minutes and whisk it again. That short break allows the partially hydrated seeds to be redistributed before they set for good. It’s the best trick for keeping the seeds suspended evenly throughout your make ahead pudding!
Rate This Simple Chia Pudding Recipe
Alright, that’s my entire breakdown for the creamiest, easiest coconut chia pudding you’ll ever make! I really hope this becomes a staple in your weekly routine like it has in mine. Now, I need to hear from you!
When you make this amazing simple chia pudding, please come back and drop a rating right here on the recipe card. I want to know how it turned out for you. More importantly, tell me what you topped it with! Are you a fan of fresh fruit, or do you go wild with toasted coconut and cacao nibs? Share your favorite topping combos below; sometimes I need new inspiration for my next batch!
Print
Creamy 5-Ingredient Coconut Chia Pudding
- Total Time: 4 hr 5 min
- Yield: 2 servings
- Diet: Vegan
Description
Make this simple, creamy coconut chia pudding overnight for a healthy, make-ahead breakfast or snack.
Ingredients
- 1/2 cup chia seeds
- 2 cups full-fat canned coconut milk
- 2 tablespoons maple syrup (or preferred sweetener)
- 1 teaspoon vanilla extract
- Pinch of salt
Instructions
- In a medium bowl or jar, combine the chia seeds, coconut milk, maple syrup, vanilla extract, and salt.
- Whisk the mixture thoroughly for about one minute to prevent the seeds from clumping at the bottom.
- Let the mixture sit on the counter for 5 minutes, then whisk again briefly. This second whisk helps achieve a creamier texture.
- Cover the bowl or jar and refrigerate for at least 4 hours, or preferably overnight.
- Stir the pudding before serving. If it is too thick, add a splash more coconut milk or water until you reach your desired consistency.
- Serve cold with your favorite toppings.
Notes
- For a thicker, keto-friendly version, substitute the maple syrup with 1-2 tablespoons of erythritol or monk fruit sweetener and use only the thick cream from the top of the chilled coconut milk can.
- To make this recipe tropical, add 1/4 cup of shredded unsweetened coconut when mixing.
- This pudding keeps well in the refrigerator for up to 4 days.
- Prep Time: 5 min
- Cook Time: 0 min
- Category: Breakfast
- Method: No Cook
- Cuisine: General
Nutrition
- Serving Size: 1 serving (approx. 1 cup)
- Calories: 350
- Sugar: 12
- Sodium: 150
- Fat: 28
- Saturated Fat: 24
- Unsaturated Fat: 4
- Trans Fat: 0
- Carbohydrates: 25
- Fiber: 15
- Protein: 8
- Cholesterol: 0



Comments are closed.