
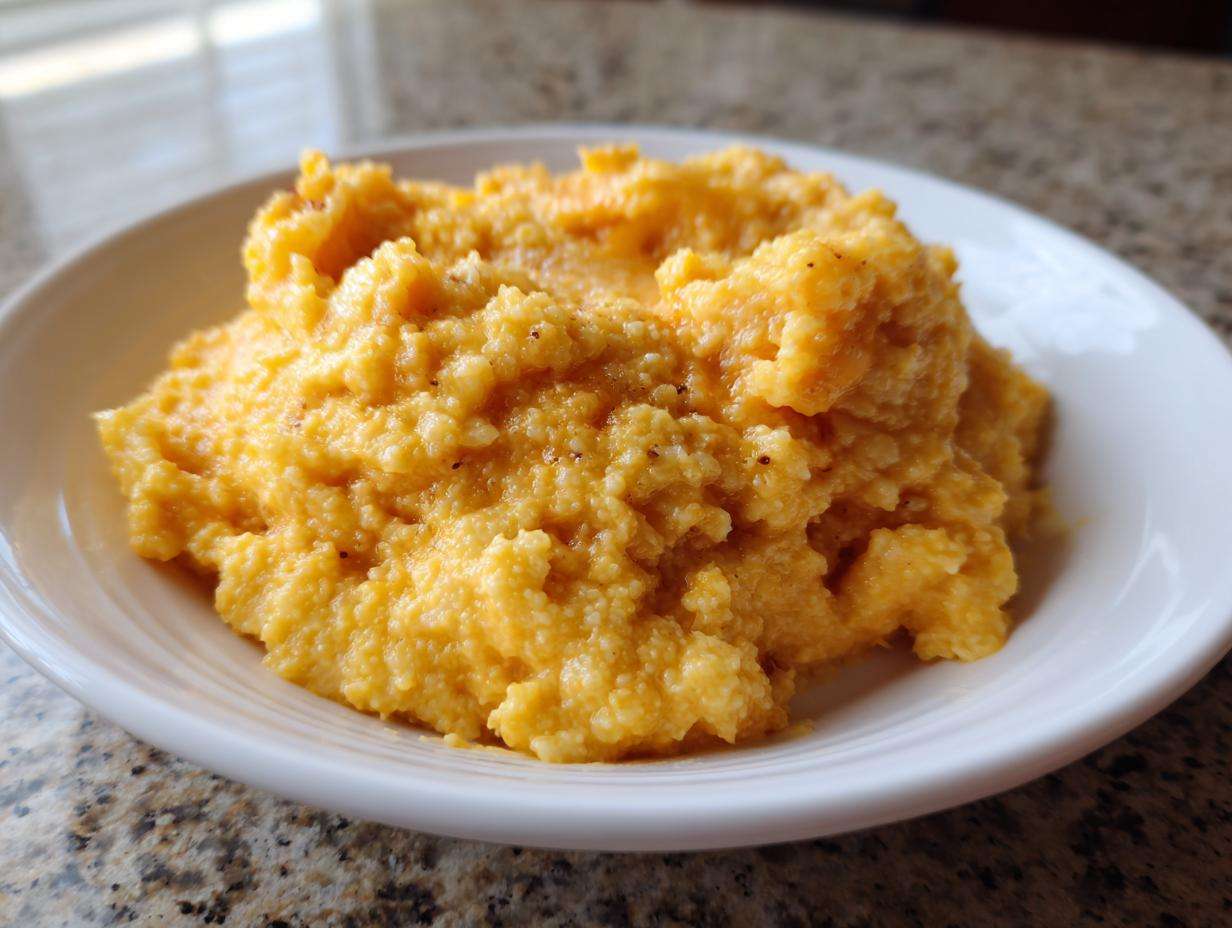
Listen, if you close your eyes when you take that first bite of perfectly made grits, you should instantly smell sweet tea and hear crickets. That’s the sign of true Southern comfort food taking hold! I’ve spent years fiddling around with grits—trying to make them rich enough for Sunday brunch but simple enough for a Tuesday morning before work.
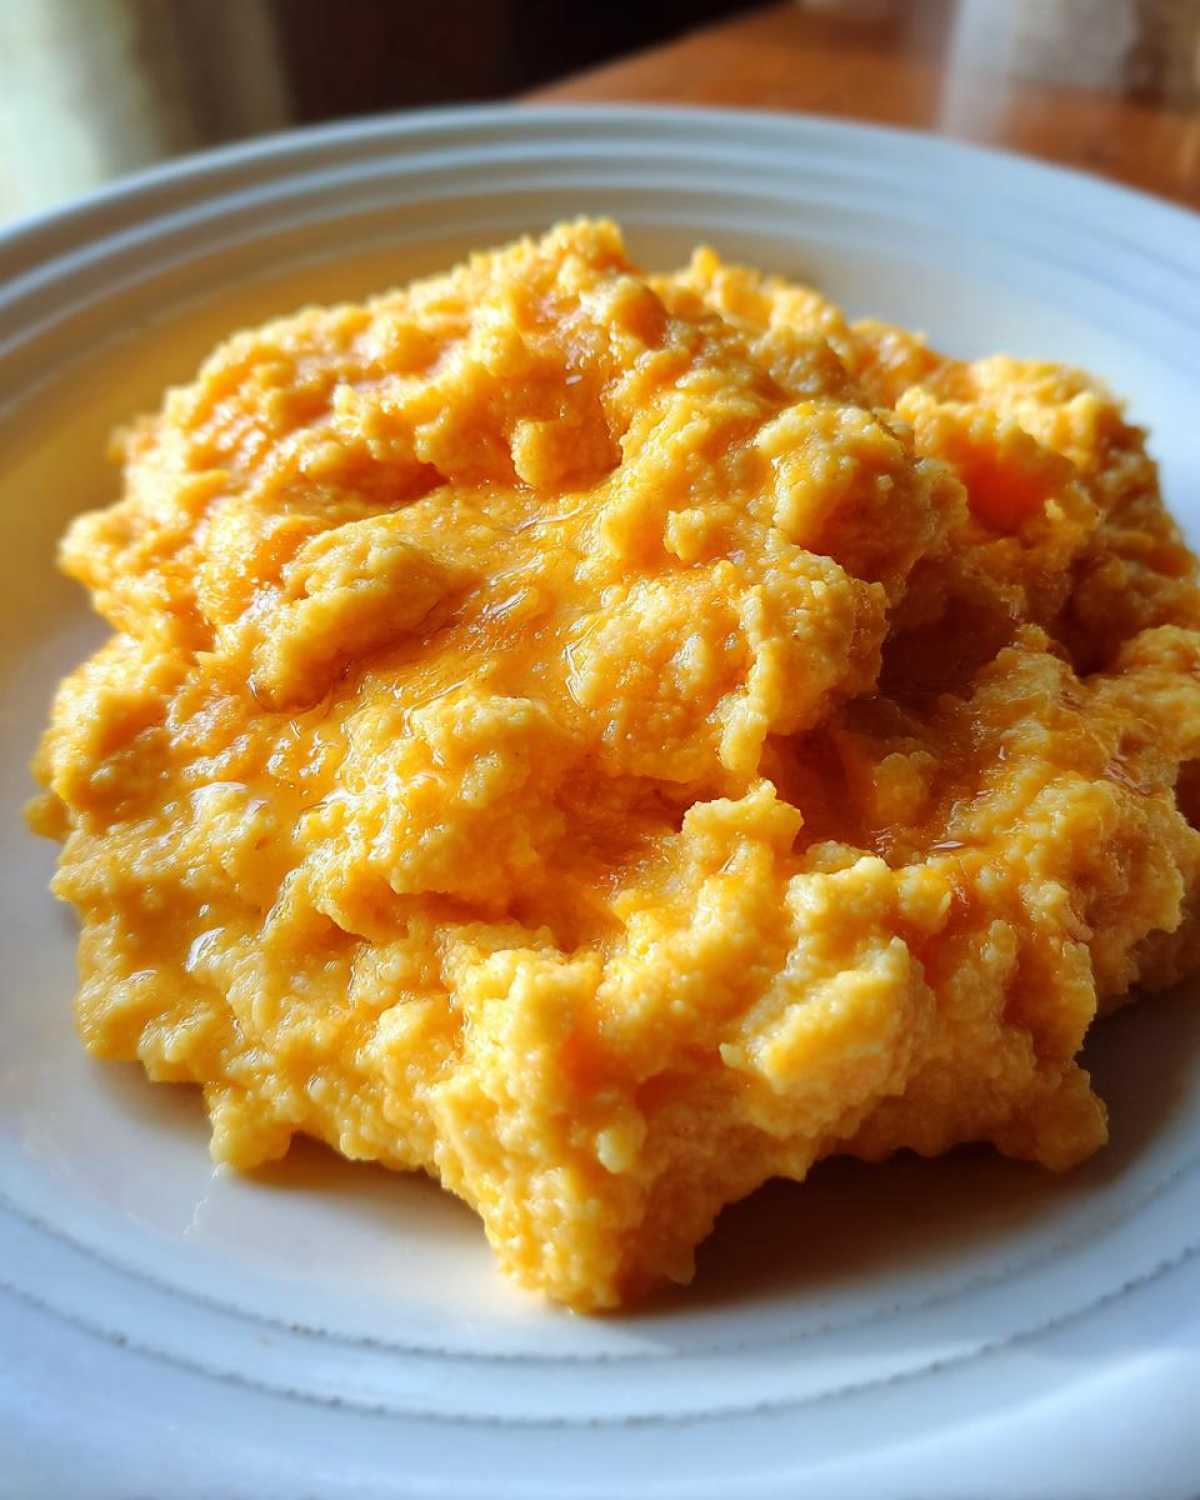
I’m telling you right now, this is the ultimate recipe for cheese grits. Forget those runny, bland messes you sometimes get. We are aiming for thick, decadent, almost pudding-like creaminess that clings to your spoon. This recipe cuts right to the chase and delivers the best Southern cheese grits you’ll ever stir up, guaranteed.
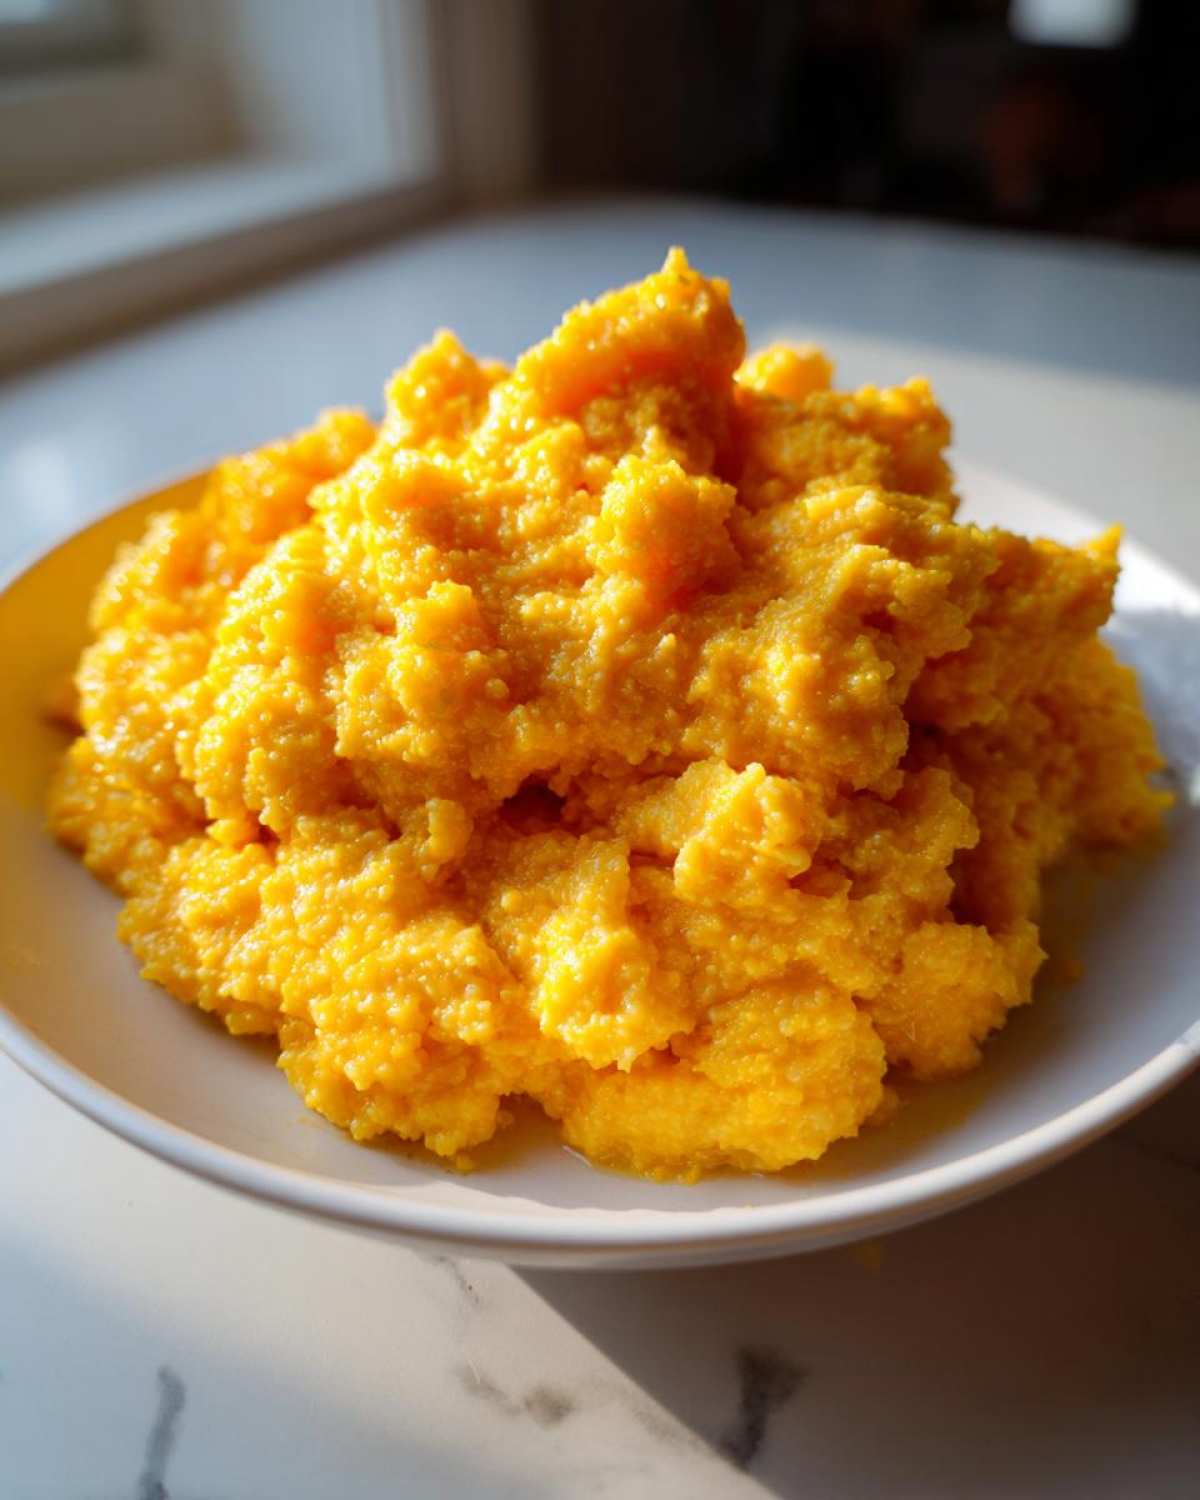
Why This is the Ultimate Creamy Cheese Grits Recipe
There’s a reason everyone tries to claim the title for the best Southern side dish, but honestly, texture is everything when it comes to grits. This recipe beats watery or gritty results every single time because we respect the process! We aren’t messing around with instant stuff here; that’s a rookie mistake if you want real comfort food.
These grits manage to be velvety smooth without tasting heavy or gloppy like some recipes. If you want to graduate from amateur cook to true Southern kitchen royalty, you need to pay attention to these details. You can even use this creamy base to make amazing Shrimp and Grits!
Achieving Perfect Southern Comfort Food Texture
Seriously, throw out any package of instant grits you have gathering dust. We’re using stone ground or old-fashioned grits because they need that time on the stove—that slow simmer—to break down properly and release their natural starches. That’s the secret to that thick, almost spoon-standing texture you dream about. You can’t rush nature, and you certainly can’t rush good grits!
We use a higher ratio of liquid here than some recipes call for, but don’t panic! The long, slow cooking time ensures all that extra richness is absorbed perfectly, never leaving you scraping crunchy bits off the bottom of the pot.
The Secret to Rich and Cheesy Grits with Sharp Cheddar
The cheese blend makes all the difference in your cheese grits experience. While I love the melt of Monterey Jack, you absolutely need that punch from a good, honest-to-goodness sharp cheddar cheese. I always buy it in a block and shred it myself—pre-shredded cheese has anti-caking agents that just make the final product gummy.
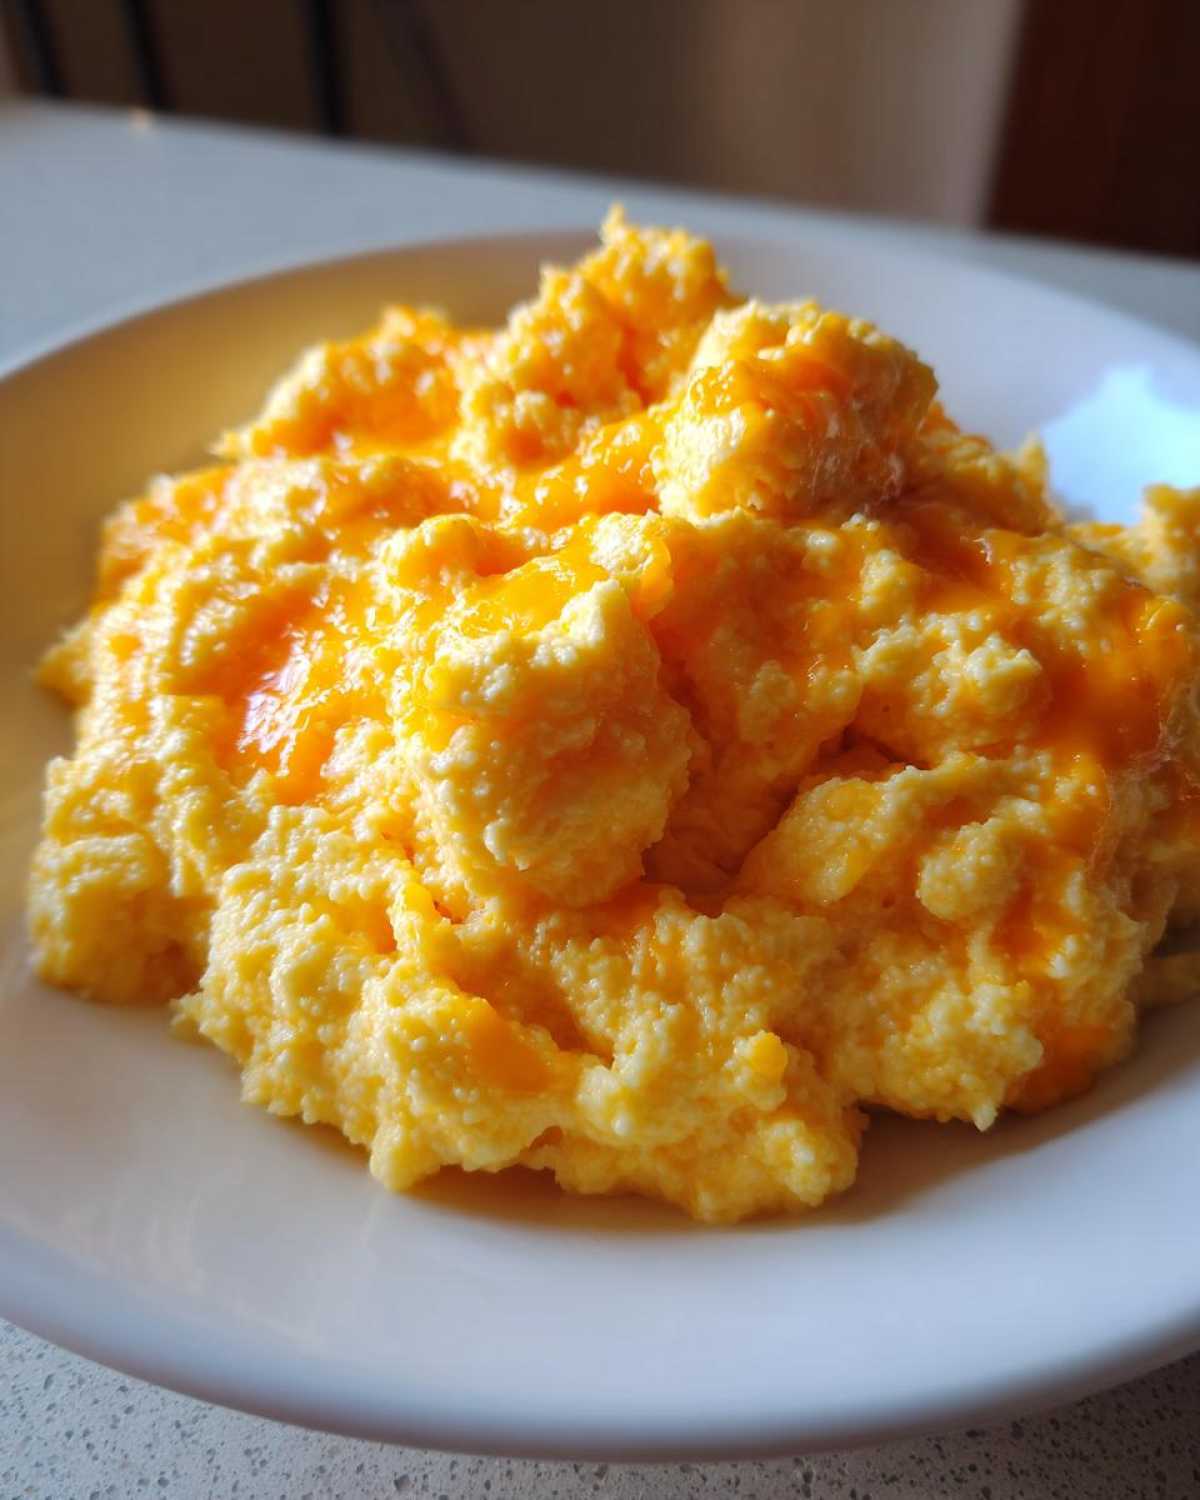
Then there’s the butter! We toss in butter right before the cheese melts. The butter acts like an emulsifier, helping the cheese and the liquid cling together beautifully. This step is critical for that gorgeous, glossy, rich finish we all chase.
Ingredients Needed for Creamy Cheese Grits
Okay, gather these babies up! The beauty of this easy cheese grits recipe is that it uses pantry staples. There’s nothing fancy needed, but nailing the measurements ensures we get that perfect consistency on the first try. Remember, the quality of your cheese really shines through, so don’t skimp on that sharp cheddar!
Here is exactly what you need to grab before you even think about boiling water:
- 4 cups water
- 1 cup whole milk
- 1 teaspoon salt
- 1/2 teaspoon black pepper
- 1 cup stone ground grits (not instant—this is important!)
- 4 tablespoons unsalted butter
- 1 cup shredded sharp cheddar cheese
- 1/2 cup shredded Monterey Jack cheese
How to Make Stovetop Cheese Grits Perfectly
This is where the magic happens, but you have to be present! You can’t just set a timer and walk away to scroll through your phone. These stovetop cheese grits demand a bit of watchful stirring, but trust me, the payoff is huge.
If you’re making our stovetop applesauce later, you know the drill: cooking something perfectly on the burner requires attention. It’s easy to scorch grits, and nobody wants burnt milk solids in their savory grits side dish!
Bringing the Liquid to a Boil for Your Cheese Grits
First things first—get your combination of four cups of water and one cup of whole milk into a decent-sized saucepan. Toss in your salt and pepper now. We need this liquid base singing hot before the grits meet it. Heat it over medium-high heat until you see a good, rolling boil popping up across the surface.
Simmering the Grits for the Best Southern Cheese Grits
Once boiling, slowly whisk in the one cup of stone ground grits. Whisk slowly! If you dump them in, you get instant clumps, and we absolutely cannot have lumpy grits in our brunch recipe. When they’re mixed in well, immediately drop that heat way down to low. Slap a lid on it, but leave it slightly cracked.
Now for the patience part: let them simmer, covered, for a good 25 to 30 minutes. You must stir every five minutes or so. This keeps them from sticking to the bottom and helps everything thicken up beautifully. They are done when they’ve sucked up almost all the milk and water and look nice and thick.
Finishing Your Rich and Cheesy Grits
The final touches must happen off the direct heat—this stops the cheese from breaking or getting oily. Pull the pan entirely off the hot burner. Stir in those four tablespoons of unsalted butter until it vanishes into the creamy base. Next up, dump in all your sharp cheddar cheese and Monterey Jack. Stir constantly until everything melts smooth as silk.
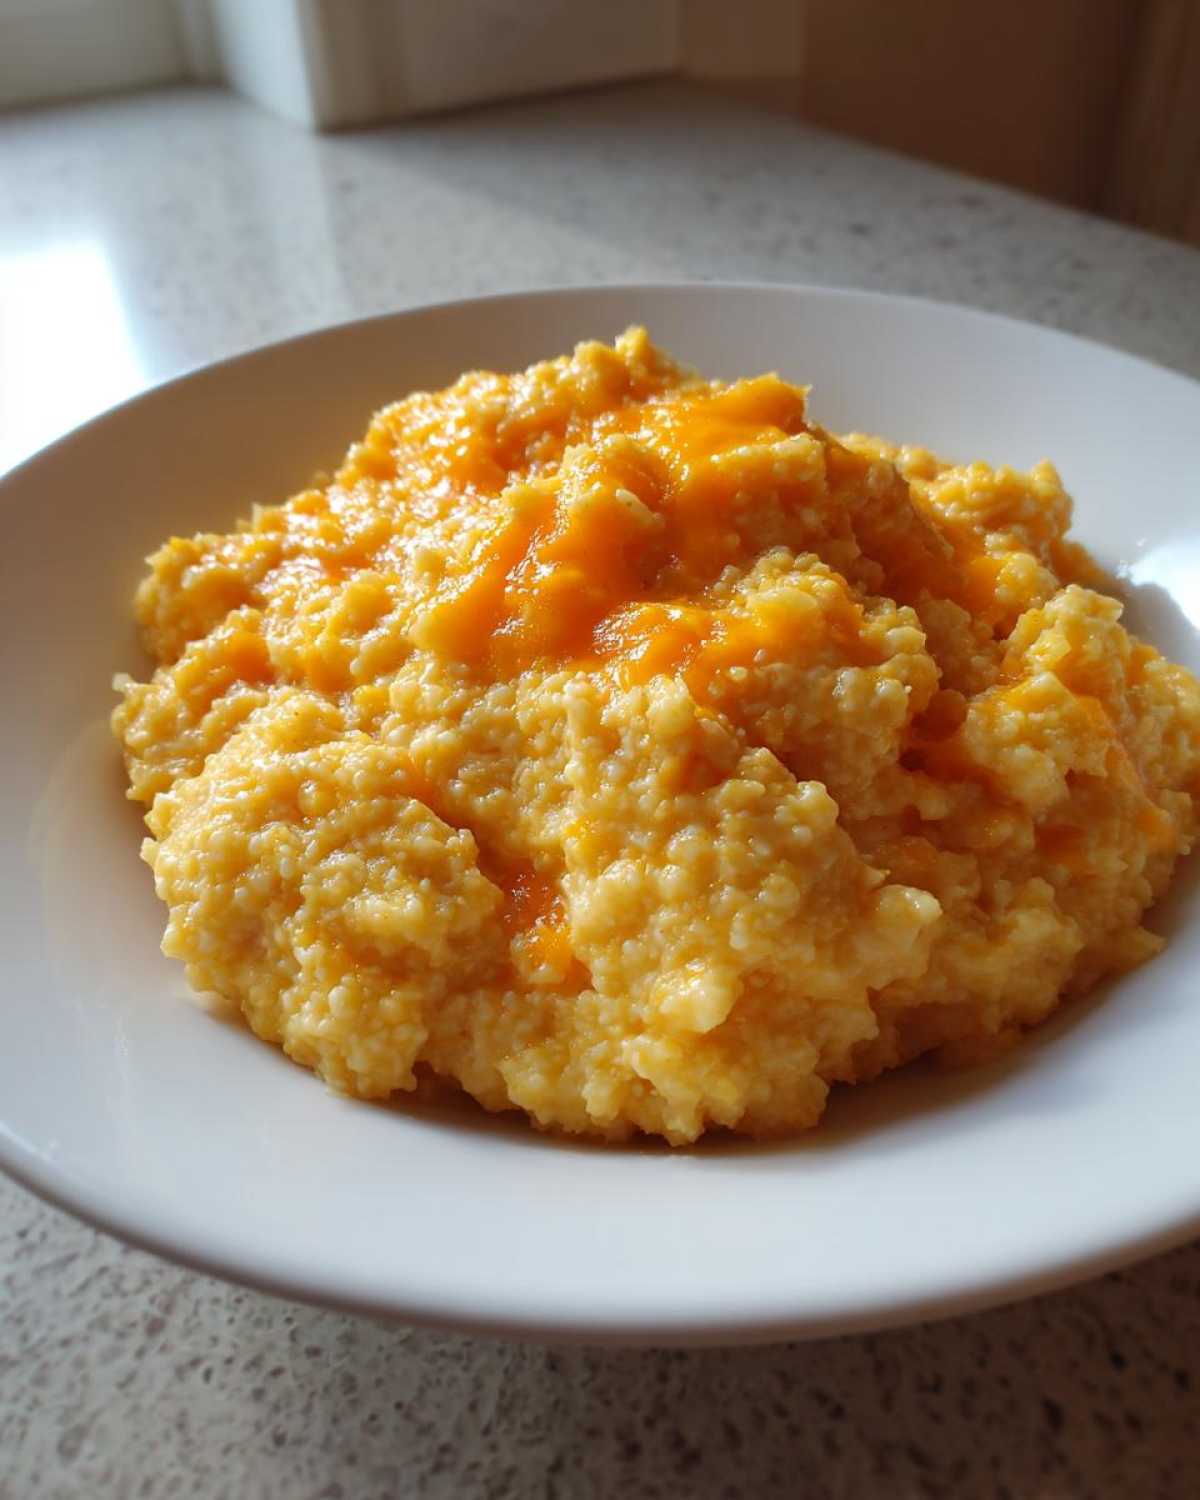
Don’t wait around once they are this perfect! Taste them for seasoning—a little more salt might be needed depending on your cheddar. Then scoop these rich and cheesy grits straight into bowls and enjoy them immediately!
Tips for Success When Making Cheese Grits
I know I keep hammering this point home, but hear me out: ingredient choice is non-negotiable if you want the absolute best Southern comfort food experience. My grandmother used to say, “You can’t sweet-talk bad ingredients into being good.” So, let’s talk about what really matters here, besides stirring frequently to avoid that scorching!
One thing I learned early on is that grating your own cheese is not just an affectation—it genuinely improves the final texture. Pre-shredded bags are coated in starches to stop them from clumping in the bag, but that starch fights against the velvety smoothness we want in our final product. Once you grate that sharp cheddar yourself, you’ll never go back, I promise!
Also, remember the absolute necessity of stirring during that long simmer. If you think you’re stirring enough, stir one more time! If you leave them unattended even for five minutes, you risk creating a crust on the bottom of the pan. That crust is hard to scrape off later, and frankly, it wastes perfectly good cooked grain.
Finally, if you want to sneak in just a touch more depth, try replacing half the water with good quality chicken or vegetable broth—just make sure your broth isn’t overly salty, because we are already adding salt separately. It just gives the grits a savory backbone that really shines through, especially if you are serving them as a savory grits side dish rather than just grits for breakfast. These little tweaks elevate the whole dish!
Variations for Your Savory Grits Side Dish
Now that you’ve mastered the fundamental rich and cheesy base, it’s time to have some fun and make this recipe truly yours! While they are totally divine just as written, I love experimenting when I whip up a big batch of these for a brunch spread. You don’t need a whole new recipe; you just need a few killer add-ins!
Thinking about making them for a weeknight side? Throwing in some smoky depth using spices works wonders. If you are pairing these with something savory, like roasted chicken, you might want to check out how I spruce up my vegetables with my maple Dijon carrots—that sweet and tangy contrast is everything!
Making Gourmet Cheese Grits with Add-ins
The best time to incorporate new flavors is right at the very end, when that cheese is melting into that creamy base. If you want something earthy, sauté some sliced mushrooms until they’ve released all their liquid and sautéed until brown. Fold those right in with the butter. Or maybe you need some salty, crispy goodness? Crumbled bacon pieces—cooked until perfectly crisp—are always a win.
For an herbaceous touch, just before serving, sprinkle in some finely chopped chives or thinly sliced green onions. That little pop of green and onion flavor brightens everything up beautifully. If you’re feeling feisty, a tiny pinch of smoked paprika adds such a lovely background note without taking over the flavor profile. These small additions transform your dish from just great to absolutely unforgettable!
Serving Suggestions for Cheesy Grits for Breakfast or Dinner
These cheesy grits are so versatile, it’s almost embarrassing! They really swing for the fences whether you’re serving them hot first thing in the morning or slathered beside a great pork chop for dinner. If you’re doing an epic brunch spread, these are the star side—way better than boring home fries, if you ask me!
For breakfast, obviously, you can’t go wrong topping them with a perfectly fried egg. But for dinner? We have to talk about my favorite pairing: classic Shrimp and Grits. That creamy, cheesy base is just the ideal foundation for spicy, buttery shrimp. If you’re looking for other hearty breakfast sides, you should check out my recipe for crispy oven-roasted breakfast potatoes too!
They play extremely well with crispy fried chicken, or even just alongside a big slab of roasted ham. Seriously, they are the perfect canvas!
Storage and Reheating Instructions for Leftover Cheese Grits
Okay, leftovers! That’s the dream, right? The only thing you need to know about leftover cheesy grits is that they will firm up in the fridge. Like, seriously firm up. Don’t panic when you pull them out the next day and they look more like a block of savory clay!
The key to bringing these back to their creamy glory is adding back moisture. Scoop your desired portion into a small saucepan—don’t microwave a giant clump, it never ends well. Add a good splash of whole milk or even a little water for every cup of grits you are reheating. Set it over low heat and stir constantly until that milk is fully incorporated and the grits are smooth again. They’ll be absolutely perfect for a quick second breakfast!
Frequently Asked Questions About Making Cheese Grits
I totally get it; sometimes you just need a quick answer before you dive back into the cooking! I’ve gathered up the most common worries I hear about making these rich and cheesy grits at home. Honestly, most issues come down to rush or wrong ingredients, which we’ve covered how to fix above!
If you have mastered these perfectly, you might want to try my recipe for easy honey bran muffins next—a completely different morning treat!
Can I use instant grits instead of stone ground grits for these cheese grits?
Oh heavens no, if you can avoid it! While instant grits cook in about five minutes, they just don’t release the starches the way stone ground or old-fashioned grits do. You’ll end up with something that tastes more like cheesy porridge than true creamy cheese grits. For that signature Southern texture, the slow simmer of the rougher grind is worth every bit of the time.
How do I prevent my cheese grits from becoming watery?
This happens when you have too much liquid left over or when you add the cheese while the pan is still on high heat. Make sure you diligently simmer them for the full time listed—they should look almost too thick before you add the butter and cheese. Most importantly, take the whole pan *off* the heat before folding in your cheddar. That stops the cheese from separating, which is what causes that oily, watery film on top.
What is the best cheese for authentic Southern cheese grits?
You definitely want sharp cheddar cheese! Using an aged, sharp cheddar gives you that necessary tangy bite that cuts through the richness of the milk and butter. I always mix it with something milder, like Monterey Jack, just for that perfect melt factor, but the recognizable flavor needs that sharp cheddar foundation. Don’t forget to shred it yourself!
Nutritional Snapshot of Your Rich and Cheesy Grits
Now, I’m certainly not a dietician, and you know that when you’re talking about this much butter and cheese, we aren’t exactly making “diet food” here! These are pure Southern comfort, built around rich ingredients. But I always like to give you a rough idea of what you’re looking at for a standard serving size, just so you know what you’re dealing with.
These estimates are based on dividing the total recipe yield evenly into four portions, using the specific amounts of sharp cheddar and whole milk listed in the recipe. For the full breakdown, always check the disclaimer linked below!
- Serving Size: 1 cup cooked
- Calories: 450
- Fat: 30g
- Saturated Fat: 18g
- Carbohydrates: 35g
- Fiber: 3g
- Protein: 18g
- Sodium: 650mg
- Sugar: 3g
We certainly lean heavy into the good stuff—that’s where the flavor comes from! If you’re keeping track of macros, the fat content is certainly high due to the cheese and butter, but that’s what makes these grits so satisfying. For more detailed reading on how we calculate these numbers for all the recipes around here, you can check out the full details on our site disclaimer page.
Share Your Experience with This Easy Cheese Grits Recipe
Now that your kitchen smells amazing and you’ve got a bowl of the best Southern cheese grits in your hand—I want to hear about it! Did you make any tweaks? Did you use bacon or chives?
Please take a second to leave a rating and drop a comment down below telling me how these came out for you. Seeing your photos when you tag us online makes my whole day!
Print
Ultimate Creamy Southern Cheese Grits
- Total Time: 35 min
- Yield: 4 servings
- Diet: Vegetarian
Description
This recipe provides instructions for making rich, creamy Southern-style cheese grits using sharp cheddar cheese, perfect for breakfast or as a savory side dish.
Ingredients
- 4 cups water
- 1 cup whole milk
- 1 teaspoon salt
- 1/2 teaspoon black pepper
- 1 cup stone ground grits (not instant)
- 4 tablespoons unsalted butter
- 1 cup shredded sharp cheddar cheese
- 1/2 cup shredded Monterey Jack cheese
Instructions
- Combine water, milk, salt, and pepper in a medium saucepan. Bring the mixture to a boil over medium-high heat.
- Slowly whisk in the grits to prevent lumps. Reduce the heat to low.
- Cover the saucepan and simmer for 25 to 30 minutes, stirring every 5 minutes to keep the grits from sticking to the bottom. The grits should absorb most of the liquid and become thick.
- Remove the saucepan from the heat. Stir in the butter until it melts completely.
- Add the shredded cheddar cheese and Monterey Jack cheese. Stir until the cheese is fully melted and the grits are smooth and creamy.
- Taste and adjust salt and pepper if needed before serving immediately.
Notes
- Use stone ground or old-fashioned grits for the best creamy texture; instant grits will cook faster but yield a less desirable result.
- Stir frequently during cooking to prevent scorching on the bottom of the pot.
- For extra richness, substitute half of the water with chicken or vegetable broth.
- Prep Time: 5 min
- Cook Time: 30 min
- Category: Side Dish
- Method: Stovetop
- Cuisine: American Southern
Nutrition
- Serving Size: 1 cup cooked
- Calories: 450
- Sugar: 3
- Sodium: 650
- Fat: 30
- Saturated Fat: 18
- Unsaturated Fat: 12
- Trans Fat: 1
- Carbohydrates: 35
- Fiber: 3
- Protein: 18
- Cholesterol: 75



Comments are closed.