

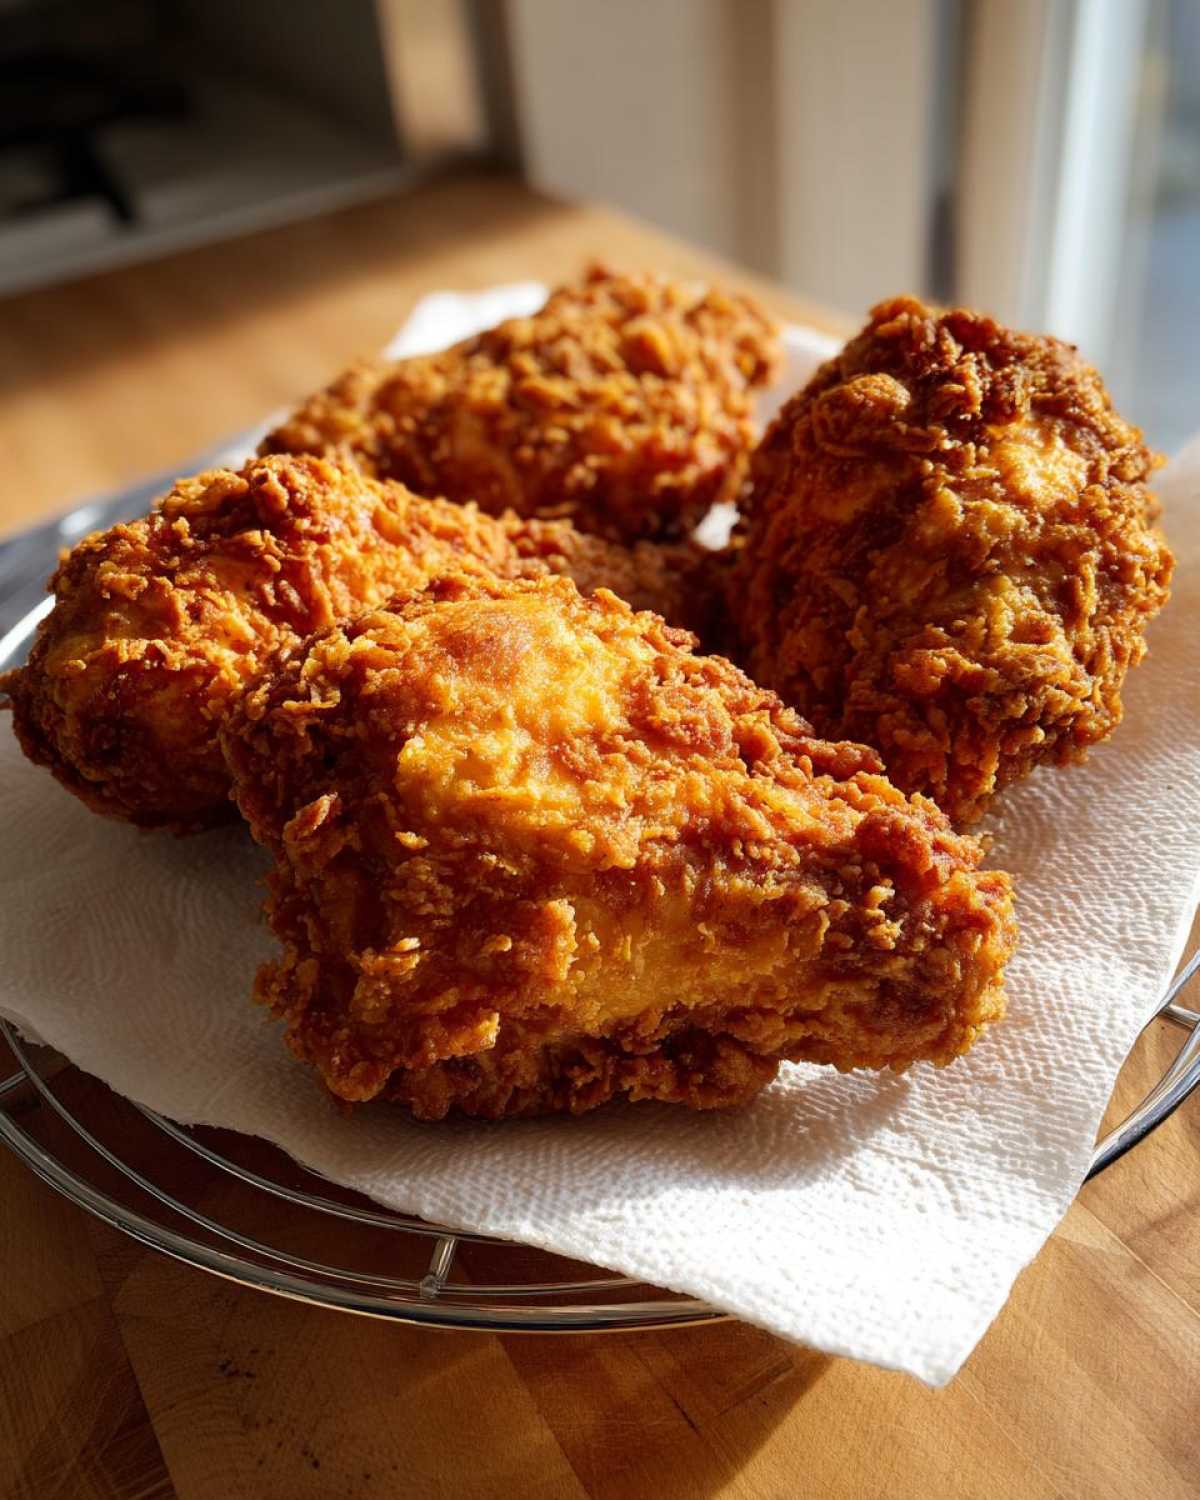
If you’ve ever dreamt of biting into chicken that shatters perfectly, yielding to the juiciest, most tender meat under a golden, craggy crust, then welcome, friend! I’m Alexander Knight, and this is my obsession: achieving the ultimate texture in the kitchen. Growing up around my Uncle’s restaurant in Texas, I learned early on that the perfect buttermilk soak is the secret handshake for amazing fried chicken. Forget soggy coatings or dry insides; this Ultra-Crispy Buttermilk Southern Fried Chicken recipe is the one I developed to bring that authentic, soul-satisfying crunch right to your dinner table, every single time. Seriously, get ready for perfection!
Why This Ultra-Crispy Fried Chicken Recipe Works
Okay, let’s talk science for a second, because that’s what separates a good batch of fried chicken from one you brag about for weeks! My uncle always said, “If you don’t understand the *why*, you’ll be making the same mistakes forever.” Trust me, I made plenty of mistakes before I figured out this magic combination for crunch and juice.
I’m linking out to my main recipe guide here if you need to revisit the full walk-through, my complete guide to ultra-crispy chicken, but these two steps are non-negotiable for that Southern classic texture.
The Power of Buttermilk Brined Chicken
This is where the *juicy and crispy chicken* secret starts! Buttermilk is acidic, right? That gentle acid gets into the meat and starts breaking down the proteins just enough. This process tenderizes the chicken from the inside out. If you skip the brine, you risk dry meat no matter how perfectly you fry it. You absolutely must give the chicken at least four hours in that bath—overnight is even better. It really locks in the moisture!
Achieving the Crunchy Chicken Coating
This is all about the texture on the outside! Plain flour is fine, but it won’t give you those incredible craggy bits that hold onto the oil just right. We sneak in cornstarch here for a reason—it acts almost like a drying agent in the crust, helping it stay crispier longer. If you really want to go wild for that extreme crunch, try the double-dip; dip it in the buttermilk, coat it, dip it back in the buttermilk quick, and then coat it one last time. It builds layers!
Ingredients for the Best Homemade Fried Chicken
When it comes to nailing this fried chicken, I want you to have everything ready to go. I always lay everything out before I even touch the chicken! You’ll need about four pounds of bone-in, skin-on chicken pieces—thighs and drumsticks are usually my favorites for flavor. Don’t forget four cups of buttermilk for the brine, and all those seasonings you see that go into both the soak and the dredge. For the dry mix, remember that half cup of cornstarch; that’s crucial for that golden, crunchy texture we’re after!
You also need enough oil—I usually pour in about 4 to 6 cups of vegetable oil or shortening into my big pot to get a good depth for deep frying.
How To Make Fried Chicken: Step-by-Step
Alright, this is where the fun really starts! Learning how to make fried chicken that’s crispy and juicy is all about methodical steps, not luck. My uncle used to say, “A cook who rushes the process ends up with frustration, not flavor.” So, put on some good music, keep that thermometer handy, and let’s walk through this together. I’ve got a full post outlining all my favorite comfort food recipes, including my chicken tikka masala sliders, but for this crispy dream, focus right here!
Step 1: The Buttermilk Soak and Seasoning
Grab your chicken pieces and toss them right into a big bowl or a durable Ziploc bag. Pour that seasoned buttermilk—remember the salt, pepper, and cayenne if you like a little heat! Pour it all over until the chicken is swimming. Seal it up, and this is the hardest part: you have to let it chill for at least four hours. I know, I know, but that acid is working magic to break down the proteins so you get that incredible tenderness later.
Step 2: Preparing the Dredge and Double Dip
While that buttermilk is working, mix up your dredge! That means whisking the flour, paprika, onion powder, garlic powder, and that crucial cornstarch—we need that for the *Crispy Fried Chicken Recipe* texture. Once your chicken is marinated, lift each piece out, let the excess buttermilk drip off (you want it damp, not dripping wet!), and press it hard into that flour mix. If you are feeling ambitious, briefly dip it back into the buttermilk and then coat it again. That second coat makes all the difference for a craggy, unbeatable crust!
Step 3: Setting the Coating and Oil Temperature
This next part is easy to skip, but please don’t! Spread the coated chicken out on a wire rack for about 20 to 30 minutes. This resting time lets the coating hydrate and stick firm. If you drop it in the oil too soon, that beautiful coating slides right off. While it rests, get your oil heating up to a steady 325 degrees Fahrenheit. Don’t let it creep much higher than 330°F, or you’ll end up with burnt flour covering *Golden Brown Chicken* that’s raw inside. Keep checking that temperature!
Step 4: Frying the Chicken in Batches
Time to fry! Gently place the chicken pieces in the oil, but promise me you won’t overcrowd the pot. If you try to cram too much in at once, the temperature will plummet, and you’ll get greasy chicken instead of crispy chicken. Work in small batches. Drumsticks and thighs usually take about 12 to 15 minutes, turning them halfway through until they hit 165°F internally. Use tongs to feel for firmness before pulling them out onto a clean wire rack to drain. That final rest on the rack lets the final bit of oil drip away.
Tips for Foolproof Fried Chicken Success
Listen, I learned the hard way that the secret to amazing fried chicken isn’t just the buttermilk—it’s temperature control! I remember the first time I tried to rush frying for a big neighborhood potluck. I crammed five pieces into the pot at once, and the oil temperature dropped like a stone. What I pulled out looked brown but felt floppy and tasted like sad, greasy disappointment. Never again!
So, my biggest tip, beyond that resting period we talked about, is to manage your heat. If your oil is too low, you get grease bombs. Too high, and those beautiful spices burn before the inside thaws out. Stick to that steady 325°F range. Also, always drain your finished pieces on a wire rack, not paper towels lying flat. If they sit flat in the grease, the bottom gets soggy, and we certainly don’t want that. Want to plan the rest of your meal? Check out my lemon chicken orzo recipe for a bright side!
Ingredient Notes and Substitutions for this Fried Chicken Recipe
I always preach using the main ingredients listed because that’s where the *Southern Fried Chicken* flavor comes from, but look, life happens! If you’re out of buttermilk, don’t panic; you can easily make a substitute. Just take your standard milk—whole milk works best—and add a tablespoon of distilled white vinegar or lemon juice to every cup. Let it sit for five minutes until it looks slightly curdled. That acidity mimics the buttermilk perfectly for brining!
When it comes to the oil, I prefer vegetable or canola because they have high smoke points. If you happen to have shortening, using a blend of oil and shortening really helps achieve that extra rich, old-school texture. Just make sure whatever you use heats up consistently. This ensures you get that unbelievably *Crunchy Chicken Coating*!
Serving Suggestions for Your Savory Chicken Dinner Ideas
Now that you’ve mastered the technique for the Best Homemade Fried Chicken, you have to set the table right! A platter of this crispy beauty deserves true Southern company. I always pair mine with something creamy and something green to cut through the richness, you know?
You absolutely can’t go wrong with creamy homemade sides. If you need something truly decadent, my recipe for baked mac and cheese is legendary around my house. For those cooler evenings, you can pull out the Southern candied yams for that perfect sweet contrast. Honestly, a fluffy biscuit to soak up any remaining spices is mandatory for an Easy Fried Chicken Dinner!
Storage and Reheating Instructions for Crispy Fried Chicken Recipe
Don’t you hate it when leftover fried chicken loses its magic? Seriously, microwaving this masterpiece is a crime! To keep that beautiful texture in our Crispy Fried Chicken Recipe, you need to let it cool completely on the wire rack first. Store the leftovers in a single layer inside an airtight container lined with a paper towel to absorb any residual moisture.
When you’re ready to reheat, skip the microwave entirely. Pop the pieces in a 375°F oven or an air fryer for about 8 to 10 minutes. This blasts the coating with dry heat, bringing back that glorious crunch you worked so hard for. Trust me, it tastes almost as good as fresh!
Frequently Asked Questions About Making Fried Chicken
I always get so many questions when people try this masterpiece for the first time! Making the fried chicken that’s juicy and crispy is straightforward once you know the tricks. Since this recipe focuses on that classic deep-fried Southern style, here are a few quick things folks often ask me about achieving great results and understanding variations.
Can I cook this Southern Fried Chicken in an air fryer?
You absolutely *can*, but I need to be honest with you: you won’t get the exact same result as deep-frying. The air fryer is fantastic for getting things extremely crispy with less oil, but it won’t create that thick, craggy coating that forms when the batter hits 325°F oil. If you must air fry, you’ll want to bake the pieces first until mostly done, then spray them HEAVILY with oil, and finish them in the air fryer to crisp up. For this specific recipe, deep frying delivers the classic texture.
What is the key difference between this and Country Fried Chicken?
This is a fun one, especially if you’re looking for country fried chicken! My recipe here is classic Southern fried chicken—we dredge it in a flour/cornstarch mix and fully submerge it in hot oil. That creates the crispy coating we love. *Country Fried Chicken*, often called Chicken Fried Chicken or Chicken Fried Steak, is usually pan-fried instead of deep-fried, and the defining feature is that it’s drowning in a thick, creamy white gravy right before serving. They are both amazing comfort food, but the cooking method is very different!
If you are looking for lighter takes on poultry dinners, you might enjoy my tips on a great chicken noodle soup, or you can check out some alternative poultry preparations from my favorite bloggers, like this air fryer style healthy fried chicken link. Enjoy your cooking!
Nutrition Facts for this Comfort Food Chicken Recipe
You know, as much as I adore the taste and tradition of this Comfort Food Chicken Recipe, I always try to keep things transparent here at Forkful Heaven. When you’re making something this delicious, sometimes you just don’t want to think about the numbers, but I believe in knowing what’s on the plate!
Please keep in mind that these numbers are just estimates, especially since the exact amount will change based on what cut of chicken you use and how much oil your coating soaks up. But generally, for a single piece of this ultra-crispy delight, here’s what you’re looking at:
- Serving Size: 1 piece
- Calories: 450
- Fat: 28g (with 8g being saturated fat)
- Carbohydrates: 18g
- Protein: 30g
- Sodium: 650mg (That’s the salt in the brine working its magic!)
- Sugar: 3g
It’s definitely a treat, but one that’s packed with flavor and protein! That’s the beauty of a perfectly made, classic fried chicken dinner, isn’t it?
Print
Ultra-Crispy Buttermilk Southern Fried Chicken
- Total Time: 4 hours 75 min
- Yield: 6 servings
- Diet: None
Description
Achieve the golden, crunchy, and juicy texture you dream of with this foolproof Southern Fried Chicken recipe, featuring a classic buttermilk brine for ultimate tenderness.
Ingredients
- 4 lbs bone-in, skin-on chicken pieces (thighs, drumsticks, breasts)
- 4 cups buttermilk
- 2 tablespoons kosher salt
- 1 tablespoon black pepper
- 1 teaspoon cayenne pepper (optional, for a kick)
- 3 cups all-purpose flour
- 1/2 cup cornstarch
- 2 tablespoons paprika
- 1 tablespoon garlic powder
- 1 tablespoon onion powder
- Vegetable oil or shortening, for frying (about 4-6 cups)
Instructions
- Place the chicken pieces in a large bowl or sealable bag. Pour the buttermilk over the chicken, ensuring all pieces are submerged. Add the kosher salt, black pepper, and cayenne pepper (if using). Cover and refrigerate for at least 4 hours, or preferably overnight, for the best results.
- In a shallow dish, whisk together the flour, cornstarch, paprika, garlic powder, and onion powder to create the dredge mixture. The cornstarch helps create that extra crispy, craggy crust.
- Remove the chicken from the buttermilk, letting excess drip off, but do not rinse. Dredge each piece thoroughly in the flour mixture, pressing the coating firmly onto the chicken to adhere. For extra crispiness, you can perform a double dip: dip the floured chicken back into the remaining buttermilk briefly, then back into the flour mixture, pressing again.
- Place the coated chicken pieces on a wire rack set over a baking sheet. Let the chicken rest at room temperature for 20-30 minutes. This resting period helps the coating set, preventing it from falling off during frying.
- Pour enough oil or shortening into a heavy-bottomed pot or Dutch oven to reach a depth of about 2 inches. Heat the oil to 325 degrees Fahrenheit (160 degrees Celsius). Use a thermometer to monitor the temperature closely.
- Carefully place 3-4 pieces of chicken into the hot oil, ensuring you do not overcrowd the pot, which lowers the oil temperature. Fry the chicken in batches.
- Fry drumsticks and thighs for about 12-15 minutes, turning occasionally, until deeply golden brown and cooked through (internal temperature reaches 165 degrees Fahrenheit). Breast pieces may require slightly less time.
- Remove the cooked chicken from the oil and place it on a clean wire rack set over paper towels to drain excess oil. Let the chicken rest briefly before serving hot.
Notes
- For the crispiest coating, make sure your oil temperature stays consistent between 315°F and 330°F throughout the frying process.
- If you are making Chicken Fried Chicken, you will need to prepare a separate creamy gravy to smother the finished product.
- This recipe works well with chicken thighs or drumsticks for the juiciest outcome.
- Prep Time: 30 min
- Cook Time: 45 min
- Category: Dinner
- Method: Deep Frying
- Cuisine: Southern American
Nutrition
- Serving Size: 1 piece
- Calories: 450
- Sugar: 3
- Sodium: 650
- Fat: 28
- Saturated Fat: 8
- Unsaturated Fat: 20
- Trans Fat: 0
- Carbohydrates: 18
- Fiber: 1
- Protein: 30
- Cholesterol: 110

Comments are closed.