
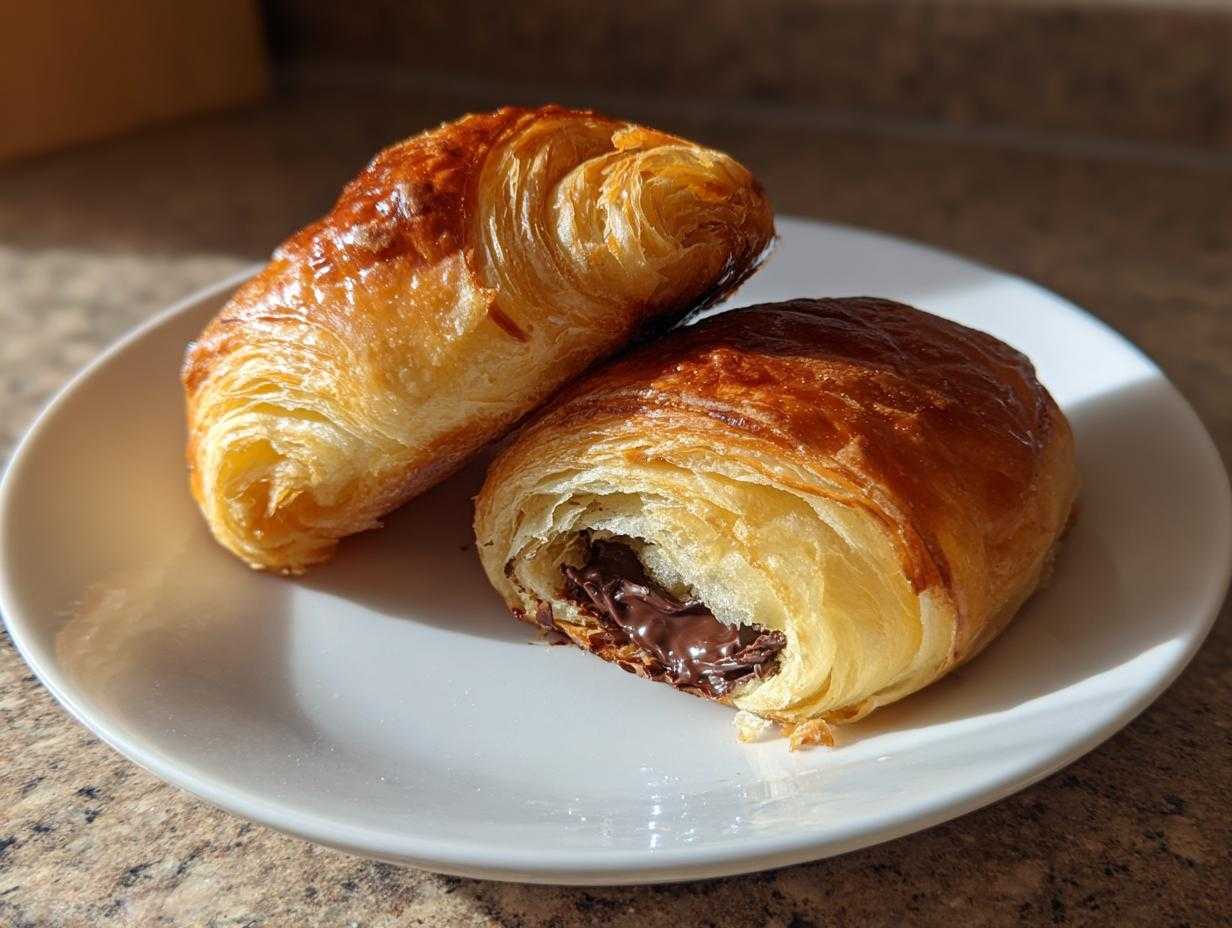
Oh my gosh, stop what you are doing right now! If you think flaky, buttery chocolate croissants belong only to fancy Parisian bakeries, you are so wrong. I spent ages trying to master the lamination process—you know, folding butter into dough over and over—and honestly, it’s just too much work for a random Tuesday morning. Honestly, the results often looked sad!
But listen, my secret weapon changed everything. We are using store-bought puff pastry, and trust me, I’ve figured out every single trick to make it look and taste like you spent three days rolling dough. Seriously, the flakiness is non-negotiable here. This is why I love finding shortcuts in my early morning kitchen experiments; if you want something quick and delicious, check out my quick fluffy French toast recipe for an alternative speedy breakfast, but for pastries, this shortcut is perfection. If you want that gorgeous, shatter-crisp exterior and the gooey chocolate center without the endless labor, you’ve found your holy grail. This is the simplest, most indulgent way to treat yourself!
Why You Will Love This Easy Chocolate Croissant Recipe
I keep making these because honestly, they deliver that expensive bakery feel without any of the heartache. I know you’re busy, so here’s why these puff pastry chocolate croissants should be your next weekend breakfast treat:
- Speedy Satisfication: We’re talking about getting fresh, warm pastries on the table in under 35 minutes total. It’s astonishingly quick!
- Bakery-Grade Flakiness Guaranteed: Because we are using that amazing frozen puff pastry, you get those hundreds of perfect layers without ever having to work butter into dough. Pure magic!
- Gooey Chocolate Centers: We use solid chocolate sticks, not chocolate chips. This means a beautiful melted pool of bittersweet chocolate hugs the inside of every single pastry.
- Perfect for Crowd-Pleasing: These look fancy, so they are ideal for brunch parties or when you have unexpected company. They make the whole kitchen smell like Paris!
- Zero Lamination Stress: Seriously, throw away any cookbook that tells you to fold butter 20 times. That’s the old way! These are my go-to easy brunch pastries now.
- Super Simple Cleanup: I mean, you use one baking sheet and maybe a knife. It’s almost too easy, but I promise it works every time!
Essential Ingredients for Flaky Chocolate Croissants
The beauty of this recipe is how few things you actually need. Honestly, because we’re borrowing the heavy lifting structure from the store, the quality of those few components really shines through. When I shop, I focus on two things: the pastry itself and what’s going inside. If you need a good general baking reference, I sometimes look at how to balance flavors, kind of like when I make my easy honey bran muffins recipe. But for our chocolate croissants, keep it simple and high quality!
Here is exactly what you need. Don’t substitute the chocolate type; it really matters for that perfect melt!
- 1 package (14.1 ounces) frozen puff pastry, thawed – Make sure this is fully thawed, but still *cold* to the touch. Not squishy, not melted!
- 4 ounces bittersweet or semi-sweet chocolate, cut into 1/4-inch thick sticks (about 12 sticks) – See, I told you! Sticks are way better than chips for making sure the chocolate melts evenly inside the roll.
- 1 large egg – This is for our egg wash, which gives us that gorgeous, shiny, golden-brown crust.
- 1 tablespoon water – Just to thin the egg wash a tiny bit so it brushes on smoothly.
- 1 teaspoon granulated sugar (optional, for sprinkling) – A little sprinkle on top adds a nice crunch when you bite in. Totally unnecessary if you like things less sweet, but I love it!
That’s it! You’re pretty much halfway to having homemade French pastries on your counter. Just remember that puff pastry needs to be worked quickly while it’s cold for the best results.
Tips for Perfect Puff Pastry Chocolate Croissants
You can cheat on the dough, but we don’t cheat on technique! Anyone can buy puff pastry, but turning it into something that actually tastes like it came from a high-end French bakery takes a few little secrets. Since we aren’t laminating, our focus needs to be on how we handle the pastry *after* we cut it. If you’re looking for more great shortcuts that save time in the kitchen, you have to check out my guide on my other favorite shortcut croissant recipe ideas.
Chocolate Selection for Your Chocolate Croissant
Okay, listen up—this is crucial for that beautiful ooze! Do not, under any circumstances, use standard chocolate chips. I learned this the hard way years ago, and I ended up with hard little rocks inside my pastry center. Chips have stabilizers designed to help them keep their shape, which means they resist melting beautifully when you want them to.
You absolutely need to use chocolate that comes in a bar or a baking stick. Chop your bittersweet or semi-sweet bar into thick little rectangles—we call them batons in fancy talk, but I just call them ‘chocolate sticks.’ They melt into that perfect, glossy pool when baked. Trust me on this one; the quality of the chocolate is what elevates this simple pastry.

The Importance of Chilling Quick Chocolate Croissants
This is the step most people skip when they are rushing, and it’s what separates a puff from a puddle! Once you have rolled up your beautiful pastry with the chocolate tucked inside, the dough is warm from handling, and the butter inside the layers gets soft. If you try to bake it immediately, that soft butter melts right out in the oven, and all your lovely, delicate layers merge into one flat, greasy sheet.
Chilling for at least 15 minutes—or even 30 if your kitchen is warm—is non-negotiable. The cold hardens the butter layers again. When you bake them cold, the dough heats up, the water turns to steam rapidly, forcing those layers apart before the butter fully melts. That rapid expansion is what gives you the signature amazing puff and that ultra-flaky croissant at home texture we are aiming for. It’s instant lamination gratification!
Step-by-Step Instructions: How to Make Chocolate Croissants
Alright, the moment of truth! We’ve got our cold, rested pastry, and our chocolate sticks are ready to go. This process is fast, but you need to move quickly once you start rolling so everything stays crisp. Remember that chilling we just talked about? Make sure your oven is preheating during that final rest period so it’s roaring hot when it’s time to bake!
First things first: make sure your puff pastry is thawed but still really cold. Gently unfold the sheets onto a lightly floured counter. If you’re working with one large sheet, just gently coax it a tiny bit so it’s easier to cut uniformly. Then, take your knife and slice each sheet into 6 perfect rectangles. You should end up with 12 rectangles total, which means you get 12 beautiful chocolate croissants recipe treats!
Now for the fun part, making the shape! Lay one chocolate stick right near the short edge of a rectangle. Roll the pastry over that chocolate just once, and then roll it again to totally cover the stick. Keep rolling until you reach the far edge of that rectangle, making a snug little log. You need to pinch that seam closed really well at the bottom so the butter doesn’t ooze out while baking. Repeat this so all your pastries are rolled and sealed.
Place those beauties seam-side down on your parchment-lined baking sheet. Don’t crowd them; they need room to puff up! Now, grab that egg and water—your egg wash. Brush all over the tops and sides. If you want that extra fancy shine, sprinkle on a tiny bit of sugar now. Seriously, put them in the fridge for at least 15 minutes right here. This is your final cold set. When they go into that 400°F oven, they’ll bake for about 15 to 20 minutes until they look puffed, golden brown, and ridiculously flaky. Take them out and let them cool just a tiny bit before digging in. It’s hard, but try to wait five minutes!
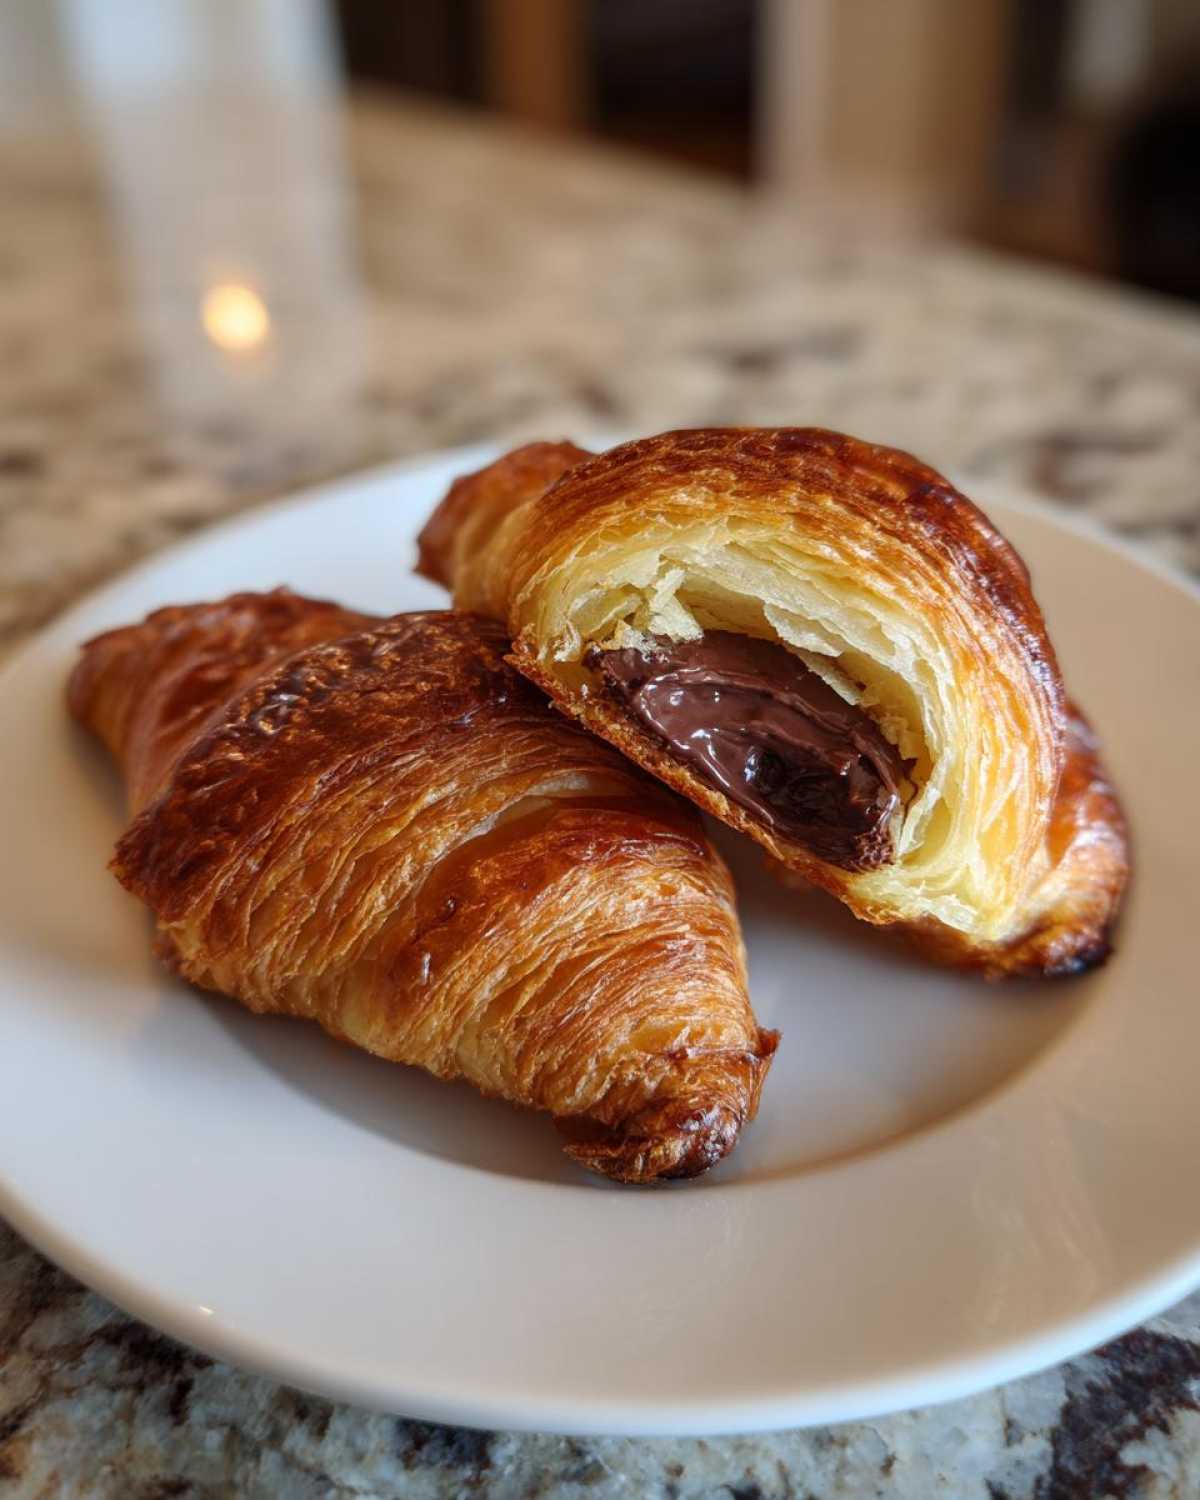
If you want to see a slightly different approach to shaping and layering, take a look at my notes on making easy homemade croissants—although ours are much faster!
Serving Suggestions for Your Buttery Croissants Tutorial
Don’t you dare just eat these straight out of the oven standing over the sink! Okay, I definitely have done that, but these buttery croissants deserve a little presentation love, especially if you took the extra three minutes to chill them properly. They are perfect as-is, warm from the oven, but pairing them right makes them a true centerpiece for any morning feast.
My absolute favorite way to serve them, if I’m feeling slightly less rushed, is just a whisper of powdered sugar dusted right on top after they’ve cooled for about ten minutes. It catches in all those flaky crevices and just looks gorgeous. It’s the simplest way to elevate your chocolate croissant experience without obscuring that beautiful golden color you worked so hard to achieve!
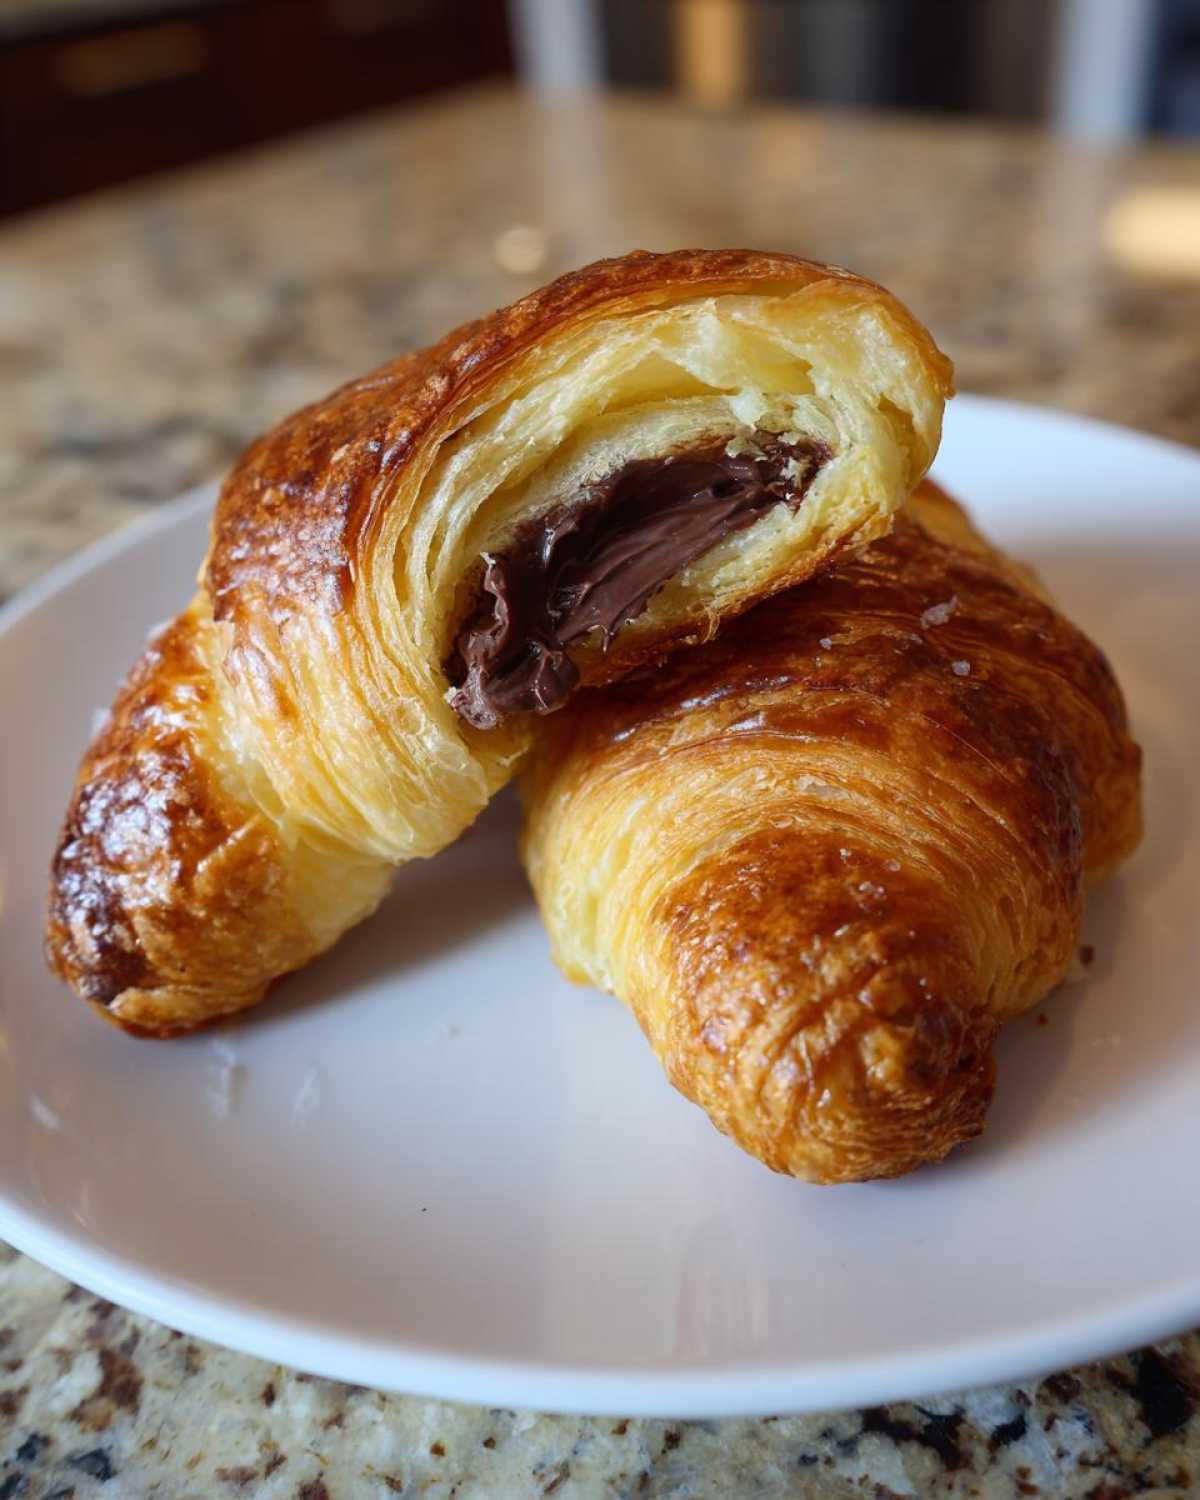
Of course, what’s a pastry without the perfect beverage? A strong, dark cup of coffee—a latte or just a simple black coffee—cuts through the richness of the pastry and that melting chocolate perfectly. If you’re serving these for a larger brunch and need something else on the table, you don’t need heavy foods. A simple bowl of fresh berries or some thinly sliced oranges works wonders to balance everything out. They contrast so nicely with the warm, rich pastry. If you love that quick sweet breakfast feel, you might also enjoy my recipe for quick fluffy French toast recipe, but these croissants feel way more luxurious!
The key is warmth. Don’t let them go totally cold before you serve them. Even if you baked them an hour ago, pop them back in a 300°F oven for about four minutes to reheat them slightly; that’ll bring the butter back to life and make the chocolate just soft enough again.
Storing and Reheating Your Flaky Croissants at Home
Look, sometimes you bake a dozen, and sometimes you only eat three immediately (I’m not judging!). The good news is that because we used high-quality puff pastry and made sure they were baked properly, these flaky croissants at home keep reasonably well. But you have to treat them right, or you’ll lose that glorious snap!
The single most important rule for storage is air exposure. If they sit out uncovered, they go stale fast, and that wonderful exterior gets tough instead of shattering delicately. You absolutely must store uneaten chocolate croissants in an airtight container. If you have a good quality snap-top container, use that. If you only have a zipper bag, make sure you squeeze every bit of air out before sealing it up. I usually try to eat them all within two days, max.
If you’re worried about them getting squished, you can carefully place a paper towel between the layers before sealing the container. This helps absorb any ambient moisture that might try to sneak in and soften up those buttery layers. Store them at room temperature; never put good puff pastry in the fridge unless you absolutely have to—it ruins the texture instantly!
Now, how do we bring them back to life? Reheating is key to recapturing that just-baked magic. Please, please, please, bypass the microwave if you can! Microwaves are the sworn enemy of crisp pastry. They heat the moisture inside the dough, essentially steaming your perfectly crunchy croissant into a chewy, tough mess. Nobody wants a chewy pain au chocolat!
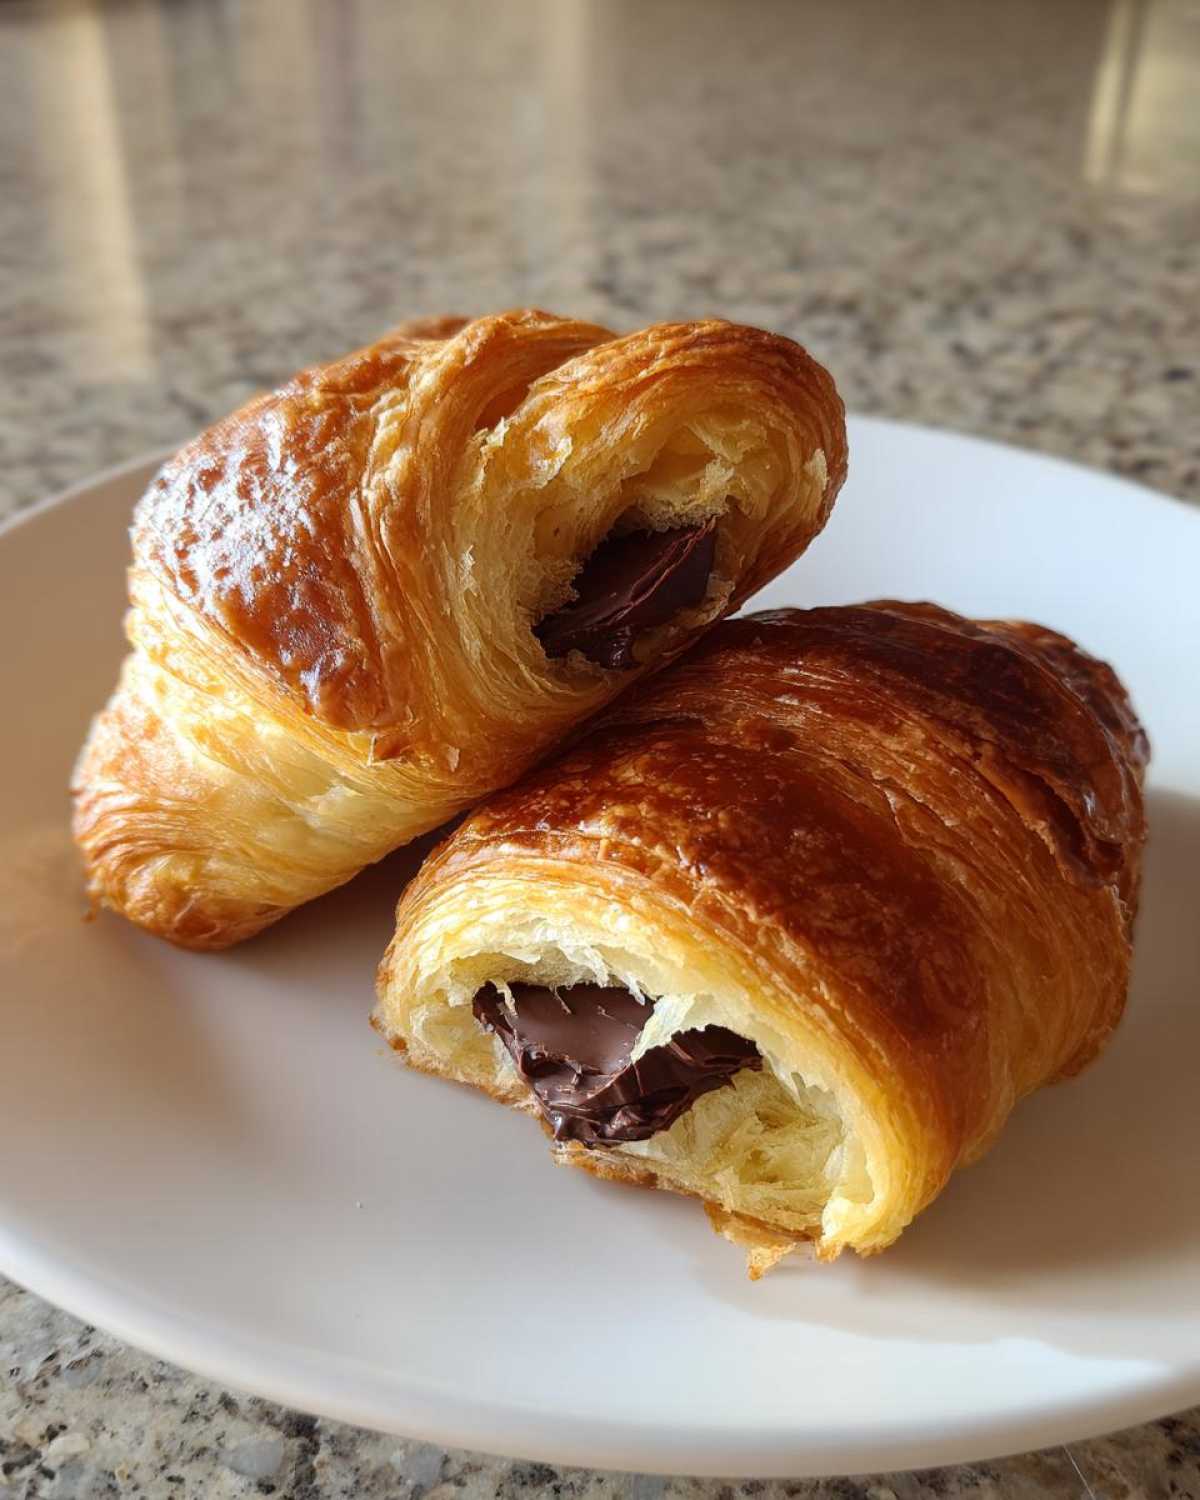
The real comeback happens in the oven. Set your oven to a low temperature, around 325°F (160°C). Place the croissants directly on the rack—no need for a sheet unless they’re really crumbly—and warm them for just 5 to 7 minutes. This gentle heat warms the interior chocolate just enough to get it gooey again and crisps up the exterior layers beautifully. If you’re in a huge rush and only need one, a very quick zap in the microwave (maybe 10 seconds, tops) might work, but you have to eat it immediately before the texture sets hard again!
Variations: Beyond the Classic Pain Au Chocolat Recipe
I always tell people that once you nail the technique for the basic chocolate croissant using the shortcut method, the whole world of quick pastries opens up to you! Since we’re already using store-bought puff pastry, it’s practically begging us to experiment a little bit. We don’t want to complicate things—that’s the whole point of this recipe—but simple additions can change the flavor profile completely. If you’ve ever made homemade bread, you know how fun it is to experiment with additions, just like in my easy crusty Italian bread recipe, but we are keeping these variations to under five minutes of extra work!
Don’t feel beholden to just dark chocolate! Think about what flavors you already love; they probably work great tucked inside warm pastry.
A Touch of Savory: Ham and Cheese
Yes, you absolutely can turn this into a delicious savory treat that would make any brunch table jealous. For these, skip the egg wash on top—or just use milk instead—and use Gruyère cheese instead of chocolate. You’ll want to place a small sliver of good quality ham and a small pinch of shredded Gruyère right on the corner before you roll. When these bake, the cheese gets all bubbly and slightly browned on the edges, and the ham gets crispy. They are phenomenal dipped in a tiny bit of Dijon mustard, though I usually just eat them plain!
Sweet & Salty Elevation
This is my personal favorite upgrade for the classic pain au chocolat. Before you apply your egg wash to the rolled pastries, take a tiny pinch of flaky sea salt—the kind that looks like little crystals—and sprinkle it *only* over the top of the exposed chocolate peeking out of the ends, or lightly dust the entire surface. The salt doesn’t just add texture; it actually deepens the flavor of the bittersweet chocolate inside, making it taste richer and less sweet overall. It makes them feel professionally finished, and it takes literally two seconds extra!
Switching Up the Sweet Stuff
If bittersweet isn’t your jam, swap it out! You can use white chocolate sticks for a sweeter, creamier filling, which pairs beautifully with the slightly salty egg wash crust. Or, if you want a lighter flavor, try using a good quality hazelnut spread—you know the one! Instead of a solid stick, just smear a thin layer onto the rectangle before you roll it up. Keep in mind hazelnut spread melts thinner than chocolate, so be extra careful when pinching those seams shut! You do not want that gooey mess leaking out all over your baking sheet.
Frequently Asked Questions About Making Chocolate Croissants
Whenever I share these quick chocolate croissants with friends, they inevitably have a list of panicked questions about the puff pastry or the baking. That’s totally okay! Store-bought pastry can feel intimidating, but once you know the right moves, it’s a breeze. Here are the ones I get asked most often:
Can I use canned crescent roll dough instead of puff pastry?
Oh, I know that temptation! Crescent roll dough is usually triangular, and it’s very different from puff pastry—it uses a different kind of leavening, usually chemical, and has less fat folded in. If you use it, you will end up with something closer to a soft, crescent-shaped roll filled with chocolate, not the light, shatteringly flaky croissants at home that we are trying to achieve here. It just won’t puff up the same way. For the best results, whether you’re making easy homemade croissants or this shortcut version, stick to the frozen puff pastry sheets!
Can I freeze the shaped croissants before baking them?
Absolutely, you can! This is actually one of my favorite tricks for making easy brunch pastries on a lazy Sunday. If you shape them up, brush them with the egg wash, and *then* freeze them solid (at least 4 hours), you can store them in a freezer bag for up to a month! When you want to bake them, pull them out and let them thaw on the counter for about an hour, then chill them in the fridge for those crucial 15 minutes before baking. It means you can have fresh chocolate croissants whenever the mood strikes!
What do I do if my croissant pastry doesn’t puff up much in the oven?
When that happens, it usually means one of two things, both related to temperature! First, the pastry might have been too warm to begin with, causing the butter layers to melt prematurely before they could steam. Second, and this is common, your oven wasn’t hot enough when you put them in. Remember, we need a roaring 400°F! Heat shock is what forces the pastry layers apart. If they looked sad and flat, try giving your oven an extra 10 minutes to preheat next time, and ensure you got that 15-minute chill in the fridge right before baking. These tips are key for any buttery croissants tutorial!
This is a great shortcut, but is there a way to make a full Chocolate Croissant Breakfast Bake?
That’s a fun idea! While this specific recipe is designed for individual pastries, yes, you can definitely make a casserole version if you’re entertaining a crowd. Instead of rolling them, you would cut the pastry sheets into squares, cube them up, and toss them gently in a bowl with some extra melted chocolate chunks and maybe a little splash of milk or cream. Layer that mixture into a greased 9×13 pan, add a custard on top (egg/milk/vanilla), and bake until set. It turns into a delightful, pull-apart French toast casserole hybrid—a totally different vibe from the classic individual pain au chocolat recipe, but delicious for a crowd! You can find more inspiration for these types of treats here.
I hope that clears up any worries! Honestly, nailing this chocolate croissant recipe makes you feel like you deserve a little medal because you totally pulled off bakery quality with minimum fuss!
Nutritional Estimates for This Indulgent Morning Pastry
You know I always feel a little naughty when I talk about nutrition, but since we are aiming for that perfect, indulgent morning treat, it’s good to know what we’re working with! Because these chocolate croissants rely heavily on butter content from the puff pastry and the rich chocolate filling, they definitely fall into the ‘treat’ category, not the ‘everyday light snack’ category. And that is absolutely fine by me!
These figures are just an honest estimate based on the standard ingredients listed—especially using commercial puff pastry and semi-sweet chocolate. If you use a pure bittersweet bar, or maybe you sneak an extra chocolate stick in there—oops!—the count will shift a little. But for a single serving of this amazing, flaky masterpiece, here’s what we’re looking at:
- Serving Size: 1 croissant
- Calories: 250
- Fat: 15g (A good chunk is the butter doing its amazing work!)
- Saturated Fat: 8g
- Trans Fat: 0g (Definitely a win!)
- Cholesterol: 45mg
- Carbohydrates: 25g
- Sugar: 8g (Mostly from the chocolate, naturally!)
- Protein: 4g
- Fiber: 1g
- Sodium: 150mg
I always say, knowing the facts means you can enjoy every single bite guilt-free. When something tastes this authentically French and satisfying, it’s worth every single calorie. Just make sure you pair it with a strong coffee to balance out the sweetness, and you’ve created the perfect weekend breakfast moment.
Print
Easy Chocolate Croissants Using Store-Bought Puff Pastry
- Total Time: 35 min
- Yield: 12 servings
- Diet: Vegetarian
Description
Make flaky, buttery chocolate croissants quickly at home using pre-made puff pastry for a simple breakfast or brunch treat.
Ingredients
- 1 package (14.1 ounces) frozen puff pastry, thawed
- 4 ounces bittersweet or semi-sweet chocolate, cut into 1/4-inch thick sticks (about 12 sticks)
- 1 large egg
- 1 tablespoon water
- 1 teaspoon granulated sugar (optional, for sprinkling)
Instructions
- Thaw the puff pastry according to package directions. Unfold the pastry sheets onto a lightly floured surface.
- If using a single sheet, gently roll it out slightly to make it easier to cut. Cut each sheet into 6 equal rectangles. You should have 12 rectangles total.
- Place one piece of chocolate near the short edge of a rectangle. Roll the pastry over the chocolate once, then roll again to fully enclose the chocolate. Continue rolling until you reach the end of the rectangle, forming a small log. Pinch the seam closed.
- Place the rolled croissants seam-side down on a baking sheet lined with parchment paper. Repeat with the remaining pastry and chocolate.
- In a small bowl, whisk the egg with the water to create an egg wash. Brush the tops and sides of each croissant lightly with the egg wash. Sprinkle with granulated sugar if desired.
- Chill the shaped croissants in the refrigerator for at least 15 minutes. This helps them hold their shape while baking.
- Preheat your oven to 400 degrees Fahrenheit (200 degrees Celsius).
- Bake for 15 to 20 minutes, or until the croissants are puffed and golden brown.
- Remove from the oven and let cool slightly on the baking sheet before serving warm.
Notes
- Use high-quality chocolate sticks or baking bars for the best flavor inside the pastry.
- If you prefer a softer texture, you can let the shaped croissants rest at room temperature for 30 minutes before baking instead of chilling them.
- For a richer color, apply a second thin coat of egg wash halfway through the baking time.
- Prep Time: 15 min
- Cook Time: 20 min
- Category: Breakfast
- Method: Baking
- Cuisine: French
Nutrition
- Serving Size: 1 croissant
- Calories: 250
- Sugar: 8
- Sodium: 150
- Fat: 15
- Saturated Fat: 8
- Unsaturated Fat: 7
- Trans Fat: 0
- Carbohydrates: 25
- Fiber: 1
- Protein: 4
- Cholesterol: 45



Comments are closed.