
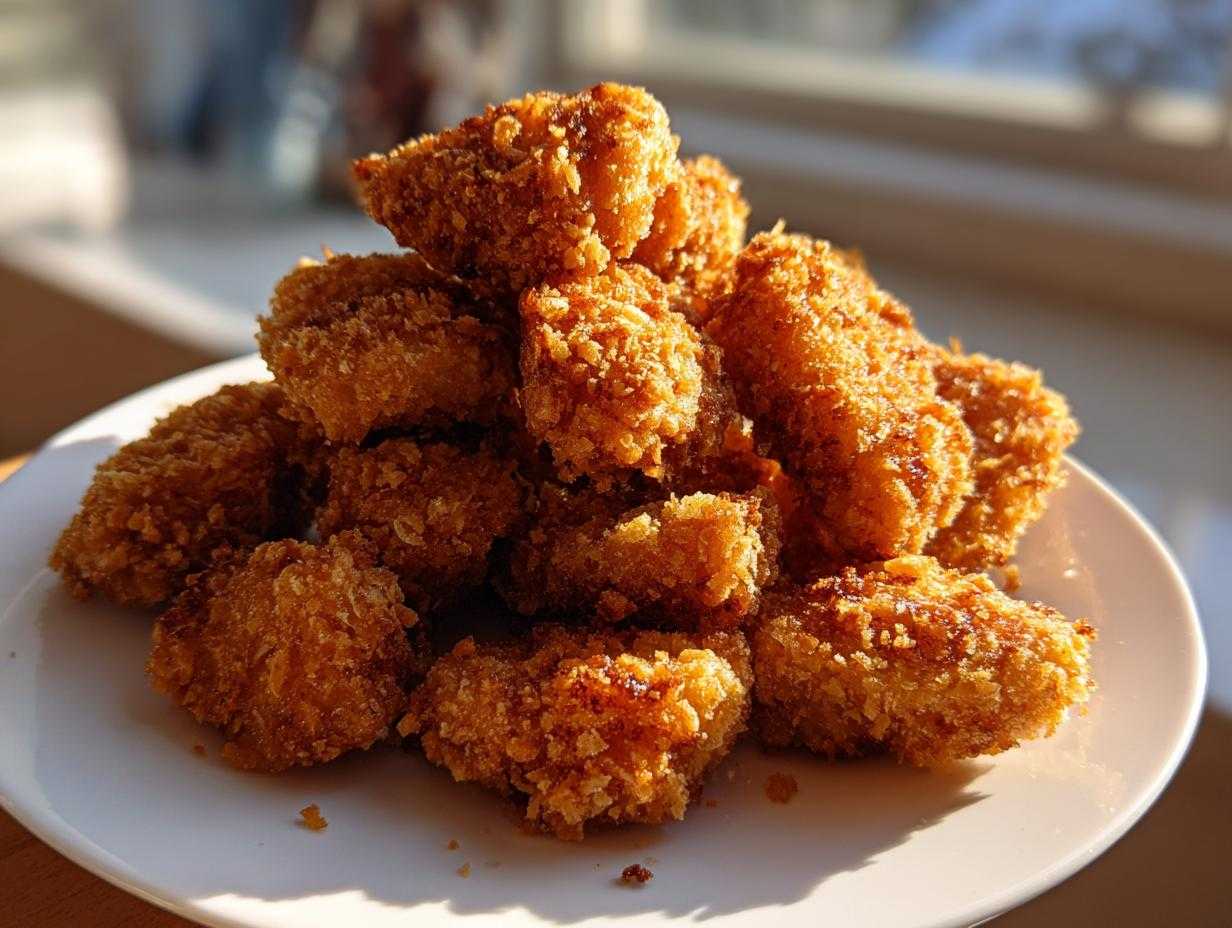
Okay, let’s talk about the absolute tragedy that is a soggy, sad homemade chicken nugget. I wasted so many afternoons over the years trying to get that perfect crunch without deep frying everything. It felt impossible! But friends, after years of disappointing soggy attempts, I finally cracked the code for the best homemade chicken nuggets. Seriously, you won’t believe the texture we get just using the oven or the air fryer. This recipe guarantees you get that satisfying crunch paired with a wonderfully juicy interior. It’s quick, it’s easy, and it’s totally kid-approved—which is the real win, right?
Why This Homemade Chicken Nuggets Recipe Delivers Superior Crunch
The crunch—that’s what we’re after, always! The secret to getting amazing extra crispy baked chicken wings also applies here: it’s all about the breading station setup. We never use regular fine breadcrumbs; we insist on Panko. Those irregular, airy flakes crisp up beautifully in the oven or air fryer and hold their texture way better than standard crumbs, giving you that satisfying shatter when you bite in.
We also make sure to press that Panko onto the chicken firmly using a three-step dredging process. Don’t just lightly dust them; really press that coating on there so it locks everything into place before it even hits the heat.
Achieving Juicy Interior Homemade Chicken Nuggets
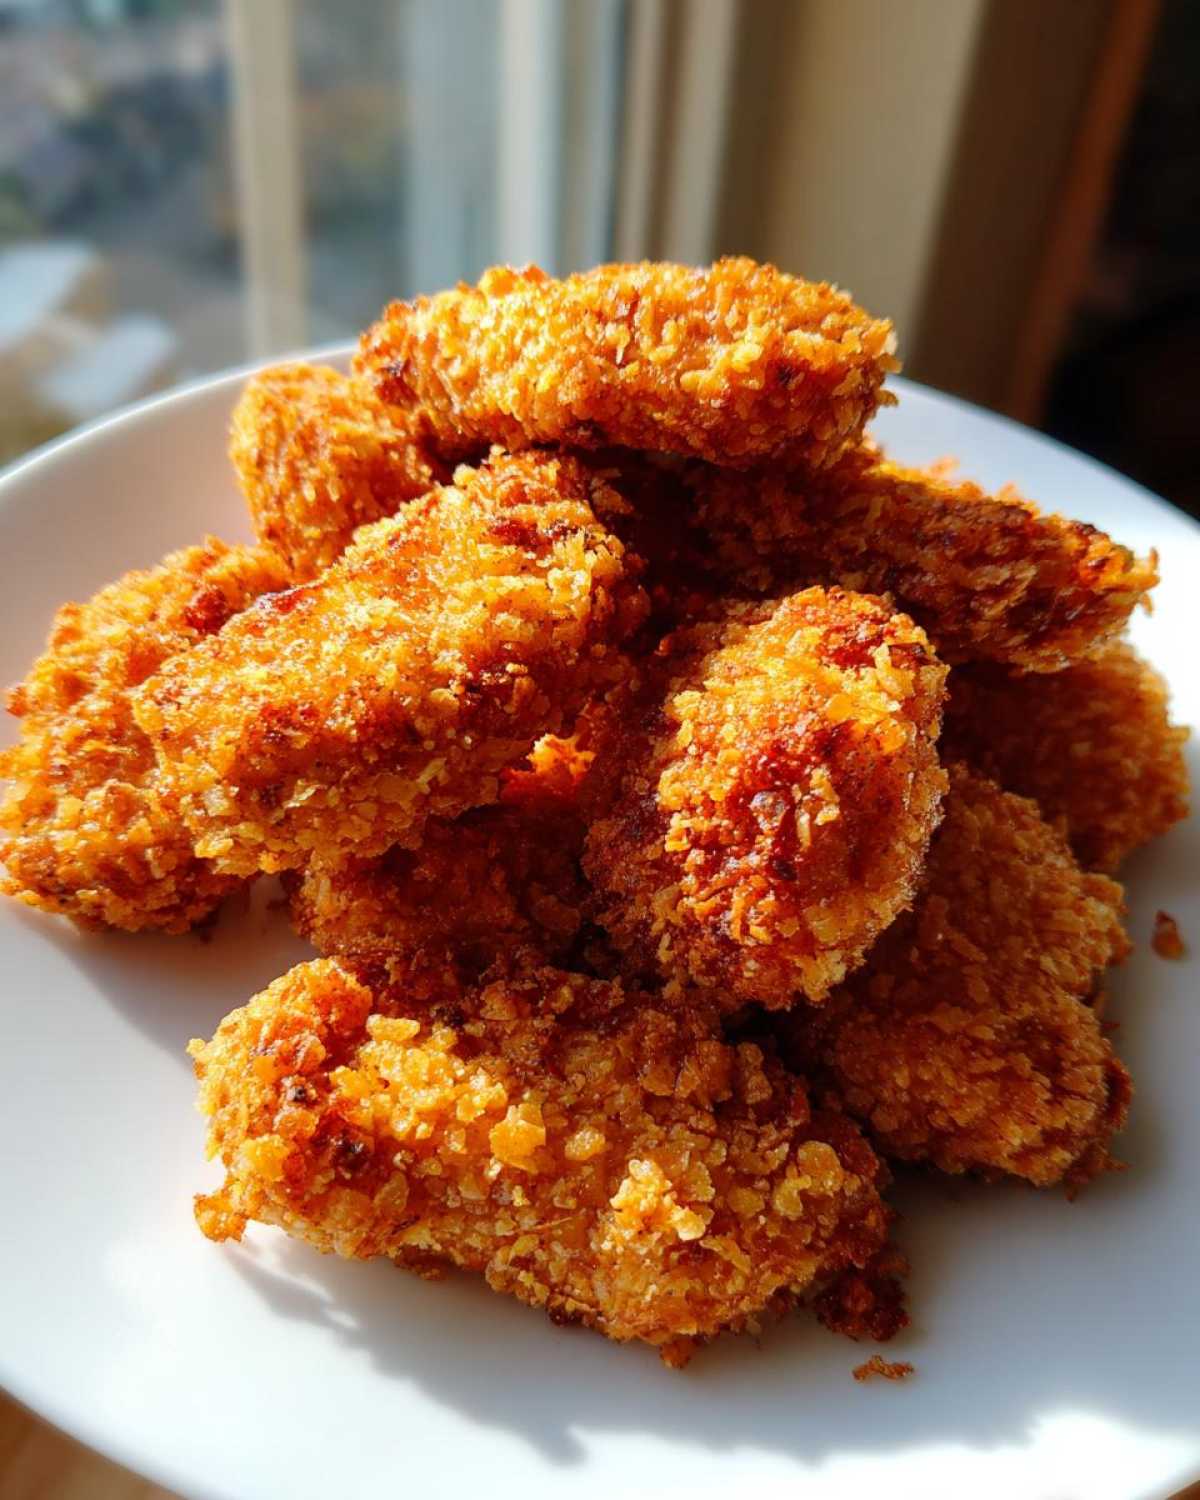
Now for the inside, because crispy coating meets dry chicken is just a disaster! If you’re using solid chicken breast, cutting the pieces to about an inch thick helps them cook quickly without drying out the middle. Thickness really matters here. Ground chicken is also fantastic because it stays wonderfully uniform and moist throughout.
No matter what chicken you use, just remember you must hit that magic 165°F internal temperature using a meat thermometer. Pull them out right at that point, and I promise you sweet, juicy chicken bites.
Essential Ingredients for Perfect Homemade Chicken Nuggets
Okay, listen up. You can’t fake these homemade chicken nuggets; the ingredients have to be spot on, especially if you want that crispy exterior everyone raves about. I’m not messing around when I say you need specific things. Don’t just reach for any crumb in your pantry!
For the meat, you have two wonderful paths depending on what you’re feeling. You can use about 1.5 pounds of boneless, skinless chicken breast, cut into those perfect 1-inch nugget shapes that kids love. BUT, if you want that softer, almost fast-food texture, go for ground chicken instead. Either way, make sure your portions are uniform so they cook evenly. No one wants one nugget raw and the next one dried out!
Then we tackle the breading station. This is non-negotiable: 1 cup of plain all-purpose flour for the first dip. Then we move to 2 large eggs, beaten—these are our glue! And the star of the show: 1.5 cups of Panko breadcrumbs. I can’t stress this enough: Panko only! They are lighter and crunchier than standard crumbs.
Finally, the seasoning mixture in the Panko needs to pack a punch so your easy chicken nuggets aren’t bland. Make sure you mix in 1 teaspoon of salt, half a teaspoon of black pepper, half a teaspoon of garlic powder, and yes, half a teaspoon of onion powder. A little drizzle of cooking spray or olive oil is also essential right before baking or air frying; this helps activate that golden crust.
Step-by-Step Instructions for Crispy Homemade Chicken Nuggets
Alright, now for the actual fun part! Getting these homemade chicken nuggets ready is super quick, taking maybe 15 minutes of active work. Honestly, setting up your breading station correctly is what makes the difference between a crisp nugget and a floppy mess. I always have my three dishes lined up next to my cutting board. It’s like an assembly line for amazing dinners! Before you know it, these will be ready to serve alongside some easy chicken fried rice if you’re making a big spread.
Preparing the Chicken and Setting Up the Breading Station
First things first, cut your chicken breast into those cute, bite-sized nugget shapes. We’re shooting for about an inch thick—that’s the sweet spot for keeping the inside juicy while the Panko gets perfectly golden. If you’re using ground chicken, just take spoonfuls and gently form them into small, uniform patties or nugget shapes. Don’t overwork the meat, or it gets tough!
Now arrange your three shallow dishes. Dish one needs your plain flour—this is where the chicken gets its first anchor. Dish two holds the beaten eggs—our sticky glue. And dish three is reserved for the Panko mix. Once everything is set, make sure you vigorously shake off any excess flour after you dredge. Too much flour turns pasty when mixed with the egg, and we don’t want that!
Coating Technique for the Best Crispy Coating Chicken
This order is vital for achieving that crispy coating chicken texture we crave. Dip your floured nugget first into the egg bath; let any big drips fall off. Then, and this is the crucial part, transfer it immediately to the seasoned Panko. You need to press that coating on! Really pat it down until the Panko adheres tightly all the way around. This little bit of pressure is what keeps the coating bonded through the baking process. If you skip pressing, those delicious crumbs might fly off in the oven.
Baking Instructions for Golden Homemade Chicken Nuggets
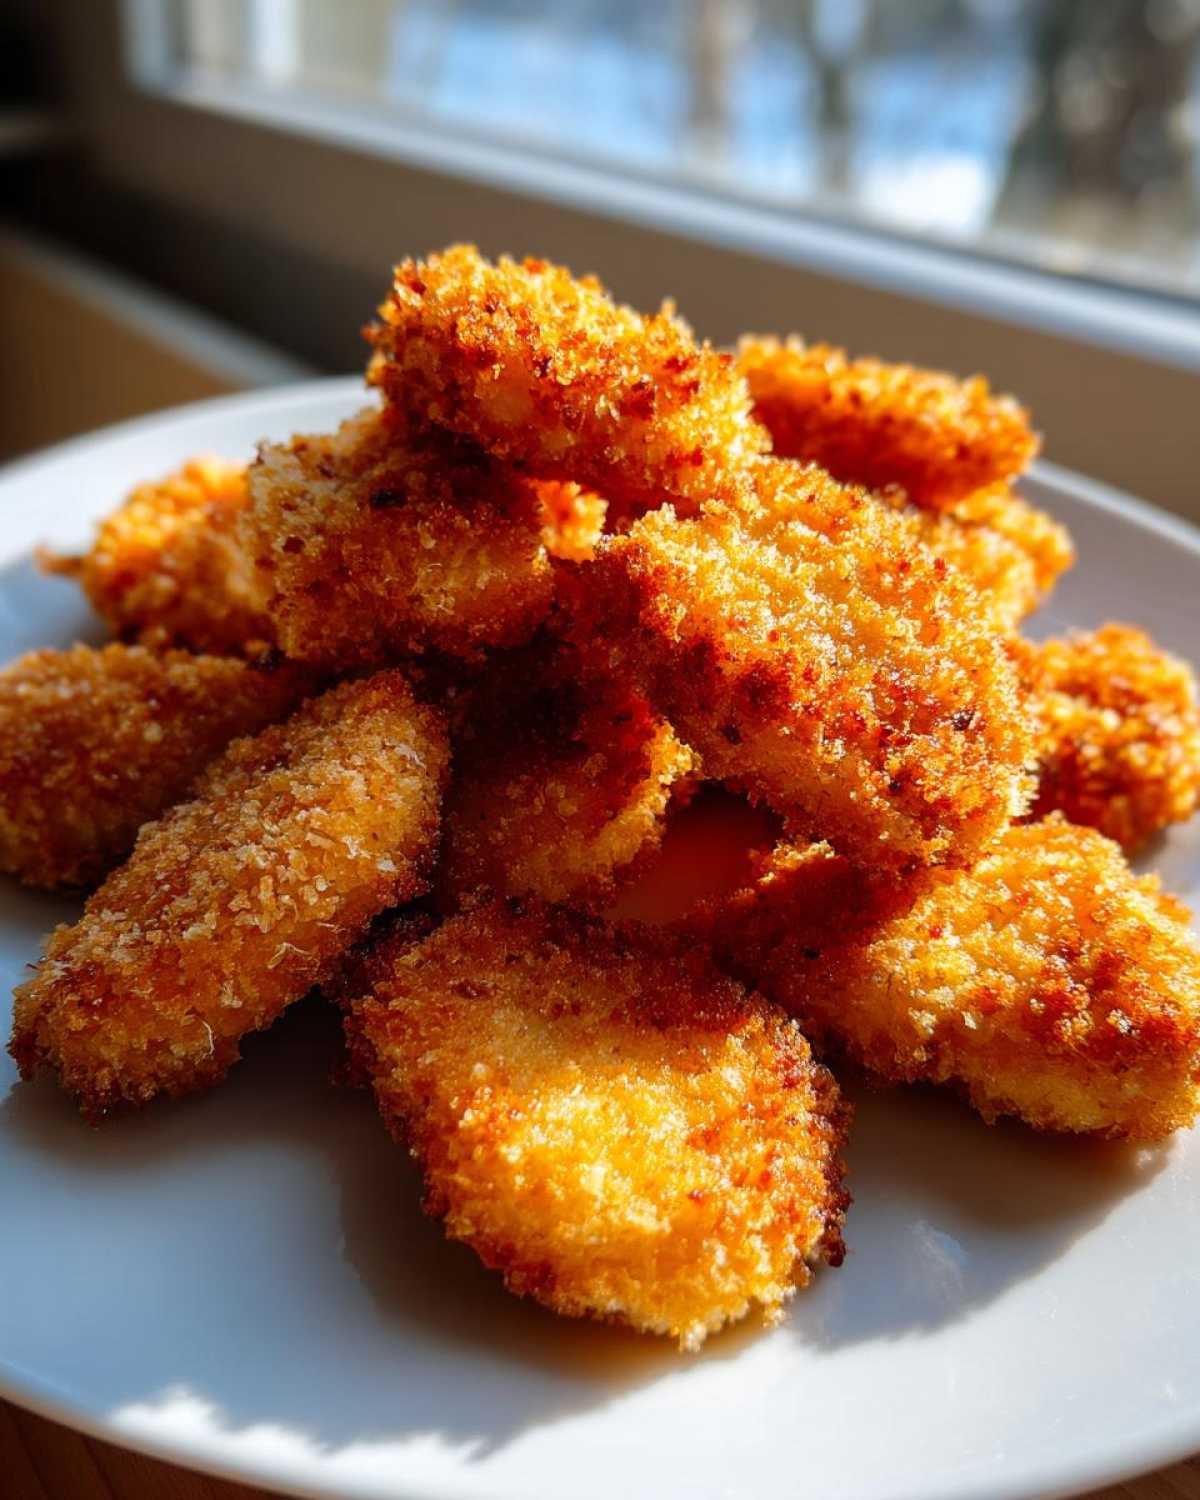
Before we bake, make sure your oven is seriously hot—we want 400°F (200°C) ready to go. Line your favorite baking sheet with parchment paper—trust me, cleanup is so much easier. Then, you have to lightly coat the breaded nuggets with a spray of cooking spray or drizzle them with just a tiny bit of olive oil. That fat activates the crisping process when baking!
Bake them for 15 to 20 minutes total, but set a timer to flip them halfway through. We need even coloring! If you pull them out, and they look *almost* there but not quite golden enough, I sometimes carefully put them under the broiler for just one or two minutes. Watch them like a hawk during that broiler step—Panko burns fast, but wow, does it get crunchy!
Cooking Method Variations: Air Fryer Chicken Nuggets and Baked Chicken Nuggets
I know half of you are rushing out the door and just need dinner on the table in 25 minutes, and the other half wants these to be as guilt-free as possible. Good news! This recipe works like a dream whether you’re baking or air frying, making these truly adaptable healthy chicken nuggets.
If you’re using the oven (the traditional baked route), remember we preheated to 400°F (200°C) and sprayed them lightly. That heat is essential for locking in the juices and setting the crust before the inside has a chance to steam. If you bake them without that initial spray of oil, they tend to just dry out instead of crisping up. Don’t skip the oil shot!
But if your air fryer is your best friend like mine is, you are going to save even more time! For perfect air fryer chicken nuggets—crispy, golden, and fast—don’t crowd the basket! Place them in a single layer; this ensures the hot air circulates completely around every piece. Cook them at 380°F (195°C) for about 10 to 12 minutes total. Make sure you shake that basket halfway through so you get even browning on both sides. Shaking is just the air-fry equivalent of flipping our baked ones!
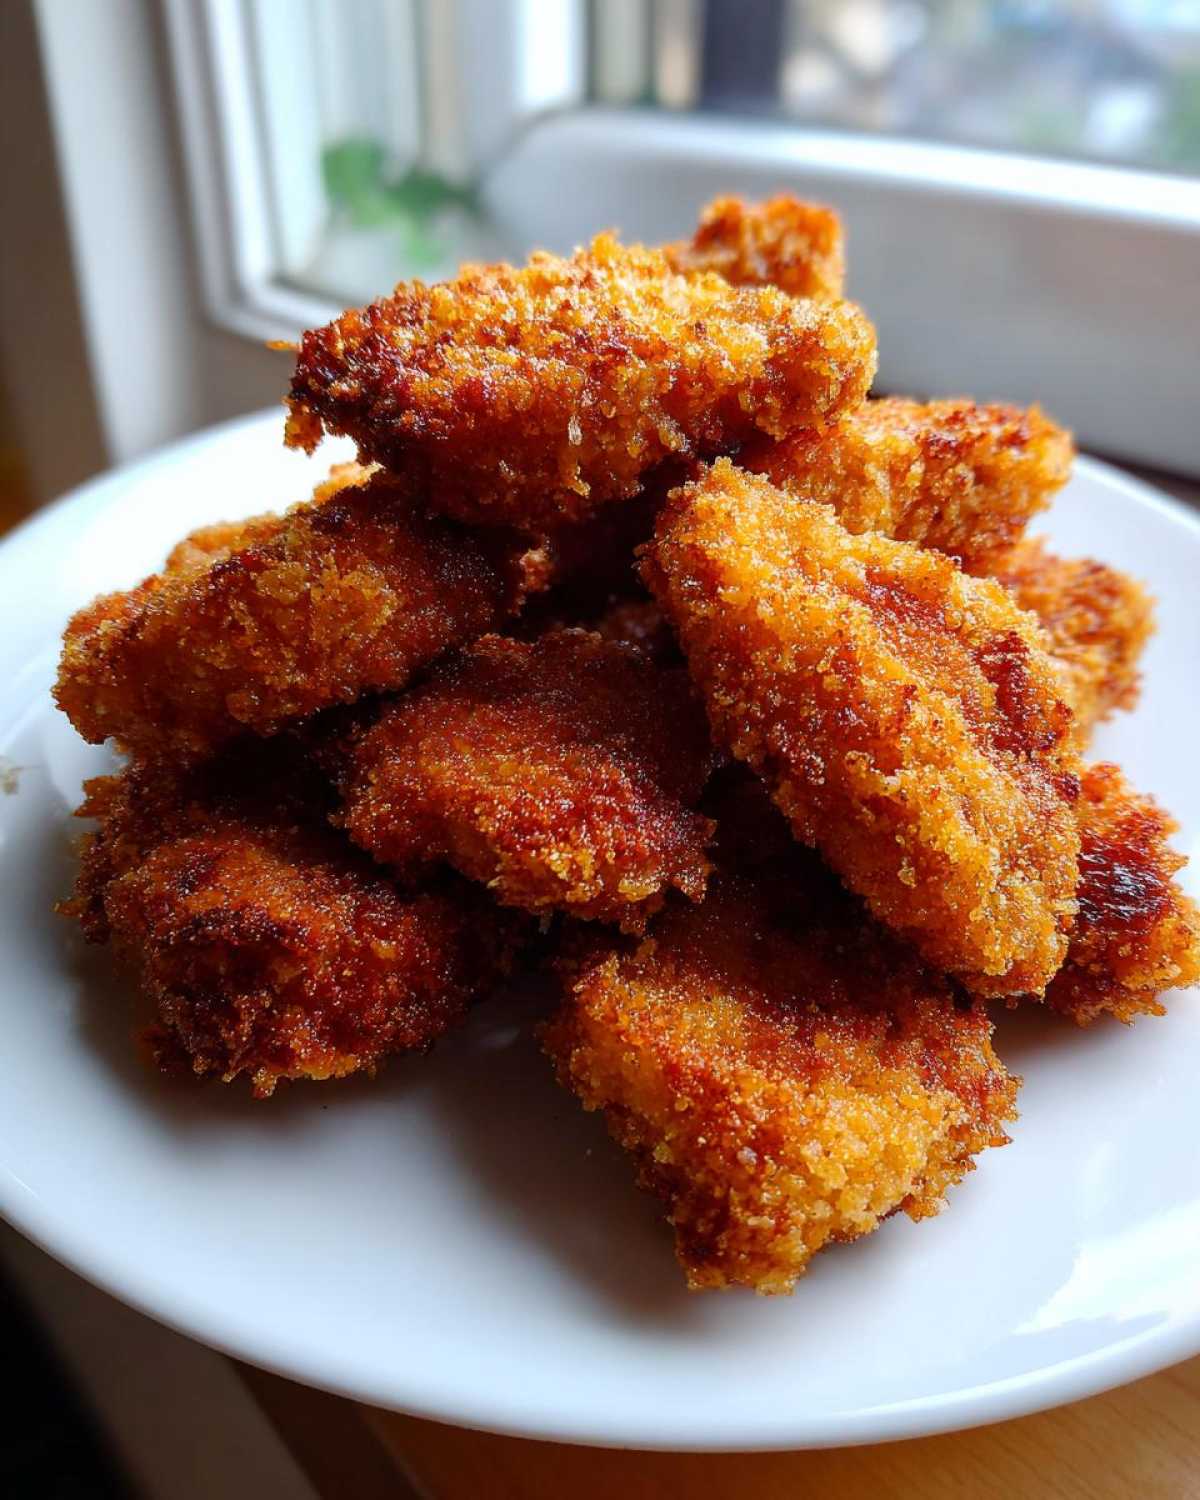
Honestly, either method results in fantastic no fry chicken nuggets that everyone devours. The key, whether you bake or air fry, is that sturdy Panko coating we built earlier. It stands up beautifully to the intense dry heat, guaranteeing you get a crispy nugget almost identical to the deep-fried version, just way better for you!
Tips for Making Copycat Chicken Nuggets and Ground Chicken Nuggets
I know so many of you are chasing that specific nostalgia—that perfect, slightly uniform texture you get from the iconic drive-thru spots. Well, this recipe is your ticket to the realm of copycat chicken nuggets! Whether you want a hint of that famous pickle brine flavor profile or just that specific fast-food shape, we can get close using these everyday ingredients.
If you are aiming for something genuinely close to the McDonalds chicken nugget recipe vibe, using ground chicken is the way to go. As I mentioned before, the ground meat lets you create truly uniform shapes, and it just has that softer interior bite that people associate with those classic bites. Just remember not to overmix the ground chicken when forming them; you want them held together, but not packed down like a meatball. Softness = Juiciness!
For the spice blend, to really push that feeling of those chains, some people swear by adding a tiny, tiny pinch of MSG to the Panko mixture. I know, I know, it sounds intense, but it seriously elevates the savory flavor profile if that’s what you’re looking for in your from scratch chicken nuggets. If MSG isn’t your thing, doubling up on the onion powder and adding a whisper of celery salt in the breading mix works wonders too. You can even check out some of my other copycat efforts here for flavor inspiration!
The main thing to remember when chasing that copycat flavor is that they often use pre-formed chunks, which is exactly why we suggest using ground chicken for the easiest results. But even with fresh chicken breast cut into nugget shapes, if you follow that breading formula—flour, egg, Panko—you end up with a truly superior, crispy product that tastes a million times fresher than anything frozen you’d buy at the store.
Serving Suggestions for Your Family Favorite Chicken Recipe
Okay, golden nuggets fresh out of the oven are amazing, but let’s be real—they are nothing without the perfect dipping partners! This is where these homemade chicken nuggets really become a full-fledged, kid-approved feast. Since these are so quick to make, you have time to whip up some fantastic sauces on the side. Forget those sad little packets of ketchup; we’re doing better!
For my little ones, the non-negotiables are always classic ketchup, obviously, and a killer honey mustard. I just mix equal parts Dijon mustard, honey, and a tiny splash of apple cider vinegar. It’s tangy, sweet, and it clings perfectly to the crispy coating. If you want to get really fancy and impress your partner, I have an amazing copycat sauce recipe right here that works unbelievably well with chicken!
When it comes to side dishes for this family favorite chicken recipe, keep it simple because the nuggets are the star. Nobody wants fussy sides when they’re craving crunchy chicken. We usually stick to easy baked sweet potato fries—they bake right alongside the nuggets if you give them a 10-minute head start! Or, if I’m trying to sneak in some greens, a super simple side of quick steamed broccoli tossed with just a little butter and salt is usually a winner.
The key is balancing that savory, salty flavor of the nugget with something slightly sweet (like sweet potato fries) or tangy (like a good dipping sauce). Honestly, once you have that perfect coating, even plain carrot sticks taste phenomenal dipped in a great sauce. These easy chicken nuggets literally go with everything!
Make Ahead Chicken Nuggets and Storage Instructions
This is the secret weapon that turns these homemade chicken nuggets from a fun weekend project into a genuine quick weeknight dinner staple. I absolutely love breading a huge batch on Sunday when I have the time, so I can just grab and cook them later when I’m tired!
The absolute best way to prep ahead is to freeze them *before* they hit the oven or the air fryer. Once you’ve gone through the whole breading process—flour, egg, Panko perfection—lay the uncooked nuggets in a single layer on a baking sheet. Make sure they aren’t touching! Pop that tray into the freezer until they are solidly frozen, which usually takes about an hour or two. Once they’re hard as little rocks, transfer them all into a good quality, heavy-duty freezer bag. This stops them from sticking together into one giant chicken clump. These frozen nuggets will keep beautifully for about two months!
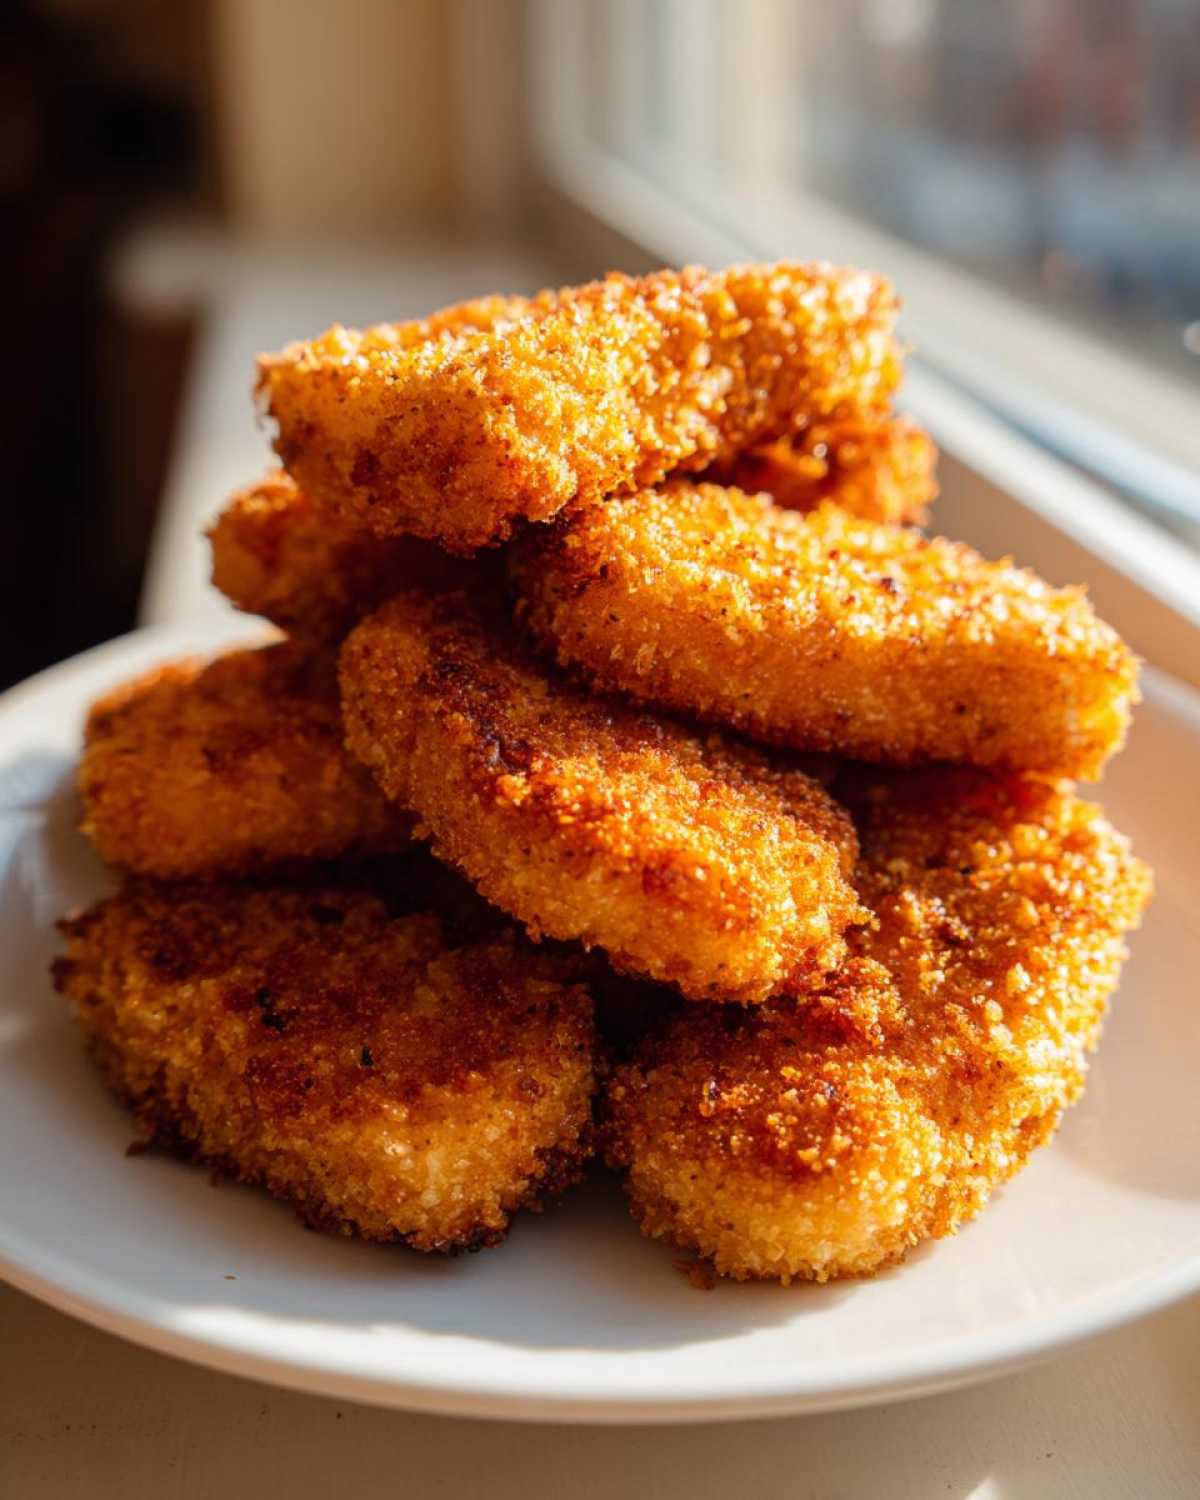
Now, what about reheating? Because nobody wants a soggy microwaved nugget, obviously. If you’re going straight from the freezer to the oven, just add about 5 to 8 minutes to the standard baking time, and keep that oven hot at 400°F (200°C). I still recommend giving them a quick spray of oil before they go back in to ensure that crust stays truly golden and crispy. Don’t even bother with the microwave for these!
If you have an air fryer, that’s your crisping champion for leftovers! Pop the frozen nuggets in the basket (again, single layer!) and set the temp to about 380°F (195°C). They usually take about 12 to 14 minutes total. Shaking halfway through wakes up the Panko again, and you’re left with something that tastes almost freshly made. You can see how this batch cooking makes things so much simpler for weeknights; it’s almost as fast as pulling a bag out of the actual freezer! If you need faster individual things sometimes, check out my recipe for easy egg bites for another great make-ahead strategy!
Frequently Asked Questions About Homemade Chicken Nuggets
I always get questions when people try this recipe for the first time! It’s great, because it means you’re serious about making amazing homemade chicken nuggets. Here are the ones I hear most often bouncing around my kitchen over the years.
Can I make these chicken nuggets healthier than the recipe suggests?
Oh, absolutely! If you want to lean into the healthy chicken nuggets category even further, swapping out the flour is a great start. Instead of all-purpose flour, try using whole wheat flour if you want more fiber. Some folks even get amazing results by crushing up plain rice cereal or even cornflakes instead of Panko. They still get crispy! If you’re watching carbs, you could try almond flour, though you might need to press that coating on extra hard since it doesn’t adhere quite as well as Panko. Just remember, whatever you coat it with, you need that light oil spray or air fryer technique to truly lock in the crunch!
What is the secret to keeping these homemade chicken nuggets from getting soggy?
This is the number one concern, and it always comes back to heat and surface area. First secret: Panko! It absorbs less moisture than standard breadcrumbs. Second secret, which I mentioned earlier but bears repeating: you MUST spray them lightly with oil before they bake or air fry. That fat helps the crust set fast! If you bake them and they aren’t quite crispy enough, don’t be afraid to quickly put them under the broiler for 60 seconds—just watch them like a hawk! If you’ve tried everything and they still seem soft, it sometimes means you overloaded the baking sheet. Make sure they aren’t touching so the hot air can hit every surface for true crispiness.
Can I use chicken thighs instead of breast meat for these chicken nuggets?
Yes, you totally can use boneless, skinless chicken thighs! If you find breast meat too lean sometimes, thighs are the perfect solution for richer flavor. They have a higher fat content, which naturally makes for even juicier chicken bites. The trade-off is that they might cook just a tiny bit slower than the breast chunks, and the flavor is, well, richer and slightly less neutral. If you’re aiming for a perfect copycat of the fast-food texture, breast or ground chicken is closer, but in terms of pure flavor and moisture, thighs are fantastic for these juicy chicken bites!
Nutritional Estimate for Homemade Chicken Nuggets
I know a lot of you track macros, or at least like to have a general idea of what you’re feeding your family, so here is the nutritional estimate based on those standard measurements. Please remember, this is just an estimate!
- Serving Size: 5 nuggets
- Calories: 320
- Protein: 35g
- Fat: 10g
- Carbohydrates: 22g
- Sodium: 450mg
Since we are baking or air frying instead of deep-frying, we keep the fat content much lower than standard store-bought versions, which is a huge win for a quick weeknight dinner chicken option. Your sodium and carb counts will change depending on how generous you are with the seasoning in your Panko mix, so adjust accordingly!
Nutritional Estimate for Homemade Chicken Nuggets
I know a lot of you track macros, or at least like to have a general idea of what you’re feeding your family, so here is the nutritional estimate based on those standard measurements. Please remember, this is just an estimate!
- Serving Size: 5 nuggets
- Calories: 320
- Protein: 35g
- Fat: 10g
- Carbohydrates: 22g
- Sodium: 450mg
Since we are baking or air frying instead of deep-frying, we keep the fat content much lower than standard store-bought versions, which is a huge win for a quick weeknight dinner chicken option. Your sodium and carb counts will change depending on how generous you are with the seasoning in your Panko mix, so adjust accordingly!
Print
Crispy Baked Homemade Chicken Nuggets
- Total Time: 35 min
- Yield: 4 servings
- Diet: Low Fat
Description
Make easy, crispy chicken nuggets at home using chicken breast or ground chicken. This recipe focuses on achieving a satisfying crunch without deep frying.
Ingredients
- 1.5 lb boneless, skinless chicken breast or ground chicken
- 1 cup all-purpose flour
- 2 large eggs, beaten
- 1.5 cups panko breadcrumbs
- 1 teaspoon salt
- 0.5 teaspoon black pepper
- 0.5 teaspoon garlic powder
- 0.5 teaspoon onion powder
- Cooking spray or 1 tablespoon olive oil (for baking)
Instructions
- Cut the chicken breast into bite-sized nugget shapes, about 1 inch thick. If using ground chicken, form the mixture into small, uniform nugget shapes.
- Set up a standard breading station with three shallow dishes. Place flour in the first dish. Place beaten eggs in the second dish. Mix panko breadcrumbs, salt, pepper, garlic powder, and onion powder in the third dish.
- Dredge each chicken piece first in the flour, shaking off excess. Then dip it completely in the egg mixture. Finally, press it firmly into the seasoned panko mixture to coat thoroughly.
- Preheat your oven to 400°F (200°C). Line a baking sheet with parchment paper and lightly spray the nuggets with cooking spray or drizzle with oil.
- Bake for 15 to 20 minutes, flipping halfway through, until the internal temperature reaches 165°F (74°C) and the coating is golden brown and crispy. For extra crispiness, finish under the broiler for 1-2 minutes, watching closely.
Notes
- For air fryer cooking, place nuggets in a single layer in the basket and cook at 380°F (195°C) for 10-12 minutes, shaking halfway through.
- You can freeze uncooked, breaded nuggets on a tray before transferring them to a freezer bag for quick future meals.
- Use ground chicken for a softer, more uniform texture similar to fast-food style nuggets.
- Prep Time: 15 min
- Cook Time: 20 min
- Category: Dinner
- Method: Baking
- Cuisine: American
Nutrition
- Serving Size: 5 nuggets
- Calories: 320
- Sugar: 1
- Sodium: 450
- Fat: 10
- Saturated Fat: 2
- Unsaturated Fat: 8
- Trans Fat: 0
- Carbohydrates: 22
- Fiber: 1
- Protein: 35
- Cholesterol: 95


Comments are closed.