
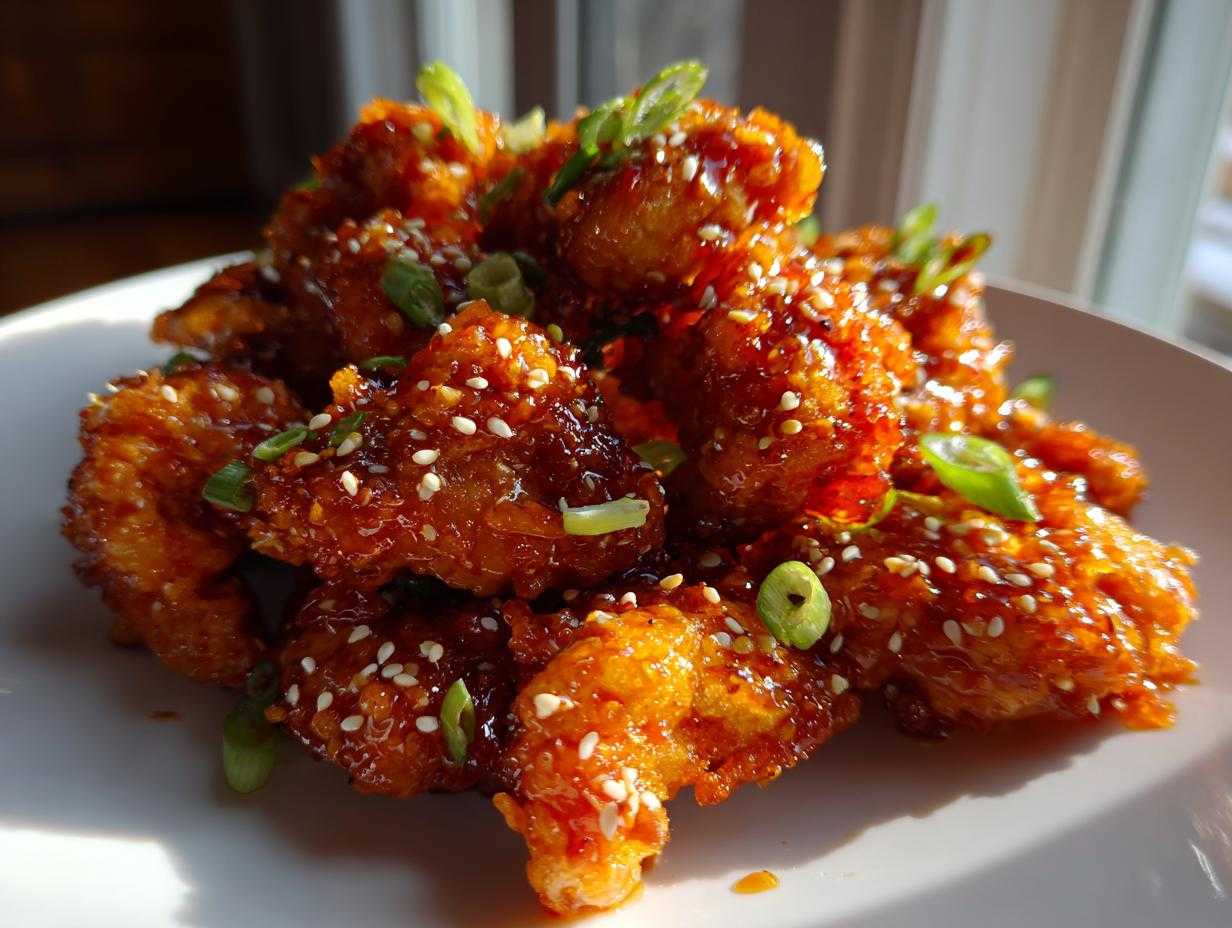
You know that feeling, right? You’re craving that perfect hit of sticky, tangy, sweet takeout flavor, but the thought of waiting for delivery or dealing with messy deep-frying just knocks the wind out of your sails. Well, stop right there! I’ve cracked the code, drawing on all those lessons I learned watching my uncle command his kitchen back in Texas. I promise you, what I have here is the ultimate orange chicken recipe—it’s crispy, it’s done in under 30 minutes flat, and honestly, it blows that chain restaurant stuff out of the water.
We’re getting restaurant-quality texture and flavor without spending half the evening waiting around. This isn’t just a recipe; it’s your new secret weapon for those nights when you need a seriously satisfying Asian American dinner on the table, fast. Trust me, you’re going to wonder why you ever called out for this!
Why This Orange Chicken Recipe Beats Takeout Every Time
I know we all love the convenience of takeout, but let’s be real—sometimes that chicken tastes a little sad, right? This Crispy Orange Chicken Recipe is here to change that. We’re going for maximum flavor impact in minimal time. I’m so excited about how this turned out; it’s definitely Better Than Panda Express Chicken, and you get to control every single delicious bit!
Here’s what makes this dish a winner, even on a crazy Tuesday night:
- Speed Demon: Seriously, we’re looking at a total time of under 30 minutes from start to finish. That makes it a fantastic weeknight Asian recipe!
- Crunch Factor: We nail the texture. Those crispy coating bits hold up brilliantly when they hit the sauce.
- Flavor Focus: We balance that sweet glaze with some serious tang from the fresh orange juice and a little zing from ginger and garlic—it’s just perfectly balanced.
If you want an easy weeknight winner that feels like a treat, this is the one to bookmark!
Gather Your Ingredients for the Ultimate Orange Chicken Recipe
Okay, gathering supplies is my favorite part of any great orange chicken recipe because it sets you up for success later. Since we are moving fast—under 30 minutes, remember?—we need everything measured and ready to go before the skillet even hits the heat. You don’t want to be measuring ginger while your chicken is burning! Trust me on this one; mise en place is everything here.
We’re dividing things up so you can see exactly what goes into the chicken, what builds that incredible sauce, and what we need for the final flourish.
For the Crispy Chicken Coating
This simple dredging station is what gives us that lovely, non-soggy texture. You’ll notice we use both flour and cornstarch—that’s the secret combo for crispiness!
- 1 pound boneless, skinless chicken breasts or thighs, cut into 1-inch pieces. Thighs stay moister if you’re worried about yours drying out!
- 1/2 cup all-purpose flour
- 1/4 cup cornstarch
- 1/2 teaspoon salt
- 1/4 teaspoon black pepper
- 1 large egg, lightly beaten
- 1/4 cup water
- 2 tablespoons vegetable oil (just enough for pan-frying, not deep-frying!)
For the Sweet Tangy Orange Sauce
This is where the magic really happens. We want that vibrant, bright citrus note mixed with that deep savory undertone. If you can squeeze your own orange, please do; the flavor difference is huge!
- 1/2 cup fresh orange juice (get to squeezing!)
- 1/4 cup white vinegar
- 1/2 cup granulated sugar
- 1/4 cup soy sauce (Grab low sodium if you have it, just so we can control the saltiness later.)
- 1 tablespoon grated fresh ginger – don’t skip this, it brings the zing!
- 1 clove garlic, minced finely
- 1 teaspoon sesame oil
- The crucial part: 1 tablespoon cornstarch mixed with 2 tablespoons cold water (This is our slurry, the thickening agent!)
And finally, for the finishing touch when we toss it all together:
- Garnish: 1/4 cup sliced green onions
- Garnish: 1 teaspoon sesame seeds
Step-by-Step Instructions for Your 30 Minute Orange Chicken Recipe
Alright, this is where the action happens! Since we promised you dinner in just 30 minutes, speed is important, but we aren’t cutting corners on texture or flavor. Get your ingredients ready, put your pan on medium-high heat to start warming up, and let’s move through this quickly. It flows beautifully once you get into the rhythm. If you’ve made a stir-fry before, this will feel like a breeze.
Coating and Preparing the Juicy Chicken Bites
First things first, we need to get those chicken chunks ready for their crisp bath. You should have your three bowls ready: the dry flour mix, the wet egg wash, and maybe a separate spot for your coated pieces.
- Dip the chicken pieces first into the egg mixture. Just a quick dip is all it takes! Let any extra egg dribble right back into the bowl.
- Next, move them straight into that flour and cornstarch bowl. This is important: really dredge them! Press the coating onto the chicken so you’ve got a nice, thick, even layer all around. We want that perfectly textured, Juicy Chicken Bites outcome, not just flimsy little bits.
- Set those coated pieces aside on a clean plate while you start the sauce. A few minutes of resting helps that coating stick when it hits the heat!
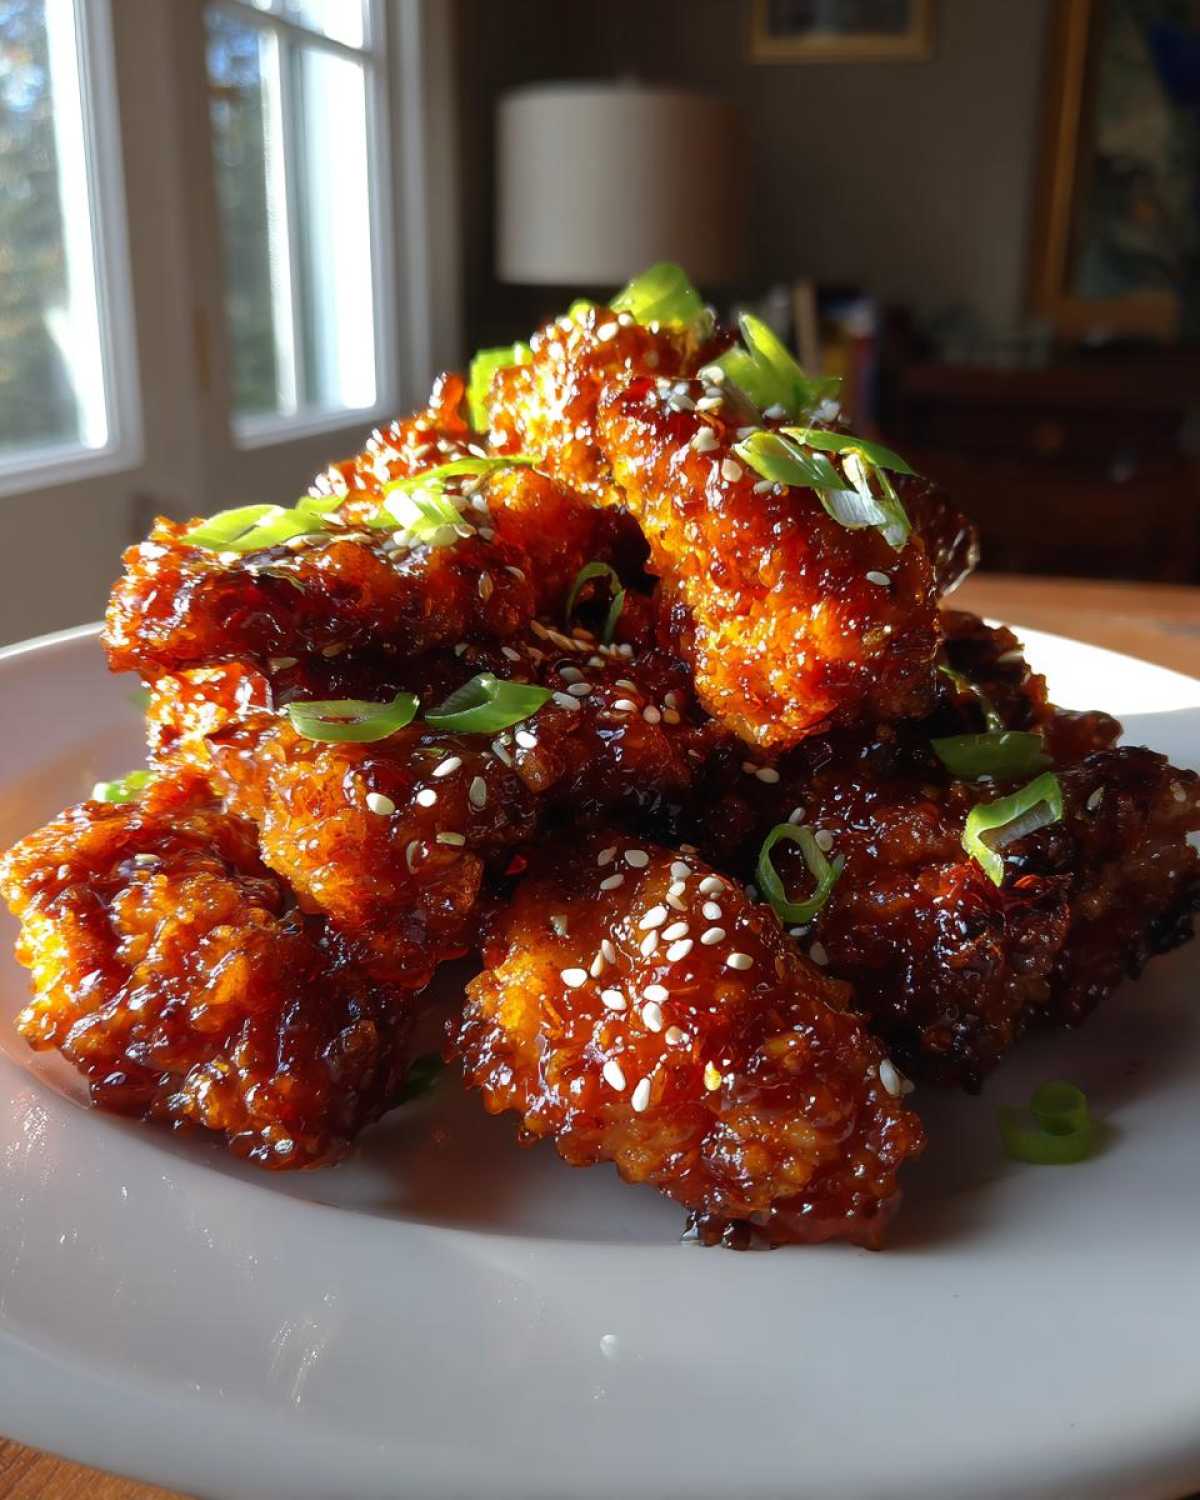
Creating the Sticky Orange Glaze
While the large skillet is heating up for the chicken, shift your focus to the pan for the sauce. This comes together surprisingly fast, so you want it ready the moment the chicken finishes frying.
- In a small saucepan—just a regular one—toss in your orange juice, vinegar, sugar, soy sauce, fresh ginger, minced garlic, and sesame oil.
- Put that over medium heat and stir it gently until you see the sugar completely dissolve. It should look clear, not gritty.
- Now for the thickening! Whisk your cornstarch slurry one final time (it settles fast) and slowly pour it into that simmering sauce mixture while you whisk constantly. Keep whisking! It will go from thin to thick and glossy—achieving that beautiful Sticky Orange Glaze—in about 60 seconds.
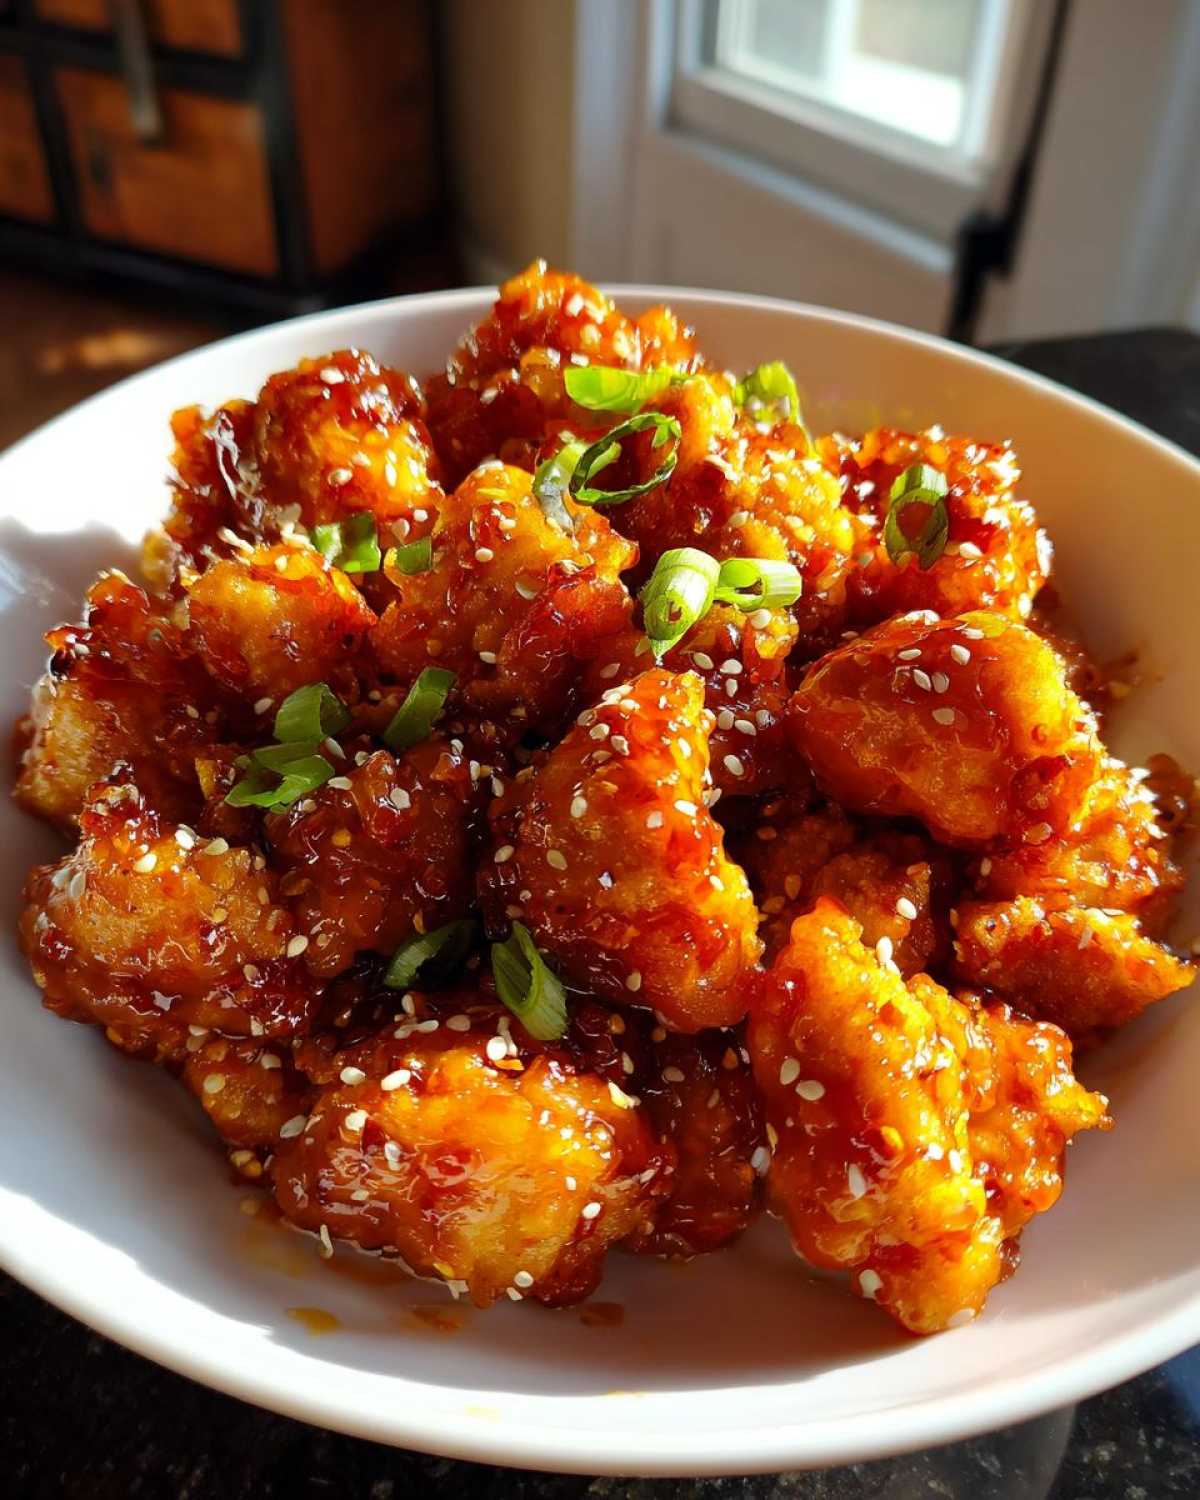
Once it’s thick and shiny, pull it right off the heat. It’s done! We’ll bring it back when the chicken is ready. If you want to follow a different quick Asian favorite, check out my ideas for the quick-and-easy pepper steak!
Achieving Crispy Orange Chicken Recipe Perfection
Time to get that crunch! Heat those 2 tablespoons of vegetable oil in your big skillet or wok over medium-high heat. You want the oil shimmering—not smoking, but definitely hot.
Here’s that tip I learned from Uncle Ray: Do not overcrowd the pan! If you dump all the chicken in at once, the temperature of the oil plummets, and you end up steaming the poor things instead of frying them crispy. Work in batches. Fry the chicken for about 3-4 minutes per side until it’s deep golden brown and gorgeous.
As each batch finishes, use tongs to immediately transfer the cooked chicken onto a plate lined with paper towels to drain off any extra oil. Getting the oil drained well now helps preserve that wonderful crunch for the final step of this orange chicken recipe, making it the superior Chinese American Dinner.
Tossing to Coat: The Final Step of the Orange Chicken Recipe
This is the grand finale! Return all your drained, gorgeous crispy pieces back into the empty skillet (or wipe out the pan and return to low heat if there’s a ton of oil left over). Now, pour that homemade, thick orange sauce all over the chicken.
Toss everything together quickly! We are just coating the chicken, giving the glaze about 60 seconds to stick and set around every bite. If you cook it too long here, that beautiful coating will get soft. We want the sauce sticky, not soupy!
When everything is shiny and coated, kill the heat right away. That’s it! You’ve made your own incredible, crispy, restaurant-style orange chicken recipe!
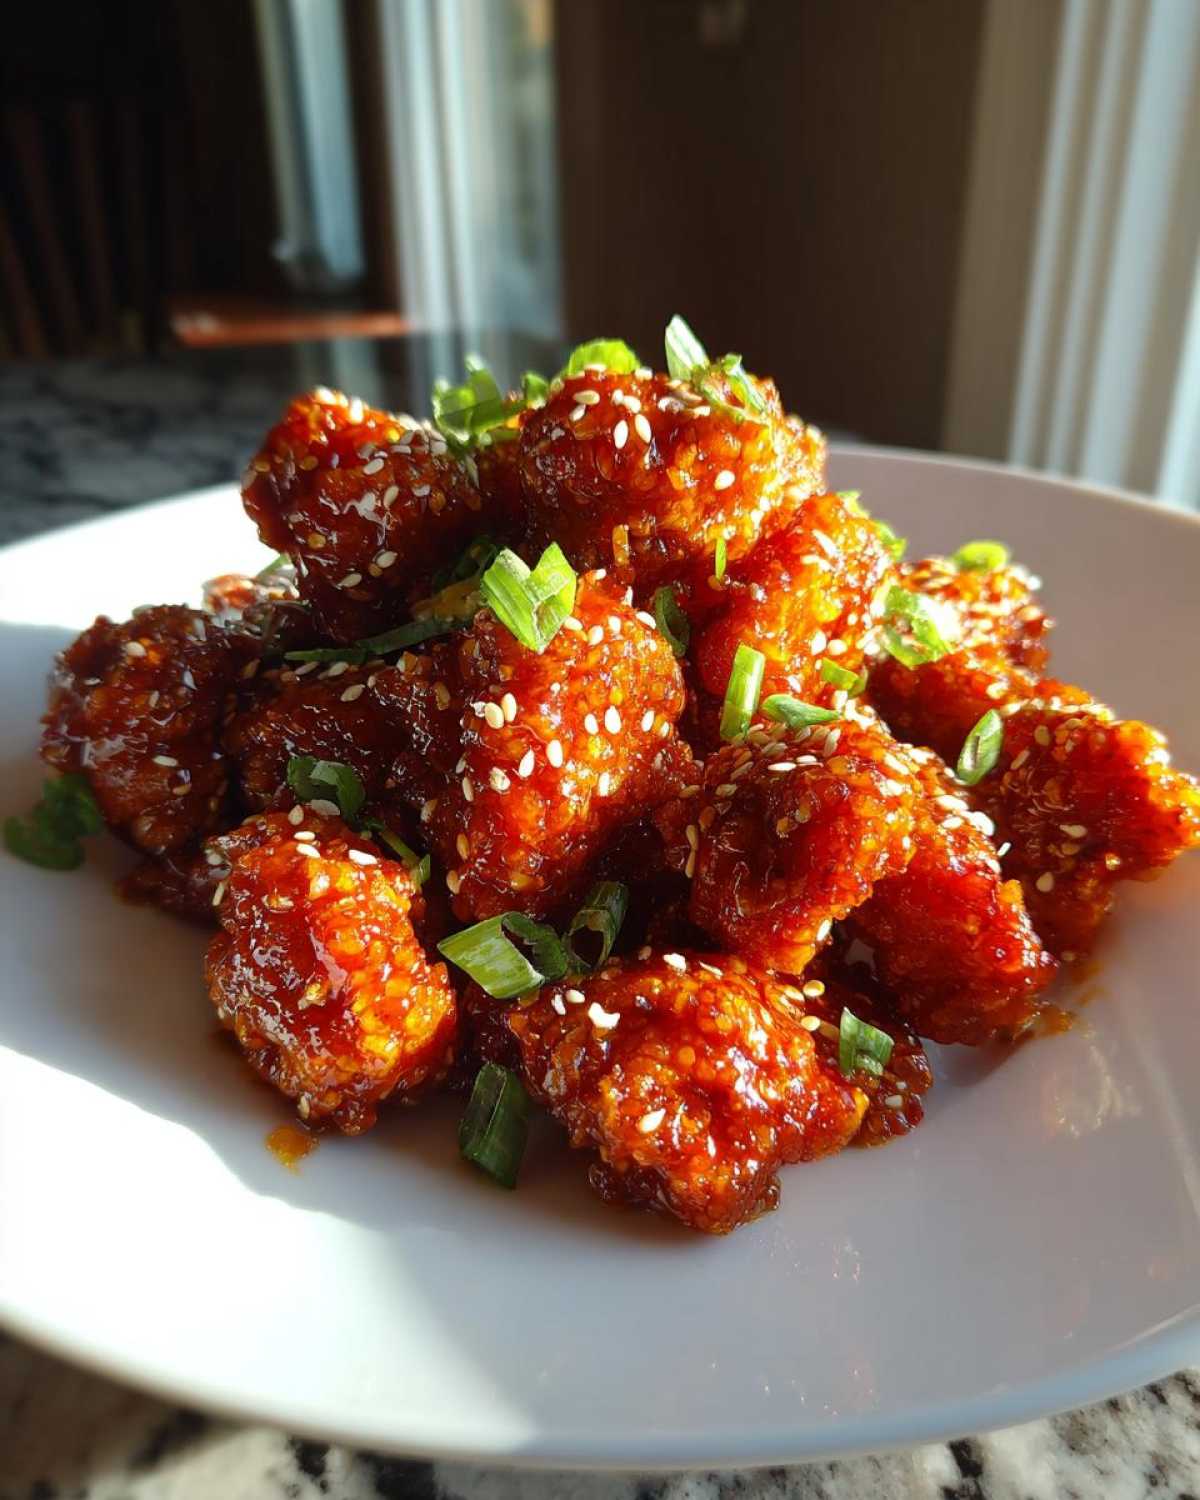
Tips for the Best Crispy Orange Chicken Recipe Results
I know the pan-frying method gives us that incredible, authentic texture, but sometimes, you just can’t deal with the oil splatter, especially on a busy night. That’s where leaning into some of those alternative cooking methods really shines, proving this orange chicken recipe can be morphed into an amazing Weeknight Asian Recipe staple without sacrificing too much flavor.
I’ve tested these out myself, and they work beautifully, especially if you’re looking for a slightly lighter meal that still hits that sweet spot!
Alternative Cooking Methods for Your Orange Chicken Recipe
If you have an air fryer sitting on your counter, this is the moment to put it to work! It’s fantastic for getting that crunch with minimal fuss. You still want to keep that flour and cornstarch coating on the chicken pieces first, naturally.
Here’s the drill when using the air fryer:
- Lightly spray your coated chicken pieces with cooking spray—just a quick misting so they don’t stick to the basket.
- Set your air fryer heat to 400°F (200°C).
- Cook those bites for about 12 to 15 minutes total. Make sure you flip them halfway through so they get crispy on all sides.
Once they are golden and perfectly cooked through, you can pull them out and toss them in the sauce exactly as we did with the pan-fried ones. It’s just as satisfying, I promise!
And hey, if you’re going the baked route (which is another great low-oil option), just arrange them on a baking sheet lined with parchment paper and bake at about 400°F (200°C) until they are golden brown. It takes a little longer—maybe 20 minutes total—but it’s super hands-off!
Boosting Flavor in the Sweet Tangy Orange Sauce
While the base sauce is already spot-on for balancing sweet and tangy, sometimes I get a craving for that huge, bright citrus punch that only comes from the peel itself. This is where fresh orange zest swoops in to save the day!
If you have a microplane or a zester handy, grate about 1 teaspoon of the orange zest right into your sauce mixture when you combine all the liquids. It adds this incredible aroma and depth that just screams “freshly made.”
On the flip side, if you taste your sauce and feel it’s a touch too sweet for your liking, don’t panic! You don’t need to dump the whole thing. Just whisk in an extra teaspoon of white vinegar, or even a tiny squeeze of fresh lemon juice if you have it. That little hit of acid will cut through the sweetness immediately and bring that tangy flavor right back to the forefront. Don’t be afraid to adjust sugar and acid—that’s how chefs train their palates!
Serving Suggestions for Your Homemade Orange Chicken Recipe
Look, the star of the show is definitely that glossy, crispy chicken, but what do you put on the plate underneath it? You’ve worked hard for that perfect orange chicken recipe finish, so let’s make sure the sides match the quality! This dish is such a crowd-pleaser; it is truly a reliable Family Favorite Chicken choice, whether I’m making it for a quiet Tuesday night or a bigger weekend meal.
My first and absolute non-negotiable suggestion is rice! The plain white rice acts like a perfect little sponge for soaking up all that extra sweet and tangy glaze that drips off the chicken when you serve it. I usually whip up a big batch of plain steamed white rice because you want the focus to stay on that incredible sauce.
But we have to sneak some greens in there! For texture contrast and just general healthiness (gotta balance that sugar somewhere, right?), I always toss some very simple steamed vegetables on the side. Here are a couple of my go-to pairings that soak up the flavor well without stealing the spotlight:
- Simple Steamed Broccoli: Steam it until it’s just tender-crisp, maybe toss it with a tiny drizzle of sesame oil and a sprinkle of salt. It’s perfect for scooping up whatever sauce didn’t quite make it onto the chicken.
- Sautéed Green Beans: Sometimes I’ll quickly toss some fresh green beans with a bit of garlic and a splash of water in a hot pan until they brighten up. If you’re looking for inspiration on amazing vegetable sides, check out how I treat root veggies in my maple dijon glazed carrots recipe—you can adapt simple, bright flavors for green beans too!
- Noodles are Fun: If the kids are home, sometimes I’ll swap the rice for simple lo mein noodles. Toss them lightly with a half-batch of the sauce mixture (before you thicken it!) and you’ve got a whole meal in one bowl.
Seriously, whether you serve it over rice or noodles, make sure you sprinkle those extra green onions and sesame seeds right over the top of everything—the visual appeal alone makes it feel more gourmet than takeout!
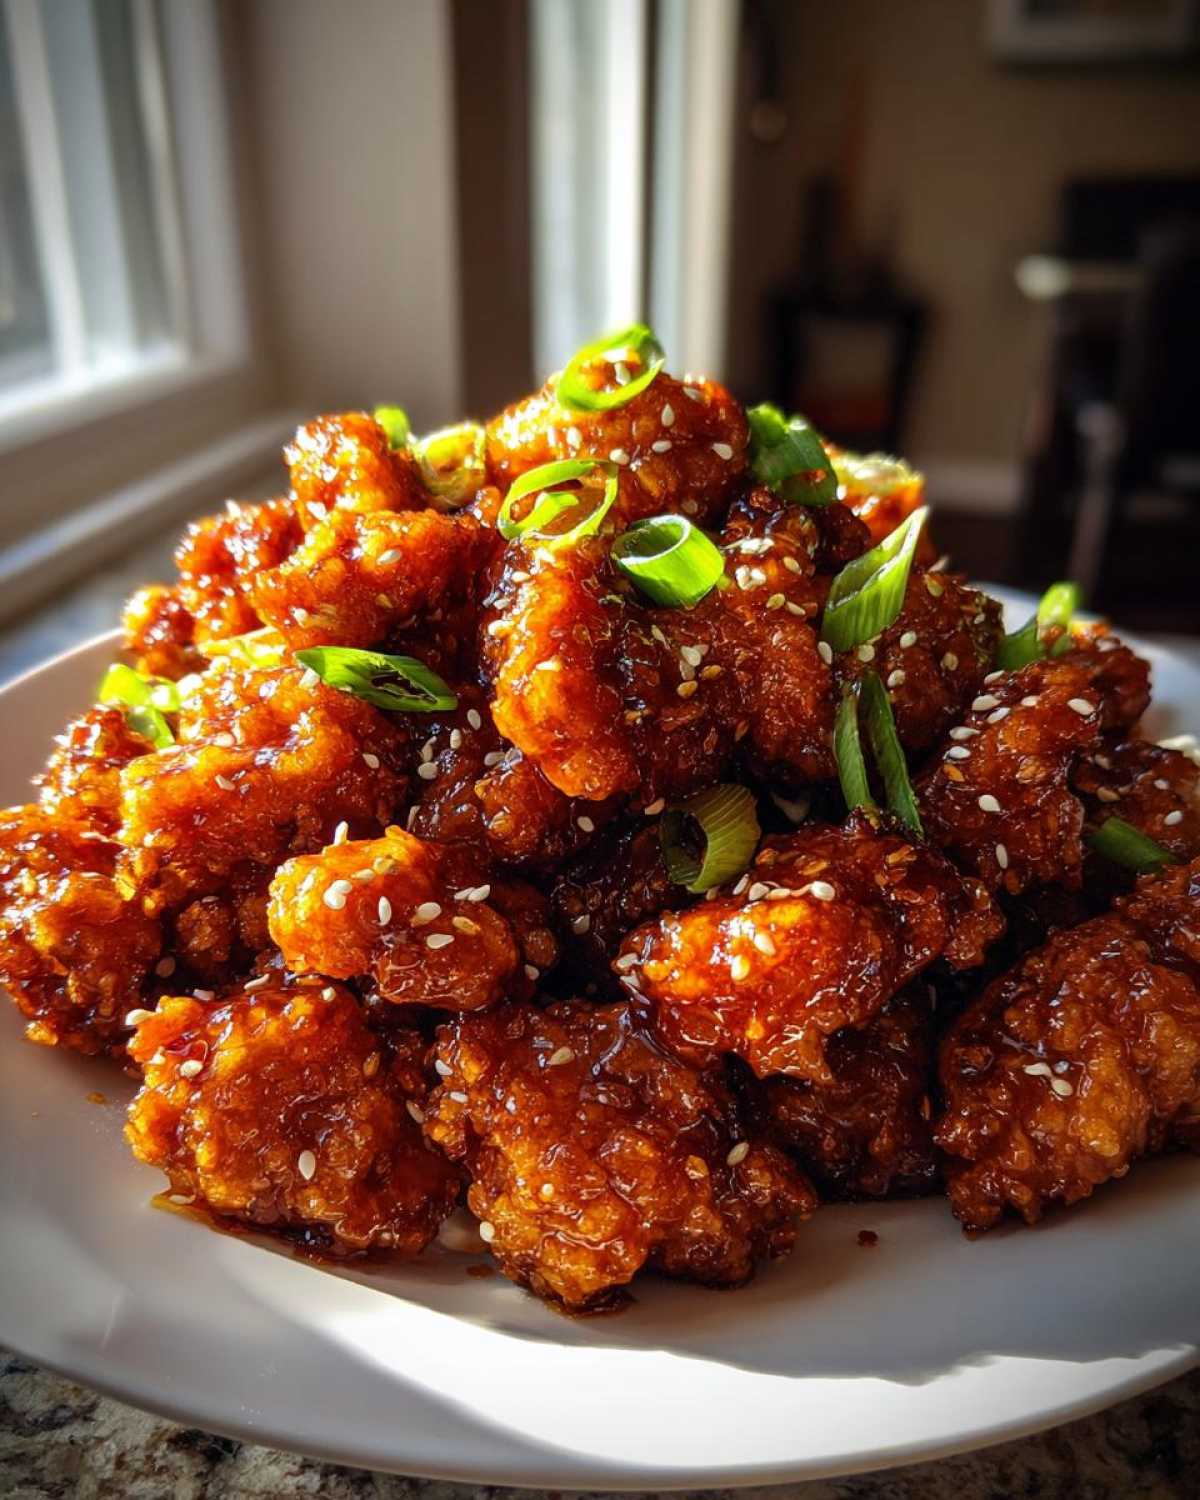
Storage and Reheating Instructions for Leftover Orange Chicken Recipe
Oh man, if you have leftovers of this orange chicken recipe, you are in for such a treat the next day! But here’s the deal: because we worked so hard to get that crunchy coating, we have to be smart about how we store it, or that beautiful crispiness will turn into sad, soggy goo overnight. My rule of thumb, which I realized after trying to store leftovers once, is to keep the sauce separate from the chicken as long as humanly possible.
When it comes to storage, airtight containers are your best buddies. You can usually get a good three days out of this dish if you handle the components correctly.
Here’s my tried-and-true method so you can enjoy that orange chicken recipe flavor again tomorrow:
- The Separation Tactic: If you have any sauce left over in the pan after tossing, pour that into one small container. Put the remaining crispy chicken pieces (hopefully, there are some left!) into a separate, larger airtight container. Don’t mix them until you are ready to reheat!
Now, for the reheating process—this is crucial because reheating that sticky glaze can be tricky. You *can* use the microwave, but I won’t lie, it’s the quickest path to sogginess. If you absolutely have to use the microwave, use short 20-second bursts and stir it around each time.
For the absolute best results, though, you need dry heat to coax that crispiness back into the chicken. This is much better for keeping that takeout-style texture alive:
- Oven Revival: Preheat your oven to a moderate 350°F (175°C). Spread the leftover chicken in a single layer on a baking sheet lined with foil or parchment paper. Bake for about 8 to 10 minutes. This dries out the coating just enough to bring back a nice bite.
- Sauce it Last: Once the chicken is warm and slightly crisp again, heat your reserved sauce gently on the stovetop until it’s hot and pourable. Pour just enough sauce over the hot chicken to coat it lightly, and serve immediately. You don’t want to simmer it again; you just want an even coating.
If you want to add a fresh crunch back in, just chop up some fresh green onions when reheating. It makes it feel brand new again!
Frequently Asked Questions About This Orange Chicken Recipe
It’s so smart to check in here! Even when you follow a recipe exactly, sometimes you just have questions pop up, especially when you’re rushing to get dinner on the table. I’ve tried to answer the things I get asked most often about this dish. I want this to be your go-to, simple recipe, not something that stresses you out!
Can I use frozen chicken for this orange chicken recipe?
Oh, I totally get the convenience factor, but you absolutely must thaw your chicken completely before you start! If you try to coat frozen or partially frozen chicken, two things happen: first, the coating won’t stick properly, and second, when it hits the hot oil, it cools everything down too fast, giving you chewy chicken instead of crispy chicken.
Take the time to thaw it fully in the fridge overnight, or if you’re in a jam, use the defrost setting on the microwave, but remember to pat those pieces *really* dry with paper towels before they even think about seeing the egg wash. We need that dry surface for a perfect coat!
How do I make the sauce thicker if it seems too thin?
Don’t worry if your sauce looks a little runny right after you first combine everything—that’s why we use that cornstarch slurry! If you followed the instructions and simmered it for that crucial minute after adding the slurry but it still looks more like juice than glaze, you just need a tiny bit more thickening power.
Just mix up another small slurry—say, half a teaspoon more cornstarch with one teaspoon of cold water—and whisk it in while the sauce is still simmering on low heat. Give it another 30 seconds to a minute. It thickens fast! If you’re still worried, just keep it on a very low simmer for another minute or two without adding anything, and sometimes that evaporates just enough liquid to make it perfect. Remember, we want that beautiful, even coating, not something that runs off the chicken the second you plate it.
Is this orange chicken recipe budget friendly?
Yes, absolutely! When I was developing this, one of my big goals—inspired by eating with my family back in Texas—was to make a meal that felt fancy but didn’t break the bank. This recipe is definitely a fantastic Budget Friendly Chicken Meal.
We are mostly using pantry staples like flour, sugar, and soy sauce. Chicken thighs, which I sometimes recommend over breasts for juiciness, are usually cheaper per pound, too. Plus, since this recipe comes together so fast, you save money on those delivery fees! It’s flavor packed and friendly to your wallet, which is what I always aim for.
Making This Orange Chicken Recipe a Weeknight Asian Recipe Staple
I really hope you’re already thinking about when you can make this again, because that’s my favorite compliment! When I designed this orange chicken recipe, I wasn’t just shooting for a one-off fancy dinner; I was trying to create something genuinely reproducible for busy weeks. Thirty minutes is doable, even on the nights when you feel like you have zero energy left!
If you are looking for more easy, flavorful options to rotate into your meal planning, I’ve got tons of ideas. This dish slides right into the rotation as a perfect Quick Chicken Dinner that even the pickiest eaters will ask for again. It’s that collision of crispy texture and bright, familiar flavor that just wins everyone over.
Do yourself a favor: put the ingredients on your shopping list right now. If you’ve got your pantry stocked with soy sauce and those few fresh items, you can whip up this restaurant-quality meal anytime the takeout craving strikes. It feels so much more rewarding when you know you made that sticky, glossy sauce from scratch!
Reader Feedback on Our Ultimate Orange Chicken Recipe
Now that you’ve made this epic orange chicken recipe—and I sincerely hope you have, because it’s worth every second—I’d love to hear what you thought! Hearing from you truly makes this whole process worthwhile. I still get a huge grin on my face when I realize someone made one of my uncle’s adapted flavors a staple in their own kitchen.
Did you manage that crispy coating? Was the sauce as tangy and sweet as you remembered? Most importantly, how did your Sticky Orange Glaze turn out? Did it cling perfectly to those juicy bites?
If you loved this easy weeknight dinner, please do me a favor and click those stars below to leave a rating! Five stars lets me know this is a keeper! And if you have a second, drop a quick comment down underneath this section. Tell me if you used chicken thighs or breasts, or if you decided to try the air fryer method I mentioned. Knowing what works for your family helps me keep creating the best recipes for you!
Thank you again for cooking with me today. I can’t wait to see your results!
Print
The Ultimate 30-Minute Crispy Homemade Orange Chicken Recipe (Better Than Takeout)
- Total Time: 30 min
- Yield: 4 servings
- Diet: Non-Vegetarian
Description
Skip the delivery and make this restaurant-quality orange chicken recipe at home in under 30 minutes. You get perfectly crispy chicken pieces coated in a sweet, tangy, and sticky orange glaze that tastes better than your favorite takeout spot.
Ingredients
- 1 pound boneless, skinless chicken breasts or thighs, cut into 1-inch pieces
- 1/2 cup all-purpose flour
- 1/4 cup cornstarch
- 1/2 teaspoon salt
- 1/4 teaspoon black pepper
- 1 large egg, lightly beaten
- 1/4 cup water
- 2 tablespoons vegetable oil (for pan-frying)
- For the Sauce:
- 1/2 cup fresh orange juice
- 1/4 cup white vinegar
- 1/2 cup granulated sugar
- 1/4 cup soy sauce (low sodium preferred)
- 1 tablespoon grated fresh ginger
- 1 clove garlic, minced
- 1 teaspoon sesame oil
- 1 tablespoon cornstarch mixed with 2 tablespoons cold water (slurry)
- Garnish:
- 1/4 cup sliced green onions
- 1 teaspoon sesame seeds
Instructions
- Prepare the chicken coating: In a medium bowl, whisk together the flour, cornstarch, salt, and pepper.
- In a separate small bowl, whisk the egg and water until combined. Dip the chicken pieces first into the egg mixture, letting excess drip off, then dredge thoroughly in the flour mixture until fully coated.
- Make the sauce: In a small saucepan, combine the orange juice, vinegar, sugar, soy sauce, ginger, garlic, and sesame oil. Bring the mixture to a simmer over medium heat, stirring until the sugar dissolves.
- Whisk the cornstarch slurry one more time and slowly pour it into the simmering sauce while whisking constantly. Cook for about 1 minute until the sauce thickens and becomes glossy. Remove from heat and set aside.
- Cook the chicken: Heat the vegetable oil in a large skillet or wok over medium-high heat. Add the coated chicken in a single layer, working in batches if necessary to avoid overcrowding. Pan-fry for 3-4 minutes per side until golden brown and crispy. Remove the chicken and place it on a paper towel-lined plate to drain excess oil.
- Combine: Return all the crispy chicken to the skillet. Pour the prepared orange sauce over the chicken. Toss quickly and gently until every piece is evenly coated in the sticky orange glaze. Cook for just 1 minute to set the sauce.
- Serve immediately over steamed white rice or with steamed vegetables. Garnish with sliced green onions and sesame seeds.
Notes
- For an air fryer option, spray the coated chicken lightly with cooking spray and air fry at 400°F (200°C) for 12-15 minutes, flipping halfway through, before tossing in the sauce.
- If you prefer a thicker sauce, increase the cornstarch slurry slightly.
- Using fresh orange zest (about 1 teaspoon) in the sauce will boost the citrus flavor significantly.
- Prep Time: 15 min
- Cook Time: 15 min
- Category: Dinner
- Method: Pan-Frying
- Cuisine: Chinese American
Nutrition
- Serving Size: 1 serving
- Calories: 450
- Sugar: 35
- Sodium: 550
- Fat: 15
- Saturated Fat: 3
- Unsaturated Fat: 12
- Trans Fat: 0
- Carbohydrates: 40
- Fiber: 1
- Protein: 38
- Cholesterol: 105


Comments are closed.