
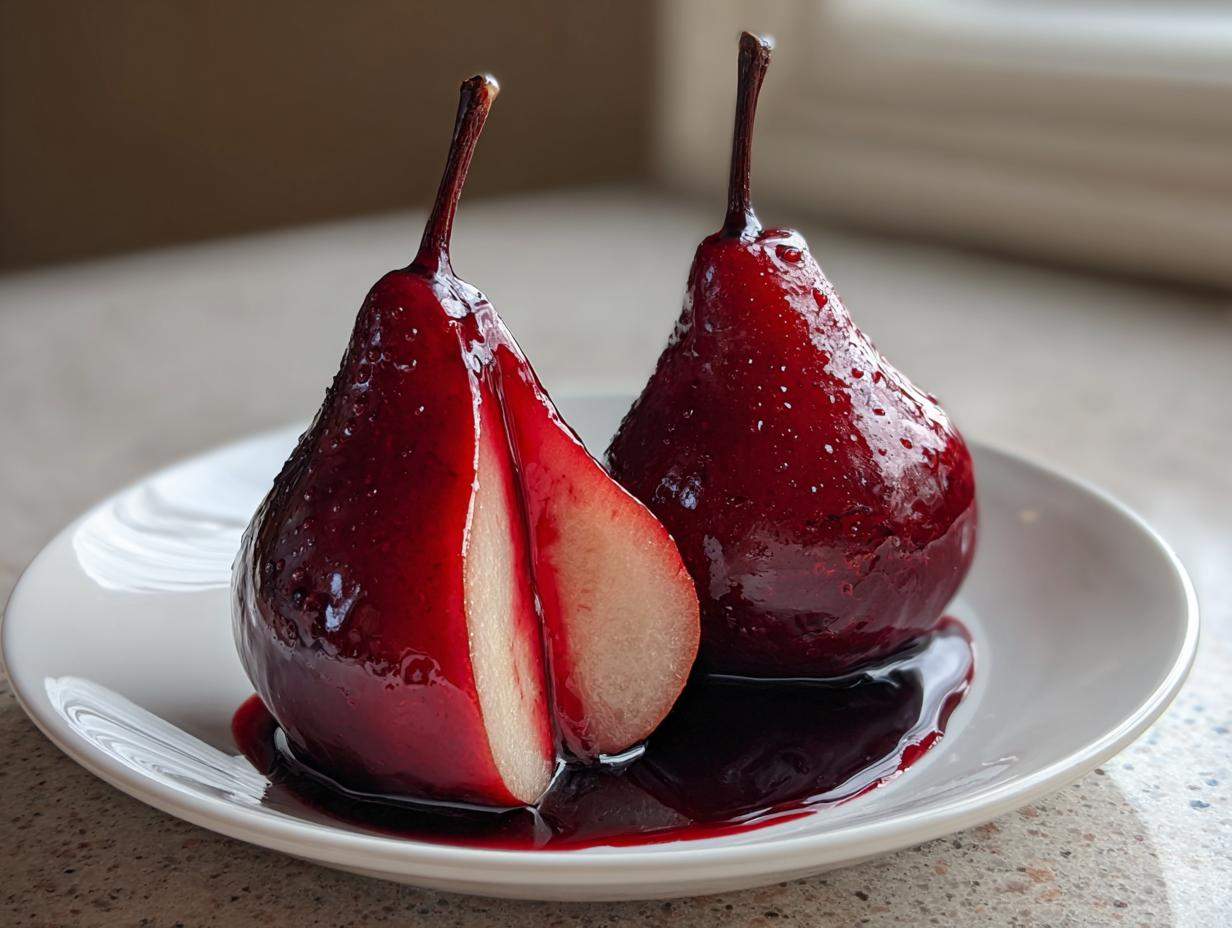
You know how sometimes you just crave a dessert that looks incredibly fancy but secretively takes almost zero effort? That’s precisely what happens when you master the art of making **poached pears**. Seriously, these are my absolute go-to when company suddenly drops by. We’re taking firm pears, bathing them in the most beautiful spiced red wine bath, and pulling them out looking like glistening jewels. I remember the first time I made these; I thought the color was impossible without hours of work. But trust me, once you learn the gentle simmer technique, you’ll look like a pastry chef. This simple syrup method gives you the most magically tender fruit every single time. It’s rustic, it’s elegant, and it smells like Christmas!
Why You Will Love This Elegant Poached Pears Recipe
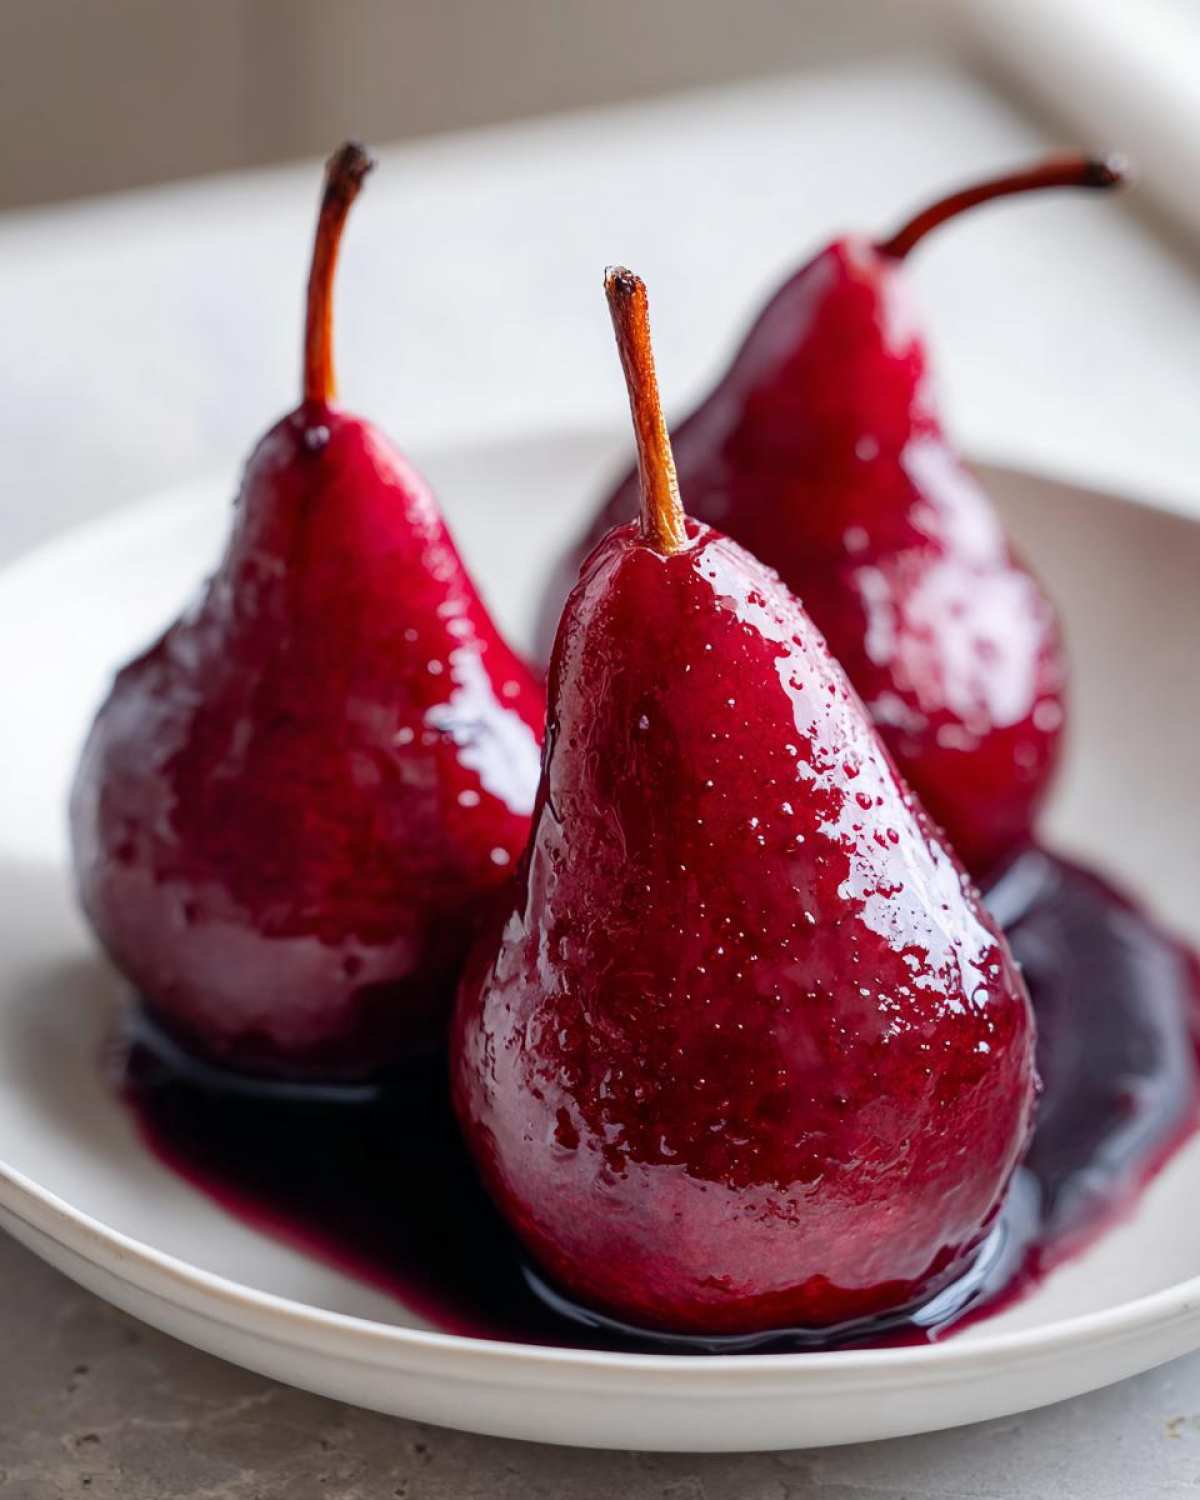
I mean, honestly, what’s not to love? This recipe for poached pears is my secret weapon for looking totally sophisticated with almost no fuss at all. You see the beautiful color and the glossy shine, and you think it took all day, right? Wrong!
- It’s ridiculously easy; if you can simmer water, you can make this dessert.
- The flavor is complex and warm—all those spices and that red wine—but it’s still light enough to enjoy after a big meal.
- You get that perfect, tender texture that just screams “gourmet.”
- It’s the best winter dessert idea because it smells amazing while cooking!
Trust me, once you pull those jewel-toned beauties out of the pot, you’ll be hooked.
Ingredients for Tender Poached Pears
Okay, the ingredient list looks long, but that’s just because of all the glorious aromatics we’re throwing in! Don’t let it intimidate you; these things are mostly just pantry staples dressed up to look stunning. The most crucial part is your pears. You need them firm; I always go for Bosc or firm Anjou because they just hold their shape beautifully during the simmering time. If you use something too soft, they turn into mush, and nobody wants sad, mushy poached pears!
- Four firm pears—definitely Bosc or Anjou—you need to peel these guys completely, slice them right down the middle, and scoop out all those seeds and the core.
- Three cups of a nice, dry red wine. I usually grab whatever Cabernet Sauvignon or Merlot is open, nothing too fancy because it just cooks off anyway.
- One cup of water to balance out the wine intensity.
- One cup of plain granulated sugar. We need that to make our syrup sweet and glossy.
- One whole vanilla bean. This is key! You need to slice it right down the middle lengthwise so all those gorgeous vanilla seeds get into the liquid.
- Two cinnamon sticks—don’t use the powder, the sticks give a cleaner flavor.
- Five whole cloves. Just five—they are powerful!
- One star anise. It gives that perfect licorice note that makes people wonder what your secret is.
- And finally, one strip of orange zest. Make sure you just get the bright orange part—we really don’t want any of that bitter white pith in there.
That’s it! When you combine those spices with the wine and the vanilla, you create the bath that turns these pears into an elegant fruit dessert.
The Best Poached Pears Recipe: Step-by-Step Instructions
This is where the magic happens! Honestly, making poached pears is all about controlling that heat. If you rush it, they get tough or they break apart. We want them tender, like they just melt when you cut them. Remember how we chopped up all those spices? Now we put them to work! If you want more ideas on how to infuse wine flavor, check out my recipe for mulled wine that uses similar spices!
Preparing the Poaching Liquid and Spices
First things first, grab a saucepan—make sure it’s wide enough so those pear halves can lie flat in a single layer, that’s important. Toss in your red wine, the water, the sugar, and all those gorgeous spices we talked about: the vanilla bean (seeds and all!), the cinnamon sticks, cloves, star anise, and that strip of orange zest. Put this over medium heat. You just need to stir it occasionally until you see the sugar completely vanish into the liquid. Once it’s simmering gently—not boiling yet—we’re ready for the fruit.
Simmering the Pears to Tenderness
Now, carefully lower your peeled and cored pear halves into that fragrant liquid. If your liquid doesn’t quite cover them, don’t panic! The key here is the parchment paper trick. Cut a circle of parchment paper just a little bigger than your pan and lay it right on top of the liquid. This keeps the tops of the pears from drying out while they cook. Now, turn the heat way down. We want a very gentle, lazy simmer—just a few tiny bubbles breaking the surface. You need to let these cook for about 20 to 35 minutes. You’ll know they are done when you poke one with a fork right near the center and it slides in easily. That’s the signal!

Reducing the Syrup for Perfect Poached Pears
Once those beautiful, deeply stained pears are tender, take them out super carefully with a slotted spoon and set them aside on a plate. Don’t worry, they won’t get cold too quickly! Now, turn the heat back up under the saucepan to medium-high. We’re concentrating all that flavor by boiling that extra liquid down into a thick, glossy syrup. Let it bubble away until it’s reduced by about a third—maybe 10 to 15 minutes. You want it thick enough to coat the back of a spoon nicely. Then, spoon that delicious syrup all over your **poached pears** before serving. That finishing drizzle is what makes these fancy!
Tips for Success with Poached Pears
Even though this recipe for **poached pears** is simple, a couple of little things can make the difference between a good dessert and a show-stopping one. I’ve definitely made mushy pears in my time, so I learned these tricks the hard way! You want that perfect tender bite where the fruit doesn’t disintegrate when you try to slice it. If you’re looking for other ways to use fresh pears, I have a killer salad recipe that uses them raw; you can check out my pear and arugula salad if you need a lunch idea!
Choosing the Right Pears for Poached Pears
This is non-negotiable, folks: you must use firm pears! If they are already soft at the grocery store, they are going to turn into pudding once they hit that hot liquid. Pears like Bosc or Anjou have a beautiful structure and handle the simmering process so well that they end up holding their shape exactly like you expect when you see them on a fancy dessert platter. Seriously, check for firmness, or you’ll end up with cooked fruit rather than true poached pears.
If you’re buying them a little early, no worries. You can just let them ripen on the counter for a day or two, but you want to catch them *before* they start getting soft.
Achieving Jewel-Toned Color in Poached Pears
The big win when using red wine is that gorgeous, deep ruby color, right? We want that rich, jewel-toned look! The acidity in red wine does some magic here; it helps the fruit absorb that pigment beautifully while it cooks. If you were making them in a white wine or just a plain sugar syrup, you’d get a pale yellow, which is fine, but it’s not nearly as dramatic.
To keep that color vibrant, make sure you are using enough wine in your liquid base so the pears are submerged. Plus, reducing that wine syrup at the end concentrates the color even more, giving you that perfect, shiny glaze over the finished fruit. It’s all about that deep stain!
Flavor Variations for Your Poached Pears
While I absolutely adore the deep, rich flavor of red wine in these poached pears, sometimes you want something totally different, right? The poaching liquid is totally forgiving, which means you can tailor this **gourmet pear dessert** to whatever you have on hand or whatever mood strikes you. Switching up the liquid is the easiest way to create a whole new experience. I have notes in my little book for almost every kind of liquid imaginable!
Bourbon and Vanilla Poached Pears
If you’re making these for a cozy night in, or maybe you just love that smoky warmth, ditch the red wine totally and go for the bourbon! It really brings out the warm spices we used, like the cloves and cinnamon. You can just substitute a rich bourbon for half the wine, and use water for the other half. For instance, use 1.5 cups of bourbon and 1.5 cups of water instead of the wine and water mix. This variation really sings when served with a dollop of that homemade vanilla sauce you can find the recipe for here—the bourbon and vanilla just marry up perfectly. It’s a bolder, sort of sophisticated flavor that screams rich **dessert with spices**.
Lighter Poached Pears with Moscato
Now, if you want something much lighter, maybe for a spring gathering or if you just prefer a sweeter finish over a tart one, try using Moscato wine. Moscato is naturally sweet and slightly bubbly, so it creates a beautifully delicate poaching syrup. You can substitute the red wine directly with Moscato and bump up the water just a little bit if you want to stretch the liquid. These poached pears turn out pale gold instead of deep ruby, but they are incredibly fragrant and sweet. It’s a lovely option when you want a **light dessert** that still feels special.
Serving Suggestions for Poached Pears
The cooking is done, the pears are tender, and the syrup is reduced and glossy—but we aren’t finished yet! That final presentation is what turns these simple spiced **poached pears** into the ultimate **elegant fruit dessert** for your table. Honestly, you can just serve them slightly warm in a little shallow bowl with a generous drizzle of that intense syrup, and everyone will be thrilled. But if you want to go the extra mile without doing any extra work, you need a creamy companion.
My favorite thing in the whole world to pair with these red wine beauties is a super simple homemade vanilla sauce, often called a crème anglaise. If you want to make a slightly thicker, butter-rich version of that, I detail exactly how it’s done in my old-fashioned vanilla sauce recipe. It’s unbelievably good poured warm over a chilled pear; the contrast in temperature is just divine.
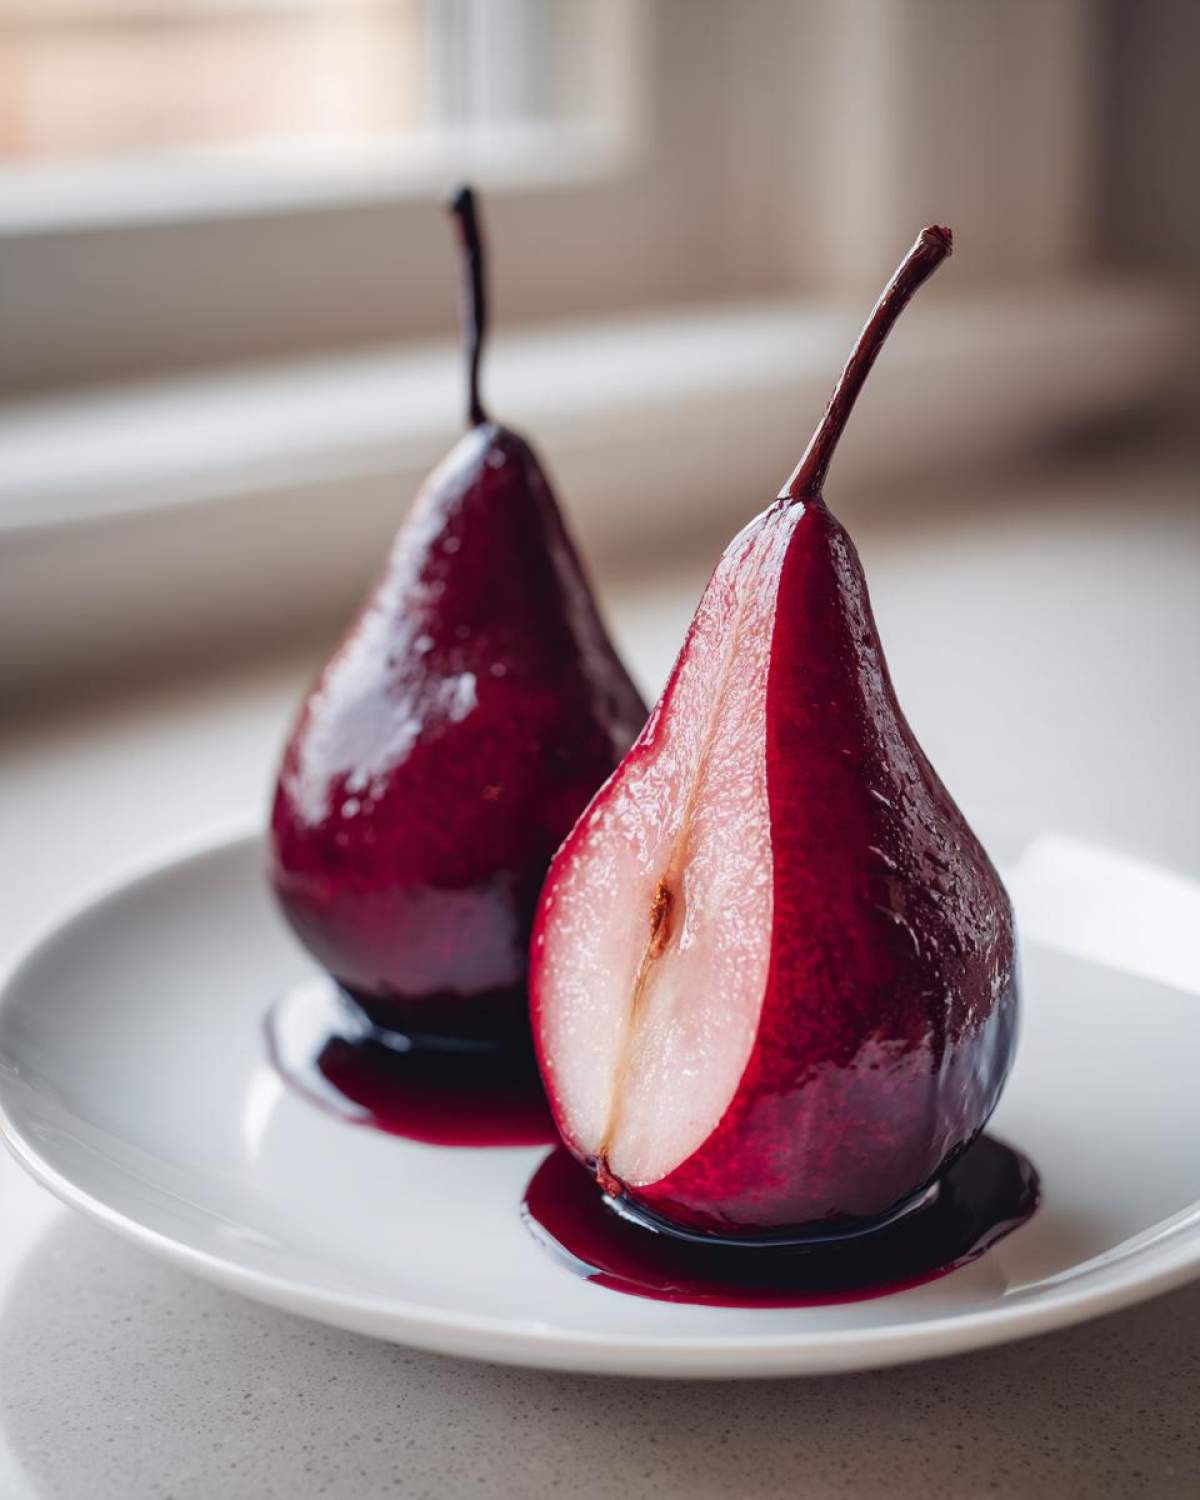
If you don’t want to make a sauce from scratch, you don’t have to be fancy, promise! A scoop of really high-quality vanilla bean ice cream works wonders—the melting ice cream mixes right into that spiced syrup, creating a delicious little puddle of heaven on your plate. For holidays, I sometimes skip the sauce entirely and just warm up a store-bought caramel sauce—the deep caramel flavor pairs so beautifully with the cloves and cinnamon in the **poached pears**.
For a lighter but still visually stunning effect, try placing the pear half on a small plate and spooning just a touch of Greek yogurt whipped with a little honey and lemon zest right into the center where the core used to be. Either way you choose, remember the presentation counts: wipe the plate clean before serving so that glossy syrup is the star!
Storage and Reheating Instructions for Poached Pears
The best part about making a big batch of these beautiful **poached pears**? They actually taste *better* the next day! Seriously, the spices have more time to soak in overnight, making the flavor even deeper and richer. It makes them one of my favorite things to prep ahead for holiday dinners or big gatherings.
Storage is super critical here if you want them to keep their texture and color. You absolutely need to store them completely submerged in that leftover poaching liquid/syrup. If the pears aren’t covered by the liquid, the parts exposed to the air will oxidize and turn a brownish color, and we worked hard for that gorgeous ruby red!
So, here’s what I do: Once the pears are cool enough to handle after you’ve removed them from the heat, I gently place them back into the reduced syrup in an airtight container. Store that container in the fridge. They will keep beautifully for up to five days that way. If you notice the syrup separating a bit, just give it a gentle stir before serving them next time.
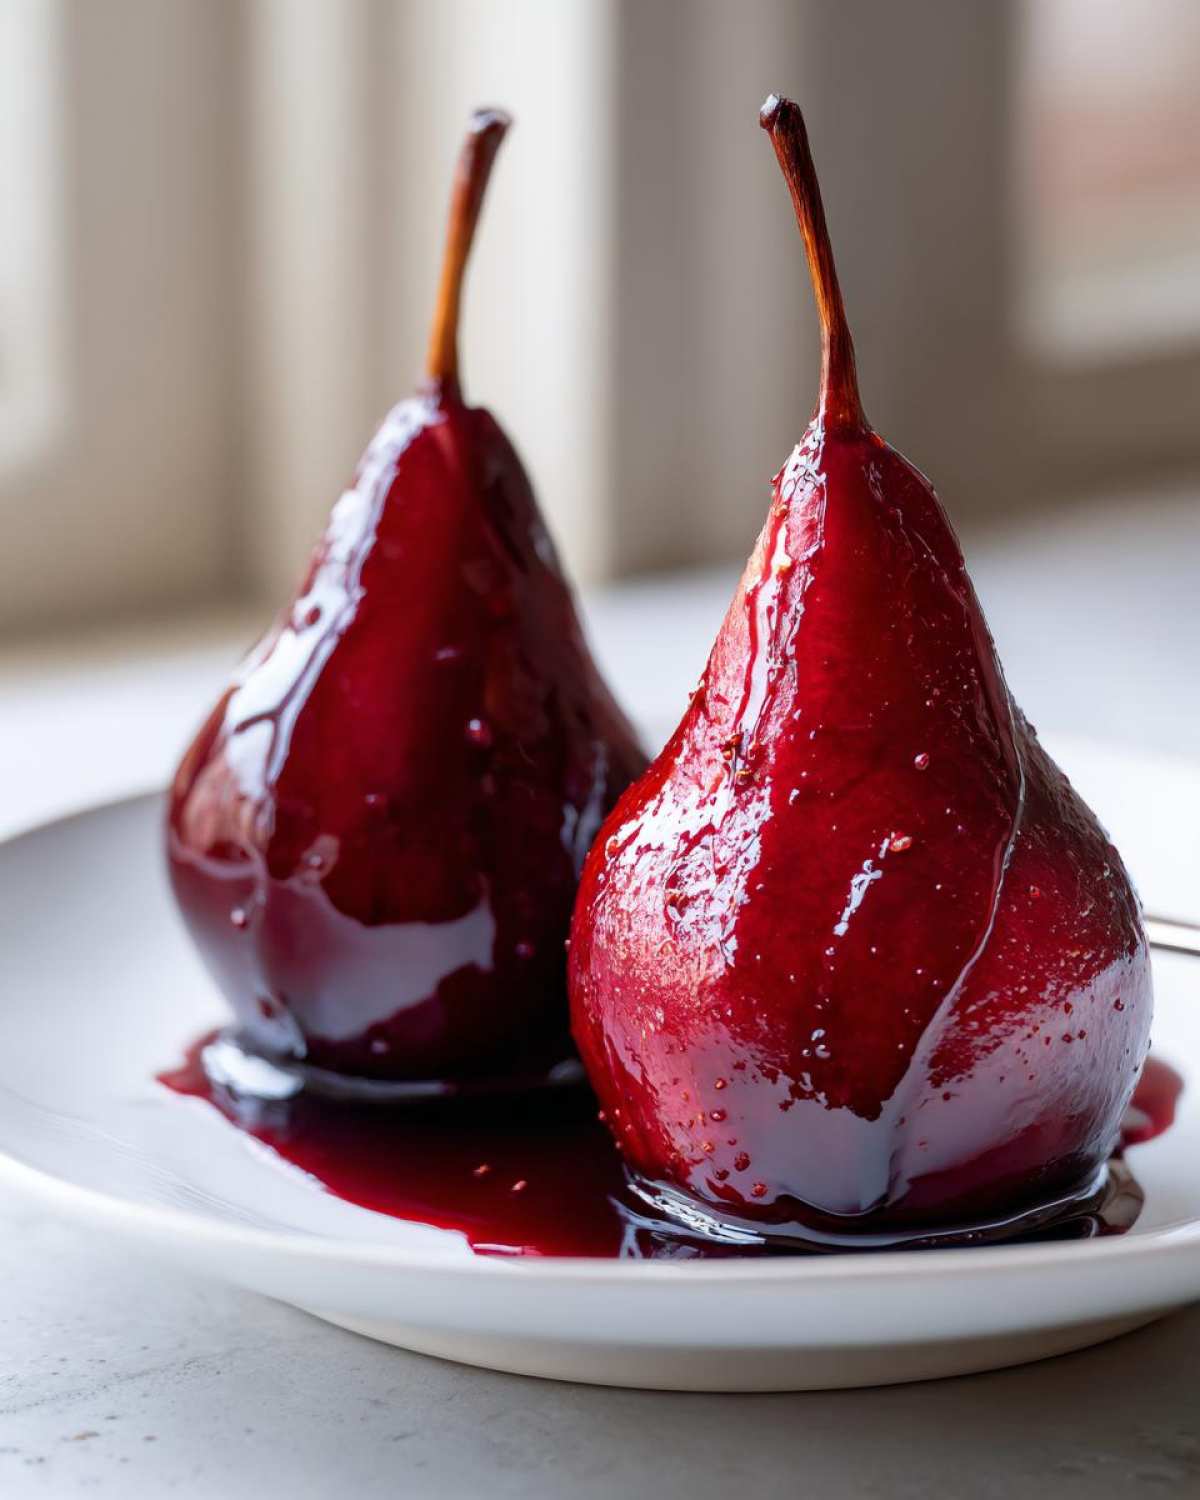
When it’s time to serve leftovers—maybe you’re pulling them out for a midweek treat—you have two great reheating options. For the best experience, especially if you made the red wine version, just reheat them very gently right in a small saucepan with some of that syrup over low heat. You only want them warmed through, not boiling, so you don’t ruin that perfect tender texture we worked so hard to achieve.
If you’re in a rush and serving them chilled (which is also fantastic, especially in the summer!), you can just serve them cold straight from the fridge with a scoop of vanilla ice cream. But whatever you do, don’t toss that syrup! It’s liquid gold; it’s basically the best syrup for pancakes ever, or you can even use it as a glaze for pound cake. Keep that flavorful liquid!
Frequently Asked Questions About Poached Pears
I get so many questions about making the perfect fruit dessert, especially when people are trying this recipe for the first time! These aren’t complicated, but getting the technique right for truly tender poached pears is what separates the good attempts from the amazing ones. So, let’s tackle some of the most common things that pop up when people ask me how to poach pears!
Can I use pears that are too ripe for poaching?
Oh, gosh, please don’t! This is probably the most important tip for getting that perfect texture. If your pears are already soft when you buy them, they are basically just waiting to fall apart the second they hit heat. Soft pears will disintegrate into the simmering liquid way too fast, and you won’t end up with those gorgeous, whole halves you want. You absolutely need firm pears—remember, Bosc or Anjou—so they can hold their shape against the heat. Only use fruit that feels firm to the touch if you want these **poached pears** to turn out perfectly!
How long can I keep leftover poached pears?
This recipe is wonderful for making ahead, which is why I love it for hosting! As long as you follow that one crucial rule—keeping them submerged in their syrup—they last quite a while. I keep mine covered in the fridge, and they are always fantastic for about five days, maybe even stretching to a week. The longer they sit in the spiced syrup, the deeper the flavor gets, honestly! Just make sure that container is airtight so you don’t lose any of that beautiful red wine juice.
Can I make these poached pears without wine?
Absolutely, you can! While I think the red wine gives that stunning jewel tone, sometimes you might want a non-alcoholic version, or maybe you just don’t have a bottle lying around. You can easily substitute the wine with something else! For a beautiful, bright color, use apple cider or white grape juice instead of the red wine. If you go that route, you might want to add just a tiny splash of red food coloring or even skip the wine completely and use plain water mixed with some black tea bags for color. Just make sure you keep the sugar and the spices the same, and you’ll still end up with a lovely, easy poached pears dessert!
Share Your Experience Making Poached Pears
Well, that’s it! You now have the secret to making the most stunning, tender, and flavorful poached pears on the block. I truly hope you bring this simple elegance to your next dinner party or just treat yourself on a quiet Tuesday night.
I want to hear what blend of flavor you chose! Were you a classic Red Wine traditionalist, or did you sneak in some of that Bourbon variation? Did you serve them warm over vanilla ice cream, or try them chilled with a drizzle of that homemade sauce?
Please hop down to the comments below. Tell me how the recipe worked for you, rate those poached beauties out of five stars, and if you snapped a picture of that beautiful jewel-toned fruit, tag me on social media! Seeing your gorgeous plates honestly makes my day. Happy poaching, friends!
Print
Elegant Red Wine Poached Pears with Spice
- Total Time: 60 min
- Yield: 4 servings
- Diet: Vegetarian
Description
Make tender, jewel-toned poached pears using red wine, sugar, and warming spices. This simple recipe creates an elegant fruit dessert perfect for any occasion.
Ingredients
- 4 firm pears (Bosc or Anjou), peeled, halved, and cored
- 3 cups dry red wine (like Merlot or Cabernet Sauvignon)
- 1 cup water
- 1 cup granulated sugar
- 1 vanilla bean, split lengthwise
- 2 cinnamon sticks
- 5 whole cloves
- 1 star anise
- 1 strip orange zest (about 2 inches long)
Instructions
- Combine the red wine, water, sugar, vanilla bean, cinnamon sticks, cloves, star anise, and orange zest in a saucepan large enough to hold the pear halves in a single layer.
- Bring the liquid mixture to a simmer over medium heat, stirring until the sugar dissolves completely. This is your poaching liquid.
- Gently place the peeled and cored pear halves into the simmering liquid. The liquid should mostly cover the pears.
- Reduce the heat to low so the liquid maintains a gentle simmer, not a rolling boil.
- Place a piece of parchment paper cut to fit the pan directly on top of the pears to keep them submerged.
- Simmer for 20 to 35 minutes, or until the pears are tender when pierced with a fork. Cooking time depends on the ripeness and size of your pears.
- Carefully remove the pears from the liquid using a slotted spoon and set them aside.
- Increase the heat to medium-high and boil the remaining poaching liquid rapidly. Reduce the liquid until it thickens slightly into a light syrup, about 10 to 15 minutes. You should have about 1 to 1.5 cups of syrup remaining.
- Return the pears to the syrup briefly to coat them, or serve the syrup drizzled over the pears.
Notes
- For a richer flavor, substitute 1/2 cup of the red wine with 1/2 cup of bourbon or use Moscato wine for a sweeter, lighter poaching liquid.
- Serve warm or chilled with a dollop of vanilla ice cream or a spoonful of crème anglaise.
- If you prefer a thicker sauce, remove the spices and vanilla bean before reducing the liquid.
- Prep Time: 15 min
- Cook Time: 45 min
- Category: Dessert
- Method: Stovetop Simmering
- Cuisine: French Inspired
Nutrition
- Serving Size: 1 pear half with syrup
- Calories: 320
- Sugar: 55
- Sodium: 5
- Fat: 0.5
- Saturated Fat: 0
- Unsaturated Fat: 0.5
- Trans Fat: 0
- Carbohydrates: 85
- Fiber: 7
- Protein: 1
- Cholesterol: 0


Comments are closed.