

There is nothing—and I mean *nothing*—better than waking up on a chilly fall morning when the air smells like woodsmoke and cinnamon, right?
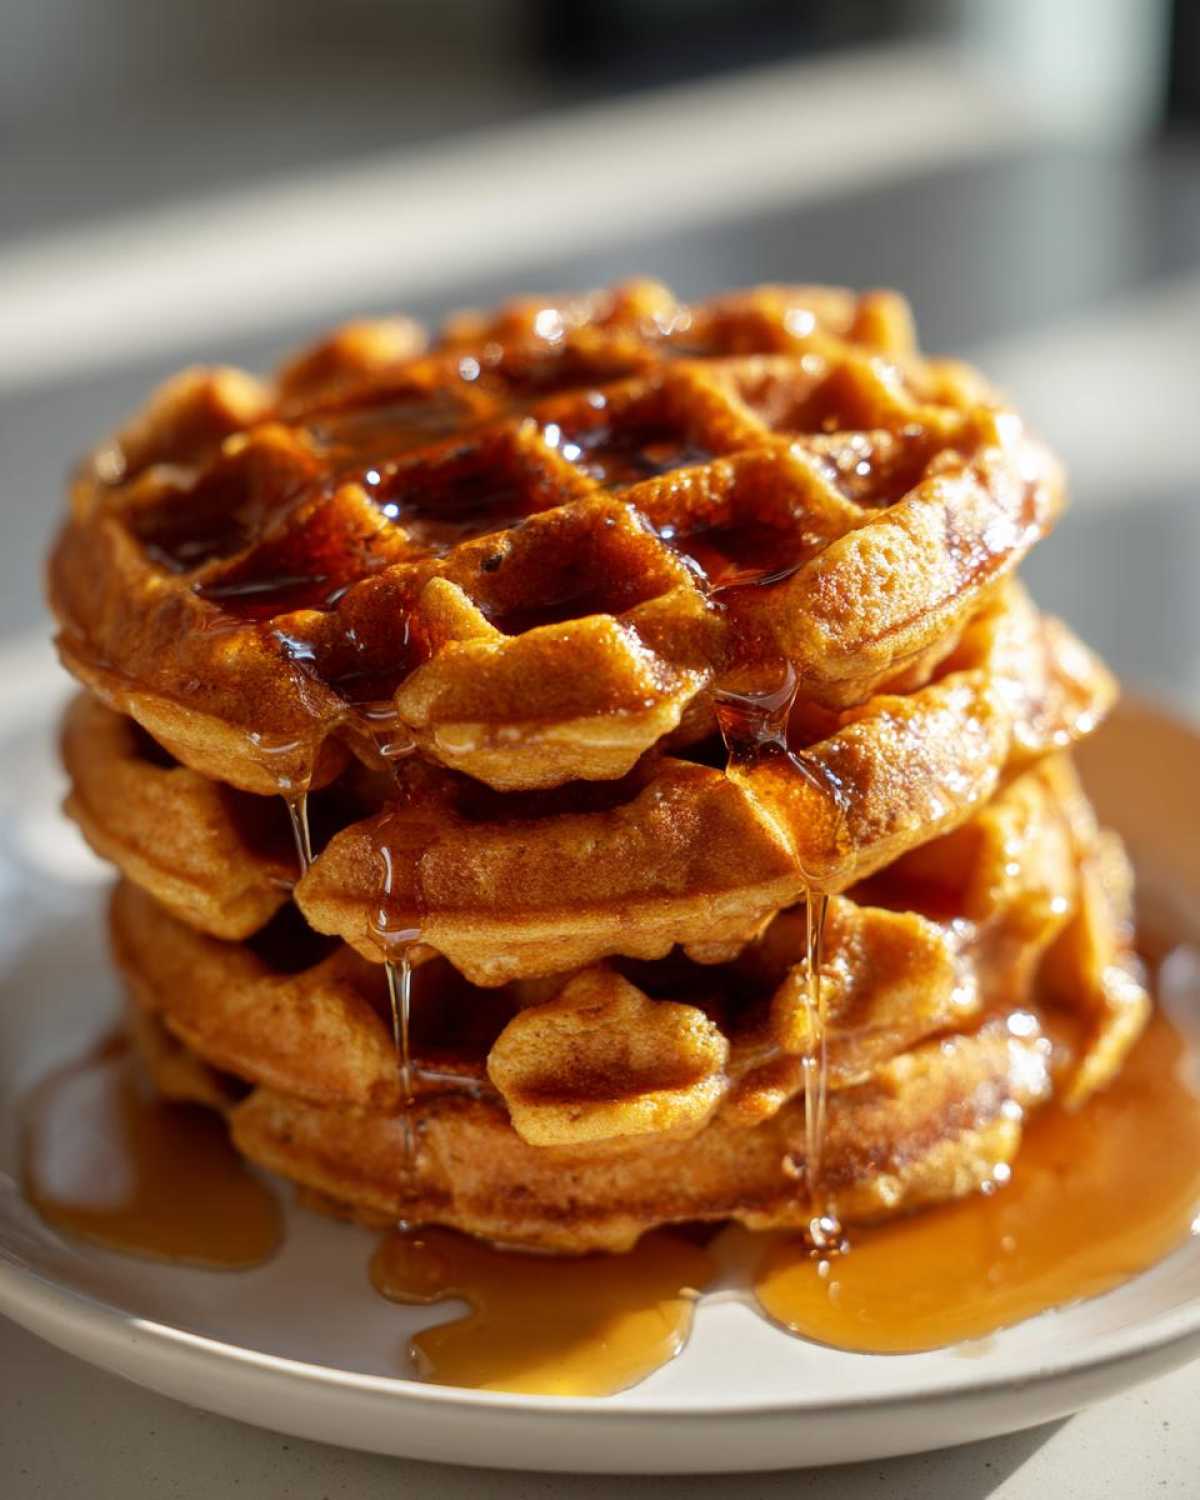
That’s why I guard my recipe for homemade **pumpkin waffles** so fiercely. Forget those sad, soft things you sometimes get out of the box mix because, trust me, we are going for texture here! I’m talking about waffles that are genuinely crisp on the outside, shattering just a little when you cut into them, but the inside? Pure, fluffy, spiced heaven.
I make these every year when the first leaf turns color, and they are always the star when we host friends for a big holiday brunch. Making these from scratch is faster than you think, and the payoff is unbelievable. Get your waffle iron hot!
Why These Are the Best Pumpkin Waffles You Will Make
Honestly, I’ve tested so many fall breakfast recipes, and these just keep winning. They hit all the right notes, and you don’t need a complicated mix to get these results. If you want that next-level breakfast, these are the ones.
- They nail the texture contrast: seriously crispy edges that hold up, with a light, fluffy interior.
- The real pumpkin flavor shines through, thanks to a perfect blend of cinnamon, nutmeg, and ginger.
- They come together faster than you’d think for being completely from scratch!
If you love that fluffy texture, you might also want to check out my guide on how to make perfectly fluffy pancakes—it uses similar science!
Essential Ingredients for Perfect Pumpkin Waffles
Okay, let’s talk about why we need *these* ingredients specifically. When you’re making something seasonal like this, the quality of the spices really matters. I always grab my warm spices off the shelf right before I start, because nothing beats that fresh scent!
You’ll need:
- 1 3/4 cups all-purpose flour
- 2 tablespoons brown sugar (for that deeper caramel note!)
- 2 teaspoons baking powder (essential for the fluff!)
- 1 teaspoon ground cinnamon
- 1/2 teaspoon ground nutmeg
- 1/4 teaspoon ground ginger
- 1/4 teaspoon salt
- 1 1/2 cups milk
- 3/4 cup pumpkin puree (and listen up: this MUST be 100% pure pumpkin, not the sugary pie filling—that changes everything!)
- 2 large eggs
- 1/4 cup melted unsalted butter, plus more for greasing
- 1 teaspoon vanilla extract
We also need stuff for the amazing topping, but we’ll cover that next. Remember, good pumpkin spice flavor is built right into the batter!
Step-by-Step Guide to Making Fluffy Pumpkin Waffles
Now for the fun part! Even though these are from scratch, they are surprisingly fast. The entire cooking process takes about 15 minutes, which is why these are such a great weekend treat. The absolute key here, folks, is patience during the mixing stage. We want fluffy waffles, not hockey pucks!
First things first, get your waffle iron heated up! Preheat it completely while you mix the batter. That initial heat is crucial for that lovely crispy exterior we are after. Once it’s hot, give those grids a quick brush with some melted butter or spray.
Mixing the Dry and Wet Components
Start by combining all your dry ingredients in your biggest bowl—that’s the flour, sugar, baking powder, and all those lovely pumpkin spices. Give them a good whisk around to make sure the baking powder is evenly distributed. You don’t want one bite that doesn’t rise, trust me!
In a separate bowl, whisk all your wet things together: milk, pumpkin puree, eggs, vanilla, and that melted butter. Whisk until it looks pretty smooth. Now for the crucial part: dump the wet mess into the dry bowl.
You have to whisk gently here. I mean it! Whisk until the flour streaks practically disappear. If you keep stirring until it’s perfectly smooth, you’ll develop the gluten and end up with tough, chewy waffles. A few lumps are actually a good sign; they mean you stopped stirring just in time for those homemade waffles to be beautifully tender.
Cooking Your Pumpkin Waffles to Perfection
Use the batter amount your waffle maker recommends—usually a scant cup or so, depending on the size. Don’t peek too early! The best indicator that your pumpkin waffles are ready is when the loud sizzling and steaming slow way down. That sound change means the moisture is escaping and the outside is crisping up.
When you open the iron, they should be a gorgeous deep golden brown color. If they look pale, just close the lid for another minute. Once they look perfect, lift them out carefully. They should easily release! Serve them right away, or use the tip below to keep the first batch warm while you finish the rest.
Mastering the Brown Butter Maple Syrup for Your Pumpkin Waffles
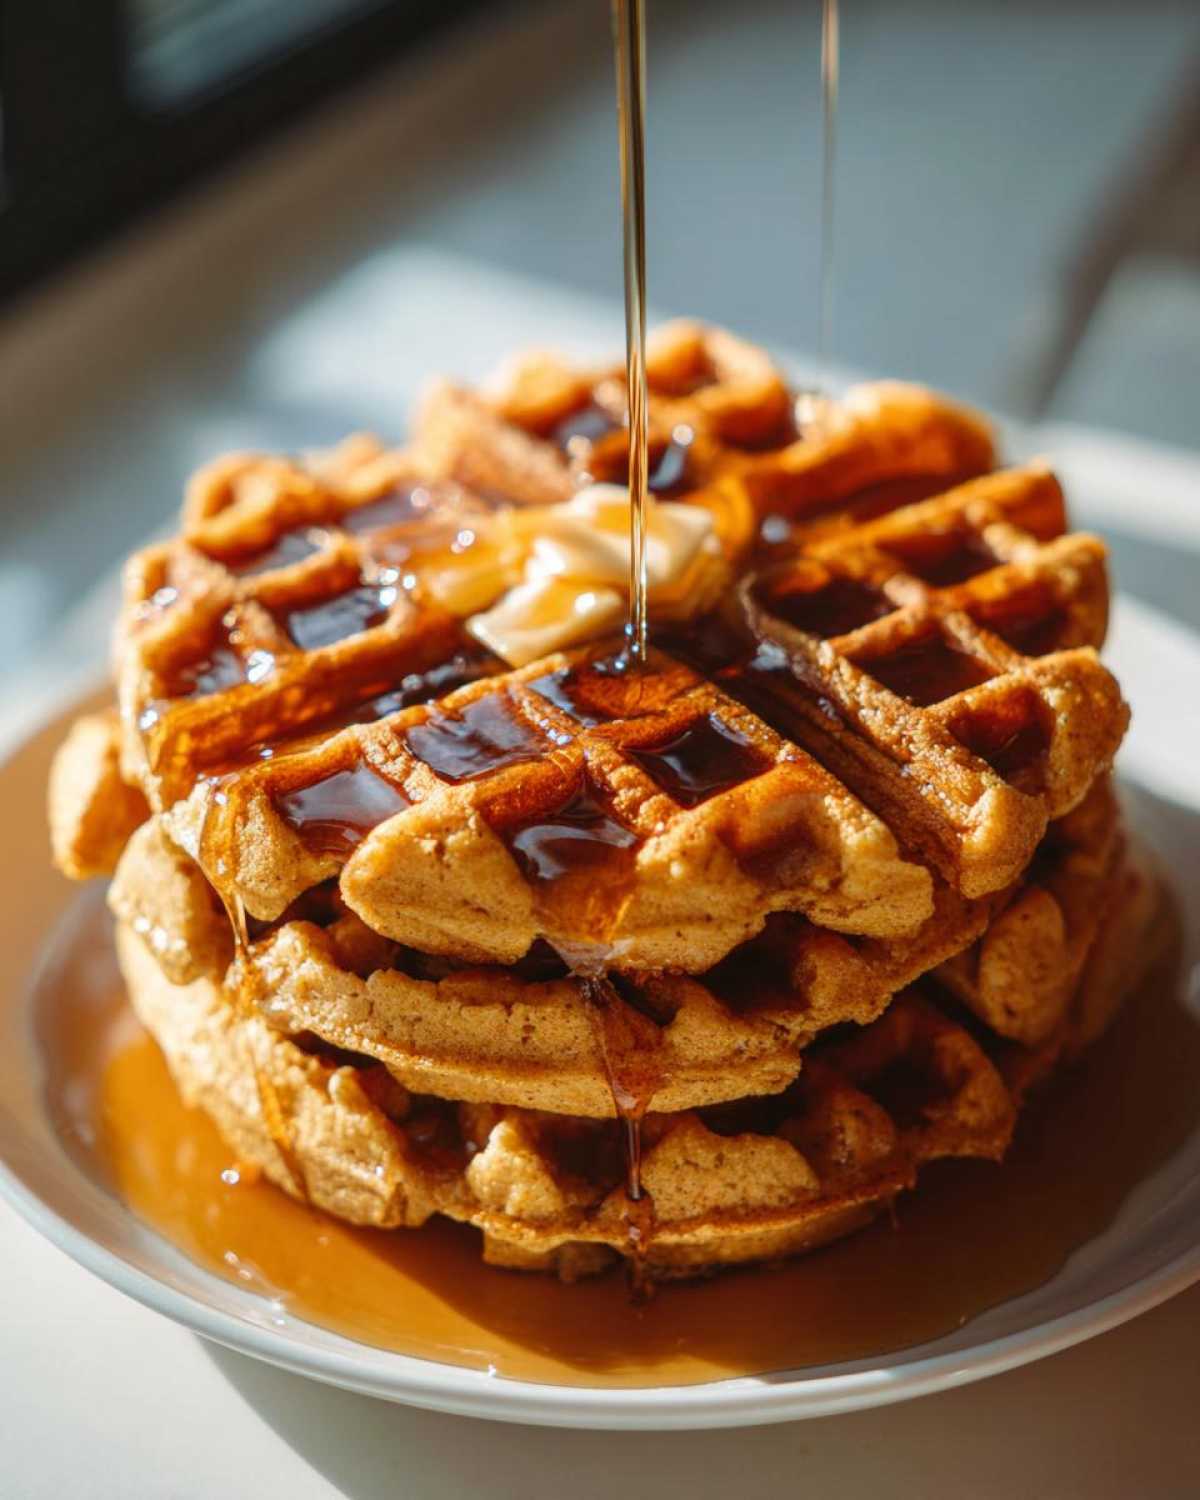
If you want to take these **pumpkin waffles** from “delicious” to “I might cry,” you absolutely have to try browning your butter for the syrup. Seriously, ditch the plain melted butter! It adds such a deep, nutty, caramelized flavor complexity that tastes like pure autumn.
All you do is take that leftover half-stick of butter intended for the batter (or even just half of a new stick) and throw it into a small saucepan over medium heat. You’ll watch it melt, then start to foam up. Keep swirling! Soon, you’ll see tiny brown specks forming at the bottom, and the whole kitchen will smell amazing—kind of like toasted nuts. That’s your cue!
Pull it immediately off the heat so it doesn’t burn, and then just whisk in your maple syrup. That’s it! You’ve just made the most incredible syrup. It goes perfectly with the warm spices in the waffles. If you love that spiced butter flavor, you should absolutely look at my recipe for cinnamon butter too—it’s just as easy!
Tips for Extra Crispy Waffles and Troubleshooting
I know we talked about fluffiness, but that crackly outside is non-negotiable for me! The best way to make sure you keep that crispness, especially when you’re making a huge batch for everyone during a holiday morning brunch, is using a wire rack.
As soon as the waffles come off the iron, put them on a cooling rack set inside a baking sheet. Place that whole setup into a very low oven, like 200°F. They stay perfectly warm, and the air circulation keeps the bottoms from getting soggy. This is a lifesaver!
Now, a quick note on batter consistency. If you find your leftover batter (because yes, you can make it ahead!) seems really thick the next morning, don’t panic. Just stir in a tiny splash of milk. A little bit goes a long way. Keep mixing only until it loosens up enough to pour easily. That’s how we keep these **spiced waffles** easy and delicious!
Creative Variations for Your Pumpkin Waffles
Once you master the base recipe, you can totally play around with these **pumpkin spice waffles**! If you’re looking for a slightly healthier angle for your regular weekday breakfast, try swapping out half the all-purpose flour for whole wheat flour. It gives them a little nutty lift.
For those mornings where you need extra indulgence—hello, Christmas morning!—toss in about half a cup of mini chocolate chips right before you pour the batter onto the iron. They melt beautifully. If you end up with extra batter, you should totally pivot those leftovers into my favorite pumpkin spice cheesecake bars later in the week!
Serving Suggestions for Your Autumn Breakfast Brunch
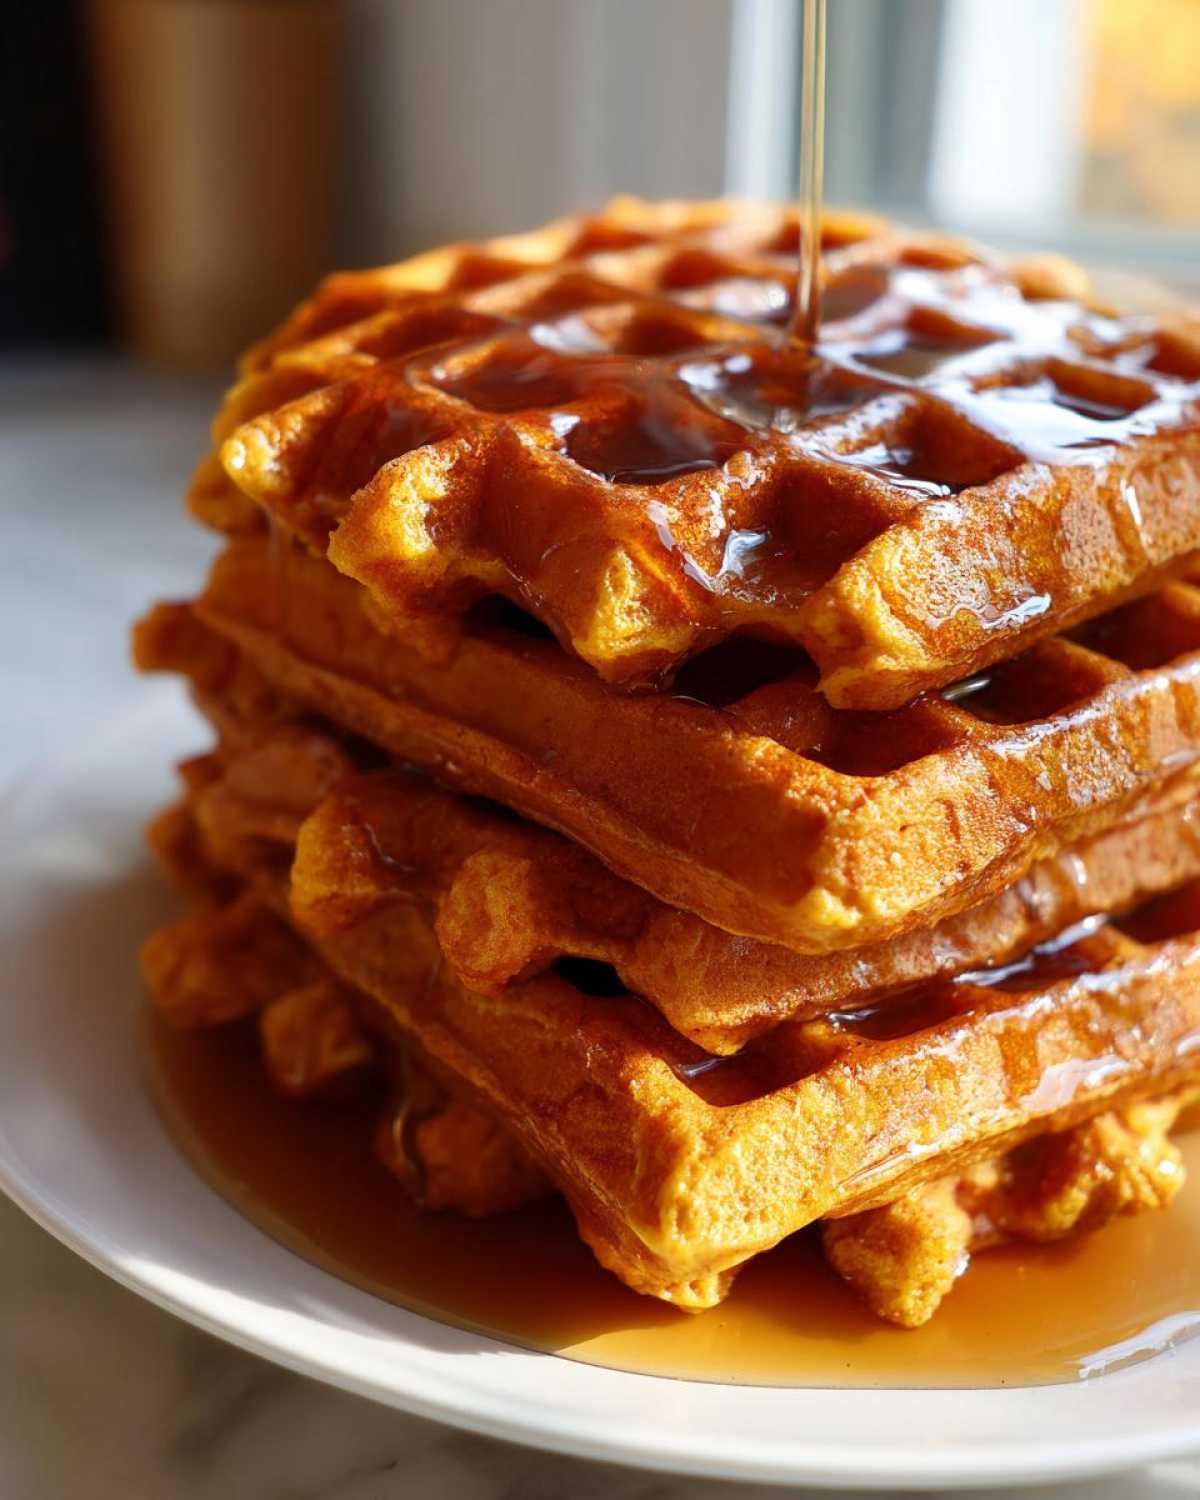
So you’ve got your plate of beautifully crisp **pumpkin waffles** hot off the iron, drizzled with that amazing brown butter maple syrup. Awesome! But we can always make breakfast look even better, right? These are perfect for putting out when you have company over for a weekend brunch.
We’ve covered the brown butter syrup, but a great garnish takes these **seasonal waffles** to the next level. This is where you can really embrace the cozy fall breakfast ideas!
Here are a few things I always keep ready for topping my waffles:
- A big dollop of freshly whipped cream. Don’t buy the stuff in the can; whip heavy cream with a tiny bit of powdered sugar until it holds soft peaks. It tastes so much lighter!
- Toasted pecans or walnuts. Toasting them first releases all their oils and makes them crunchier. Just toss them in a dry pan for three minutes until you smell them!
- A sprinkle of flake sea salt over the top of the syrup. Trust me, that tiny bit of salt balances the sweetness perfectly.
- Thinly sliced apples or pears tossed lightly in cinnamon. They give a wonderful fresh crunch against the soft waffle.
If you decide you want to make a savory dish on the side instead of just desserts, I have a killer recipe for perfect cast iron cornbread that works wonderfully next to a stack of these sweet waffles for a full holiday morning spread!
Storing and Reheating Leftover Pumpkin Waffles
If you happen to have any **leftover pumpkin waffles**—which is rare in my house, I’ll tell you that much!—storing them right is key to keeping that crisp texture alive for tomorrow.
First, make sure they are completely cool. You can stack them between layers of paper towels and place them in an airtight container in the fridge for three or four days. If you want to freeze them, cool them completely, stack them with parchment paper between each one to stop sticking, and put them in a freezer bag.
Now, for reheating: please, *please* skip the microwave! It just makes them soft again. To bring back that glorious crunch, pop them right into the toaster on a medium setting, or heat them on a baking sheet in a 350°F oven until they are crisp again. That oven trick works every time!
Frequently Asked Questions About Pumpkin Waffles
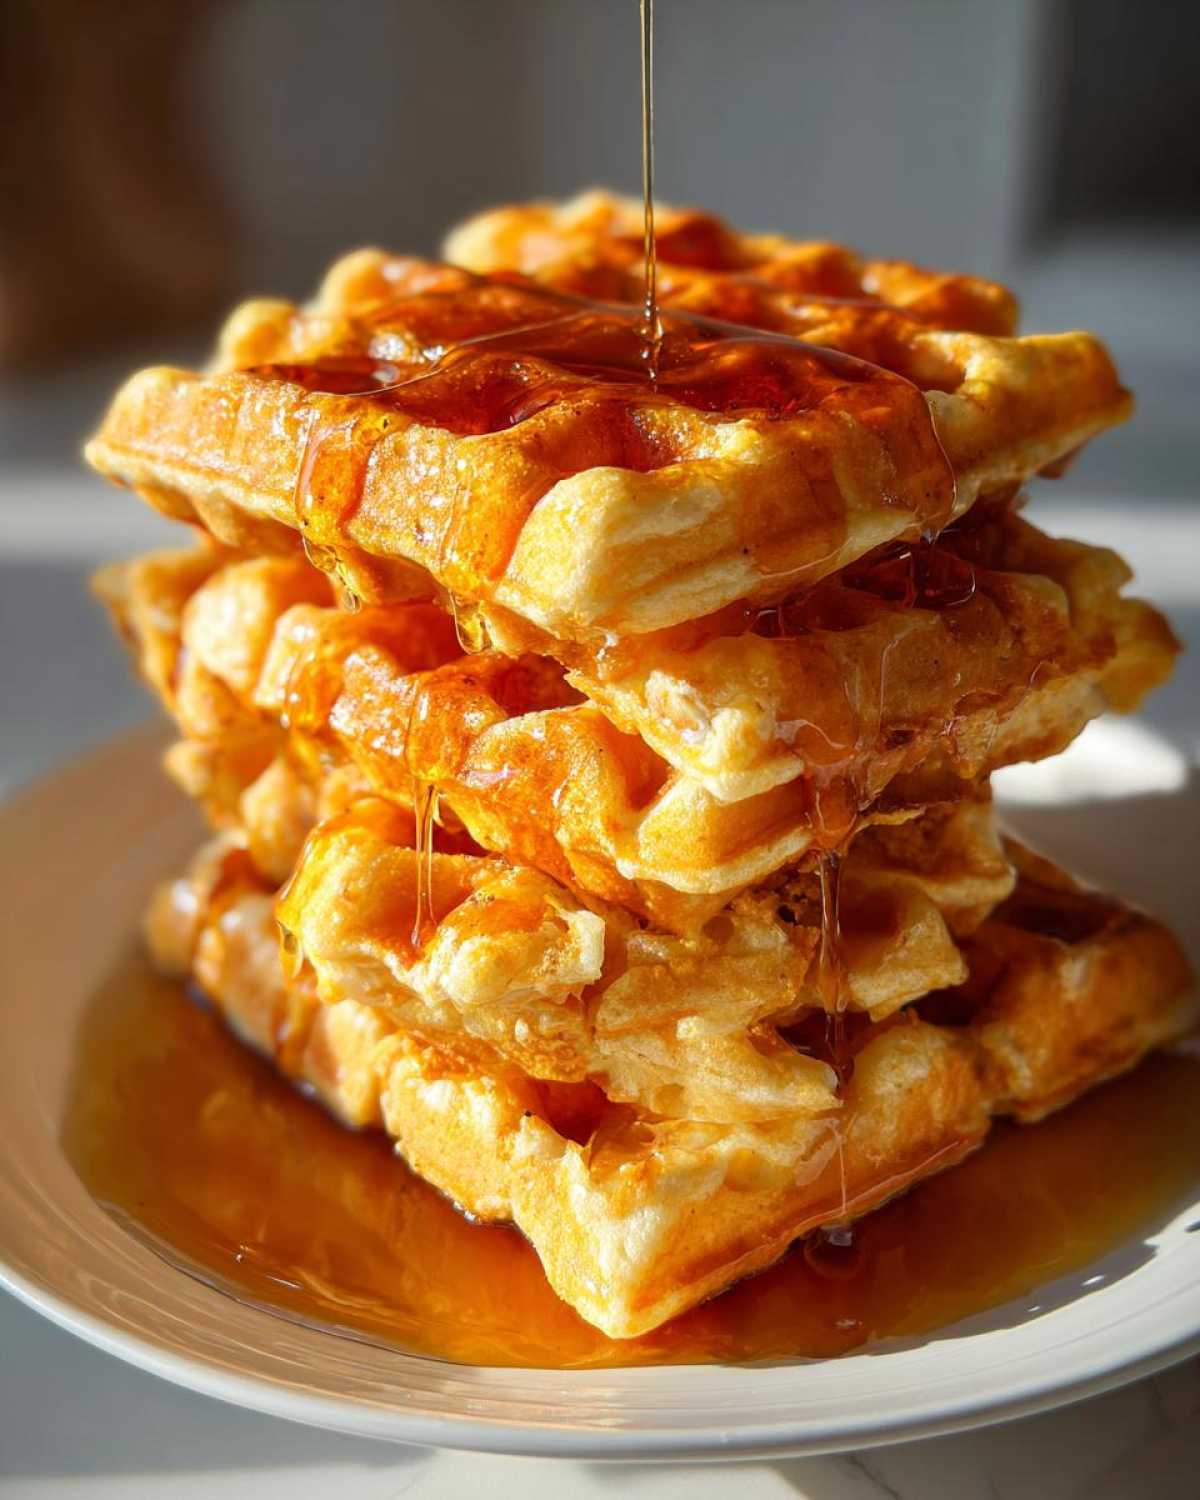
I get so many questions about these! They are simple, but sometimes getting that perfect texture—that’s the tricky part. Don’t worry; I’ve got the answers right here to make sure your batch of **Pumpkin Waffles** is perfect every single time.
Can I make the pumpkin waffle batter the night before?
Yes, you absolutely can! Make-ahead is one of the best parts about an **Easy Waffle Recipe** like this, especially if you’re planning a big **Weekend Brunch**. You can store the batter covered in the fridge for up to 24 hours. Just remember, it will thicken up a lot. When you wake up, stir in just a tiny splash of milk until it pours nicely again, and you’re ready to go!
What is the secret to getting crispy waffles?
The secret has two parts. First, don’t overmix the batter; those little lumps keep them **Fluffy Waffles**! Second, you have to cook them long enough on the iron until the steam stops releasing, which means the moisture is gone and they are setting up that nice exterior crust. Then, use that trick I mentioned: keep cooked batches on a rack in a 200°F oven!
Can I substitute the butter in the waffle recipe?
For the batter itself, if you absolutely need to swap out the melted butter for some dietary reason, you can use a neutral-flavored oil like canola or vegetable oil. It won’t have the richness that butter provides, but it will work fine structurally. If you do that, just remember to still use butter when greasing the iron for the best non-stick results!
I hope those tips help you make the very best batch. If you’ve ever wondered how to make other fall favorites like my chicken fried rice, feel free to explore around the site!
Print
Perfectly Fluffy & Crispy Pumpkin Waffles with Brown Butter Maple Syrup
- Total Time: 25 min
- Yield: 6-8 waffles
- Diet: Vegetarian
Description
Make crisp outside, fluffy inside pumpkin waffles from scratch. This recipe uses classic pumpkin spice flavors perfect for a cozy weekend breakfast or holiday brunch.
Ingredients
- 1 3/4 cups all-purpose flour
- 2 tablespoons brown sugar
- 2 teaspoons baking powder
- 1 teaspoon ground cinnamon
- 1/2 teaspoon ground nutmeg
- 1/4 teaspoon ground ginger
- 1/4 teaspoon salt
- 1 1/2 cups milk
- 3/4 cup pumpkin puree (not pumpkin pie filling)
- 2 large eggs
- 1/4 cup melted unsalted butter, plus more for greasing
- 1 teaspoon vanilla extract
- 1/2 cup (1 stick) unsalted butter, for brown butter syrup
- 1/2 cup maple syrup, for brown butter syrup
Instructions
- Combine dry ingredients: In a large bowl, whisk together the flour, brown sugar, baking powder, cinnamon, nutmeg, ginger, and salt.
- Mix wet ingredients: In a separate medium bowl, whisk together the milk, pumpkin puree, eggs, melted butter, and vanilla extract until smooth.
- Combine batters: Pour the wet ingredients into the dry ingredients. Whisk gently until just combined. Do not overmix; a few small lumps are fine for fluffy waffles.
- Preheat waffle iron: Preheat your waffle iron according to the manufacturer’s directions. Lightly brush the grids with melted butter or cooking spray.
- Cook waffles: Pour the batter onto the hot iron, using the amount recommended for your specific iron. Cook until the steam stops and the waffles are golden brown and crisp.
- Make brown butter maple syrup: In a small saucepan over medium heat, melt the 1/2 cup butter. Continue cooking, swirling occasionally, until the butter foams, then brown bits form at the bottom and it smells nutty (about 5-7 minutes). Remove from heat immediately and stir in the 1/2 cup maple syrup.
- Serve immediately: Transfer the cooked waffles to a plate and top generously with the warm brown butter maple syrup.
Notes
- For extra crispiness, let the cooked waffles sit for a few minutes on a wire rack placed inside a baking sheet in a low oven (about 200°F) while you finish the batch.
- If you prefer a stronger spice flavor, add 1/4 teaspoon of cloves to the dry ingredients.
- This batter can be made ahead and stored in the refrigerator for up to 24 hours. You may need to add a splash of milk if it thickens too much upon standing.
- Prep Time: 10 min
- Cook Time: 15 min
- Category: Breakfast
- Method: Waffle Iron
- Cuisine: American
Nutrition
- Serving Size: 1 waffle
- Calories: 350
- Sugar: 18g
- Sodium: 300mg
- Fat: 15g
- Saturated Fat: 8g
- Unsaturated Fat: 7g
- Trans Fat: 0g
- Carbohydrates: 50g
- Fiber: 3g
- Protein: 8g
- Cholesterol: 75mg


Comments are closed.