
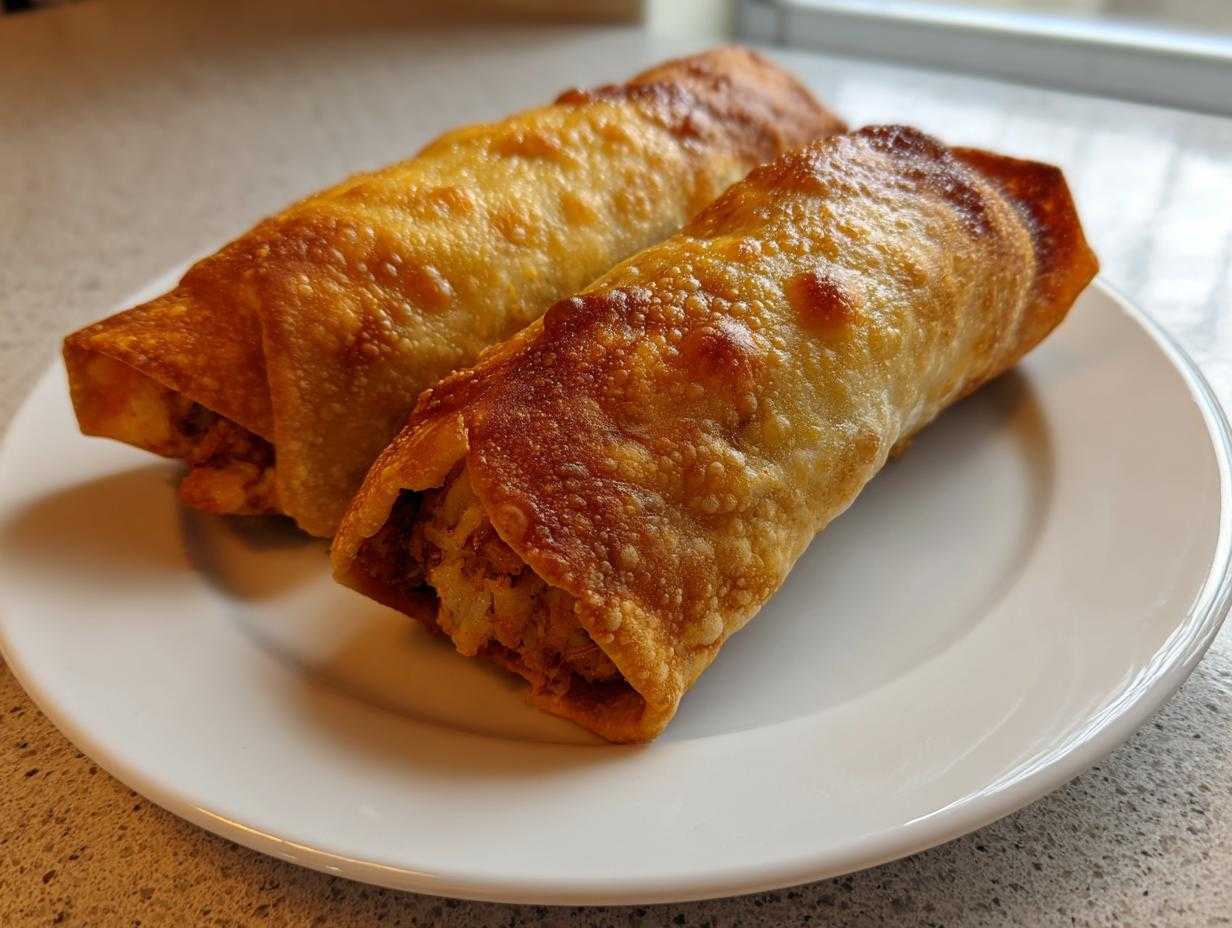
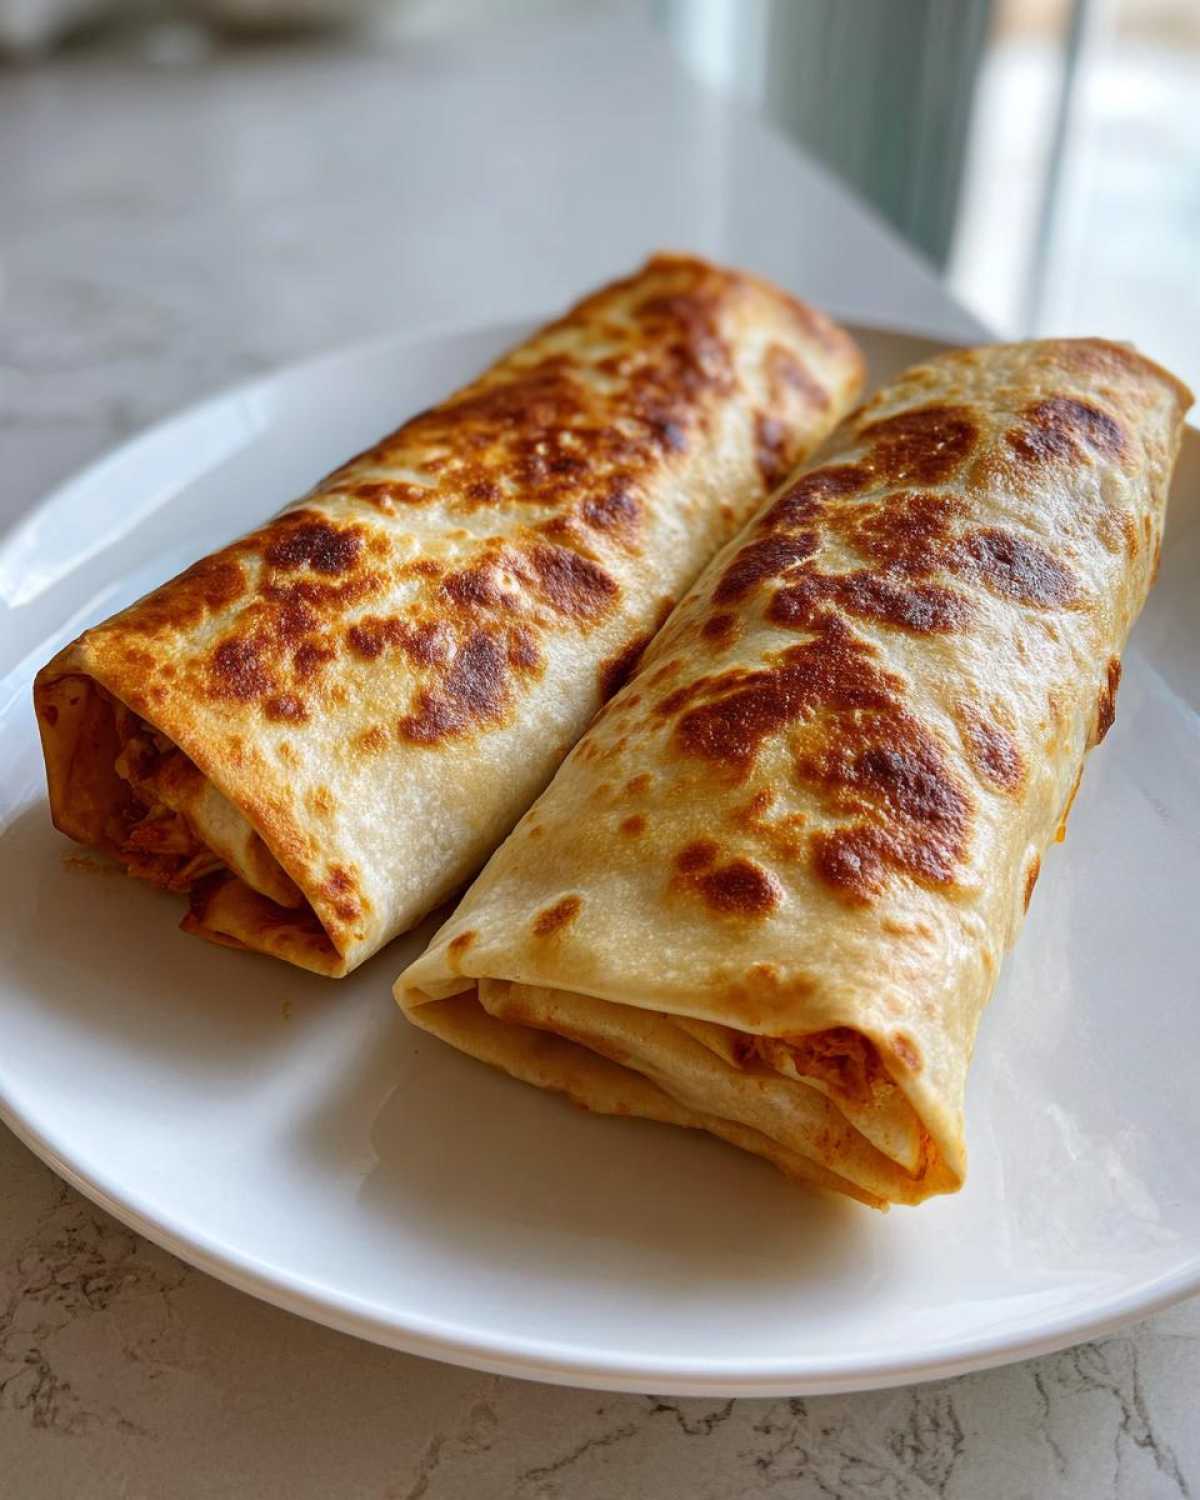
Oh, I absolutely get it. You’re sitting there scrolling through pictures of sizzling, golden-brown Tex-Mex, craving that incredible crunch, but the thought of deep-frying just sends you running back to the couch. I was there for years! I love the big, messy flavor of a chimichanga, but who wants a kitchen slicked with oil on a Tuesday night? Trust me, I’ve spent ages perfecting the oven route, and I finally cracked the code. These **Baked Chicken Chimichangas** give you that amazing, crunchy shell texture—maybe even better than the restaurant versions—using nothing but your regular oven. It’s my go-to for a guilt-free Mexican night that actually feels like a treat, not a chore.
Why You Will Love This Crispy Baked Chicken Chimichangas Recipe
Honestly, this recipe checks all my boxes for a perfect dinner. We’re talking big flavor payoff for minimal effort, which is exactly what I need after a long day. Here’s why it’s a staple at my house:
- It’s shockingly fast! We’re looking at **35 minutes total**, making it perfect for a last-minute **weeknight chicken dinner idea**.
- Goodbye, greasy mess! These are truly **no-fry chimichangas** that still deliver that satisfying crunch you crave.
- It’s a genuinely **healthy chimichanga recipe**—all the flavor, none of the deep-fry guilt.
- The filling stays creamy inside while the outside gets perfectly golden. It’s the best of both worlds!
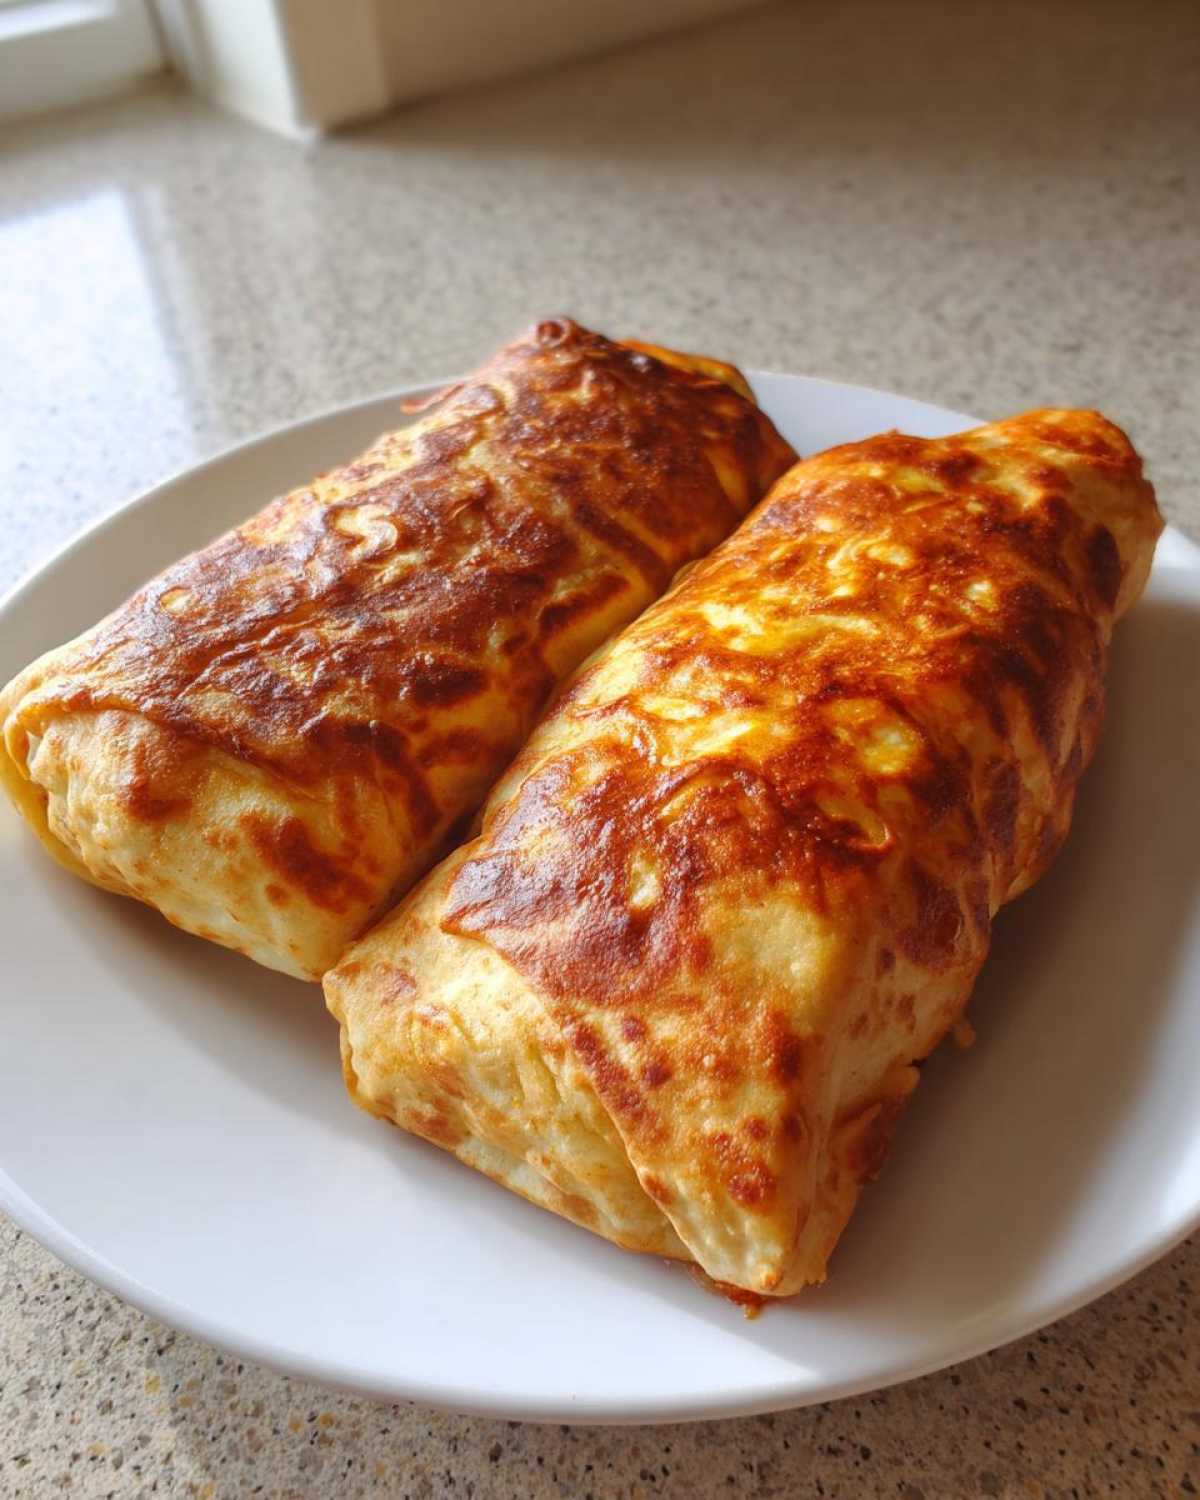
Essential Ingredients for Perfect Baked Chicken Chimichangas
Okay, so the filling is what makes or breaks this whole experience. You need structure so it doesn’t ooze out everywhere when you bake it, but you also need that creamy Tex-Mex magic happening inside. When I list these out, make sure you have everything ready to go. That way, assembly is super fast, which is critical for getting these into the oven lightning quick.
I always gather everything before I even start heating the oven so I’m not scrambling halfway through. Here’s the checklist for this amazing flavor bomb:
- You need about 2 cups of perfectly cooked, shredded chicken. Rotisserie chicken is my secret weapon here!
- For that creamy melt, get 1 cup of shredded Monterey Jack cheese and 1/2 cup of cream cheese—make sure that cream cheese is actually soft!
- A little tang comes from 1/4 cup of sour cream.
- The fresh stuff: 1/4 cup of sliced green onions perks everything up.
- And for the spice blend that gives it that unmistakable flavor: chili powder, cumin, and garlic powder. Don’t skimp on these; they bring the authenticity!
- Finally, you absolutely need 8 large flour tortillas. Burrito size is best so you can roll them tight.
Step-by-Step Guide to Making Easy Baked Chimichangas
This is where the magic happens, and honestly, it’s so much simpler than wrestling with hot oil. We want everything prepped, mixed, and rolled fast so we can get those beautiful **Baked Chicken Chimichangas** into the oven to work their crispy charm. Before anything else, you need to crank that temperature up—preheat your oven to 400 degrees Fahrenheit, and trust me, have your baking sheet lightly greased and ready to go the second you’re done rolling. That initial heat helps secure the crunch right away!
Preparing the Flavorful Chicken Filling
Grab a mixing bowl, folks, because we mix everything here! Start with that shredded chicken, then toss in both your shredded Jack cheese and that softened cream cheese. The cream cheese is crucial; it’s not just flavor, it’s the glue that holds everything together so we don’t have cheesy explosions in the oven. Add in your sour cream, those lovely green onions, and all your seasonings. Mix it all up really well until it’s completely uniform. You want zero pockets of plain cream cheese staring back at you!
Rolling and Sealing Your Baked Chicken Chimichangas
Next up, we handle the tortilla situation. Flour tortillas are temperamental when cold, so you just need to warm them up—a quick 10 seconds in the microwave or about 30 seconds per side in a dry skillet makes them super bendy. Place about a quarter cup of that filling right down the middle. The folding technique matters here: fold the two sides in first, then roll it up as tightly as you possibly can, starting from the bottom edge. A tight roll is key to structure in your final **Baked Chicken Chimichangas**.
Achieving Maximum Crunch in the Oven
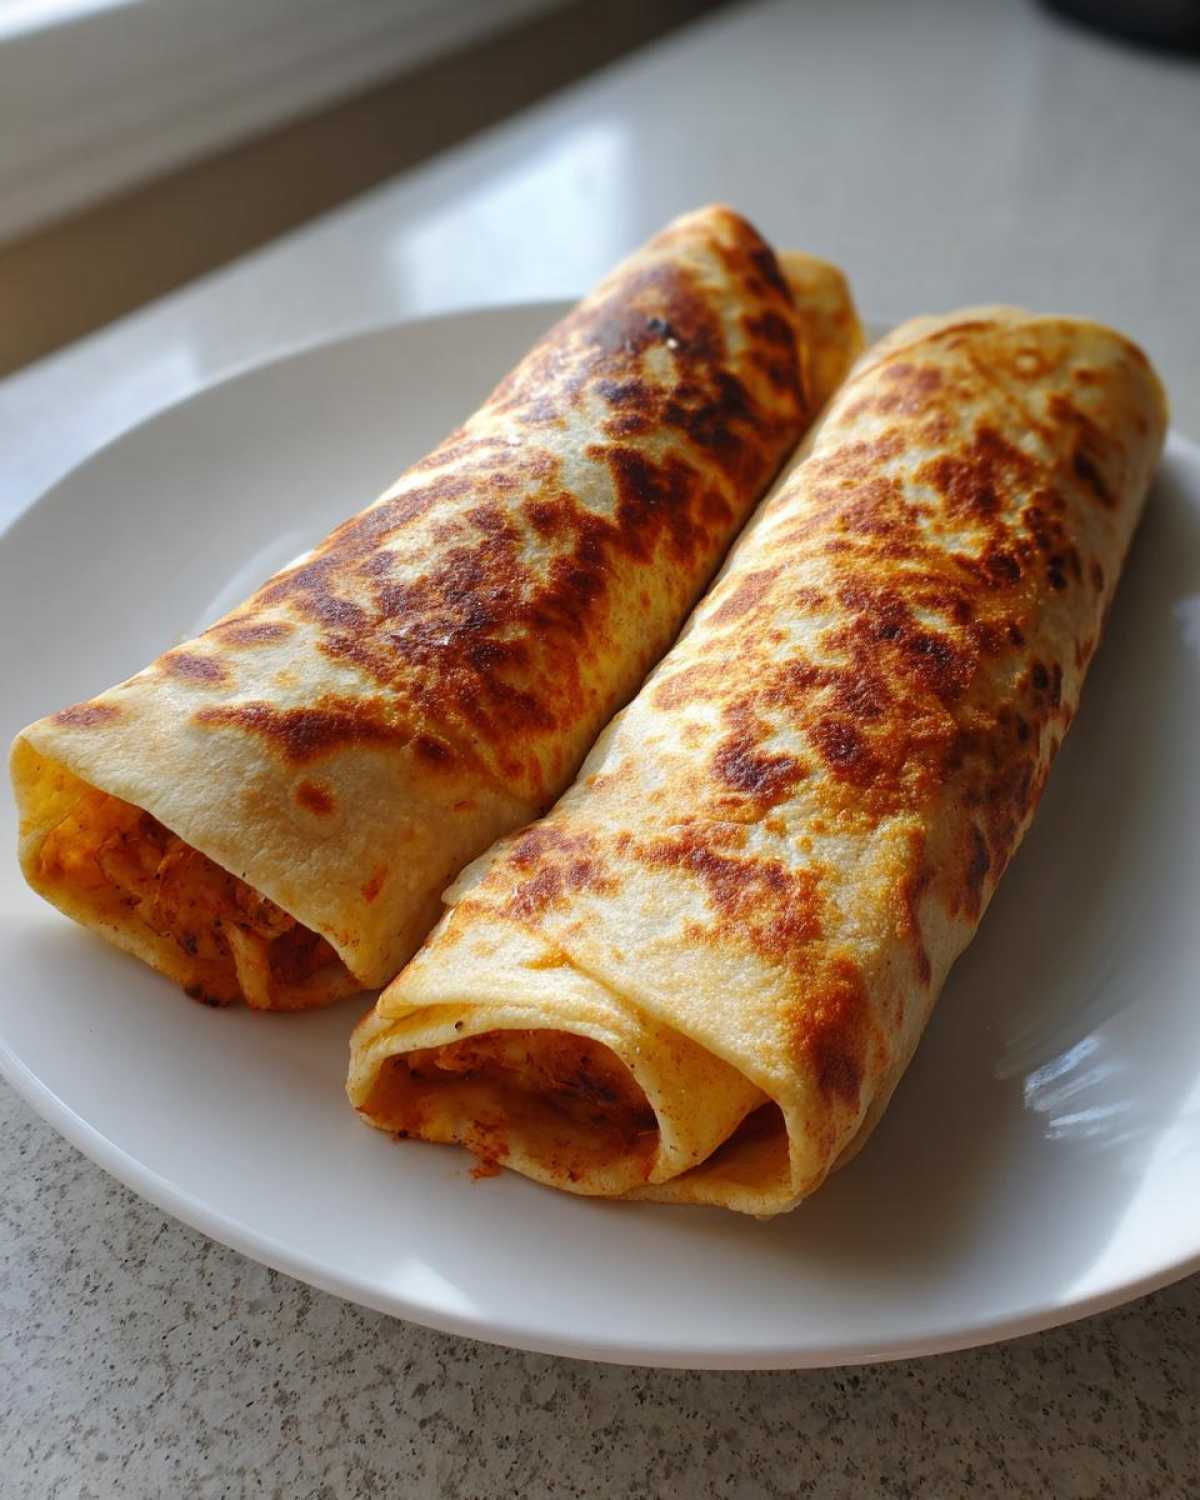
This is the step I skipped once, and I paid for it with floppy wraps! Once all your chimichangas are neatly lined up seam-side down on that baking sheet, grab your cooking spray or melted butter. You need to coat the entire exterior. I prefer brushing with melted butter for the *best* texture I can get at home. This oil coating absorbs the heat and guarantees a crunchy shell for this **Baked Chicken Chimichangas Recipe**. Bake for about 15 to 20 minutes, remembering to flip them halfway through, so both sides get that beautiful golden color. If you want more tips on getting things super crispy in the oven without frying, check out how I prep my crispy baked wing coating!
Tips for the Crispiest Baked Chicken Chimichangas
Listen, I know everyone tries to get that authentic, almost fried crunch we used to get at that old Tex-Mex spot—I’m aiming for those legendary **Chi Chis Style Baked Chimichangas** every single time! The biggest mistake I see people make with **Baked Chicken Chimichangas** is using flimsy tortillas. You need those big, sturdy flour tortillas meant for burritos; if they are too thin, they’ll either split or just turn leathery instead of crunchy.
Also, oven precision is everything when you are banking on baking for crispness. Make sure your 400-degree temperature is accurate! If your oven runs cool, these will steam instead of crisp. Finally, moisture is the enemy of crunch. Don’t overfill them; a quarter cup is plenty. If your leftover chicken filling is watery, that moisture just turns the tortilla soggy. For a fantastic, crunchy finish on anything oven-baked, always check out my guide on how I roast potatoes until they are shatteringly crisp—the principles are the same for these wraps!
Ingredient Notes and Substitutions for Baked Chimichangas
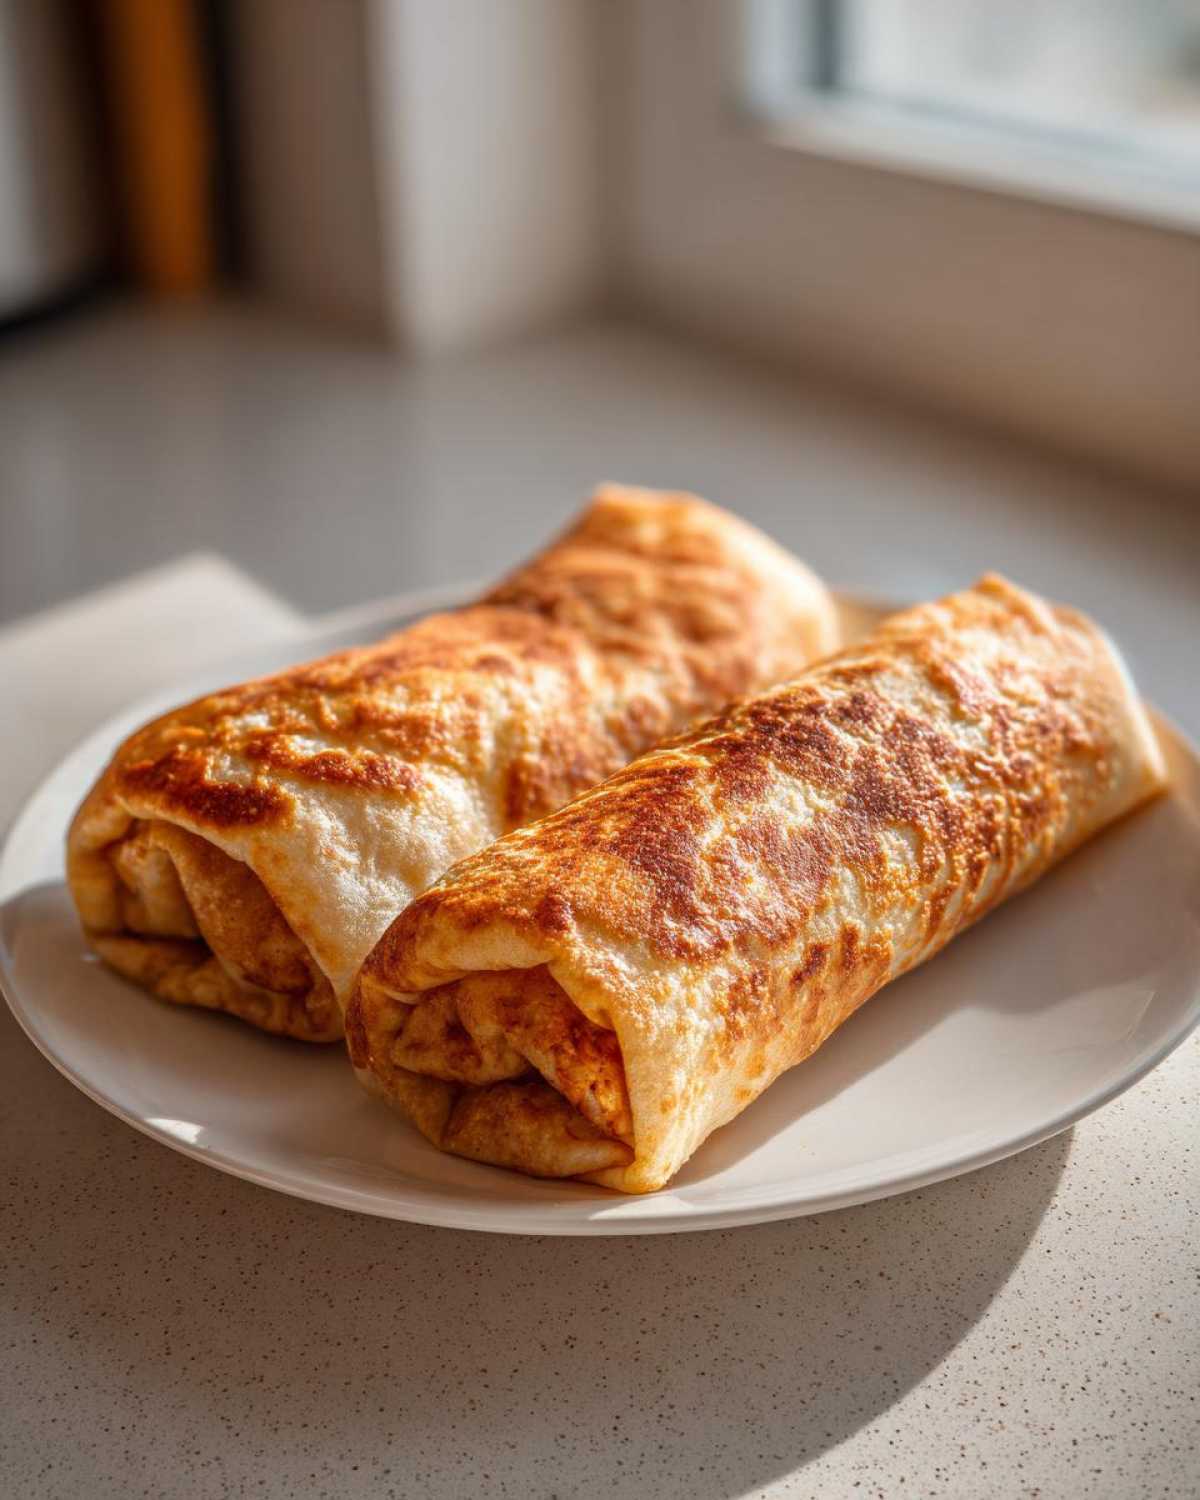
One of the greatest things about making **Baked Chicken Chimichangas** at home is that you have total control over what goes into them. I love using leftover rotisserie chicken because it’s already seasoned beautifully and saves me a ton of time, but feel free to poach and shred whatever you have on hand! Don’t stress too much about the cheese blend either.
If you don’t keep Monterey Jack on hand, Pepper Jack is a fantastic 1:1 swap if you want a little kick, or feel free to mix in some sharp cheddar for a deeper flavor. If you’re looking to cut back slightly on the richness, you can swap half that cream cheese for plain Greek yogurt, but be warned—it won’t bind quite as perfectly, so roll those babies extra tight!
For spice adjustments, this recipe is easy to customize. If your family loves heat, just toss in a teaspoon of your favorite smoky chipotle powder or a dash of hot sauce right along with the sour cream. It just enhances the overall depth of flavor!
Serving Suggestions for Your Oven Baked Mexican Food
You can’t just pull these golden beauties out of the oven and eat them plain, right? No way! That golden shell is just begging for some creamy, fresh toppings. Getting the right dips turns these simple comfort foods into a full-blown feast. I usually set up a little topping station on the counter so everyone can customize their own plate.
Of course, fresh salsa and dollops of cool sour cream are non-negotiable staples. Guacamole is a must if you have the time to mash up some avocado—the richness cuts through the seasoned chicken filling perfectly. And if you really want to lean into that restaurant feel, you have to sneak in some cheese sauce. Seriously, homemade queso is surprisingly easy, and it makes everything better. You can find my recipe for easy, creamy nacho cheese right here—it’s dangerously good drizzled over these chimichangas!
Storage and Reheating Instructions for Leftover Baked Chicken Chimichangas
Okay, here’s hoping you have hungry people because these **Easy Baked Chimichangas** are so good, leftovers are rare! But just in case you do manage to have any incredible crunch left over, storing and reheating them properly is vital if you want that crispiness back. Don’t even think about the microwave first; that’s a recipe for sadly soft wraps.
For the fridge, let them cool completely first, then stack them in an airtight container with a paper towel on the bottom to absorb any condensation. They’ll stay great for about three days. When you are ready to eat them—and you absolutely should!
The secret to reviving that perfect crunch in your **Baked Chicken Chimichangas** is high, direct heat. I strongly recommend popping them into a toaster oven or an air fryer set to about 350 degrees for about 5 to 8 minutes. You want to get them hot and crispy all over again. If you’re in a massive hurry and only have the big oven, 375 degrees for about 10 minutes works well too!
Frequently Asked Questions About Baked Chicken Chimichangas
I always get questions when people try to switch from frying to baking, mostly around texture and stability. It’s totally normal! Getting that perfect result with **Baked Chicken Chimichangas** takes just a couple of pointers, but once you know them, you’re set for life. If you’re new to making **easy Mexican dinner recipes** this way, check out these common concerns!
Can I use smaller tortillas for these Baked Chicken Chimichangas?
You can, but you’ll have to adjust your filling, and honestly, it makes for a very small chimichanga! I highly recommend sticking with the large, 10-inch burrito-sized flour tortillas. They give you enough surface area to actually fold the sides in neatly before rolling tightly. The tighter you can roll them, the less likely they are to burst open while baking. Smaller tortillas just don’t give you that satisfying, hefty wrap we’re looking for in our **Baked Chicken Chimichangas**.
How do I make this a Healthy Chimichanga Recipe?
The main thing that makes this recipe so much better for you is ditching the deep fryer! That cuts out so much unnecessary fat right there. If you want to push it further into **healthy chimichanga recipe** territory—and you totally should because these bake up so well—try swapping half the Monterey Jack for a low-fat Mexican blend. Also, you can use light cream cheese or even swap the full 1/2 cup of cream cheese for a little extra Greek yogurt, though you might want to watch the moisture level if you do that.
I often find people searching for more easy Mexican dinner recipes that make cleanup simple, and baking delivers on that promise every time!
Reader Feedback and Next Steps
So there you have it! My absolute favorite, tried-and-true method for getting those perfectly crispy **Baked Chicken Chimichangas** without turning on the deep fryer. I truly hope this recipe becomes a staple for your quick, **guilt-free Tex Mex** nights like it is for mine.
Now, I’m dying to know what you think! Did you manage to get that amazing crunch we talked about? Did you try sour cream or Greek yogurt in the filling? Please leave a rating for this **Baked Chicken Chimichangas Recipe** below. I love reading about your successes and any little tweaks you make along the way. Drop a comment and let me know how your family enjoyed this **quick chicken dinner**!
Print
Crispy Baked Chicken Chimichangas
- Total Time: 35 min
- Yield: 8 servings
- Diet: Low Fat
Description
Make a healthier version of your favorite Tex-Mex dish with these easy, oven-baked chicken chimichangas that achieve a satisfying crunch without deep frying.
Ingredients
- 2 cups cooked, shredded chicken
- 1 cup shredded Monterey Jack cheese
- 1/2 cup cream cheese, softened
- 1/4 cup sour cream
- 1/4 cup green onions, sliced
- 1 teaspoon chili powder
- 1/2 teaspoon cumin
- 1/4 teaspoon garlic powder
- 8 large flour tortillas (burrito size)
- Cooking spray or melted butter for brushing
- Optional: Salsa, guacamole, or extra sour cream for serving
Instructions
- Preheat your oven to 400 degrees Fahrenheit. Lightly grease a baking sheet.
- In a medium bowl, combine the shredded chicken, Monterey Jack cheese, softened cream cheese, sour cream, green onions, chili powder, cumin, and garlic powder. Mix until everything is well combined.
- Warm the flour tortillas briefly in the microwave or a dry skillet to make them pliable.
- Place about 1/4 cup of the chicken mixture onto the center of each tortilla.
- Fold the sides of the tortilla inward over the filling, then tightly roll the tortilla from the bottom up to seal the filling inside, creating a neat burrito shape.
- Place the rolled chimichangas seam-side down on the prepared baking sheet.
- Lightly spray the tops and sides of the chimichangas with cooking spray or brush them with melted butter for crispiness.
- Bake for 15 to 20 minutes, flipping halfway through, until the tortillas are golden brown and crispy.
- Serve immediately with your preferred toppings.
Notes
- For extra crispiness, you can lightly brush the tortillas with melted butter instead of cooking spray.
- Use leftover rotisserie chicken to speed up the prep time.
- If you prefer a spicier filling, add a dash of hot sauce to the chicken mixture.
- Prep Time: 15 min
- Cook Time: 20 min
- Category: Dinner
- Method: Baking
- Cuisine: Tex-Mex
Nutrition
- Serving Size: 1 chimichanga
- Calories: 350
- Sugar: 3
- Sodium: 450
- Fat: 14
- Saturated Fat: 7
- Unsaturated Fat: 7
- Trans Fat: 0
- Carbohydrates: 35
- Fiber: 2
- Protein: 22
- Cholesterol: 60


Comments are closed.