
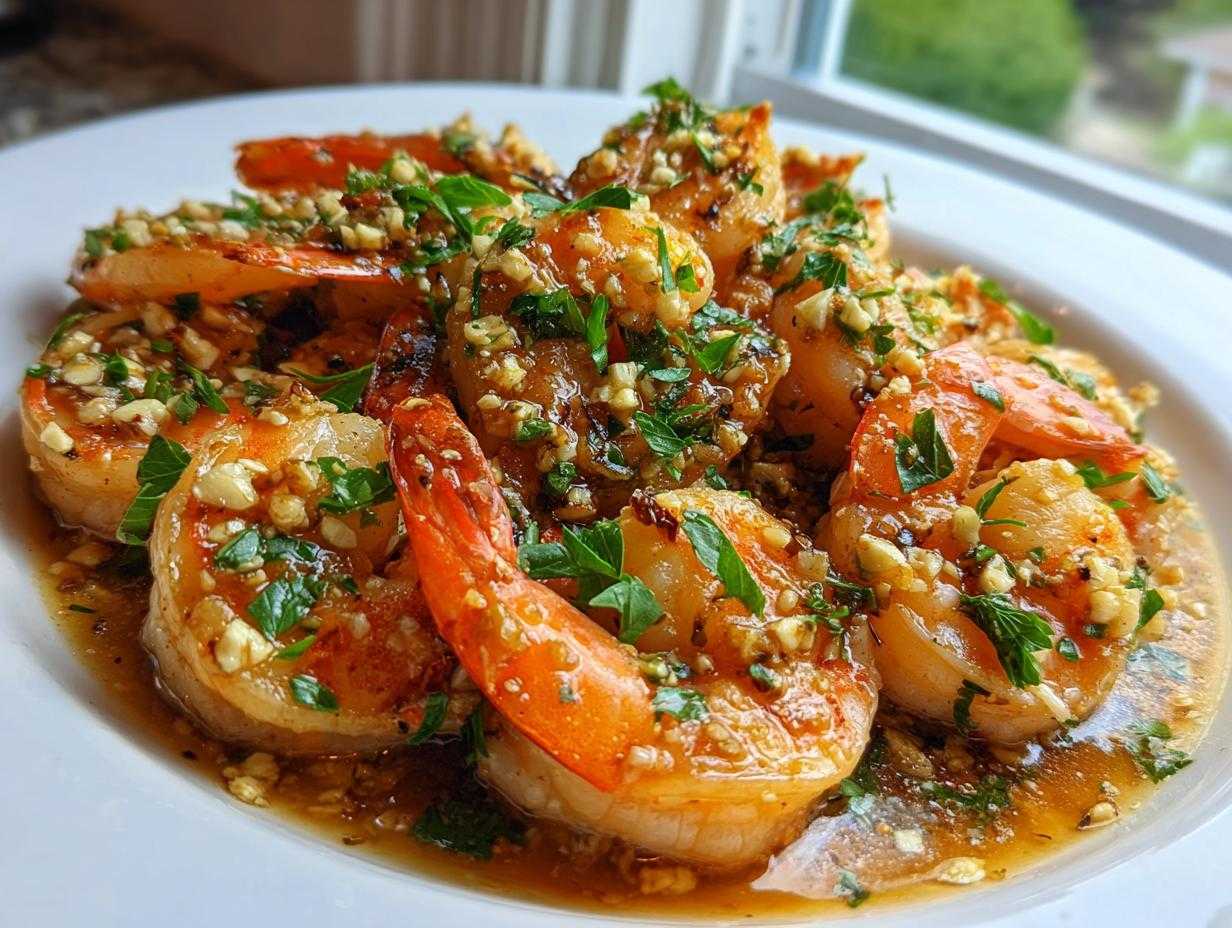
Oh my gosh, you have to try this! If you’ve ever been to Oahu—or even just dreamt about those iconic shrimp trucks parked up on the North Shore—you know that smell. That intoxicating cloud of garlic, butter, and something sweet trailing through the warm air? That’s magic, pure and simple. I spent a whole summer trying to bottle that exact flavor profile for my own kitchen, and trust me, I finally cracked the code on the sauce!
This isn’t just any garlic shrimp; this is the real deal: authentic, North Shore-Style **Hawaiian Garlic Shrimp**. It’s quick enough for a weeknight, but so ridiculously flavorful it feels like a vacation on a plate. Forget fancy techniques; we’re focusing on the perfect balance of savory, garlicky punch, and that signature hint of tropical sweetness. You’ll never go back to boring scampi again!
Why This Hawaiian Garlic Shrimp Recipe is the Best
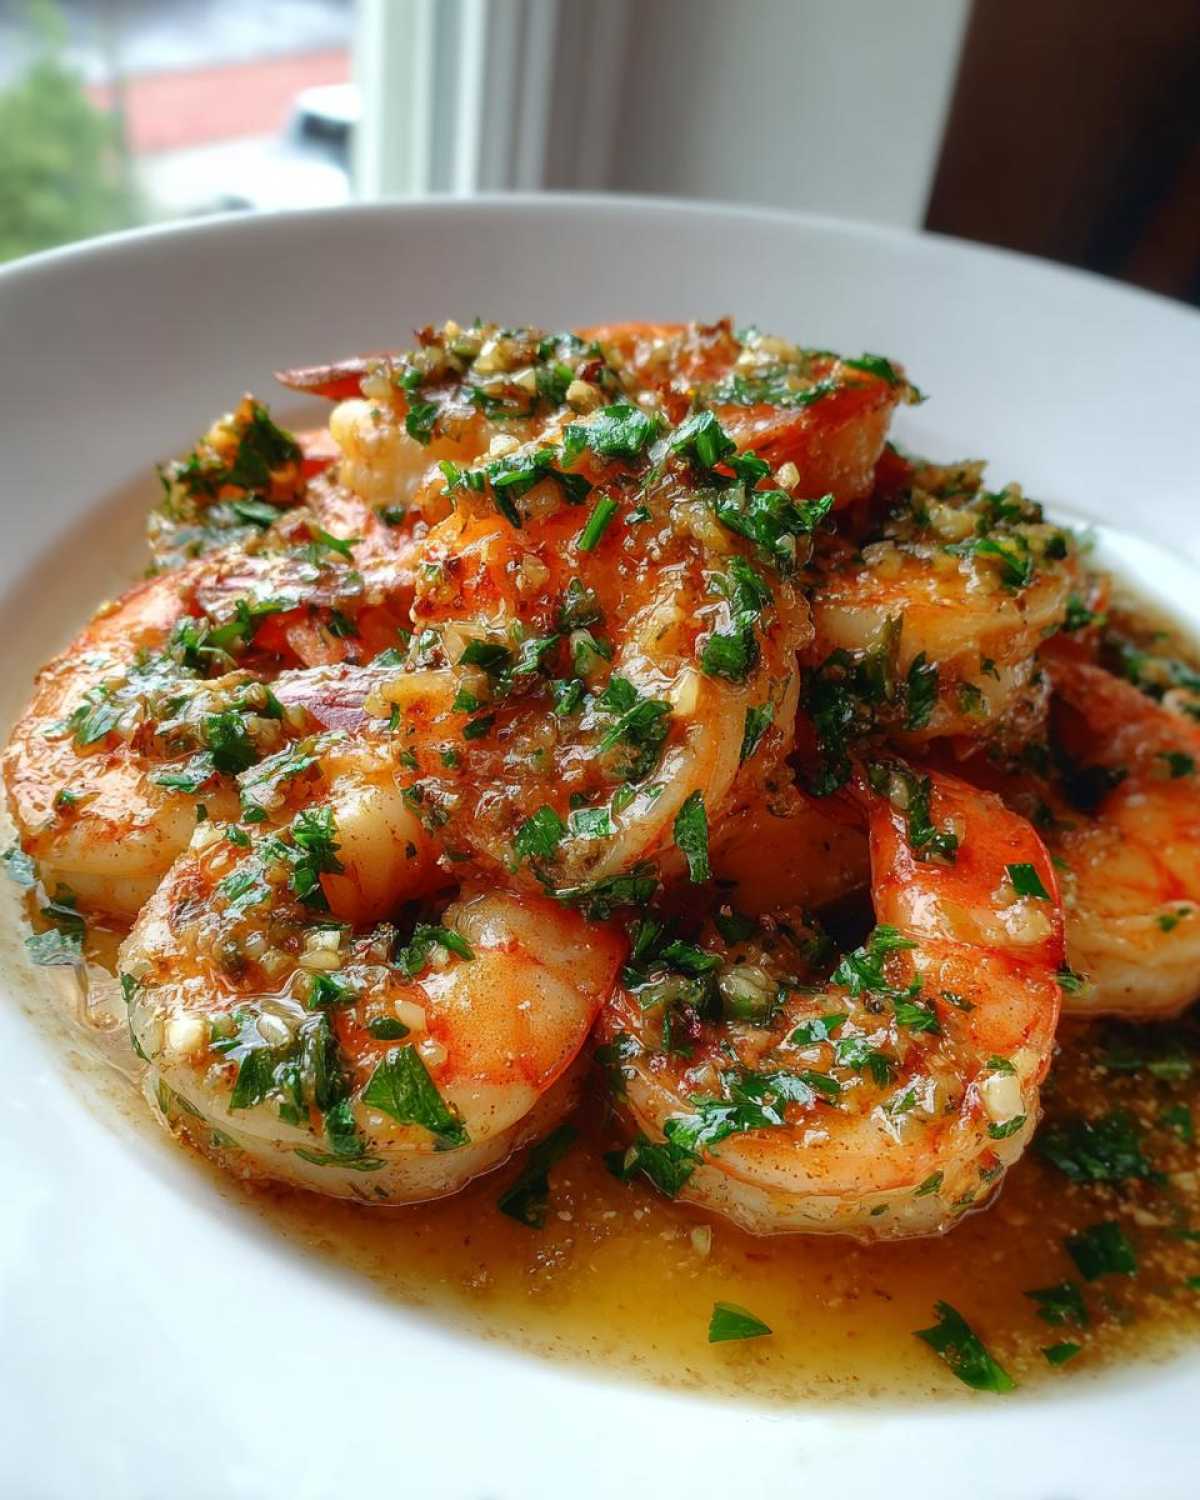
Listen, when you’re craving island flavor, you need a recipe that delivers fast and true. This North Shore-Style recipe isn’t some watered-down version. I’ve tinkered with the butter-to-garlic ratio more times than I can count to get it just right. It’s incredibly satisfying, and honestly, it’s faster than waiting in line at the truck!
Here’s why you’re going to make this your go-to easy seafood meal:
- Authentic Island Flavor: We nail that sweet-savory-garlicky profile using brown sugar and pineapple juice—it’s non-negotiable for that true *Aloha* taste.
- Speedy Supper: Prep is minimal, and it cooks in under 15 minutes. Perfect for those days when you need a quick shrimp dinner but want something spectacular.
- The Sauce is Everything: Forget dry shrimp! This recipe builds a rich, emulsified, buttery garlic sauce that clings perfectly to every single piece. You’ll want to sop up every last drop with rice.
Essential Ingredients for Authentic Hawaiian Garlic Shrimp
Okay, let’s talk about what makes this Hawaiian Garlic Shrimp recipe sing. This isn’t meant to be subtle, folks! The secret is the intense commitment to garlic, butter, and that necessary tropical tang. We’re using a whole head of garlic, minced. Yes, a whole head! Don’t skimp here; that’s what gives you that fantastic pungent, buttery coating you expect from the food trucks.
We need volume for the sauce, so grab one full cup of unsalted butter blended with a half cup of olive oil. Pure butter flavor is key, but the oil helps us cook the aromatics without scorching them instantly. Then comes the sweet/savory lineup that defines the island profile: a quarter cup of packed brown sugar, a quarter cup of soy sauce, grated fresh ginger, and that critical splash of fresh pineapple juice. That juice is like sunshine in a sauce—it cuts through the richness perfectly. Seriously, try dipping into this sauce on its own; it’s incredible!
Ingredient Notes and Substitutions for Your Hawaiian Garlic Shrimp
A couple of quick notes on making sure your ingredient prep is spot on. First, the shrimp must be large—peeled and deveined, please! Trying to cook tiny shrimp in this rich sauce just leads to overcooking and rubbery disappointment. Also, make sure that butter is unsalted, because we’re controlling the salt level with the soy sauce.
If you somehow run out of fresh ginger (which happens to me all the time!), you can use about 2 teaspoons of ground ginger, but honestly, the fresh stuff makes all the difference in brightness. For the Worcestershire sauce, don’t skip it; it adds a deep, savory background note that balances the sugar beautifully. This is all about precision in the flavor layering!
Step-by-Step Instructions for Perfect Hawaiian Garlic Shrimp
This is where the magic happens, and honestly, it moves fast! Don’t walk away from the stove once you start, or you’ll burn that precious garlic. Before anything else, we need to get those shrimp ready. Pour about half of your soy sauce and some pepper over the 2 lbs of large shrimp and let them hang out for just 15 minutes. That short marination time is enough to soak up some flavor without making them mushy later on.
Next, let’s build that incredible buttery garlic sauce. Grab your biggest skillet—you need space to move those shrimp around! Melt the full cup of butter alongside the olive oil over medium heat. Once it’s shimmering gently, toss in that entire minced head of garlic, plus the grated fresh ginger. You only sauté this for about two to three minutes. I can’t stress this enough: you want them fragrant and golden, not brown or bitter. Bitter garlic ruins the whole vibe, so watch those bubbles!
Now for the liquids that make this truly Hawaiian Garlic Shrimp. Add the rest of your soy sauce, the brown sugar, the pineapple juice, Worcestershire sauce, and lemon juice. Stir that vigorously! Let it go for about three minutes until the sugar has completely dissolved. If the sauce looks a little thin, just let it simmer down a bit longer until it coats the back of a spoon. This simmering step is crucial for thickening the sauce naturally before the seafood goes in. That’s my little trick for achieving that thick, luscious coating you see on all the best Buttery Garlic Shrimp plates.
Time for the main event! Increase the heat up to medium-high. Toss in your shrimp, trying to keep them in a single layer as much as you can; that helps them sear instead of steam. Shrimp cooks insanely fast, so give them about two to three minutes on one side until they curl up and turn pink, then flip and cook for another two minutes. Overcooked shrimp is my biggest pet peeve, so pull them off the heat the second they look done!
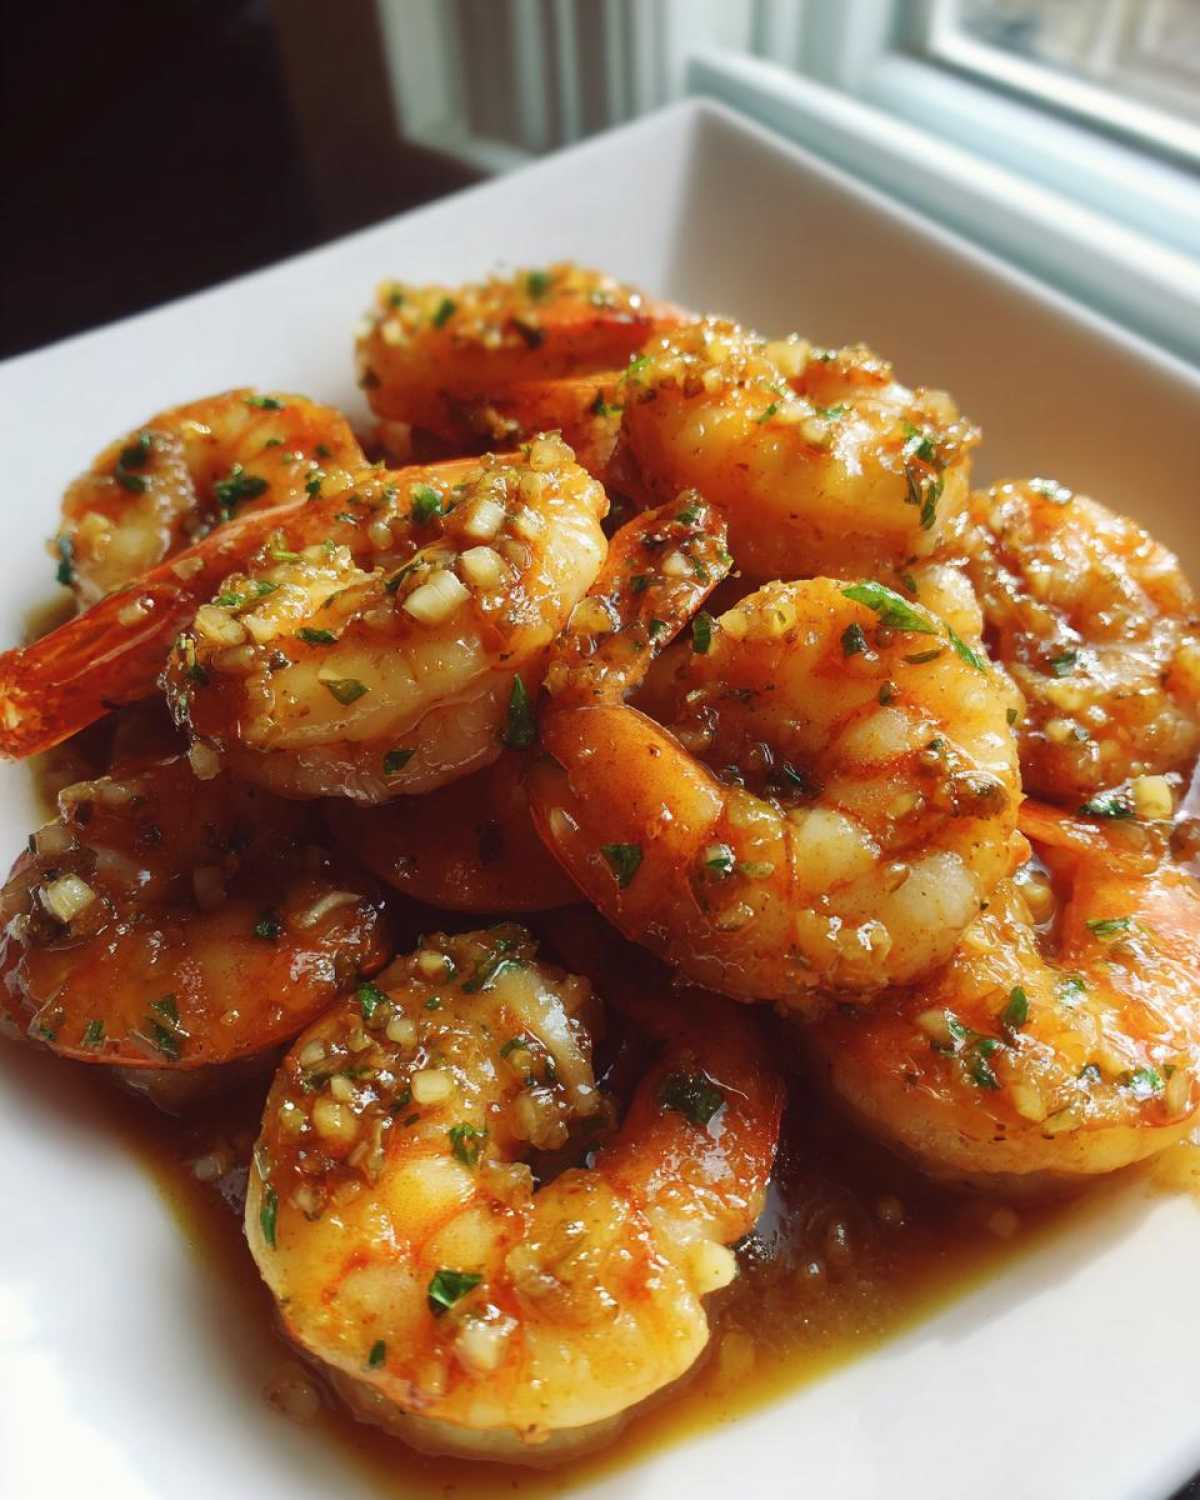
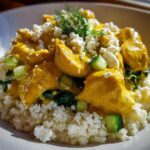
Finally, swirl everything together so every piece of shrimp is swimming happily in that amazing warm sauce. Garnish with tons of fresh parsley right before serving piping hot over fluffy white rice. Honestly, you’ll be halfway through your first serving before you even remember to breathe!
Expert Tips for Next-Level Hawaiian Garlic Shrimp
You’ve got the sauce simmering, the shrimp are ready—now let’s talk about taking this from great to legendary! If you have the time and the weather is nice, ditch the skillet entirely and try grilling this! I love threading the marinated shrimp onto skewers. That touch of smoky char you get when grilling really elevates the sweetness from the brown sugar. You can find some great tips on perfecting that technique over at my guide to grilled shrimp recipes.
When using the skillet method, here is the absolute game-changer that I learned from a really sweet fisherman on Maui: Searing before saucing! After the initial marinade, let the shrimp sit in a very hot, dry pan for about 60 seconds on each side—just until you see a tiny bit of color. Don’t cook them through! Then, remove the shrimp, build your sauce exactly as written, and *then* toss the seared shrimp back in right at the end. That light sear traps all the shrimp’s natural juices and gives the final sauce something extra savory to cling to. Trust me, after you try that little trick, you won’t go back. It makes the entire dish pop!
Serving Suggestions for Your Hawaiian Garlic Shrimp
Now that you have this gloriously saucy, garlicky shrimp ready, the next big decision is what to put it on! You absolutely cannot skip the traditional plate pairing for this Hawaiian Garlic Shrimp. It simply begs for a huge mound of plain, fluffy white rice. The rice is the vehicle for soaking up every delicious drop of that buttery sauce; it’s part of the experience, so make sure you have enough!
If you’re making a full meal out of this amazing shrimp with rice pairing, look to add something cool and crunchy to balance out the richness. A crisp, vinegar-based coleslaw is traditional and amazing because it cuts right through the fat. Or, if you want to double down on the tropical vibes, grill up some thick slices of pineapple alongside your shrimp. That caramelized sweetness is just heaven. It transforms a quick seafood skillet into an actual feast!
Storage and Reheating Instructions for Leftover Hawaiian Garlic Shrimp
We all know leftovers never truly capture the magic of that first bite, especially with seafood, but we can try our best! If you have any of this incredible Hawaiian Garlic Shrimp left—which means you didn’t eat it all straight from the pan—store it correctly. I highly recommend keeping the shrimp and the rice in separate containers. The rice soaks up too much sauce when stored together, and the shrimp can get soggy.
Here’s the key to reheating: no microwave blasts! That just guarantees rubbery shrimp. Instead, put the shrimp and sauce in a small skillet over very low heat. Add just a tiny splash of water or maybe even some extra pineapple juice to revive that sauce. Gently toss until everything is warm through. This low and slow method keeps the shrimp tender and keeps that buttery garlic flavor bright!
Frequently Asked Questions About Making Hawaiian Garlic Shrimp
Whenever I post about this recipe, the questions pour in! It’s natural when you’re dealing with such a wildly popular dish. I’ve gathered the most common ones here so you can troubleshoot any issues before they even pop up. Here are the things folks always ask me about achieving the ultimate North Shore Shrimp experience.
Can I use frozen shrimp instead of fresh for this recipe?
Absolutely, you can! Just like in the recipe notes, speed is important here, so if you’re using frozen, make sure you thaw them completely first. I usually do this by placing them in a bowl of cold water for about 20 minutes, changing the water once. Pat them *very* dry afterward. Wet shrimp steam instead of searing, and that messes up how they absorb the sauce. A quick pat down with paper towels is essential!
What truly makes this ‘North Shore Style’ vs. regular Garlic Butter Shrimp?
That’s a fantastic question! The main difference, honestly, is the sweet and tangy element. Regular Garlic Butter Shrimp is usually just garlic, butter, maybe some white wine, and parsley. But North Shore style *demands* that hint of brown sugar for caramelization and that splash of pineapple juice or sometimes even crushed pineapple for acidity. It’s the tropical touch that makes it distinctly Hawaiian. It’s a sweet, salty, garlicky dance, not just a savory one.
Can I make the sauce ahead of time?
You sure can! I’ve done this for parties when I know I need to move fast when guests arrive. You can definitely simmer the sauce base—the garlic, ginger, soy sauce, brown sugar, Worcestershire, and juices—ahead of time. Just store it in a sealed jar in the fridge. When you’re ready to cook, gently reheat the sauce in the skillet until it’s hot and bubbly, add your shrimp, and cook as directed. It saves so much time!
Can I substitute the pineapple juice in the Hawaiian Garlic Shrimp sauce?
I get asked this a lot because sometimes you just don’t have pineapple juice kicking around! The pineapple juice is there primarily to lend acidity and a touch of fruit sweetness that complements the brown sugar. If you absolutely must swap it, your next best bet is using fresh orange juice—it brings that bright, tropical feeling.
If orange juice isn’t available, you need an acid to cut the richness of the one cup of butter we’re using! Try using 1/4 cup of water mixed with a tablespoon of apple cider vinegar or white vinegar. It won’t have the same tropical *zing*, but it will prevent the sauce from tasting too heavy and flat. Always test your sauce before adding the shrimp!
Nutritional Snapshot of This Tropical Shrimp Recipe
Okay, so while this Hawaiian Garlic Shrimp is an absolute dream to eat, I always feel like I should give you the official rundown, just because we’re relying on a whole cup of butter here! Remember, these numbers are estimates only—I’m a cook, not a nutritionist, after all—but they’ll give you a good baseline for planning your meal.
The great news is that this is a fabulous tropical shrimp recipe if you are looking for serious protein. Shrimp is lean, powerful stuff. Based on serving four generously, here’s what we’re looking at per plate:
- Calories: Around 450 per serving.
- Protein: A whopping 35 grams! That’s powerhouse fuel right there.
- Fat: It comes in around 28 grams total, which includes about 15 grams of saturated fat from all that glorious butter. I told you it was rich!
- Carbs and Sugar: We’re sitting around 15 grams of carbs, with about 12 grams coming from the brown sugar and pineapple juice in the sauce.
See? Loads of protein, which keeps you feeling full, but definitely count those carbs and fats if you’re tracking closely. That’s why serving it with just a mountain of plain white rice instead of, say, creamy pasta is such a smart move. It keeps the focus right where it should be—on those amazing, saucy garlic prawns!
Share Your Garlic Butter Shrimp Creations
Alright, my friends, now the pressure is on you! You’ve made the perfect batch of this Hawaiian Garlic Shrimp, you’ve soaked your rice, you’ve devoured that buttery sauce—now I want to hear all about it!
Seriously, drop a star rating below if you loved this recipe. Did your sauce turn out perfectly thick? Did you manage to sneak in an extra clove of garlic? Did you try grilling them the way I suggested? Don’t be shy!
I absolutely live for seeing your creations popping up online. Tag me on Instagram or Facebook when you share photos of your beautiful, glistening Garlic Butter Shrimp plates. Knowing that my little piece of the North Shore is showing up on your dinner table makes all my recipe testing worth it.
If you customized it—maybe you added a little Sriracha for heat, or perhaps you used shrimp scampi style without the pineapple—tell me! I’m always looking for ways to tweak classics, and your personal notes help other cooks too. If you have any last-minute thoughts or need one final tip, the comments section is open and waiting. Happy cooking!
Print
Authentic North Shore-Style Hawaiian Garlic Shrimp
- Total Time: 30 min
- Yield: 4 servings
- Diet: Low Fat
Description
Make classic Hawaiian Garlic Shrimp, similar to what you find at North Shore food trucks, using a rich, buttery, garlicky, and slightly sweet sauce.
Ingredients
- 2 lbs large shrimp, peeled and deveined
- 1 cup unsalted butter
- 1/2 cup olive oil
- 1 head garlic, minced (about 10 cloves)
- 1/4 cup soy sauce
- 1/4 cup packed brown sugar
- 2 tablespoons fresh ginger, grated
- 1 tablespoon Worcestershire sauce
- 1 teaspoon black pepper
- 1/4 cup fresh pineapple juice
- 2 tablespoons fresh lemon juice
- 2 tablespoons chopped fresh parsley, for garnish
Instructions
- In a large bowl, toss the shrimp with half of the soy sauce and black pepper. Let it marinate for 15 minutes.
- In a large skillet or pan, melt the butter with the olive oil over medium heat.
- Add the minced garlic and grated ginger to the skillet. Sauté for 2 to 3 minutes until fragrant, being careful not to burn the garlic.
- Add the remaining soy sauce, brown sugar, pineapple juice, Worcestershire sauce, and lemon juice to the skillet. Stir well and let the sauce simmer for 3 minutes until the sugar dissolves and the sauce thickens slightly.
- Increase the heat to medium-high. Add the marinated shrimp to the skillet in a single layer if possible. Cook for 2 to 3 minutes per side until the shrimp are pink and cooked through. Do not overcook.
- Toss the shrimp thoroughly in the sauce to coat completely.
- Remove from heat. Garnish with fresh parsley before serving immediately over white rice.
Notes
- For an extra tropical flavor, grill the shrimp skewers instead of pan-frying.
- Serve with a side of coleslaw or grilled pineapple slices.
- If you prefer a thicker sauce, let the sauce simmer for an extra 5 minutes before adding the shrimp.
- Prep Time: 15 min
- Cook Time: 15 min
- Category: Dinner
- Method: Sautéing
- Cuisine: Hawaiian
Nutrition
- Serving Size: 1 serving
- Calories: 450
- Sugar: 12
- Sodium: 950
- Fat: 28
- Saturated Fat: 15
- Unsaturated Fat: 13
- Trans Fat: 0
- Carbohydrates: 15
- Fiber: 1
- Protein: 35
- Cholesterol: 300


Comments are closed.