
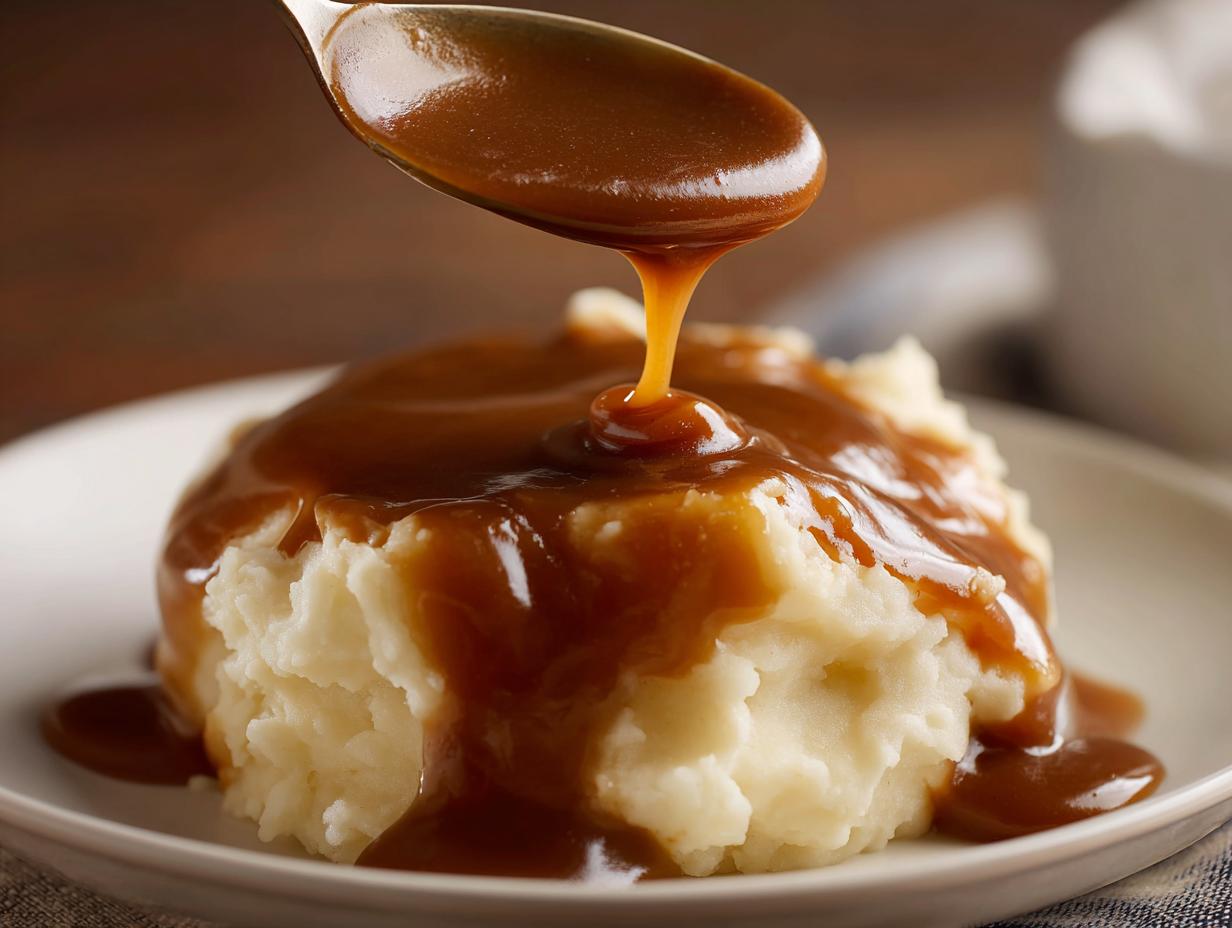
Oh, if I had a dollar for every time I stood in the kitchen, smelling a beautiful roast, only to realize I had zero drippings to make that essential, savory blanket of gravy. It used to drive me nuts! So many recipes out there only work if you’ve just pulled a turkey or roast beef out of the oven, but honestly, who has time to wait? I tackled this problem head-on and finally perfected my technique for a truly rich, velvety homemade brown gravy using only what I already have in the pantry. Trust me, this stovetop method is foolproof. After years of testing broths and ratios, I can whip up the best brown sauce from scratch in under 20 minutes, and you’re about to learn exactly how I do it!
Why This is the Best Homemade Brown Gravy Recipe (No Drippings Needed)
What makes this my go-to recipe? It’s simple: incredible flavor without the panic of needing drippings. This truly is the Best Homemade Gravy Recipe if you’re starting from zero. I get that deep, comforting flavor just from quality broth and spices. You simply won’t believe how rich this gravy without pan drippings tastes.
Quick Stovetop Gravy Ready in Minutes
Seriously, you can have this done before your side dishes are even plated. With only 15 minutes active cook time, this is my emergency backup for any meal that just *needs* gravy. It’s a true Quick Stovetop Gravy miracle for busy weeknights!
Achieving a Savory Velvety Brown Gravy Texture
The secret isn’t the broth—it’s the roux! By cooking the butter and flour perfectly, we create that guaranteed smooth base. Whisking slowly ensures we get zero lumps, resulting in a completely Savory Velvety Brown Gravy Texture every single time. That beautiful color comes from cooking the roux just right, giving it that depth you normally only find after roasting meat for hours. You can even pair this great sauce with my crispy mashed potato cakes!
Ingredients for Your Homemade Brown Gravy
Okay, let’s walk through what we need for this simple yet mighty gravy. Remember, since we aren’t relying on drippings, the quality of these basic items really shines through! I always suggest using really good quality beef broth here; if you can find a low sodium version, grab it. That way, we control the saltiness when we season it later.
You need just a few things for the perfect base:
- 4 tablespoons unsalted butter (Don’t skimp here, butter is flavor!)
- 4 tablespoons all-purpose flour (This is what builds the body)
- 2 cups beef broth (low sodium preferred, seriously!)
- 1 teaspoon onion powder
- 1/2 teaspoon garlic powder
- 1/2 teaspoon dried thyme
- 1/4 teaspoon black pepper
- 1/2 teaspoon salt (We’ll check this at the end once the broth incorporates)
- 1 teaspoon Worcestershire sauce (This is my secret weapon for that meaty depth!)
That’s it! We’re making an amazing from scratch gravy with pantry staples. If you’re making this alongside my bran muffins, just make sure the butter for the muffins is already out, as the gravy needs soft, melted butter!
From Scratch Gravy Instructions: How To Make Brown Gravy
Now for the fun part—the cooking! This process is so satisfying because you can literally watch the flavor build right there in the pan. Remember, we are following those precise From Scratch Gravy Instructions to make sure this homemade brown gravy is incredibly smooth. Don’t rush the initial stages, okay? That’s where the magic starts to happen. You’ll be amazed at how easy it is to get this right, even when you aren’t using meat drippings from your bran muffins!
Creating the Perfect Roux Base for Homemade Brown Gravy
First things first: melt your butter over medium heat in your saucepan. Once it’s all liquid and bubbly, whisk in the flour right away until it looks like a thick, uniform paste. This is your roux! You absolutely must cook this mixture for about 2 to 3 full minutes, stirring non-stop. You are waiting for that raw flour smell to disappear and for the color to deepen slightly to resemble beautiful, light peanut butter. If you burn it, you have to start over because burnt roux tastes bitter, so keep your eye on it!
Incorporating Liquid and Seasoning for Rich Beef or Chicken Gravy
Once the roux looks perfect, you slowly start whisking in that beef broth—and I mean slowly! Add just a trickle, whisk until it’s totally smooth, then add a little more. This slow incorporation prevents lumps! Once all the broth is in, bring it up to a simmer. Now, toss in all your powders, pepper, salt, and that crucial teaspoon of Worcestershire sauce. If you used beef broth, you’ve got a fantastic start to a Rich Beef or Chicken Gravy base!
Keep this mixture simmering gently on low heat for about 5 to 8 minutes, whisking often. You will feel it gradually thicken up on you. When it coats the back of a spoon perfectly and holds its shape a bit, taste it, adjust that salt, and serve it piping hot immediately!

Tips for Success Making Homemade Brown Gravy
Even with the best recipe cards, sometimes things go sideways in the kitchen, right? Don’t worry about it! Mastering this homemade brown gravy boils down to knowing how to fix small hiccups on the fly. The main things people worry about are color and consistency, but we can handle both easily with a little foresight. If you were trying to make my steak bites and realized you needed gravy five minutes ago, these adjustments will save you!
Troubleshooting Common Issues with Thickening Gravy Without Drippings
The number one issue people face when making a simple butter flour gravy from scratch is getting lumps. If you see any little bits floating around after adding the broth, don’t panic and don’t keep whisking madly! The best fix is to remove the pan from the heat for a second and use an immersion blender for about 10 seconds, or just pour the whole batch through a fine-mesh sieve right into a clean pot. It smooths out instantly, trust me!
Now, for consistency—if you followed the timings and it still looks more like broth than gravy, that’s an easy fix. Just lower the heat, and let it simmer a little longer. Five more minutes usually does the trick. But if you’re in a huge hurry and it’s just too thin? Whisk a small amount of cornstarch (maybe half a teaspoon) into a tablespoon of cold water to create a slurry. Pour that in slowly while whisking constantly over low heat. It thickens up almost instantly! Conversely, if you accidentally cooked it too long and it turned into paste? Just whisk in tiny splashes of more broth or even warm water until you’re back to that beautiful, velvety texture.
Serving Suggestions for Your Comfort Food Gravy Sauce
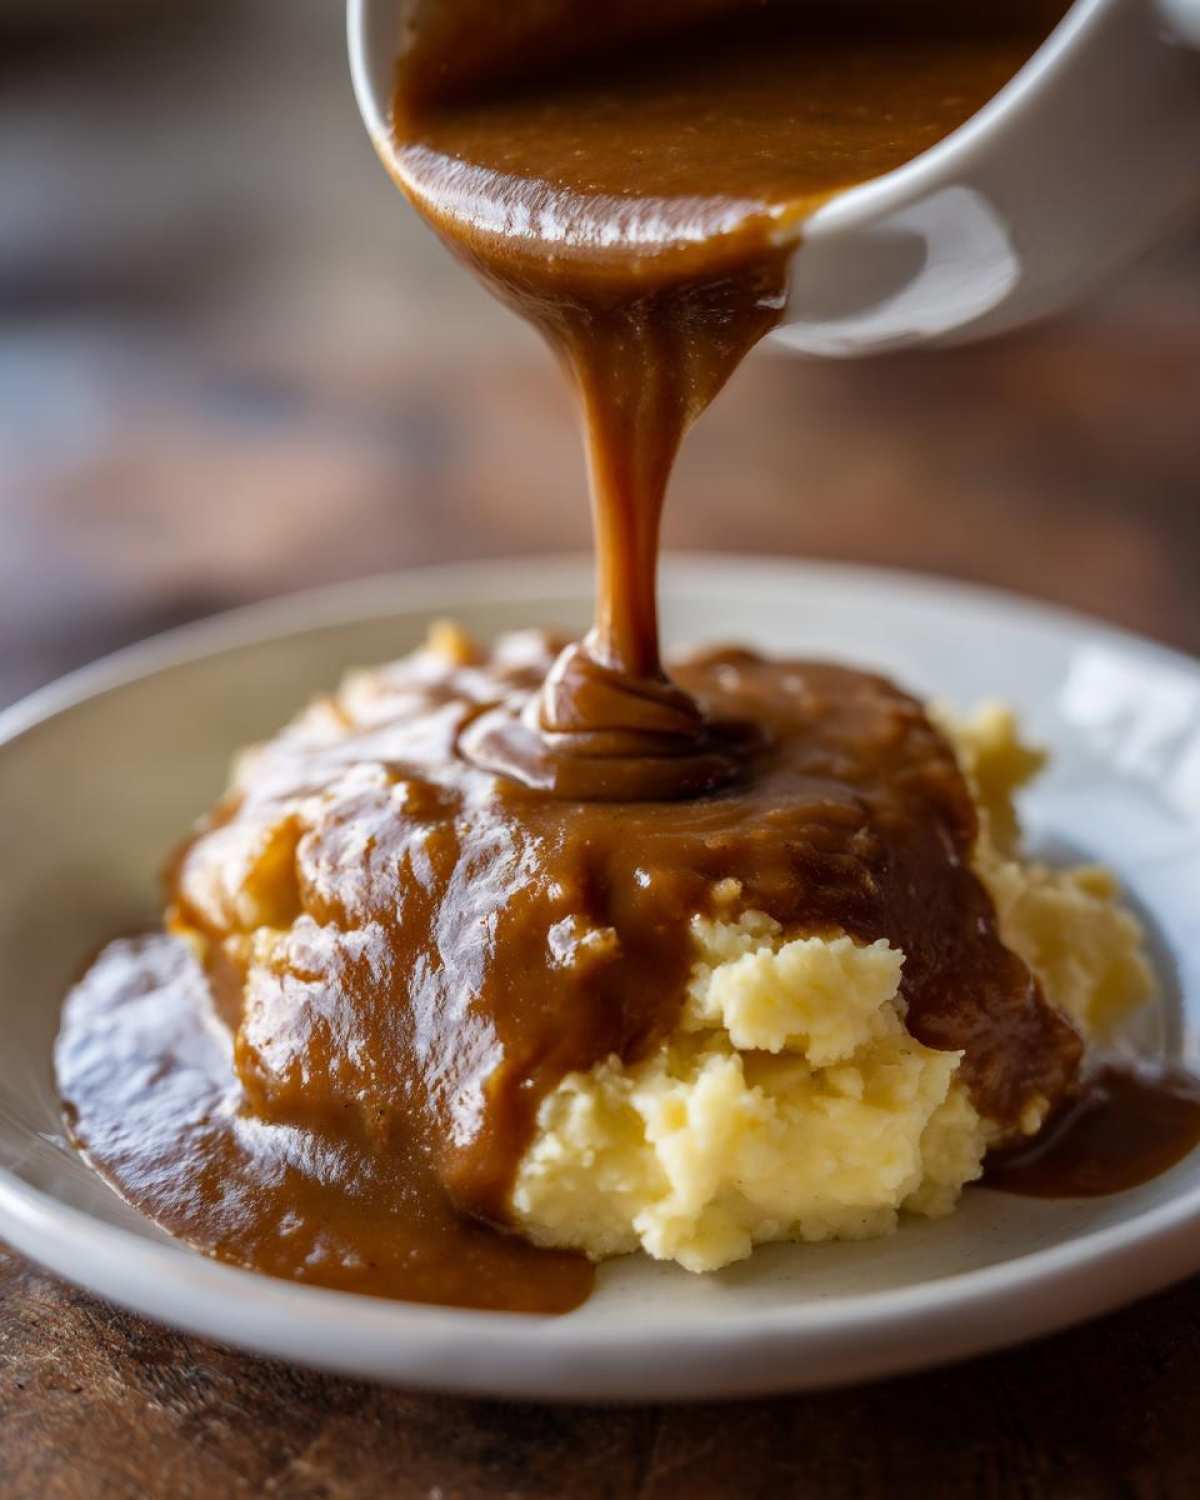
Now that you have this perfectly seasoned, velvety sauce, what are you going to pour it over? This recipe is the ultimate Comfort Food Gravy Sauce because it works with almost anything savory! Honestly, the possibilities are endless, but I have a few favorites that I absolutely insist you try it with first. Pouring this over a mound of salty mashed potatoes is just basic Sunday heaven, but don’t stop there!
If you’re making meatloaf, this gravy takes it from “good” to “make-your-eyes-roll-back” good. It’s the only way I eat meatloaf now. And if you’re feeling ambitious and make a batch of my twice-baked potatoes, you need this sauce to drizzle over the top along with the cheese!
My absolute top recommendation, though, is if you’re making homemade fried chicken—especially my crispy buttermilk fried chicken. While it’s not an exact match for that famous fast-food flavor, I’ve tinkered with the seasoning mix to get very close to that iconic, slightly salty, savory flavor profile people drive miles for. Next time you fry chicken, try whipping up a double batch of this gravy and aiming for that famous KFC Style Homemade Gravy feel. It hits just right!
Storage and Reheating Instructions for Homemade Brown Gravy
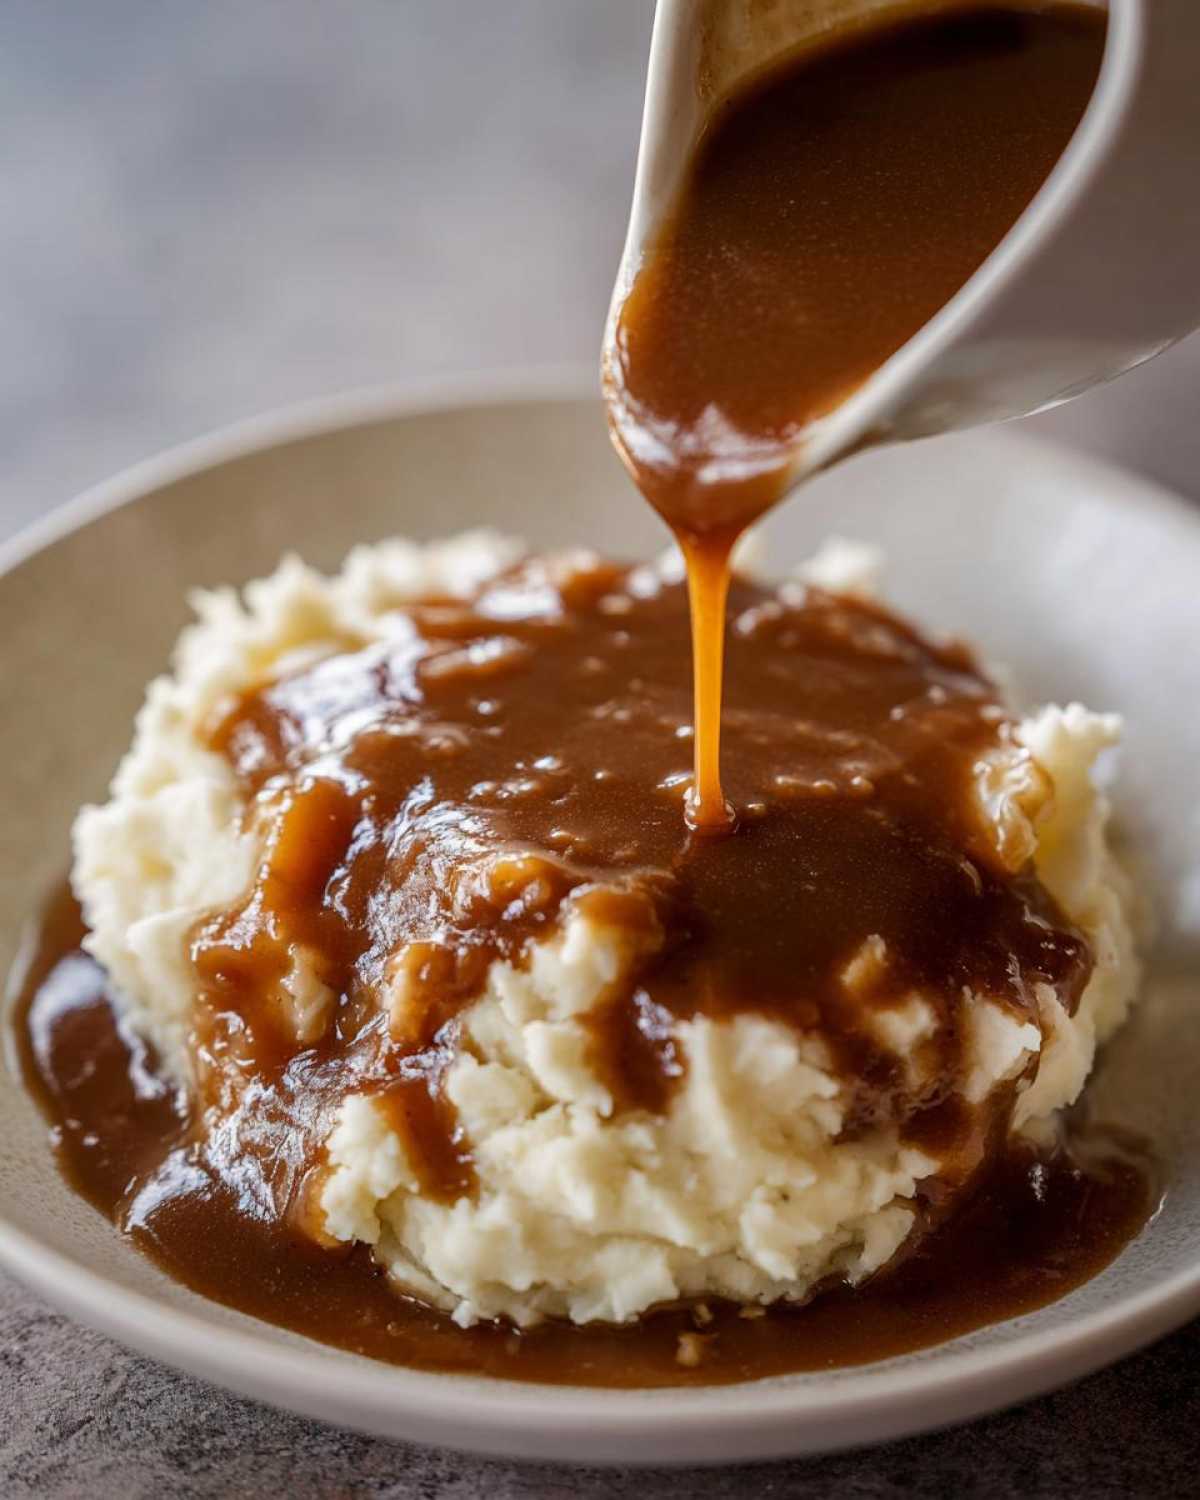
One of the greatest things about mastering a homemade brown gravy from scratch is that you can make a big batch and save it for those other nights when you just don’t have 20 minutes to make a roux. Gravy actually tastes better the next day after the spices have really married together!
When you’re done eating, let any leftovers cool down on the counter for just a little bit—don’t put piping hot gravy directly into the fridge, as that can mess with the temperature of your other foods. Once it’s just warm, transfer it to an airtight container. It keeps beautifully in the refrigerator for about 3 to 4 days. You’ll notice it gels up or gets quite thick once it chills; that’s totally normal because of the flour we used!
Reheating couldn’t be easier, but you must listen to me on this part: use the stovetop! Microwave reheating can sometimes cause the gravy to break or get rubbery spots.
Here’s how I do it:
- Scoop the chilled gravy into a small saucepan.
- Add a splash—maybe a tablespoon or two—of cold water or extra broth for every cup of gravy. The liquid helps it loosen up.
- Set the heat to low and whisk gently and constantly.
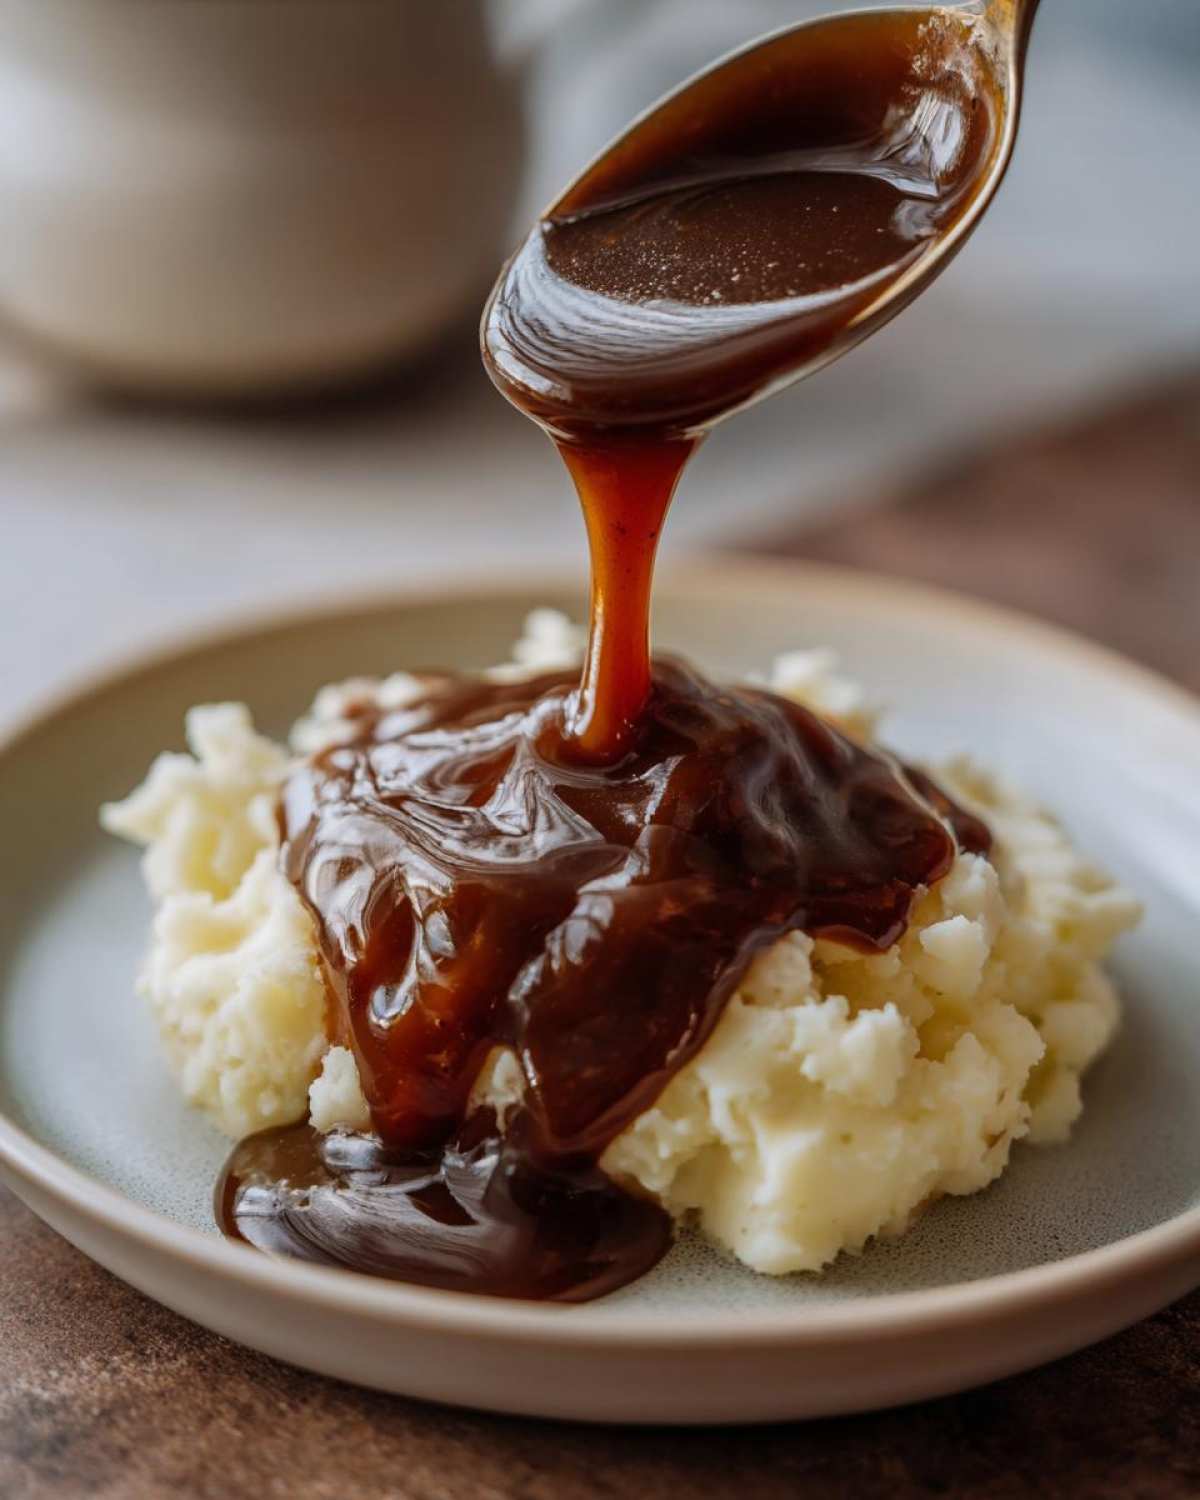
Keep whisking until you see that smooth, velvety texture return. It should only take 5 to7 minutes on low heat. Always taste it once it’s hot again; sometimes the salt level needs a tiny nudge after chilling, so keep your salt and pepper nearby!
Making a Homemade Gravy Mix Recipe for Later Use
Okay, this is one of those tips that feels like I’m letting you in on a secret club password. Making the gravy fresh is the absolute best, but sometimes you need that incredible flavor—that deep, savory base that feels like grandma’s kitchen—ready to go instantly. So, before you rush off to make dinner tonight, let’s whip up a batch of dry mix so you can whip up an easy brown sauce from scratch anytime!
Think about what made the roux work: it’s the one-to-one ratio of butter and flour. Since we can’t store butter in a dry mix, we just focus on the dry components you can keep in a jar. This is how you create your own Homemade Gravy Mix Recipe that blows those packets right out of the water.
Grab a clean, airtight jar, and measure out the following dry ingredients:
- 1 cup all-purpose flour
- 1 teaspoon onion powder (I like to be generous because this gives it the classic flavor)
- 1/2 teaspoon garlic powder
- 1/2 teaspoon dried thyme
- 1/2 teaspoon black pepper
- 1/2 teaspoon salt (Remember, you can always adjust this later!)
That’s your base flavor! Just close the lid tight and keep it stored in a cool, dark cupboard. It lasts for months, I promise. When you’re whipping up something like my honey garlic baked salmon and realize you need a sauce right now, you are going to be so glad you prepped this!
When you need to use it, the ratio is super simple. For every cup of gravy you want, whisk 1/4 cup of this dry mix into 1 tablespoon of melted butter until it forms a thick paste (that’s a tiny roux!). Then, whisk in about 1 cup of hot broth, bring it to a simmer, and boom—instant, classic homestyle gravy. You’ll have to add a touch of Worcestershire sauce separately if you want that extra richness, but the flavor foundation is totally there. It’s the greatest shortcut that still feels completely homemade!
Frequently Asked Questions About Making Brown Gravy
I get so many questions about this recipe because it’s such a staple! People always want to tweak ingredients or troubleshoot the process when they’re trying to get that perfect easy brown sauce from scratch without having meat drippings on hand. Here are the things I hear most often when people are trying to master their simple butter flour gravy.
Can I use cornstarch instead of flour for thickening gravy without drippings?
Oh, you absolutely can, but you have to know the difference! Flour creates a roux, which cooks out the raw flavor and adds a little bit of its own nutty taste to the gravy—that’s why we cook it for a few minutes first. Cornstarch doesn’t need cooking like that; you just mix it vigorously with cold liquid to make a slurry, then whisk it in. The big downside is that cornstarch doesn’t provide that deep, comforting flavor the roux does, and it can sometimes go from perfect to slimy if you boil it too hard. For the richest flavor, stick to the flour roux, but if you’re in a pinch, cornstarch works for thickening!
How do I make this recipe a rich beef gravy vs. chicken gravy?
This is the easiest customization ever! The recipe as written uses beef broth, which gives you that beautiful, deep brown color and rich mouthfeel—perfect for that classic savory vibe. But if you want a lighter color or just don’t have beef broth in the house? Swap it out! If you use an equally measured amount of high-quality chicken broth, you’ll end up with a fantastic, lighter-colored rich beef gravy or chicken gravy variation.
The method—melting butter, making the roux, slowly whisking in the liquid—stays exactly the same. Just be mindful of your salt, because chicken broth tends to be saltier than beef broth sometimes. Always taste before you dump in the extra salt listed in the recipe!
We also get asked about making vegetarian versions constantly since this is naturally vegetarian with beef broth. You can easily make this a fully vegetarian sauce by swapping the beef broth for a rich vegetable broth. If you use vegetable broth, adding an extra dash of Worcestershire sauce (or even a little mushroom powder if you have it) helps deepen that savory umami note that the beef usually provides. You can find some other great tips for quick cooking solutions in my post about easy egg bites, though those don’t require any gravy!
Estimated Nutritional Data for Homemade Brown Gravy
I always try to keep track of what’s going into our favorite meals, even simple sauces like this one! Because we’re using staple ingredients and focusing on butter, flour, and broth, the numbers turn out pretty reasonable for a rich sauce. But remember, these are just ballpark figures. Since we are adding seasonings to taste, and how much butter or broth gets absorbed can change things, always treat these as estimates based on the 2-cup yield before any final adjustments.
Here is what the general breakdown looks like per 1/4 cup serving:
- Calories: 85
- Fat: 6g (with 3.5g of that being saturated fat—that’s that lovely butter doing the work!)
- Carbohydrates: 6g
- Protein: 2g
- Sodium: 350mg (This is highly dependent on your broth choice, so watch that salt!)
- Sugar: 0.5g
This is why I always tell folks to use low-sodium broth if possible! You have so much more control over what ends up in your final dish. A little bit of this rich sauce goes a long way in bringing flavor to your egg bites or roast vegetables. Just enjoy it!
Print
The Ultimate Homemade Brown Gravy (No Drippings Needed)
- Total Time: 20 min
- Yield: About 2 cups
- Diet: Vegetarian
Description
Make a rich, velvety brown gravy from scratch using simple pantry ingredients, perfect for mashed potatoes, roasts, or meatloaf.
Ingredients
- 4 tablespoons unsalted butter
- 4 tablespoons all-purpose flour
- 2 cups beef broth (low sodium preferred)
- 1 teaspoon onion powder
- 1/2 teaspoon garlic powder
- 1/2 teaspoon dried thyme
- 1/4 teaspoon black pepper
- 1/2 teaspoon salt (adjust to taste based on broth)
- 1 teaspoon Worcestershire sauce
Instructions
- Melt the butter in a medium saucepan over medium heat.
- Whisk the flour into the melted butter until a smooth paste (a roux) forms. Cook this roux for 2 to 3 minutes, stirring constantly, until it turns a light peanut butter color. Do not let it burn.
- Slowly whisk in the beef broth, a little at a time, ensuring no lumps form before adding more liquid.
- Bring the mixture to a simmer, continuing to whisk frequently.
- Add the onion powder, garlic powder, thyme, pepper, salt, and Worcestershire sauce. Stir well to combine.
- Reduce the heat to low and let the gravy simmer gently for 5 to 8 minutes, stirring occasionally, until it thickens to your desired consistency.
- Taste the gravy and adjust salt and pepper as needed before serving hot.
Notes
- For a darker color, cook the roux for an extra minute or two until it is a deeper brown, but watch carefully to prevent burning.
- If the gravy becomes too thick, whisk in a small amount of extra broth or water until it reaches the right texture.
- To make a larger batch, maintain the 1:1 ratio of butter to flour (the roux base).
- Prep Time: 5 min
- Cook Time: 15 min
- Category: Sauce
- Method: Stovetop
- Cuisine: American
Nutrition
- Serving Size: 1/4 cup
- Calories: 85
- Sugar: 0.5
- Sodium: 350
- Fat: 6
- Saturated Fat: 3.5
- Unsaturated Fat: 2.5
- Trans Fat: 0
- Carbohydrates: 6
- Fiber: 0.2
- Protein: 2
- Cholesterol: 12



Comments are closed.