
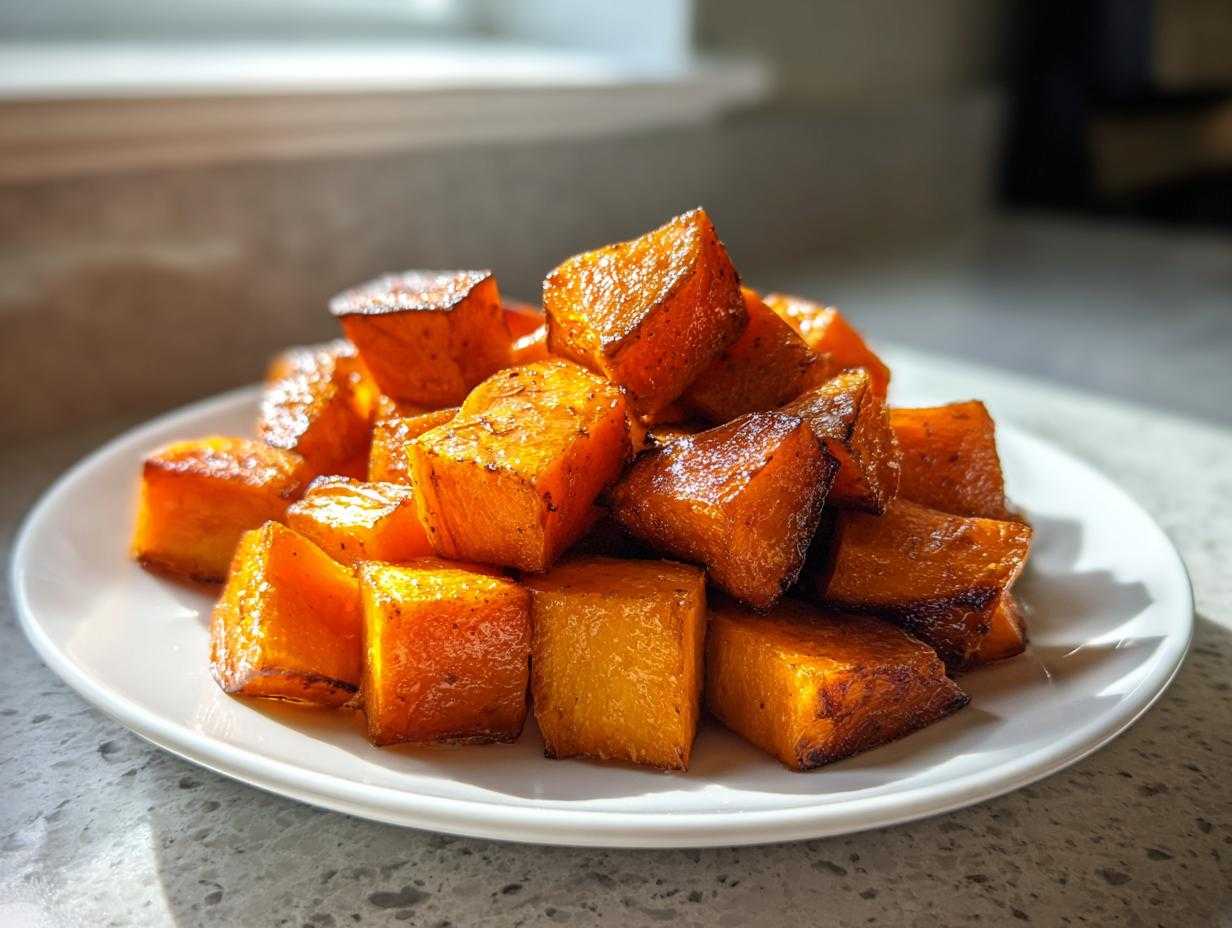
There is just something magical when vegetables decide to behave themselves, right? We all love those vibrant, warm veggie sides, but sometimes roasting feels like a gamble. You want those gorgeous, slightly burnt, caramelized edges but end up with mushy sadness in the middle. Ugh! I used to struggle with that constantly—especially with butternut squash.
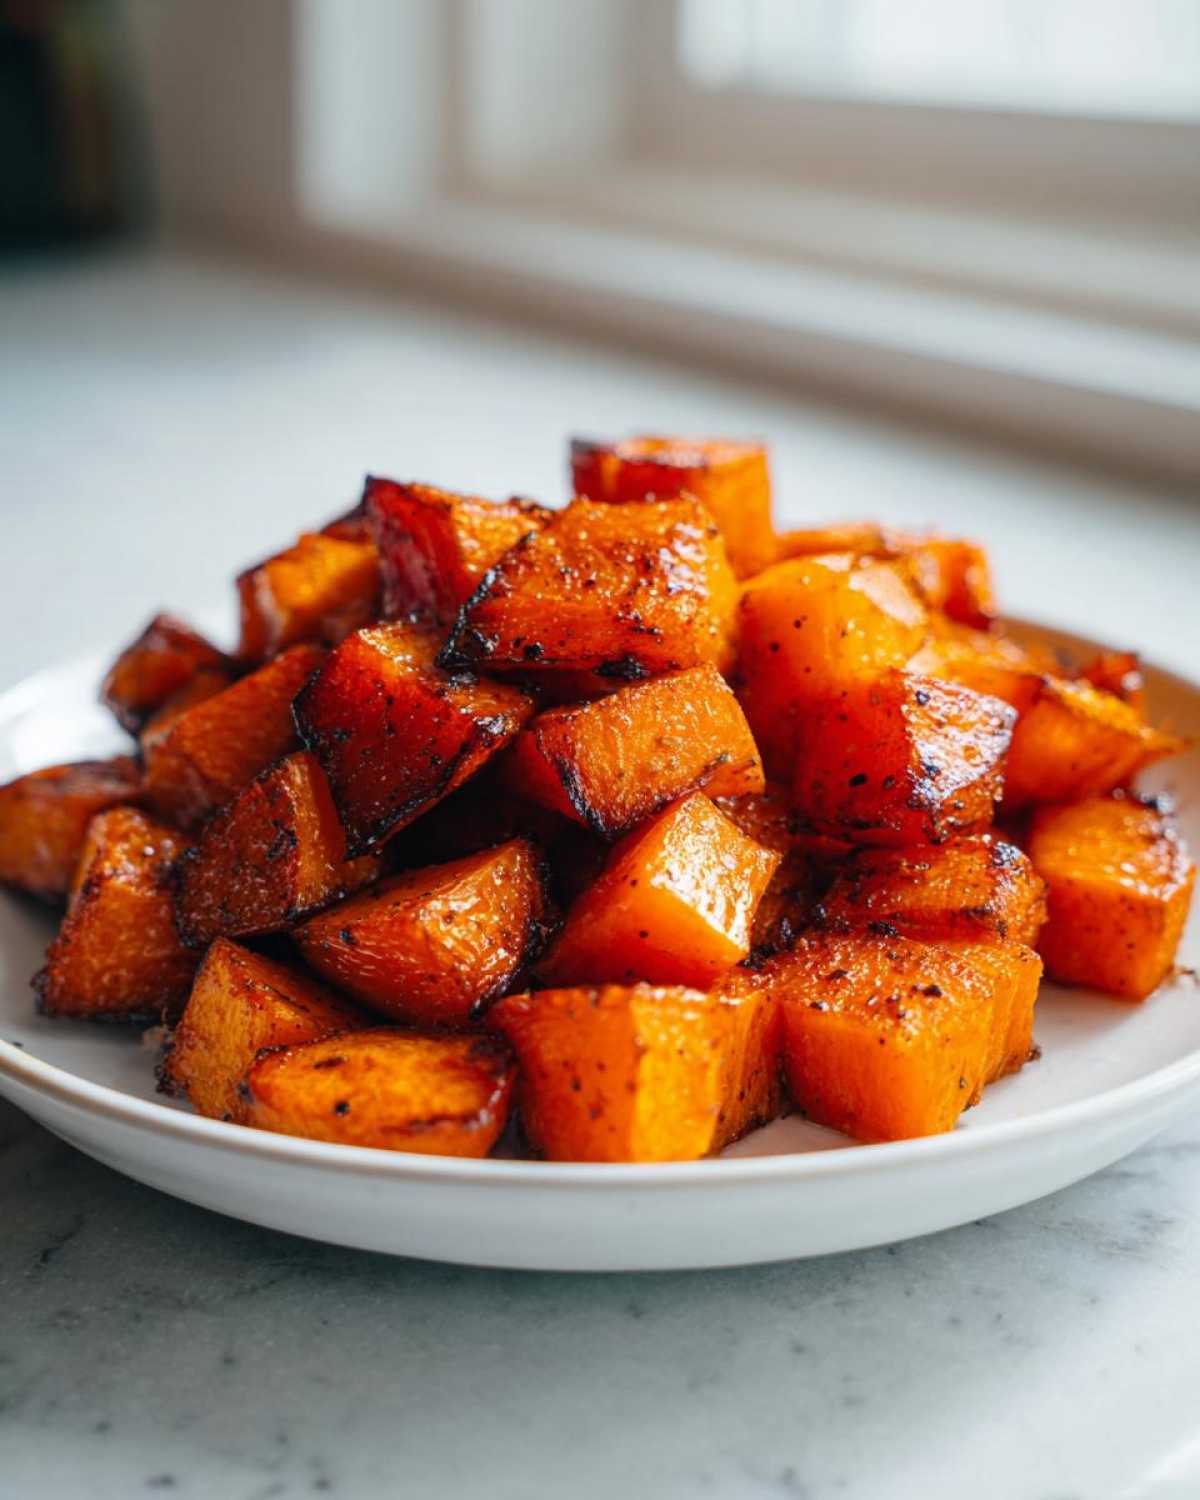
But trust me, I cracked the code! This version for **roasted butternut squash** is my absolute go-to. It’s the simplest, most reliable method for getting those beautifully creamy interiors right next to perfectly caramelized edges every single time. Pull up a chair; this easy fall vegetable side dish is about to become your new weeknight staple, whether you need a quick dinner addition or something special for your Thanksgiving spread.
Why This Is the Best Roasted Butternut Squash Recipe
This recipe stands out because it treats the squash with respect! We nail the temperature and the spacing so that the sugars in the squash actually get a chance to ignite and brown properly. No more watery vegetables, I promise. This method ensures you get that dream combination every time.
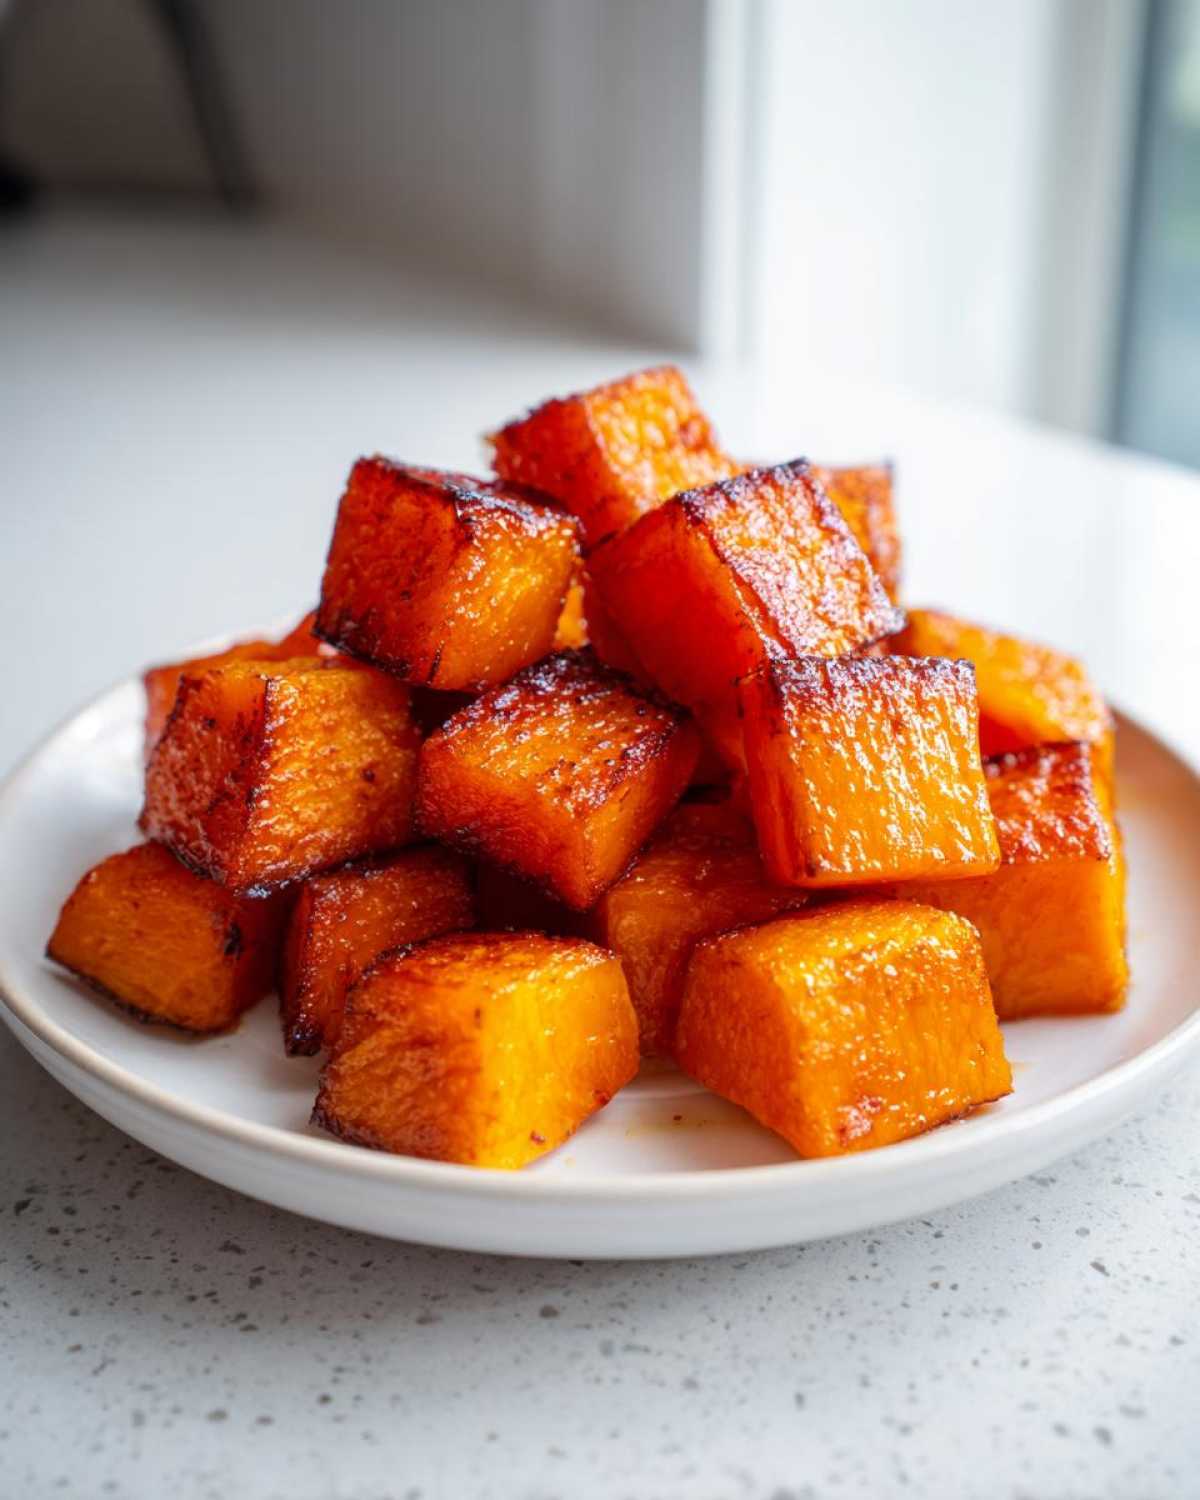
- It delivers that **creamy inside crispy edges squash** texture we are all chasing.
- The high initial heat guarantees maximum flavor development and excellent **caramelized butternut squash**.
- It’s robust enough to handle richer seasoning down the line, though it’s fantastic with just basics.
If you want to sneak a peek at how I treat carrots to get them just as golden, check out my Maple Dijon Glazed Carrots for inspiration!
Achieving Perfect Butternut Squash Cubes Roasting
The secret sauce here (besides, well, the maple syrup!) is consistency. You absolutely must cut your squash into uniform 1-inch cubes. If you have some tiny pieces, they burn while you wait for the big hunks to soften. We’re aiming for even cooking here, so grab a sharp knife and be patient during the chopping stage.
It might seem like extra work versus just tossing them in rough shapes, but cutting them evenly is what builds the trust—you know they’ll finish cooking at the exact same moment!
Ingredients Needed for Perfect Roasted Butternut Squash
This recipe is gloriously simple. Honestly, you probably have most of this floating around your pantry already, which makes it such a great choice for a last-minute side. We are keeping the seasoning straightforward so the natural sweetness of that gorgeous squash truly shines through.
Here’s exactly what you need for about four satisfying servings:
- One medium butternut squash—and I mean medium, about 3 pounds—because too much squash on one sheet pan equals steaming, not roasting!
- Three tablespoons of good olive oil. Don’t skimp here; the fat helps everything crisp up beautifully.
- One teaspoon of kosher salt. I always go for kosher salt for veggies because it tastes cleaner.
- Half a teaspoon of freshly cracked black pepper.
- One tablespoon of maple syrup, making this an optional addition, but trust me, it’s the secret weapon for amazing caramelization!
- Half a teaspoon of dried thyme. It adds that lovely, slightly woodsy scent we associate with fall comfort food.
How to Roast Butternut Squash Step-by-Step
Ready to see the magic happen? Knowing **how to roast butternut squash** perfectly involves high heat and making sure every piece has its own space to breathe. This is key if you want that golden-brown finish similar to my favorite oven roasted vegetables. Remember, we are aiming for texture here!
Preheating and Pan Preparation for Roasted Butternut Squash
First things first: crank that oven up to 400°F (200°C). This high heat is necessary to shock the outside of the squash and start that beautiful browning. Line a large baking sheet with parchment paper. I skip this step sometimes, but honestly, it saves me twenty minutes of scrubbing later, and trust me, you don’t want stuck squash!
Seasoning and Tossing for Caramelized Butternut Squash
Get all those lovely 1-inch cubes into a big bowl. Drizzle with your olive oil, salt, pepper, thyme, and that optional maple syrup. Toss, toss, toss until every surface looks glistening! If you’re going for that extra sweet and savory flavor, the maple syrup really helps create that beautiful crust as it cooks down.
Now for the most important surface area tip: Lay that seasoned squash out on your prepared sheet pan in a single layer. I mean it—a single layer! If the pieces are touching too much, they steam, and we’ll lose all that excellent caramelization we just worked for. If you have to use two pans, please do it. It’s worth spreading out the love!
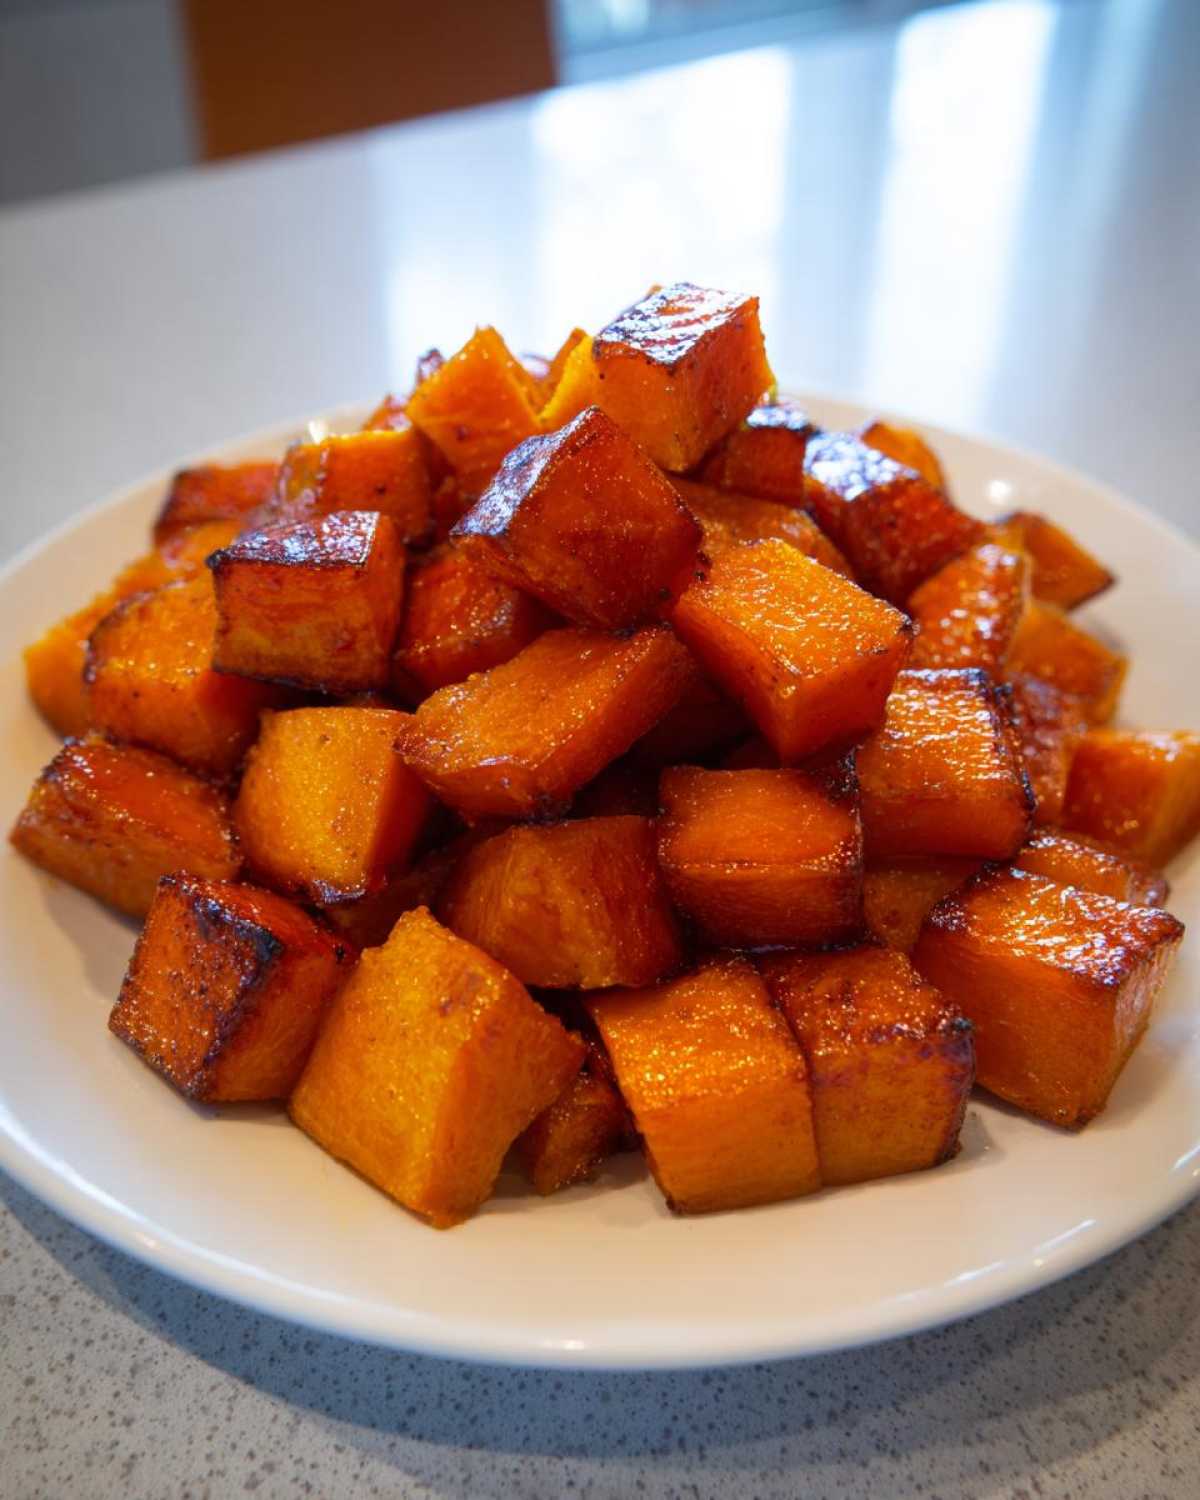
Bake for about 25 to 35 minutes. When they have about ten minutes left, pull the tray out and flip every piece over so they brown evenly on the bottom side too. They are done when they are fork-tender and those edges look dark, rich brown. Then, pull them out and serve them while hot!
Tips for the Easiest Butternut Squash Side
Finding that sweet spot where a dish is incredibly flavorful but requires almost zero brainpower is the mark of a truly great recipe. This roasted butternut squash nails it, making it my favorite **easy butternut squash side** for those frantic weeknights when I want something healthy on the table fast.
If you want to punch up the flavor without adding much work, toss in a teaspoon of garlic powder along with the salt and thyme. I love bringing in that savory depth, making it feel a little more gourmet without needing a complicated sauce. You can even see how that savory element works beautifully when paired with meat, like in my Garlic Herb Butter Roasted Chicken.
Now, if you accidentally start eating these before dinner—guilty!—and realize they are slightly too crispy for your liking, don’t panic. The best trick is to lower the oven temperature to about 375°F and let them roast for another ten minutes. That slower bake encourages tenderness over crisping, though I personally love that snap!
Variations: Making Your Roasted Butternut Squash Unique
The beauty of this simple base recipe is how easily it morphs! While my initial recipe leans a little savory with that thyme, it truly sings when you push it into the **sweet and savory squash** territory. If you’re feeling adventurous, ditch the thyme and toss in half a teaspoon of smoked paprika and just a tiny pinch of cayenne pepper. Trust me on the cayenne; it gives you just enough warmth on the back end without making it spicy.
If you want to lean heavily into the **herbed roasted butternut squash** world for a holiday spread, try swapping the thyme for a mix of dried rosemary and sage. That combination takes it right into Thanksgiving territory, which is perfect! You’ll find inspiration for other seasonal vegetable twists over at my post about sweet and savory flavor combinations—it’s all about balancing those big flavors!
Serving Suggestions for Your Butternut Squash for Dinner Side
So you have this glorious pan of perfectly **roasted butternut squash**—what now? This stuff is so versatile, you could truly eat it every night of the week and not get tired of it. For a super simple weeknight, I usually serve it alongside some pan-seared salmon or my favorite pork steaks with a sweet soy marinade. The sweetness of the squash just cuts right through the savory protein perfectly.
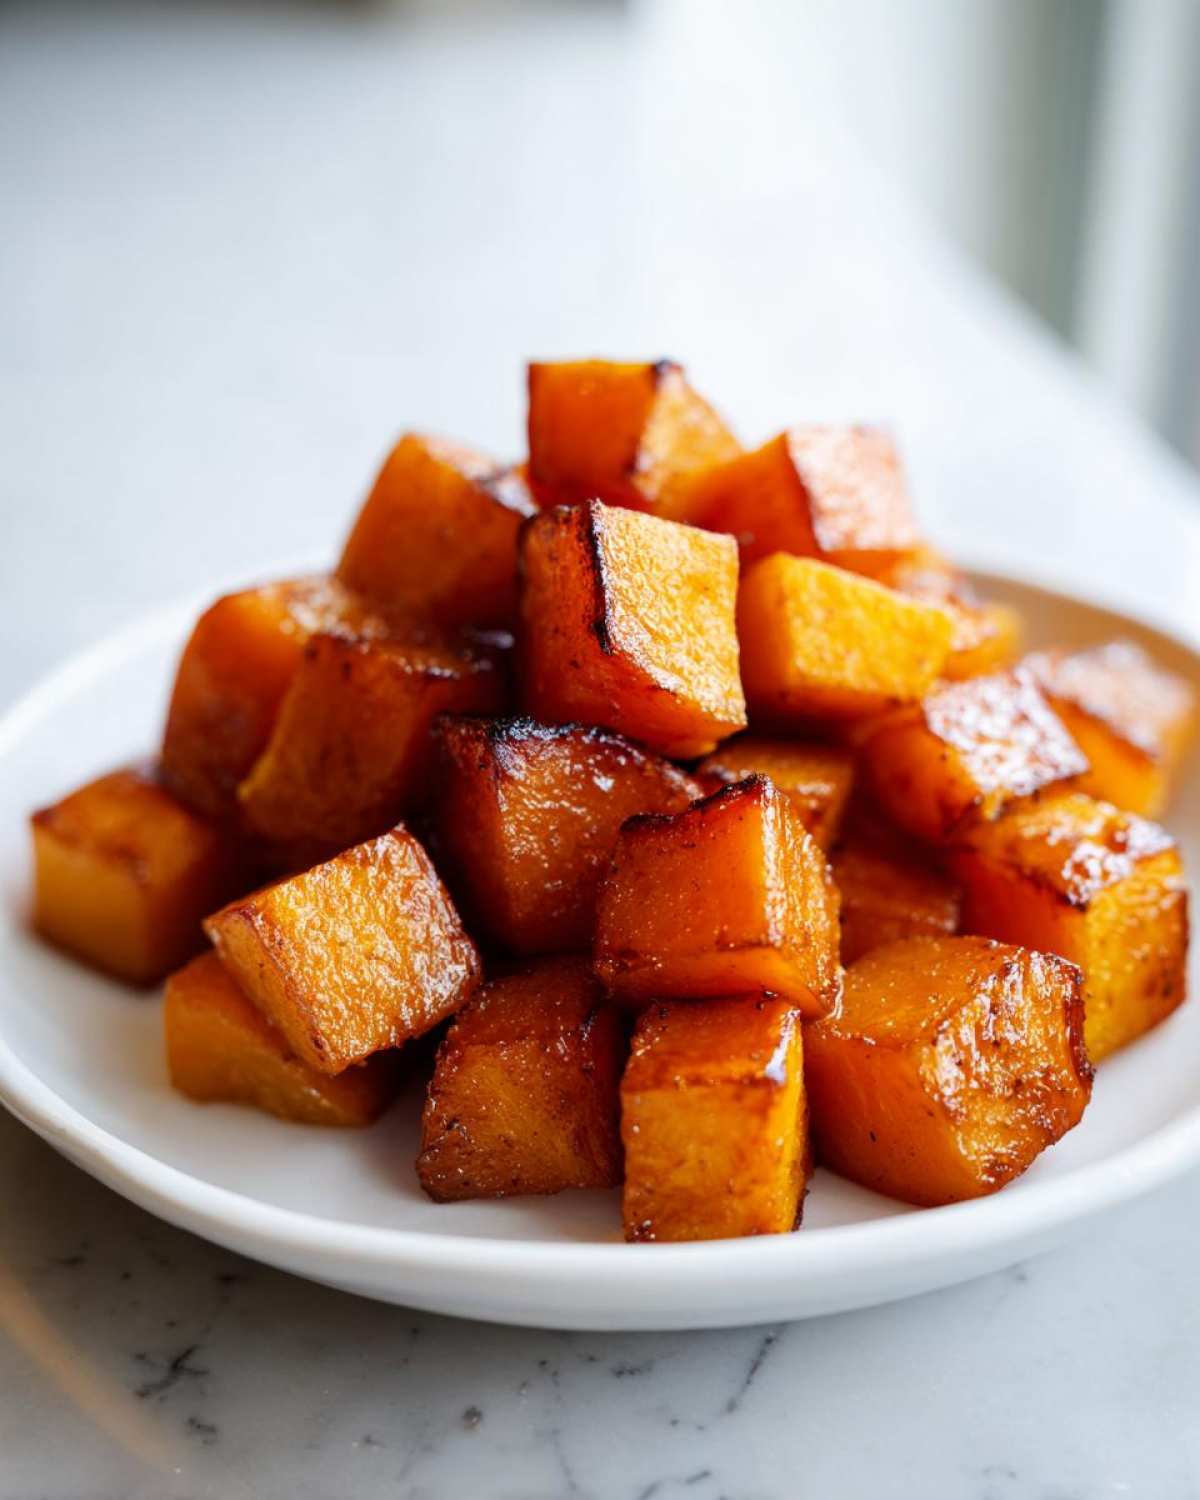
But honestly, this is prime real estate on any holiday table, right alongside the turkey! If you’re cutting back on heavy starches, use these cubes instead of serving them separately on the side. You can toss them into a big grain bowl with quinoa, some feta cheese, and a drizzle of balsamic; that makes a wonderful, light lunch for the next day. It really anchors any meal when you’re looking for a fantastic **butternut squash for dinner** side.
Storage and Reheating Roasted Butternut Squash
Don’t you hate when leftovers get sad and mushy? I’ve learned the hard way that the microwave is the absolute enemy of crispy roasted vegetables. If you have leftovers of this amazing **roasted butternut squash**—which lasts about four days airtight in the fridge, by the way—you need to give it some respect during reheating.
The best way to bring back that beautiful caramelized crust is to toss the cubes onto a baking sheet (no need for extra oil!) and pop them back into a 375°F oven for about five to seven minutes. If you happen to have an air fryer, that works even faster to crisp them up nicely. Avoid the microwave at all costs unless you enjoy mush!
Frequently Asked Questions About Roasted Butternut Squash
I get so many great questions about roasting veggies, and honestly, the butternut squash pops up the most often! It’s a staple, but people always wonder about doing things just a little bit differently. Here are the few things I hear most often when folks are trying to master this technique.
Can I skip peeling?
Well, you *can*, but I really wouldn’t recommend it for this recipe. The skin on butternut squash gets tough and chewy when roasted. While it’s great for pureed soups, when you’re striving for those creamy interiors and scoopable cubes like we are here, leaving the skin on makes for a really unpleasant texture contrast in your mouth. It’s worth the five minutes of peeling!
Can I roast it whole?
That’s a great question, especially when you are busy! Roasting it whole is fantastic if you want to use the flesh for a soup or maybe mash later on. High heat—like our 400°F—is too intense for a whole squash; the outside will burn before the middle is even warm. For whole roasting, keep the temperature lower, around 375°F, and roast it for over an hour until it’s completely soft. It takes much longer, so stick to cubing for your perfect **oven roasted vegetables** side dish!
How do I get it crispy?
Crispiness comes down to two crucial things we covered: high heat (400°F!) and not overcrowding the pan. If you want extra crisp edges, you can try adding your seasoned squash to the oven when it’s already blazing hot, and then don’t flip them until the very last ten minutes of cooking. If you are looking for ideas on making other things crispy, check out my tips for crispy chicken fried rice—the principles of high heat and drying out the surface are the same across the board!
Can I make this a Simple 5 Ingredient Squash Recipe?
Absolutely! If you just want the pure expression of the squash, you can strip this down even further. Skip the optional maple syrup and the dried thyme. If you use just the squash, oil, kosher salt, and pepper, you still get wonderfully tender, browned cubes for a fantastic **simple 5 ingredient squash** side dish!
Estimated Nutritional Data for Healthy Roasted Squash Recipe
I always try to keep track of what’s going into our bodies, and I love that this **healthy roasted squash recipe** is packed with vitamins! Remember that these numbers are just an estimate; they change based on the size of your squash and exactly how much oil you use when tossing everything together. I always measure my seasonings, but I’m a little more generous with the olive oil!
Based on my breakdown for four servings, here’s a general idea:
- Serving Size: 1 cup cooked
- Calories: 180
- Fat: 8g
- Carbohydrates: 27g (with 5g Fiber!)
- Protein: 3g
It’s naturally cholesterol-free, which is a huge win when you’re planning larger holiday meals!
Print
Simple & Perfectly Caramelized Roasted Butternut Squash
- Total Time: 45 min
- Yield: 4 servings
- Diet: Vegetarian
Description
Follow these steps to make easy roasted butternut squash cubes with crispy edges and a creamy interior, perfect as a weeknight side or holiday dish.
Ingredients
- 1 medium butternut squash (about 3 lbs)
- 3 tablespoons olive oil
- 1 teaspoon kosher salt
- 1/2 teaspoon black pepper
- 1 tablespoon maple syrup (optional, for sweetness)
- 1/2 teaspoon dried thyme
Instructions
- Preheat your oven to 400°F (200°C). Line a large baking sheet with parchment paper for easier cleanup.
- Peel the butternut squash. Cut off the neck and the bulbous end. Slice the neck into rounds, then cut the rounds into 1-inch cubes. Scoop out the seeds from the bulbous end and discard them. Cut the remaining flesh into 1-inch cubes.
- Place all the squash cubes into a large bowl. Drizzle with olive oil.
- Add the salt, pepper, maple syrup (if using), and dried thyme to the bowl. Toss everything together until the squash pieces are evenly coated.
- Spread the seasoned squash in a single layer on the prepared baking sheet. Do not overcrowd the pan; use two sheets if necessary to promote caramelization.
- Roast for 25 to 35 minutes, flipping the pieces halfway through the cooking time, until the squash is tender when pierced with a fork and the edges are nicely browned and caramelized.
- Remove from the oven and serve immediately.
Notes
- For extra flavor, toss with 1 teaspoon of garlic powder along with the other seasonings.
- If you prefer a softer texture without much crisping, reduce the oven temperature to 375°F (190°C) and roast for 40 minutes.
- If you are roasting other vegetables, ensure they are cut to a similar size for even cooking.
- Prep Time: 15 min
- Cook Time: 30 min
- Category: Side Dish
- Method: Roasting
- Cuisine: American
Nutrition
- Serving Size: 1 cup cooked
- Calories: 180
- Sugar: 8
- Sodium: 450
- Fat: 8
- Saturated Fat: 1
- Unsaturated Fat: 7
- Trans Fat: 0
- Carbohydrates: 27
- Fiber: 5
- Protein: 3
- Cholesterol: 0



Comments are closed.