
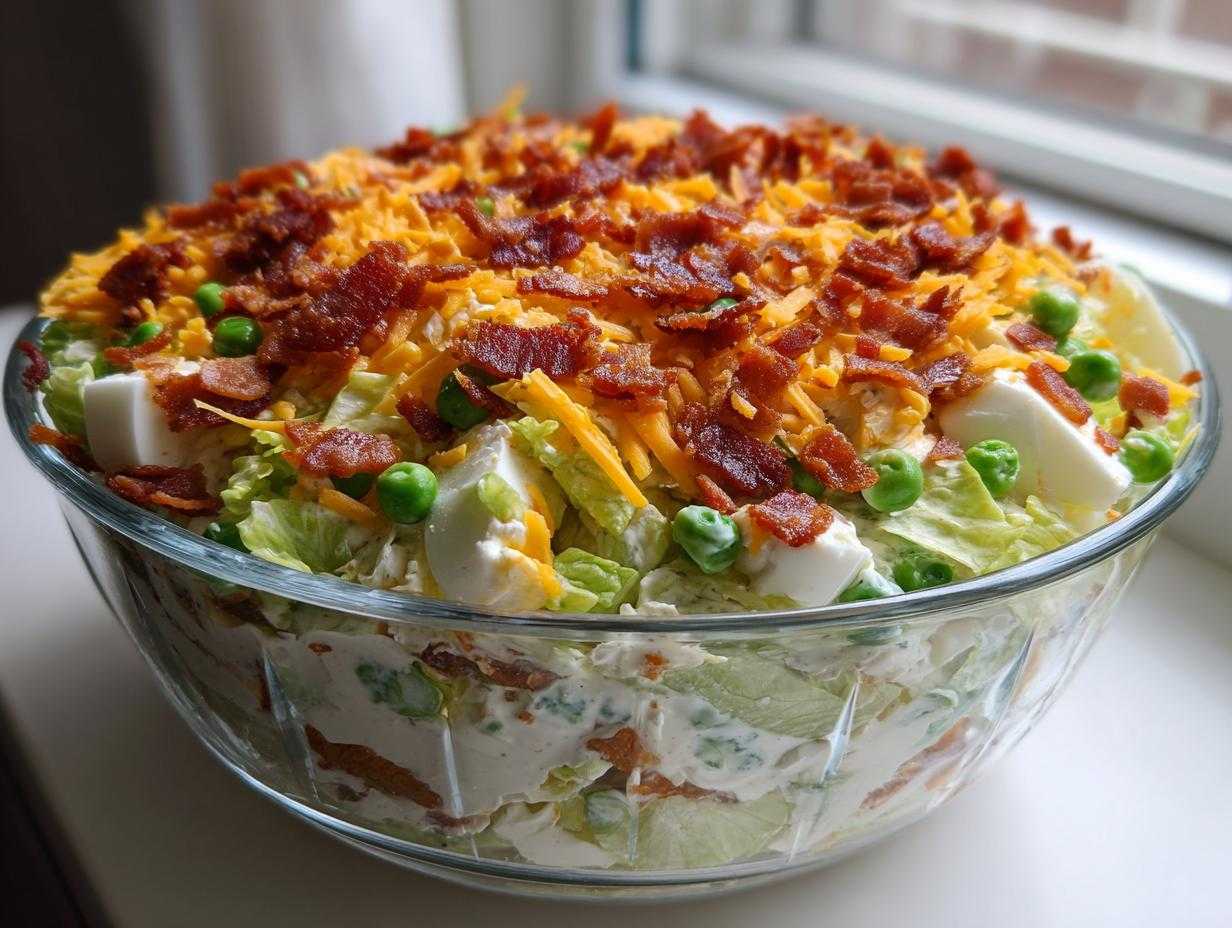
Oh my gosh, if you’re like me, you know that every great picnic, holiday spread, or summer BBQ absolutely *needs* that one big, beautiful, retro side dish sitting right there in the center. And nothing screams ‘crowd-pleaser’ louder than the classic 7 layer salad! Forget those flimsy little salads; this one is a showstopper. I’ve made this recipe hundreds of times for family gatherings, and trust me, it always disappears first. It’s the king of make-ahead salads because all the structure comes from careful layering, not messy tossing. I’m showing you the definitive way to build the best 7 layer salad, complete with the bacon and amazing creamy dressing that makes everyone ask for the recipe!
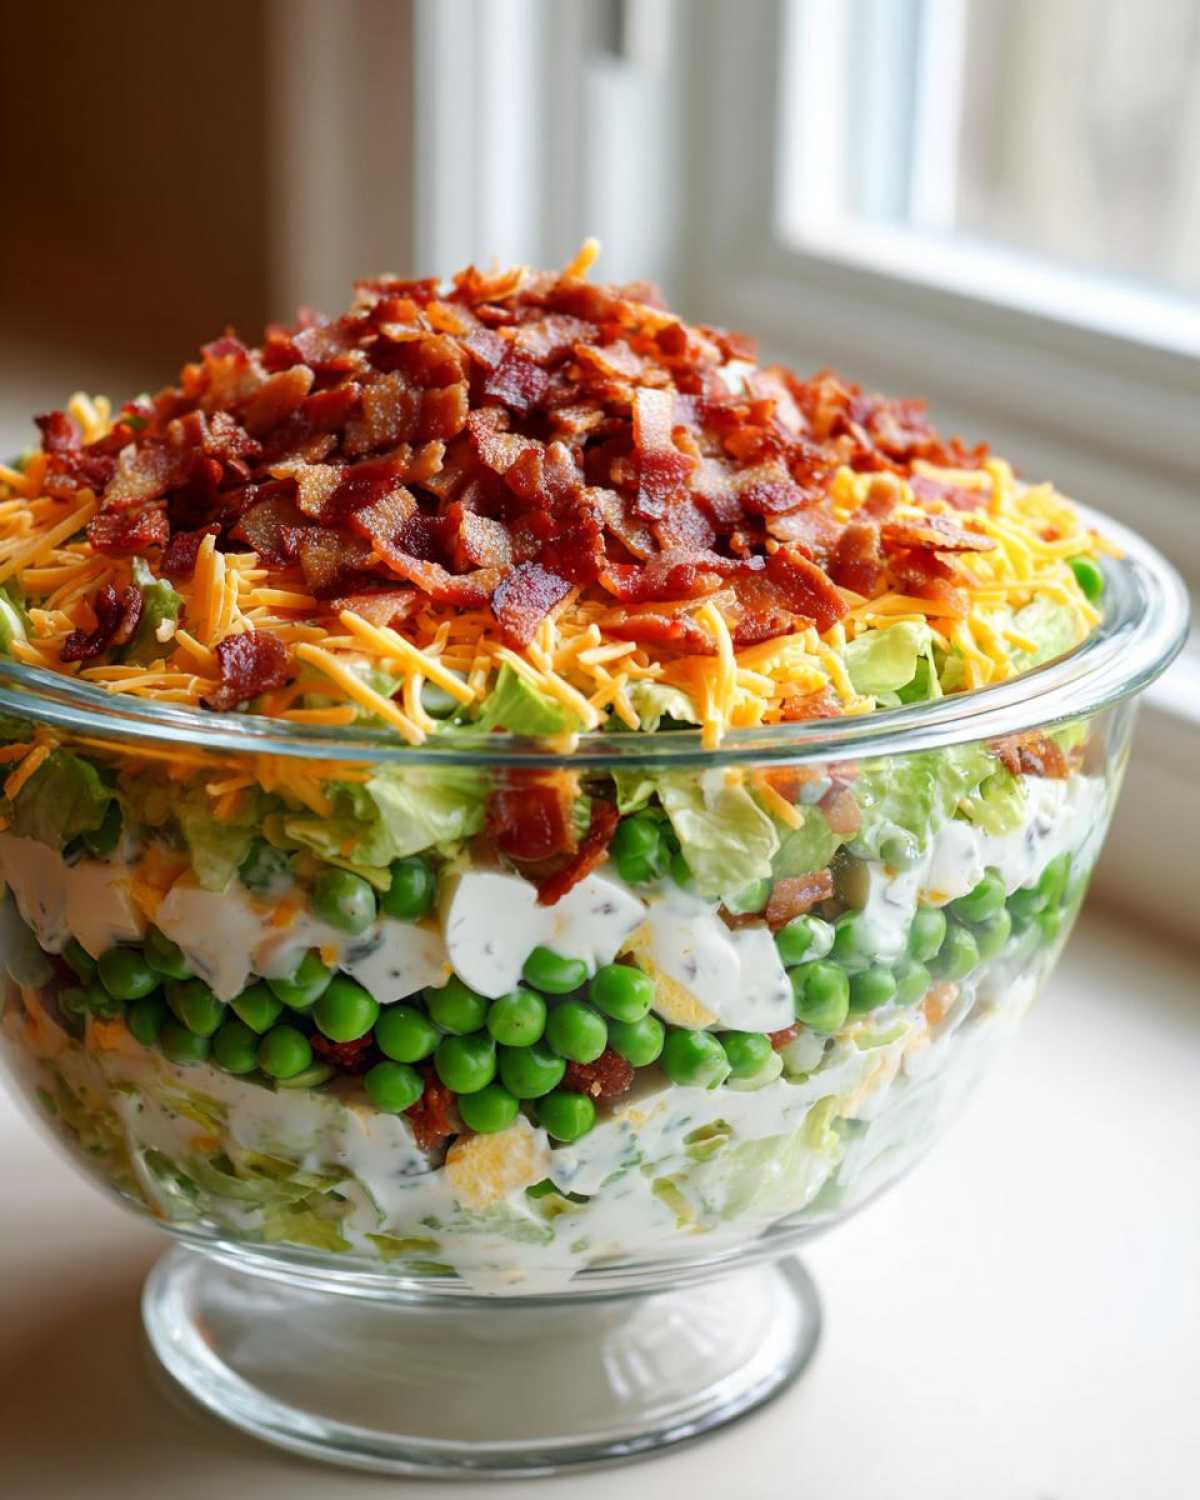
Why This Classic 7 Layer Salad Recipe is a Potluck Must-Have
Honestly, this isn’t just any side dish; it’s a strategic tool for anyone hosting a big group! I love it because it solves that last-minute panic we all get before guests arrive. You seriously assemble this beauty the day before, and it just gets better sitting in the fridge. It’s the ultimate make ahead salad.
It’s perfect for those big events because:
- It looks absolutely stunning in a clear bowl. People eat with their eyes first, and those defined layers always impress!
- The flavor is pure nostalgia. That sweet, tangy, creamy dressing mixing just slightly with the salty bacon? Perfection.
- It’s sturdy! It holds up beautifully at a BBQ or when you bring it to a friend’s house. You don’t need to worry about it wilting immediately like delicate greens.
If you’re looking for one of those reliable party side dishes that gets requested year after year, this is it. It’s the definition of a winning potluck salad.
Gathering the Ingredients for Your 7 Layer Salad
Okay, for this show-stopping layered salad recipe, you can’t just grab anything! The entire point of the seven layers is that each one plays a distinct role, so precision matters, especially with the dressing. Don’t let the long list scare you; we’re grouping things to make it super simple. You’ll want to gather everything before you start building, or you risk getting your layers mixed up!
Before you start, make sure your bacon is cooked until it’s shatteringly crisp and your hard-boiled eggs are peeled and chopped. If you’re looking for something else comforting using eggs, you absolutely have to check out my favorite egg salad recipe while you’re waiting for the bacon to cool!
For the Creamy Seven Layer Dressing
This dressing is the glue that holds the whole thing together—literally! It needs to be perfectly balanced so it seals in that moisture. The measurements here are vital; don’t eyeball the sugar or vinegar, or it throws off the whole creamy layered salad experience.
- 1 cup mayonnaise: Use the good stuff; it makes a difference in texture!
- 2 tablespoons white vinegar: This brings the necessary tang to cut through the richness.
- 1 teaspoon sugar: Crucial for balancing that vinegar kick.
- 1/2 teaspoon salt
- 1/4 teaspoon black pepper: Freshly ground always tastes best here.
For the Salad Layers and Toppings
These are the foundational veggies and the best part: the crunchy, salty toppings! Remember, the peas must be fully thawed before they go in—nobody wants frozen chunks in their beautiful classic 7 layer salad.
- 1 head iceberg lettuce, washed, shaken totally dry, and coarsely chopped: Iceberg is classic because it holds the layers up best!
- 1 cup chopped celery: Dice it relatively small so it blends well between layers.
- 1 cup chopped green onions: Use both the white and green parts for maximum flavor.
- 1 cup frozen peas, thawed completely and patted dry
- 1 cup chopped hard-boiled eggs
- 1 cup shredded cheddar cheese: Use a block and shred it yourself for the best melt/texture quality.
- 6 slices bacon, cooked until crisp and crumbled: Make sure this is well-drained so the grease doesn’t sneak down into the lower layers!
Assembling the Perfect Layered Salad Recipe
Now we get to the fun part! When making any 7 layer salad, presentation is half the battle. That’s why I always insist on using a large, clear glass bowl. You want everyone to see those beautiful, distinct bands of color before they dig in. It’s all about building structure here; we aren’t mixing anything until the absolute last minute, so layering sequentially is key to success.

We’ll tackle the dressing first, then carefully stack everything else. My favorite tip for layering is to go slow! If you rush, the ingredients will start to blend together, and you lose that gorgeous visual appeal we’re working so hard for. You can find more tips on how to manage this tricky assembly process over at my guide on simple layered salad assembly.
Preparing the Seven Layer Dressing
The dressing needs a quick whip so everything binds nicely. You just need a small bowl and a whisk for this. We’re making a simple, sweet-and-tangy binder here, so you just need to whisk the mayonnaise, vinegar, sugar, salt, and pepper together until it’s completely smooth and uniform. Trust me, you want this mixture silky—no lumps of sugar allowed! Since we are only using mayonnaise, there’s no chance of curdling, so just whisk until it looks pale and perfectly creamy. Then, set it aside while you build the base.
Simple Layered Salad Assembly Steps
Here’s the specific order we follow. Get your bowl ready, because this sequence locks everything in place perfectly before the dressing seals the deal.
- Start with all of your chopped lettuce right on the bottom. This is your sturdy foundation!
- Next, evenly scatter the celery over the lettuce.
- Then, sprinkle in the green onions across that layer.
- Now, evenly distribute the thawed and dried peas.
- Follow that with the chopped hard-boiled eggs.
- Top the eggs with all of your shredded cheddar cheese.
- Finally—and this is important—you spread that prepared dressing evenly right over the top of the cheese. Then, sprinkle the crumbled bacon absolutely everywhere on top of the dressing to finish. That way, the bacon stays crisp, and the dressing seals in the layers underneath!
Crucial Make Ahead Salad Chilling Time
Okay, this is where patience pays off, and honestly, this step is non-negotiable if you want the best 7 layer salad experience. You cannot, I repeat, CANNOT make this and serve it ten minutes later. That’s just a sad pile of cold components, not a cohesive, magical salad!
The chilling time is crucial for two big reasons. First, it allows that sweet, tangy dressing to work its magic down through the layers of onion and celery. The flavors have to marry up! Second, and this is important for texture, it lets the crisp lettuce slightly absorb some of that creamy moisture. It softens just enough to be tender, but if you follow the layering instructions, the lettuce at the very bottom keeps the structure strong so it doesn’t turn into mush.
I always aim for overnight chilling. Seriously, cover that bowl tightly with plastic wrap and stick it in the coldest part of your fridge for about 8 to 12 hours. If you’re in a massive rush, you have to give it a minimum of four hours. Four hours is the absolute bare minimum for the flavors to start mingling.
When you’re planning for a big event, make this the day before, cover it, and forget about it until game day or Thanksgiving. It’s the easiest win for any make ahead salad enthusiast. For more dependable make-ahead strategies, swing by my guide on make ahead salad tips!
Tips for the Best 7 Layer Salad Recipe Success
We’ve got the structure down, but a truly legendary classic 7 layer salad needs a little extra TLC on the prep side. You know how I always say that 90% of good cooking is just good preparation? That’s totally true here! These little steps are what move your salad from being just “good” to being the one everyone talks about at the party.
Ingredient Prep for Crisp Layers
Listen up, because the texture of the ingredients matters more than usual when everything is sitting there waiting to be eaten. You want snap, not sogginess! If you’re using iceberg, which I love for that classic crunch, make sure it’s ice cold right before you assemble it. Dryness is your friend here before the dressing comes in.
Oh, and a quick note if you decide to switch things up: If you find iceberg to be too delicate, you can absolutely use romaine! I sometimes use romaine when I know this salad with bacon and cheddar is going to sit for a full 24 hours. Romaine has a sturdier heart, so it holds up beautifully, giving you that good, crisp bite even after a long chill time. But whatever you use, make sure those peas are dry—watery peas equal a sad, soupy bottom layer!
Sealing the Layers of Your 7 Layer Salad
This is the secret to that ‘just-made’ flavor even hours later. Once you’ve spread that dressing over the top and sprinkled on the bacon, you have to seal it in immediately, like you’re locking in a time capsule of deliciousness. Get some plastic wrap and press it directly onto the surface of that final bacon layer.
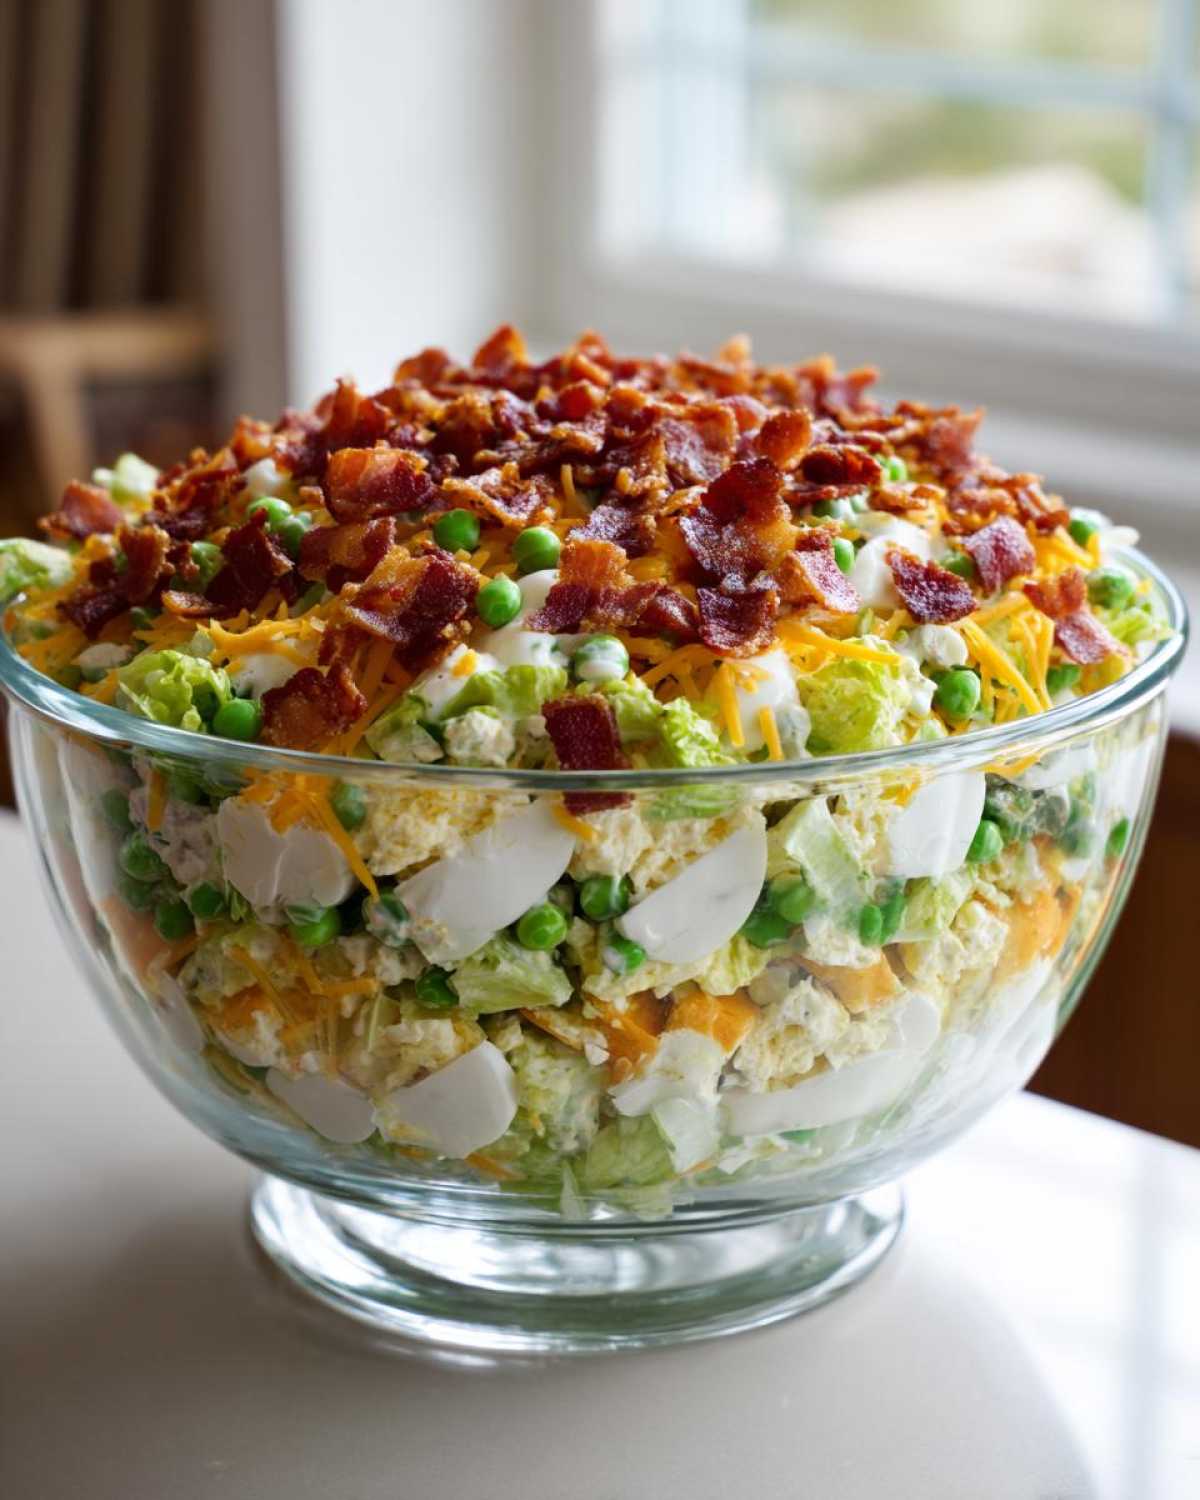
I mean, press it right down! Don’t just tent it loosely over the bowl. If you leave space, two bad things happen: First, that beautiful dressing starts to develop a skin, and second, your salad picks up every single funky odor floating around in your refrigerator. Nobody wants their retro salad recipe smelling faintly of last night’s leftover tuna casserole, right? Pressing the wrap directly onto the food forms a perfect seal against air and odor contamination. It keeps everything tasting exactly as intended!
Serving Suggestions for Your Creamy Layered Salad
The beauty of this dish, my friends, is that it’s flexible! Because it’s sturdy and visually impressive, the 7 layer salad works equally well dressed up or dressed down. I’ve made it for fancy Christmas dinners, and I’ve hauled it in a cooler to soccer tournaments. It just fits everywhere, which is why every good cook needs a reliable party side dish recipe like this in their back pocket.
When I’m serving it in the summer, it’s the perfect cool, crisp counterpoint to heavy barbecue fare. Think about it: smoky ribs, juicy pulled pork, maybe some grilled chicken—and then BAM! You hit them with that cool, tangy crunch of the salad. It’s refreshing and light, even with that rich dressing in there.
For holidays, like Thanksgiving or Easter, it’s a fantastic way to sneak in those fresh veggies without feeling heavy. It looks great next to a big ham or turkey because it adds height and color to the table. If you are looking for more ideas for those big holiday feasts, you should definitely check out my list of wonderful holiday side dish salads!
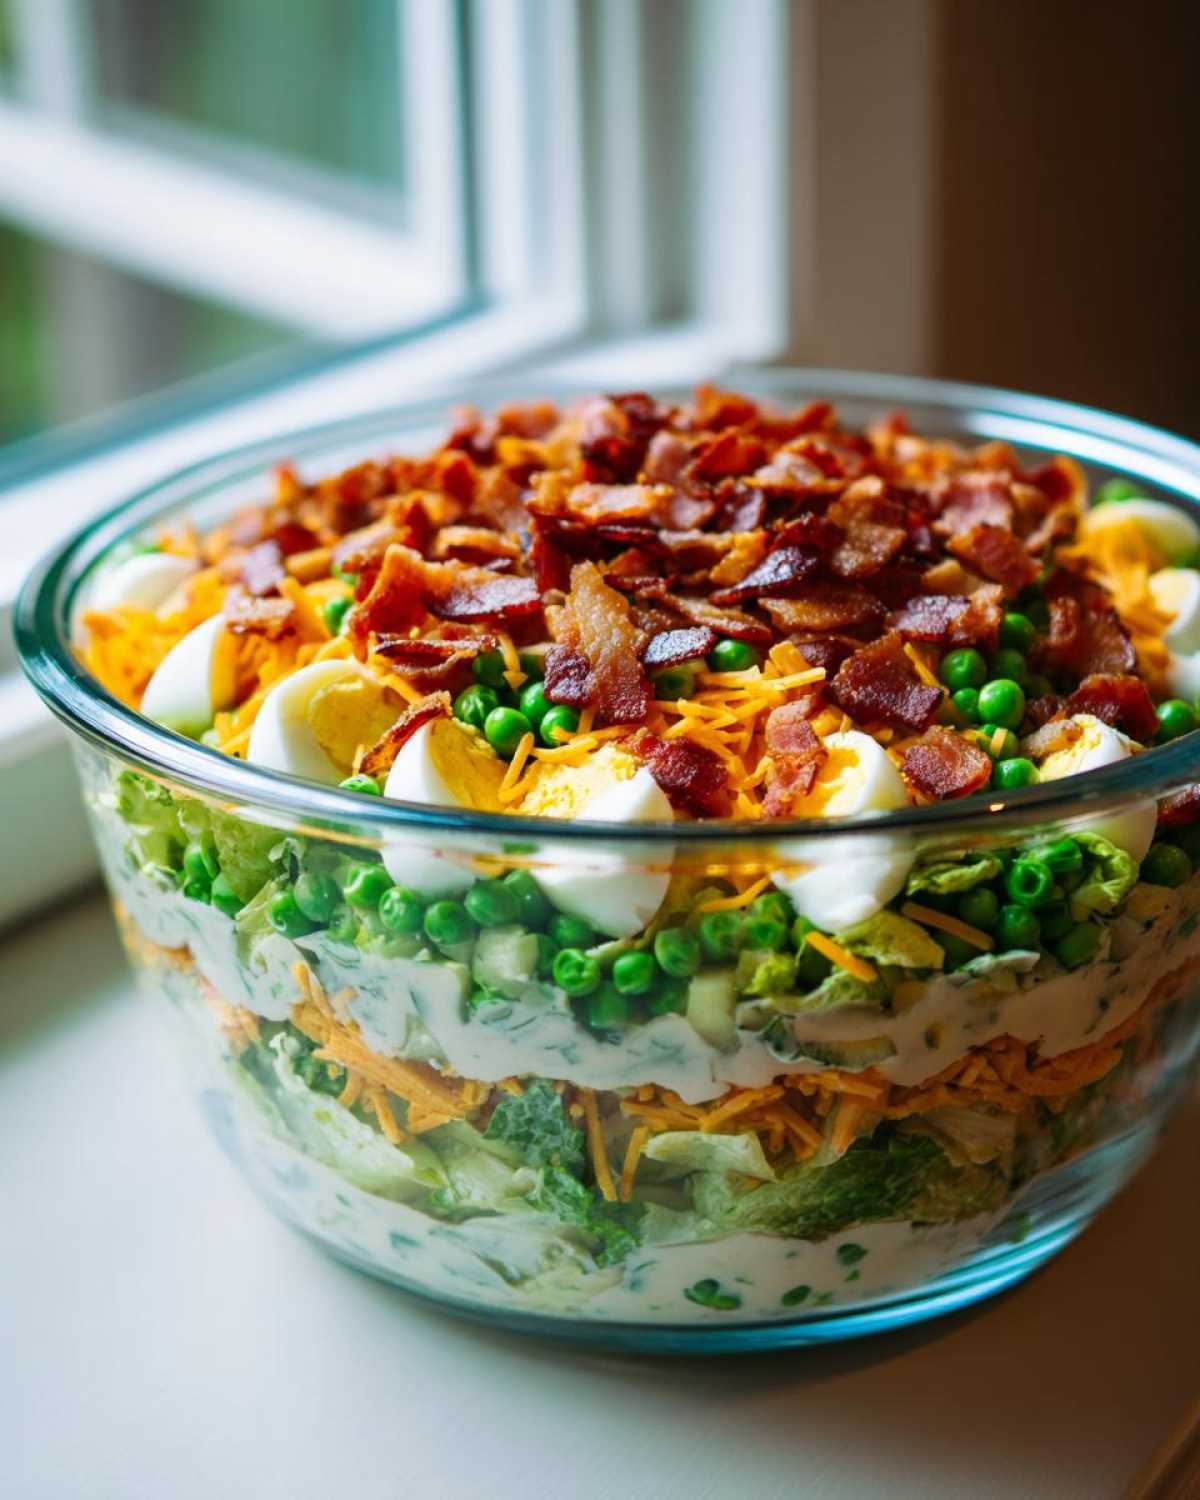
When you’re serving it, remember the serving instruction: Don’t mix! People should scoop from the top down, getting a little bit of every layer in their dish at once. It’s part of the charm of a classic 7 layer salad!
Variations: Beyond the Classic 7 Layer Salad
I know the classic 7 layer salad is pure perfection, but sometimes you just want to shake things up, right? Maybe someone at the party doesn’t love peas, or maybe you’re making this for a completely different type of meal. That’s the joy of a layered dish—the concept is solid, but you can totally swap out ingredients while keeping that amazing structure intact!
We’re keeping the layering concept—that’s the heart of the dish—but we can absolutely change the flavor profile. Think what you can do! You can lean into spring flavors with lots of fresh broccoli and cauliflower, or maybe switch out the cheddar for Monterey Jack if you’re feeling fancy. It’s about putting your own spin on this retro salad recipe.
Making a Seven Layer Taco Salad Variation
If you want something totally different but just as satisfying for a crowd, my go-to is definitely the conversion into a seven layer taco salad variation! It uses the same assembly logic, which is brilliant, but the flavor dynamic shifts to Tex-Mex heaven. It’s incredible for game days!
Here’s the quick switch-up: You still start with lettuce, but maybe use romaine instead of iceberg for that extra bite. You skip the celery and onions for a layer of black olives and diced tomatoes. Instead of cheddar, pile on the pepper jack cheese! For the dressing, I usually ditch the mayo mix and instead use a mix of sour cream, a little salsa, and some taco seasoning—it makes a tangy, spicy replacement for the original dressing.
And for the crunch on top? Forget the bacon! We toss on crushed tortilla chips, maybe some seasoned ground beef if you want it heartier, and a sprinkle of fresh cilantro. It’s fantastic, and you can find all my secret steps for making that version perfect over at my guide to the seven layer taco salad variation. It keeps all the fun of the layers while turning it into a whole new experience!
Storage and Reheating Instructions for this Layered Salad Recipe
Since this whole recipe is built around the idea of planning ahead, storage is actually one of the most important steps! We’ve already talked about how chilling lets those flavors meld, but we need to talk about how to keep it happy in the fridge until it’s time to eat. Remember, this is a cold salad, so definitely forget about reheating it—you can’t microwave a beautiful pile of lettuce and expect good results here!
The magic window for enjoying this make ahead salad is about 24 hours. Seriously, that’s when the layers are perfectly softened but haven’t started to get sad and watery. If you need to push it, you can get away with 48 hours, but I’m warning you, the lettuce near the bottom might start looking a little translucent after the first day.
The absolute number one rule for storage—and I cannot stress this enough—is that you DO NOT MIX IT until you are sitting down to serve it. Once you toss this beauty, it turns into regular salad, and we lose all the fun structure that makes it a 7 layer salad!
When you wrap it up tightly with plastic wrap, make sure you press that plastic right down onto the top layer of bacon, just like I mentioned before. This prevents the dressing from drying out or absorbing any weird fridge smells overnight. When it’s time to serve, just pull off the plastic wrap, grab a big serving spoon, and show everyone those perfect layers before digging in!
Frequently Asked Questions About 7 Layer Salad
I get asked about this layered salad recipe all the time, especially right before big holidays when people are planning their menus. Since this dish seems simple, folks sometimes wonder if they can easily change things up or if they have to follow my exact steps. Don’t worry! I’ve compiled the most common questions about assembly, storage, and ingredient swaps so you can serve up the perfect classic 7 layer salad every single time.
Can I substitute the mayonnaise in the dressing?
Oh, absolutely you can! While my family insists on that classic creamy texture that the mayo provides—it really helps seal everything together—I know people look to lighten things up. If you want a tangier, slightly lighter profile for your creamy layered salad, go ahead and swap out half or even all of the mayonnaise for plain Greek yogurt or sour cream. The thing to watch out for is liquid content. Yogurt can sometimes be thinner than mayo, so if you notice your dressing looks watery after mixing, just whisk in an extra teaspoon of sugar or a tiny bit more salt to thicken it back up. It still works beautifully!
What is the best way to transport this potluck salad?
This is such a big question because nobody wants to arrive at the potluck salad recipes table with a messy disaster! If you’re driving more than 20 minutes, I actually recommend slowing down the layering process. You can assemble every layer *except* the dressing and the bacon. Keep that dressing separate—maybe in a Mason jar you can pour right out of—and keep the bacon crumbles in a little Ziploc bag. Then, once you arrive at your destination, you assemble the final two layers right there before serving. If you absolutely must assemble the whole thing at home, just make sure your lid is airtight and transport it in a cooler packed with ice packs underneath the bowl. That cold environment keeps everything nice and firm!
How long does this retro salad recipe last in the fridge?
That’s the million-dollar question when talking about a retro salad recipe designed to be made ahead! Because this salad relies heavily on crisp lettuce, its shelf life isn’t endless, sadly. It is absolutely best consumed within 24 hours of assembly. That’s when the flavors have mingled perfectly, but the lettuce hasn’t had time to turn mushy. If you need longer, you can push it safely to 48 hours maximum, but I’m warning you: the lettuce near the bottom is going to start looking a little sad and wilted by the second day.
Estimated Nutritional Data for the 7 Layer Salad
Now, I always tell folks that a classic 7 layer salad is definitely a treat meal, not something you eat every day because of that glorious, creamy dressing! But you deserve to know what’s what before you bring this beauty to your next gathering. These numbers are just estimates, of course, based on the exact ingredients and serving size of one generous scoop from the bowl.
Think of these figures as a ballpark estimate for your party side dish planning! The high fat content comes straight from the mayonnaise and cheese, which gives us that signature rich texture we all love.
- Serving Size: 1 serving
- Calories: 320
- Fat: 28g (This is where the creamy flavor lives!)
- Saturated Fat: 10g
- Unsaturated Fat: 18g
- Cholesterol: 85mg
- Sodium: 450mg
- Carbohydrates: 8g
- Fiber: 2g
- Sugar: 4g (Mostly from the dressing sweetness)
- Protein: 12g
Remember, if you were to swap the mayo for Greek yogurt or use less bacon, those numbers would definitely shift! But for the traditional, no-holds-barred creamy layered salad recipe I shared, this is what you’re looking at for one portion. Enjoy it!
Print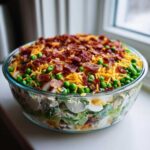
Classic 7 Layer Salad
- Total Time: 30 min
- Yield: 8 servings
- Diet: Vegetarian
Description
A simple, make-ahead layered salad featuring crisp vegetables, bacon, cheese, and a creamy dressing, perfect for potlucks and gatherings.
Ingredients
- 1 head iceberg lettuce, chopped
- 1 cup chopped celery
- 1 cup chopped green onions
- 1 cup frozen peas, thawed
- 1 cup shredded cheddar cheese
- 6 slices bacon, cooked and crumbled
- 1 cup chopped hard-boiled eggs
- 1 cup mayonnaise
- 2 tablespoons white vinegar
- 1 teaspoon sugar
- 1/2 teaspoon salt
- 1/4 teaspoon black pepper
Instructions
- Prepare the dressing: In a small bowl, whisk together the mayonnaise, vinegar, sugar, salt, and pepper. Set aside.
- Layer the ingredients in a large glass bowl in the following order: lettuce, celery, green onions, peas, eggs, and finally the cheddar cheese.
- Sprinkle the crumbled bacon evenly over the top layer of cheese.
- Spread the prepared dressing evenly over the top layer of bacon.
- Cover the bowl tightly with plastic wrap.
- Refrigerate for at least 4 hours, or preferably overnight, before serving.
- When ready to serve, remove the plastic wrap and serve directly from the bowl.
Notes
- You can assemble this salad up to 24 hours in advance. Keep it covered and chilled.
- Do not mix the salad until you are ready to serve it.
- Use romaine lettuce if you prefer a slightly crisper texture than iceberg.
- Prep Time: 20 min
- Cook Time: 10 min
- Category: Side Dish
- Method: Assembly
- Cuisine: American
Nutrition
- Serving Size: 1 serving
- Calories: 320
- Sugar: 4
- Sodium: 450
- Fat: 28
- Saturated Fat: 10
- Unsaturated Fat: 18
- Trans Fat: 0
- Carbohydrates: 8
- Fiber: 2
- Protein: 12
- Cholesterol: 85


Comments are closed.