
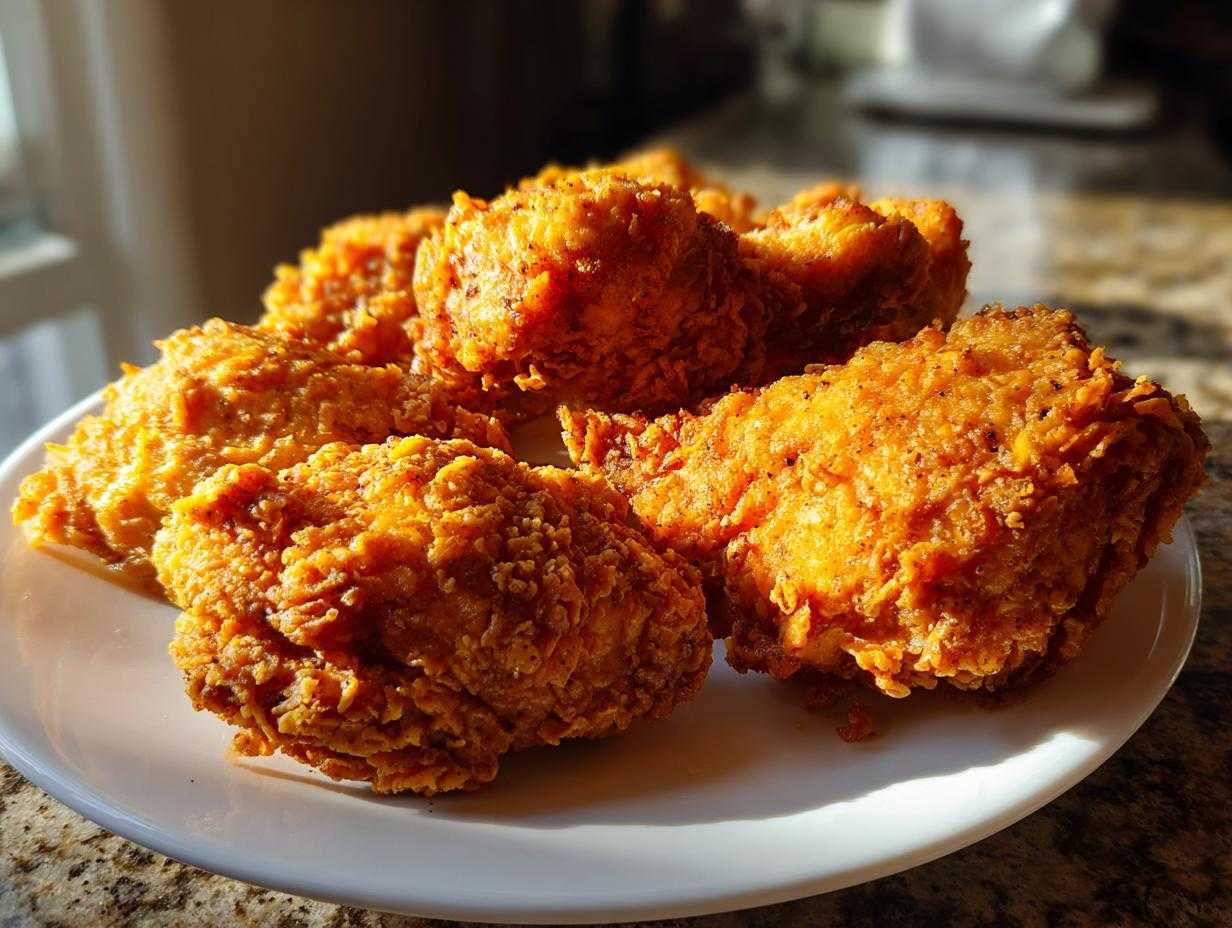
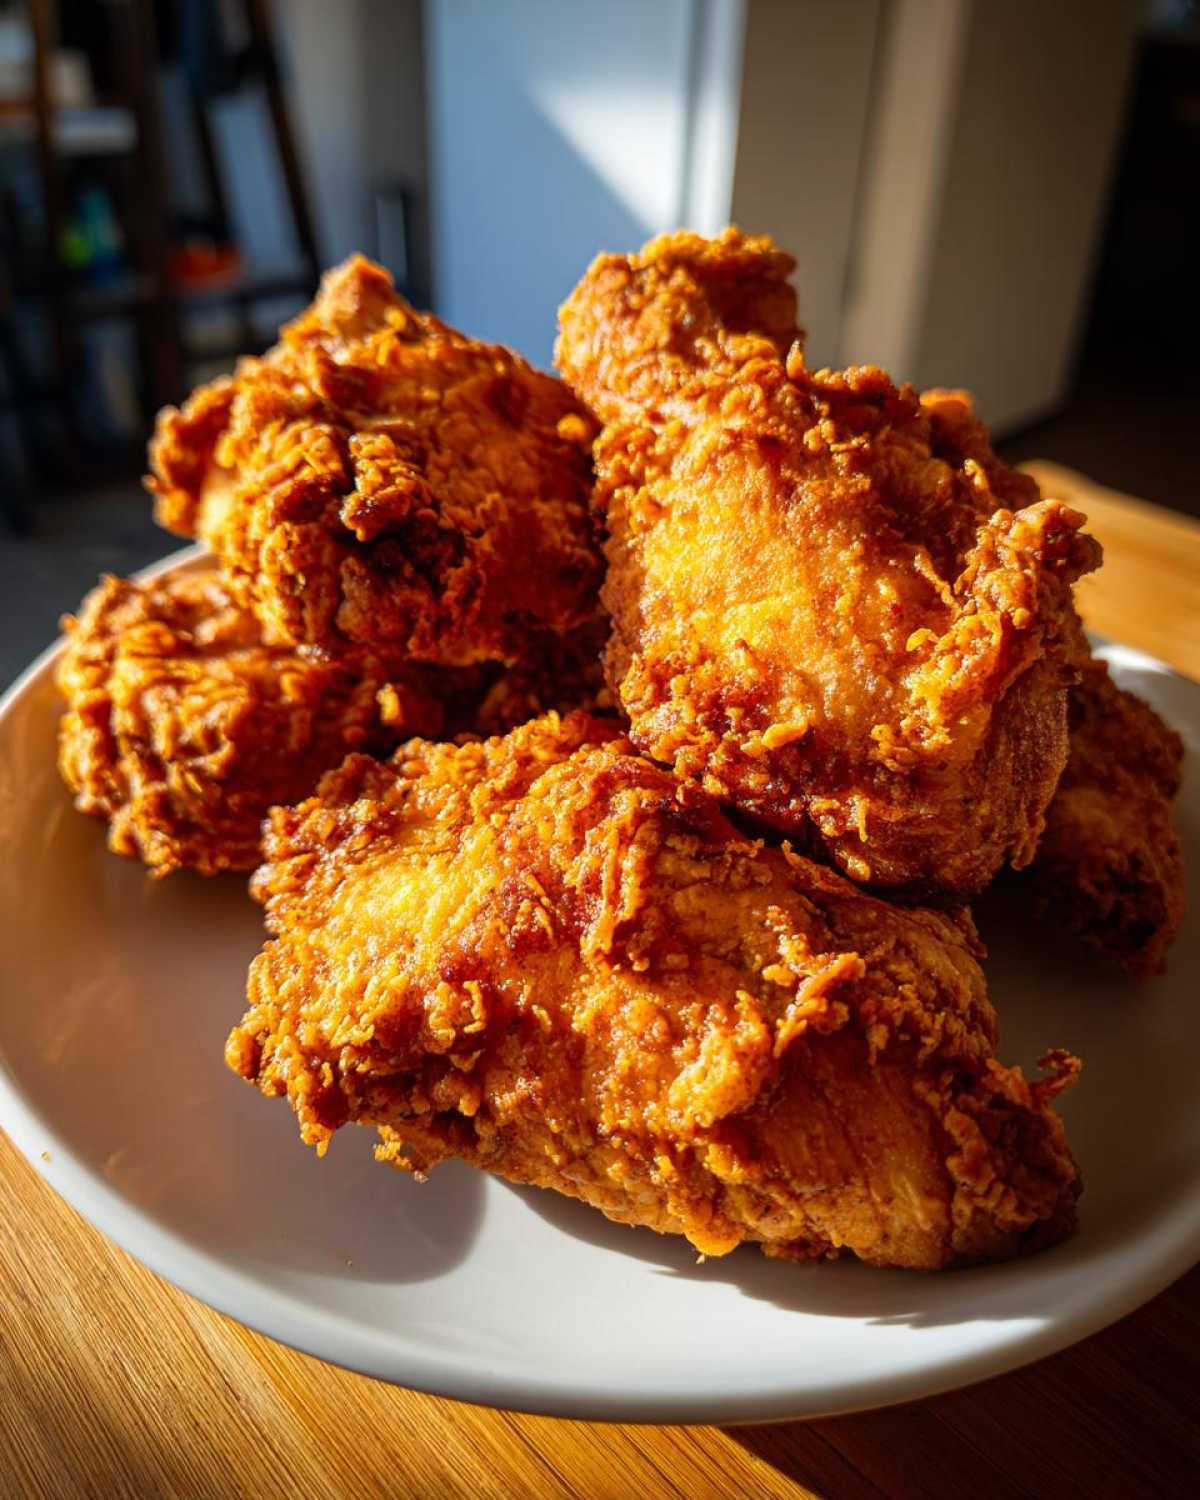
Oh my gosh, you know those days when you just crave that perfectly crispy, golden-brown fried chicken, but the thought of dealing with a huge vat of hot oil makes you want to run screaming? I’ve been there! For years, I thought I couldn’t replicate that incredible Southern crunch at home without the mess, but trust me, I cracked the code. My ultimate **air fryer fried chicken** recipe is truly a game-changer. It manages to deliver that authentic Southern style flavor thanks to a long buttermilk soak, and somehow, we get maximum crispiness right in that basket. I used techniques from the masters, including what I learned perfecting my classic crispy buttermilk fried chicken, to perfect this air fryer version. It took me nearly a dozen tries to get the coating just right, but now this is my go-to weeknight indulgence!
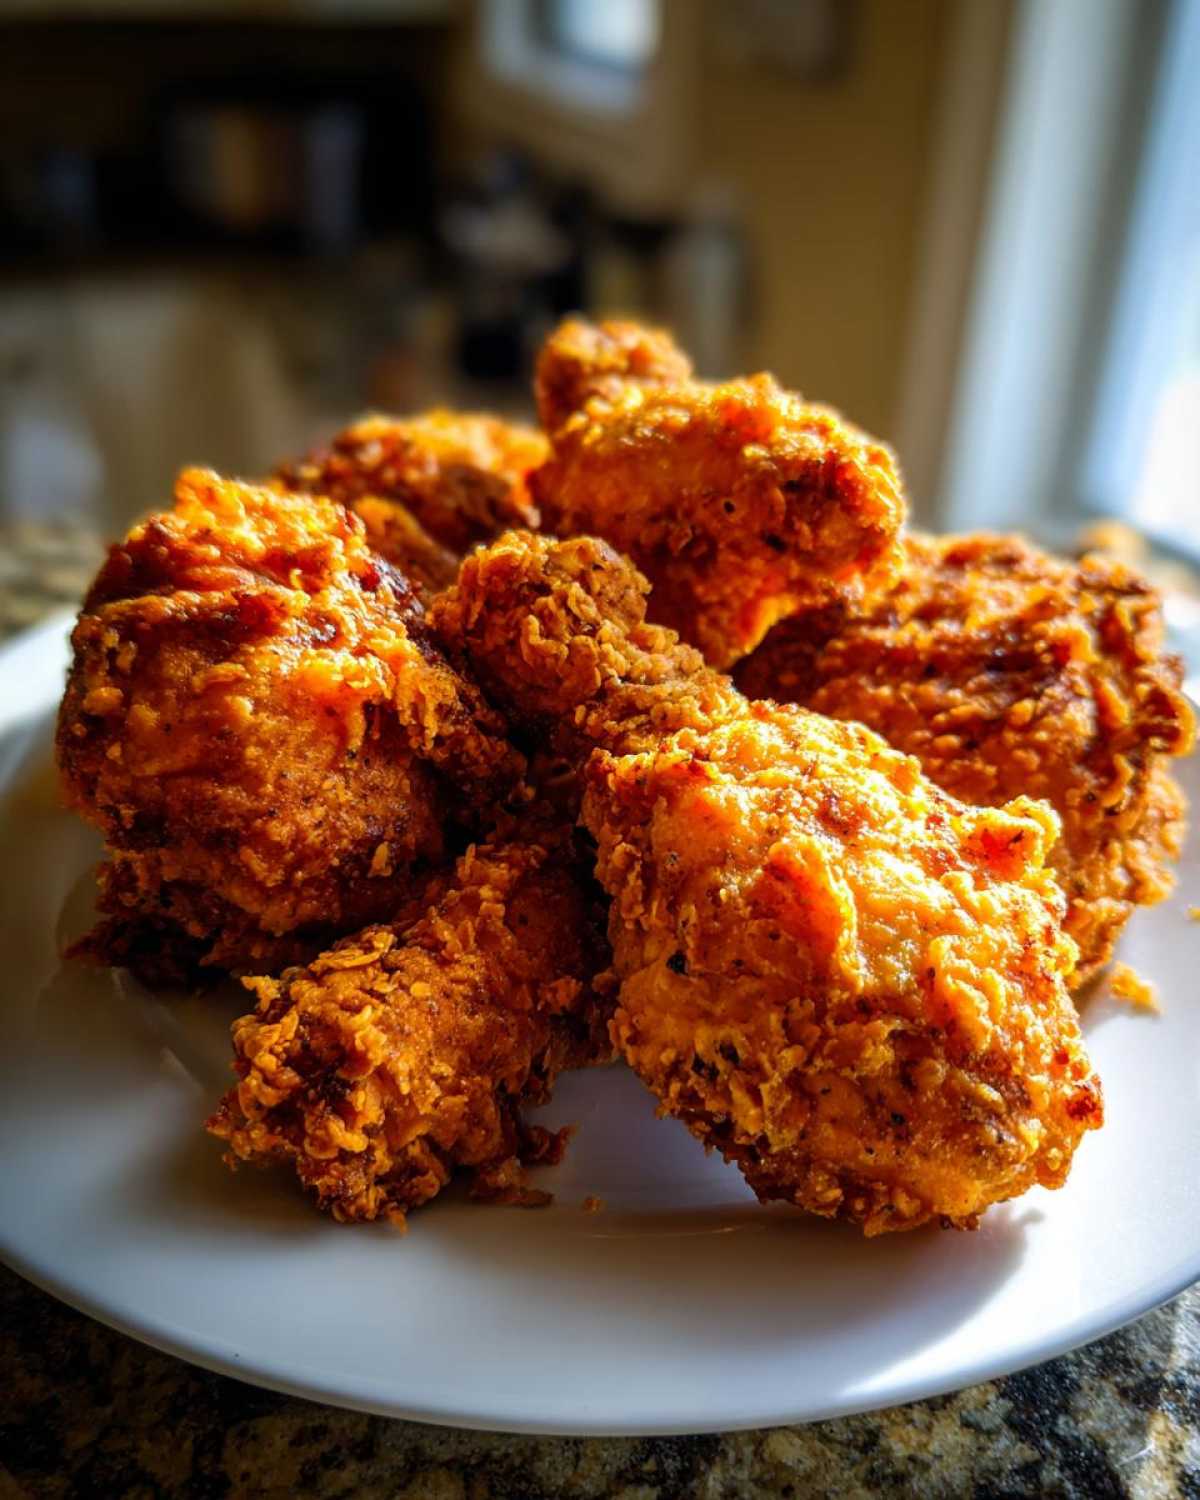
Why This is the Best Air Fryer Fried Chicken Recipe (Southern Style)
I’m telling you, this isn’t just *good* air fryer chicken; this is fantastic chicken that just happens to be healthier! I spent ages testing racks and temperatures to make sure we weren’t ending up with dry, pale disappointment. This recipe nails that classic Southern vibe we all crave. Here’s what makes this effort worth every second you put in:
- It truly mimics that deep-fried crunch you thought was impossible without all that oil. This is our new favorite **air fryer fried chicken** go-to!
- The inside? Oh, it stays incredibly juicy, thanks to a long, cold soak. No more dry white meat nightmares!
- It feels like comfort food, but you get to skip the heavy feeling afterward. It’s my favorite way to have a delicious Southern side right alongside it without total guilt.
Achieving Golden, Crispy Air Fryer Fried Chicken
The secret to the crunch is actually twofold. First, we add a little bit of baking powder to the flour mixture—don’t skip that! It helps lift the coating and create those gorgeous little craggy bits that turn golden brown when the hot air hits them. Second, and this is non-negotiable, you have to spray it! We spray it lightly before the first round of cooking, and then we spray the tops again after flipping. That light coating of oil is what helps the flour crisp up instead of just drying out. It makes all the difference in getting that perfect crisp!
Buttermilk Soak for Juicy Air Fryer Chicken
This is where the tenderness comes in. If you’re looking for that melt-in-your-mouth texture, you need acid to tenderize the muscle fibers, and buttermilk is perfect for that. That long chill time—at least four hours, but seriously, overnight if you can manage it—is what transforms tough outer layers into super tender meat. This soaking step is why the results from this specific **buttermilk soaked chicken air fryer** method keep me coming back. You keep all the flavor and get unparalleled moisture retention!
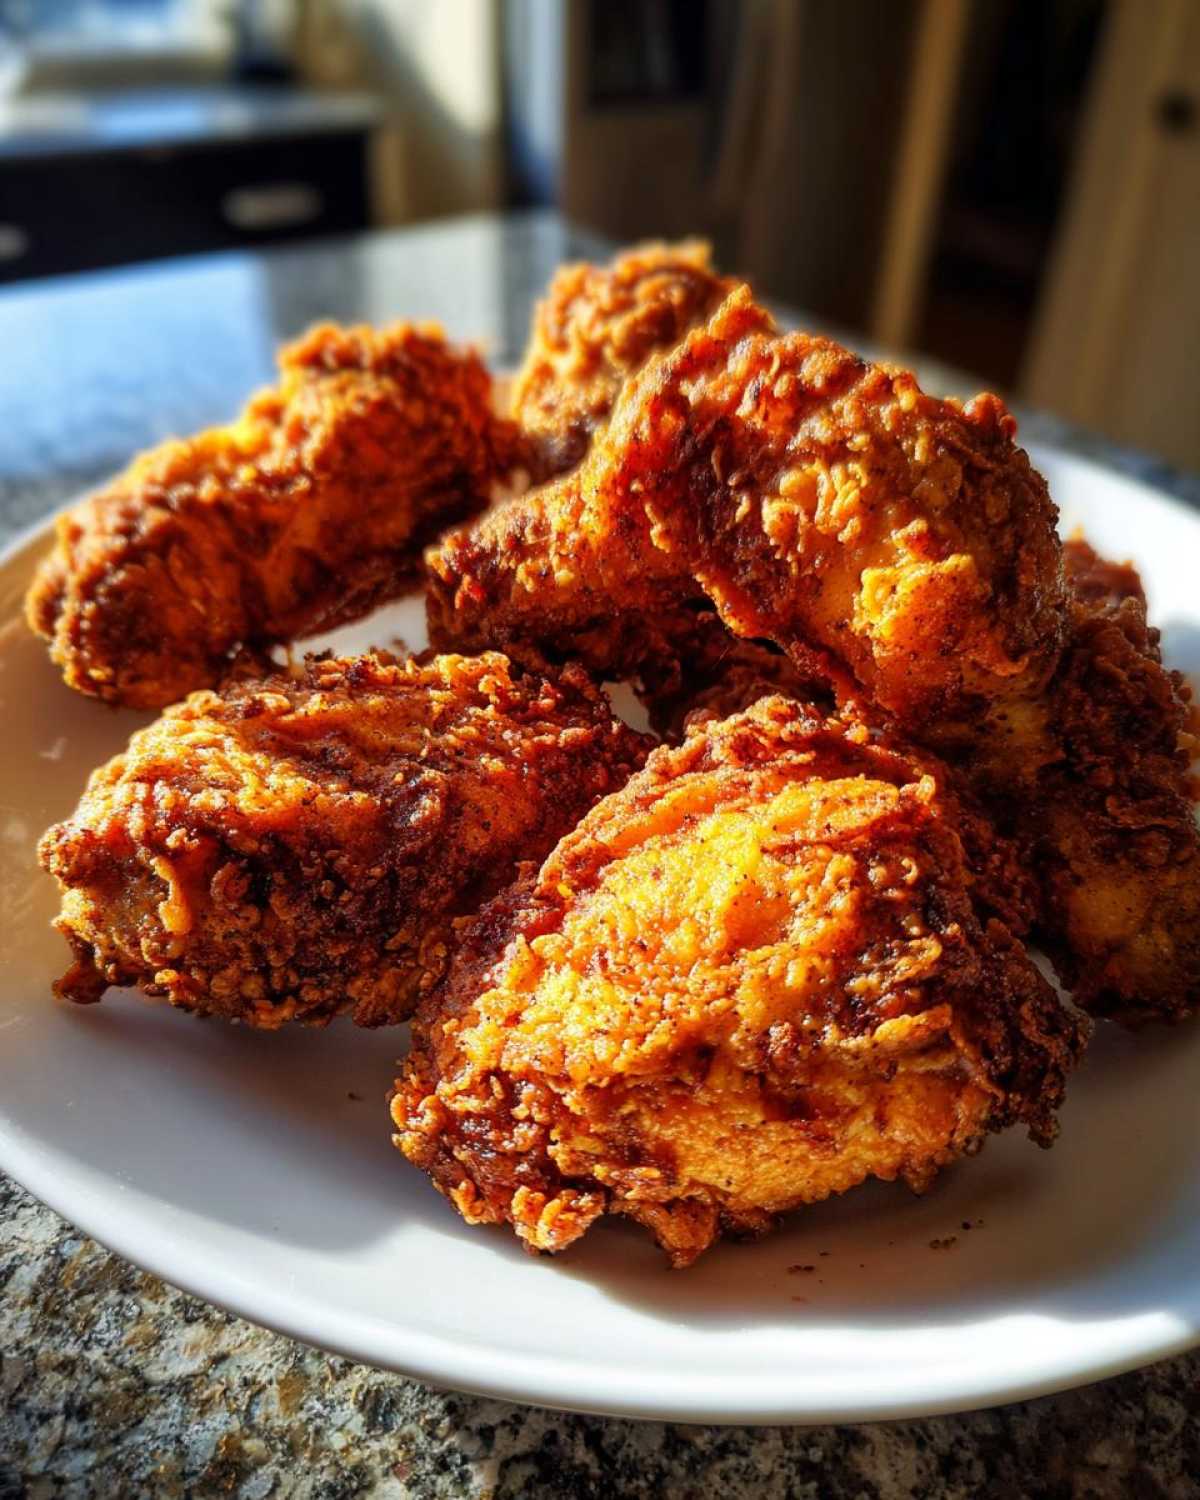
Essential Ingredients for Perfect Air Fryer Fried Chicken
You cannot cheat on the ingredients if you want this to taste like proper, crave-worthy Southern chicken! I’ve listed everything out below, and you should measure carefully. Even though this is a quick Sunday favorite, the prep steps are crucial for success. Make sure you grab bone-in, skin-on pieces—that skin really holds onto the crispness better than boneless!
- 2 lbs bone-in, skin-on chicken pieces (we usually use thighs and drumsticks!)
- 2 cups buttermilk
- 1 tablespoon hot sauce (I use Frank’s, but use whatever you love)
- 1 teaspoon salt
- 1 teaspoon black pepper
- 1 teaspoon paprika
- 1 teaspoon garlic powder
- 1 teaspoon onion powder
- 1/2 teaspoon cayenne pepper (this gives it a tiny kick!)
- 1 1/2 cups all-purpose flour
- 1/2 cup cornstarch (this is essential for that shatteringly crisp coating)
- 1 teaspoon baking powder
- Cooking spray (make sure it’s oil-based, not water-based)
See? Nothing too crazy, but every single component plays a starring role in getting that beautiful flavor profile and texture we’re aiming for.
Step-by-Step Guide to Making Air Fryer Fried Chicken
Okay, time for the fun part! Now that everything is prepped, we put it all together. Following these steps exactly is how we guarantee you get that magazine-worthy, **air fryer fried chicken** that is crispy outside and perfectly cooked inside. Don’t rush the resting phase at the end, though; that’s just as important as the marinating!
The Crucial Buttermilk Marinade for Juicy Air Fryer Chicken
This process starts way before you even think about turning on the machine. You must get that chicken cozy in its buttermilk bath! Once you mix the buttermilk, hot sauce, and seasonings, tuck that chicken in and put it in the fridge. Seriously, the minimum time you should give it is four hours. That gives the acid time to start breaking down the proteins and really injecting moisture deep into the meat. If you are planning ahead—and I highly recommend it—let it hang out overnight. The difference between four hours and twelve hours is noticeable, I promise! This lengthy soak is the secret weapon for **juicy air fryer chicken** every single time.
Preparing the Best Air Fryer Chicken Coating
While the chicken is chilling, whisk together your dry ingredients: the flour, the secret weapons like cornstarch and baking powder, and all those glorious spices we talked about. Get it really well combined in a shallow dish, like a casserole dish or a pie plate, so you can dredge properly. When you pull the chicken out of the buttermilk, you want to let the excess drip off—we don’t want runny chicken soup in our flour, just enough buttermilk clinging on to make the coating stick! Then, dredge each piece and, this is key, you need to firmly press that flour mixture onto every surface. Really pat it down! Loose coating falls off in the air fryer and leaves you with pale spots—we want full coverage, like armor!
Air Frying Your Air Fryer Fried Chicken for Maximum Crispiness
Preheat your air fryer basket so it’s nice and hot before you load it up. Mist the bottom lightly with your cooking spray. Now, arrange the chicken pieces in a single layer. Do not pile them up! Air circulation is your friend here; crowding leads to steaming, and steaming leads to sadness. Once they are spaced out nicely, give the tops a very generous misting with your cooking spray. Cook at 380°F (195°C) for 18 minutes. Then you flip them—make sure you spray the other side again with oil now! Cook for another 10 to 15 minutes. The absolute final check is temperature: pull them out when the internal temperature hits 165°F (74°C). A meat thermometer is your best friend here; it’s the only way to ensure safety without drying out your delicious cast iron cornbread sibling!
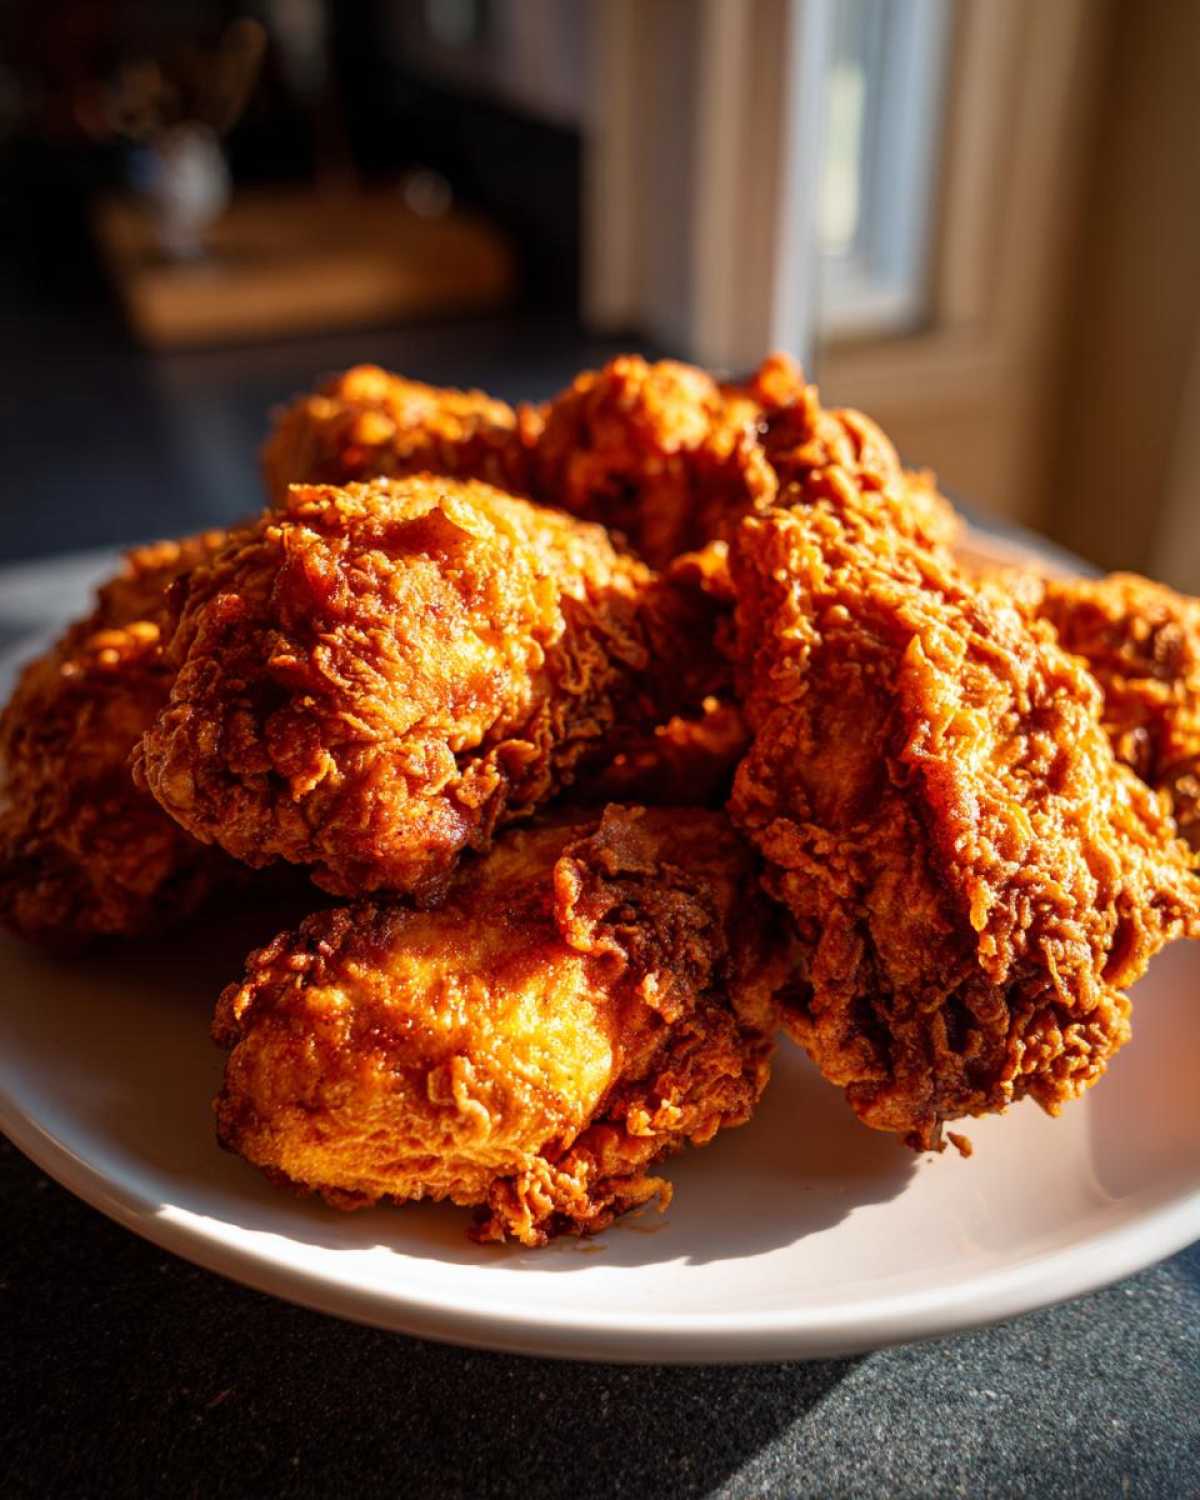
Pro Tips for Foolproof Air Fryer Fried Chicken Success
Listen, even with a solid recipe, sometimes things can just go sideways in the kitchen, right? We all want that foolproof experience, especially when we’re trying to achieve that elusive perfect crisp. I’ve learned a couple of tricks over my many batches of **crispy air fryer chicken** that I rely on every time. These aren’t complicated switches; they’re just tiny nudges to the process that guarantee a better result, kind of like how I tweak my salmon recipe sometimes!
One thing Grandma always taught me about baking applies here too: paying attention to visual cues is more important than strictly following the clock. While the recipe gives you great guidelines, your chicken might be thicker or thinner than mine, so we need to be agile!
- The Heat Boost for Maximum Crunch: If you’re following the 33-minute cook time and you pull your chicken out, and it looks golden but not quite *shatteringly* crisp, don’t panic! Once you flip the pieces, kick the temperature up to 400°F (200°C) for those last 5 minutes. That aggressive blast of heat is just enough to dry out the coating surface totally without overcooking the meat inside. It results in amazing texture!
- Adjusting for Breasts vs. Thighs: My standard recipe targets mixed pieces, which are usually thighs and drums. If you are making **air fryer chicken breasts crispy skin** side up, they tend to cook faster sometimes. You should shave about 5 to 7 minutes off the total cook time if you’re using boneless breasts or thinner cuts. The internal done temperature of 165°F (74°C) is our absolute safe zone, so always double-check with a thermometer if you’re doubting the time.
- Don’t Skip the Rest: I know it’s hard when the smell of southern spice fills your kitchen, but let that chicken rest for five minutes after it comes out. This allows the juices that have been pushed to the center during the high-heat cooking to redistribute back through the meat. If you cut into it immediately, all those delicious juices run right out onto the plate, and suddenly, you don’t have such **juicy air fryer chicken** anymore!
Trusting your equipment and knowing these small adjustments are totally acceptable is what separates an okay batch from a truly show-stopping batch of **healthy fried chicken substitute**!
Serving Suggestions for Your Air Fryer Chicken Dinner Ideas
Okay, now that we’ve made the star of the show—the crispiest, juiciest **air fryer fried chicken** you’ve ever made—we can’t just eat it plain, right? Fried chicken deserves the best lineup of supporting players! Part of the joy of making a full Southern-style meal, even a lighter version like this, is piling that plate high with creamy, tangy, and rich sides. If you’re planning out your full menu, these are the perfect pairings that always make their way onto my table when I serve this up.
It’s all about balancing that savory, salty chicken with sides that offer creamy texture or bright acidity. When I’m mapping out my **air fryer chicken dinner ideas**, I usually pick one creamy starch and one brighter vegetable side. It just creates the perfect plate!
- Creamy Mac and Cheese: You absolutely cannot go wrong. The creamy tanginess of a good baked mac and cheese cuts right through the richness of the chicken coating beautifully. If you want to keep it quick, I sometimes pull out my slow cooker mac recipe, honestly!
- Tangy Coleslaw: This is non-negotiable for me. A coleslaw made with a vinegar-based dressing works wonders. That sharp, clean bite refreshes your palate after a few bites of that spiced coating. It’s the perfect counterpoint.
- My Famous Cowboy Cornbread Casserole: If you need a starch that’s both savory and sweet, this is it. It’s got that slightly sweet cornbread flavor but in a scoopable casserole form that saves you from having to bake individual cornbread muffins. You can check out my recipe for Cowboy Cornbread Casserole—it’s phenomenal alongside this chicken.
- Collard Greens (The Quick Way): You don’t have to slow-cook them all day to get amazing flavor. Sauté some greens quickly with garlic, smoked paprika, and just a splash of apple cider vinegar. They bring that earthy, slightly bitter balance that anchors the whole meal.
Honestly, anything you’d get at a classic Southern cookout works, but these four just make my family’s day!
Storage and Reheating Instructions for Leftover Air Fryer Fried Chicken
Oh, leftovers! Sometimes the second day is even better, especially when you know the secret to bringing that crispiness back to life. You’ve made a huge batch of this amazing **air fryer fried chicken**, and now you have to store it. My biggest fear is waking up to soggy, sad chicken the next day, but thankfully, the air fryer is just as good at reviving leftovers as it is making them in the first place!
You want to handle this right away. Don’t leave cooked chicken sitting out on the counter forever—safety first, always! Since this is such a wonderfully **healthy fried chicken substitute**, we want to keep it tasting great for those quick weeknight air fryer meals you sometimes need.
How to Store Your Crispy Air Fryer Chicken
The key to storing any crispy food is keeping the moisture away from the coating. If you put warm chicken straight into a sealed plastic container, the steam gets trapped, and that’s how crispiness dies a slow, sad death overnight. Let the chicken cool down completely to room temperature first—this might take an hour or so—before you seal it up. Once cooled, transfer it to an airtight container. Here’s my trick: I usually line the bottom of the container with a paper towel before layering the chicken in. That little paper towel absorbs any residual moisture trying to seep out overnight. You should be good in the fridge for about three to four days maximum.
The Secret to Reheating for Maximum Crispiness
Forget the microwave; that’s crunchy chicken’s arch-nemesis! The air fryer is the only tool for the job when bringing this back to life. It’s astonishing how effective it is at de-steaming the coating and crisping it right back up.
Here’s the process I use every time for my leftovers:
- Preheat your air fryer to about 350°F (175°C). We don’t want it scorching hot because the inside is already cooked, we just want to heat it through and wake up that coating.
- Place the cold chicken pieces in the basket, ensuring they are completely in a single layer. If you try to reheat too much at once, it will steam again, so do smaller batches if needed.
- Cook for about 6 to 8 minutes, checking halfway through. Give the basket a gentle shake halfway through reheating, but you don’t usually need to spray it with oil again because the coating is already relatively dry from the initial cooking.
When they come out, they should have that beautiful, slightly crackly texture again, and the inside will be perfectly warmed through. It’s like magic, and you get to enjoy your amazing **air fryer fried chicken** all over again!
Frequently Asked Questions About Making Air Fryer Fried Chicken
I know when I first started air frying, I had a million questions buzzing around my head—mostly about whether it would ever taste *real*. Don’t worry, we all go through that learning curve! Here are some of the things folks ask me most often about achieving crunchy, juicy results when trying to make the ultimate **air fryer fried chicken**.
Can I make this a healthy fried chicken substitute without sacrificing flavor?
Absolutely, yes! That is exactly the goal of this whole recipe. By using the air fryer, we cut out probably 80% or more of the oil you’d need for traditional deep frying. That makes it a fantastic **healthy fried chicken substitute**. The flavor doesn’t suffer because the buttermilk marinade doesn’t just tenderize; it also carries a huge amount of salt and spice deep into the meat. So, you get the deep, satisfying taste—maybe even a close **KFC copycat air fryer** vibe if you nail that coating—but with a fraction of the guilt. It’s win-win, friend!
How do I get the coating to stick better to the chicken in the air fryer?
This is probably the number one question I get, and it all comes down to managing the moisture level of the buttermilk marinade. You have to let the excess drip off! When you take the chicken out of the marinade, hold it up for a few seconds and let that thick liquid drain away. We want the chicken nice and tacky, not soaking wet. Then, when you dredge it in the flour mixture, you really need to press that coating on firmly. Don’t be shy—use your palms to pat the flour onto the sides and curves of the chicken piece. That physical pressure forces the mixture to adhere, and when combined with that final spray of oil, it locks the coating in place for that amazing crisping action!
What is the best way to cook crispy air fryer chicken thighs specifically?
Bone-in, skin-on thighs are amazing in the air fryer, and they tend to stay juicier than breasts anyway, so you’re already ahead of the game! The initial 18 minutes at 380°F works great for them. However, since thighs often have more variable shapes and sometimes a bit more fat under the skin, they can sometimes crisp up faster. My advice is to flip them after 18 minutes, spray them well, and then just start checking at the 10-minute mark on the second side. If they look deep golden brown and are hitting 165°F internally, they’re done! If you are looking for that next-level crunch, definitely ramp the temperature up to 400°F for the last 3 to 5 minutes, just like I mentioned in the pro tips. These tips are great for all less oil chicken recipes!
Nutritional Estimates for This Guilt Free Comfort Food Air Fryer Meal
I always feel a little better about making this recipe because, hey, it’s technically a **guilt free comfort food air fryer** meal compared to the traditional version! We’re cutting way down on oil, which is a huge win for us busy home cooks trying to keep things relatively balanced. I ran the numbers through my system based on the ingredients list, and here’s what you can generally expect per serving. Remember, this is for one piece of mixed meat, and that’s a pretty hearty serving!
It’s important to keep in mind that these are estimates, like anything else! Your exact calorie count will shift a bit depending on the brand of buttermilk you choose, how much oil spray you *actually* use (be generous with the spray!), and the exact cut of chicken. But this gives you a fantastic baseline for planning your week!
- Serving Size: 1 piece
- Calories: 350
- Fat: 15g (Only about 4g saturated fat—huge improvement!)
- Carbohydrates: 20g
- Protein: 35g (That’s a great punch of protein to keep you full!)
- Sugar: 1g
- Sodium: 450mg
- Cholesterol: 110mg
Doesn’t look too bad for something that tastes this decadent, right? This solid protein and lower fat profile is exactly why I love serving this **air fryer fried chicken** recipe when I want that Southern fix without feeling weighed down. Enjoy knowing you’ve made a smart, delicious choice!
Share Your Ultimate Air Fryer Fried Chicken Experience
Alright, friends, that’s it! You now have everything you need to conquer the quest for the best **air fryer fried chicken** right in your own home. You’ve soaked it, double-dredged it, sprayed it perfectly, and mastered that two-stage cooking process. Now it’s your turn to head to the kitchen and make some magic happen!
Cooking is always better when you share the results, right? I absolutely live for hearing how things turn out in your ovens and baskets, especially when it comes to texture. Did you get that shatteringly crisp coating I promised? Did those thighs come out ridiculously juicy?
So, please, when you finish enjoying that incredible, guilt-free comfort meal, I would love it if you stopped back here. If you loved the recipe, please give it a huge 5-star rating right below—it helps other folks find this amazing way to make their own **air fryer chicken dinner**!
- Leave a Comment: Tell me what sides you paired it with! Did you try my coleslaw suggestion, or did you whip up something fantastic? Specifically, let me know how crispy everything got!
- Share Your Pics: Snap a photo of your beautiful golden chicken and tag me on social media! Seeing your results is the highlight of my week. It keeps me motivated to share more of my kitchen secrets, like this super simple Chicken Fried Rice recipe!
Happy cooking, my friends! I seriously cannot wait to hear how your Southern-style air fryer indulgence turned out!
Print
Ultimate Crispy & Juicy Buttermilk Air Fryer Fried Chicken (Southern Style)
- Total Time: 53 min
- Yield: 4 servings
- Diet: None
Description
Make Southern-style fried chicken in your air fryer. This recipe uses a buttermilk soak for tender meat and a seasoned coating for maximum crispiness with less oil.
Ingredients
- 2 lbs bone-in, skin-on chicken pieces (thighs, drumsticks)
- 2 cups buttermilk
- 1 tablespoon hot sauce
- 1 teaspoon salt
- 1 teaspoon black pepper
- 1 teaspoon paprika
- 1 teaspoon garlic powder
- 1 teaspoon onion powder
- 1/2 teaspoon cayenne pepper
- 1 1/2 cups all-purpose flour
- 1/2 cup cornstarch
- 1 teaspoon baking powder
- Cooking spray (oil-based)
Instructions
- Place the chicken pieces in a large bowl. Pour the buttermilk over the chicken, add the hot sauce, and mix to coat completely. Cover the bowl and refrigerate for at least 4 hours, or preferably overnight.
- In a shallow dish, whisk together the flour, cornstarch, baking powder, salt, pepper, paprika, garlic powder, onion powder, and cayenne pepper. This is your dry coating.
- Remove the chicken from the buttermilk, letting excess drip off, but do not rinse.
- Dredge each piece of chicken thoroughly in the flour mixture, pressing the coating onto the chicken to make it adhere well.
- Lightly spray the bottom of your air fryer basket with cooking spray. Arrange the coated chicken pieces in a single layer in the basket, ensuring there is space between pieces for air circulation. Do not overcrowd the basket; work in batches if necessary.
- Spray the tops of the chicken pieces generously with cooking spray.
- Air fry at 380°F (195°C) for 18 minutes.
- Flip the chicken pieces. Spray the second side again with cooking spray.
- Continue to air fry at 380°F (195°C) for another 10 to 15 minutes, or until the internal temperature reaches 165°F (74°C) and the coating is deep golden brown and crisp.
- Remove the chicken and let it rest for 5 minutes before serving.
Notes
- For extra crispy skin, after the first flip, you can increase the temperature to 400°F (200°C) for the final 5 minutes of cooking.
- If you use chicken breasts, reduce the total cooking time by about 5 to 7 minutes.
- Use a meat thermometer to check for doneness; this prevents dry chicken.
- Prep Time: 20 min
- Cook Time: 33 min
- Category: Dinner
- Method: Air Frying
- Cuisine: American
Nutrition
- Serving Size: 1 piece
- Calories: 350
- Sugar: 1
- Sodium: 450
- Fat: 15
- Saturated Fat: 4
- Unsaturated Fat: 11
- Trans Fat: 0
- Carbohydrates: 20
- Fiber: 1
- Protein: 35
- Cholesterol: 110


Comments are closed.