
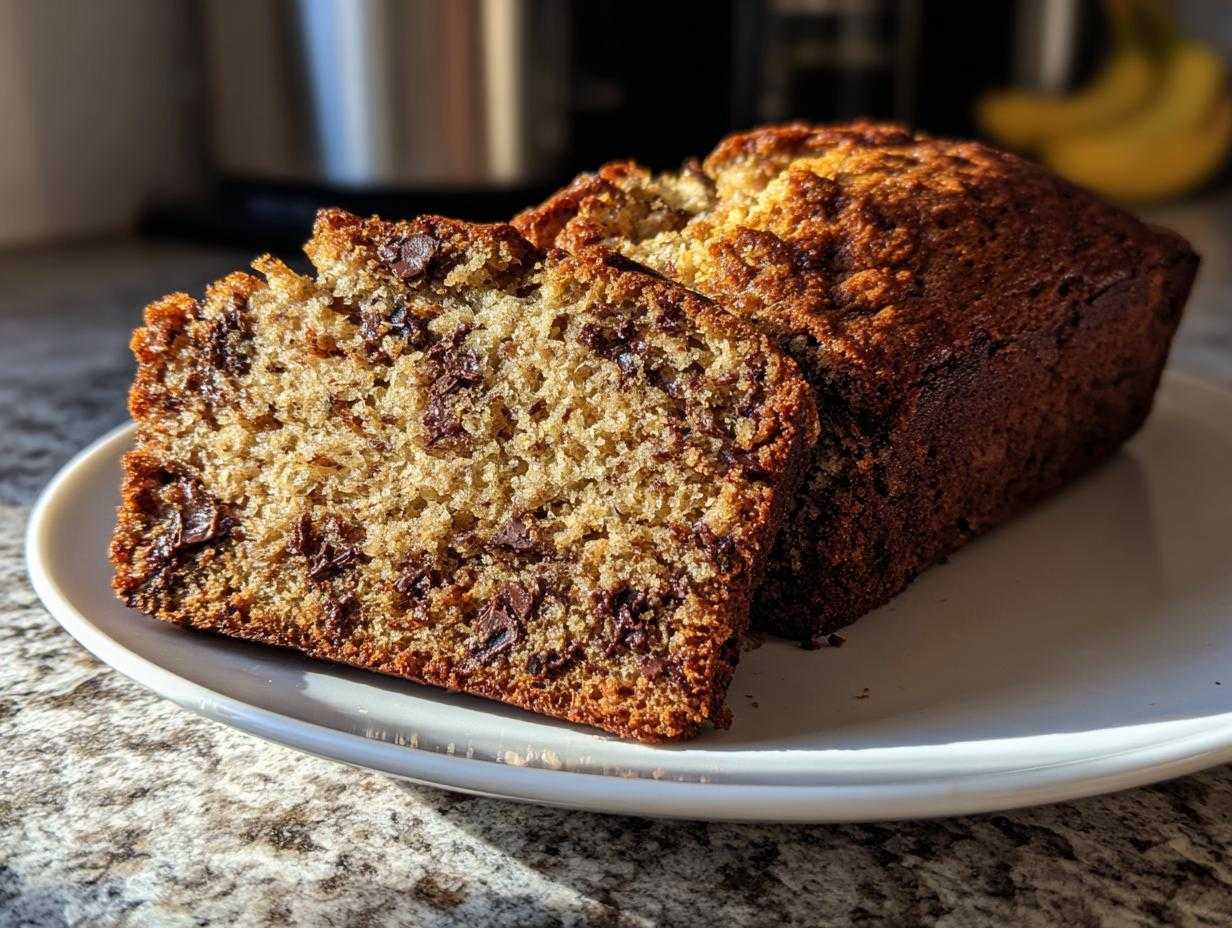
Oh, the quest for the perfect quick bread! If you’re anything like me, you’ve probably ended up with a dozen slightly sad, crumbly, or just *okay* loaves while hunting down that mythical, incredibly moist banana bread. I spent months tweaking temperatures, sugar ratios, and moisture sources. But stop searching now, my friend. I’ve landed the ultimate prize: the **best banana bread** you will ever make. Seriously, this is the one-bowl recipe that reliably delivers bakery-style tenderness every single time. It uses a little trick with sour cream that guarantees no dry edges, just pure, comforting flavor. Ready to turn those sad, spotted bananas into something spectacular?
Why This is the Best Banana Bread Recipe Ever
You don’t need a dozen bowls or a degree in pastry science to make amazing bread. I promise you, what sets this recipe apart is simple yet powerful. It’s all about the texture—that melt-in-your-mouth tenderness that makes people ask, “Did you buy this from a bakery?” It’s truly the best banana bread because it requires so little fuss!
- Guaranteed bakery-style moisture and tenderness every time.
- Rich flavor coming from brown sugar and just the right amount of spice.
- It’s incredibly fast to put together—you hardly dirty any dishes!
Key Secrets for Ultra Moist Banana Bread
The number one secret, hands down, is the dairy. We use sour cream, or sometimes buttermilk if that’s what I have on hand. That little bit of acid and fat works magic! It reacts beautifully with the baking soda, creating the lift we need, while keeping the crumb incredibly soft. Also, remember what I said about the bananas? They must be practically black. When you mash them, really press down on them—you want almost a smooth paste. That maximizes the natural sugars and moisture!
The Easy Banana Bread Recipe Advantage
Honestly, the cleanup is my favorite part. This is a genuine one-bowl recipe, minus the tiny bowl we use to whisk the dry stuff (and you could probably just dump that in too, if you’re feeling bold!). From the moment I grab my mixing bowl to pouring the batter into the pan, I’m usually done in under fifteen minutes. Knowing I can whip this up after dinner and have amazing bread for breakfast the next morning is why I keep this recipe tagged as my go-to. Check out how great sour cream is in other baked goods, too, like my sour cream coffee cake!
Gathering Ingredients for Your Best Banana Bread Loaf
Okay, getting ready to merge things is where precision matters, but honestly, this list isn’t scary! Since this is a one-bowl recipe, you want everything measured out nicely before you start. Grab a big bowl, because here is exactly what you need to pull off this perfect loaf:
- Three really, really ripe bananas—we’re talking mushy, about 1 and a half cups mashed.
- Half a cup of butter, melted. Don’t use oil here; the melted butter flavor is key.
- Three-quarters of a cup of light brown sugar, packed down tight.
- One large egg, just lightly beaten, no need to whip it into anything fancy.
- A teaspoon of vanilla extract for that classic comfort smell.
- Half a cup of sour cream or buttermilk; this is our moisture secret!
- One and three-quarters cups of all-purpose flour.
- A teaspoon of baking soda and half a teaspoon of salt.
- Half a teaspoon of good ground cinnamon.
- And, if you need that bakery touch, one cup of chocolate chips—totally optional, but highly recommended!
Step-by-Step Instructions for the Best Banana Bread
Alright, now for the fun part! Because this is the ultimate easy banana bread recipe, we are keeping things super simple—no complicated mixing orders! First things first, get that oven humming at 350 degrees Fahrenheit (that’s 175 Celsius for my international bakers). While it’s warming up, grease and flour your 9×5 loaf pan really well. Trust me, you don’t want this tender loaf clinging to the side!
Once everything is ready to go, we just follow the steps one after the other. It comes together so fast you won’t believe it! If you’re interested in other fast baking projects, take a peek at my recipe for easy honey bran muffins; they use a similar quick method.
Preparing the Wet and Dry Mixtures
Start big! In your large bowl, whisk together all your wet stuff: the mashed bananas, the melted butter, that wonderful brown sugar, the egg, the vanilla, and the sour cream or buttermilk. Mix that until it looks mostly uniform. Now, grab a smaller bowl—this is important! Whisk your flour, baking soda, salt, and cinnamon together. Why separate? Because we don’t want clumps of baking soda popping up in your final slice!
Finally, add the dry mixture right into the wet ingredients. Use a spatula, not an electric mixer, and fold gently. I mean it—fold until you *just* see the flour disappear. If you see a few little white streaks of flour leftover, that’s totally fine! That’s your insurance policy against tough bread. If you overmix, you’ll ruin that beautiful tender texture we worked so hard for.
Baking and Testing for Doneness
Pour that gorgeous, thick batter into your prepared pan and smooth the top a little. It should go into the oven for about 55 to 65 minutes. Keep an eye on it around the 55-minute mark, especially if your oven runs hot!
When you think it’s done, take a wooden skewer or long toothpick and stick it right into the center of the loaf. If it comes out clean, or maybe just with a few beautiful, moist crumbs attached, you’re golden! If it comes out goopy, give it five more minutes and check again. Don’t try to yank it out right away! Let it hang out in that warm pan for a solid 10 minutes. This settling time prevents it from collapsing when you try to turn it out onto the cooling rack. Patience pays off!
Ingredient Notes and Tender Banana Loaf Substitutions
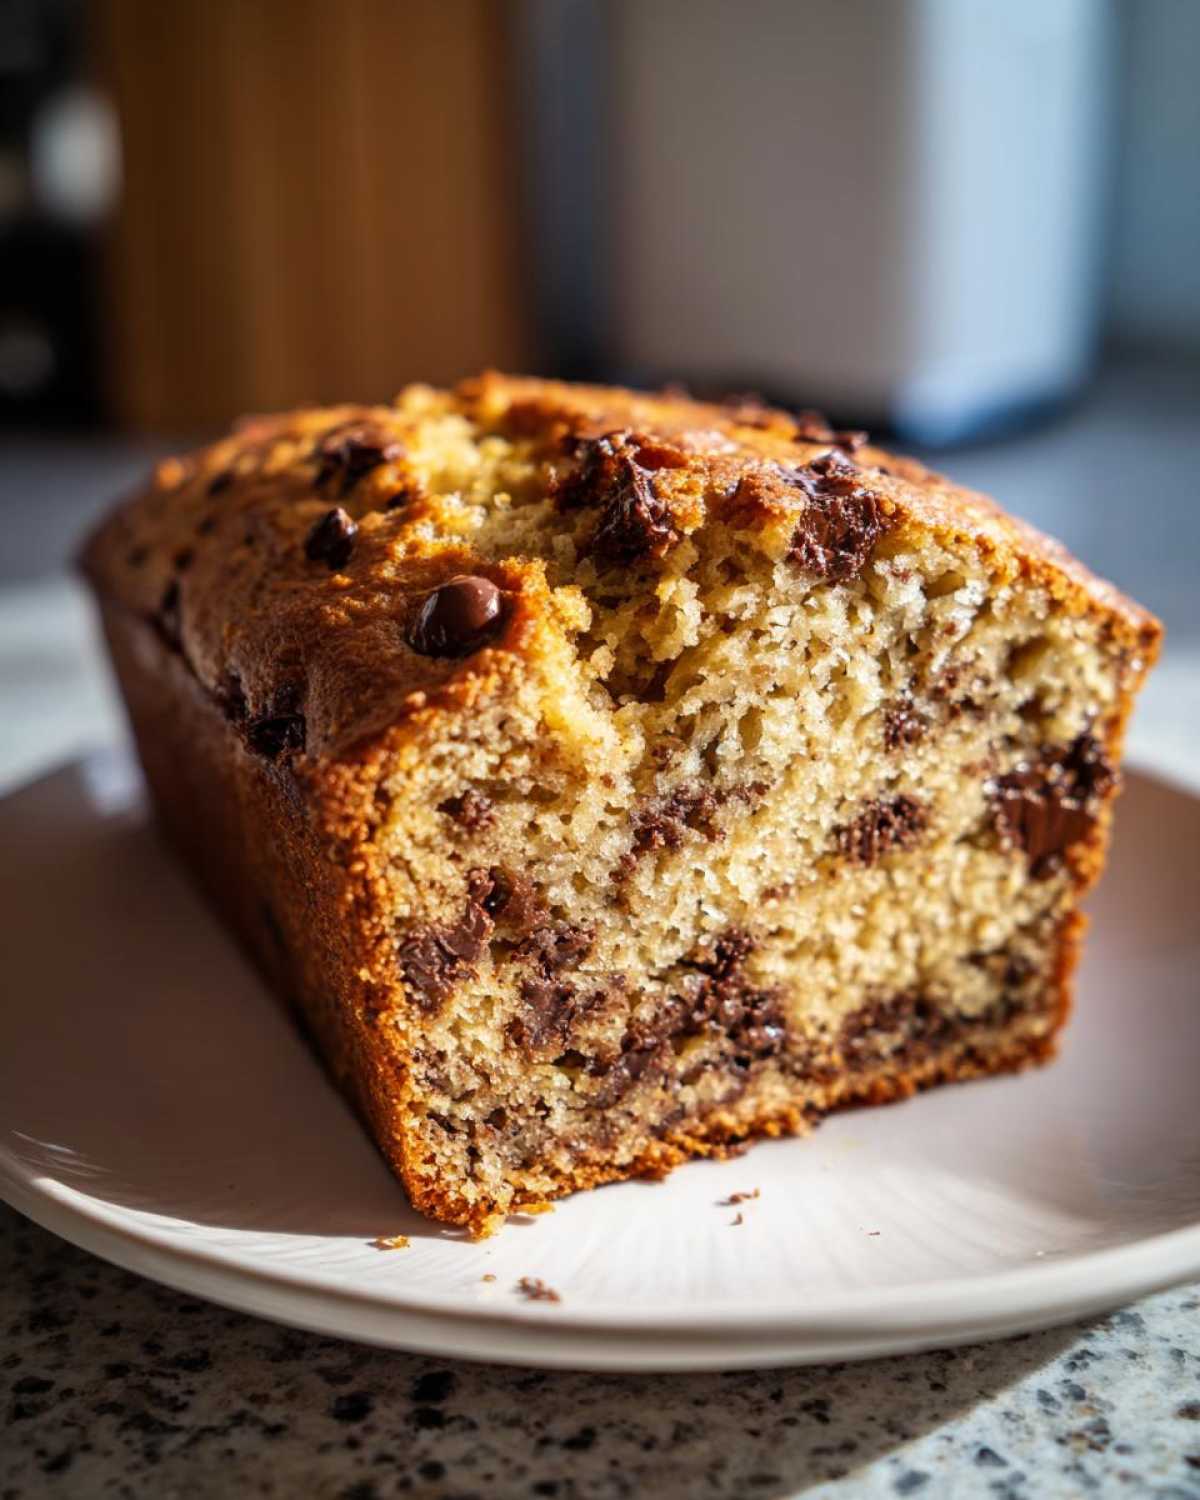
Even though this recipe is simple, the ingredients are high-impact—they are the reason for that bakery-style crumb! We need to respect the banana, but we also need to talk about what happens if you’re missing that sour cream. Look, sometimes life happens, and you don’t have the perfect dairy item on hand. That’s okay! We work with what we have, right?
If you’re planning ahead, you can always look at other recipes like my blueberry banana bread to see how different fruits affect texture, but for this classic loaf, the ratios listed above really nail it.
Choosing the Right Bananas for Moist Banana Bread
If your bananas are still mostly yellow, put them back on the counter! For the best banana bread, you want them looking neglected. I mean it—the peel should be almost entirely brown or black. Those dark spots mean the starches have converted fully into sweet sugars, and more importantly, the banana turns into a soft, liquidy pulp. This pulp is what integrates so beautifully with the melted butter and sugar, making the resulting loaf truly soft. When they look like that, you know you’re ready. Don’t waste your good spots on a smoothie; save them for this bread!
Tips for the Best Ever Banana Bread Success
Now that you have the basic steps down, let’s talk about making this loaf absolutely legendary. It’s the little extra steps that elevate a good quick bread to the *best ever* status. I’ve gathered a few tricks over the years that really make a difference—especially when you want to impress the neighbors or just treat yourself!
One simple thing that transforms the entire experience is the crust. If you like that little bit of crunch on top, the original notes mentioned sprinkling coarse sugar over the batter right before it goes into the oven. You don’t need much, just a tablespoon of turbinado or coarse white sugar sprinkled evenly over the top. When it bakes, those sugar crystals caramelize slightly and give you the most satisfying, sparkly crunch against that soft interior. It’s a fantastic texture contrast!
If you’re using different pans, you need to adjust your timing, which can be tricky but is totally manageable. For instance, if you use a square 8×8 pan instead of the standard loaf, the batter is shallower, right? That means it’s going to bake significantly faster—maybe 10 to 15 minutes less time! Always check early. You can look at my banana nut muffins recipe to see how I adjust times for smaller portions in those types of recipes, too.
Also, think about the chocolate chips if you decide to add them. I mentioned folding them in gently, but here’s my pro tip: before folding them in, toss those chocolate chips with just half a teaspoon of your measured flour onto a little plate. This prevents them from sinking straight to the bottom of the loaf while baking. Nobody likes a chocolate-free bottom layer!
Serving Suggestions for Your Classic Banana Bread Recipe
The hard part is over! You’ve mixed, you’ve baked, and now this heavenly, fragrant loaf is cooling on the rack. I know it’s tempting to slice into it immediately—the smell alone is incredible! But trust me on this: let it cool for at least 20 minutes before you try to slice it, otherwise, it can steam itself a bit and you might lose some of that perfect tenderness we aimed for. Once it’s slightly warm, though? That’s when the magic happens.
This **classic banana bread recipe** is really strong on its own. It doesn’t actually *need* anything extra, but I’m not going to stop you if you want to dress it up a bit! The simplest serving method is always the winner in my book, keeping with the easy, homemade comfort food vibe.
Simple Spreads for a Warm Slice
If you’re eating this while it’s still just warm, you don’t want a heavy frosting—you want something that melts right in. A generous spread of good quality, softened salted butter is pure heaven. The butter melts into those little air pockets we created during mixing, making the loaf seem somehow even more decadent.
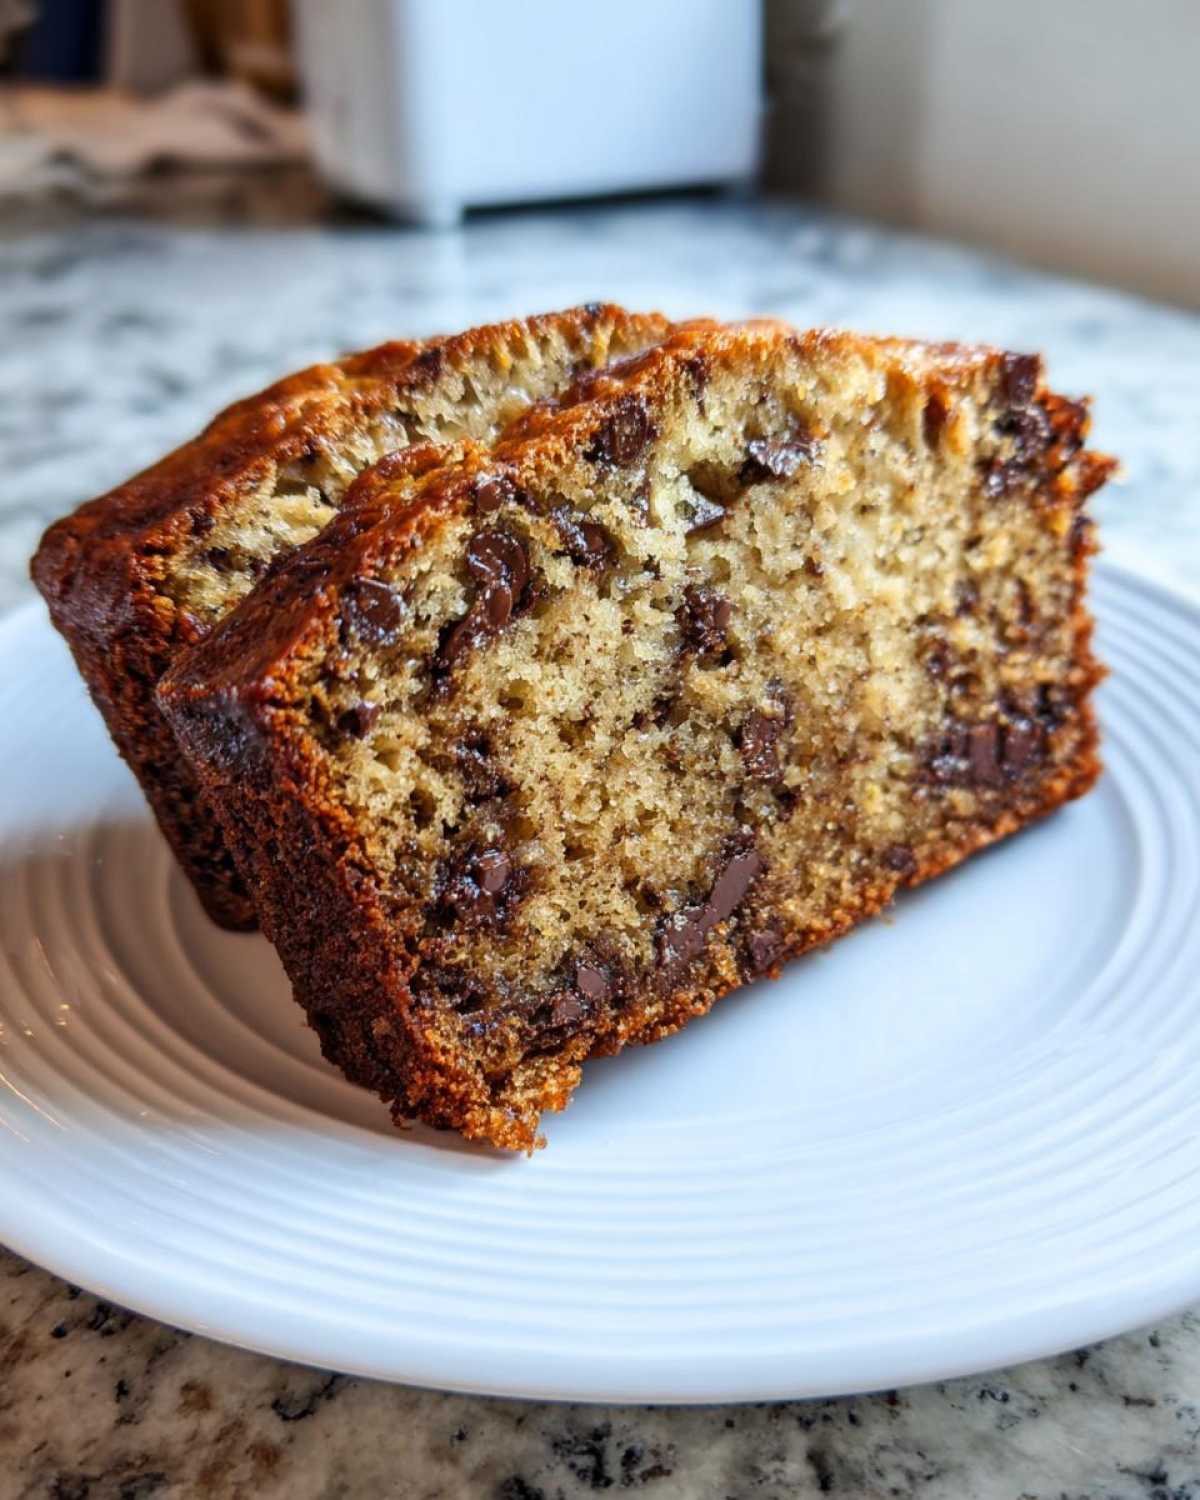
If you want something a little creamier, whip some cream cheese with just a tiny bit of honey or powdered sugar until it’s light and fluffy. It adds a slight tang that cuts through the sweetness of the bananas perfectly. It sounds fancy, but it takes two minutes to whip up!
Keeping it Light
If you managed to keep your loaf looking beautiful on top, you might not want to cover it up with heavy icing. In that case, a very light dusting of powdered sugar right before serving makes it look instantly professional. It’s soft, pretty, and lets the beautiful browned crust shine through. This is how I often serve it when I’m bringing it to a friend’s house.
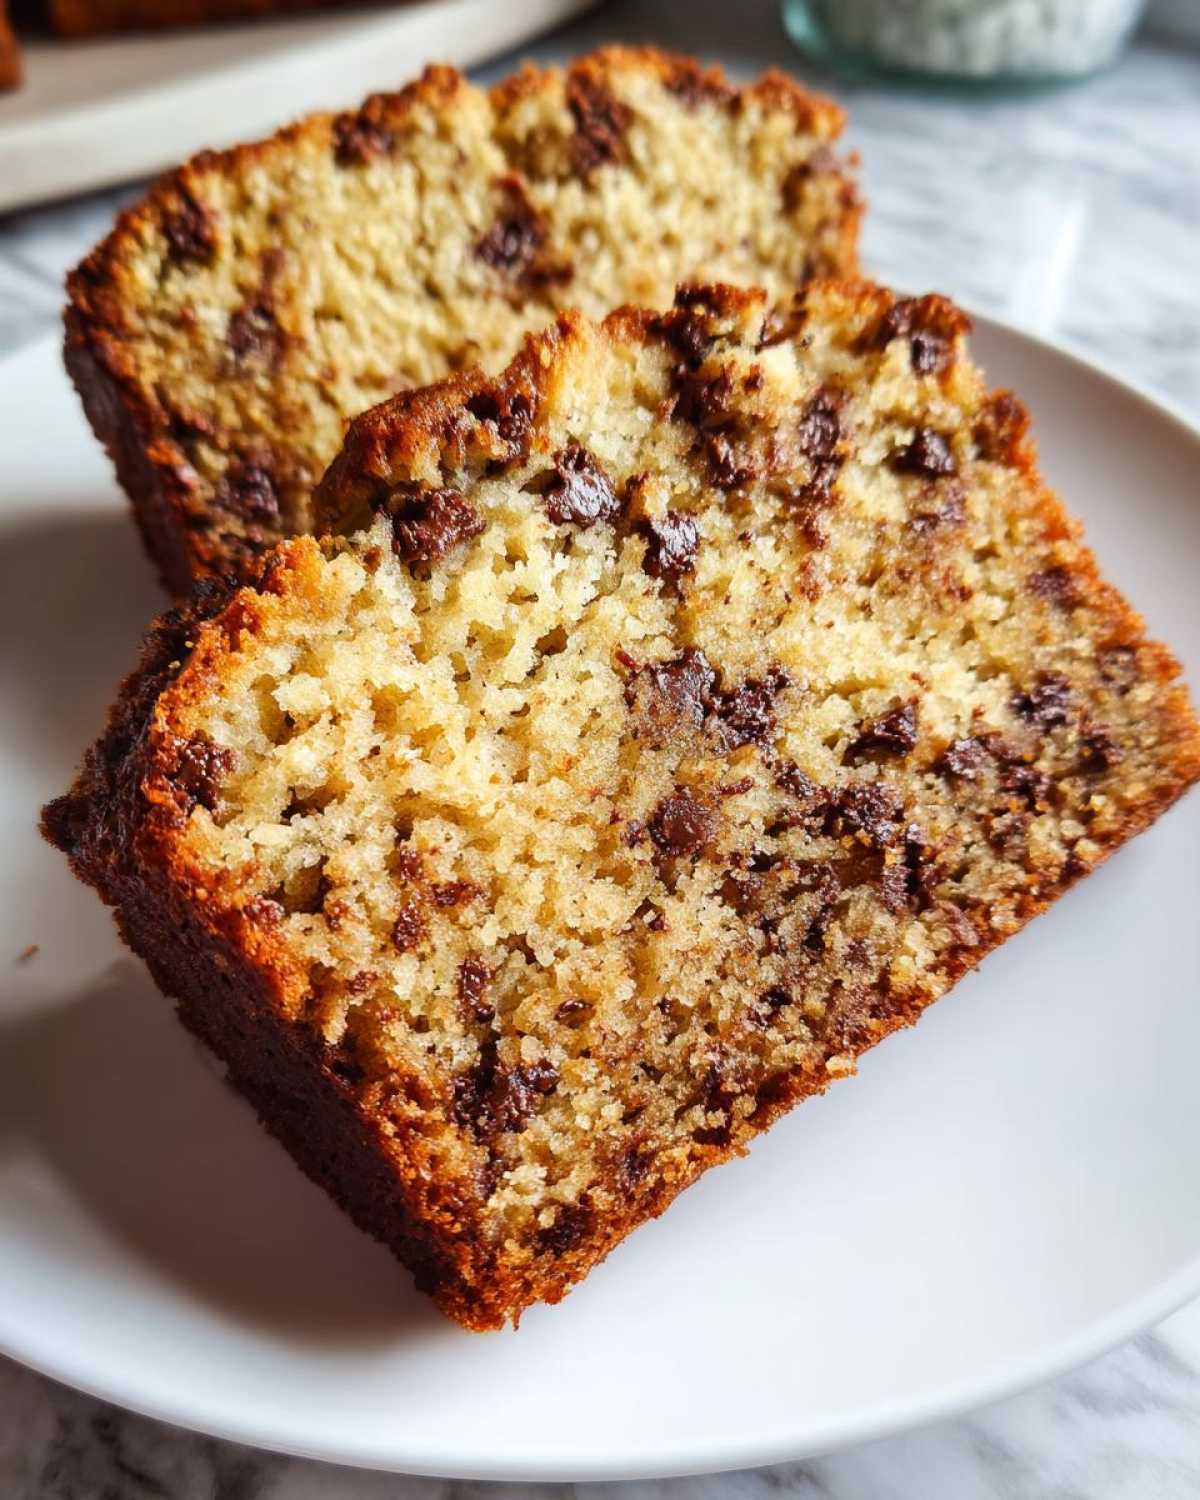
For a slightly different flavor dynamic, especially if you skipped the chocolate chips, try adding a tiny sprinkle of flaky sea salt right on top of the warm buttered slice. That hint of salt really wakes up the banana flavor. It’s a trick I learned from watching professional bakers years ago, and it works wonders on quick breads. If you’re looking for other easy baked goods that pair well with coffee, check out my tips on banana muffins!
Storage and Make-Ahead for Your One Bowl Banana Bread
We’ve made the best banana bread, but what if you can’t eat the entire loaf in one sitting? (Which, let’s be honest, is a real struggle in my house!) The good news is that this **one bowl banana bread** stores like a dream because it’s already so incredibly moist. Proper storage keeps that tenderness locked in for days.
The main goal here is air removal. Any air that touches the bread will start drying out that beautiful crumb we worked so hard for! If you are planning on using it as a food prep staple throughout the week, wrapping it well is the absolute key to success. If you like to bake ahead in batches, freezing is your best friend.
Storing Leftovers at Room Temperature
If you plan on eating the entire loaf within about three days, room temperature storage is perfect. Cut the loaf, or keep it whole, and wrap it tightly. You have options here! You can wrap it completely tight in plastic wrap, but what I usually do is wrap it first in parchment paper and then wrap that whole bundle tightly in aluminum foil. The parchment paper keeps the plastic wrap from sticking to that wonderful crust.
Keep the wrapped loaf on the counter. If your kitchen is very warm or humid, you might notice slight condensation, but for a few sweet days, it should stay perfectly tender. If you notice any weird smells or the texture gets gummy, toss it. But honestly, the brown sugar and acid content usually keep this bread happy on the counter for around 72 hours!
Refrigerating and Reviving Your Loaf
If you know you won’t finish it within three days, or if you live somewhere really hot, the fridge is safer. Just wrap it tightly—again, parchment paper first, then foil or an airtight container. It will last a full week this way, easy.
The only downside to the fridge is that cold temperatures can make baked goods seem a little firm at first. Don’t eat it straight from the cold! To bring back that bakery-fresh tenderness, wrap a single slice loosely in a damp paper towel. Microwave it for just 10 to 15 seconds. It steams lightly, and suddenly that **moist banana bread** is tasting like it just came out of the oven. It’s like magic!
Freezing for Future Comfort Baking
This is honestly my favorite method if I go into serious baking mode. You can freeze this banana bread for up to three months! First, make sure the loaf is completely cool—room temperature cool, not even a little warm. Then, slice the bread into single-serving portions. This is much better than trying to saw off a frozen loaf later!
Wrap each individual slice tightly in plastic wrap, then wrap that plastic-wrapped slice in a piece of foil. Once wrapped, you can toss them all into a large freezer-safe zip-top bag. When you want a treat later, just pull out one or two slices and use that damp paper towel microwave trick I mentioned! If you like batch baking, check out how I manage simple, freezer-friendly things like these banana protein muffins.
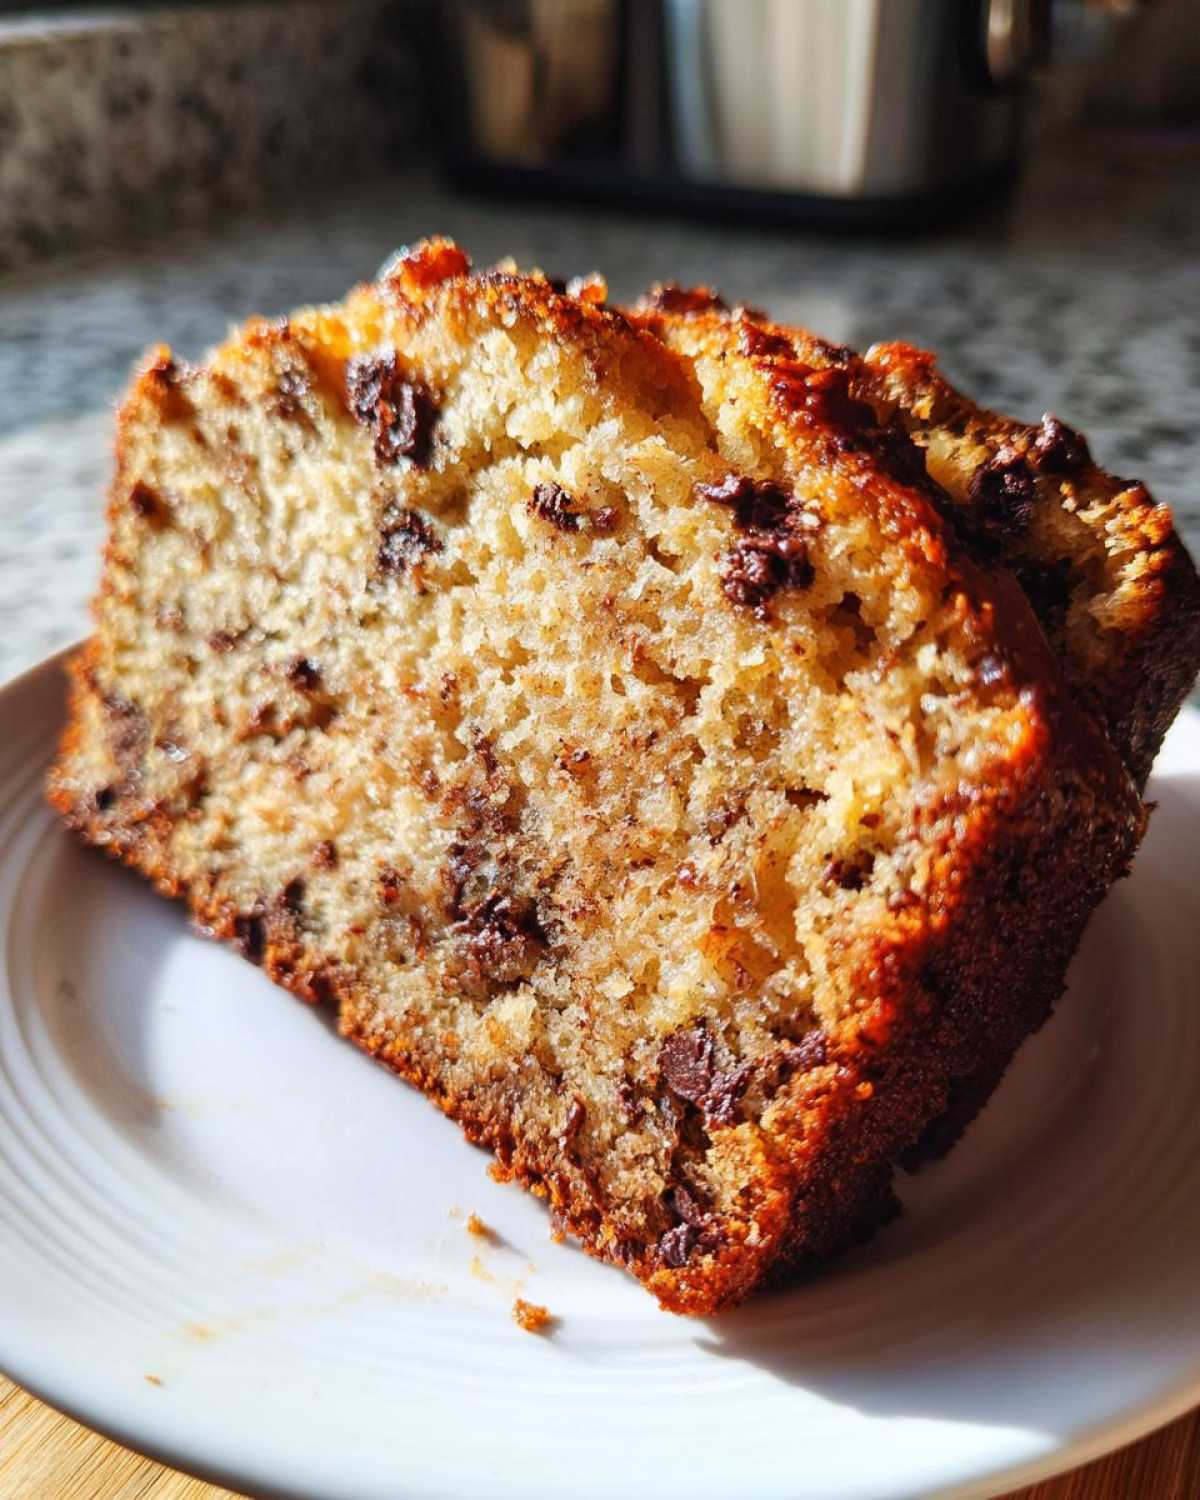
Variations: Making Your Own Signature Quick Bread
While I truly stand by this loaf in its basic, chocolate-chipped form, sometimes you just need to switch things up, right? Baking shouldn’t get stale! Because this recipe has such a reliable structure—thanks to that sour cream foundation—it handles mix-ins like an absolute champion. You can easily customize this to make it uniquely yours.
I always keep a small jar of toasted pecans in the pantry specifically for these moments. You can throw in nuts, spices, or even swirls. If you’re feeling adventurous and want to go beyond the basic sweet bread, you should definitely peek at my recipe for cinnamon swirl banana bread—it uses this exact base batter but takes it up about ten notches!
Adding Nuts and Dried Fruit
If you love texture, nuts are your friend! Pecans or walnuts are the traditional go-tos here, and you should toast them first in a dry skillet for about five minutes before chopping. Toasting really wakes up the flavor so they don’t taste dull in the final amazing loaf. You can generally fold in about three-quarters of a cup of nuts.
For dried fruit, I’m a huge fan of adding chopped dates or dried cranberries. They plump up slightly as they bake, giving you little bursts of chewiness. Just like the chocolate chips, toss them in a tiny bit of flour first before folding them in gently. This stops them from sinking to the very bottom of your pan!
Spice It Up Even More
The recipe already calls for cinnamon, which is perfect, but if you want to lean into that cozy, warm feeling? Go for it! Add a quarter teaspoon of ground nutmeg. Nutmeg pairs unbelievably well with banana and brown sugar. If you want something a little brighter, a tiny pinch of ground cardamom is surprisingly delicious—it adds this almost floral, exotic note without overpowering the banana.
If you are using a flavor booster like cardamom, you might want to cut the cinnamon back just a hair so the flavors don’t clash. A little taste test of your dry ingredients before you add them to the wet is always a good idea if you’re experimenting with spices!
Creating a Stunning Cinnamon Swirl Topping
If you want that beautiful marbled look that costs twice as much in a coffee shop, this topping is simple. Mix about 2 tablespoons of brown sugar with 1 teaspoon of cinnamon and a tablespoon of softened butter until it’s crumbly. Before you pour your batter into the prepared pan, drop small spoonfuls of this cinnamon mixture randomly over the top of the batter.
Then, take a butter knife and gently swirl it through the batter two or three times—no more! You only want to cut through the top half of the batter so you create those pretty streaks. It’s a visual win, and it gives you those sweet, crisp pockets of spiced goodness in every slice.
Frequently Asked Questions About Making Best Banana Bread
I totally get it—sometimes you have questions that pop up right when you’re about to mix! Don’t panic if something seems a little different than expected. That’s why I pulled together the most common things folks ask me when they’re tackling this recipe for the first time. Hopefully, this clears everything up so you can get that perfect loaf!
Can I use Greek Yogurt instead of Sour Cream for moist banana bread?
Absolutely, yes! You can use Greek yogurt instead of sour cream, and it works just fine. I often do this when I’m out of sour cream. Because Greek yogurt is generally thicker than sour cream, I sometimes find I need to thin it out with just a whisper of milk or water to get it smooth before adding it to the wet ingredients. The final texture is still wonderfully **moist banana bread**, maybe just a tiny bit less rich than with full-fat sour cream, but still fantastic!
My bread sank in the middle. What went wrong?
Ugh, the sunken loaf syndrome is the worst! Usually, this happens for one of two main reasons. The most common culprit is underbaking. If you don’t let it bake long enough, the middle structure hasn’t set, and when you pull it out, it deflates while cooling. Make sure your skewer comes out clean or with just dry crumbs. The second big reason is opening the oven door too early! Peeking during the first 40 minutes lets a blast of cool air hit that rising loaf, and it can collapse right in the center. Stick to your timer and only check right at the end!
What is the best way to use up ripe banana recipes?
If you have bananas that are practically black and too soft to eat plain, this recipe is their absolute destiny! This recipe is designed specifically for those mushy bananas because they provide maximum sweetness and moisture without needing extra liquid. If you have a huge surplus, I always recommend peeling them, placing them in heavy-duty freezer bags, squeezing out all the air, and freezing them flat. When you thaw them out later, they release a ton of liquid, which you just dump right into the wet mixture along with the mushy banana pulp. It’s the best way to save them for future **ripe banana recipes**!
If you’re interested in cutting down on sugar while still enjoying this classic flavor, you might look at my recipe for sugar-free banana bread next time, though this original version remains my absolute favorite comfort bake!
Print
Ultimate One-Bowl Moist Banana Bread
- Total Time: 75 min
- Yield: 1 loaf (about 10 slices)
- Diet: Vegetarian
Description
This recipe produces exceptionally moist and tender banana bread using a simple one-bowl method, resulting in bakery-style quality.
Ingredients
- 3 very ripe, mashed bananas (about 1 1/2 cups)
- 1/2 cup unsalted butter, melted
- 3/4 cup packed light brown sugar
- 1 large egg, lightly beaten
- 1 teaspoon vanilla extract
- 1/2 cup sour cream or buttermilk
- 1 3/4 cups all-purpose flour
- 1 teaspoon baking soda
- 1/2 teaspoon salt
- 1/2 teaspoon ground cinnamon
- 1 cup chocolate chips (optional)
Instructions
- Preheat your oven to 350 degrees Fahrenheit (175 degrees Celsius). Grease and flour a 9×5 inch loaf pan.
- In a large bowl, combine the mashed bananas, melted butter, brown sugar, egg, and vanilla extract. Mix until just combined.
- Stir in the sour cream or buttermilk until incorporated.
- In a separate small bowl, whisk together the flour, baking soda, salt, and cinnamon.
- Add the dry ingredients to the wet ingredients. Mix with a spatula until just combined. Do not overmix; a few streaks of flour are acceptable.
- If using, gently fold in the chocolate chips.
- Pour the batter into the prepared loaf pan.
- Bake for 55 to 65 minutes, or until a wooden skewer inserted into the center comes out clean.
- Let the bread cool in the pan for 10 minutes before carefully turning it out onto a wire rack to cool completely before slicing.
Notes
- For the best moisture, use bananas that are heavily spotted or almost black.
- If you prefer a crispier crust, sprinkle 1 tablespoon of coarse sugar over the top before baking.
- If you do not have sour cream, plain Greek yogurt works as a substitute.
- Prep Time: 15 min
- Cook Time: 60 min
- Category: Baking
- Method: Baking
- Cuisine: American
Nutrition
- Serving Size: 1 slice
- Calories: 280
- Sugar: 20
- Sodium: 250
- Fat: 13
- Saturated Fat: 8
- Unsaturated Fat: 5
- Trans Fat: 0
- Carbohydrates: 40
- Fiber: 2
- Protein: 4
- Cholesterol: 45



Comments are closed.