

Oh, there’s just something truly special about a homemade cherry pie, isn’t there? It’s more than just dessert; it’s a warm hug in a slice, a taste of pure comfort. I remember back in my uncle’s Texas restaurant, the smell of baking pies was just heavenly. He’d pull them out of the oven, golden and bubbling, and the whole place would just feel happier. This classic cherry pie recipe takes me right back to those moments.
It might seem a little intimidating to make a pie from scratch, but trust me, this recipe is surprisingly simple. Whether you’re using fresh cherries picked right off the tree or a bag from the freezer section, you can create something truly delicious. I’ve made this cherry pie countless times, and it always brings smiles to faces.
It’s the kind of dessert that’s perfect for holidays, a Sunday dinner, or just because you feel like treating yourself. Come along with me, and I’ll show you just how easy it is to bake this lovely cherry pie.

Why You’ll Love This Cherry Pie
This isn’t just any pie; it’s *the* cherry pie, the one that tastes like sunshine and happy memories. I keep coming back to this particular recipe because it’s just so reliable and utterly delicious. Here’s why I think you’ll fall in love with it too:
- It has that timeless, classic cherry pie flavor we all crave.
- It’s perfect for absolutely any occasion, big or small.
- You can use fresh cherries when they’re in season or frozen ones any time of year.
- Honestly, for how impressive it looks and tastes, it’s surprisingly simple to make.
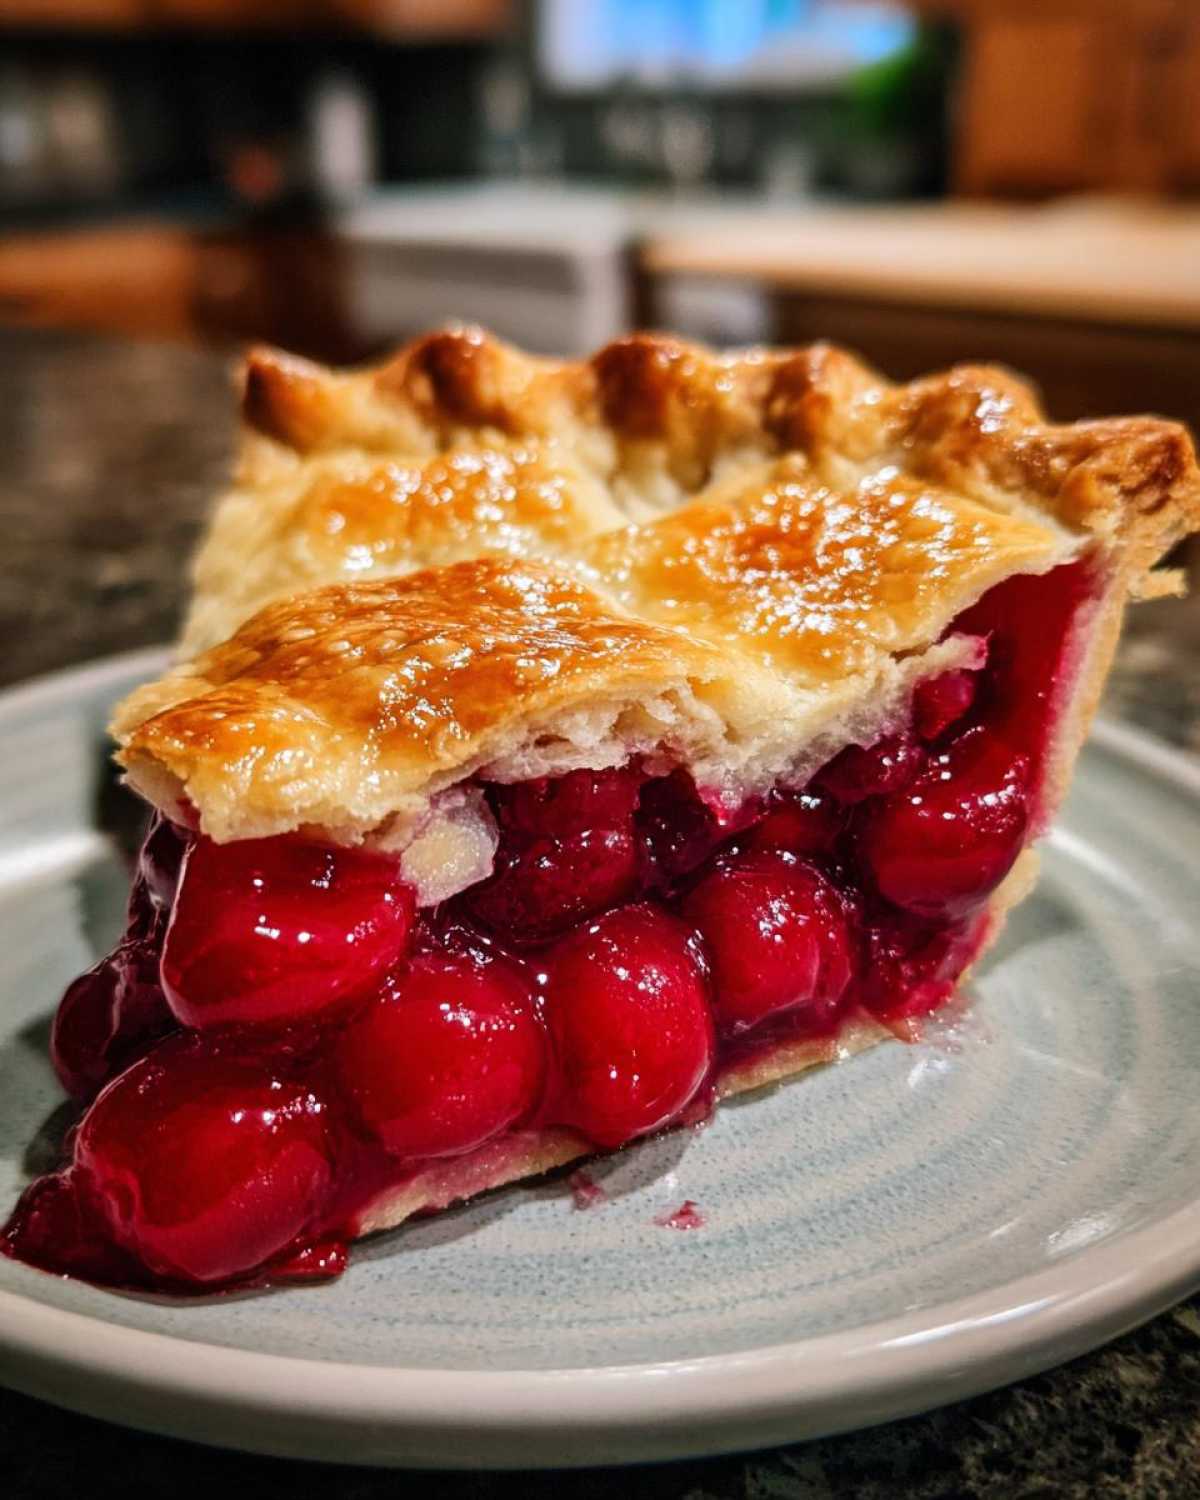
Gathering Your Ingredients for Cherry Pie
Okay, before we get our hands delightfully messy in the kitchen, let’s make sure we have everything we need for this lovely cherry pie. Having all your ingredients measured and ready to go makes the whole process so much smoother. Trust me on this one; it prevents those frantic searches mid-recipe!
The Essential List for Your Cherry Pie
Getting the right amounts of each ingredient is key to that perfect cherry pie texture and flavor. Here’s what you’ll need on your counter:
- 6 cups of pitted fresh or frozen cherries
- 3/4 cup granulated sugar
- 1/4 cup cornstarch
- 1/4 teaspoon almond extract
- 1 tablespoon lemon juice
- 2 pie crusts (your favorite store-bought or homemade)
- 1 beaten egg (for brushing the crust)
- 1 tablespoon coarse sugar (optional, for a sparkly top)
Step-by-Step: How to Make Cherry Pie
Alright, let’s get to the fun part – making the cherry pie! Don’t worry, I’ll walk you through each step. It’s simpler than you might think, and the result is so worth it. Just follow along, and you’ll have a beautiful, bubbling cherry pie ready to cool.
Preparing the Cherry Pie Filling
First things first, let’s get those lovely cherries ready. Grab a big bowl; you’ll need some space to mix everything. Toss in your pitted cherries, whether they’re fresh or frozen. Then, add the granulated sugar, cornstarch, almond extract, and that little bit of lemon juice. Give it all a gentle stir. You want the cherries to be nicely coated in the sugar and cornstarch mixture. This helps thicken the filling as it bakes.
Assembling Your Cherry Pie
Now it’s time to build our pie! Take one of your pie crusts and carefully press it into your 9-inch pie dish. Make sure it fits snugly. Pour that gorgeous cherry filling right into the crust, spreading it out evenly. For the top crust, you have options! You can lay the second crust over the top and cut some vents, or get fancy and do a lattice top. Whichever you choose, make sure to crimp the edges of both crusts together to seal everything in.
Baking Your Perfect Cherry Pie
Preheat your oven to 400°F (200°C). Place your assembled cherry pie on a baking sheet – this is a little trick I learned to catch any drips and save yourself some oven cleaning later! Bake for 15 minutes at that temperature. Then, reduce the heat to 375°F (190°C) and keep baking for another 35 to 45 minutes. You’ll know it’s ready when the crust is golden brown and you see the filling bubbling up through the vents. This bubbling means the cornstarch is doing its job and thickening the filling. Now, the hardest part: letting it cool for at least 2-3 hours before slicing. This cooling time is crucial for the filling to set properly!
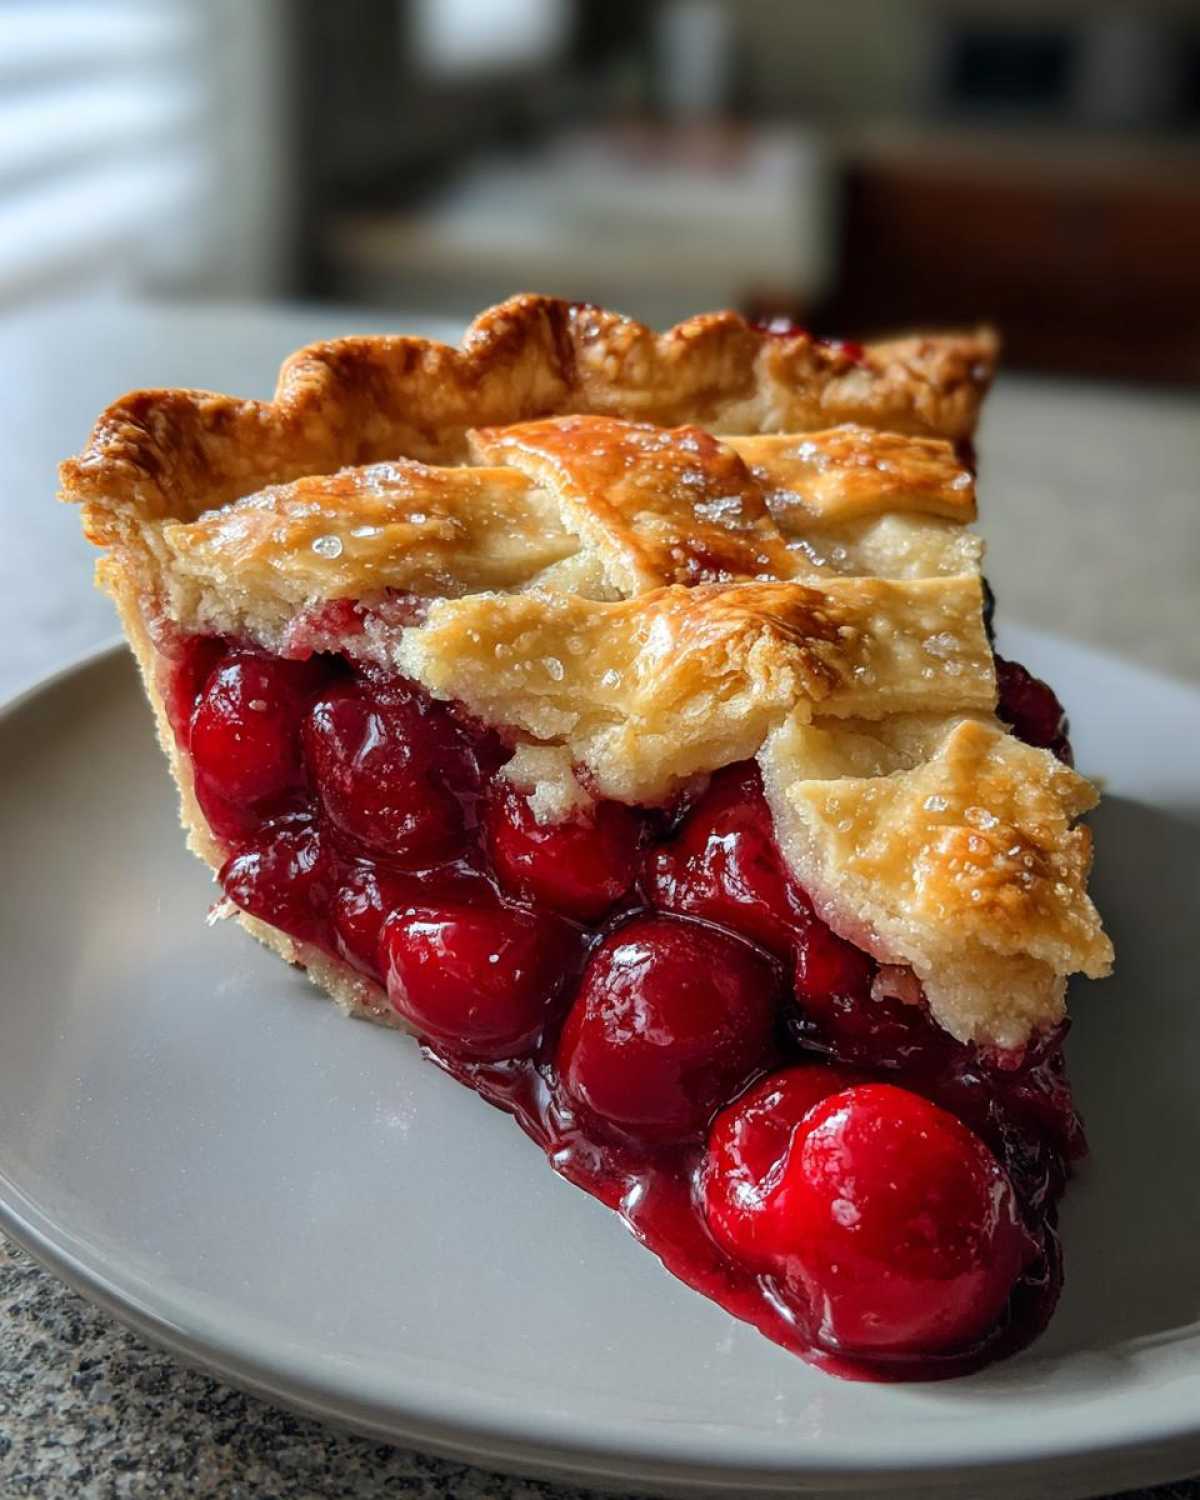
Pro Tips for Making the Best Cherry Pie
Over the years of making cherry pie, I’ve picked up a few little tricks that really make a difference. These aren’t complicated, but they can help you get that picture-perfect, delicious pie every time. Here are a few things I always keep in mind:
- If you’re using frozen cherries, don’t thaw them first! Just toss them right into the bowl with the sugar and cornstarch. They’ll release their juices as they bake, and the cornstarch will handle the thickening.
- Sometimes, the edge of the pie crust wants to brown faster than the rest. If you notice this happening, just gently cover the edges with strips of aluminum foil. This protects them while the center finishes baking.
- Want an extra rich filling? Before you put on the top crust, dot the top of the cherry filling with a tablespoon or two of cold butter cut into small pieces. It melts into the filling as it bakes and adds wonderful flavor.
Ingredient Notes and Possible Substitutions for Cherry Pie
Sometimes you might not have everything on hand, or maybe you just want to try something a little different with your cherry pie. Here are a few notes on the ingredients and some ideas for swaps.
Cornstarch is key for thickening the cherry pie filling. If you don’t have it, you could try using tapioca starch. You might need slightly less, maybe 3 tablespoons. The almond extract really enhances the cherry flavor, but vanilla extract works too if you prefer.
Frequently Asked Questions About Cherry Pie
I get asked a few questions pretty often about making this classic cherry pie. Here are some of the common ones, hopefully they’ll help you out too!
Can I use canned cherries for this recipe?
I really recommend using fresh or frozen cherries for the best flavor and texture in this fruit pie. Canned cherries are often packed in syrup and can make the filling too watery. If you do use them, make sure they are well-drained, and you might need to adjust the sugar.
How do I keep my bottom crust from getting soggy?
Ah, the soggy bottom crust struggle! Placing the pie on a preheated baking sheet can help. Also, making sure your cooling time is long enough is essential for the filling to set and not make the crust wet.
How long does homemade cherry pie last?
Your baked cherry pie will usually keep at room temperature for about 2 days. If you want it to last longer, you can store it in the refrigerator for up to 4-5 days. Just cover it loosely with plastic wrap.
Why is my cherry pie filling runny?
This usually means the cornstarch didn’t fully activate, or the pie didn’t cool long enough. Make sure you mixed the cornstarch well with the cherries and sugar. And honestly, waiting for it to cool is the hardest but most important step for a set filling!
Estimated Nutritional Information for Cherry Pie
Just so you have an idea, here’s a look at the estimated nutritional breakdown for a slice of this cherry pie. Keep in mind that these values are just estimates. Things like the specific type of cherries you use, the brand of pie crust, and even how big your slices are can change the actual numbers. It’s a good general guide, but not an exact science!
Enjoy Your Homemade Cherry Pie
There you have it! Your very own homemade cherry pie, baked with love. I hope you enjoy every single bite as much as I do. There’s nothing quite like that sweet and slightly tart filling with a flaky crust.
I’d absolutely love to see your beautiful pies! Please feel free to share your pictures or tell me about your experience making this recipe. Happy baking, and enjoy your delicious dessert!
Print
Amazing Cherry Pie: A 37-Year Journey Shared
- Total Time: 3 hours 10 minutes
- Yield: 8 servings
Description
A classic cherry pie recipe, perfect for any occasion. This recipe uses fresh or frozen cherries and a flaky pie crust.
Ingredients
- 6 cups fresh or frozen cherries, pitted
- 3/4 cup granulated sugar
- 1/4 cup cornstarch
- 1/4 teaspoon almond extract
- 1 tablespoon lemon juice
- 2 pie crusts (store-bought or homemade)
- 1 egg, beaten (for egg wash)
- 1 tablespoon coarse sugar (optional, for topping)
Instructions
- Preheat oven to 400°F (200°C).
- In a large bowl, combine cherries, granulated sugar, cornstarch, almond extract, and lemon juice. Mix gently to combine.
- Place one pie crust in a 9-inch pie dish. Pour the cherry filling into the crust.
- Top with the second pie crust. You can create a lattice top or cut vents in the top crust.
- Crimp the edges of the pie crust to seal.
- Brush the top crust with the beaten egg and sprinkle with coarse sugar, if desired.
- Place the pie on a baking sheet to catch any drips.
- Bake for 15 minutes at 400°F (200°C).
- Reduce oven temperature to 375°F (190°C) and continue to bake for 35-45 minutes, or until the crust is golden brown and the filling is bubbling.
- Let the pie cool for at least 2-3 hours before slicing and serving.
Notes
- If using frozen cherries, do not thaw them before mixing with the other ingredients.
- You can add a tablespoon of butter dots over the filling before adding the top crust for extra richness.
- If the crust starts to brown too quickly, cover the edges with foil.
- Prep Time: 20 minutes
- Cook Time: 50-60 minutes
- Category: Dessert
- Method: Baking
- Cuisine: American
Nutrition
- Serving Size: 1 slice
- Calories: 400
- Sugar: 45g
- Sodium: 200mg
- Fat: 18g
- Saturated Fat: 8g
- Unsaturated Fat: 8g
- Trans Fat: 1g
- Carbohydrates: 55g
- Fiber: 3g
- Protein: 3g
- Cholesterol: 20mg



Comments are closed.