
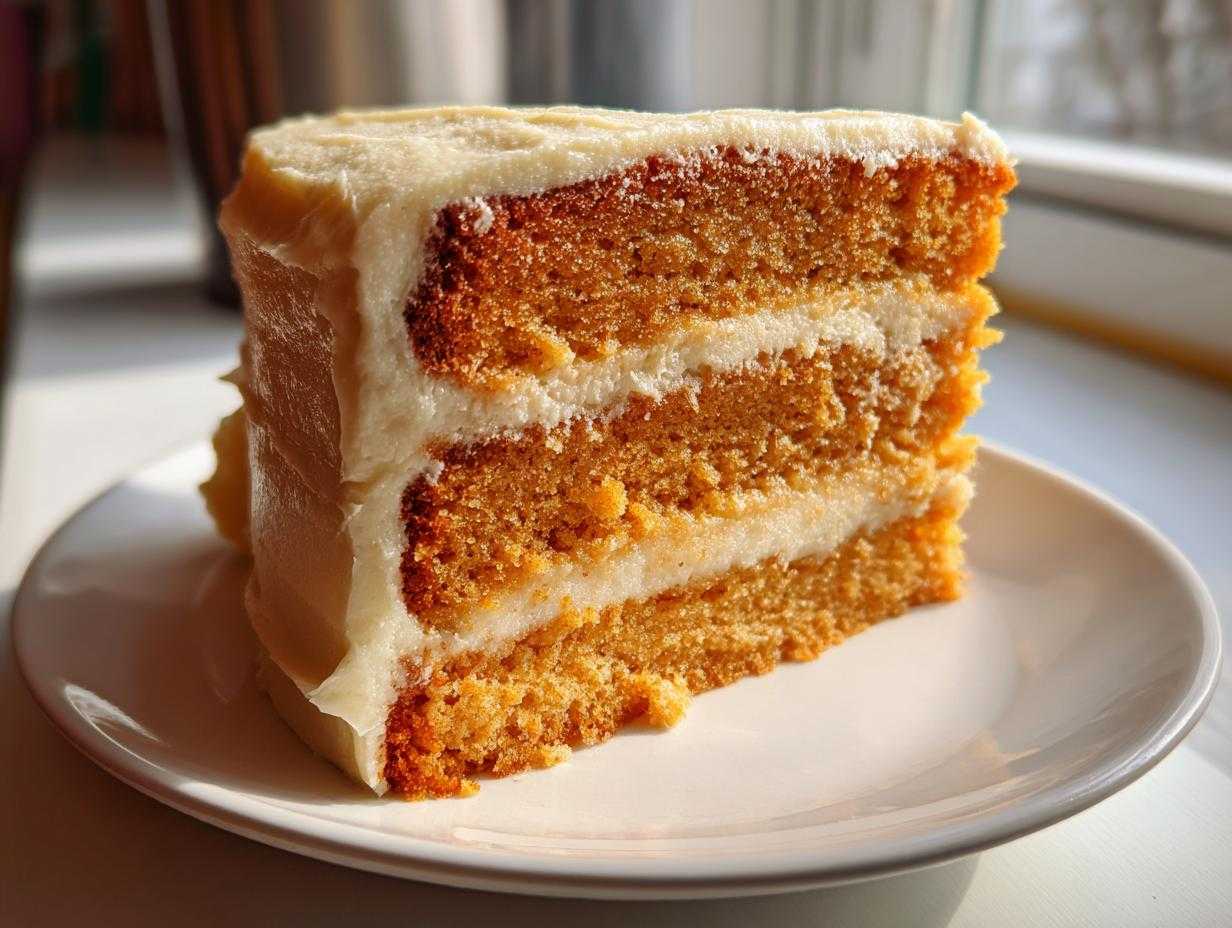
Oh my goodness, summer just isn’t complete without that perfect burst of childhood joy, right? I’m talking about that dreamy, creamy flavor combo of bright orange and sweet vanilla—the classic frozen treat! Forget those heavy cheesecakes or those sticky poke cakes everyone seems to be making lately; I’ve finally perfected a recipe for a proper, tall, and unbelievably moist **Creamsicle Cake**. It genuinely tastes like nostalgia in every bite. I spent ages tweaking the vanilla frosting until it was fluffy enough, and I swapped out some of the water in the cake mix for real orange juice because you just can’t fake that bright, citrusy zing. Trust me, this simple layer cake is going to be the star of your next barbecue!
Why This Creamsicle Cake is Your New Summer Favorite
If you need a showstopper for your next gathering that doesn’t hog your oven all day, this is it! We are aiming for maximum flavor with minimum fuss here. This **Creamsicle Cake** comes together shockingly fast, making it perfect for those impromptu summer plans.
- It’s incredibly moist thanks to the secret orange liquid soak.
- It looks fancy but uses a box mix base, which I documented perfectly in my Easy Summer Cake Recipe guide.
- It chills quickly, meaning less time waiting and more time eating!
Simple Preparation for a Busy Host
Seriously, I rely on the box mix for the structure, which cuts down on the mixing time by miles. We aren’t messing around with multiple bowls of butter and sugar here! Because the layers are thin and the soaking is quick, the total chilling time needed before slicing is really short. You mix it fast, bake it easily, and it’s ready for the fridge.
Perfectly Balanced Orange Creamsicle Cake Flavor
This is where we earn our stripes! Capturing that true **Homemade Creamsicle Flavor** requires precision. It’s not just sweet orange; it’s *creamy* orange. I use just a hint of orange zest blended with the vanilla in the fluffy frosting. This balance makes the **Creamsicle Cake** taste authentic, bright, and sweet, without any artificial aftertaste.

Ingredients for Your Moist Orange Creamsicle Layer Cake
Okay, don’t panic when you see the list—it looks long, but we are using a white cake mix as our base, which is amazing for an Easy Summer Cake Recipe. The trick to making this the best **Creamsicle Cake** ever is how we handle the liquids. We’re swapping regular water for real orange juice in the batter! That small change makes a huge difference in the final moisture and flavor. Remember, we want that perfect slice every time. If you want to dive deeper into making fantastic frostings later, I’ve got a whole guide on my best cream cheese frosting recipe for reference!
Cake Layer Components
- 1 box (15.25 oz) white cake mix
- Ingredients called for on cake mix box (usually eggs, oil, water) – remember they get reduced!
- 1/2 cup fresh orange juice (this replaces the required standard water)
- 1 teaspoon orange zest
- 1/2 cup boiling water (for the soak)
- 1 package (3 oz) orange gelatin
- 1/2 cup cold water (for the soak)
Fluffy Vanilla Frosting Ingredients
For this frosting, you absolutely need your heavy whipping cream to be very cold for the best volume. Also, make sure that butter is softened just right—not melted!
- 1 cup heavy whipping cream
- 1 teaspoon vanilla extract
- 2 cups powdered sugar
- 1/4 cup unsalted butter, softened
- 1/4 cup orange juice (for frosting flavor)
How to Prepare the Ultimate Creamsicle Cake
I know you’re excited to dig in, so let’s get this **Creamsicle Cake** made! The key here is layering the steps correctly, especially dealing with that gelatin soak before we mess with the fragile, fluffy frosting. Make sure your oven is preheated before you even touch the batter. If you want a truly professional result, check out my guide on vanilla cake recipe best moist fluffy for tips on getting those vanilla layers perfect!
Baking and Preparing the Orange Soak for the Creamsicle Cake
First things first: make the cake batter but remember the substitution! Use your fresh orange juice instead of the water called for on the box instructions, and stir in that zest right before pouring it into your greased 8-inch pans. Bake those babies according to the box directions, but let them cool in the pan for a good ten minutes before you flip them out. While they’re cooling down a little, tackle the soak: dissolve the orange gelatin completely in the boiling water. Then, stir in the cold water. Here’s my big tip: Don’t pour the gelatin on the cake until it’s cooled down to room temperature! If it’s hot, it’ll melt your cake! Once the layers are totally cool, use a skewer and poke holes all over—be generous!—and slowly drizzle half of that cooled, liquid gelatin mixture onto each layer. Let it soak in for about fifteen minutes until it’s all tacky and moist.
Making the Fluffy Vanilla Cream Frosting Cake Topping
We need this frosting to hold its shape, so we’re making two parts and combining them gently. Start by whipping the cold heavy cream until you get nice, soft peaks. Set that aside. In another bowl, beat your softened butter until it’s light and creamy, then slowly beat in the powdered sugar. Add your vanilla and the fresh orange juice and beat until it’s actually fluffy! Now, this is crucial: fold the whipped cream into the butter mixture—don’t stir hard! You want to gently incorporate it so you keep all that lovely air we whipped in.
Assembling Your Simple Vanilla Orange Cake
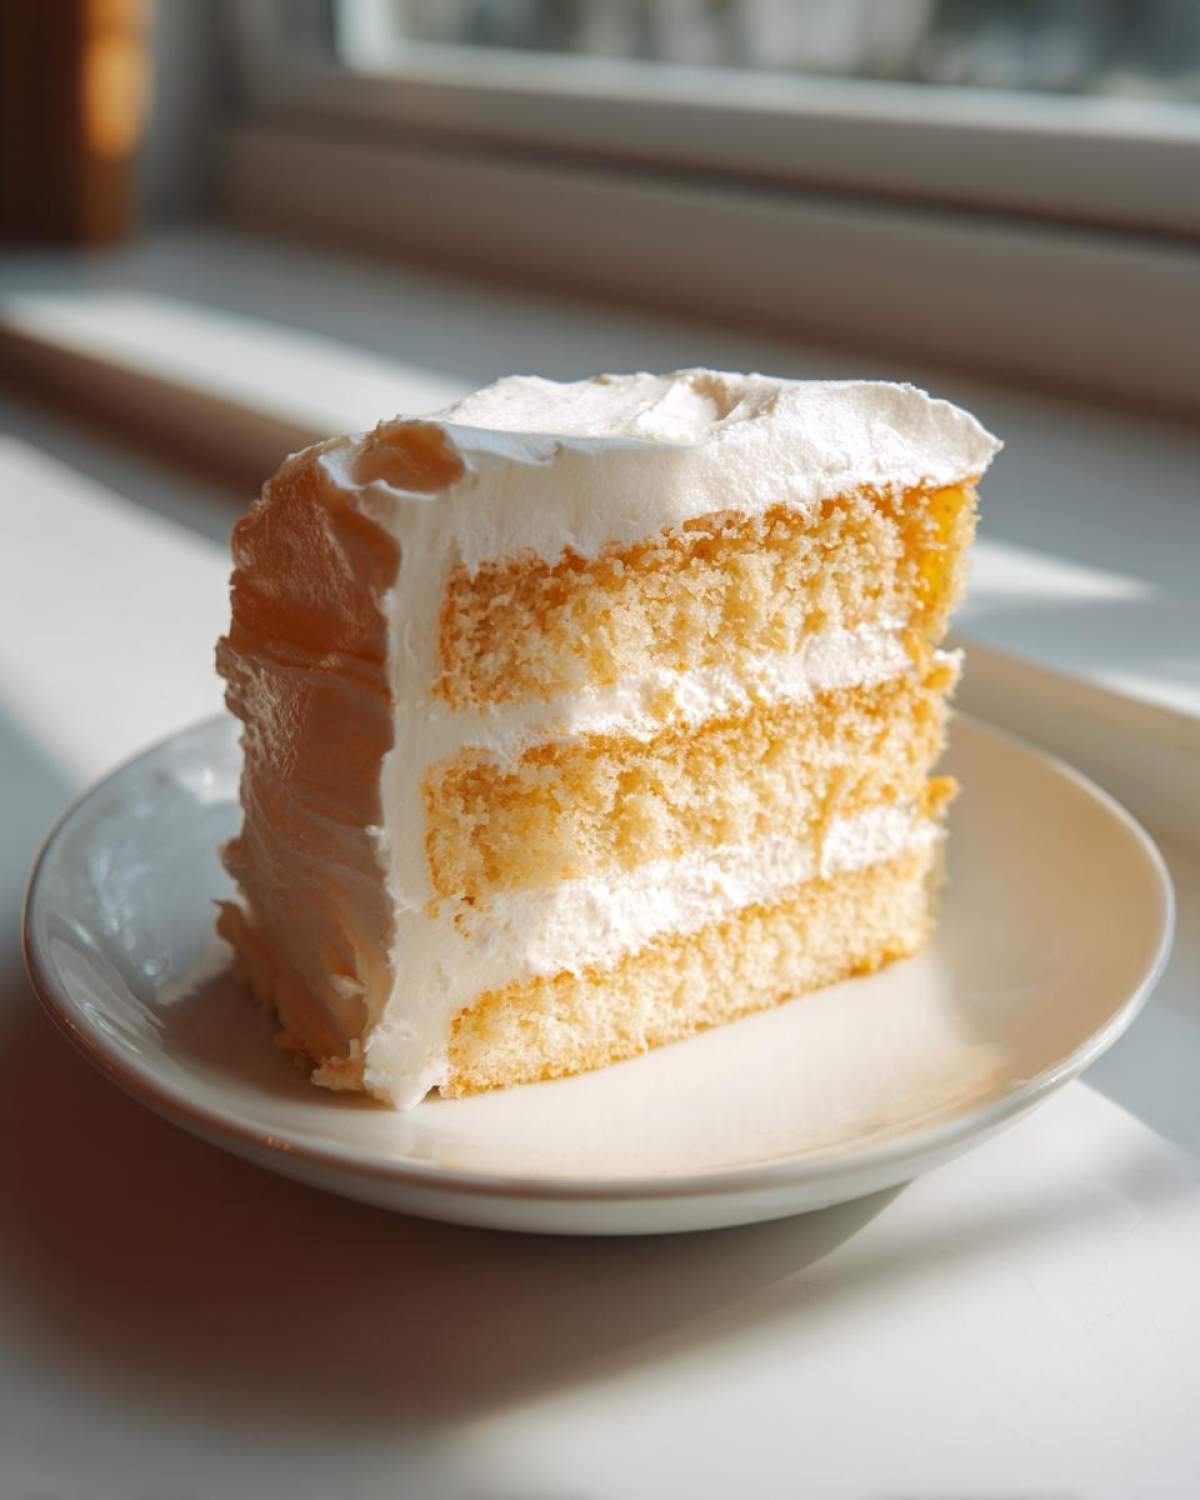
Time for the grand finale! Place one of those beautiful, orange-soaked layers onto your serving plate. Spread about a third of that gorgeous vanilla cream frosting over the first layer. Top it with your second layer, and then use the rest of the frosting to cover the top and sides completely. Don’t cut it yet! This cake needs a good thirty minutes chilling time in the fridge so the gelatin has time to firm up slightly and the frosting sets. This stability helps you get those clean slices!
Tips for Success with Your Creamsicle Cake Recipe
Even though this is a super easy recipe, a few little baker secrets can take your **Creamsicle Cake** from great to absolutely unforgettable. Since this cake relies on that gelatin soak, the most important rule is definitely temperature control. Like I mentioned before, if that orange liquid is warm when you pour it on, you’re going to have a soupy mess instead of a moist cake!
For a serious flavor upgrade—especially if you’re making this for grown-ups—try swapping out the vanilla extract in the frosting for a little bit of orange extract instead. That doubles down on the citrus and makes the whole thing taste homemade from scratch. If you love texture, check out my tips for perfect moisture management in my Carrot Cake Recipe blog post; the same principles of not over-mixing apply here!
Also, this cake is incredibly delicate until it chills because of the whipped cream in the frosting and the sticky gelatin. Be really gentle when you fold that cool whip into the butter mixture. You want that light, airy texture!
Storage and Reheating Instructions for Your Orange Creamsicle Dessert
Because this **Orange Creamsicle Dessert** relies on that incredible fluffy vanilla cream frosting—which honestly is made with real whipped cream—we absolutely have to keep it cool. Unlike a standard buttercream cake, this one needs to stay tucked away in the refrigerator. Think of it like a light, citrusy icebox cake, not something that can sit out on the counter all afternoon at your BBQ, which is a real shame in the summer heat!
Wrap any leftovers tightly in plastic wrap or place them in an airtight container before chilling. You can usually keep this cake delicious for about three to four days in the fridge. The jelly soak keeps the layers super moist, so they hold up really well!
Now, for reheating—or really, *thawing* is a better word here. You never want to reheat this cake! It’s designed to be served cold or at a slight chill. If you happen to freeze a slice (which I don’t recommend long-term because the whipped cream texture changes slightly), just let it thaw slowly in the refrigerator overnight. Never try to microwave it; you’ll melt the frosting into a puddle and ruin the gelatin soak. When you’re ready to serve, just pull it out about fifteen minutes before cutting, and it should be perfect. For more tips on chilling and storing delicately frosted cakes, you might want to check out my guide on fluffy coconut cake; it uses similar whipped toppings!
Variations on the Classic Creamsicle Cake
The basic framework of this **Creamsicle Cake** is so sturdy, you can totally play around with it depending on what you have on hand. If you taste test the cake and feel like the orange flavor still isn’t quite shouting loud enough, remember that little tip about swapping out the vanilla extract in the frosting for a stronger orange extract! That’s a fast, powerful change.
Also, if you’re scared of Jell-O setting up unevenly or you simply prefer a creamier texture, you can absolutely ditch the gelatin soak altogether! Just use a box of instant orange pudding mix instead. You mix that up with the required cold milk and pour that over the cool layers instead. It makes the cake feel richer, almost like a pudding cake, but still gives you that beautiful **Simple Vanilla Orange Cake** flavor profile we love. If you ever want to see how I adapt citrus flavors to pound cakes, check out my Moist Zesty Lemon Pound Cake recipe!
Serving Suggestions for This Retro Dessert Recipe
Presentation is everything, right? Even though this is purely comfort food, we want it to look amazing on the table when you bring it out at your party. Since the frosting is already fluffy and sweet, you don’t need a lot of extra decoration, which keeps this satisfying **Retro Dessert Recipe** fast and pretty.
My absolute favorite way to serve it is super simple: a light dusting of powdered sugar right before I slice it, just to give it that final touch of elegance. If you’re hosting a big summer bash, I highly recommend keeping a small bowl of fresh raspberries or even thinly sliced mandarin oranges right next to the cake plate. The vibrant red or extra burst of fresh citrus looks gorgeous against the pale orange and cream color palette.
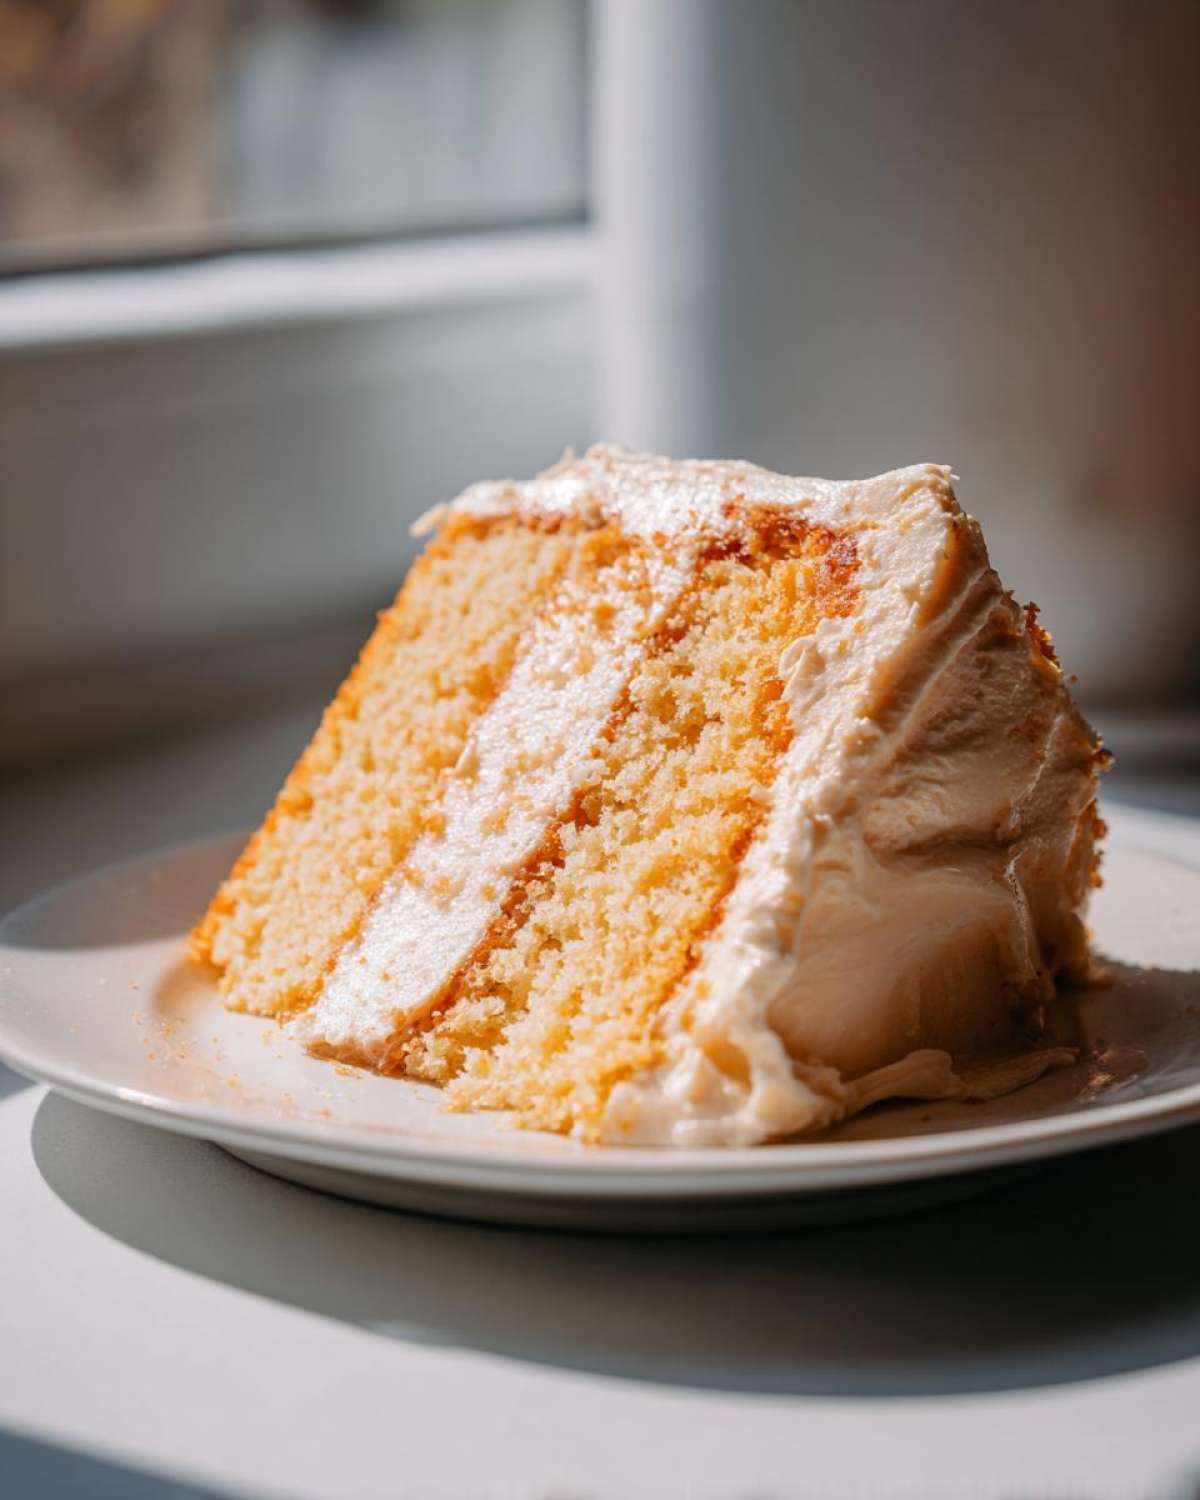
Now, if you want a truly decadent side, skip the heavy chocolate sauces. This **Nostalgic Citrus Dessert** pairs unbelievably well with just a dollop of slightly sweetened whipped cream on the side. You know, the kind you whip yourself really fast—it reinforces that fluffy texture in the main frosting! If you’re looking for other slightly healthier, sweet bread-like treats to serve alongside, I always have a platter of my Easy Honey Bran Muffins ready for snacking.
Frequently Asked Questions About Making Creamsicle Cake
I know you might have a few pressing questions before you dive into this deliciousness. After all, making an **Orange Creamsicle Dessert** that captures that *exact* nostalgic taste isn’t something you want to mess up! Here are the things I hear most often about this **Creamsicle Cake** recipe.
Can I substitute the orange gelatin for orange sherbet?
Oh, that’s a smart thought since sherbet has that classic frozen flavor! You totally can, but it changes the recipe quite a bit. If you use sherbet, you’ll want to let it melt slightly, then stir it into the cake batter along with the mix ingredients instead of using the gelatin soak. It creates a much denser, more pudding-like cake, which is great, but it won’t have that light, spongy texture the gelatin soak gives us. It turns into a different kind of **Nostalgic Citrus Dessert**, but still yummy!
How long does this layer cake last, and where should I keep it?
This is crucial for any cake with real whipped cream in the frosting! Because it’s topped with that fluffy vanilla cream, you must keep this **Creamsicle Cake** refrigerated. It stays tasting its best for about three to four days. Don’t leave it out on the counter during your summer party, or the frosting will get sad fast. Since it tastes so good cold, you don’t really need to ‘reheat’ it at all!
I only have time for something really quick. Can I make this a no-bake option?
That’s the call of a busy host! While this recipe is for a baked layer cake, you can certainly adapt the flavors for a **No-Bake Creamsicle Dessert**. Instead of cake layers, you could press a graham cracker or vanilla wafer crust into the bottom of a pan. Then, you would skip the gelatin soak entirely and create a thick, set filling using cream cheese, powdered sugar, orange juice, and heavy cream. Chill it until firm—it’s a fantastic alternative when you want a **Quick Family Favorite Cake**!
Why do I need to use fresh orange juice instead of just using orange flavoring?
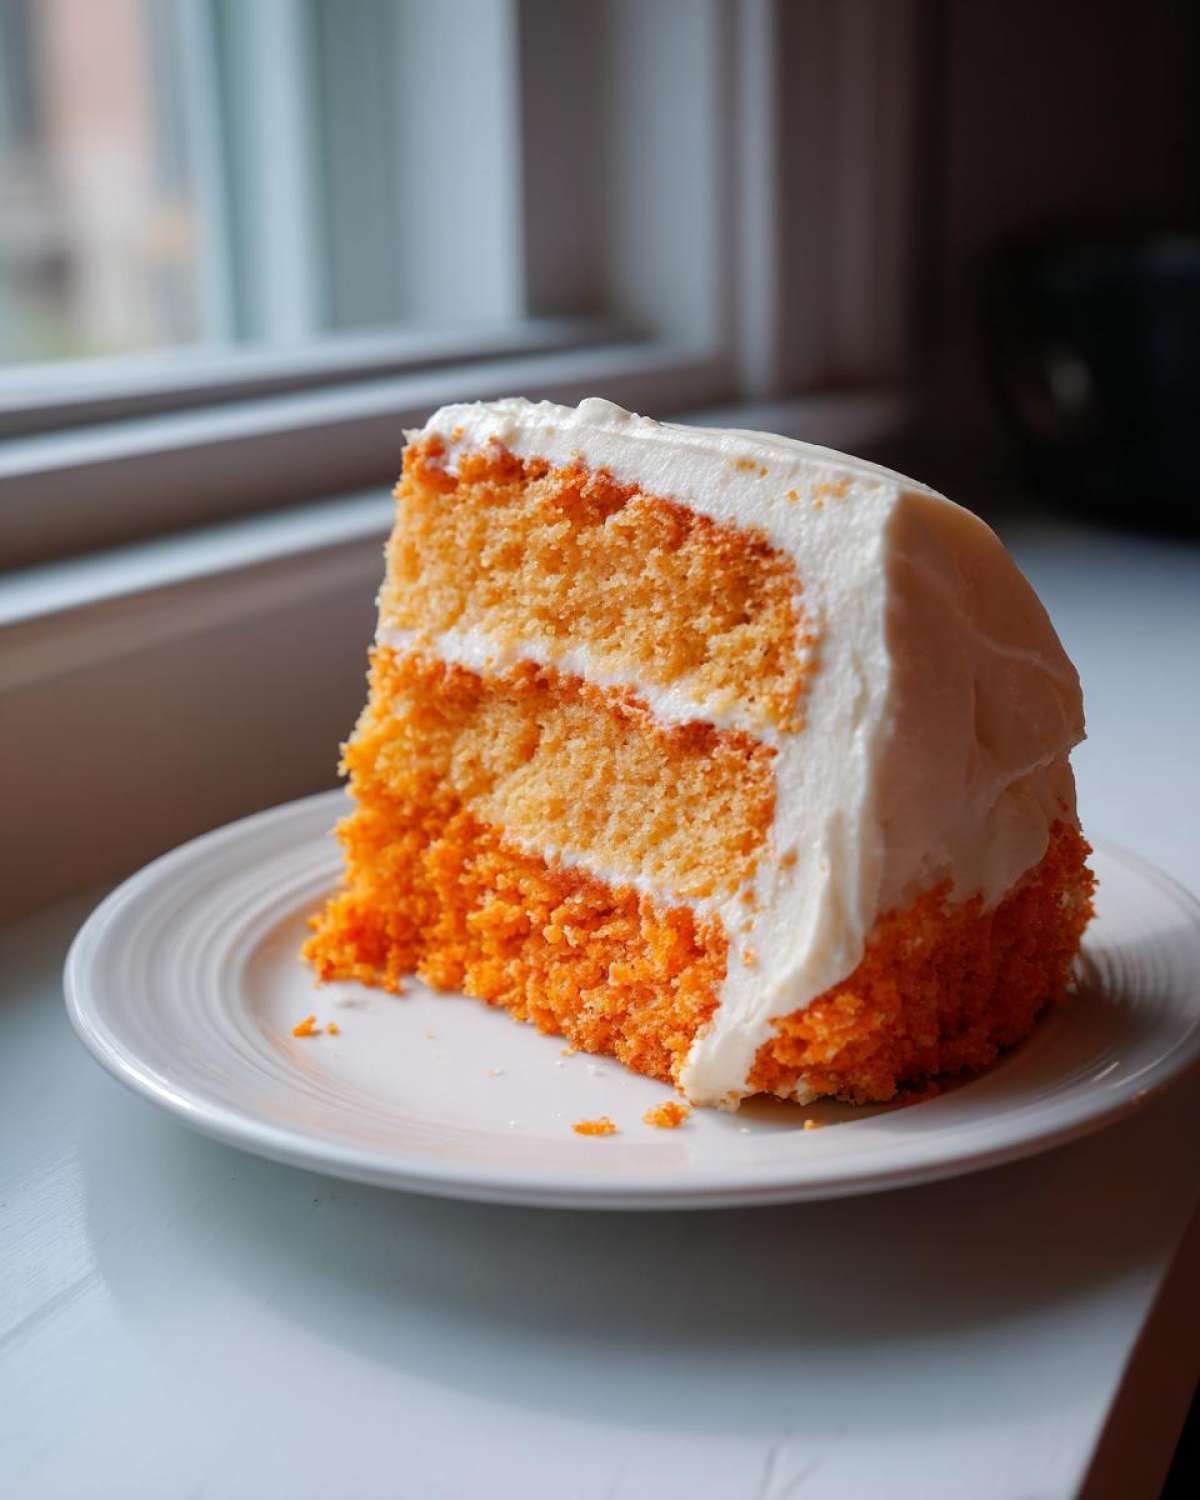
It all comes back to that authentic taste! The fresh juice not only adds moisture but also brings a tiny bit of acid which brightens the entire cake, cutting through the sweetness of the vanilla frosting. If you only use flavoring, it can taste a little flat or overly artificial. For the best *flavor* in your **Simple Vanilla Orange Cake**, grate that zest and squeeze that juice!
If you want to see how I manage flavor in other baked goods without relying on tons of sugar, check out my Easy Chicken Fried Rice Recipe—believe it or not, balancing sweet and savory takes similar timing discipline!
Quick Facts and Nutritional Estimate for the Creamsicle Cake
I get asked all the time how long this beauty actually takes, mainly because I promise it’s fast, and people get suspicious! Here’s the quick rundown on timing, yield, and what you can expect nutritionally from a slice of this dreamy **Creamsicle Cake**. Keep in mind that since we are using a box mix base and homemade frosting, these numbers are just my best estimate—baking is science, but frosting is art, right?
I always recommend checking out my guide for easy egg bites if you need a savory snack to balance out all this sweetness!
Baking Details and Yield
- Prep Time: About 25 minutes
- Cook Time: Roughly 35 minutes (For the cake layers only)
- Total Time: About 60 minutes (Plus chilling time!)
- Yield: This recipe makes 10 good-sized servings
- Category: Dessert / Summer Party Cakes
- Method: Baking
Estimated Nutritional Information (Per Slice)
This estimate doesn’t account for any optional additions or colorings, so treat this as a rough guide for satisfaction!
- Calories: 380
- Sugar: 45g
- Fat: 17g (with 9g Saturated Fat)
- Carbohydrates: 55g
- Protein: 4g
—
Print
Easy Moist Orange Creamsicle Layer Cake
- Total Time: 60 min
- Yield: 10 servings
- Diet: Vegetarian
Description
A simple layer cake capturing the classic orange and vanilla flavor of a creamsicle treat, perfect for summer gatherings.
Ingredients
- 1 box (15.25 oz) white cake mix
- Ingredients called for on cake mix box (usually eggs, oil, water)
- 1/2 cup fresh orange juice
- 1 teaspoon orange zest
- 1/2 cup boiling water
- 1 package (3 oz) orange gelatin
- 1/2 cup cold water
- 1 cup heavy whipping cream
- 1 teaspoon vanilla extract
- 2 cups powdered sugar
- 1/4 cup unsalted butter, softened
- 1/4 cup orange juice (for frosting)
Instructions
- Prepare the cake layers according to the cake mix directions, substituting the required water with 1/2 cup of fresh orange juice. Stir in the orange zest before pouring batter into two greased and floured 8-inch round cake pans.
- Bake the cakes according to the package directions for layer cakes. Let the cakes cool in the pans for 10 minutes before inverting them onto a wire rack to cool completely.
- While the cakes cool, prepare the orange gelatin. Dissolve the orange gelatin in the 1/2 cup of boiling water. Stir in the 1/2 cup of cold water. Set aside to cool to room temperature, but do not let it set.
- Once the cakes are completely cool, use a skewer or fork to poke holes all over the top surface of each layer.
- Slowly pour half of the cooled liquid gelatin mixture evenly over the top of each cake layer. Allow the gelatin to soak in completely, about 15 minutes per cake.
- Prepare the vanilla cream frosting. In a large bowl, beat the heavy whipping cream until soft peaks form. Set aside.
- In a separate bowl, beat the softened butter until creamy. Gradually add the powdered sugar, beating until smooth. Add the vanilla extract and 1/4 cup of orange juice. Beat until light and fluffy.
- Gently fold the whipped cream into the butter mixture until just combined, creating a fluffy vanilla cream frosting.
- Place one gelatin-soaked cake layer on a serving plate. Spread about one-third of the frosting over the first layer. Top with the second cake layer.
- Frost the top and sides of the entire cake with the remaining frosting. Chill the cake for at least 30 minutes before slicing and serving.
Notes
- For an extra orange flavor boost, use orange extract instead of vanilla extract in the frosting, or add a drop of orange food coloring to the frosting.
- You can use a box of orange pudding mix instead of gelatin for a creamier soak.
- This cake tastes best when served cold.
- Prep Time: 25 min
- Cook Time: 35 min
- Category: Dessert
- Method: Baking
- Cuisine: American
Nutrition
- Serving Size: 1 slice
- Calories: 380
- Sugar: 45
- Sodium: 250
- Fat: 17
- Saturated Fat: 9
- Unsaturated Fat: 8
- Trans Fat: 0
- Carbohydrates: 55
- Fiber: 1
- Protein: 4
- Cholesterol: 45



Comments are closed.