

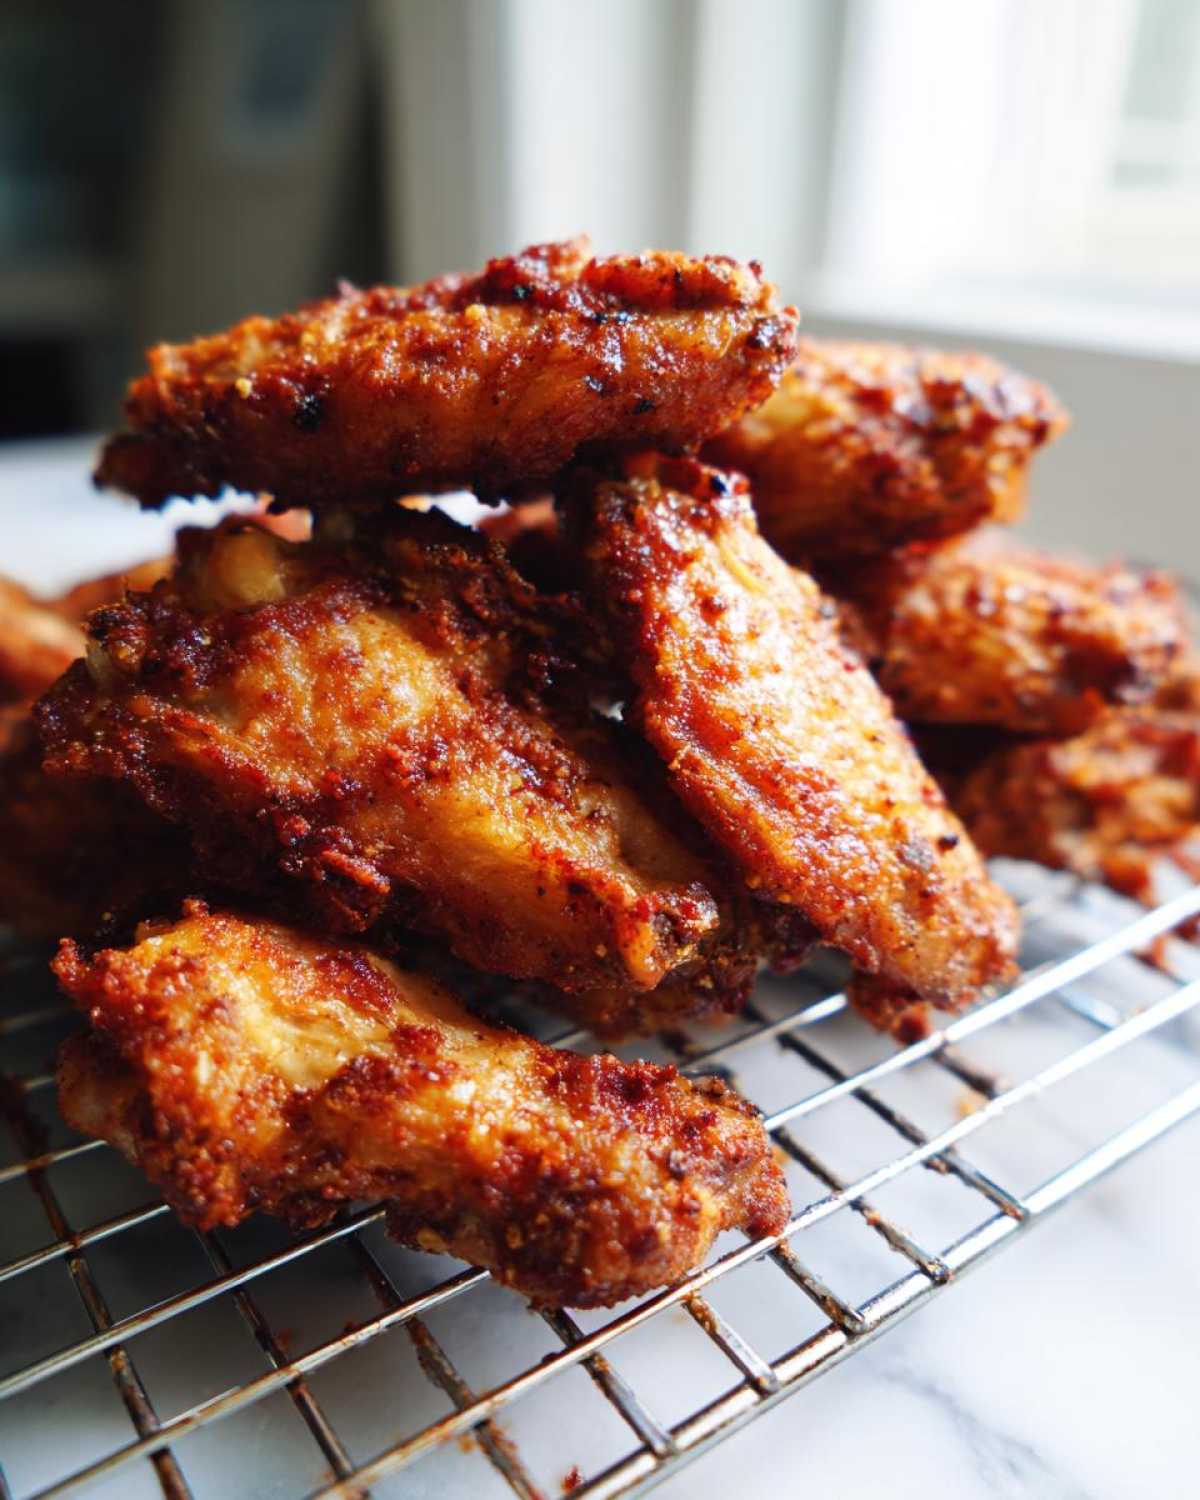
Oh, man, are you tired of oven wings that turn out soft, sad, and totally unsatisfying? I’ve been there! It feels like a huge letdown when you’re craving that deep-fried crunch without the mess of heating up a vat of oil. Well, listen up, because I’m Alexander Knight, and after years helping my uncle run his bustling Texas kitchen, I learned some secrets. I’m going to show you how to nail absolutely crispy baked chicken wings every single time, using nothing more than your oven and one tiny, magical ingredient: baking powder. Trust me, this simple seasoning trick is a game-changer. Forget soggy skins; we’re getting that irresistible, shatteringly crisp texture!
The Secret to Perfect Crispy Baked Chicken Wings: Why This Method Works
When I was a kid running around my uncle’s restaurant back in Texas, we fried everything, and the noise, the smell—it was incredible! But even he wished for a healthier way to get that signature crunch sometimes. That’s where this simple science comes in. The absolute key to getting those beautiful crispy baked chicken wings without the deep fryer grease is dealing with two things: surface moisture and air circulation. You have to get the skin bone-dry before it even sees the oven, and then you have to elevate it so hot air hits every single surface. It’s not magic, just knowing how to treat the chicken skin properly!
For anyone looking to replicate that deep-fried texture while keeping things lighter, this technique is what you need. Trust me on this one; once you see how much better they are, you won’t go back. You can find some great inspiration on how serious folks take this technique over at this recipe page, too!
Baking Powder: The Non-Negotiable Ingredient for Crispy Baked Chicken Wings
Okay, this is the real magic trick. We use baking powder, and you absolutely cannot skip it or swap it for baking soda. Baking powder is slightly alkaline, and when it hits that hot oven air, it actually raises the pH level on the chicken skin. Keeps things simple: higher pH equals faster drying and quicker browning. That’s how you get that shatteringly crisp exterior without deep frying.
Achieving Airflow: Rack Placement for Crispy Baked Chicken Wings
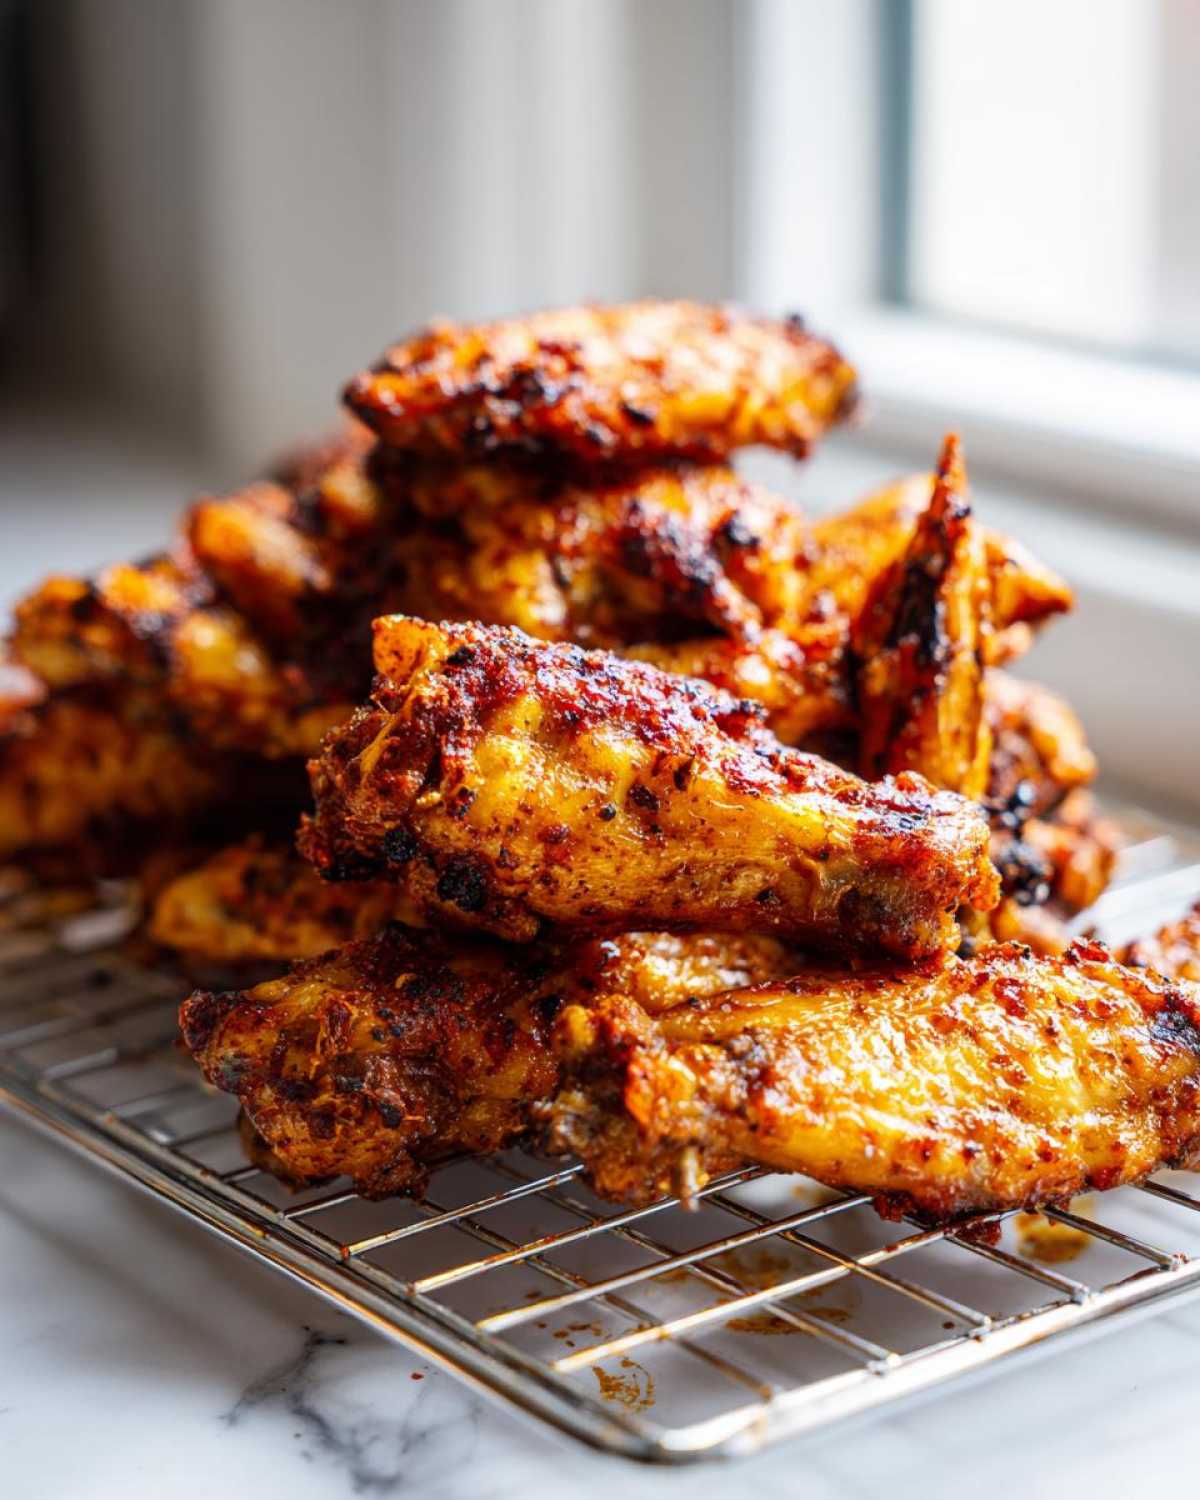
If you just plop your seasoned wings onto a cookie sheet, the bottoms steam in their own rendered fat, and that is the enemy of crispiness! You need air to circulate underneath just as much as on top. That’s why we use a wire rack set right over the baking sheet. It lifts the wings up so that hot air flows all around them, drying them out evenly for that perfect, crunchy skin coating.
Gathering Your Ingredients for Crispy Baked Chicken Wings
Alright, look at this ingredient list! It’s short, which is the best part, right? We’re using about two pounds of wings—get those flats and drumettes mixed together; they bake up beautifully when they’re all together. The real star here, besides the chicken itself, is that tablespoon of baking powder. Seriously, measure it out carefully! We mix that with simple things like salt, pepper, garlic powder, and paprika. That’s it! No fancy marinades needed for the crisp part. If you want sauce, grab your favorite bottle for post-bake tossing.
Ingredient Notes and Substitutions for Crispy Baked Chicken Wings
First things first, if your wings came packed whole, I highly recommend separating them into the drumettes and the flats. It sounds like extra work, but it ensures every piece cooks evenly, which is vital for consistent crispiness! Remember what I said earlier: the baking powder is non-negotiable for that beautiful crust. You can absolutely play with the salt, pepper, and paprika amounts—add cayenne if you like a kick, for instance. But that baking powder? It stays put. It’s the MVP of no-fry wings!
Step-by-Step Instructions for Crispy Baked Chicken Wings
Okay, let’s get these wings in the oven! You’re aiming for high heat to get that crisp fast, so make sure your oven is cranked up to 425°F (that’s 220°C). Before anything else, line a sheet pan with foil—you can thank me later for the easier cleanup! Then, set your wire rack right on top of that foil. We want the wings elevated and ready for action. Once that’s set, we move on to treating the chicken itself. If you want a great result, you have to pay attention in these initial stages!
If you’re dipping into saucy buffalo wings later, you might want to check out this great guide on making your own sauce over at The Chickn!
Preparation: Drying and Seasoning the Chicken Wings
Step one is crucial: water is the enemy of crispiness! Grab a big stack of paper towels and pat every single wing until it feels bone dry. I mean it—get them totally dry. Next, toss those dry wings into a big bowl with your seasoning mix, making sure that baking powder coating is uniform across the skin. Every piece needs to look lightly coated in that magic dust!
Baking Times and Flipping for Maximum Crispiness on Crispy Baked Chicken Wings
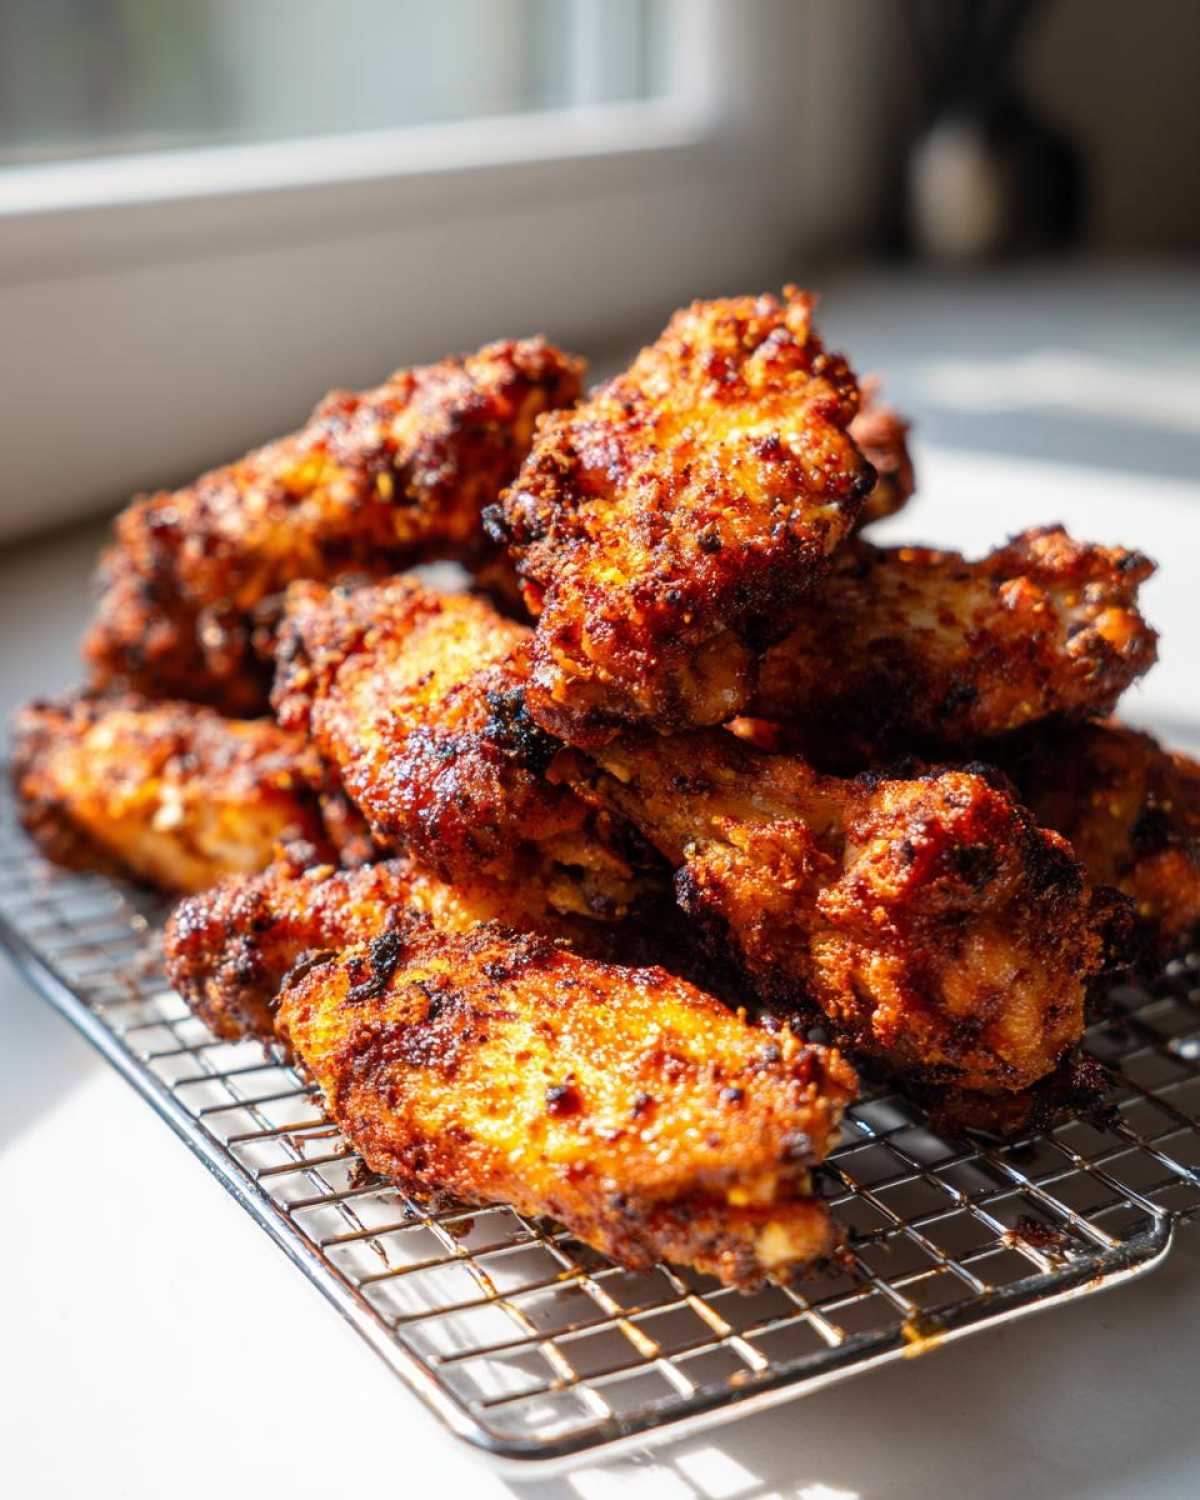
Now, arrange those beauties on the rack in a single layer—no overlapping, please, we need that air flowing! Pop them into the preheated oven for a solid 20 minutes. After that initial bake, pull them out and flip every single wing over. Pop them back in for another 20 to 25 minutes. If you want them truly maniacally crispy, switch the oven to broil for the last minute or two, but **you have to stand right there and watch them**! They can go from golden to burnt in a heartbeat under the broiler!
Tips for Success When Making Crispy Baked Chicken Wings
I’ve learned over the years that even with a great recipe, little tweaks make a huge difference when you’re chasing that perfect crunch. One tip I always stress is temperature—don’t even think about putting those wings on a rack until your oven is screaming hot at 425°F. If the heat isn’t maxed out, the skin just sits there and renders fat slowly instead of crisping up fast. Another huge pointer, and this has saved me so much grief on game days, is to never sauce them early!
Saucing is the final step, period. If you toss them in Buffalo sauce while they’re piping hot in the bowl, that moisture immediately starts turning your hard-earned crispiness soft again. Toss them right before they hit the plate! For more inspiration on nailing that texture consistently, take a look at these fantastic tips over at Propertasty Food. They really dive deep into keeping things dry!
Serving Suggestions for Your Crispy Baked Chicken Wings
You’ve done the hard part! Now that you have these gorgeous, crunchy beauties, you have to serve them right. The classic setup is just unbeatable: a big pile of wings nestled next to some crisp, ice-cold celery sticks and a bowl of creamy blue cheese dressing for dipping. That cool, tangy dressing hitting that hot, spicy crust? Pure heaven, folks! It’s the perfect contrast.
If you’re making these for a serious game-day spread and need something heartier alongside them, try serving them over a quick bed of plain white rice. It soaks up any extra sauce drips beautifully, and it turns these awesome appetizers into a full, satisfying dinner! We are trying to keep them crunchy, so check out some other great serving ideas at The Women Home.
Storage and Reheating Instructions for Crispy Baked Chicken Wings
Look, if you manage to have leftovers of these amazing wings, congratulations—that means they were too good to stop eating! If you do store them, make sure they are completely cooled down first. Never put hot wings into an airtight container; that just traps steam and ruins all our hard work. Keep them in a shallow, dry container in the fridge for maybe two or three days, tops.
Now, for reheating to bring back that crunch: the microwave is your worst enemy; don’t even think about it! You need dry heat. Pop them back on a wire rack set over a sheet pan in a 400°F oven for about ten minutes, or even better, toss them in an air fryer for five minutes. That blast of dry heat will crisp them right back up. For more insights on keeping texture perfect, Chef Savvy has some great takes over at this link.
Troubleshooting Common Issues with Crispy Baked Chicken Wings
I’ve learned over the years that even with a great recipe, little tweaks make a huge difference when you’re chasing that perfect crunch. One tip I always stress is temperature—don’t even think about putting those wings on a rack until your oven is screaming hot at 425°F. If the heat isn’t maxed out, the skin just sits there and renders fat slowly instead of crisping up fast. Another huge pointer, and this has saved me so much grief on game days, is to never sauce them early!
If you find your wings are sticking to that wire rack, it usually means you skipped rubbing a little oil on the rack itself, or maybe your wings just had a little too much exposed moisture. A light spritz of cooking spray on the rack solves that right up! For tips on timing wings perfectly, check out What Molly Made; they have some solid testing methods!
Frequently Asked Questions About Oven Baked Wings
I totally get it—when you find a recipe that works this well, you start wondering about substitutions and make-ahead plans! People ask me all the time about getting those oven baked wings just right, especially if they’re prepping for a big game day party. Below I’ve tried to answer the big ones that pop up in my inbox regularly about keeping that glorious crunch!
Can I make these crispy baked chicken wings ahead of time?
Yes, you absolutely can prep them ahead, but here’s my firm rule: never sauce them until right before you serve them! You can bake the wings fully earlier in the day and let them cool completely. Store them uncovered in a single layer on a rack set on a baking sheet in the fridge. When you’re ready to eat, reheat them in a 400°F oven for about 8 to 10 minutes. That blast of dry heat is the key to reviving the crunch. If you check out the tips at Feed Grump, they talk a lot about timing!
Is baking powder the same as baking soda?
Nope! Definitely not the same, and that’s important for these no fry wings. Baking powder is what we need because it has a different chemical makeup that helps raise the skin’s pH for browning. If you use baking soda alone, your wings might end up tasting strangely soapy or metallic, and they won’t crisp up the same way. Stick to the powder for that perfect golden texture!
Do I need to use a wire rack?
Honestly, if you want *truly* crispy baked chicken wings, yes, you need the rack! Without it, the bottom of the wing steams in the rendered fat and gets soggy. The rack lets the hot air flow completely around the wing, making sure every surface gets that lovely dry crisp finish. It really makes the difference between an okay wing and a fantastic one, as detailed in this great guide here.
Nutritional Estimates for Crispy Baked Chicken Wings
Now, I know some of you are tracking macros, or maybe you just want to feel a little less guilty when you devour a whole plate of these amazing wings—I certainly do sometimes! Since we ditched the deep fryer for our crispy baked chicken wings, the nutrition profile thankfully looks much better than the restaurant version. Remember, this is just guidance, as your seasoning blends and sauces can change things up!
Based on our recipe—using just the seasoning mix and the chicken itself, before any sugary sauces—here is what you can generally expect per serving (about 4 wings):
- Calories: Around 250
- Fat: About 15g (That’s way less than deep-fried goodness!)
- Protein: A whopping 26g! These are filling.
- Carbohydrates: Super low, only about 1g.
- Sodium: Around 350mg (This can spike if you use a salty sauce later on!).
Since we’re keeping dishes like this simple and focused on flavor, it really works out well for being a healthier game-day snack! If you want to see how other folks structure their healthy, juicy wings, check out the great overview they put together at Breeze Bread.
Print
Get Truly Crispy Baked Chicken Wings Without Deep Frying
- Total Time: 55 min
- Yield: 4 servings
- Diet: Low Fat
Description
Follow this simple oven baking method to achieve the ultimate crunch on your chicken wings. You get that irresistible texture everyone loves, right in your kitchen, without the messy deep frying.
Ingredients
- 2 lbs chicken wings (flats and drumettes)
- 1 tablespoon baking powder (this is the secret for ultimate crunch)
- 1 teaspoon salt
- 1 teaspoon garlic powder
- 1 teaspoon paprika
- 1/2 teaspoon black pepper
- Optional: Your favorite sauce for tossing (like Buffalo or BBQ)
Instructions
- Preheat your oven to 425°F (220°C). Line a baking sheet with foil for easier cleanup, and place a wire rack on top of the sheet. This rack allows air to circulate, which is key for crispy baked chicken wings.
- Pat the chicken wings completely dry using paper towels. Removing surface moisture helps the skin crisp up.
- In a large bowl, combine the baking powder, salt, garlic powder, paprika, and black pepper.
- Add the dried chicken wings to the bowl and toss them well until every piece is evenly coated with the seasoning mixture.
- Arrange the seasoned wings in a single layer on the wire rack, ensuring they do not touch each other.
- Bake for 20 minutes.
- Flip the wings over. Return them to the oven and bake for another 20 to 25 minutes, or until the skin is golden brown and very crispy. For extra crispiness, you can switch the oven to broil for the last 1-2 minutes, watching closely to prevent burning.
- Remove the wings from the oven. If you are using sauce, place the hot wings in a clean bowl and toss them immediately with your preferred sauce until coated.
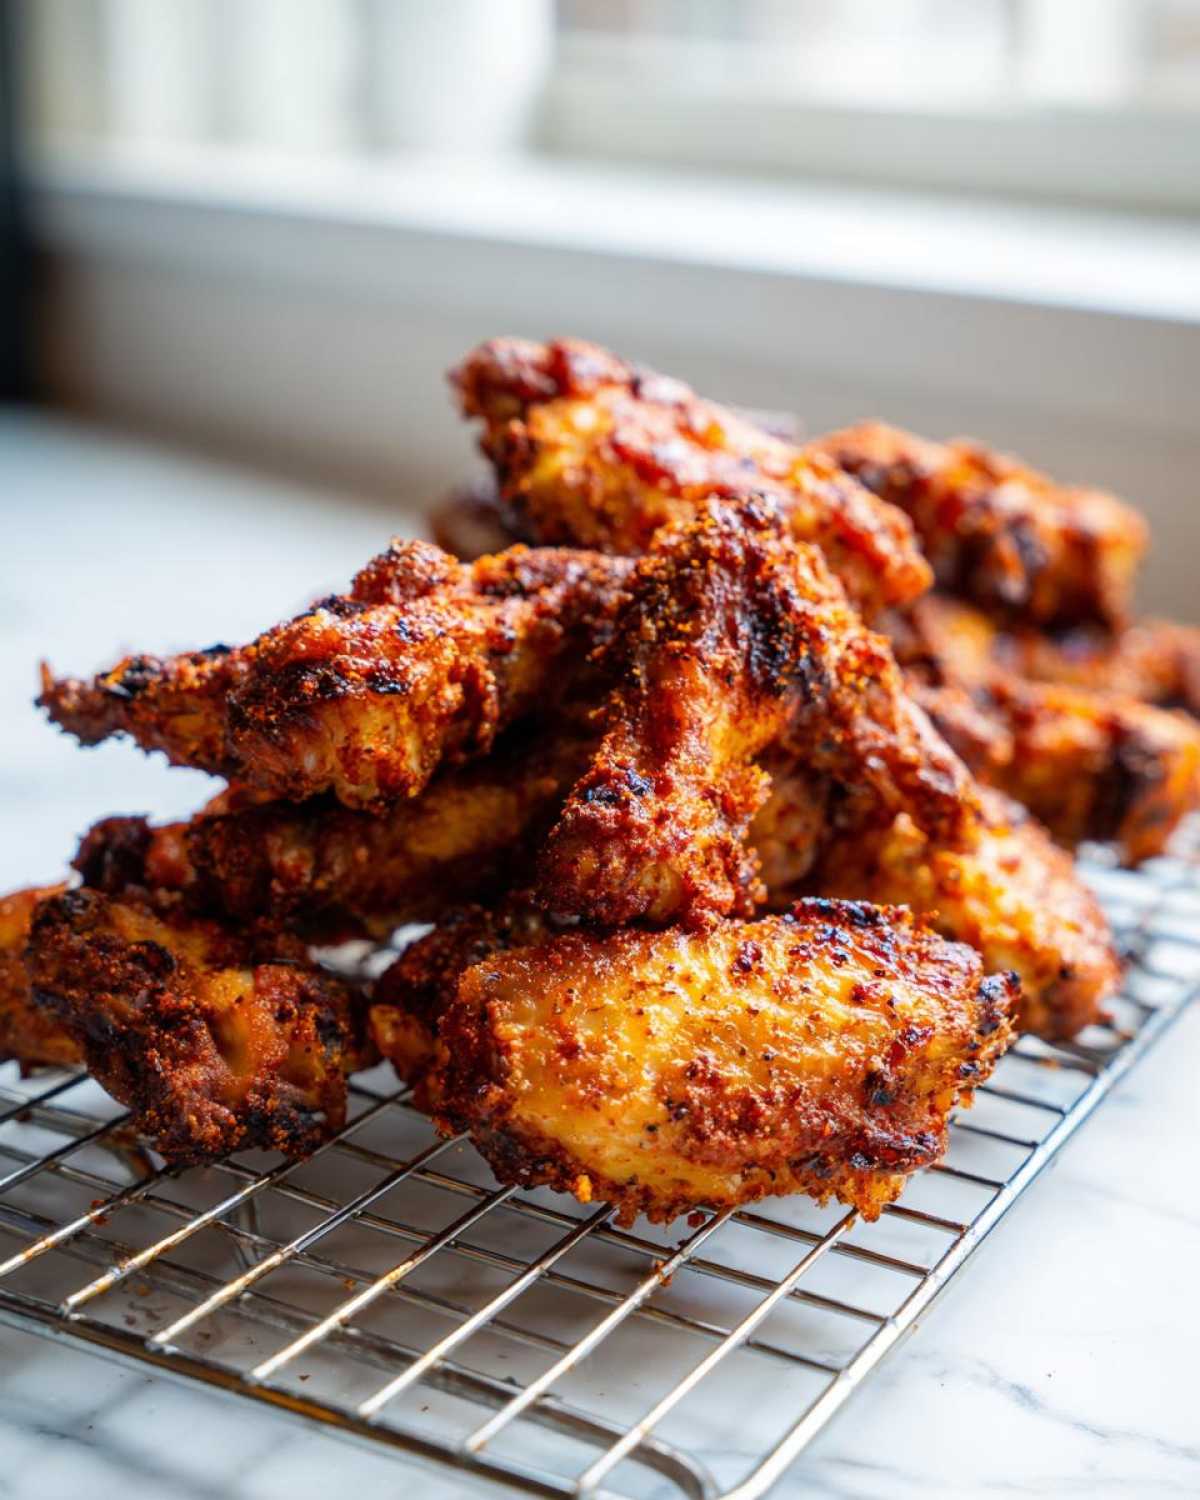
- Serve your crispy baked chicken wings immediately with celery sticks and blue cheese dressing.
Notes
- Using baking powder is essential; it raises the pH of the skin, helping it brown and crisp faster. Do not substitute with baking soda.
- For the juiciest inside and crispiest outside, make sure your oven is fully preheated before the wings go in.
- If you plan to sauce the wings, toss them right before serving so they stay as crispy as possible.
- Prep Time: 10 min
- Cook Time: 45 min
- Category: Appetizer
- Method: Baking
- Cuisine: American
Nutrition
- Serving Size: 4 wings
- Calories: 250
- Sugar: 0
- Sodium: 350
- Fat: 15
- Saturated Fat: 4
- Unsaturated Fat: 11
- Trans Fat: 0
- Carbohydrates: 1
- Fiber: 0
- Protein: 26
- Cholesterol: 90


Comments are closed.