
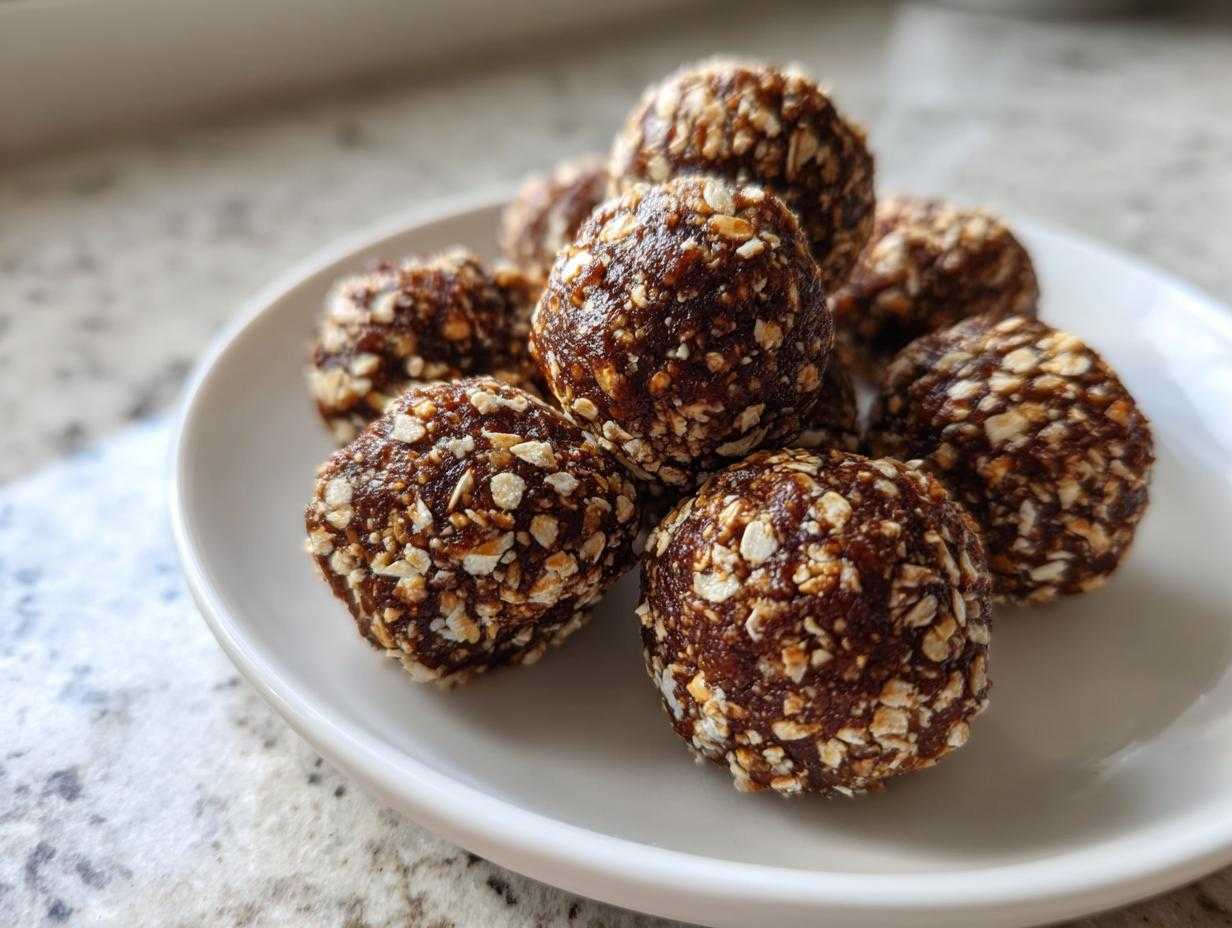
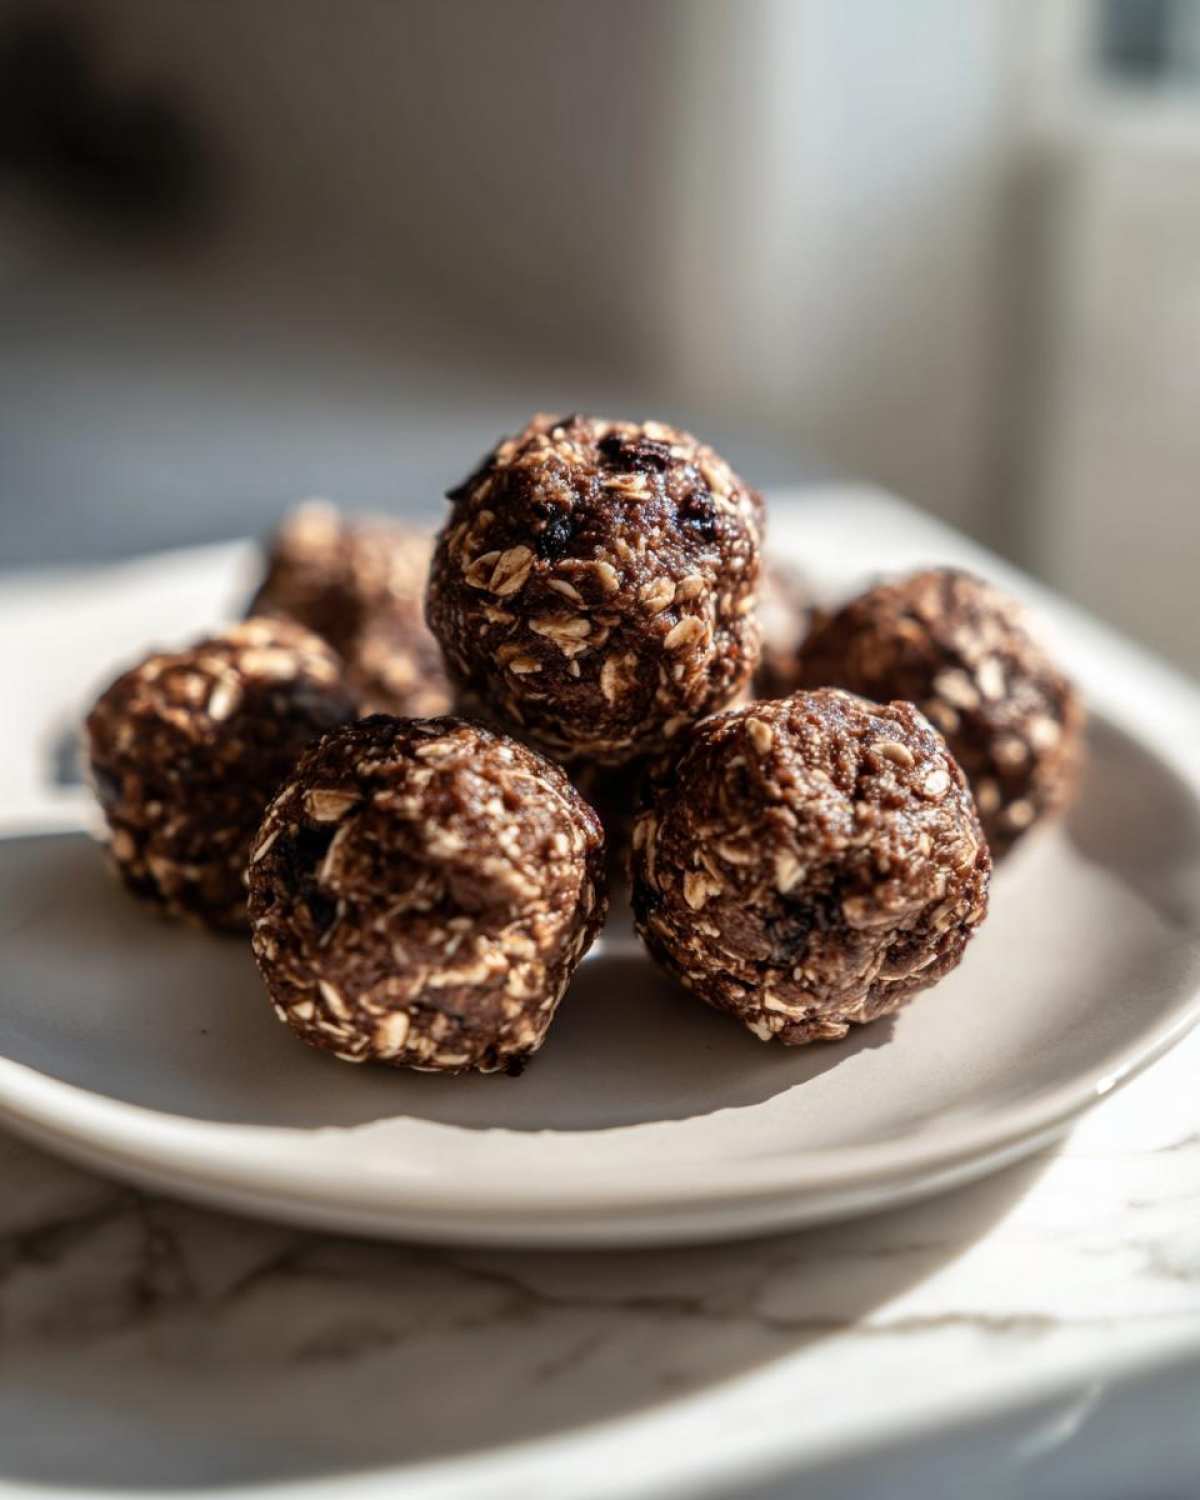
Oh my gosh, you just have to drop everything and make these! We all hit that wall, right? That 3 PM slump where you need serious fuel but don’t want to touch anything processed or spend an hour over the stove. That’s why these protein bars’ little cousins—the protein balls—are my absolute lifeline. Seriously, these No-Bake Chocolate Peanut Butter Protein Balls live in my fridge all week long. They use nothing but pantry staples, take about ten minutes total, and require zero actual oven time. They saved my sanity when the kids were little and I was running between activities. Trust me, these are the easiest, highest-impact healthy snacks you’ll ever whip up!
Why You Will Love These Peanut Butter Protein Balls Recipe
I’m telling you, these aren’t just good; they’re foolproof energy bombs. If you’re looking for a go-to, quick healthy sweet treat, stop scrolling. You’ve found it! I can whip up a batch while my coffee is brewing, and they never last long in the house. These are perfect for meal prep protein bites!
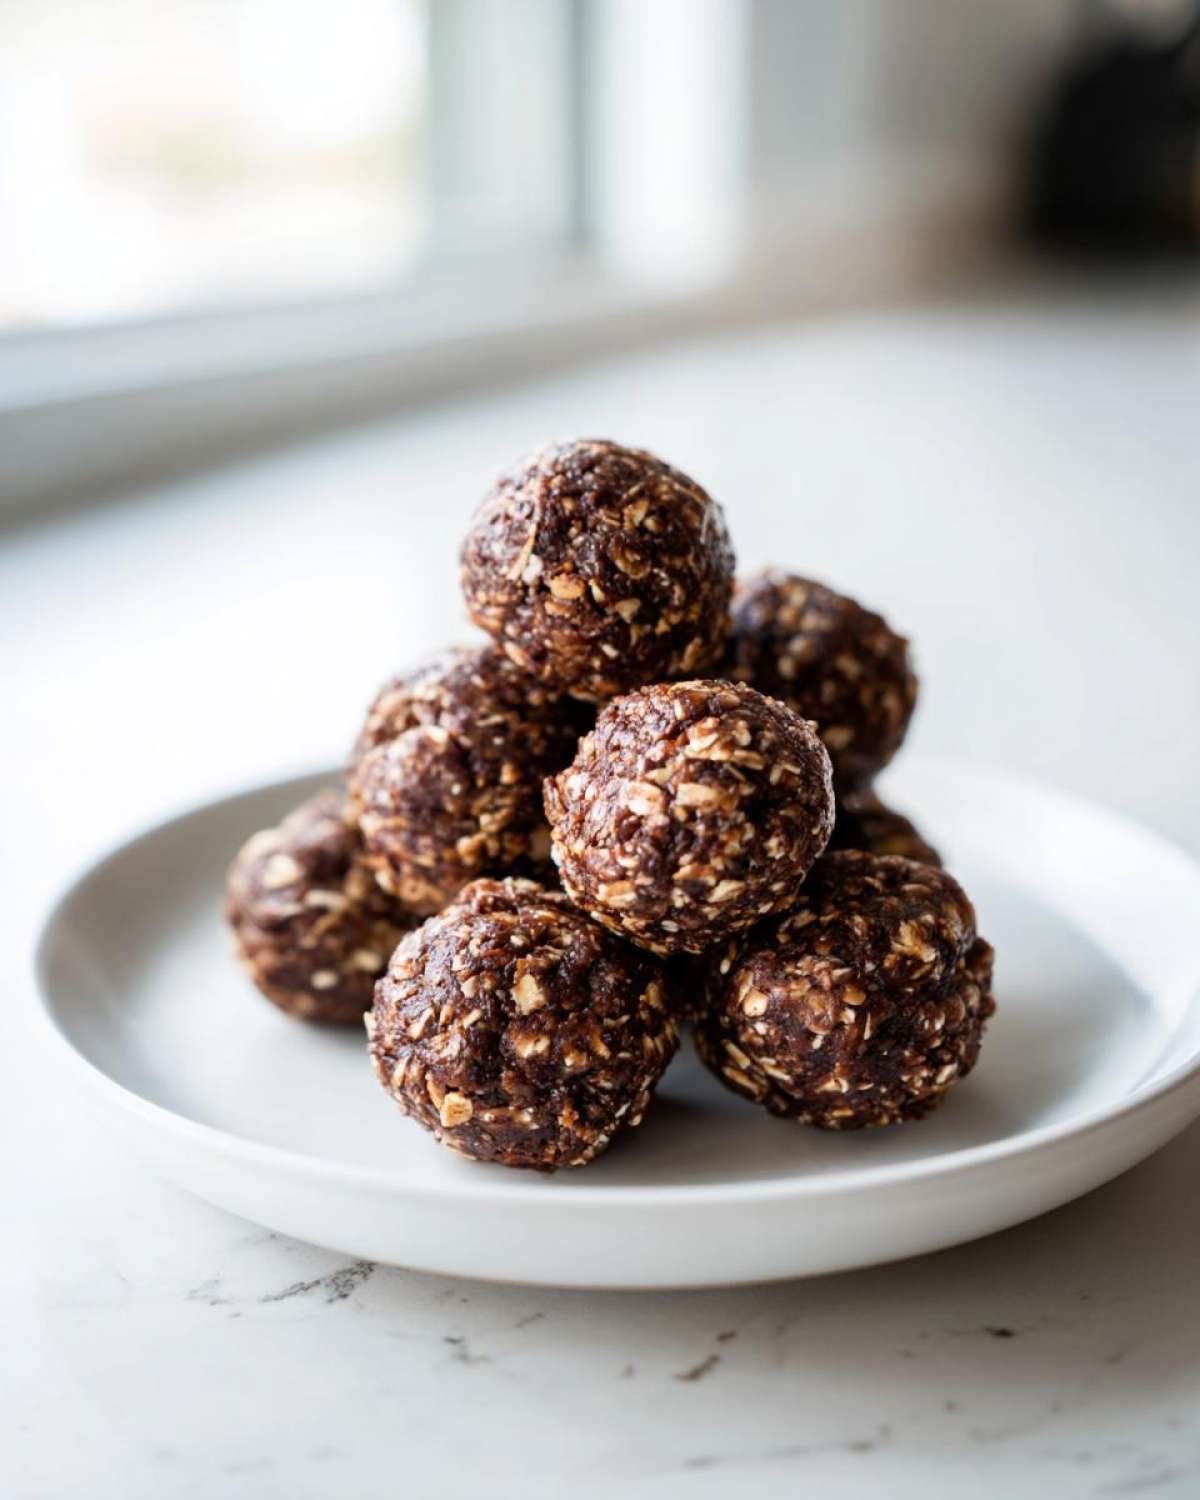
- They are truly no-bake—zero turning on the oven required, seriously. This makes them perfect for summer or those crazy busy evenings.
- They pack a massive protein punch (almost 9g per ball!) to keep you full way longer than those sugary granola bars.
- The chocolate and peanut butter combo tastes totally decadent, like a guilt-free dessert ball.
- You can have them ready to eat in under 40 minutes, including chilling time! How fast is that for high protein snacks?
Essential Ingredients for No-Bake Chocolate Protein Balls
The beauty of these homemade protein snacks is they rely on things you probably already have in your pantry! You don’t need fancy stabilizers or weird extracts. This is my basic protein ball formula that never fails. The key here is the texture balance—we need the sticky stuff to hold the dry stuff together.
We are using 1 cup of good old rolled oats. Don’t go for the instant stuff; those break down too much! Then we have the powerhouse components:
- 1/2 cup of your favorite creamy peanut butter. Make sure it’s stirrable, not the super oily natural kind that separates immediately, unless you want to account for extra water.
- 1/2 cup of vanilla or chocolate protein powder. This is what skyrockets the protein count, so use what you love! Quality protein powder makes or breaks the flavor here.
- 1/4 cup ground flaxseed or chia seeds. These little guys are superstars for binding and adding fiber.
- 1/4 cup honey or maple syrup for sweetness and stickiness.
- 2 tablespoons unsweetened cocoa powder, because chocolate helps everything taste better!
- 1 tablespoon water—just a splash to bring it all together.
See? So simple! You can find details on swapping out flavors for protein muffins, but for these balls, keep the ratios close!
Step-by-Step Instructions to Make Perfect Protein Balls
Forget measuring cups that are sticky with peanut butter! Seriously, these assembly steps are so easy you’ll wonder why you ever bought pre-made snacks. The goal here is a dough that holds together when you squeeze it but isn’t dry or crumbly. Don’t rush the mixing—that’s where the magic happens for these low ingredient protein balls. This recipe builds on everything I love about great oatmeal protein balls recipe.
- First things first: grab a decent-sized mixing bowl. Toss in all your dry stuff: the rolled oats, the protein powder (yes, all of it!), the ground flaxseed, and that deep, dark cocoa powder. Give it a really good stir with a fork or whisk until it looks evenly blended. You don’t want a surprise pocket of just powder later!
- Now, dump in the wet ingredients. That means the creamy peanut butter and your sweetener—honey or maple syrup.
- Using a sturdy spoon, start combining. It’ll look rough at first, like it doesn’t want to mix, but keep going! You need to work it until all the dry bits have soaked up the fat and sugar.
Mixing the Dry and Wet Components for Your Protein Balls
This mixing stage is critical for getting the right texture. You must work it until it forms a thick, uniform dough. If you’re stirring and it seems like a dry mess, don’t panic! Just add water, one teaspoon at a time. I usually only need one or two spoons worth. You are looking for that perfect consistency where you can grab a handful of the mixture and firmly squeeze it, and it sticks together instantly. That’s how you know your protein balls will hold their shape!
Rolling and Chilling Your Easy No Bake Energy Bites
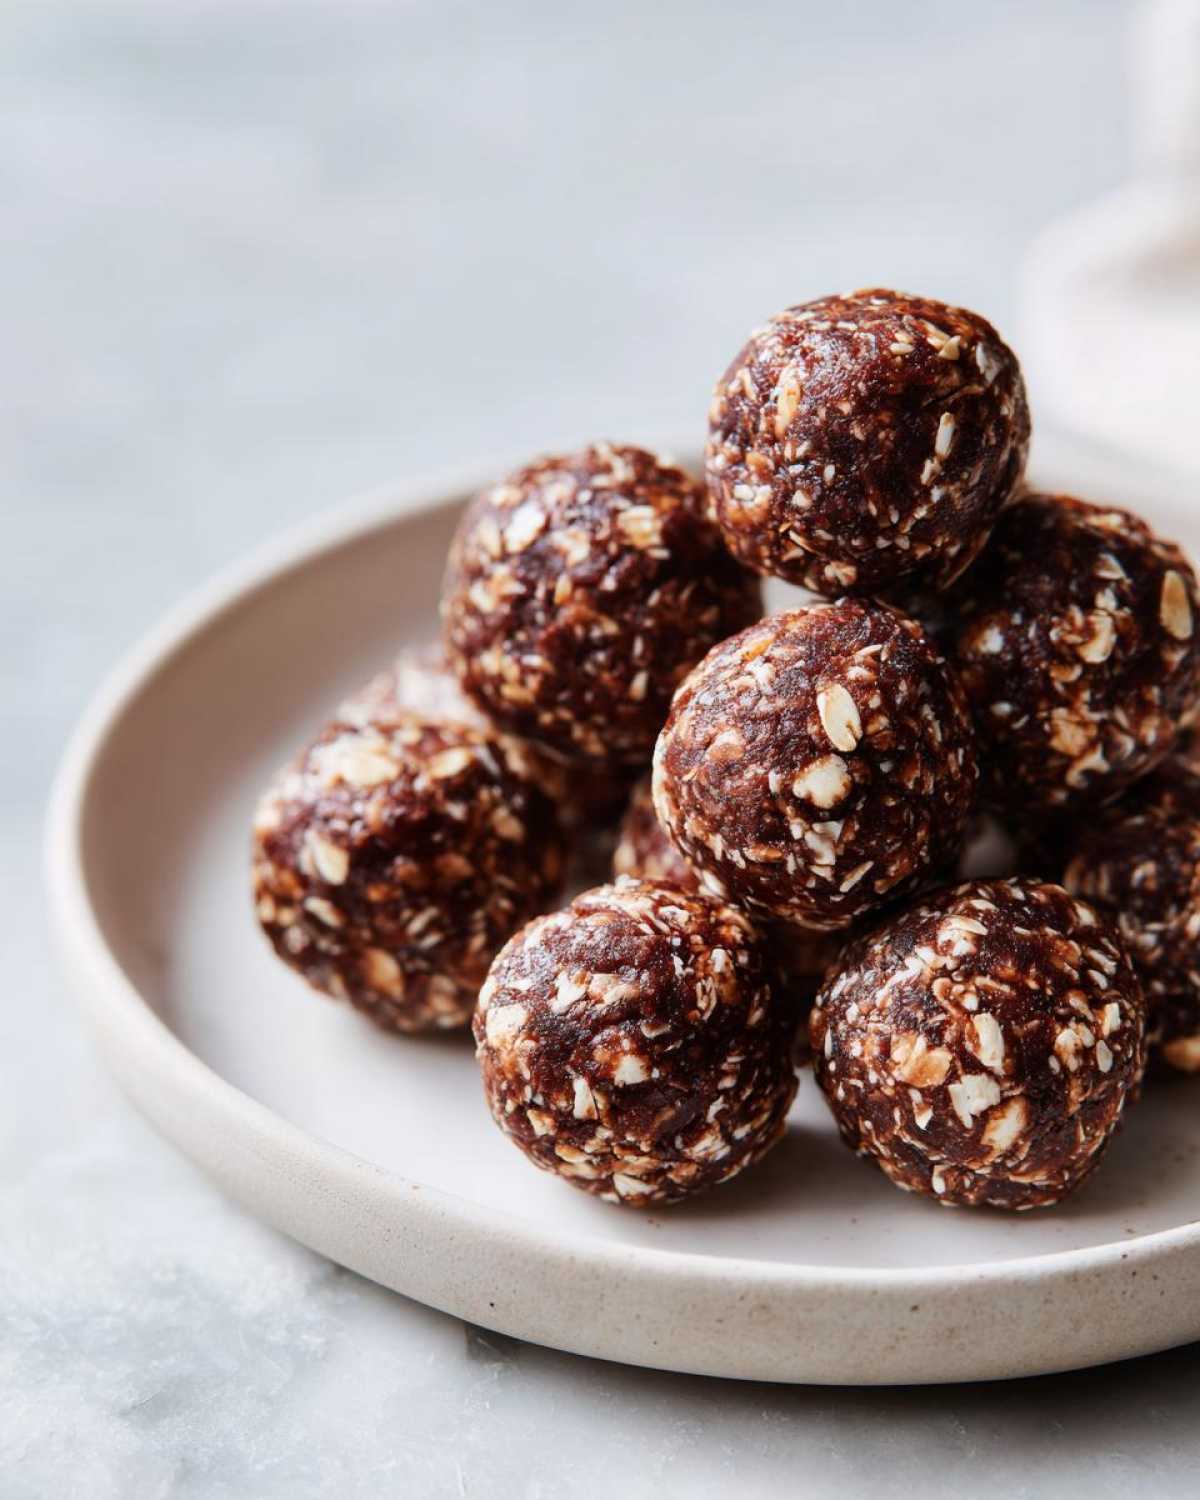
Once the dough is perfect, grab a little cookie scoop or just use your hands! Roll the mix into little balls, about 1 inch across. If you try to serve them right away, they might fall apart, which defeats the purpose of portable high protein snacks, right? So, line a plate or sheet pan with some parchment paper and then pop the entire batch into the fridge. You absolutely have to chill them for at least 30 minutes to let everything firm up. Once they are set, they’re ready to fuel your afternoon!
Tips for Success When Making Homemade Protein Snacks
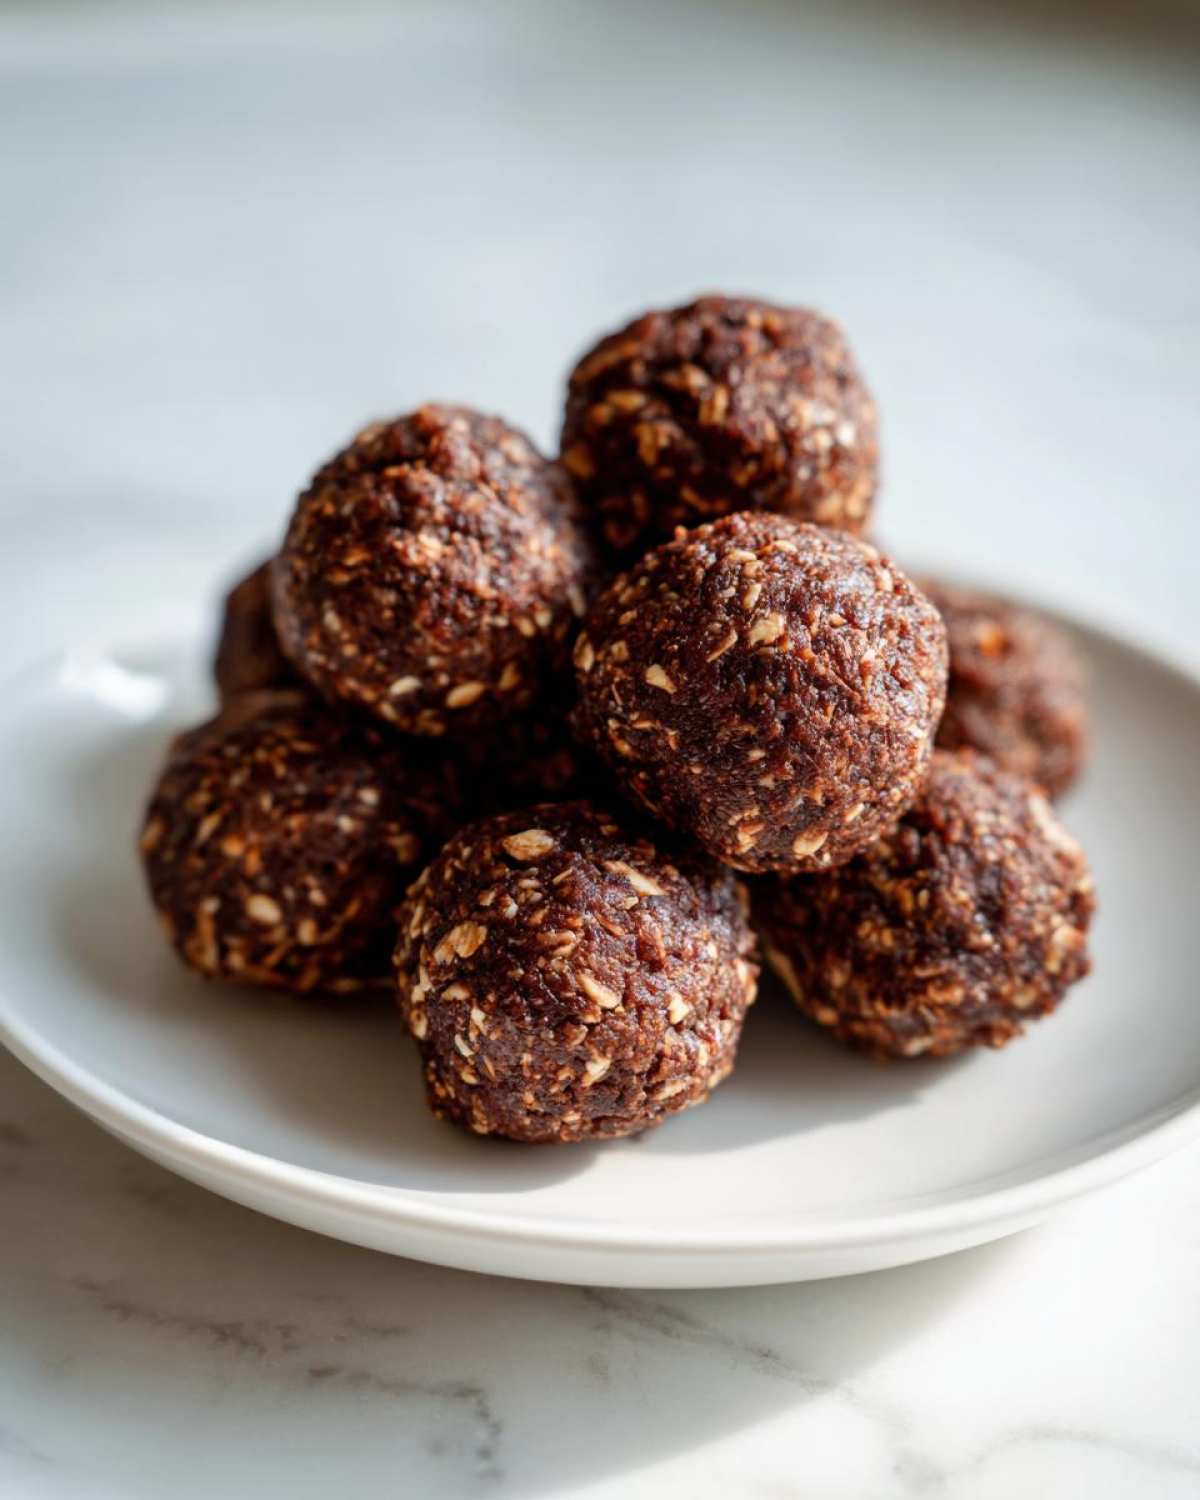
Look, even though these are super basic, there are always little tweaks that make the difference between a “meh” energy bite and one you crave every single day. These tips are what I learned after making hundreds of batches while trying out different protein powders and sweeteners. These secrets guarantee great texture for your protein balls!
First off, consistency is everything. If your peanut butter is really stiff right out of the fridge, your dough will be too dry, guaranteed. Let it sit out on the counter for 20 minutes before mixing, or warm it slightly in the microwave for about 10 seconds. This makes blending so much easier. Need to make these peanut butter protein muffins friendly? Use sunflower seed butter instead of PB, but know that it adds a slightly grittier texture. It still works great for a clean eating energy balls option!
Also, about that protein powder: if you use a very absorbent powder, like a lot of casein blends, you might need an extra teaspoon of water or maple syrup. Always adjust until you hit that perfect, non-sticky, moldable dough consistency. If you want to get really fancy, check out my full guide on the basic protein ball formula for flavor combos that go way beyond chocolate!
Protein Balls Storage and Make Ahead Snack Prep
Listen, making these at the beginning of the week is the only way to guarantee you have post workout fuel ready when you need it. These are my ride-or-die make ahead snack recipes for busy days. You keep them airtight container right in the fridge, and honestly, they last great for a full week. They are perfect straight out of the fridge—they firm up just a little more, which I love!
If you need them to last longer, toss them in the freezer! They store beautifully frozen for up to two months. Just pull out a few the night before you need them, or honestly, if you’re in a real rush, a frozen ball thaws pretty fast while you’re driving to the gym. No need for any reheating, either; they taste amazing chilled or at room temperature.
Variations for Your Favorite Protein Balls Flavor
Okay, so the chocolate peanut butter version is my baseline, the one I reach for when I’m completely out of ideas, but you absolutely do not have to stop there! Once you master the basic formula, they practically beg you to start experimenting. It’s so fun to mix up the mix-ins to keep things interesting, especially if you’re making these for the kids so they don’t get bored eating the same thing every day. It shows how versatile these are!
Here are a few of my favorite ways to pivot the flavor profile of these protein balls without adding any work:
- Hello, Coconut Vibes! If you swap out the cocoa powder completely, you can make coconut almond joy bites! Add about 1/4 cup of shredded unsweetened coconut to the dry mix. When you roll them, toss the finished balls in a little extra unsweetened coconut or mini chocolate chips for texture.
- A Little Spice Goes a Long Way. If you love warming flavors, try adding 1 teaspoon of cinnamon and a tiny pinch of cloves to the dry ingredients. If you’re feeling adventurous, check out my recipe for gingerbread protein bites—it uses those same principles! This is great for using leftover gingerbread spice mix during the holidays.
- Lemon Poppy Seed Power. This one is bright and amazing for spring! Skip the cocoa entirely. Mix in the zest of one whole lemon and 2 teaspoons of poppy seeds with your dry ingredients. You might need to use a little less sweetener just because the lemon brightens everything up so much.
- Dip Them! For a serious upgrade, once your protein balls are chilled and firm, melt some high-quality dark chocolate (like 70% cacao or higher) and dip half of each ball into the chocolate. Let those set on wax paper. That hard chocolate shell makes them feel like a true confection!
See? Same base, totally different snack! That’s the joy of making your own high protein snacks!
Frequently Asked Questions About Protein Balls
I get so many messages about these little guys once people start making them! You’ve probably got a few questions swirling around, especially if you’re trying to fit these into a specific diet plan. Don’t worry, I’ve answered the most common ones so you can make perfect protein balls every time. These are designed to be super flexible high protein snacks!
Can I make these protein balls vegan or sugar free?
Yes, absolutely! This recipe is so versatile. To make them fully vegan, you just need to swap the honey for maple syrup—that’s the easiest switch. If you’re aiming for sugar free, you can use a sugar substitute like monk fruit blend or erythritol instead of the honey, but you might need to add a tiny bit more water or nut butter if the blend doesn’t add as much moisture as the syrup. Be aware that sugar-free versions might not ball up quite as firmly, so chilling them extra long helps!
What is the best protein powder to use for these protein balls?
This is the million-dollar question! Honestly, the best powder is the one you like the taste of best because you’ll be eating a lot of it. I usually stick with standard whey isolate, but if you use plant-based powders like pea or hemp, be prepared for a slightly drier dough. Plant proteins tend to soak up more liquid, so if you use them, start with half the recommended water and add more slowly until it binds. For those avoiding dairy, these are still amazing gluten free protein balls with the right powder swap.
How long do these energy bites last in the fridge?
Because they are loaded with oats, flax, and nut butter, they stay fresh for ages! As long as they are in an airtight container, they are perfect for up to one full week in the refrigerator. If you’re trying to keep them around longer for meal prep, the freezer is your best friend. Pop them in freezer bags and they are good for about two months!
Nutritional Estimates for These High Protein Snacks
Okay, let’s talk numbers! While I’m all about tasting the results, I know many of you are tracking macros or counting calories for your post workout fuel balls. It’s important to remember that these numbers are just estimates based on the exact ingredient quantities I listed and the type of protein powder used. If you use almond butter instead of peanut butter, or switch from honey to maple syrup, the charts will look a little different!
For one standard, 1-inch ball made with my exact recipe above (using standard vanilla whey in the mix), here’s what you’re looking at:
- Serving Size: 1 ball (Yields about 14 balls total)
- Calories: About 135 kcal
- Protein: A solid 9 grams! (See, I told you they were great fuel!)
- Total Fat: Roughly 7g
- Carbohydrates: Around 14g
- Fiber: 2 grams (Thanks, oats and flax!)
- Sugar: About 6g (Mostly from the honey/maple syrup)
This is why I love these so much—they are such a fantastic way to get clean energy without loading up on unnecessary sugars or fats, especially for a quick grab-and-go snack. It really helps me stay on track when I want something satisfying but healthy.
Share Your Homemade Protein Balls Creations
Now, I’ve shown you my absolute favorite, can’t-live-without method for making the best protein balls in under ten minutes. But honestly, the kitchen is yours now! I genuinely want to know how they turned out for you! Did you dip them in dark chocolate? Did you swap the oats for almond flour? Tell me everything!
If you made this recipe—maybe you even made a giant batch for post workout fuel for the week—don’t be shy! Head over to the comments section below and hit that five-star rating button if you loved how quick and easy they were. I read every single comment, and your feedback seriously helps others decide if they should try making these energy bites next.
And seriously, if you share a snap of your perfectly rolled balls looking gorgeous in your meal prep container, please tag me on social media! Seeing your kitchen creations is the best part of running this blog. If you run into any issues or need advice on swapping out ingredients, don’t hesitate to reach out through my contact page—I’m always happy to troubleshoot!
Print
No-Bake Chocolate Peanut Butter Protein Balls
- Total Time: 10 min
- Yield: About 14 balls
- Diet: Vegetarian
Description
Make these simple, no-bake protein balls using oats and peanut butter for a quick, high-protein snack perfect for meal prep or post-workout fuel.
Ingredients
- 1 cup rolled oats
- 1/2 cup peanut butter
- 1/2 cup vanilla or chocolate protein powder
- 1/4 cup ground flaxseed or chia seeds
- 1/4 cup honey or maple syrup
- 2 tablespoons unsweetened cocoa powder
- 1 tablespoon water (or more, if needed)
Instructions
- Combine the rolled oats, protein powder, flaxseed, and cocoa powder in a medium bowl. Mix dry ingredients well.
- Add the peanut butter and honey (or maple syrup) to the dry mixture.
- Mix everything together using a sturdy spoon or your hands until a thick, uniform dough forms. If the mixture seems too dry, add water, one teaspoon at a time, until it holds together when pressed.
- Roll the dough into small, bite-sized balls, about 1 inch in diameter.
- Place the finished balls on a plate or baking sheet lined with parchment paper.
- Refrigerate for at least 30 minutes to firm up before serving.
Notes
- For a gluten-free version, use certified gluten-free oats.
- Store leftovers in an airtight container in the refrigerator for up to one week.
- You can substitute almond butter or sunflower seed butter for peanut butter.
- Prep Time: 10 min
- Cook Time: 0 min
- Category: Snack
- Method: No Bake
- Cuisine: American
Nutrition
- Serving Size: 1 ball
- Calories: 135
- Sugar: 6
- Sodium: 65
- Fat: 7
- Saturated Fat: 1.5
- Unsaturated Fat: 5.5
- Trans Fat: 0
- Carbohydrates: 14
- Fiber: 2
- Protein: 9
- Cholesterol: 0



Comments are closed.