

Sometimes you just need a side dish that hits different, right? Something that smells incredible when it comes out of the oven and tastes like pure comfort food without all the fuss. Forget steaming your veggies into submission! My absolute favorite way to serve up a vegetable side dish these days is my recipe for Garlic Butter Roasted Cauliflower. Trust me, this stuff is magic. It’s my absolute go-to for weeknight dinners because it requires minimal hands-on time once it hits that hot oven. You get that perfectly tender inside and just the right amount of crispy, browned edges. We’re talking savory, rich, and ridiculously easy!
Why This Garlic Butter Roasted Cauliflower is the Best Roasted Cauliflower Recipe
You know how some roasted vegetables turn out soggy or lukewarm? That will never happen here! This isn’t just another Roasted Cauliflower Recipe; it’s genuinely the Best Roasted Cauliflower I’ve ever made, and I promise to tell you exactly why. The secret is simple: high heat and respect for the floret! When I’m whipping up my standard batch of Easy Roasted Vegetables, cauliflower always takes center stage.
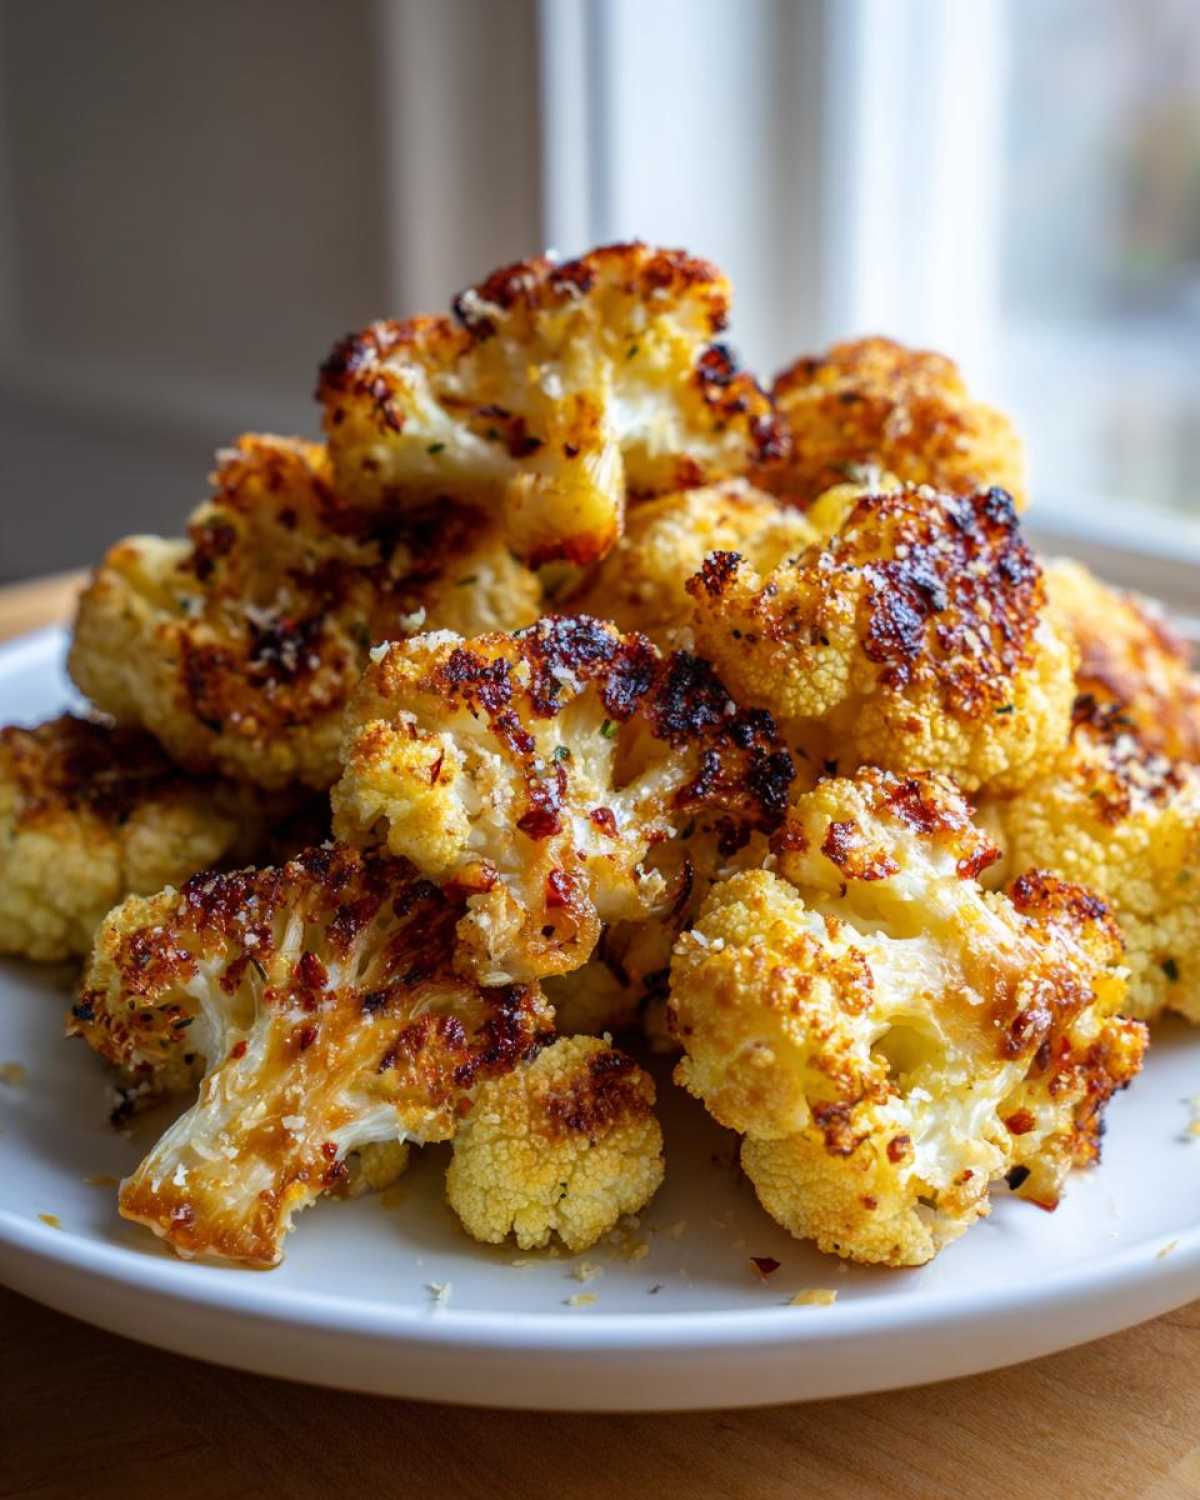
We crank the oven up to 400°F. That intense heat immediately starts caramelizing the edges of the cauliflower, locking in flavor while cooking the inside until it’s beautifully tender. If you want that amazing, savory crust, you have to spread those little guys out completely. No piling them on top of each other, or you just end up steaming them, and nobody wants that sad texture. We are absolutely aiming for Crispy Roasted Cauliflower every single time.
Quick Prep Time for Your Garlic Butter Roasted Cauliflower
Honestly, the best part about this dish is how fast you get it ready to go. Even with melting the butter and mincing all that garlic—which I highly recommend doing by hand for the best punch—you’re looking at maybe ten minutes of actual work. It’s fantastic when you realize you need a great, flavorful side dish fast. This makes it one of those perfect Quick Vegetable Sides that steps up to an impressive steak dinner or a simple Tuesday night chicken breast.
Ingredients for Perfect Garlic Butter Roasted Cauliflower
Okay, let’s talk about what you actually need! The ingredient list for this savory side is brilliantly short, which is exactly why I love it. We’re leaning hard on quality basics here. You absolutely need one large head of cauliflower, cut into nice, bite-sized florets. That’s the star!
For the flavor bomb, grab 4 tablespoons of unsalted butter—make sure it’s melted!—and 4 cloves of garlic that you’ve minced super fine. Tiny pieces integrate better. Don’t forget your basics: half a teaspoon of salt and a quarter teaspoon of black pepper. If you want to elevate it later, have 1 tablespoon of fresh lemon juice or 2 tablespoons of grated Parmesan cheese handy, but for the core roast, those first five items are your non-negotiables.
How to Prepare Garlic Butter Roasted Cauliflower: Step-by-Step
This is where the magic happens, and honestly, it’s so straightforward you’ll feel like cheating. If you’ve ever wondered exactly How to Roast Cauliflower so it actually tastes incredible, pay close attention to these first couple of steps. First things first—preheat that oven way up to 400°F (200°C)! Seriously, don’t put your veggies in until it’s ripping hot. I always line my sheet with parchment paper too; cleanup is a breeze, and I never have to scrub off burnt butter blobs.
Before we even look at the oven, we need to mix up our flavor paste. This is crucial for my Garlic Butter Roasted Cauliflower.
Coating the Cauliflower for Flavorful Cauliflower Sides
In a tiny bowl—the smaller the better so everything gets swirled together nicely—you’re going to melt your 4 tablespoons of butter. Whisk in those 4 cloves of minced garlic, the salt, and the pepper until you have this beautifully fragrant, pale yellow goo. That’s your secret weapon for getting that rich Garlic Butter Vegetables taste!
Toss your cleaned cauliflower florets with just a tiny dribble of olive oil first—this helps the butter stick. Then, pour that whole garlic butter mixture right over the top. Toss it gently but aggressively with your hands until every single floret looks glossy and coated. I mean it—no bare spots allowed if you want maximum flavor!
Roasting Tips for Tender Roasted Cauliflower
Now, listen closely for the key to texture: spread those coated florets onto your baking sheet in a single, lonely layer. If you try to stack them higher than one layer, you’ll end up steaming them, and we are aiming for that crispiness we talked about. We’re shooting for 20 to 25 minutes total in the oven for that perfect sweet spot: Tender Roasted Cauliflower inside with lovely brown spots outside.
About halfway through—say, around the 12-minute mark—pull that tray out and give everything a good stir. This flips the florets so they brown evenly on all sides. This little mid-roast stir is part of the Vegetable Roasting Guide I always share. Once they are tender and nicely kissed by the heat, pull them out and they are ready for their final dressing!
Ingredient Notes and Substitutions for Garlic Butter Roasted Cauliflower
This recipe is incredibly forgiving, which is why I love showing it off. But when it comes to ingredients, a couple of small decisions can really make the difference between good and, well, *amazing*. I always insist on using real, unsalted butter. Margarine just doesn’t give you that rich mouthfeel we’re aiming for in this Buttery Garlic Side Dish.
Regarding the garlic, 4 cloves minced is perfect for a standard head of cauliflower, but you know I always say, follow your heart! If you love garlic as much as I love testing new spices for my Garlic Herb Butter Roasted Chicken, feel free to double it! Or, if you’re in a real pinch and don’t have the fresh stuff, you can absolutely swap in about half a teaspoon of good quality garlic powder mixed right in with your salt and pepper. It’s less vibrant, but it works in a pinch!
And let’s talk about that optional finish. When you pull the pan out, that squeeze of fresh lemon juice is non-negotiable for me. It cuts through the richness of the butter beautifully and brightens up the whole dish. It prevents it from tasting too heavy. If you skip the lemon, you absolutely must use the Parmesan cheese if you have it. Toss that grated goodness on right when it comes out of the oven. The residual heat melts it just slightly, giving you those extra savory, salty bits that are just heavenly!
Variations to Customize Your Garlic Butter Roasted Cauliflower
The beauty of this Garlic Butter Roasted Cauliflower is that it’s a fantastic blank canvas. Seriously, you can go in a million directions once you master the basic roasting technique. Once you realize how easy it is to make these Easy Roasted Vegetables, you’ll start looking for ways to spice things up every time you make them!
The most common ask I get is how to make it even more savory, and that brings us straight to cheese. If you didn’t add it right out of the oven last time, you should absolutely try going for the full flavor fiesta next time. A sprinkle of good quality grated Parmesan cheese, as mentioned before, is the star player here. The combination of salty cheese and rich butter takes this side dish right over the top.
But don’t stop at cheese! Herbs are your best friend for adding dimension. Dried herbs work perfectly fine if you add them before the roasting step, as the heat wakes up their flavor. I often throw in about a teaspoon of dried Italian seasoning along with the salt and pepper right before everything goes into the baking bowl. That totally changes the profile!
For those of you who like a little kick, a pinch of red pepper flakes sprinkled over the butter mixture gives you a nice little warmth on the back end. You could even toss in some smoked paprika for a deeper, earthier tone—though be careful with paprika, as it can burn if you use too much or if your oven runs super hot. These little tweaks turn a simple side into something worth talking about. If you’re looking for ways to use this savory goodness in a bigger meal, check out my recipe for my Roasted Cauliflower and Chickpea Tacos; it’s a total game-changer!
Serving Suggestions for Your Buttery Garlic Side Dish
This is one of those rare side dishes that actually shines next to almost anything you put on the plate. It’s not fussy, but those rich garlic notes elevate whatever it’s sitting beside. If you’re having a big weekend roast like Prime Rib or even my favorite Steak Fajitas, this cauliflower is the perfect counterbalance to the richness.
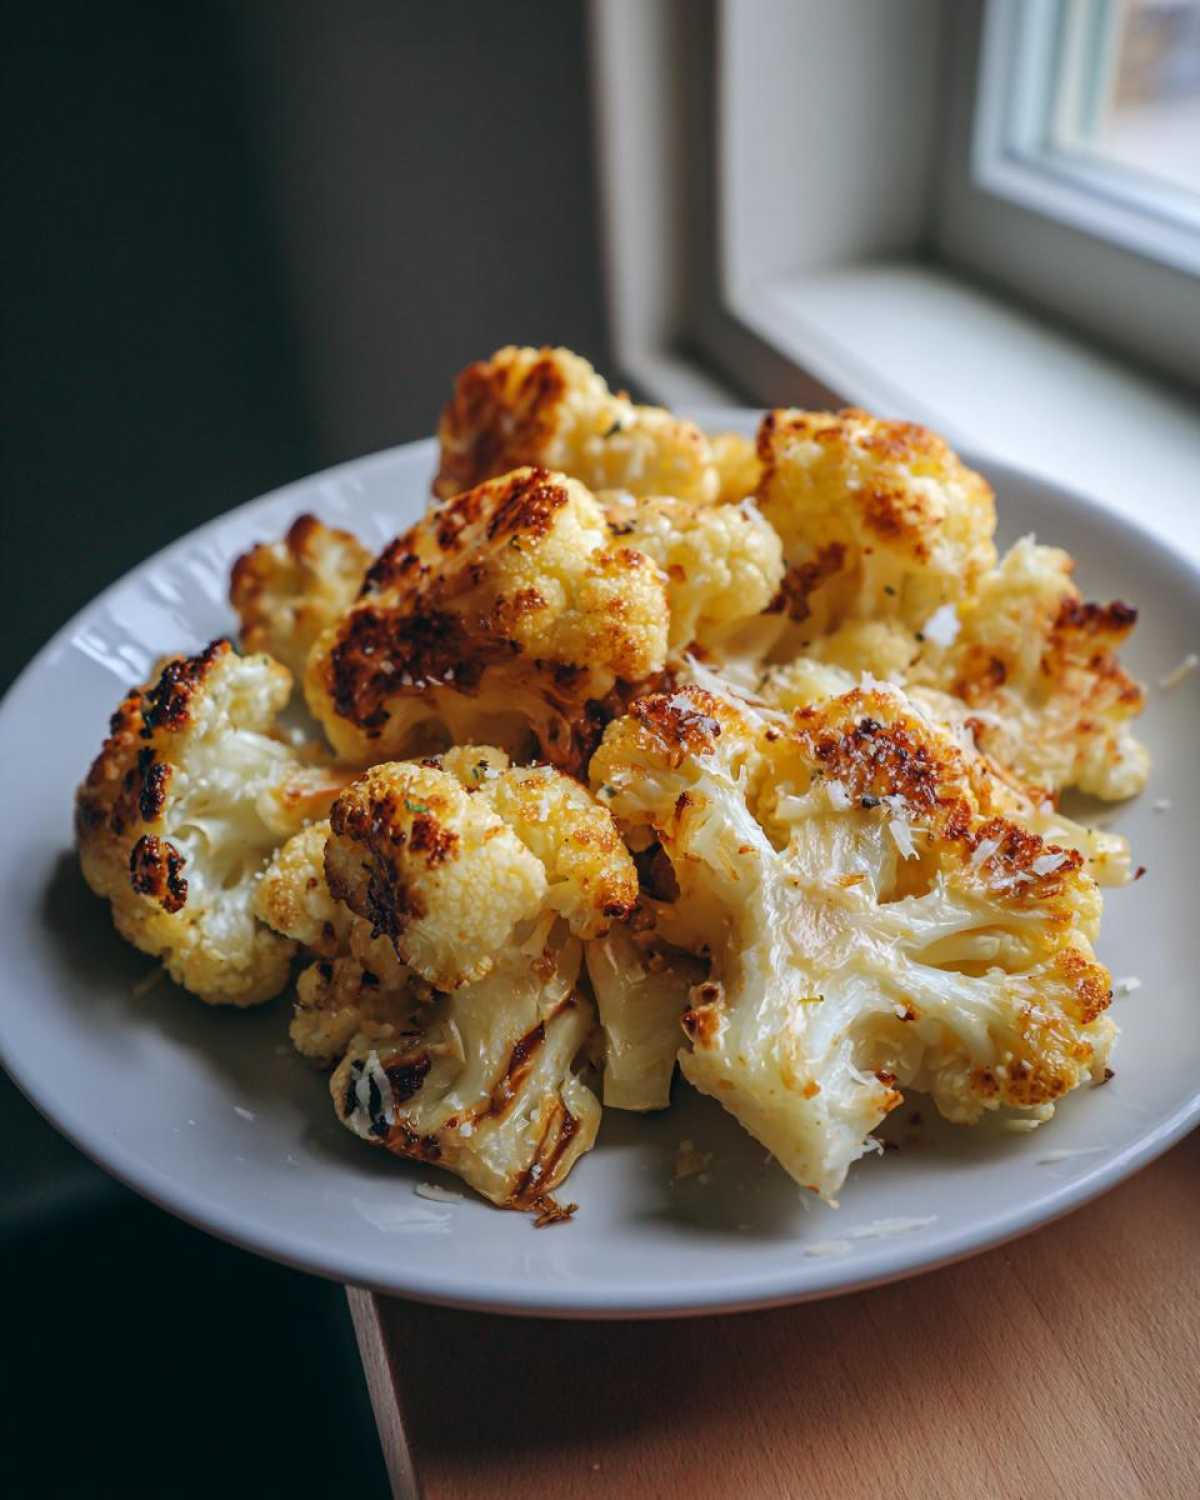
It pairs just as beautifully with lighter fare, though! Think about serving it alongside simple grilled chicken breasts or flaky white fish like cod or halibut. Seriously, if you need a reliable and seriously flavorful Buttery Garlic Side Dish that comes together while your main course is resting, this roasted cauliflower is your answer. It’s just so versatile!
Storage and Reheating Instructions for Garlic Butter Roasted Cauliflower
Now, assuming you actually have leftovers, because this stuff tends to disappear faster than I can make it, you’ll want to know how to store it right! Roasted vegetables are a little tricky because they release steam as they cool, which can make them soggy overnight. So, the first thing you must do is let them cool down just slightly on the counter before putting them away. Don’t seal them in the container while they are still piping hot!
Store the cooled cauliflower in an airtight container in the fridge. If you cooked it perfectly with that crispy exterior, it should last three to four days. They’ll still be delicious, but they won’t have that fresh-out-of-the-oven crunch anymore. That’s just science when dealing with roasted things, you know?
The reheating step is where we bring back the glory! Please, I beg you, skip the microwave if you can. Microwaving that beautiful garlic butter goodness will just make it steaming hot and soft—we worked so hard for that crispiness!
The Best Way to Reheat for That Crispy Finish
If you have an air fryer, that is your absolute best bet for reviving this Garlic Butter Roasted Cauliflower. Throw the leftovers in a single layer inside the basket and run it at about 350°F (175°C) for just 4 to 6 minutes. It crisps up the edges beautifully without drying out the inside. It’s amazing how fast it works!
If you don’t have an air fryer, the oven is the next best thing. Spread those leftovers out onto a fresh baking sheet—again, single layer is key—and pop them back into a preheated oven at about 375°F (190°C). They only need about 8 to 10 minutes, just long enough to reheat thoroughly and get some of that exterior crispness back. You’ll have beautifully reheated, savory, and perfectly Tender Roasted Cauliflower in minutes!
Frequently Asked Questions About Garlic Butter Roasted Cauliflower
Can I use frozen cauliflower for this recipe?
Oh, I totally get the need for speed sometimes, but for this Roasted Cauliflower Recipe, I strongly advise against using frozen cauliflower if you can help it. Frozen vegetables release so much water when they hit the heat, and that steam is the enemy of crispiness! If you absolutely *must* use frozen, you need to thaw it completely first, then pat it bone dry with paper towels. Even then, you might need an extra 5 or 10 minutes in the oven compared to fresh for it to achieve the right texture.
What temperature should I roast cauliflower at for the best result?
For the greatest success in achieving that lovely balance of tender inside and savory, browned exterior, you really need a hot oven! I’ve found that 400°F (200°C) is the sweet spot. This temperature ensures that you get the beautiful caramelization we want for truly Flavorful Cauliflower Sides without burning the garlic butter coating before the inside cooks through. Remember, preheating is non-negotiable!
How can I make this the Crispy Roasted Cauliflower version?
To get that unbeatable crispiness, you have to focus on two things we covered, but here they are combined! First, make sure your garlic butter mixture is evenly coating *every* piece. Second, and this is crucial, spread the cauliflower out on your baking sheet so that none of the florets are touching each other or overlapping. If they are crowded, they steam. If they have space, they roast! Also, making sure your oven is fully preheated helps kickstart the crisping process immediately. If you want even more tips on getting the best texture, check out my general Easy Roasted Vegetables guide!
Can I make this ahead of time?
Yes, this works well as a make-ahead option compared to some other sides. You can definitely roast the entire batch until done, let it cool, and store it in the fridge for up to three days. However, since we love that crispy exterior, I find it tastes best when reheated gently in an oven or air fryer rather than just eating it cold. It’s a great way to prep ahead for a busy night!
Nutritional Snapshot of This Flavorful Cauliflower Side Dish
I know some of you lovely cooks out there keep a close eye on the macros, and since this is such an Healthy Roasted Cauliflower option, I wanted to share what the numbers look like if you divide this recipe up into the intended four servings. It’s great knowing you can enjoy this rich, savory side dish without feeling guilty about it!
Keep in mind, these are just estimates because, let’s be honest, I don’t weigh my butter down to the milligram when I’m scraping garlic off the cutting board! These figures are based on the core ingredients—cauliflower, butter, oil, and standard seasoning. If you load up heavily on the Parmesan cheese, those numbers will shift slightly, especially the fat and sodium content.
- Serving Size: 1 serving
- Calories: 110
- Fat: 8g
- Saturated Fat: 4g
- Carbohydrates: 8g
- Protein: 3g
- Fiber: 3g
- Sodium: 350mg
See? Pretty great for being drenched in garlic butter! Since cauliflower is packed with fiber and it’s a wonderful way to get your veggies in, this turns into a fantastic, guilt-free part of any meal. Enjoy every last bite of that buttery goodness!
Print
Garlic Butter Roasted Cauliflower
- Total Time: 35 min
- Yield: 4 servings
- Diet: Vegetarian
Description
A simple recipe for tender, savory cauliflower roasted with a rich garlic butter coating.
Ingredients
- 1 large head cauliflower, cut into florets
- 4 tablespoons unsalted butter, melted
- 4 cloves garlic, minced
- 1/2 teaspoon salt
- 1/4 teaspoon black pepper
- 1 tablespoon olive oil
- 1 tablespoon fresh lemon juice (optional)
- 2 tablespoons grated Parmesan cheese (optional)
Instructions
- Preheat your oven to 400°F (200°C). Line a large baking sheet with parchment paper for easy cleanup.
- In a small bowl, combine the melted butter, minced garlic, salt, and pepper. Mix well.
- Place the cauliflower florets in a large bowl. Drizzle with olive oil and toss to coat lightly.
- Pour the garlic butter mixture over the cauliflower. Toss everything together until all florets are evenly coated.
- Spread the coated cauliflower in a single layer on the prepared baking sheet. Do not overcrowd the pan; use two sheets if necessary for better crisping.
- Roast for 20 to 25 minutes, stirring halfway through, until the cauliflower is tender inside and lightly browned and crispy on the edges.
- Remove from the oven. If using, immediately toss with fresh lemon juice and grated Parmesan cheese. Serve hot.
Notes
- For extra crispiness, ensure your oven is fully preheated before placing the cauliflower inside.
- If you prefer a stronger garlic flavor, add 1/2 teaspoon of garlic powder to the butter mixture.
- Parsley or dried Italian herbs can be added with the Parmesan for color and flavor.
- Prep Time: 10 min
- Cook Time: 25 min
- Category: Side Dish
- Method: Roasting
- Cuisine: American
Nutrition
- Serving Size: 1 serving
- Calories: 110
- Sugar: 3
- Sodium: 350
- Fat: 8
- Saturated Fat: 4
- Unsaturated Fat: 4
- Trans Fat: 0
- Carbohydrates: 8
- Fiber: 3
- Protein: 3
- Cholesterol: 15



Comments are closed.