

Hey there, fellow food adventurers! Alexander here, and I’m so excited to dive into something that’s become a real favorite in my kitchen: homemade ginger kombucha. If you’re looking for a bubbly, healthy, and incredibly flavorful drink, you’ve come to the right place. Making your own kombucha, especially with that lovely kick of ginger, is way easier than you might think, and the results are just fantastic. It feels like magic turning simple ingredients into this effervescent goodness!
My love for food really started back in my uncle’s bustling Texas restaurant. I was just a kid, but I was hooked watching him create deliciousness. He taught me that food is about passion and bringing people together. That feeling is exactly what I wanted to bring to Forkful Heaven.
Over the years, I’ve experimented with all sorts of recipes, and homemade ginger kombucha is one of those things that just brings me joy. It’s healthy, refreshing, and knowing I made it myself makes it even better. Let’s get brewing!
Why Make Your Own Ginger Kombucha?
So, why bother making ginger kombucha at home when you can just grab a bottle from the store? Well, let me tell you, the difference is huge! It’s not just about saving a few bucks, though that’s a nice perk too.
- You get total control over what goes into your brew. No weird additives or excessive sugar.
- You can make it just the way you like it. Want more ginger kick? Add more! Prefer it less fizzy? Shorten the second fermentation.
- It’s a fun process that connects you to your food. Watching the magic happen is pretty cool.
- Plus, you get all those potential health benefits often linked with fermented drinks and ginger. It feels good knowing you’re sipping on something natural and good for you.
Making your own ginger kombucha is empowering, delicious, and totally worth the little bit of effort.

Gathering Your Ingredients for Delicious Ginger Kombucha
Alright, let’s talk ingredients! Making your own ginger kombucha doesn’t require a long shopping list. You just need a couple of key things to get that bubbly, spicy goodness going. Think of it as building blocks for your fantastic drink.
Getting good quality ingredients makes all the difference in the final flavor. Fresh is always best, especially when it comes to that ginger!
Essential Ingredients for Ginger Kombucha Success
Here’s exactly what you’ll need for your batch of ginger kombucha:
- 1 gallon brewed kombucha (This should be from your first fermentation, ready for F2.)
- 1-2 inches fresh ginger, peeled and thinly sliced (You can adjust the amount here. More ginger means more zing!)
That’s it! Simple, right? Now you’re ready for the next step.
Your Equipment for Crafting Ginger Kombucha
You don’t need a fancy setup for making ginger kombucha. Most likely, you already have what you need in your kitchen. Here’s a quick rundown of the basic tools that will help you create your bubbly brew.
- Clean, sealable bottles or jars (Swing-top bottles are great for carbonation!)
- A funnel (Makes pouring much easier and less messy.)
- A strainer (For removing the ginger after fermentation.)
Keeping everything clean is key when you’re working with fermentation, so make sure everything is sparkling!
Step-by-Step Guide to Making Ginger Kombucha
Okay, let’s get to the fun part – actually making your ginger kombucha! This is where we take that finished first fermentation kombucha and give it that wonderful ginger flavor and those delightful bubbles. It’s a process that’s pretty straightforward once you get the hang of it.
Follow these steps, and you’ll be sipping on your own homemade ginger kombucha in no time. Remember, patience is a virtue in brewing!
Preparing Your Brew for Ginger Kombucha
The first step is getting your finished kombucha ready for its flavor infusion. You’ve already done the hard work of the first fermentation. Now, it’s time to add the ginger!
- Make sure your first fermentation is complete. Your kombucha should taste slightly vinegary and less sweet.
- Peel and thinly slice your fresh ginger. I like to cut it into little coins or even smaller pieces. The thinner the slices, the more surface area for flavor.
- Carefully place the sliced ginger into your clean, sealable bottles or jars. I usually put a few slices in each bottle, depending on how much ginger flavor I want.
- Using a funnel, gently pour your finished first fermentation kombucha into the bottles with the ginger. Leave about an inch or two of headspace at the top of each bottle. This is important for carbonation!
Now, you’re ready for the magic of the second fermentation.
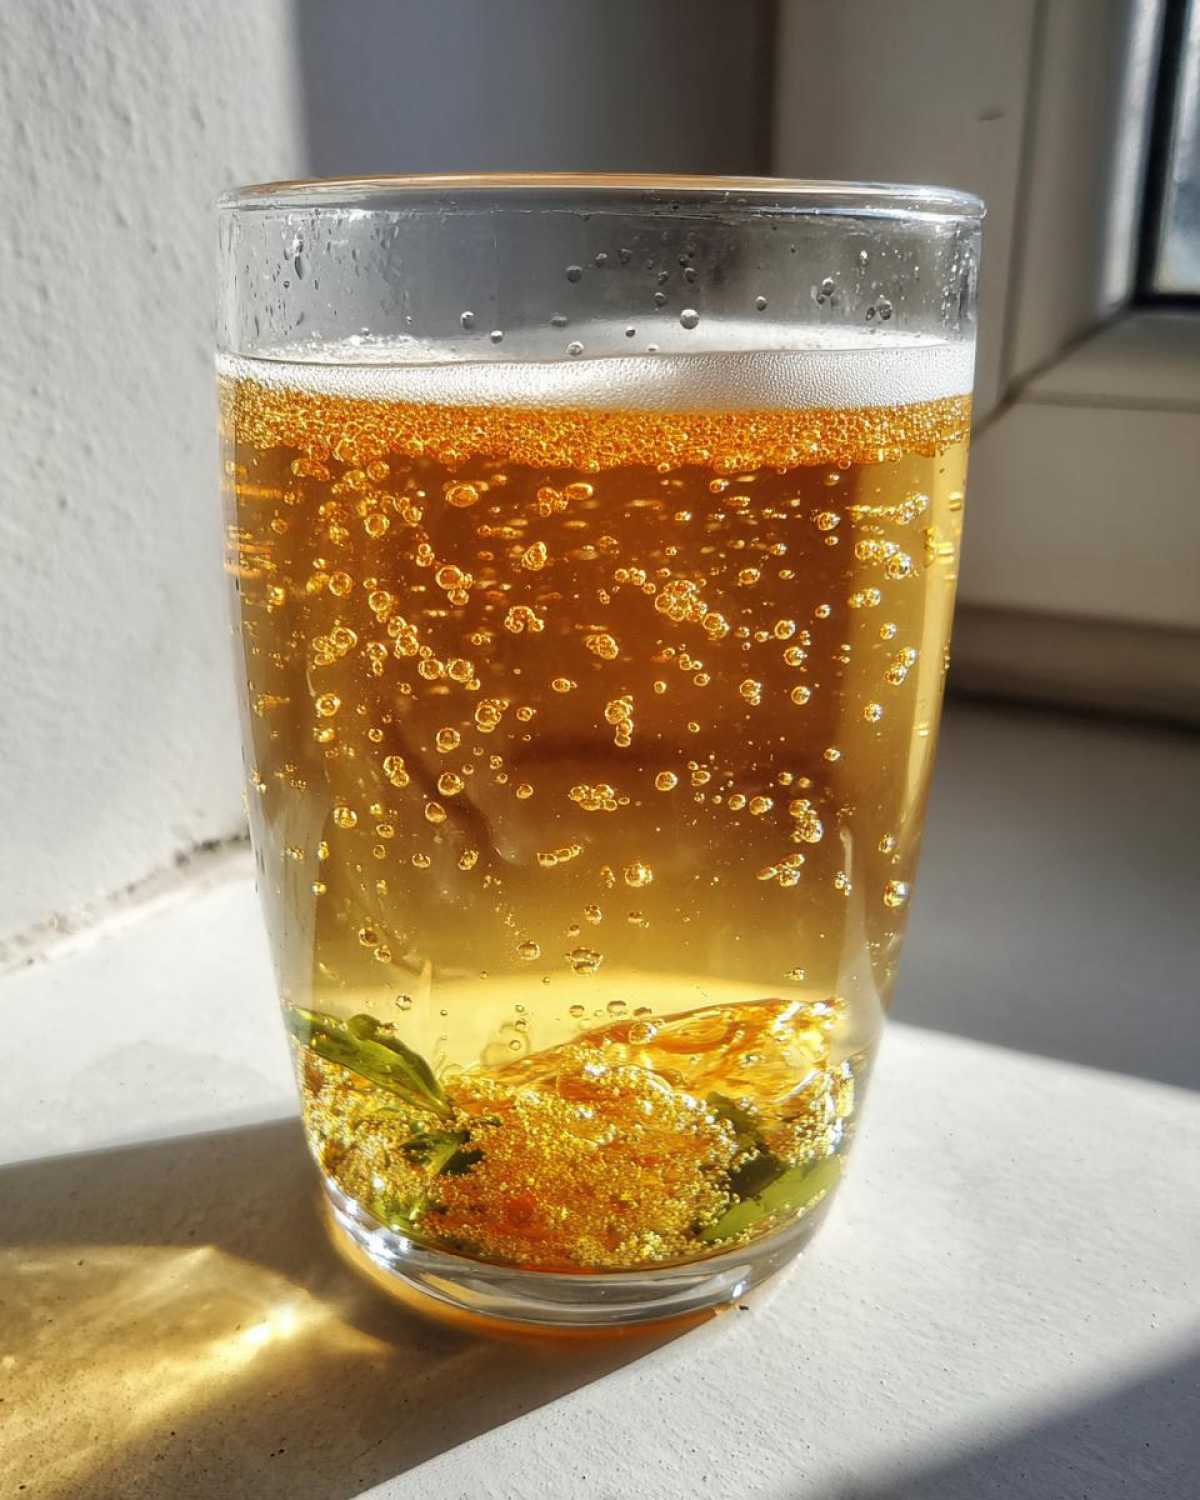
The Second Fermentation for Perfect Ginger Kombucha
This is where your ginger kombucha gets its fizz! The sugar remaining in the kombucha feeds the yeast, which produces carbon dioxide. The sealed bottle traps this gas, creating those lovely bubbles.
- Seal your bottles tightly. Swing-top bottles are great because they create a really good seal.
- Place the sealed bottles at room temperature, away from direct sunlight. I usually put mine on a counter in my kitchen.
- Let the kombucha ferment for an additional 1 to 3 days. This is called the second fermentation, or F2.
- Check for carbonation daily by gently tilting a bottle or carefully opening one over a sink (just in case it’s super fizzy!). You’ll see bubbles forming.
- Once you’re happy with the fizz level, it’s time to move on.
Be cautious when opening those carbonated bottles! Sometimes they can be quite enthusiastic.
Finishing Touches for Your Homemade Ginger Kombucha
You’re almost there! Just a couple more steps before you can enjoy your delicious ginger kombucha.
- Once your kombucha has reached your desired carbonation, carefully strain out the ginger slices. You can use a fine-mesh strainer or pour it through cheesecloth.
- Discard the used ginger.
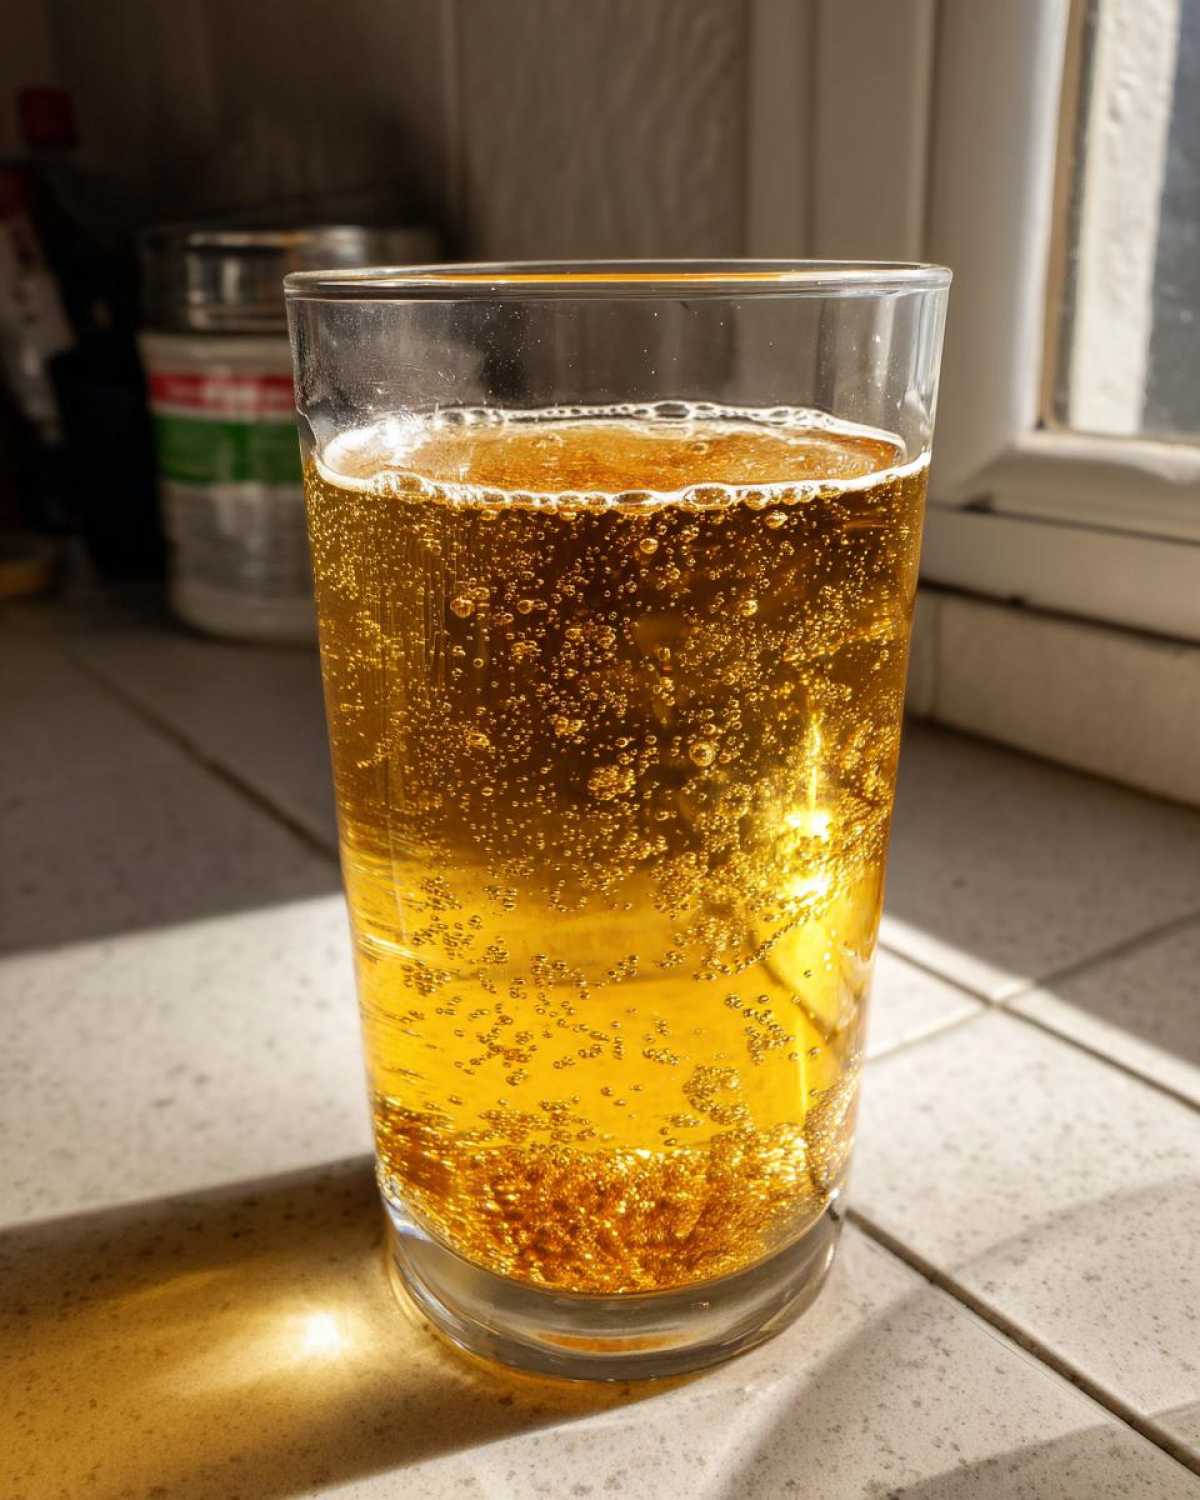
- Put the strained ginger kombucha in the refrigerator. Chilling it slows down the fermentation process and makes it taste so much better!
- Let it chill for at least a few hours before serving. The cold helps the carbonation dissolve into the liquid, making it even fizzier.
And there you have it – your very own homemade ginger kombucha, ready to be enjoyed!
Tips for Achieving the Best Ginger Kombucha
Making great ginger kombucha is pretty simple, but a few little tricks can make it even better. I’ve learned these through trial and error in my own kitchen!
- Go for fresh ginger. That powdered stuff just won’t give you the same vibrant flavor.
- Temperature matters. Your F2 will go faster in a warmer spot. If it’s cooler, it might take an extra day or two.
- Don’t over-ferment. Too long in F2 can lead to explosive bottles and a very vinegary taste. Check it daily!
- Burp your bottles. If you’re worried about too much fizz, you can carefully open the bottles for just a second to release some pressure.
Paying attention to these small details will help you get that perfect ginger kombucha every time.
Variations and Serving Suggestions for Your Ginger Kombucha
One of the best parts about making ginger kombucha at home is how easy it is to play around with the flavors! You’re not stuck with just plain ginger if you don’t want to be.
Try adding a squeeze of fresh lemon or lime juice before the second fermentation for a citrusy twist. Or how about a few berries? Raspberries or blueberries pair wonderfully with ginger. Serve your finished ginger kombucha chilled, maybe over ice, and enjoy that refreshing fizz!
Frequently Asked Questions About Ginger Kombucha
I get a lot of questions about making ginger kombucha, especially from folks who are new to the process. It’s totally normal to have questions when you’re fermenting at home! Here are some of the most common ones I hear.
Don’t be shy about asking if something isn’t clear. We’re all learning here!
Can I Use Ground Ginger for Ginger Kombucha?
This is a great question! While you technically *could* use ground ginger, I really don’t recommend it for ginger kombucha. Ground ginger can make your kombucha cloudy and can be tricky to strain out completely. Fresh ginger slices give you a cleaner flavor and a clearer drink. Stick with fresh for the best results!
How Do I Know When My Ginger Kombucha is Ready?
Knowing when your ginger kombucha is ready is mostly about taste and carbonation. After 1-3 days in the sealed bottle, gently tilt one to see if bubbles are forming. You can also carefully open a bottle over a sink to check the fizz level. It should be bubbly and have that nice ginger flavor. Trust your senses!
Is Homemade Ginger Kombucha Safe to Drink?
When done correctly, homemade ginger kombucha is generally safe. Keep everything very clean to prevent unwanted mold. If you see any fuzzy mold (not just stringy bits from the SCOBY), unfortunately, you need to toss that batch. Follow the steps carefully, and you should be fine.
Estimated Nutritional Information for Ginger Kombucha
Now, I know many of you are curious about the nutrition side of things when it comes to homemade ginger kombucha. It’s a good question to ask!
Because you’re making this yourself, the exact nutritional values can vary quite a bit. Things like how much sugar was used in the first fermentation and how long you fermented it in the second fermentation will affect the final numbers.
Think of the information below as a general estimate. It’s based on typical homemade kombucha, but it’s not a precise measurement for your specific batch. Always remember that fermentation changes the sugar content!
Just enjoy your delicious ginger kombucha knowing you made a natural, refreshing drink.
Share Your Ginger Kombucha Creations
I absolutely love seeing what you create in your kitchens! If you give this ginger kombucha recipe a try, please let me know how it turns out. Leave a comment below and tell me about your experience. Did you try any variations? How did your F2 go?
Your feedback helps me and other home cooks too! Happy brewing, and I can’t wait to hear about your bubbly success!
Print
Powerful Ginger Kombucha You Must Brew At Home
- Total Time: 5 minutes prep + 1-3 days fermentation
- Yield: 1 gallon
- Diet: Vegan
Description
Make your own refreshing and healthy ginger kombucha at home.
Ingredients
- 1 gallon brewed kombucha
- 1-2 inches fresh ginger, peeled and thinly sliced
Instructions
- Brew your kombucha as usual and complete the first fermentation.
- Prepare your ginger by peeling it and slicing it thinly. The amount of ginger can be adjusted to your preference for a stronger or milder flavor.
- Add the sliced ginger to a clean, sealable bottle or jar.
- Pour the finished kombucha from the first fermentation into the bottle with the ginger, leaving some headspace at the top.
- Seal the bottle tightly.
- Allow the kombucha to ferment at room temperature for an additional 1-3 days. This is the second fermentation (F2). Check for carbonation by gently tilting the bottle.
- Once desired carbonation is reached, strain out the ginger slices.
- Chill the ginger kombucha in the refrigerator before serving.
Notes
- Use high-quality fresh ginger for the best flavor.
- Adjust the amount of ginger to your taste.
- The length of the second fermentation depends on the temperature and your desired level of carbonation.
- Be cautious when opening carbonated bottles.
- Prep Time: 5 minutes
- Cook Time: Not Applicable
- Category: Beverage
- Method: Fermentation
- Cuisine: Global
Nutrition
- Serving Size: 8 ounces
- Calories: ~30
- Sugar: ~2g
- Sodium: ~5mg
- Fat: 0g
- Saturated Fat: 0g
- Unsaturated Fat: 0g
- Trans Fat: 0g
- Carbohydrates: ~7g
- Fiber: 0g
- Protein: 0g
- Cholesterol: 0mg

Comments are closed.