
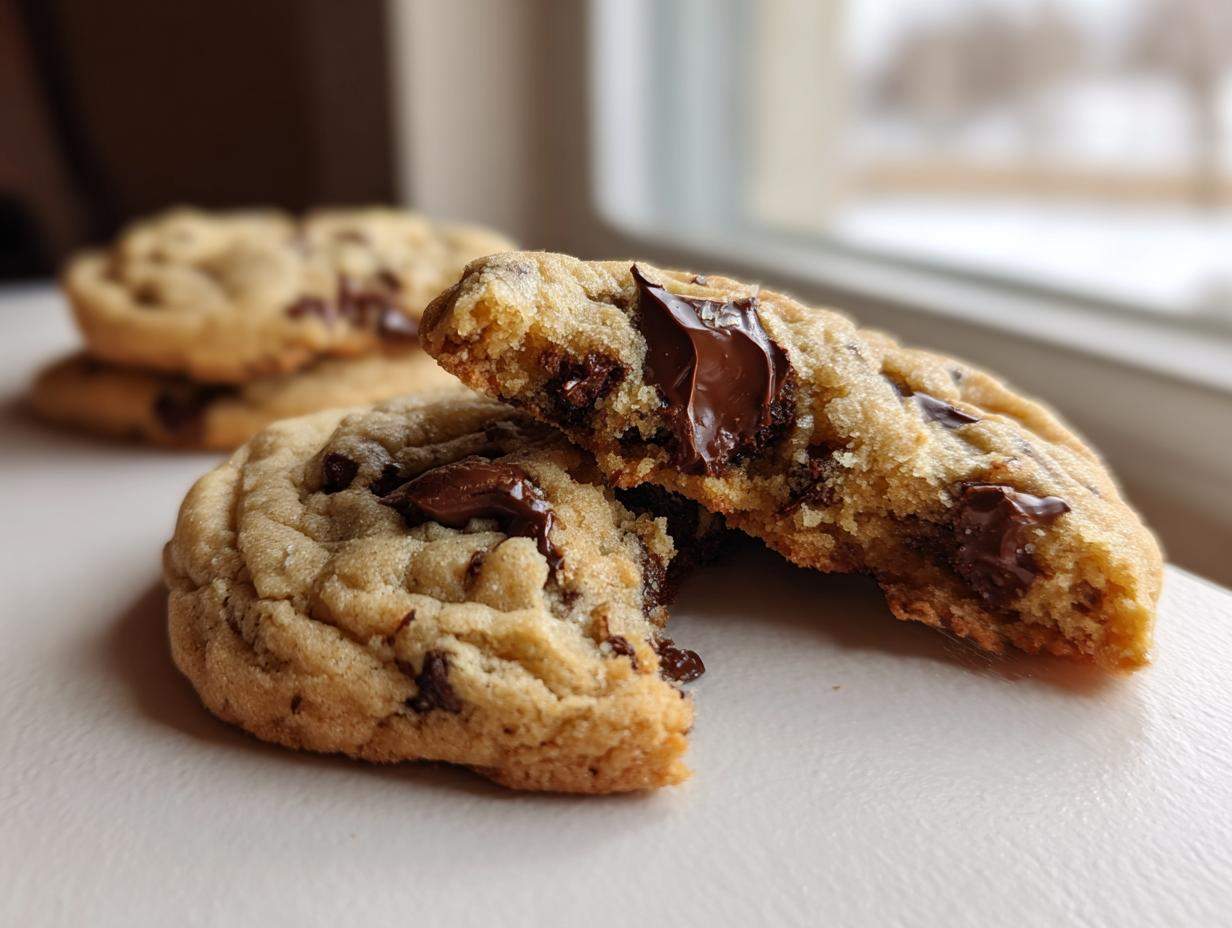
I swear, there is nothing quite like walking into a high-end bakery and seeing those perfectly thick, golden-edged chocolate chip cookies staring back at you. For years, I tried everything—more flour, less sugar, swapping fats—only to end up with sad, flat discs that spread out like pancakes. It was honestly frustrating! But folks, I finally cracked the code on making the ultimate thick, chewy, bakery-style homemade chocolate chip cookies right here in my own kitchen. So many variables finally clicked into place! If you want that gorgeous bakery look with centers so gooey they practically sigh when you bite in, you’re in the absolute right place. I learned the hard way so you don’t have to fuss endlessly, and I promise these results are foolproof. You can find some of those initial disaster tips in my guide over at my cookie secrets post, but this recipe? This one is the real deal.
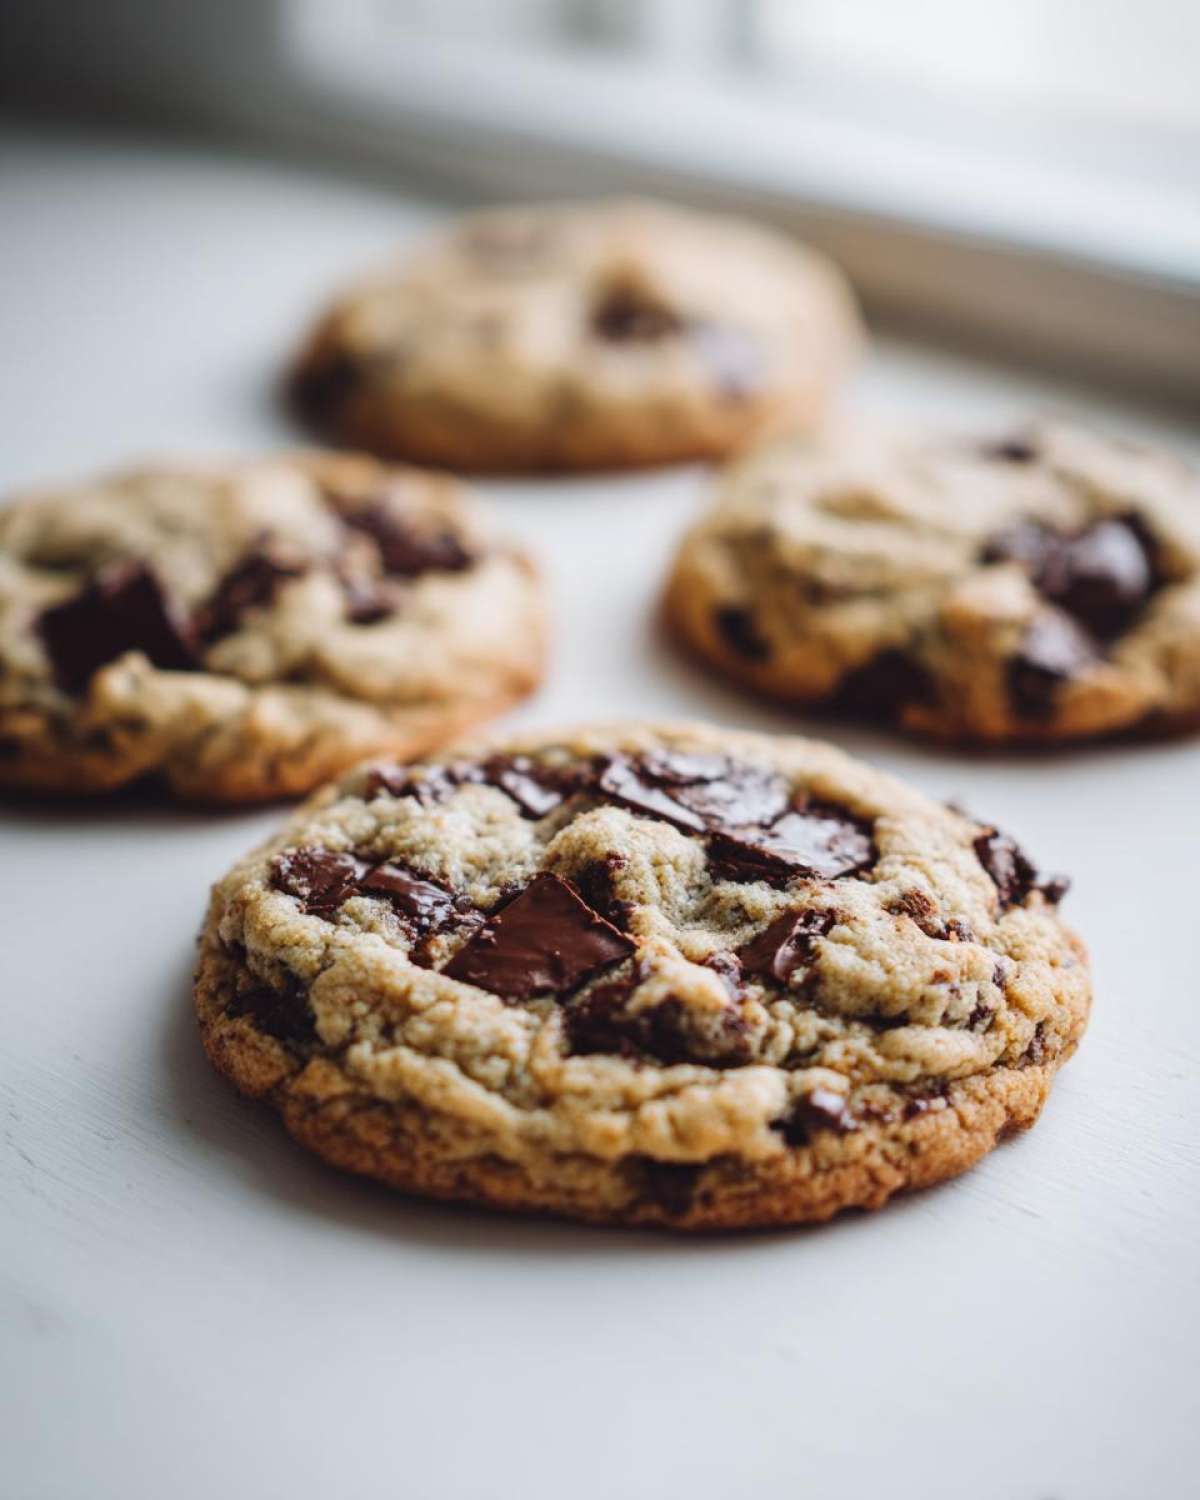
The Secret to Perfect homemade chocolate chip cookies: Ingredient Breakdown
You can’t fake a great cookie, right? It all comes down to what you put in the bowl, and honestly, these Butter Based Cookies need a little attention paid to their specific needs. We aren’t just throwing things in! We need specific temperatures and ratios to get those crispy edges guarding those glorious, gooey centers we all crave. It’s the balancing act between the sugars and the type of fat that makes this recipe sing. I talk a bit more about the science behind the spread in my main tips article over at my cookie secrets post, so take a peek if you’re getting curious!
Essential Ingredients for Thick homemade chocolate chip cookies
Here is what you need to have on hand before you even think about turning on the mixer. Don’t worry about finding specialty items; most of this is probably in your pantry already. Trust me, these measurements are spot on for that bakery look:
- 1 cup (2 sticks) unsalted butter, softened—and I mean *cool* soft, not melty soft!
- 3/4 cup granulated sugar
- 3/4 cup packed light brown sugar
- 2 large eggs
- 1 tablespoon vanilla extract
- 2 1/4 cups all-purpose flour
- 1 teaspoon baking soda
- 1/2 teaspoon salt
- 1 1/2 cups semi-sweet chocolate chips
Having everything measured out—what we old-school bakers call mise en place—makes the whole process so much smoother, especially when you need to move fast later on!
Ingredient Notes and Substitutions for Your homemade chocolate chip cookies
My biggest rule here involves the butter. If your butter is too warm or melted, the cookies will spread too thin before the structure can set up in the oven. We are aiming for soft but cool. Also, see how we use both sugars? The granulated sugar helps with those lovely Crispy Edge Cookies, while that packed brown sugar is responsible for most of the incredible chewiness.
If you want to make these even *chewier* and deepen the caramel flavor, try swapping out half of your granulated sugar for another half-cup of brown sugar. Just be mindful that this might also make them spread a tiny bit more, so chilling then becomes even more critical!
Step-by-Step Instructions for Bakery Style homemade chocolate chip cookies
Now we get to the fun part—actually mixing these beauties! Honestly, the process is super straightforward, but the timing is everything if you want those gorgeous, thick cookies. Don’t rush the creaming or the chilling; those two steps are the keys to unlocking that perfect texture! If you need other fast baking ideas after this batch, I have a super simple easy muffin recipe you might enjoy.
Preparing the Wet and Dry Bases for your homemade chocolate chip cookies
First things first, make sure your oven is humming along at 375 degrees Fahrenheit, and you’ve lined those sheets with parchment paper. That parchment is my secret weapon for cleanup, seriously! In your big bowl, we need to cream that cool butter with both sugars until it looks pale and super fluffy—that usually takes about three solid minutes with my electric mixer. Then, one by one, beat in those eggs, making sure each one is fully incorporated before adding the next, followed by that tablespoon of vanilla. While that’s happening, grab a separate bowl and give your flour, baking soda, and salt a quick whisk together. When you mix the dry into the wet, turn your mixer down low and stop mixing the second you see no more streaks of flour. I mean it! Overmixing builds gluten, and gluten makes tough cookies, not the Gooey Center Cookies we’re after.
Achieving the Gooey Center Cookies: Dough Chilling for homemade chocolate chip cookies
Okay, here’s where a lot of people mess up the Thick Cookies Recipe—they skip this part! Once the chocolate chips are stirred in by hand, pop that precious dough into the fridge for at least 30 minutes. If you bake it right away, wow, will they spread out flat! Chilling solidifies the fat, meaning the cookies hold their shape better when they hit the hot oven, which gives you that bakery look.
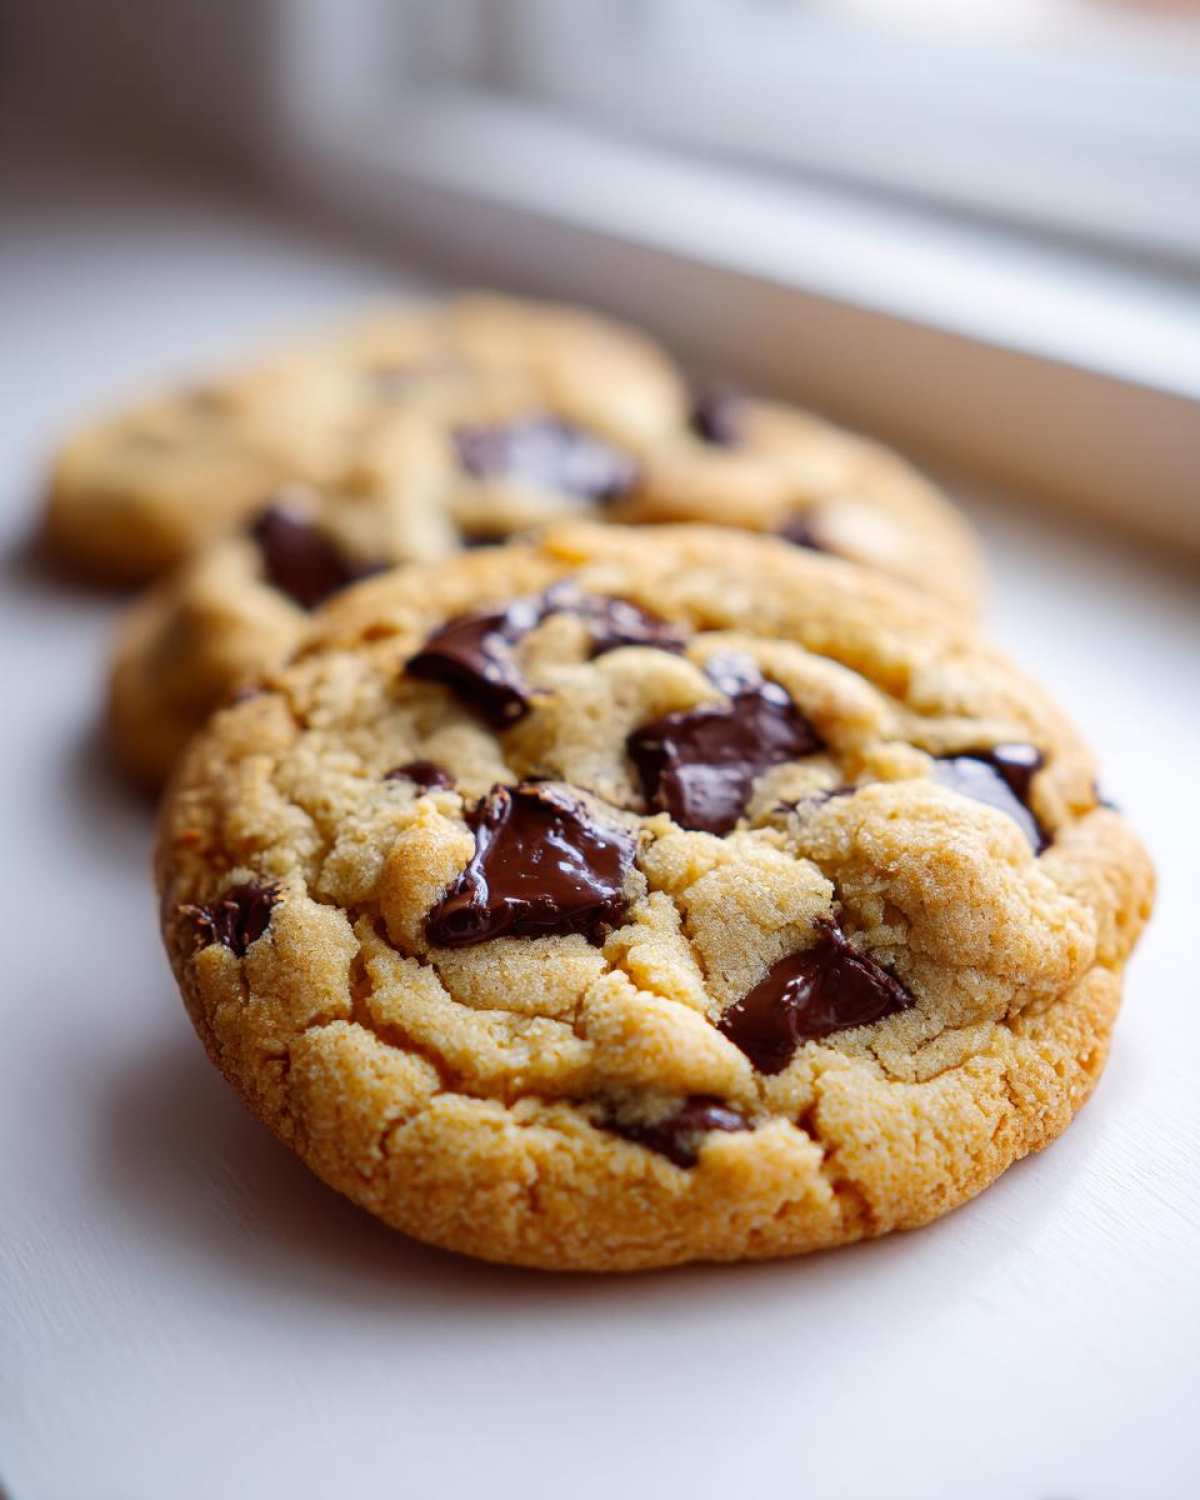
Trust me on the chill time; even 30 minutes makes a huge visual difference compared to baking it warm. You want thick, right? Give it the time it needs!
Baking for Crispy Edge Cookies and Perfect Cookie Texture
Once chilled, grab rounded tablespoons of dough—don’t make them too big—and drop them about two inches apart on your prepared sheets. Now, we bake for the magic window: 9 to 12 minutes. You are looking for the edges to look beautifully golden brown, but the very center should still look a little undone, almost wet. That slightly underbaked look is what guarantees those fantastic soft centers later! When they come out, the hardest part starts: let them sit right there on the hot baking sheet for a full five minutes. They keep setting up during this time, firming up those edges while the center finishes cooking gently. Then, and only then, move them to a wire rack!
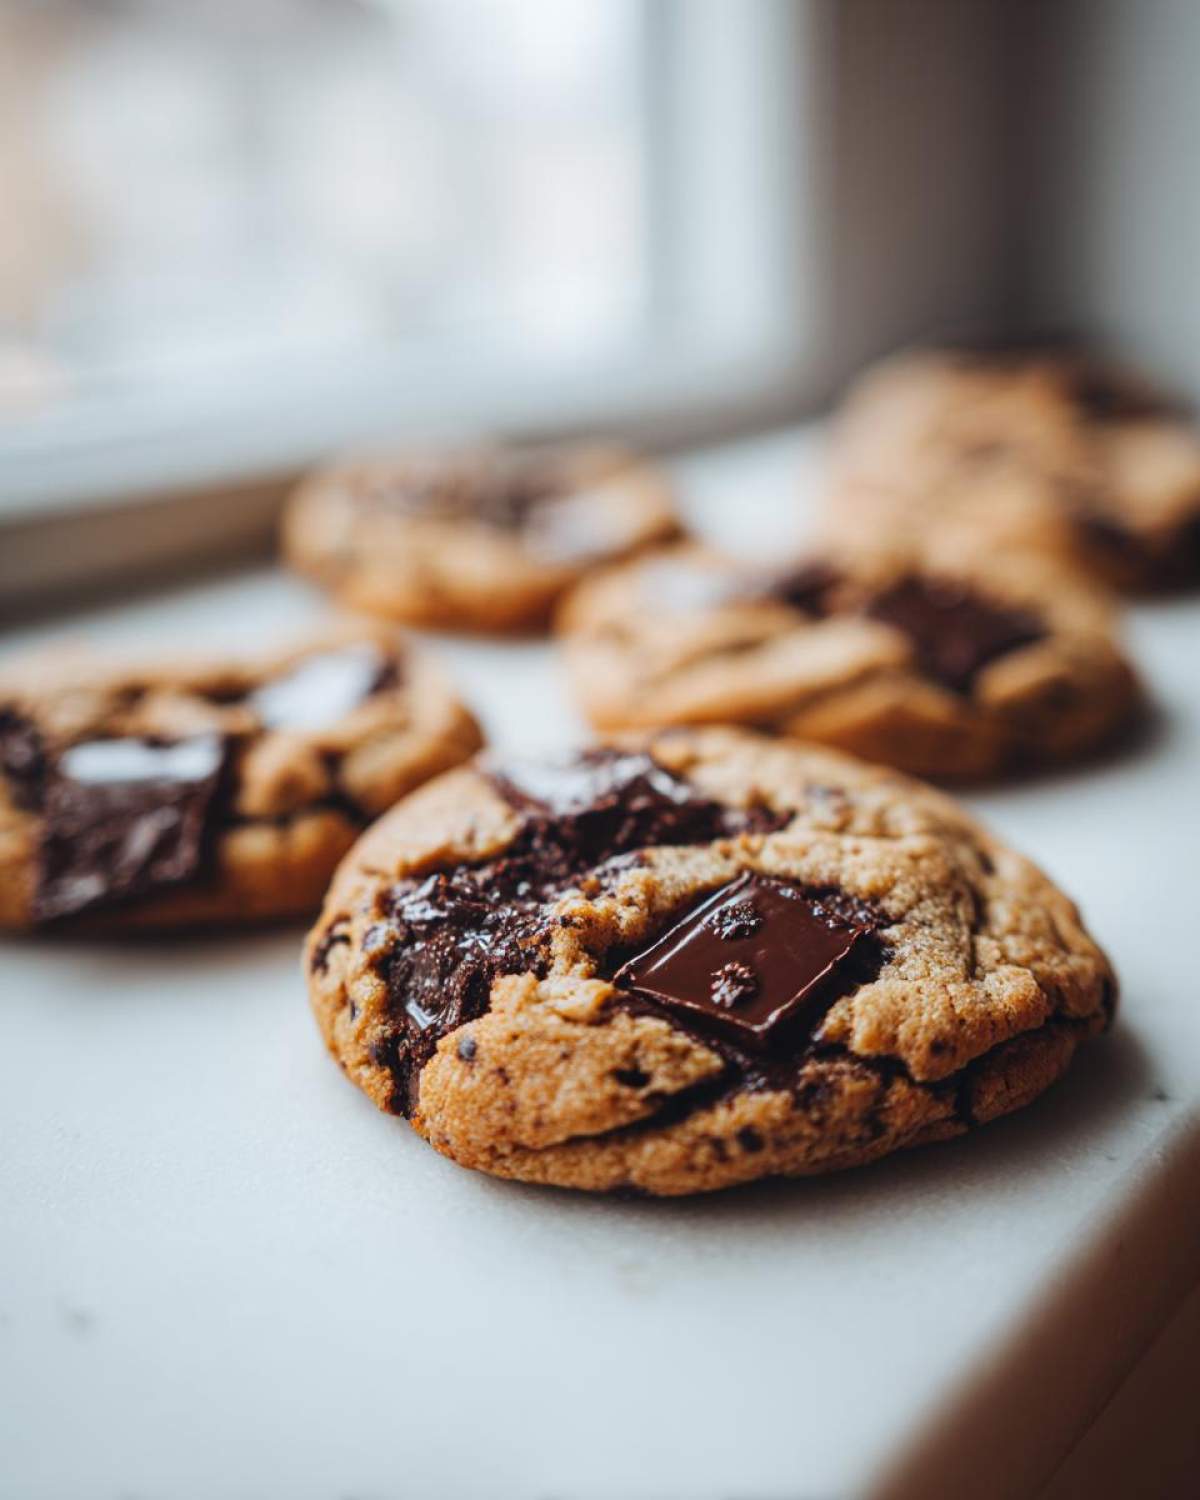
Tips for Success with homemade chocolate chip cookies
You’ve got the recipe, but let’s talk about nailing that Perfect Cookie Texture every single time. Remember, even though this process is easy, the details matter here. If your cookies always turn into thin puddles, I bet your butter was too warm. Always use butter that’s soft enough to dent but still feels cool to the touch. Too warm, and they spread before they set up!
Also, never underestimate the power of slightly underbaking. If you wait until the centers look completely dry in the oven, they’ll be hard as rocks five minutes later on the counter. Pull them when the edges look done, and trust the residual heat to finish cooking on that hot pan. That quick rest while they set is crucial for getting those beautiful results you can see in the photos!
When you need an extra thick cookie, drop the dough balls and then just gently press the top down slightly with your thumb before baking. That’s all you need to flatten them just enough. You can read more about handling butter the right way over at my cookie secrets post!
Storage & Reheating Instructions for your homemade chocolate chip cookies
One of the best things about this recipe is that they taste just as amazing the next day—if they even last that long, that is! For room temperature storage, you want to keep them fresh and maintain that wonderful chewiness. Don’t seal them up hot, though! Let them cool completely on the rack first, or you’ll create steam and get soggy bottoms, and nobody wants that.
Once they are totally cool, stack them in an airtight container. I usually put a small piece of wax or parchment paper between layers just to make sure they don’t stick together, especially if it’s warm where you live. They should stay perfectly fresh and chewy on the counter for about four or five days. Don’t even think about sticking them in the fridge; that just dries them out prematurely!
Now, for the survival tactic: reviving that Gooey Center Cookies feeling. If yours have firmed up a bit after a day or two, take one cookie and microwave it for about 8 to 10 seconds. Seriously, that short blast melts those chocolate chips perfectly and makes the cookie soft again. They come out tasting like they just left the oven. It’s pure magic for a quick afternoon treat!
Variations for your homemade chocolate chip cookies
The beauty of mastering the Classic Chocolate Chip Cookies base is that once you have the thickness and chew down, you can tweak the extras without ruining the texture—which is the hardest part, trust me! I love experimenting once the dough is ready and before it goes into the fridge. These are my favorite simple swaps that keep the cookie structure perfect.
First off, let’s talk about the chocolate itself. If you’re feeling fancy, swap out half of those semi-sweet chips for bittersweet chocolate chunks or discs. The chunks don’t melt quite as flatly as chips, so they give you those wonderful little pools of melted chocolate throughout the cookie. It makes them look even more like they came from a fancy bakery!
Another must-try is finishing salty sweetness. Once you drop the dough balls onto the parchment (before chilling or baking), grab some flaky sea salt—like Maldon—and sprinkle just a tiny pinch right on top of each dough ball. It sounds small, but that little pop of salt cuts through the richness and really highlights the caramel flavor from the brown sugar. It elevates them instantly!
If you need a little crunch, I highly recommend adding some nuts, but be careful not to overdo it. About a half-cup of roughly chopped walnuts or pecans mixed in with the chocolate chips works great. Just make sure they are roughly chopped so they don’t throw off the distribution of the dough. If you’re looking for more nutty inspiration beyond chocolate chips, you should check out my tips on making tender peanut butter cookies; pecans are a great addition there too!
Serving Suggestions for Classic Chocolate Chip Cookies
Honestly, once these American Classic Cookies come out of the oven, they are delicious all on their own. That contrast between the crispy edge and the warm, gooey interior is perfection! But if you’re serving them warm, you absolutely have to have a tall glass of ice-cold milk nearby. It’s the ultimate pairing, no contest.
If you’re serving these as a proper dessert, make it an ice cream sandwich! Take two cookies when they are just slightly warm and sandwich a scoop of really good vanilla bean ice cream between them. For grown-ups, a strong, hot cup of coffee is the perfect balance to all that sweetness.
And hey, if you happen to have some leftover mix from my creamy hot cocoa recipe—because who doesn’t need great hot cocoa on hand?—that works beautifully alongside these cookies on a lazy Sunday afternoon!
Frequently Asked Questions about homemade chocolate chip cookies
I get so many messages asking about tweaks and troubleshooting, and that’s totally normal! Baking is part science and part guesswork, even with foolproof recipes. If your first batch of these homemade chocolate chip cookies didn’t come out looking exactly like they did in the photo, don’t stress! Nine times out of ten, it’s a quick fix. I gathered up the most common things folks ask me about when they’re trying to achieve that elusive Perfect Cookie Texture.
Can I skip chilling the dough for these homemade chocolate chip cookies?
You technically *can*, but oh gosh, please don’t if you’re aiming for the results shown here! If you skip that chilling step, the butter won’t be firm enough when they hit the heat. This means the cookies will melt outwards really fast, and you end up with sad, very thin sheets instead of those beautiful, thick cookies. If you are in a huge hurry, maybe chill for 15 minutes, but trust me, 30 minutes is the minimum rule for a truly great batch of Classic Chocolate Chip Cookies.
What makes these homemade chocolate chip cookies so thick?
That thickness is a combination of two main things in this Easy Chocolate Chip Cookie Recipe. First, it’s the overall ratio of flour to fat—we’re using just enough flour to structure the dough nicely without making it cakey. Second, and most importantly, it’s that mandatory chilling time we just talked about! When the fat is cold, the cookies spread less, holding onto that height. That’s how we achieve the coveted Thick Cookies Recipe appearance!
How do I get the crispy edges and chewy center in my homemade chocolate chip cookies?
This is the real magic trick of the Best Homemade Cookie Recipe! For the crispy edges, you need two things: the right amount of granulated sugar in the dough and making sure you bake them long enough for the edges to turn golden brown. The secret for the center, though, is pulling them out a minute or two early. They should look slightly unset in the very middle when you take the sheet out of the oven. That heat left in the pan finishes the job, leaving you with those incredible Chewy Chocolate Chip Cookies centers. Don’t overbake them, or everything turns firm!
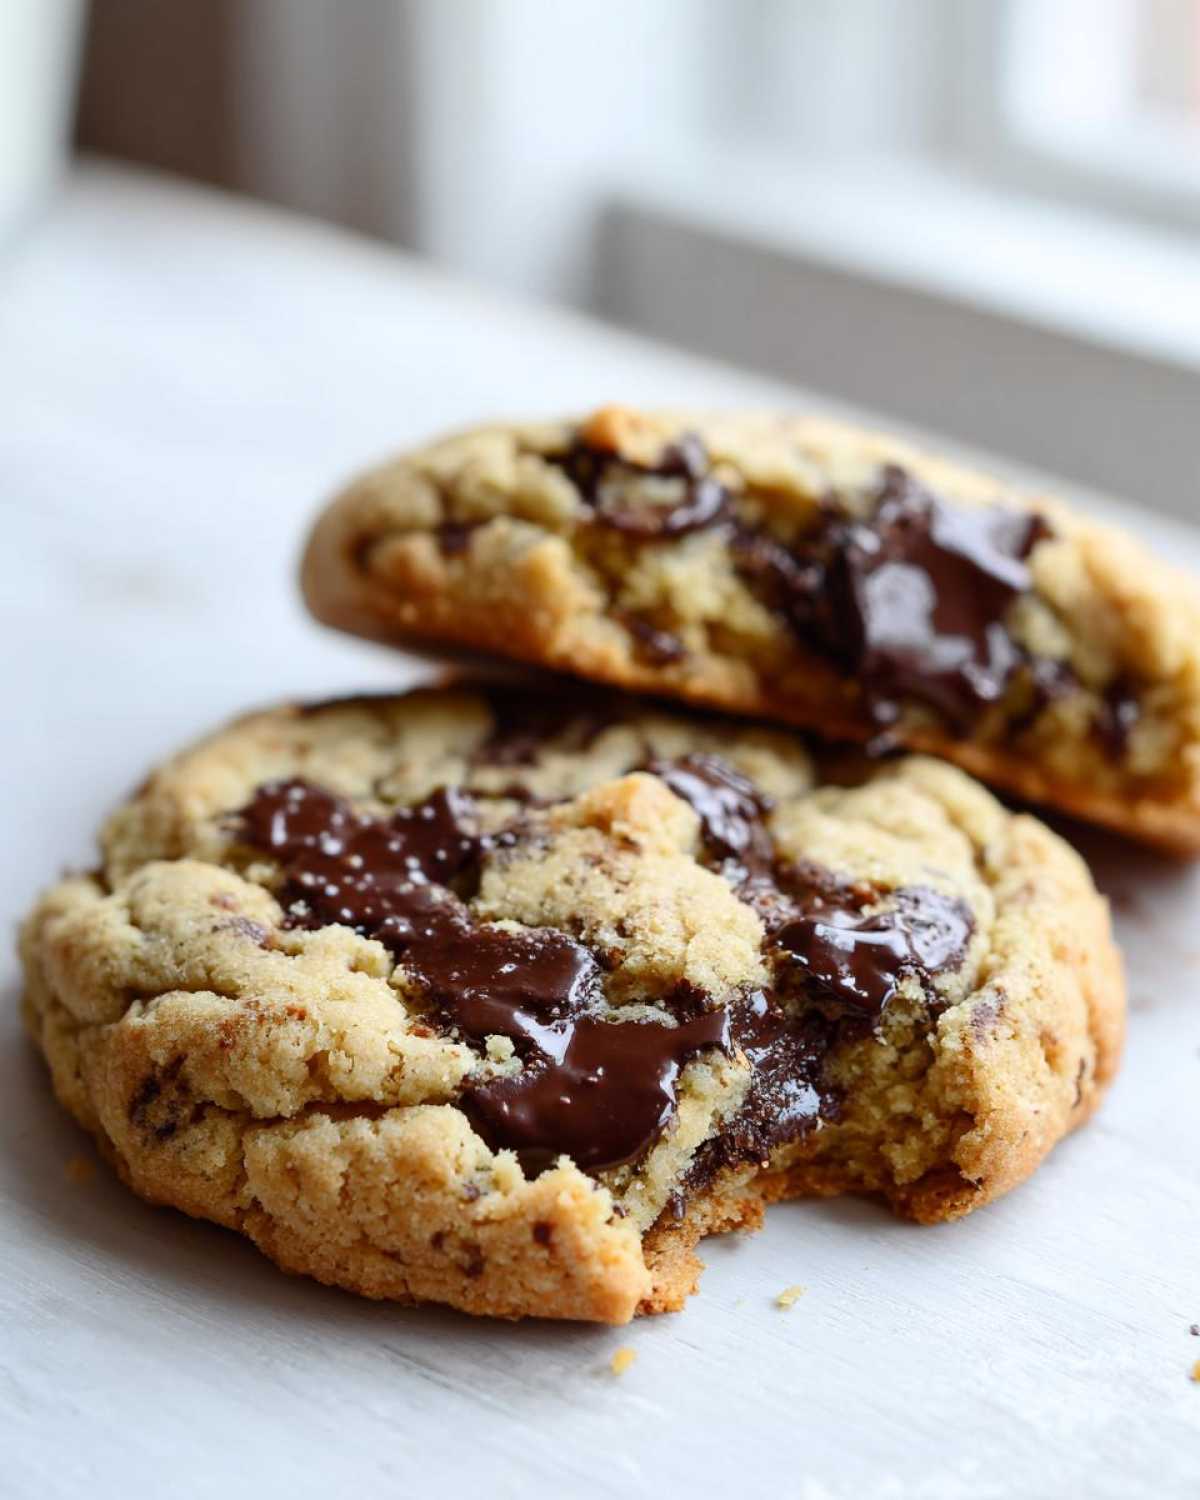
If you’re keen on learning more about how ingredients affect the final structure, I really dug deep into this science over in my post on chocolate chip cookie secrets!
Estimated Nutritional Data for your homemade chocolate chip cookies
Because these are made entirely from scratch using real ingredients, they are definitely a treat, not an everyday snack! But you know what? When something tastes this good, you deserve to know what you’re eating. This nutritional breakdown is an estimate, naturally, based on the recipe yielding 24 cookies, as written above. Everything balances out nicely when you stick to the recipe—it’s hard to mess up the macros too badly when you’re using real butter and good chocolate chips.
It’s always fascinating to see how those basic ingredients turn into something so delicious. Here’s a quick look at what you can generally expect per cookie:
- Serving Size: 1 cookie
- Calories: 180
- Fat: 10g (Split between saturated and unsaturated—remember, we used real butter!)
- Carbohydrates: 23g
- Sugar: 18g (That’s where all the flavor comes from!)
- Protein: 2g
- Cholesterol: 30mg
Take a look, enjoy one (or two!) warm off the cooling rack, and don’t sweat the small stuff. These are meant to be the best homemade chocolate chip cookies you’ve ever made, and that’s worth every single delicious gram!
Share Your Ultimate homemade chocolate chip cookies Creations
Okay, now that you’ve baked a batch of what I truly believe are the ultimate homemade chocolate chip cookies, I absolutely need to know how they turned out for you! Seriously, this is my favorite part of sharing recipes—seeing your successes!
Did you manage to get those perfect, thick centers? Did the edges crisp up just right? I want to hear all about it. Please, take a second to drop a comment below and rate the recipe. Click those stars—I read every single score!
If you made a variation—maybe you tried the sea salt on top, or you swapped in some dark chocolate chunks—please share those details too! We bakers love hearing about successful tweaks to an Easy Cookie Recipe like this. It helps everyone else get those great results too. If you snap a picture, tag me on social media! It always makes my day when one of my recipes ends up being your new go-to Dessert for holidays or just a Tuesday night craving. Happy baking, and enjoy those incredible cookies!
If you’re looking for another great, straightforward bake to try next, check out my guide for an easy cookie recipe—it’s another winner!
Print
Ultimate Thick, Chewy, Bakery-Style Chocolate Chip Cookies
- Total Time: 57 min
- Yield: 24 cookies
- Diet: Vegetarian
Description
Bake thick, chewy chocolate chip cookies with crispy edges using common ingredients and simple steps for reliable, bakery-quality results.
Ingredients
- 1 cup (2 sticks) unsalted butter, softened to cool room temperature
- 3/4 cup granulated sugar
- 3/4 cup packed light brown sugar
- 2 large eggs
- 1 tablespoon vanilla extract
- 2 1/4 cups all-purpose flour
- 1 teaspoon baking soda
- 1/2 teaspoon salt
- 1 1/2 cups semi-sweet chocolate chips
Instructions
- Preheat your oven to 375 degrees Fahrenheit. Line baking sheets with parchment paper.
- In a large bowl, cream together the softened butter, granulated sugar, and brown sugar until light and fluffy. This takes about 3 minutes with an electric mixer.
- Beat in the eggs one at a time, mixing well after each addition. Stir in the vanilla extract.
- In a separate medium bowl, whisk together the flour, baking soda, and salt.
- Gradually add the dry ingredients to the wet ingredients, mixing on low speed until just combined. Do not overmix the dough.
- Stir in the chocolate chips by hand.
- For thicker cookies, chill the dough for at least 30 minutes. If you skip chilling, the cookies will spread more.
- Drop rounded tablespoons of dough onto the prepared baking sheets, spacing them about 2 inches apart.
- Bake for 9 to 12 minutes, or until the edges are golden brown and the centers look slightly underdone.
- Let the cookies cool on the baking sheet for 5 minutes before transferring them to a wire rack to cool completely.
Notes
- Use butter that is cool but still soft to the touch for the best texture. If the butter is too warm, the cookies will spread too much.
- For extra thick cookies, scoop the dough into balls and press them down slightly before baking.
- If you prefer a chewier center, slightly underbake the cookies; they will set as they cool.
- Prep Time: 15 min
- Cook Time: 12 min
- Category: Dessert
- Method: Baking
- Cuisine: American
Nutrition
- Serving Size: 1 cookie
- Calories: 180
- Sugar: 18g
- Sodium: 105mg
- Fat: 10g
- Saturated Fat: 6g
- Unsaturated Fat: 4g
- Trans Fat: 0g
- Carbohydrates: 23g
- Fiber: 1g
- Protein: 2g
- Cholesterol: 30mg


Comments are closed.