
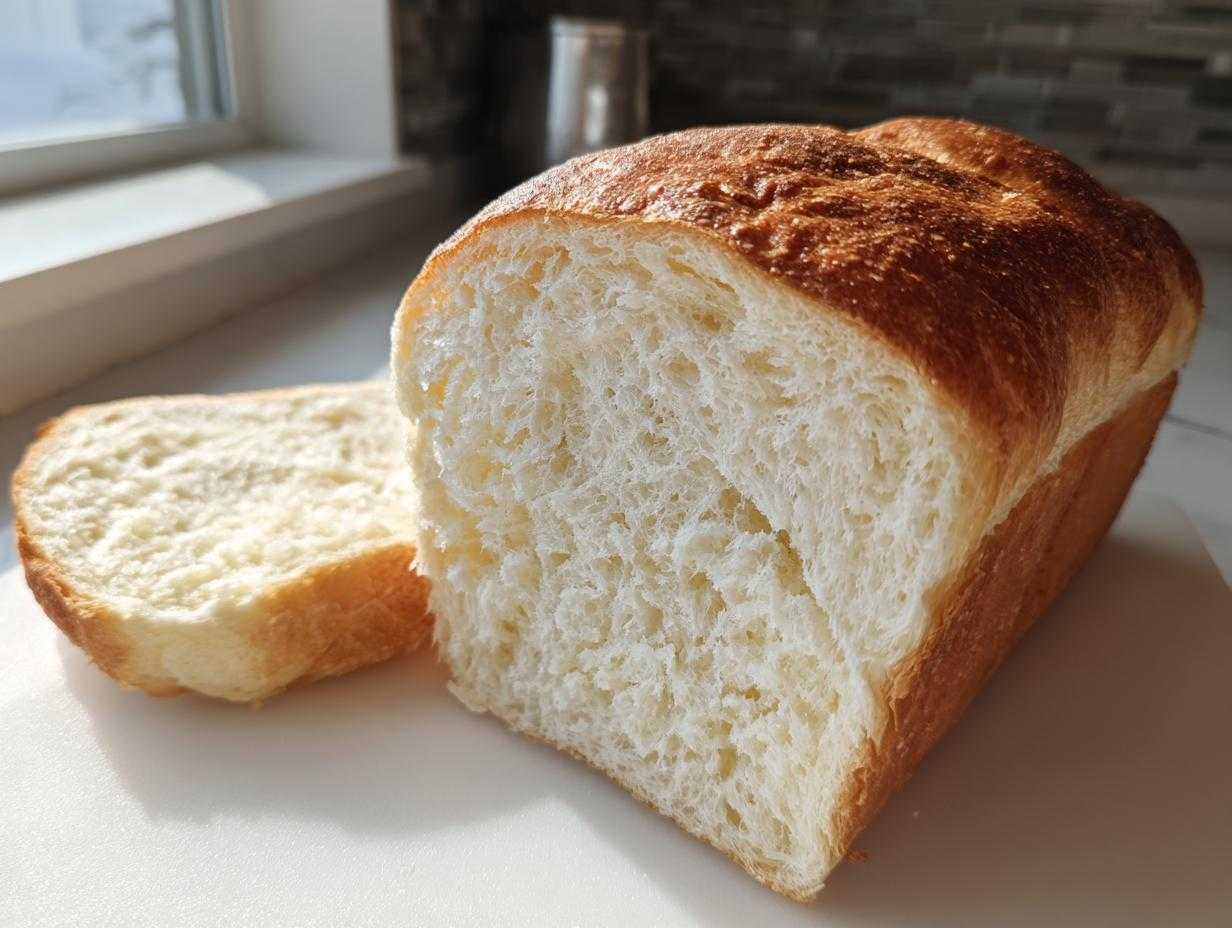
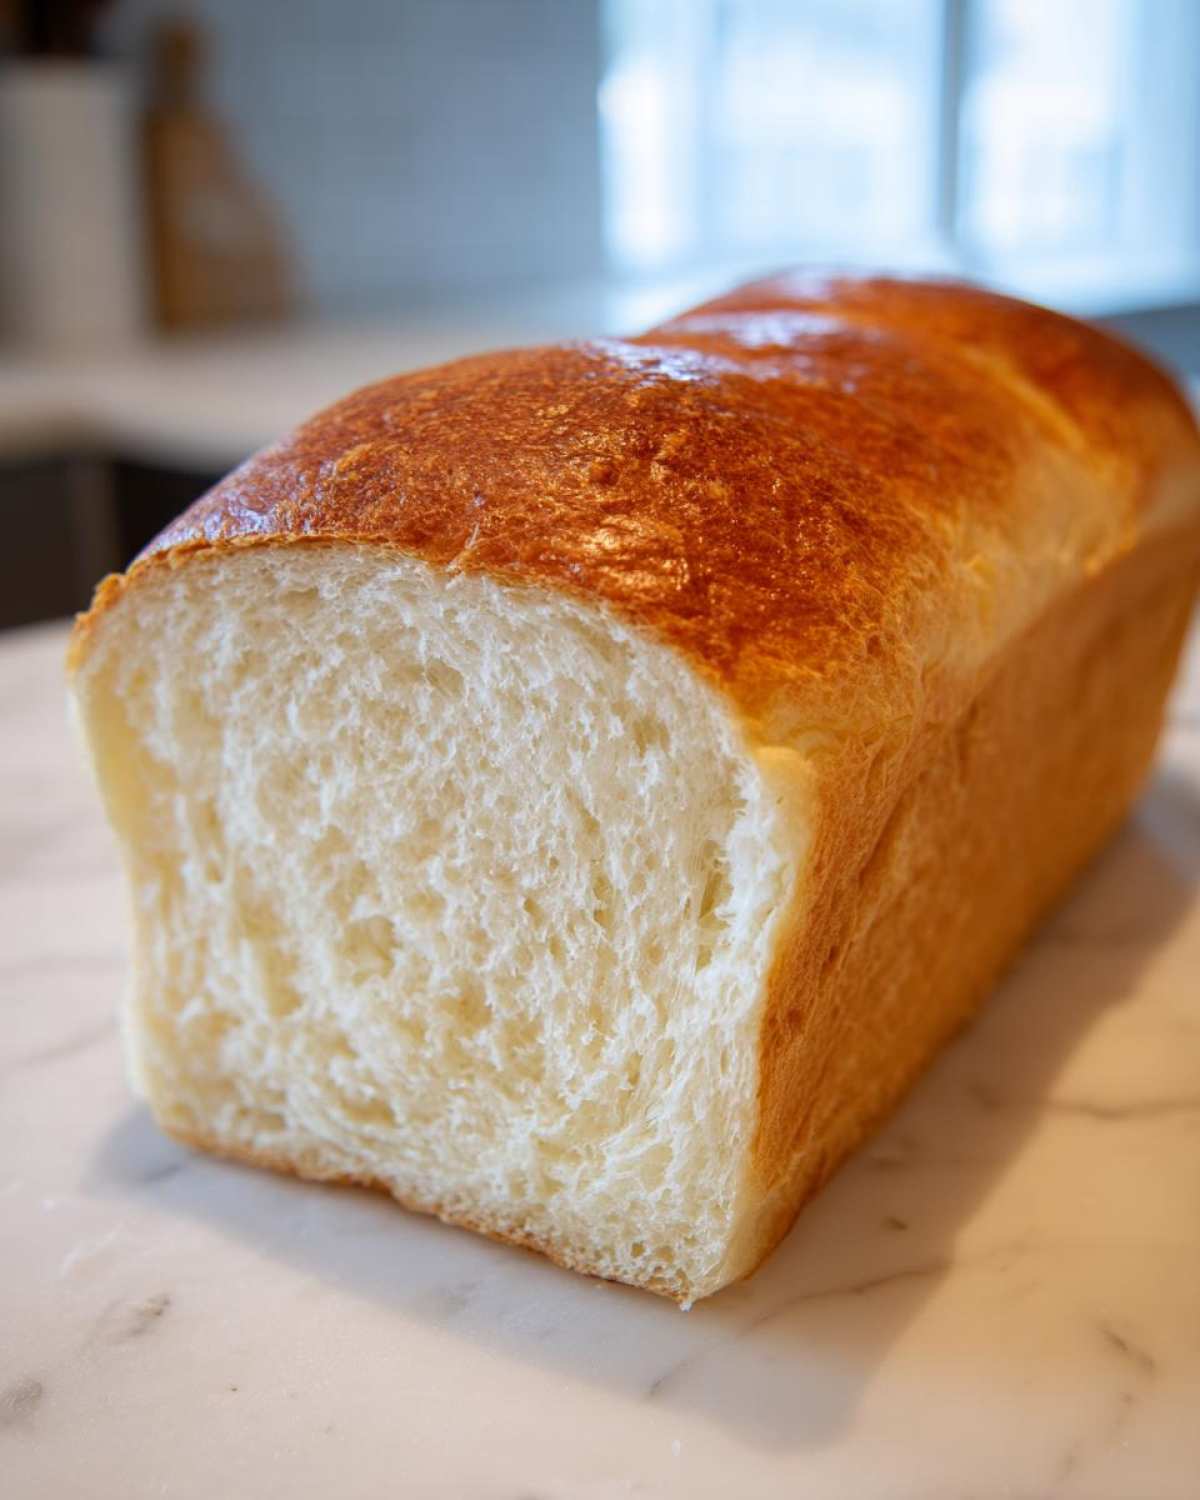
Forget those dry, crumbly loaves you’ve made before. We are finally unlocking the secret handshake to bakery-perfect softness right here in your own kitchen! I remember my first few attempts at making Japanese milk bread—they were okay, but they weren’t *cloud-like*. That all changed when I finally committed to the Tangzhong method. Trust me, once you see this simple paste transform your dough, you’ll never look back! This recipe for Japanese milk bread (the famous Shokupan) is totally foolproof, and it’s the one that taught me that true fluffiness is all about technique, not luck.
Why This Foolproof Japanese Milk Bread Recipe Works (E-E-A-T)
Okay, so you’ve heard the hype about Japanese milk bread, but what makes it so different from a regular slice of sandwich bread? It’s all down to that magic little starter, the Tangzhong. This technique is seriously a game-changer for anyone serious about that pillowy soft loaf texture.
Tangzhong is basically a pre-cooked paste made from a bit of your flour and liquid. When you cook it, that flour gelatinizes, capturing tons of moisture. Think of it as tiny moisture sponges distributed throughout your dough! Because those sponges hold onto water so efficiently, the final Shokupan recipe bakes up incredibly soft and, this is the best part, actually *stays* softer for days longer than regular bread. See? It’s science—but fun science!
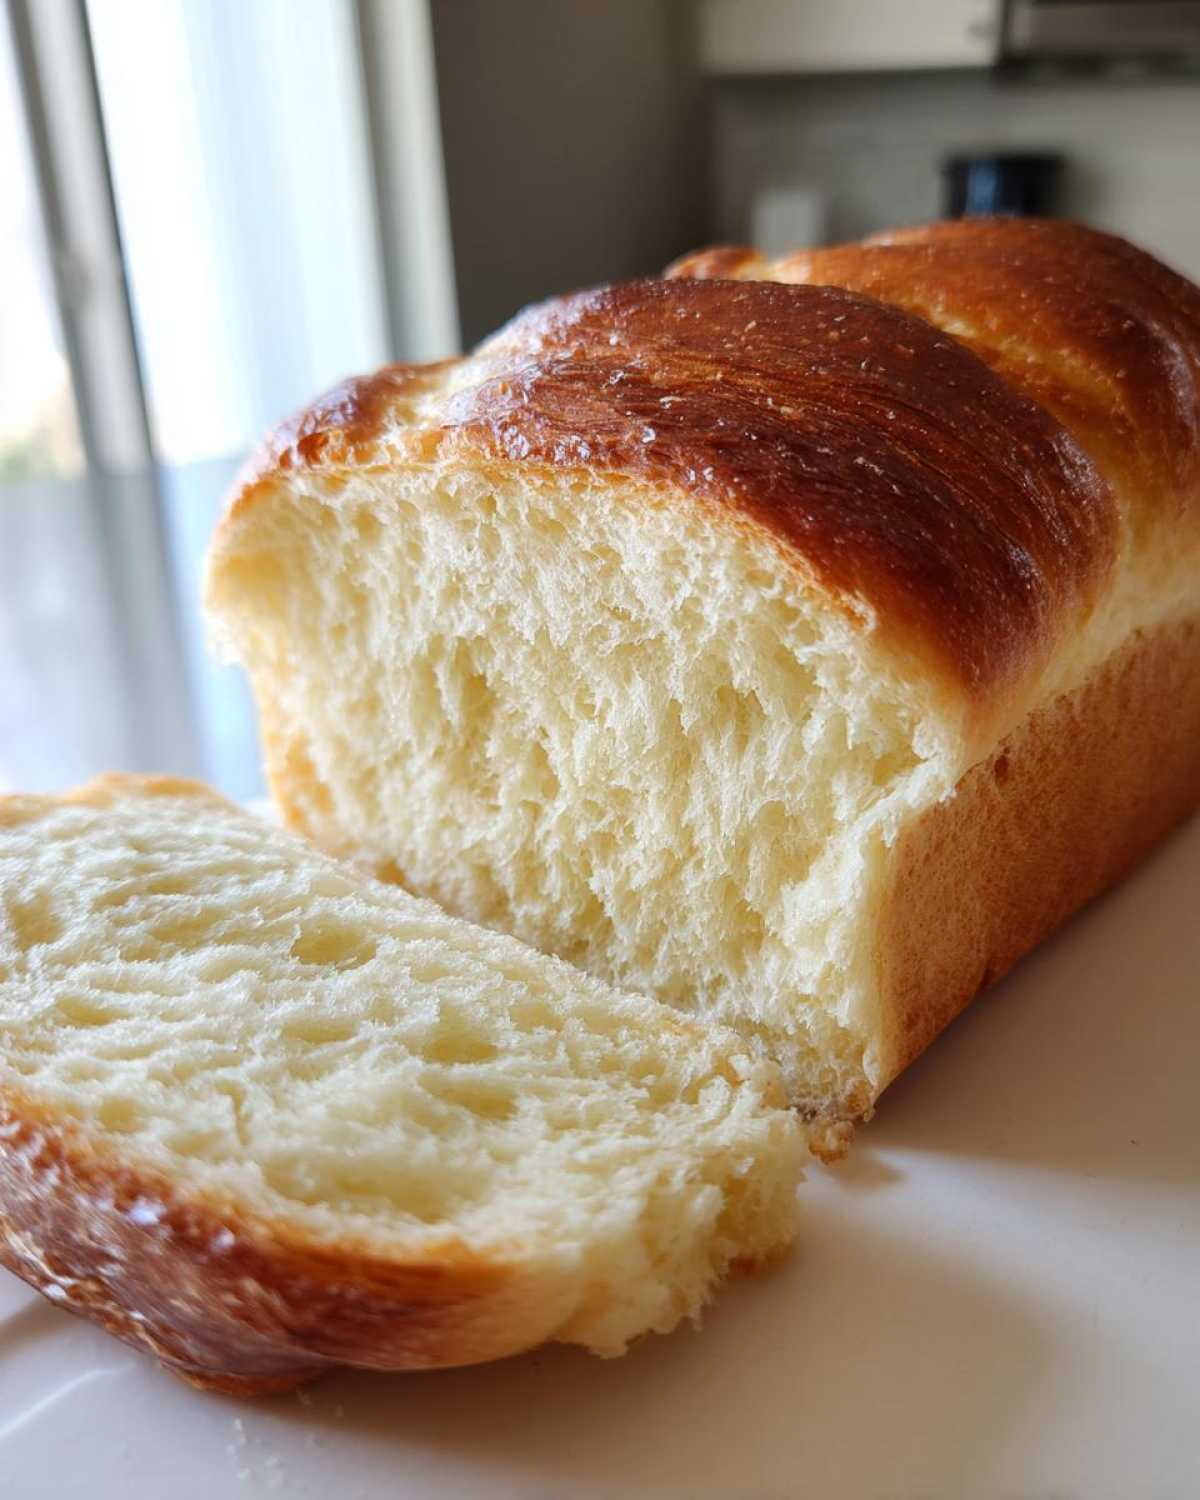
For this amazing texture to really shine, you absolutely need to use high-protein **bread flour**. It gives you the structure needed to handle all that extra moisture we pack in there. If you use all-purpose, you just won’t get that characteristic airy pull. If you’re looking to dive deeper into how simple kitchen science changes everything, I wrote a bit more on why this works so well over here: check out my thoughts on baking breakthroughs. It prevents that stale feeling, making this the perfect homemade milk bread!
Essential Ingredients for Japanese Milk Bread
Gathering your ingredients is half the battle won! Because this Japanese milk bread technique relies on such precise moisture content—thanks to that Tangzhong we just made—you can’t really eyeball things here. Precision helps us achieve that light, pillowy soft loaf texture we are aiming for. I always measure mine out twice!
We need to split our ingredients because some go into that cooked Tangzhong paste, and the rest into the main dough. Don’t skip the butter; it needs to be completely softened before it goes in toward the end or you’ll have chunks instead of smoothness! And please, use good quality yeast because we rely on it for that lovely rise.
Here is exactly what you need for one perfect Shokupan recipe:
- For the Tangzhong Paste:
- 60g Milk
- 15g Granulated Sugar
- 2g Instant Dry Yeast
- 20g Bread Flour (for Tangzhong)
- For the Main Dough:
- 120g Bread Flour (make sure this is measured after you remove the 20g for the paste!)
- 25g Granulated Sugar
- 3g Salt
- 1 Large Egg (lightly beaten)
- 40g Whole Milk (for main dough)
- 25g Unsalted Butter, softened
If you ever want to experiment with other simple baking staples, check out this recipe using just eight ingredients—it solidifies how important starting with the right ratios is, even for basic loaves!
Step-by-Step Instructions for Perfect Japanese Milk Bread
Alright, buckle up! This is where the magic happens. We have our ingredients ready, and now we tackle the Tangzhong first. Don’t let that fancy French name scare you; it’s just a cooked porridge, and it sets the foundation for our incredibly soft Japanese milk bread. Be patient during this part, because the cooling step is non-negotiable!
Creating the Tangzhong Paste
Grab a small saucepan—the smaller the better so it heats evenly. Whisk together the 60g of milk, 15g of sugar, and the 20g of bread flour. Put it over medium-low heat. You have to stir constantly, I mean *constantly*, or it will burn right to the bottom! We are looking for it to thicken up into a real paste. If you have a thermometer handy, you want to hit about 170°F (77°C). Just look for that thick pudding consistency.
Once it looks suitably gloppy, yank it off the heat immediately. Transfer it to a small bowl and slap a layer of plastic wrap right onto the surface. This stops that ugly skin from forming. Seriously, touch the plastic right to the paste! Let this cool completely before you even think about moving on. If it’s even a little warm when you add it to the rest of the dough, it’ll muck up the yeast.
Mixing and Kneading the Japanese Milk Bread Dough
Now we move to the stand mixer—my hands are too precious for this part! Add your main flour (the remaining 120g), the main dough sugar (25g), and the salt into the big bowl. Next, gently drop in that cooled Tangzhong paste, the foamy yeast mixture, and the egg. Mix this on low speed until it just comes together into a shaggy mess. This is the first stage of mixing.
Now, we knead! Turn the mixer up to medium-low and let it go for about 8 to 10 minutes. The dough will start moving cleanly around the hook. This is where we build the gluten! Once it looks smooth, it’s time for the butter. Add that softened butter piece by piece. Keep kneading for another long 10 to 15 minutes. You need to push the dough until it passes the windowpane test. That means you can stretch a piece thin enough to see light shining through it without tearing. That windowpane is why this bread is so airy! If you want to see a great visual breakdown of this essential technique, you can look at my deep dive on the Tangzhong method.
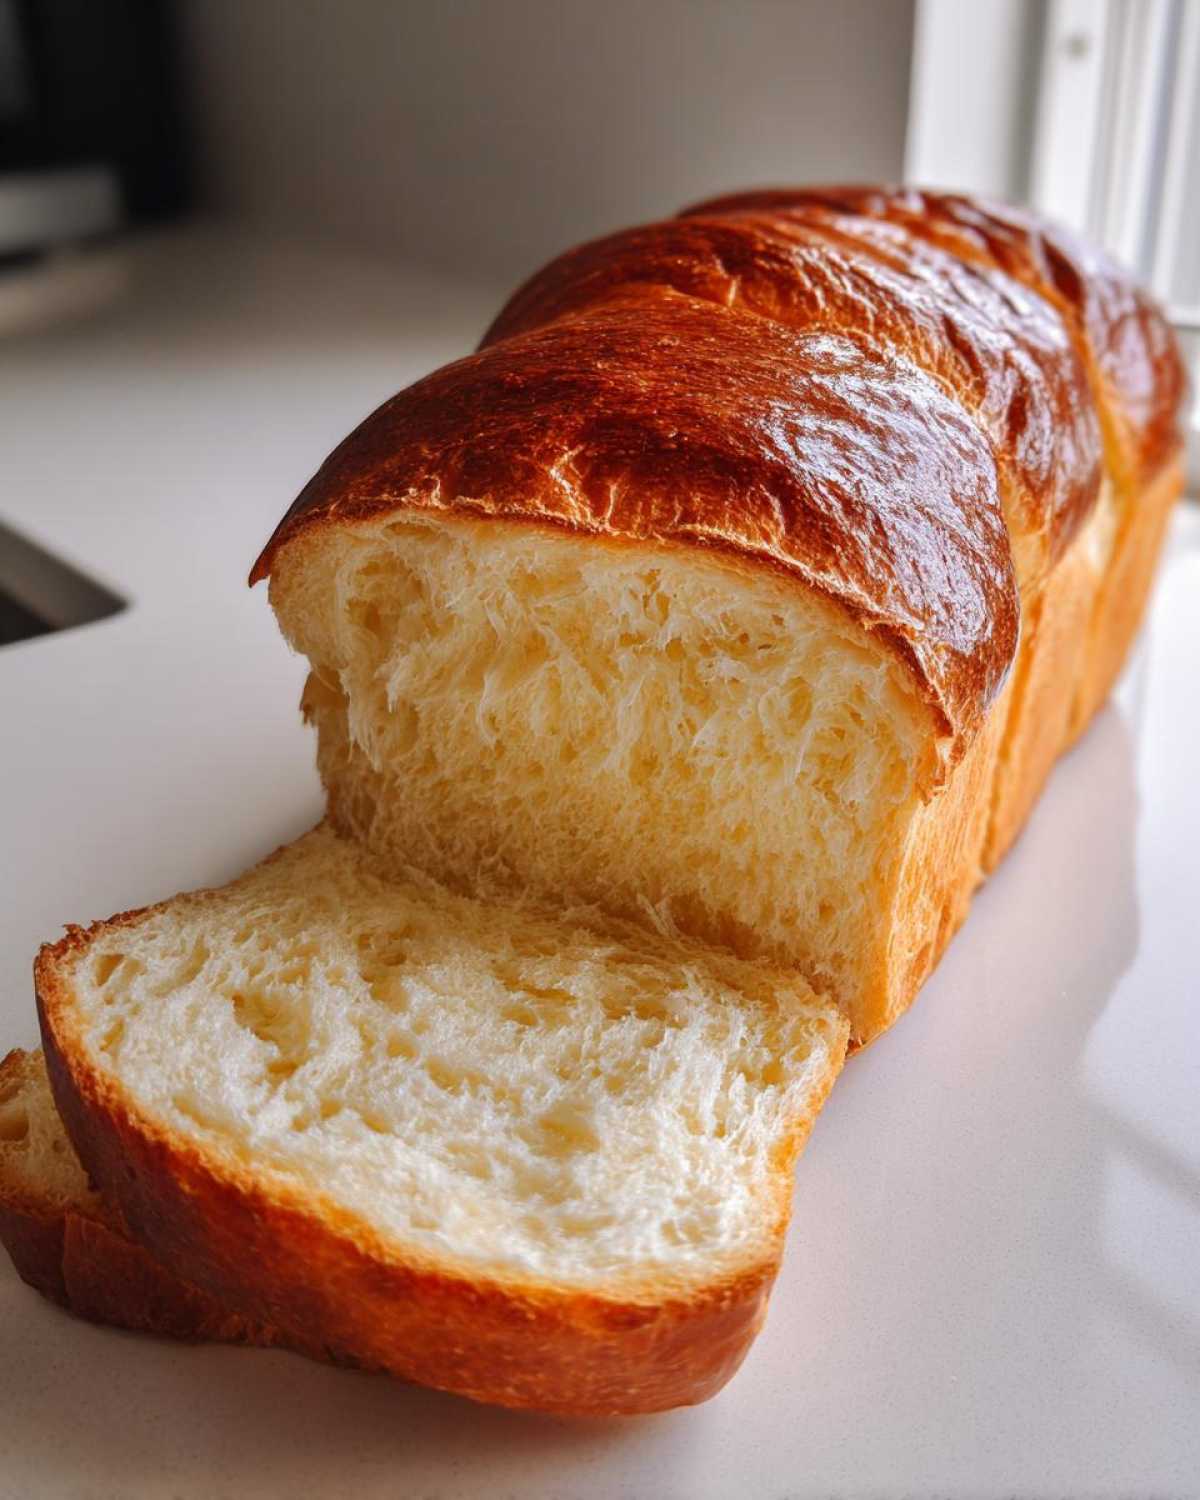
Proofing and Shaping the Shokupan Recipe Loaf
Transfer that glorious, stretchy dough to a lightly oiled bowl and cover it tightly. Let it hang out in a warm spot until it doubles in size. This first proof usually takes about an hour to an hour and a half, depending on your kitchen temperature. Don’t rush this time; the flavor develops here! If you are thinking about slicing this later for the best breakfast ever, remember good bread makes the best French toast!
When it’s puffy, punch it down gently—just deflate it. Divide that dough into three equal parts. Roll each part into a tight little ball and let them rest, covered, for about fifteen minutes. This lets the gluten relax so you can shape it easily. After resting, flatten each ball into an oval, and then, this is important, roll each oval up tightly into smooth logs. Place the three logs seam-side down, nestled right next to each other, in your greased 8×4 inch loaf pan.
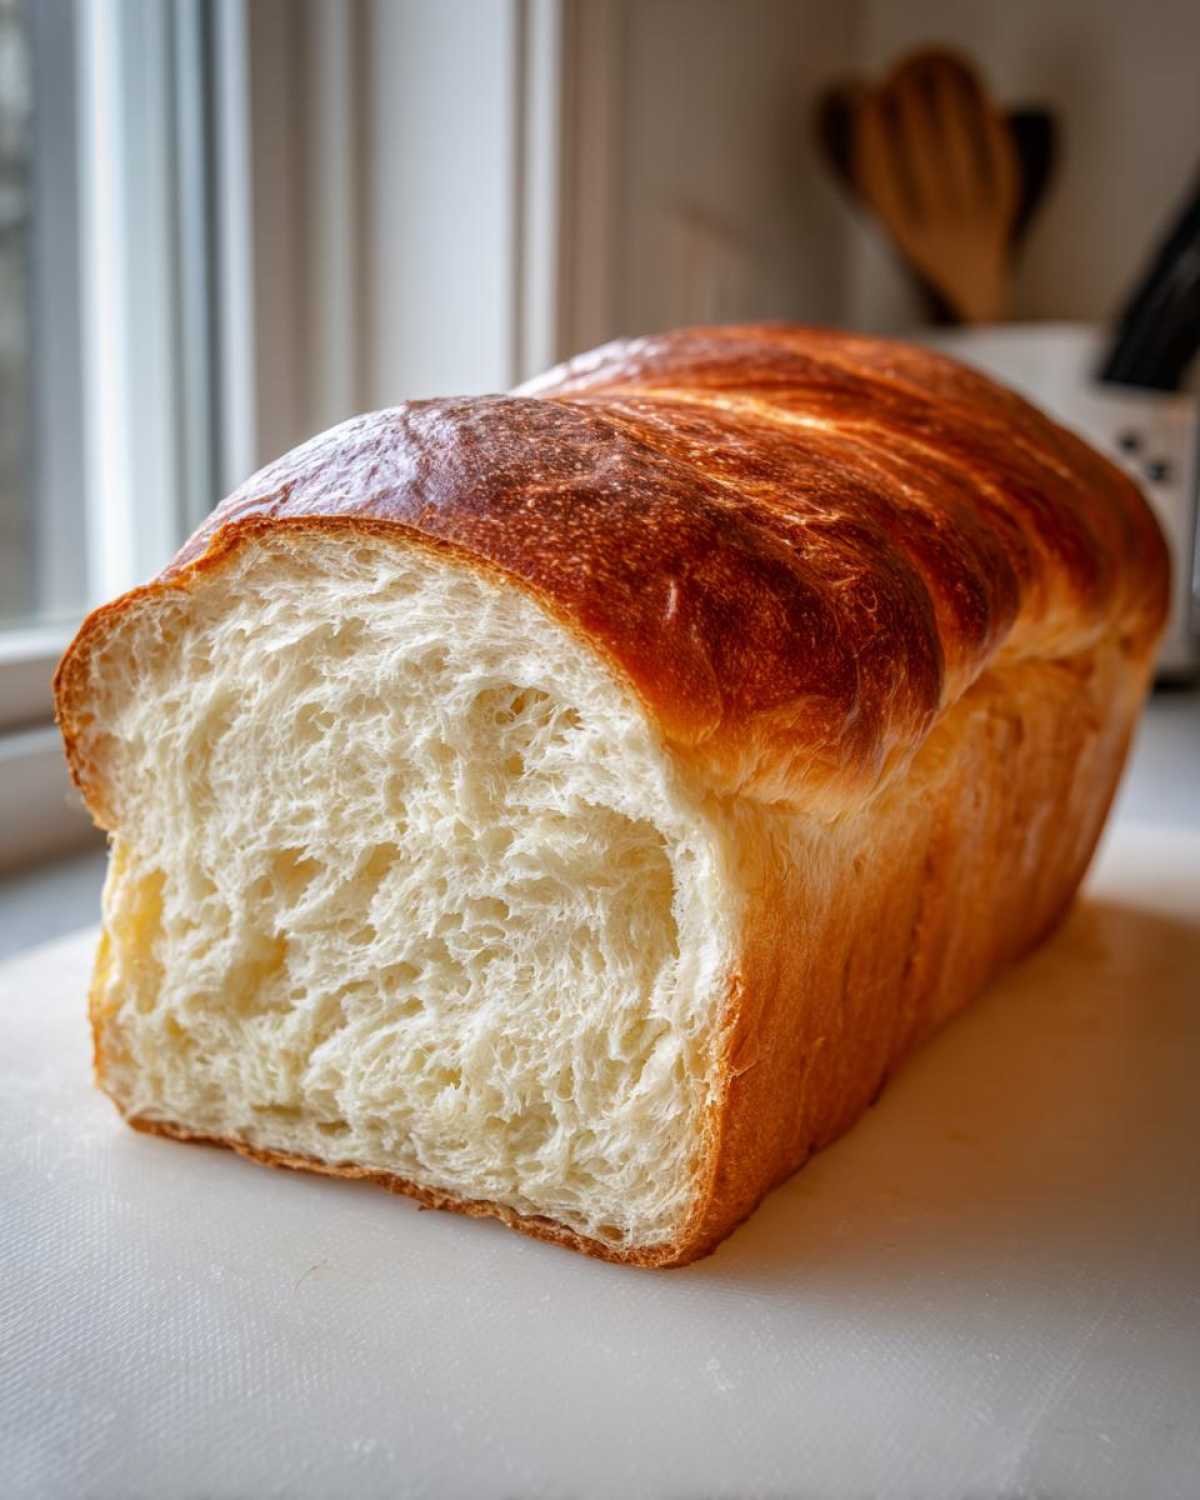
Cover the pan again for the second proof. This proof is crucial for a fluffy bread tutorial success! You want it to rise until it’s nearly double and cresting about one inch over the top edge of the pan. Don’t let it overproof, or it will collapse during baking!
Preheat your oven to 350°F (175°C). Bake this soft Japanese bread for about 30 to 35 minutes. You are looking for a nice golden top and an internal temperature of 200°F (93°C). As soon as it comes out, pop it out of the pan immediately! If you want that bakery style bread at home look, brush the top with a little melted butter right away. Let it cool completely on a rack before slicing—seriously, wait for it—or you’ll ruin that cloud-like interior!
Tips for Success with Your Homemade Milk Bread
Baking this Japanese milk bread is mostly smooth sailing, but I have learned a few tricks that save a lot of heartache! The biggest thing beginners mess up is the kneading; if you don’t hit that windowpane test, the final loaf will just be heavy, not pillowy. Don’t judge the dough too early!
Also, about that second proof—please don’t rush it! If you bake it too soon, it won’t have enough lift and you’ll end up with a dense brick instead of fluffy bread.
If you are dead set on getting that perfect square, classic Shokupan shape, you *must* use a Pullman loaf pan and bake it with the lid on for the last 15 minutes. It keeps the sides straight and tall. If you want to try another fascinating baking technique that’s great for busy weeknights, you should look at these slow cooker recipes—totally different medium, but the patience lesson is the same!
Finally, remember cooling is key. Slicing warm bread releases all that precious trapped steam, drying it out instantly. Let it cool completely for the absolute best, freshest slices!
Ingredient Notes and Substitutions for Soft Japanese Bread
When it comes to achieving that famously soft Japanese bread texture, the choice of flour is huge. You really need to stick with **bread flour** here, folks. Bread flour has a higher protein content than regular all-purpose flour. That extra protein creates stronger gluten strands during kneading, and that strong network is what traps all the gas from the yeast and holds onto all that incredible moisture from the Tangzhong.
If you try substituting with all-purpose flour, the dough just won’t have the structure to stretch enough. It ends up weak, and the loaf will feel denser. It’s just not worth the risk when you are going after something truly pillowy soft!
Now, what about the dairy? Whole milk is specified because the fat content really helps tenderize the crumb, making it richer. But I know life happens! If you need to substitute, you can certainly use 2% or even skim milk, but just know your final loaf might not have quite the same luxurious melt-in-your-mouth quality. For dairy-free folks, soy milk or oat milk usually work the best as substitutes because they have a bit more body than, say, rice milk.
If you use a non-dairy milk, just be sure it’s unsweetened. Also, keep an eye on your kneading time, as different brands absorb liquid differently. You might find you need to knead just a few seconds longer or shorter to get that perfect windowpane. While we are talking about substitutions, if you happen to be out of bread flour, I’ve got a great recipe for honey garlic salmon—zero baking involved, which can be nice after mastering this bread!
Storage and Reheating Instructions for Bread That Stays Fresh
The absolute hardest part of baking this amazing Japanese milk bread is waiting for it to cool completely before slicing, but that waiting period is vital for texture! Once it is totally cool—and I mean room temperature cool—you need to treat it right so it stays that bread that stays fresh for days, just like they brag about at the bakery.
For short-term storage, keep the loaf tightly wrapped in plastic wrap or put it inside a zip-top bag. If you leave it out on the counter uncovered, that beautiful crust will get hard almost immediately, and you’ll lose that signature fluff. Stored properly at room temperature, this bread stays wonderfully soft for a solid three days. Honestly, ours rarely lasts that long!
When you decide you need a slice, don’t just toast it straight from the fridge! That cold temperature makes it taste stale before its time. Instead, peel off your slice, maybe microwave it for just 10 seconds under a damp paper towel, or pop it right into a toaster oven. That quick blast of heat wakes up all the moisture we locked in with the Tangzhong, making it feel like it just came out of the oven again. It’s seriously like magic second-day bread!
If you need to keep it longer than three days, freezing is your best bet. You must slice the whole loaf first before freezing; don’t try to freeze it whole! Wrap each slice extremely tightly in plastic wrap, then toss the wrapped slices into a heavy-duty freezer bag. It freezes perfectly for up to four weeks. When you want a slice, just pull one out and let it thaw on the counter for about an hour, or microwave it as described above. If you’re looking for a great meal to serve alongside your fresh bread, I’ve got a fantastic chicken fried rice recipe that pairs surprisingly well with the slightly sweet loaf!
Frequently Asked Questions About Japanese Milk Bread
I get so many questions about this bread because everyone wants that perfect pillowy result! It’s totally normal to have a few hurdles when you’re aiming for such an incredibly soft Japanese bread like Shokupan. Here are the things I hear most often when people are trying this recipe for the first time.
Can I skip the Tangzhong method?
Oh, I wish I could tell you yes, but trust me, you really shouldn’t if you want the authentic, cloud-like texture! If you skip the Tangzhong, you’re making a regular enriched white bread, not true Japanese milk bread. The cooking of that flour paste is what locks in the water needed to keep the final loaf soft for days. If you’re short on time, you could try the Yudane method, which is slightly faster, but the Tangzhong is the gold standard for that ultimate fluffiness!
Why is my homemade milk bread dense instead of fluffy?
This usually comes down to two big culprits. Firstly, it’s almost always insufficient kneading. That dough needs to be seriously worked to pass the windowpane test; weak gluten can’t hold the gas and moisture, leading to a dense baked result. Secondly, you might have rushed the proofing stages. If the dough hasn’t had enough time to fully relax and rise (especially that second rise in the pan), the bread won’t have the necessary spring to become that sought-after pillowy soft loaf.
What is the difference between Tangzhong and Yudane bread technique?
That’s a great question because they both achieve similar, wonderful results for getting bread that stays fresh! They are both essentially cooked flour starters. The main difference is the liquid used. Tangzhong, which we used in this recipe, specifically uses milk and/or water mixed with flour and cooked. The Yudane technique, often associated with Hokkaido milk bread, uses only hot water with the flour. Both methods gelatinize the starch, but Tangzhong often yields a slightly richer final crumb because of the added milk solids.
What is the difference between Shokupan and Hokkaido milk bread?
Honestly, they are very closely related, and many bakers use the terms somewhat interchangeably, which causes confusion! Both use the cooked paste method (Tangzhong or Yudane) for incredible softness. Traditionally, Shokupan—our recipe here—is usually baked in a square or rectangular Pullman pan to get that perfect, straight-sided loaf ideal for eating plain or sandwiches.
Hokkaido milk bread is often defined by using only cream or higher amounts of milk solids in the final mixture, sometimes giving it a slightly richer, almost buttery flavor profile profile, though the texture goal is the same: amazing fluffiness! If you master this recipe, you’re well on your way to mastering all Japanese sweet bread varieties.
Serving Suggestions for Your Pillowy Soft Loaf
Now that you’ve baked this unbelievably soft Japanese milk bread, you have to decide what to do with it! Toasting is great, of course, but this bread is so rich it deserves more attention. It makes the most incredible, stable sandwich bread—way better than that airy, squishy stuff from the grocery store. Try it with a savory filling like chicken salad; you can find my favorite egg salad recipe—it’s unbelievable on this Shokupan!
Because it has a slight sweetness, it’s also amazing lightly toasted and spread with butter. If you want the full dessert experience, warm a thick slice slightly and slather it with a tangy cream cheese frosting; the contrast is just heavenly. Seriously, try my recipe on a warm piece!
Nutritional Estimate for This Japanese Milk Bread Recipe
I always feel like I should include this part, mostly because I feel like I should know what I’m eating when I demolish half a loaf for breakfast! But, I have to give you the standard disclaimer here: these numbers are just general estimates based on the standard ingredient amounts I listed. Your actual nutritional breakdown might shift depending on the exact brand of butter or sugar you use. Nobody’s running lab tests on their home batch, right?
That said, because this is such an enriched loaf—lots of milk, butter, and sugar went into making this the ultimate fluffy bread tutorial—it definitely lands on the slightly higher-calorie side compared to a simple crusty sourdough. But oh, is it worth every single bite of that pillowy soft loaf!
Here is the nutritional snapshot based on a standard serving size:
- Serving Size: 1 slice
- Calories: 180
- Carbohydrates: 28g
- Sugar: 6g
- Protein: 5g
- Fat: 5g
- Saturated Fat: 3g
- Sodium: 150mg
- Fiber: 1g
- Cholesterol: 25mg
See? Nothing too crazy, just the good stuff needed to keep this homemade milk bread so incredibly fresh and moist! Enjoy knowing you made something truly delicious with your hands!
Print
Foolproof Japanese Milk Bread (Shokupan) with Tangzhong Method
- Total Time: 3 hr 55 min
- Yield: 1 loaf
- Diet: Vegetarian
Description
Make incredibly soft, fluffy, and pillowy Japanese Milk Bread using the Tangzhong method for a texture that stays fresh for days.
Ingredients
- 60g Milk
- 15g Granulated Sugar
- 2g Instant Dry Yeast
- 20g Bread Flour (for Tangzhong)
- 120g Bread Flour (for main dough)
- 25g Granulated Sugar (for main dough)
- 3g Salt
- 1 Large Egg
- 40g Whole Milk (for main dough)
- 25g Unsalted Butter, softened
Instructions
- Prepare the Tangzhong: Whisk 60g milk, 15g sugar, and 20g bread flour in a small saucepan. Heat over medium-low, stirring constantly until the mixture thickens to a paste (about 170°F or 77°C). Remove from heat, cover the surface with plastic wrap, and let it cool completely.
- Activate Yeast: In a small bowl, combine the 40g milk with the yeast and let it sit for 5 minutes until foamy.
- Mix Dough: In a large bowl or stand mixer, combine the remaining 120g bread flour, 25g sugar, and salt. Add the cooled Tangzhong, the activated yeast mixture, and the egg. Mix on low speed until a shaggy dough forms.
- Knead: Increase the speed to medium-low and knead for 8-10 minutes until the dough starts to pull away from the sides of the bowl.
- Add Butter: Add the softened butter. Continue kneading for another 10-15 minutes until the dough is smooth, elastic, and passes the windowpane test.
- First Proof: Place the dough in a lightly oiled bowl, cover, and let it rise in a warm place until doubled in size (about 1 to 1.5 hours).
- Shape: Gently punch down the dough. Divide it into three equal pieces. Roll each piece into a smooth ball and let them rest for 15 minutes, covered.
- Final Shaping: Flatten each ball into an oval. Roll each oval tightly into a log. Place the three logs side-by-side into a greased 8×4 inch loaf pan, ensuring the seams face down.
- Second Proof: Cover the pan and let it rise again until the dough has nearly doubled and crests about 1 inch above the rim of the pan (about 45-60 minutes).
- Bake: Preheat your oven to 350°F (175°C). Bake for 30-35 minutes, or until the top is golden brown and the internal temperature reaches 200°F (93°C).
- Cool: Immediately remove the bread from the pan and cool completely on a wire rack before slicing. Brush the top with melted butter for extra softness if desired.
Notes
- For a square loaf (traditional Shokupan), use a Pullman loaf pan and bake with the lid on for the last 15 minutes.
- If you do not have time for the second proof, you can bake it after the first proof, but the texture will be less pillowy.
- This bread freezes well once completely cooled. Wrap tightly before freezing.
- Prep Time: 45 min
- Cook Time: 35 min
- Category: Bread
- Method: Baking
- Cuisine: Japanese
Nutrition
- Serving Size: 1 slice
- Calories: 180
- Sugar: 6g
- Sodium: 150mg
- Fat: 5g
- Saturated Fat: 3g
- Unsaturated Fat: 2g
- Trans Fat: 0g
- Carbohydrates: 28g
- Fiber: 1g
- Protein: 5g
- Cholesterol: 25mg


Comments are closed.