
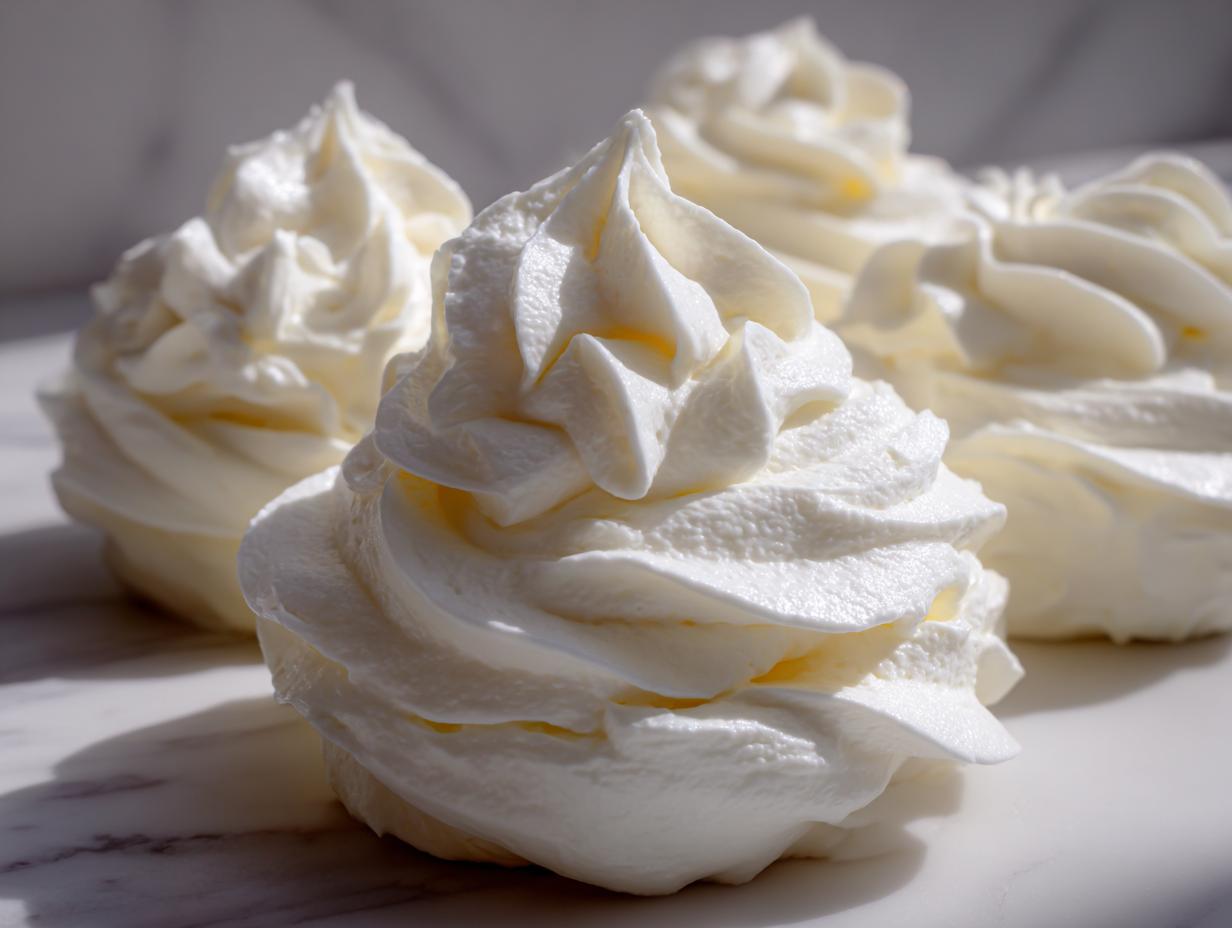
Oh, let’s talk about frosting failure for a minute. You know the drill: you spend hours on a perfect carrot cake or those dreamy cinnamon rolls, only to have your frosting turn into a grainy, runny, lumpy mess when you try to spread it. It’s enough to make you want to ditch baking altogether! Well, take a deep breath, because I’m Alexander Knight, and I’m here to tell you that you never have to suffer through that again. I’ve spent years chasing flavor perfection, inspired by the dedication I saw in my uncle’s kitchen, and I finally landed on the absolute **best cream cheese frosting**. This isn’t just another recipe; this is my foolproof approach to achieving that impossibly smooth, perfectly tangy, and stable topping—and the whole thing comes together in about ten minutes flat. Get ready for the quickest win in your baking life!
Why This Is the Best Classic Cream Cheese Frosting Recipe
I’ve tried every variation out there, trust me, but this recipe hits the sweet spot every single time. When I promise you the best cream cheese frosting, I mean it delivers on all fronts. You need something amazing that doesn’t fight you every step of the way, right?
Here’s why folks—and my whole family—swear by this batch:
- Zero Lump Guarantee: If you follow the creaming step, you get a genuinely smooth buttercream alternative without any weird cheesy chunks.
- The Tang Factor: It’s not cloyingly sweet! We hit the perfect balance for a bright, tangy cream cheese icing that cuts through heavy cakes beautifully.
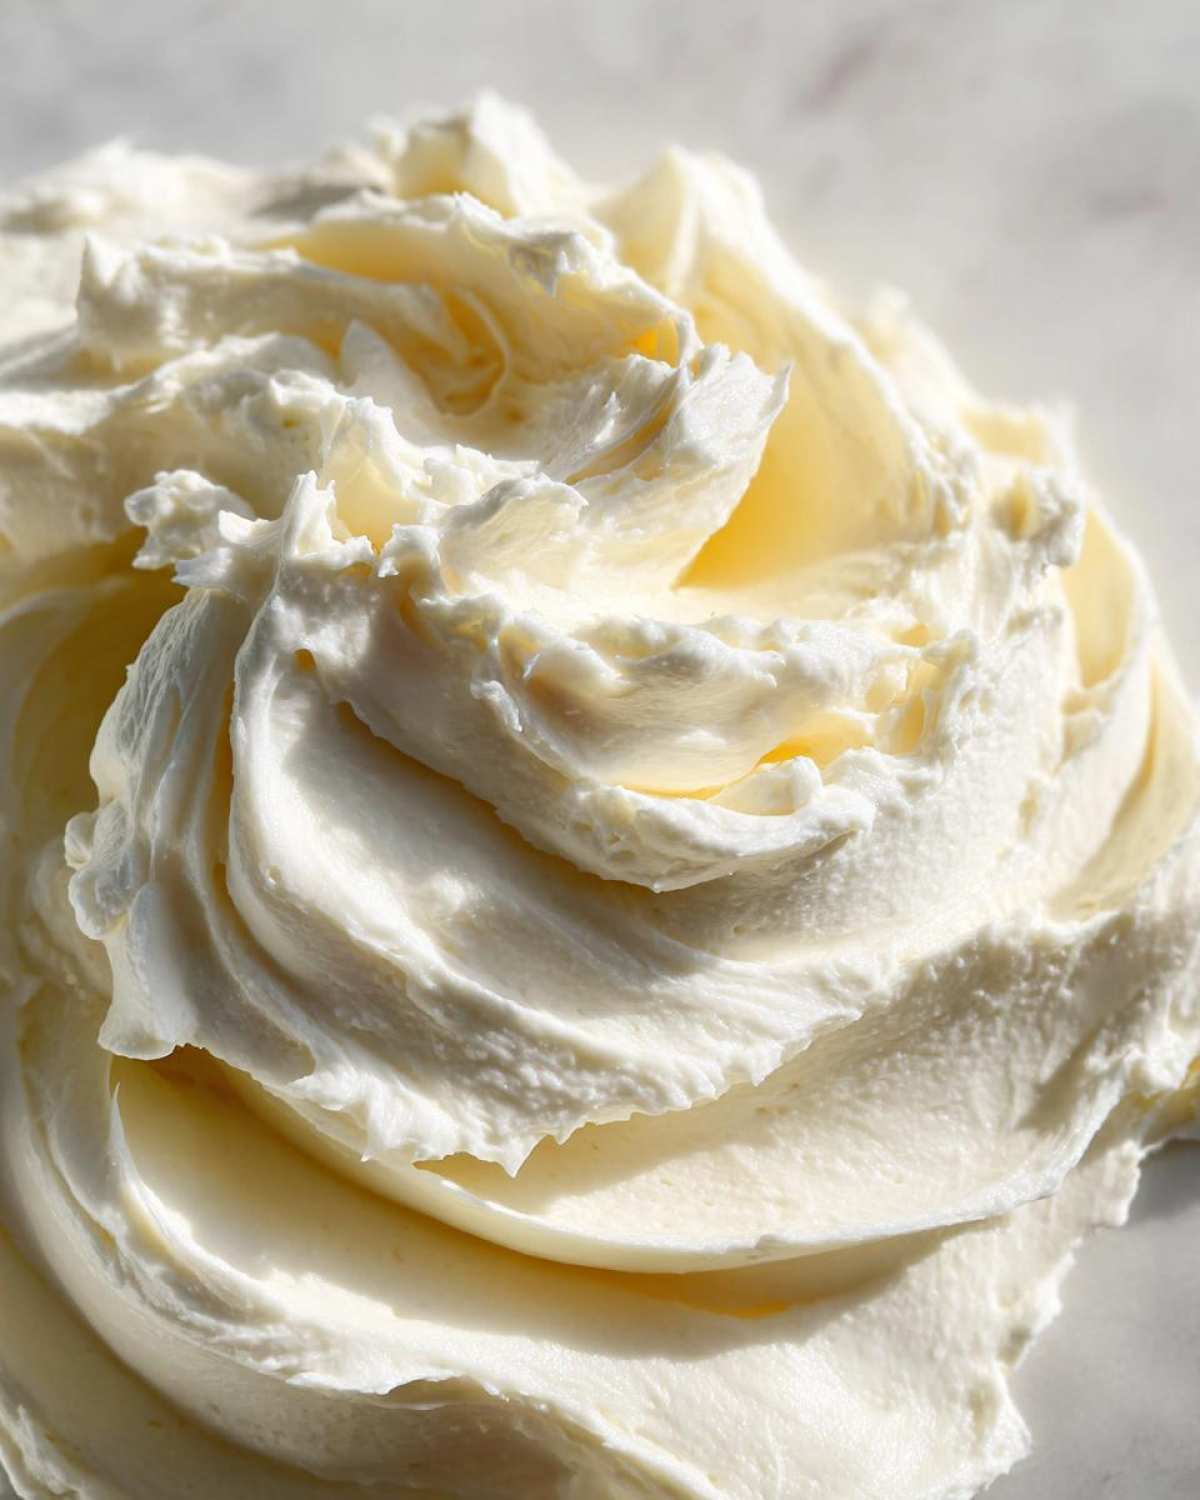
- Texture for Days: It whips up incredibly light, resulting in a truly fluffy cream cheese frosting that’s stable enough for real decoration.
- Speed Demon: Seriously, give me ten minutes, and I’ll frost your entire batch of cupcakes. It’s the definition of quick homemade frosting.
Gathering Ingredients for Perfect Cream Cheese Frosting
Okay, before we even think about turning on the mixer, the ingredients have to be ready. This is where so many people mess up their cream cheese frosting, and we are aiming for zero lumps here! The absolute number one rule for a no lump frosting is temperature.
You must use full-fat cream cheese and unsalted butter that are both totally softened—I mean, they should feel squishy, not just slightly yielding. I always take mine out about two hours before I plan to start.
Here is what you need on hand, and please, for the love of all things creamy, sift that powdered sugar!
- 8 ounces of full-fat cream cheese, softened
- 1/2 cup (one stick) of unsalted butter, also softened
- 3 to 4 cups of powdered sugar, sifted thoroughly
- 1 teaspoon of pure vanilla extract
- A tiny pinch of salt (it balances the sweet, trust me!)
Step-by-Step Guide to Making Smooth Cream Cheese Frosting
Alright, now that we have our soft butter and creamy cheese ready to mingle, we move fast! This is where the magic happens, and honestly, it’s less like a complicated bake and more like an assembly line. You need to give your mixer lots of attention during the first minute, but after that, it’s quick sailing leading to that beautiful, fluffy cream cheese frosting we are aiming for. Don’t walk away—your spatula needs to be ready!
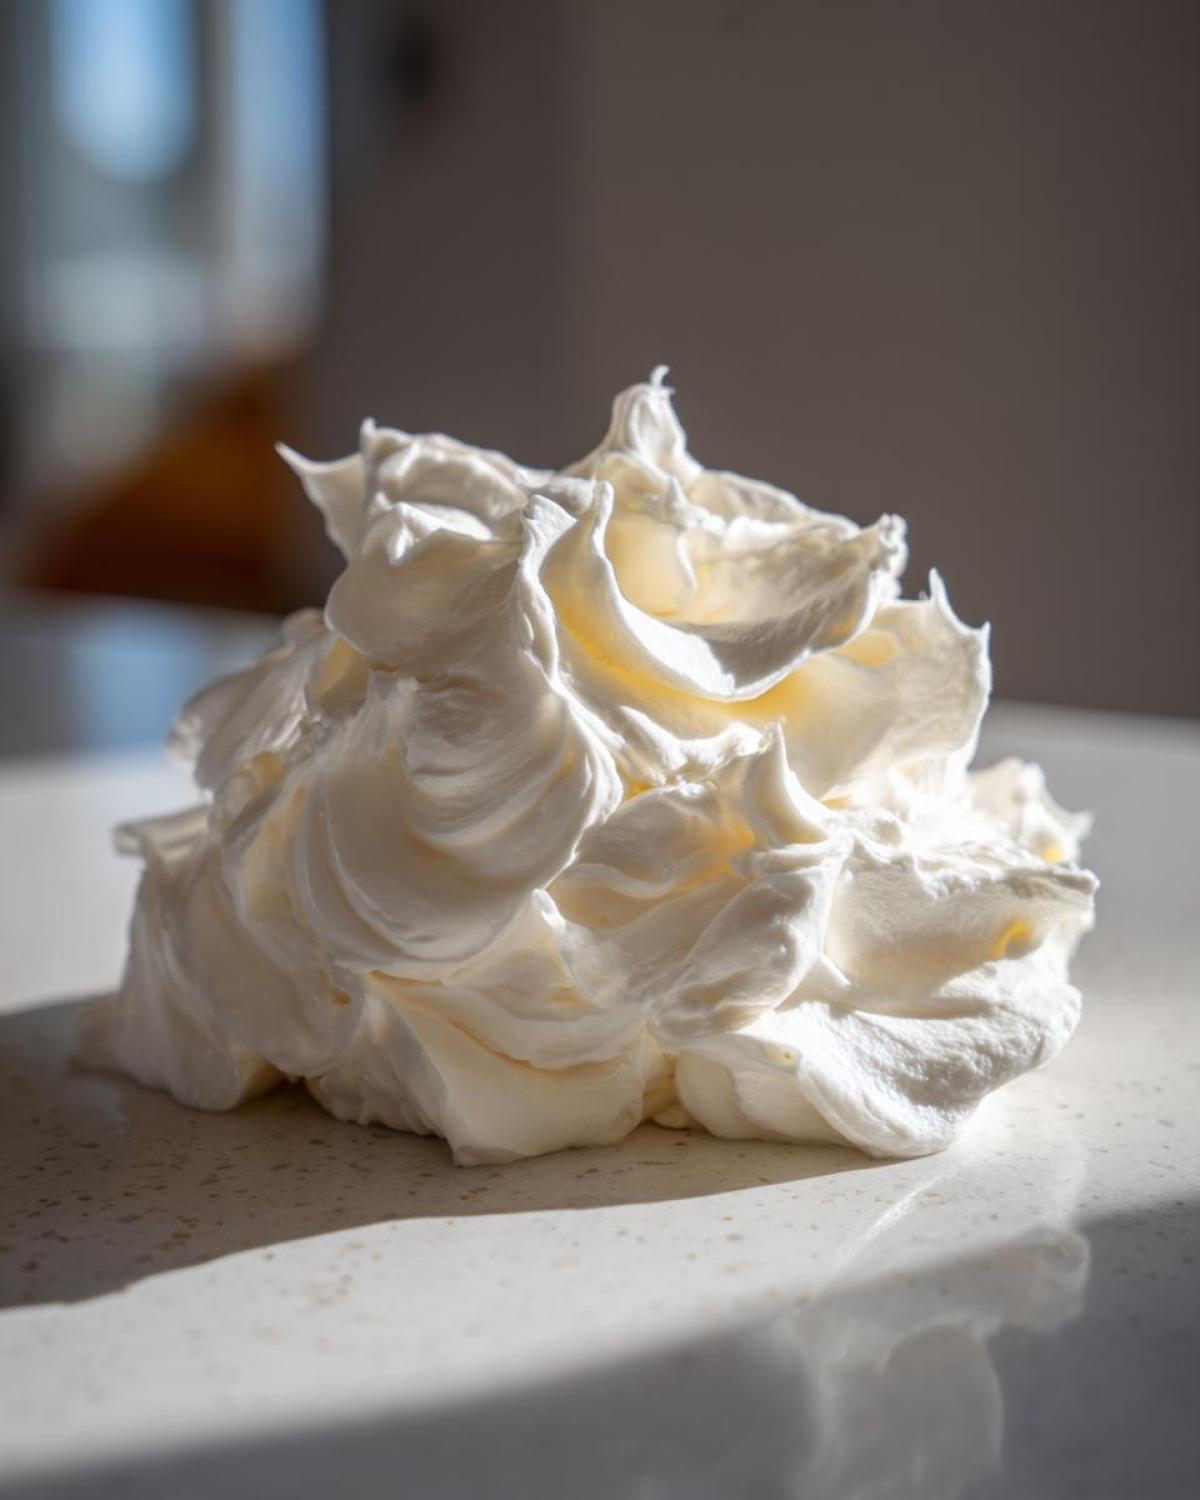
Creaming: The Secret to No Lump Frosting
Grab your stand mixer fitted with the paddle attachment. You need to combine the softened cream cheese and butter and beat them together until they look *perfectly* smooth. I mean it—no streaks, no lumps, just one homogenous, light yellow cloud. Don’t stop there! You have to scrape down the bowl sides about three times during this initial beat. This preliminary step is the absolute key to winning the war against lumpiness. We are building a perfect, airy foundation before we even introduce the sugar.
Incorporating Powdered Sugar for Fluffy Cream Cheese Frosting
Once that base is immaculate, drop your speed way down to low. Now, slowly shower in the sifted powdered sugar, one cup at a time. If you dump it all in at once, you’ll spend the next five minutes breathing white sugar dust! Mixing low and slow ensures everything gets hydrated evenly. Only move to the next cup once the previous one is fully incorporated. This careful approach is what develops that light, gorgeous structure we call fluffy cream cheese frosting.
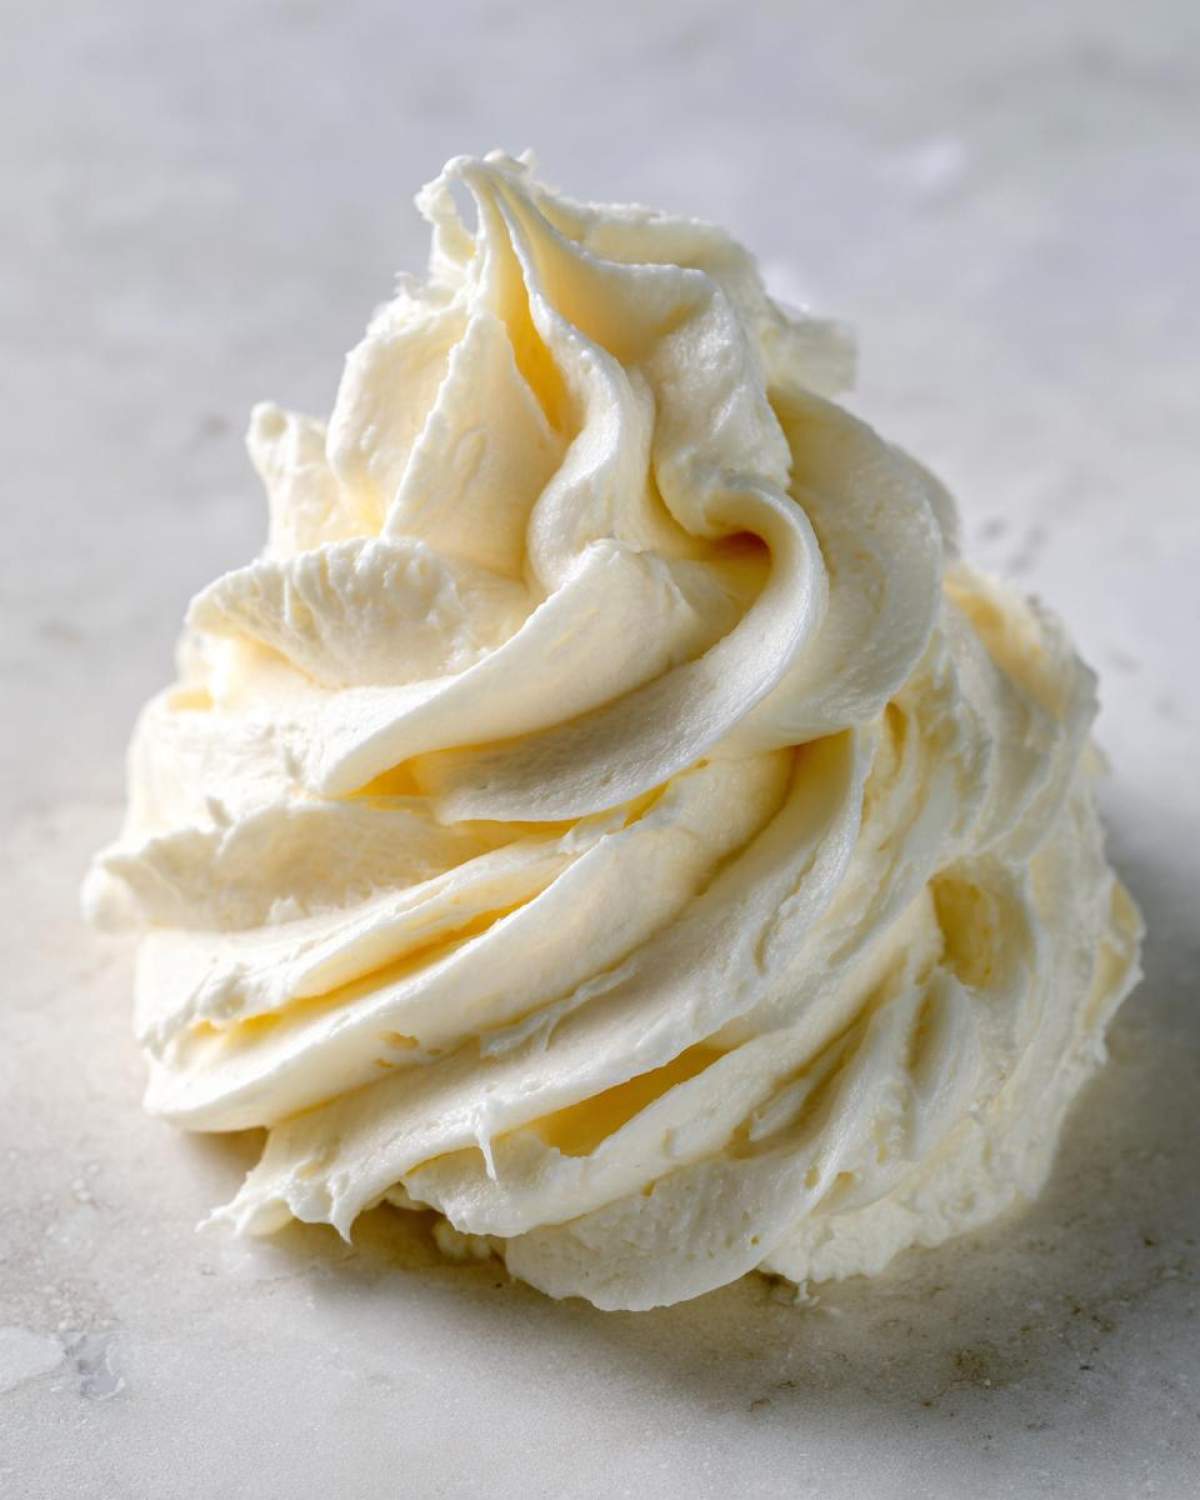
Whipping for Pipeable Cream Cheese Frosting Consistency
When all the sugar is in, it’s time to bring the flavor and the air! Toss in your vanilla and that tiny pinch of salt. Now, crank the mixer speed up to medium-high and let it beat for a full two or three minutes. This is what takes it from thick icing to airy frosting! If you find it’s still too stiff to easily scoop or spread, add milk or cream just one teaspoon at a time until it feels dreamy. If you want that super-sharp, pipeable cream cheese frosting for beautiful edges, keep it slightly stiffer—it’ll hold those tiny details way better!
Tips for Achieving the Best Cream Cheese Frosting Texture
Look, I know the pain of battling a lumpy batch. When I was first learning, I always ended up with a frosting that was too soft for piping decorations, kind of slumping sadly over my cakes. But getting that beautifully smooth buttercream alternative texture is 100% doable if you stick to these non-negotiables. For me, it all comes down to proper preparation, not fancy equipment.
First up, remember what I said about room temperature? It’s not a suggestion, it’s the law! If your butter or cream cheese is even slightly chilly, they just refuse to blend properly. You end up with those hard, cold chunks suspended in your beautiful sugar mixture. Warm everything up first.
The second biggest texture helper is sifting your powdered sugar. I know, it feels annoying, but it knocks out any tiny clumped bits before they even hit the mixer. This guarantees a silky mouthfeel. If you follow those two steps, you are basically halfway to an amazing homemade cake icing that’s perfectly stable and rich!
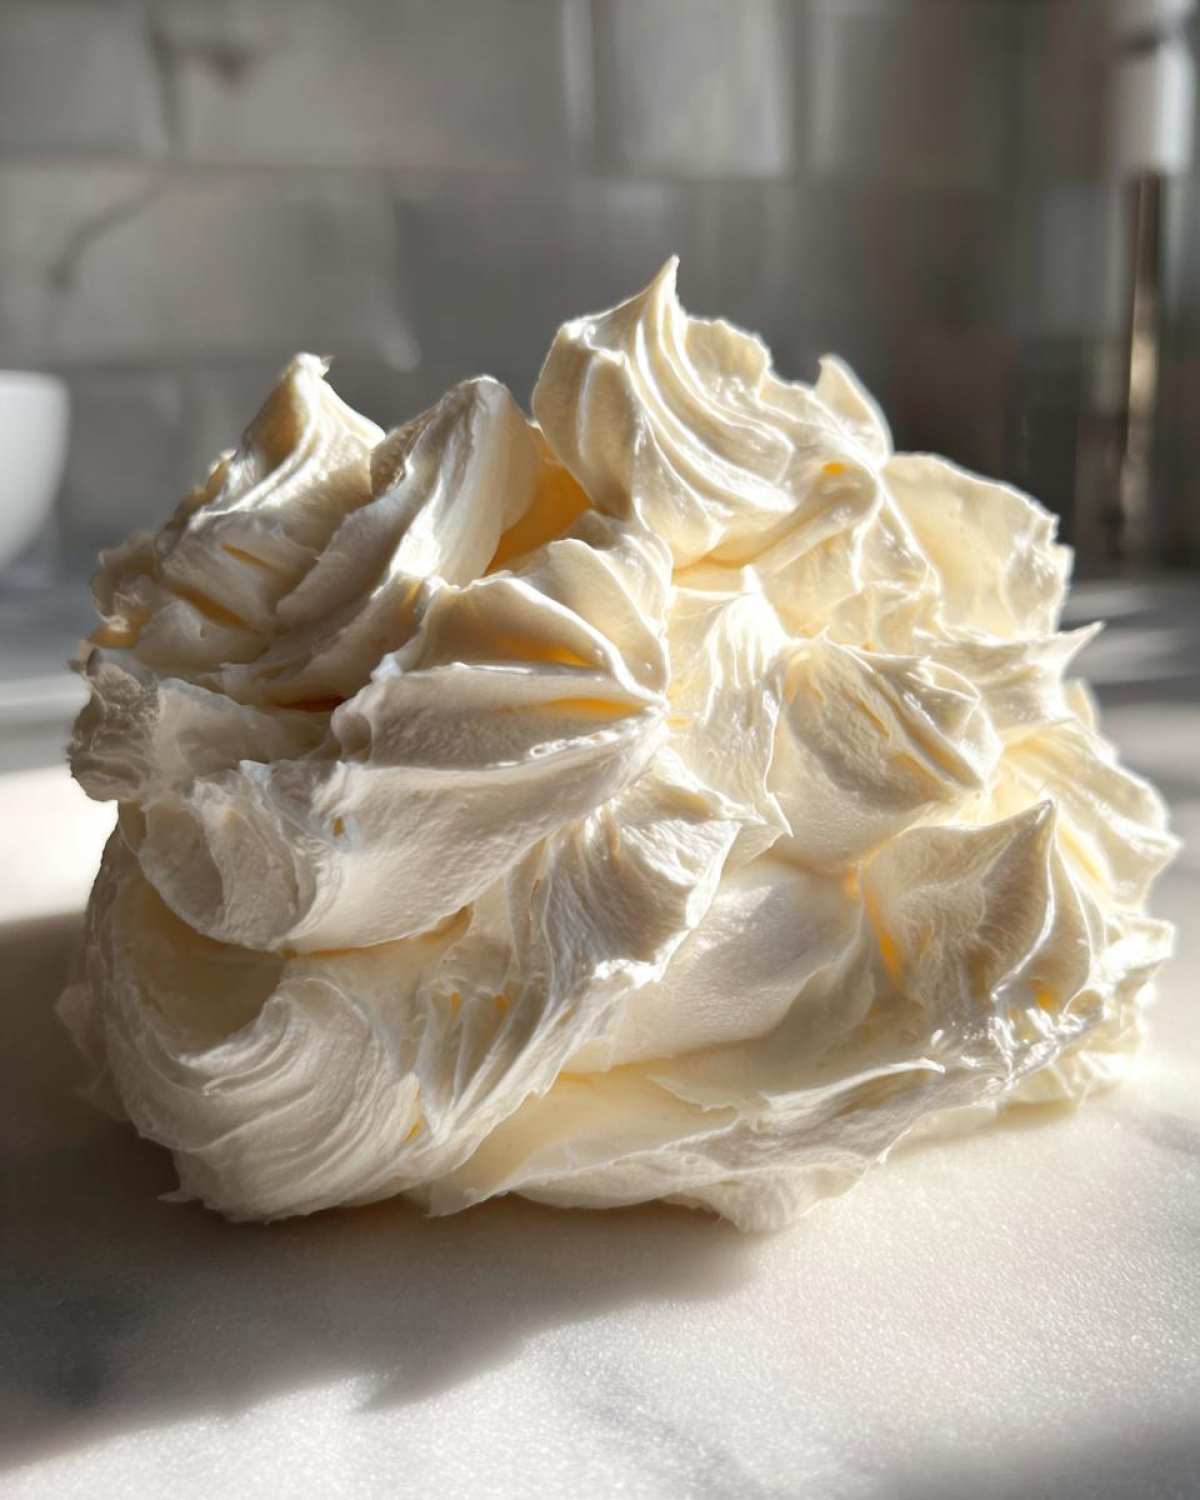
Finally, if you want that structure that lets you create sharp swirls and rosettes, try chilling the mixture for just 10 minutes if it feels too soft before decorating. That little break helps everything settle down beautifully, just like the bakers over at always seem to achieve!
How to Use Your Cream Cheese Frosting for Cinnamon Rolls and Cakes
The joy of this recipe is how darn versatile it is! It shouldn’t just live on one single dessert—it should be your go-to for practically everything that needs a creamy, tangy hug. Forget those heavy, overly sweet alternatives; this one is perfect for a wide variety of sweet treats.
If you’re topping your cinnamon rolls—and oh boy, you absolutely should be—you want the frosting slightly looser than piping consistency. When your rolls are warm (not scorching hot, though!), you want that glaze just thick enough to slowly melt down the sides and pool a little, hitting that savory-sweet perfect spot. I love using this cream cheese frosting for cinnamon rolls straight out of the mixer if I’m spreading it thick.
Now, if you’re making the perfect frosting for red velvet cake or frosting cupcakes, you’ll want it a little stiffer. Keep it at that medium-high whipping stage we talked about, so it holds those beautiful swirls when piped. It’s firm enough to handle sharp edges but still tastes miles better than plain vanilla buttercream!
Storing and Making Ahead Your Cream Cheese Frosting
I know you’re going to want to make a double batch because this cream cheese frosting recipe is so simple and quick to whip up! If you’ve got any leftover from your baking spree, storing it is a breeze, but you have to treat it right when you bring it back out. Since it has real dairy, an airtight container in the fridge is the way to go—it keeps beautifully for about a week there.
When you pull it out later, don’t even think about spreading it straight away! It will be rock solid. Just let it sit on the counter for about 30 to 45 minutes until it softens up gently. Then, toss it back into the mixer with that paddle attachment and run it on medium speed for a minute. A quick re-whip brings back all that gorgeous airiness, making it perfect again, even though it’s a quick homemade frosting to start!
Cream Cheese Frosting Flavor Variations
While this cream cheese frosting sings on its own, sometimes you just need to jazz things up a bit, right? It’s so easy to tweak this basic recipe without messing up the texture that took us so much work to achieve. My favorite thing to mess with is the citrus notes—I absolutely love grating a tiny bit of orange zest straight into the vanilla extract before I add it at the end. Wow, what a difference!
If you want to amp up that irresistible tang we talked about, just add about half a teaspoon of fresh lemon juice along with your vanilla. It brightens everything up! You could also swap out the vanilla for almond extract if you’re pairing this with, say, a pistachio cake or something cozy. Just remember, any liquid addition should be small—we don’t want to sacrifice that lovely pipeable cream cheese frosting structure for a new flavor!
Frequently Asked Questions About Cream Cheese Frosting
I get so many questions echoing the fears I used to have in the kitchen! Don’t worry, we can troubleshoot anything that pops up when you are making your basic cream cheese icing. Below are the things I hear most often from folks striving for that perfect batch.
How do I fix runny cream cheese frosting?
Oh, the dreaded runny situation! This usually happens if your cream cheese or butter were too warm, or maybe you added a touch too much milk when trying to thin it out. Don’t panic! The quickest rescue is adding more sifted powdered sugar, just a half-cup at a time, mixing it in on low speed first, then bringing the speed up until it firms up a bit. If it still won’t stiffen, pop the mixing bowl into the fridge for about 15 minutes. A little chill time helps the fat firm up, and then you can bring it back out and whip it again for that sturdy, pipeable cream cheese frosting finish.
Can I use low-fat cream cheese for this cream cheese frosting recipe?
Listen, I really, really advise against it if you want the best cream cheese frosting. Low-fat or whipped cream cheese has significantly more water content than the full-fat brick style. When you try to beat that water out, you end up with a soup that just won’t set up right. You might end up with a sad, thin cream cheese topping that slides right off your cake. Stick to the full-fat version; it’s the only way to guarantee that rich mouthfeel and structure!
What is the best way to get a tangy cream cheese icing?
For me, the best flavor comes from using really high-quality, full-fat cream cheese—sometimes the brand really makes a difference in the natural acidity! But if you want to lean into that tanginess that makes this such a wonderful tangy cream cheese icing, just add a tiny splash of fresh lemon juice right along with your vanilla extract in the final mixing stage. I only use about a quarter teaspoon, but it really elevates that classic flavor profile perfectly!
Nutritional Snapshot of This Cream Cheese Frosting
I always get asked about the nitty-gritty details, and I believe in being totally transparent with you all here at Forkful Heaven. While my main focus is always flavor and texture for the best cream cheese frosting, it’s only fair to give you a general idea of what’s in that delicious scoop!
Keep in mind that these are just estimates, guys. The exact numbers can shift based on brands, how much sugar you opted to use (did you go for 3 cups or the full 4?), and how big your “serving” really is (I won’t judge if you sneak a test bite right off the spatula!).
Below are the estimates based on the recipe using 3.5 cups of powdered sugar, per serving size of 1/4 cup:
- Serving Size: 1/4 cup
- Calories: 350
- Sugar: 40g
- Fat: 21g (with 13g saturated)
- Sodium: 110mg
- Protein: 3g
It is rich, of course—that beautiful texture comes from real butter and cream cheese! But trust me, when your dessert tastes this magnificent, it’s worth every glorious bite. Enjoy knowing exactly what you’re working with as you spread this creamy goodness!
Print
The Best Classic Cream Cheese Frosting: Smooth, Tangy, and Pipeable
- Total Time: 10 min
- Yield: About 3 cups
- Diet: Vegetarian
Description
You need this recipe for the best classic cream cheese frosting! It is smooth, creamy, and perfectly balanced with a slight tang. This quick, easy frosting holds its shape well for piping on your favorite cakes, cupcakes, or cinnamon rolls.
Ingredients
- 1 (8 ounce) package full-fat cream cheese, softened to room temperature
- 1/2 cup (1 stick) unsalted butter, softened to room temperature
- 3 to 4 cups powdered sugar, sifted
- 1 teaspoon pure vanilla extract
- 1/4 teaspoon salt
Instructions
- Place the softened cream cheese and softened butter into the bowl of a stand mixer fitted with the paddle attachment. Beat them together on medium speed until the mixture is completely smooth and creamy, scraping down the sides of the bowl as needed. This step is key for a no lump frosting.
- Reduce the mixer speed to low. Gradually add the sifted powdered sugar, one cup at a time, mixing until just combined after each addition.
- Add the vanilla extract and salt. Increase the mixer speed to medium-high and beat for 2 to 3 minutes until the frosting is light and fluffy.
- If the frosting seems too thick for spreading, add 1 teaspoon of milk or heavy cream at a time until you reach your desired consistency. If you want a pipeable cream cheese frosting that holds sharp edges, keep it slightly stiffer.
- Use immediately to frost your cakes, cupcakes, or cinnamon rolls.
Notes
- For the smoothest texture, make sure both your cream cheese and butter are truly at room temperature. Cold ingredients cause lumps.
- If you are making this frosting ahead of time, store it in an airtight container in the refrigerator for up to one week. Let it come to room temperature and re-whip it briefly before using.
- To adjust the tanginess, you can slightly decrease the amount of powdered sugar or add a tiny splash of lemon juice along with the vanilla.
- This recipe makes enough frosting for one 9-inch layer cake or about 12 to 15 cupcakes.
- Prep Time: 10 min
- Cook Time: 0 min
- Category: Dessert Topping
- Method: Mixing
- Cuisine: American
Nutrition
- Serving Size: 1/4 cup
- Calories: 350
- Sugar: 40
- Sodium: 110
- Fat: 21
- Saturated Fat: 13
- Unsaturated Fat: 8
- Trans Fat: 0.5
- Carbohydrates: 41
- Fiber: 0
- Protein: 3
- Cholesterol: 65



Comments are closed.