
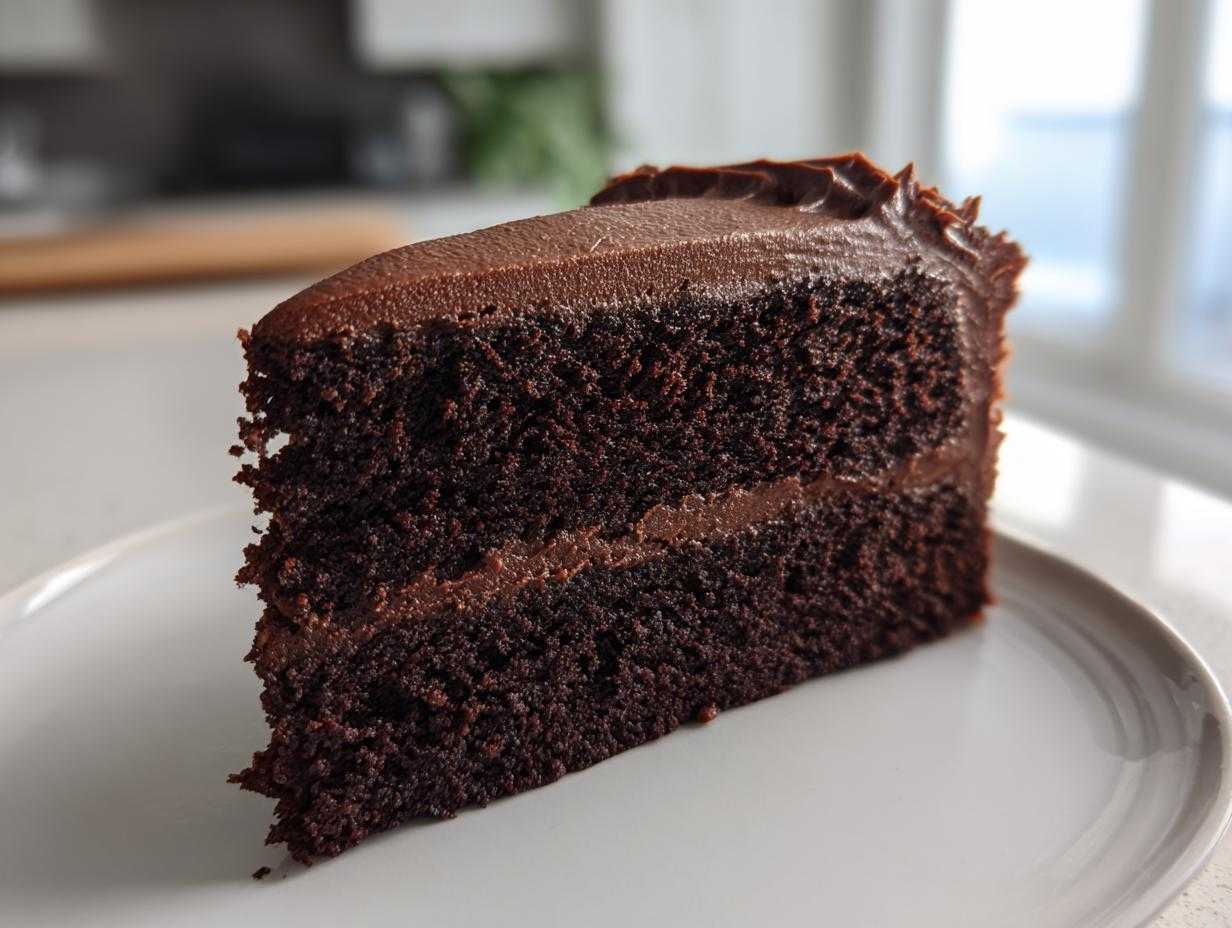
I don’t know about you, but finding that truly perfect chocolate cake has always felt like chasing a unicorn. I mean, who hasn’t been disappointed by a cake that claims to be rich but ends up tasting dry, or one that looks impressive but takes three hours and a chemistry degree to mix?
Well, stop searching right now! Because after years of trying every trick in the book—from adding mayonnaise (yep, I went there) to trying boiling water techniques—I finally landed on the recipe that wins every single time: my Ultimate Moist One-Bowl Chocolate Cake. Seriously, this isn’t just another chocolate cake recipe; this is the blueprint for pure, fudgy happiness.
This beauty delivers that deep, decadent flavor we all crave, and the fact that it comes together in one bowl? It’s a game-changer for busy weeknights or when you suddenly need a showstopper for a birthday. I’ve been relying on this method for years now, and it never fails to wow everyone. Let me show you how simple it is!
Why This Ultimate Moist One-Bowl Chocolate Cake is Your New Go-To
I know, I know, everyone claims their recipe is the best. But trust me on this one—this cake is in a league of its own. It’s the kind of chocolate cake that makes people ask for the recipe immediately. If you’ve been dreaming of a dessert that delivers drama without the dirty dishes, you’ve found it!
- It is genuinely a one-bowl wonder, meaning cleanup is a breeze!
- The texture is unbeatable: deeply rich, fudgy, and never, ever dry.
- It’s sturdy enough to stack high for those big birthday celebrations.
- You can whip up the batter in about 15 minutes flat. Forget complicated layering.
If you’re looking for the secrets behind my other favorite baking recipes, you know I prioritize both flavor and ease!
Achieving Perfect Moisture Every Time
The real magic here is in the liquid, hands down. We use both buttermilk *and* that final addition of hot water or coffee. The buttermilk helps activate the baking soda for a perfect crumb, but that hot liquid blooms the cocoa powder right when you mix it in. This single step is crucial for that incredible depth and that unbeatable moist chocolate cake texture.
Ingredients for the Best Chocolate Birthday Cake
When you look at this ingredient list, you’ll notice something fantastic: it’s mostly pantry staples! You don’t need any fancy extracts or obscure items for this winning recipe. Having your buttermilk and eggs out on the counter for about 30 minutes before mixing always helps everything combine beautifully, even though this is a one-bowl recipe. It just makes the incorporation smoother.
If you’ve managed to bake my famous carrot cake, you have everything you need lurking in your pantry right now!
Ingredients for the Rich Chocolate Cake Batter
Get everything measured out before you even turn on the mixer. This is the secret to keeping that one-bowl cleanup truly simple!
- 1 3/4 cups all-purpose flour
- 1 3/4 cups granulated sugar
- 3/4 cup unsweetened cocoa powder (make sure it’s good quality!)
- 1 1/2 teaspoons baking soda
- 1 1/2 teaspoons baking powder
- 1 teaspoon salt
- 2 large eggs
- 1 cup buttermilk
- 1/2 cup vegetable oil
- 2 teaspoons vanilla extract
- 1 cup hot water or hot brewed coffee
Now, about that hot liquid choice—this is my personal note to you. If you want the absolute deepest, most intensely rich chocolate flavor, use hot brewed coffee instead of hot water. Don’t worry, it won’t taste like coffee! It just wakes up the cocoa powder like nothing else. It’s truly the key to a really decadent result here.
Ingredients for the Chocolate Buttercream Frosting
This frosting is so creamy and pipeable, making it the perfect partner for our incredibly moist cake layers. Make sure your butter is just right—softened should mean you can press an indent easily, but it shouldn’t be greasy or melted!
- 1 cup unsalted butter, softened
- 3 cups powdered sugar (definitely sift this one!)
- 1/2 cup unsweetened cocoa powder
- 1/2 cup milk or heavy cream
- 1 teaspoon vanilla extract
I cannot stress this enough for the frosting: sift that powdered sugar! If you skip this, you’ll end up spending ages beating little lumps out of your beautiful finished frosting. Sifting ensures you get that unbelievably smooth finish on your Chocolate Cake with Buttercream Frosting.
How to Prepare the Ultimate One Bowl Chocolate Cake
Okay, now that we have our beautiful ingredients ready, let’s get this cake into the oven. The reason I call this the Ultimate Moist One Bowl Chocolate Cake is because we truly do dump almost everything into one giant bowl. It keeps the mess manageable, which I appreciate after a long day!
Remember, baking is science, but this recipe is so straightforward that even if you feel like you struggle with baking sometimes, you absolutely can nail this easy chocolate cake from scratch. Pay attention to the timing, and you’ll have a perfect homemade chocolate layer cake ready in no time.
Mixing the Decadent Chocolate Cake Batter
First things first, get your oven preheated to 350°F (175°C). While it warms up, grease and then lightly flour two 9-inch round cake pans. Using both grease *and* flour helps guarantee a non-stick situation!
- In a very large bowl—and I mean large, since we are mixing everything here—whisk together all your dry ingredients first: the flour, sugar, cocoa powder, baking soda, baking powder, and salt. Make sure you whisk them well so the leavening agents are distributed evenly.
- Now, add the eggs, buttermilk, oil, and vanilla extract right into that same bowl. Use an electric mixer on medium speed and beat this for a solid two minutes. You’ll see it start to come together nicely.
- This is the critical, slightly scary part! When you carefully pour in your cup of hot water or coffee, mix it on low speed until it’s *just* combined. Do not overmix!
I want to reassure you right now: the batter will be incredibly thin after that last step. Like, runny, almost soup-like! Don’t panic! This is exactly what we want. That hot liquid is key to creating the moist chocolate dessert texture we are aiming for. It blooms all that cocoa flavor, trust me.
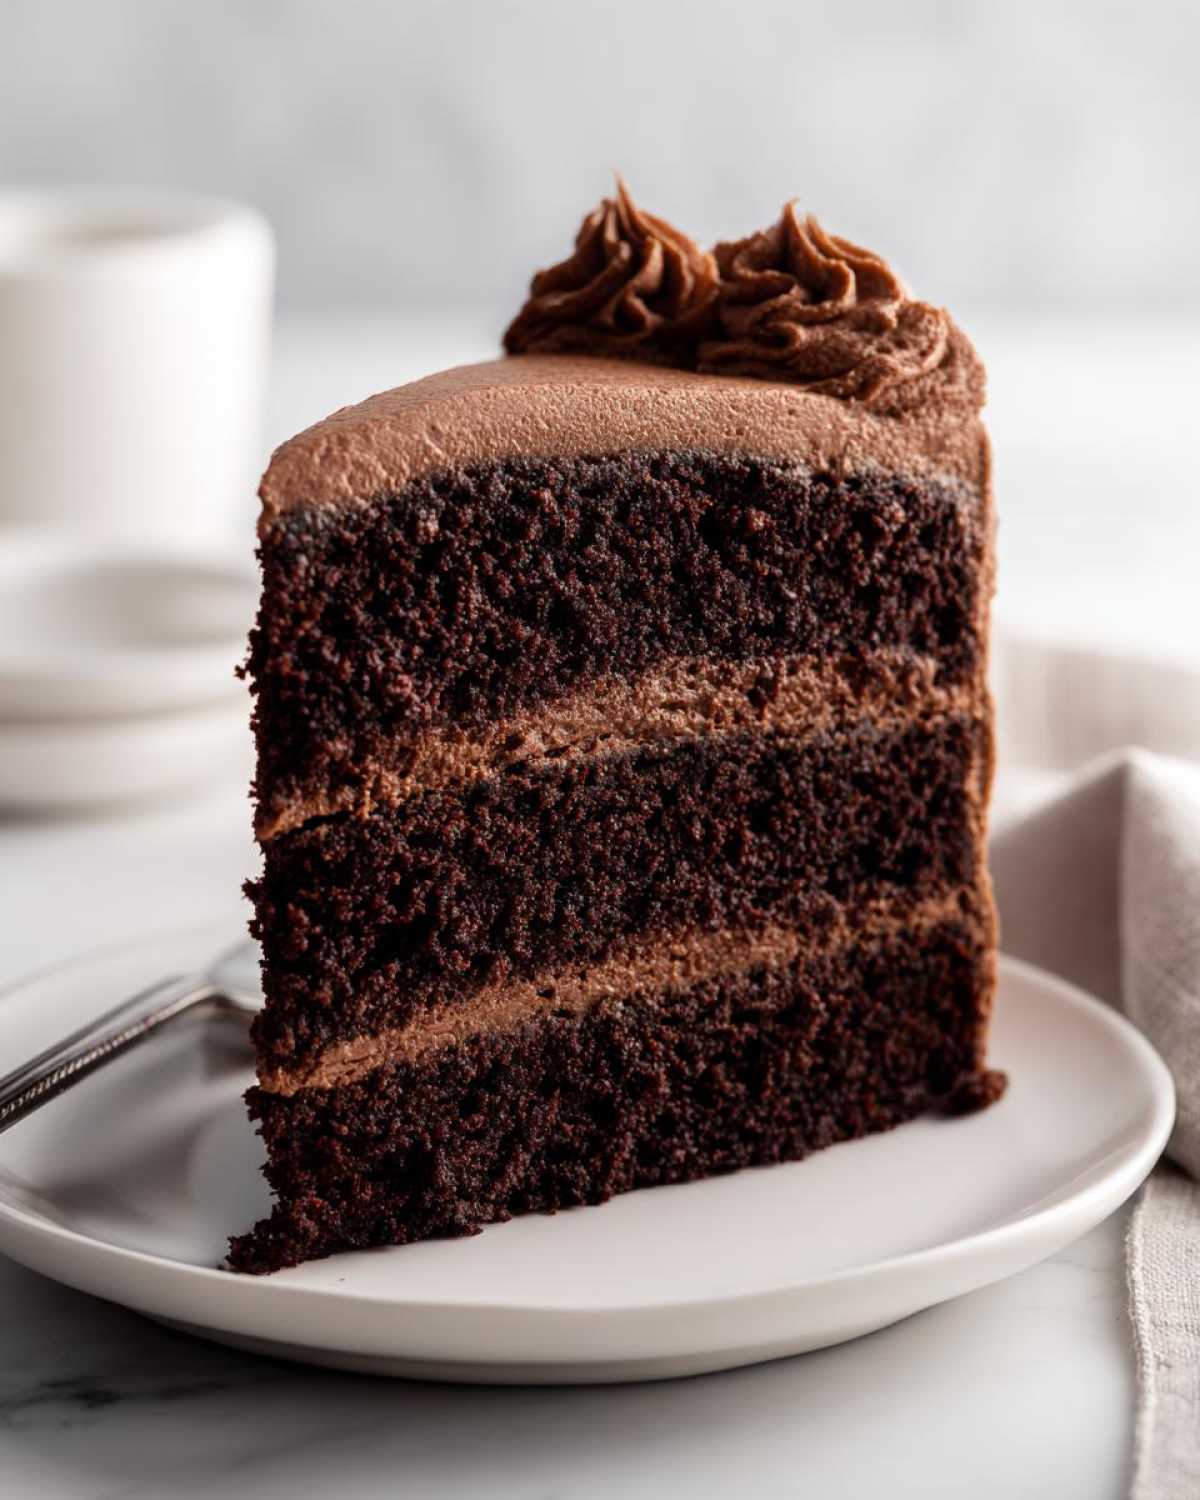
Baking and Cooling Your Homemade Chocolate Layer Cake
Step five is dividing that thin batter evenly between your two prepared pans. It’s best to use a scale if you have one, but eyeballing it works fine too. Just try to keep them as close as possible.
Pop those pans into the preheated oven. They need about 30 to 35 minutes to bake. How do you know they are done? Stick a wooden pick right into the very center of each cake. If it comes out clean, or maybe with just a few moist crumbs clinging to it, they are ready! If you see wet batter, give them another three minutes and check again.
Once they are done, pull them out and let them chill in those pans on a wire rack for about 10 minutes. This little rest helps them firm up. After that, gently invert them onto the rack, and you must let them cool *completely* before you even think about frosting them.
Making the Rich Chocolate Buttercream Frosting
While those layers cool down (patience is a virtue in chocolate cake land!), we whip up the frosting! Grab a clean bowl for your mixer.
- Beat your softened butter until it looks light and creamy—this takes just a minute or two.
- Now, add the sifted powdered sugar and cocoa powder slowly, alternating with splashes of milk or cream. Start the mixer on low so the sugar doesn’t fly everywhere, then bring it up to medium speed once it starts incorporating.
- Keep beating until it’s smooth, and then mix in your vanilla extract.
If you taste it and realize you want a thicker frosting for piping those perfect borders, add a little more powdered sugar, a tablespoon at a time. If it feels too stiff, add a tiny bit more milk. A couple of drops of cream make a huge difference!
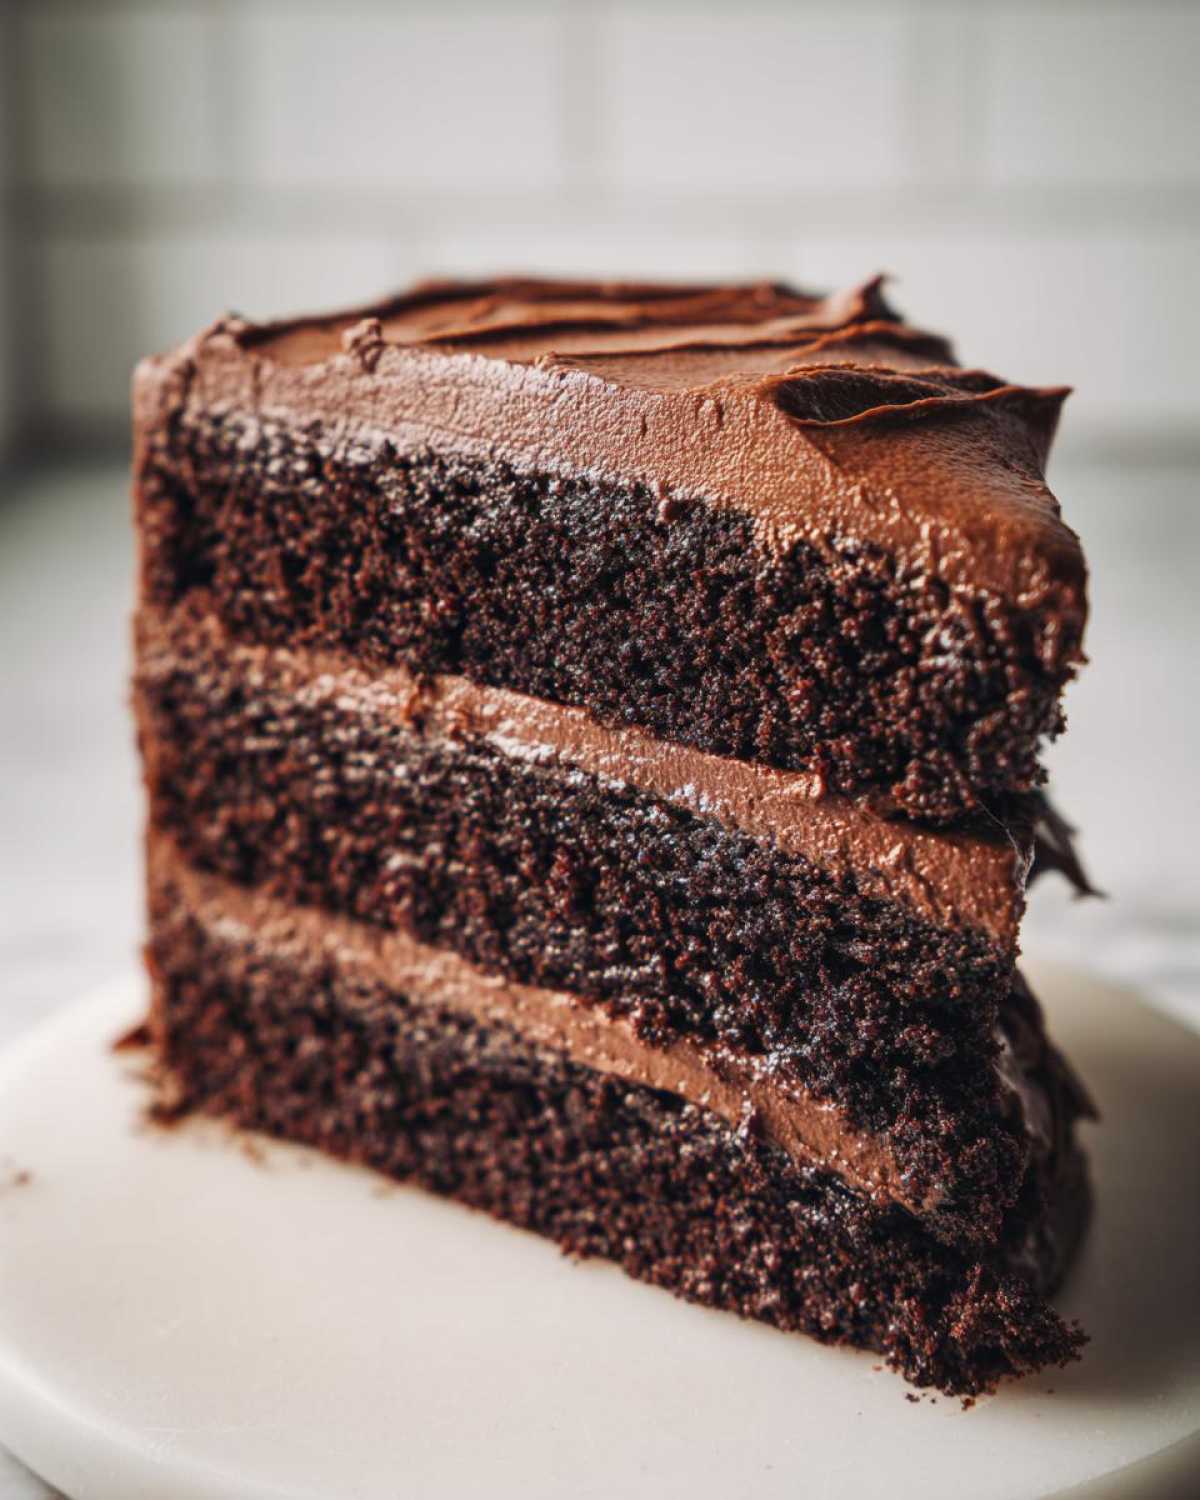
Assembling Your Showstopper Chocolate Cake
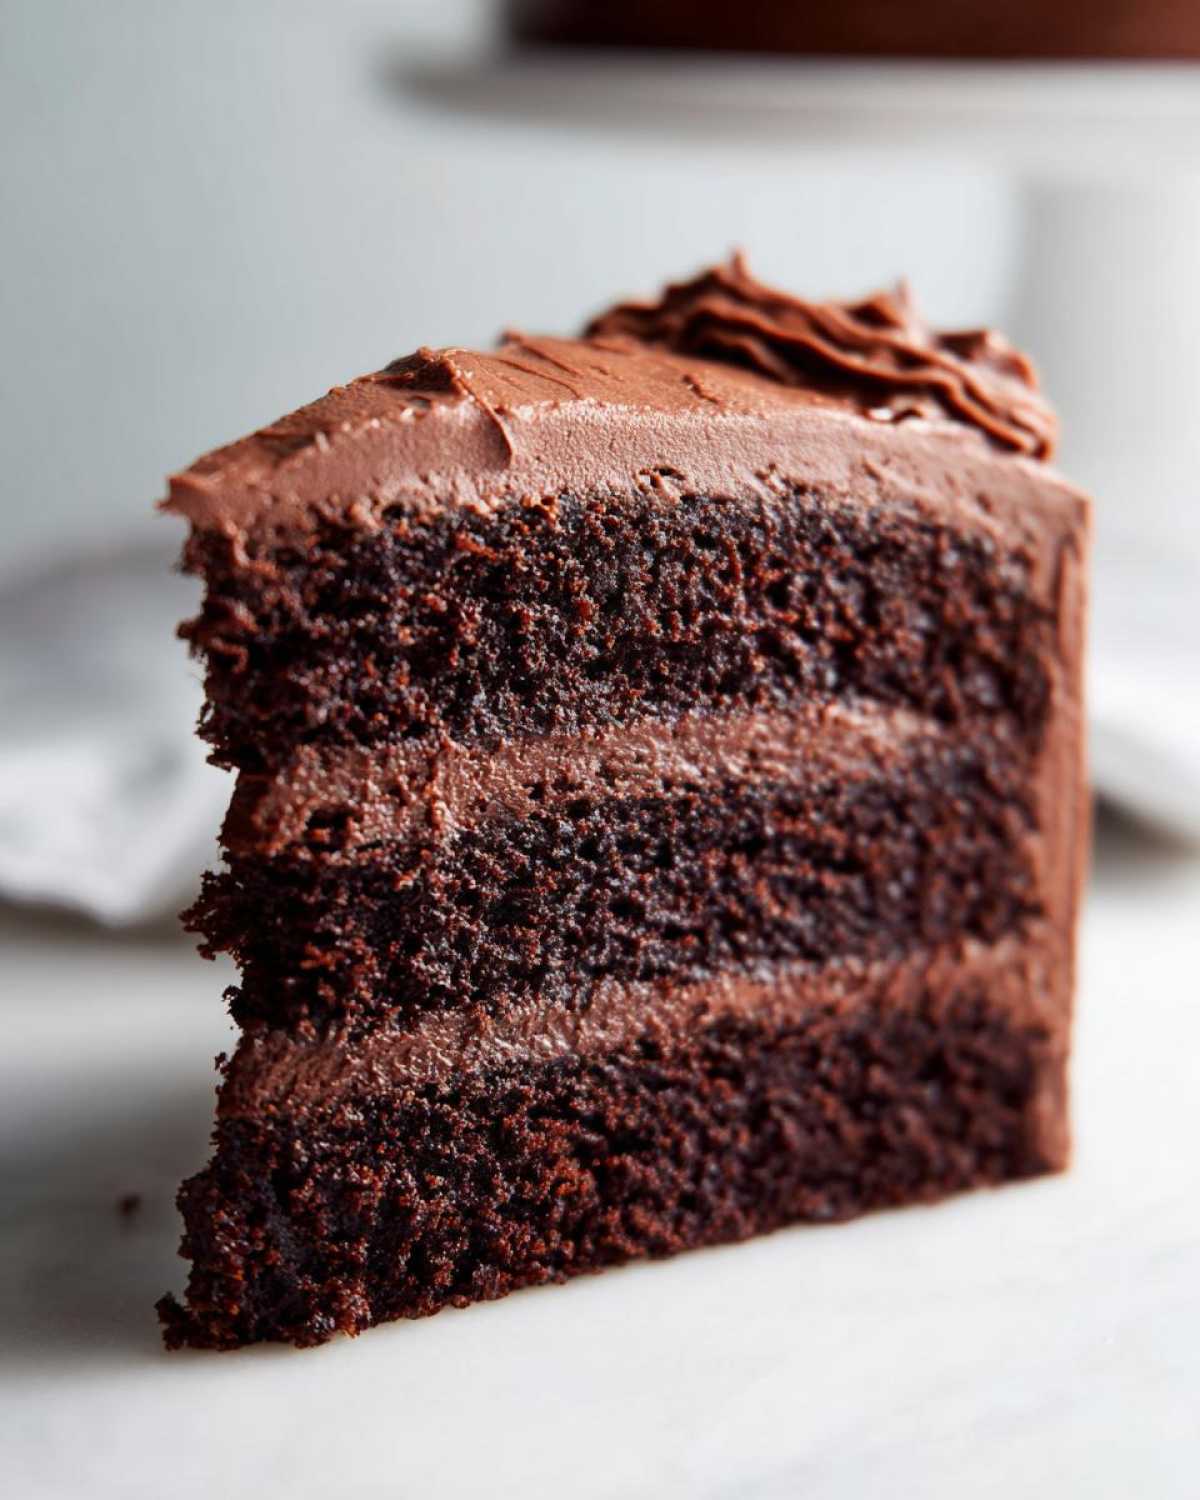
This is the grand finale! Remember my rule about cooling? It bears repeating because it’s the number one reason frosting slides off: the cake layers MUST be completely cool. I mean room temperature, no residual heat sneaking out. If your layers are even slightly warm, that gorgeous buttercream will turn into soup, and your beautiful showstopper chocolate cake will look like a sad, melted mess.
Once cool, place one layer on your serving plate, spread a generous amount of frosting evenly, place the second layer on top, and then frost the top and sides. Then, stand back and admire your incredible, yet unbelievably simple, creation!
Ingredient Notes and Substitutions for this Chocolate Cake
One of the things I love most about this Ultimate Moist One-Bowl Chocolate Cake is how adaptable it is, even while sticking to the core flavors. When I test recipes, I always make notes on substitutions, because let’s face it, we don’t always have every single ingredient on hand at a moment’s notice!
Following professional advice, like the sort you’d find in a well-tested resource [like this guide to creamy frostings], always helps you understand *why* an ingredient matters, not just *what* it is.
The Coffee Question: Why and How to Substitute
As I mentioned earlier, I swear by using hot brewed coffee instead of plain hot water when mixing the batter. It’s not to make the cake taste like a latte, honestly! What it does is pull out the deepest, richest notes hidden in the cocoa powder. It just amplifies that pure dark chocolate flavor.
If you absolutely cannot have coffee—maybe you’re sensitive to caffeine, or maybe you just ran out—you can definitely use hot water. Just know that the resulting chocolate flavor will be slightly less intense. It will still be an amazing, moist chocolate cake, but the coffee just takes it over the top!
The Buttermilk Secret: Making a Quick Substitute
Buttermilk is non-negotiable for the texture here. It’s acidic, and that acid tenderizes the crumb beautifully while reacting with the baking soda for the perfect rise. If you open your fridge and realize you’re out of buttermilk? Don’t fret and run to the store!
Here is the trick I use: take one cup of regular milk—whole milk works best, but 2% is fine—and stir in one tablespoon of white vinegar or fresh lemon juice. Let that mixture sit on the counter for about five minutes. You’ll see it start to curdle slightly. That’s your quick buttermilk, ready to go into the recipe and keep your cake tender!
Oil vs. Melted Butter in the Batter
Notice we use vegetable oil in the cake batter itself, but softened butter in the frosting. That’s intentional! Oil stays liquid at room temperature, which is a huge contributor to keeping the crumb super moist even a day or two later. Butter, when solidified, helps give the cake structure during baking.
If you were aiming for a slightly different flavor profile and wanted to try swapping the oil, you could use melted unsalted butter in the batter, but you might find the cake firms up a touch more when cooled. For the absolute fudgiest result that stays soft, stick with the recommended oil!
Tips for Success with Your Simple Chocolate Cake Recipe
You’ve got the ingredients, you’ve got the one-bowl recipe, but professional bakers know that technique is what separates a good layer cake from a truly showstopping one. Since we are making this easy chocolate cake from scratch, focusing on a few minor technical steps will guarantee you that perfect moist texture!
Don’t sweat the process; these tips are here to boost your baking confidence and ensure you never have a crumbly, disappointing bake day again.
Measuring Your Flour Correctly
This is a sneaky disaster waiting to happen if you aren’t paying attention! If you scoop your measuring cup directly into the bag of flour, you are packing it down, and you could end up using way too much flour. That extra flour sucks up all the moisture we worked so hard to create with the buttermilk and hot water.
Instead, take a spoon and lightly fluff up the flour in its container. Then, gently spoon the flour into your measuring cup until it’s overflowing slightly. Finally, take a straight edge—like the back of a butter knife—and sweep that excess off the top. That light, level scoop is the secret to keeping your cake light and tender.
Respect the Thin Batter: Don’t Overmix!
I know I warned you before, but I’m going to say it again because it’s vital: once you add that hot liquid, *stop* mixing as soon as the streaks of dry ingredients disappear. I mean it. Mix until just combined, and then stop immediately. Seriously, put the mixer down.
Overmixing develops the gluten in the flour, and gluten is fantastic for chewy bread, but it’s the absolute enemy of a tender, moist chocolate cake. Overmixing leads to a tough, dense crumb, and we want fudgy richness here, not rubber!
Pan Size Swap for Sheet Cake Lovers
Most of us love the drama of a layer cake, but sometimes you just need a big, easy sheet cake for a crowd. If you decide to skip the two 9-inch rounds and pour all this batter into a single 9×13 inch pan, you need to adjust your strategy.
Because the batter is deeper in a 9×13 inch pan than in two shallow layers, it will need more time in the oven. I’d start checking around 40 minutes instead of 30. Keep an eye on it, and use that toothpick test we talked about earlier. It’s a brilliant way to turn this into a huge, easy-to-serve dessert!
The Golden Rule: Cool Completely Before Frosting
I harp on this because melting frosting is the saddest sight when you’ve made such a fantastic cake. If your layers are warm, even slightly warm to the touch, your buttercream will immediately start melting and sliding down the sides. It won’t set up nicely, and your beautiful cake will look messy.
The best way to guarantee they are totally cool is to let them sit on the wire rack for at least two hours after baking. Feel free to put them in the fridge unwrapped for 30 minutes if you are in a major hurry, but they must be totally cool before that rich chocolate buttercream even touches them.
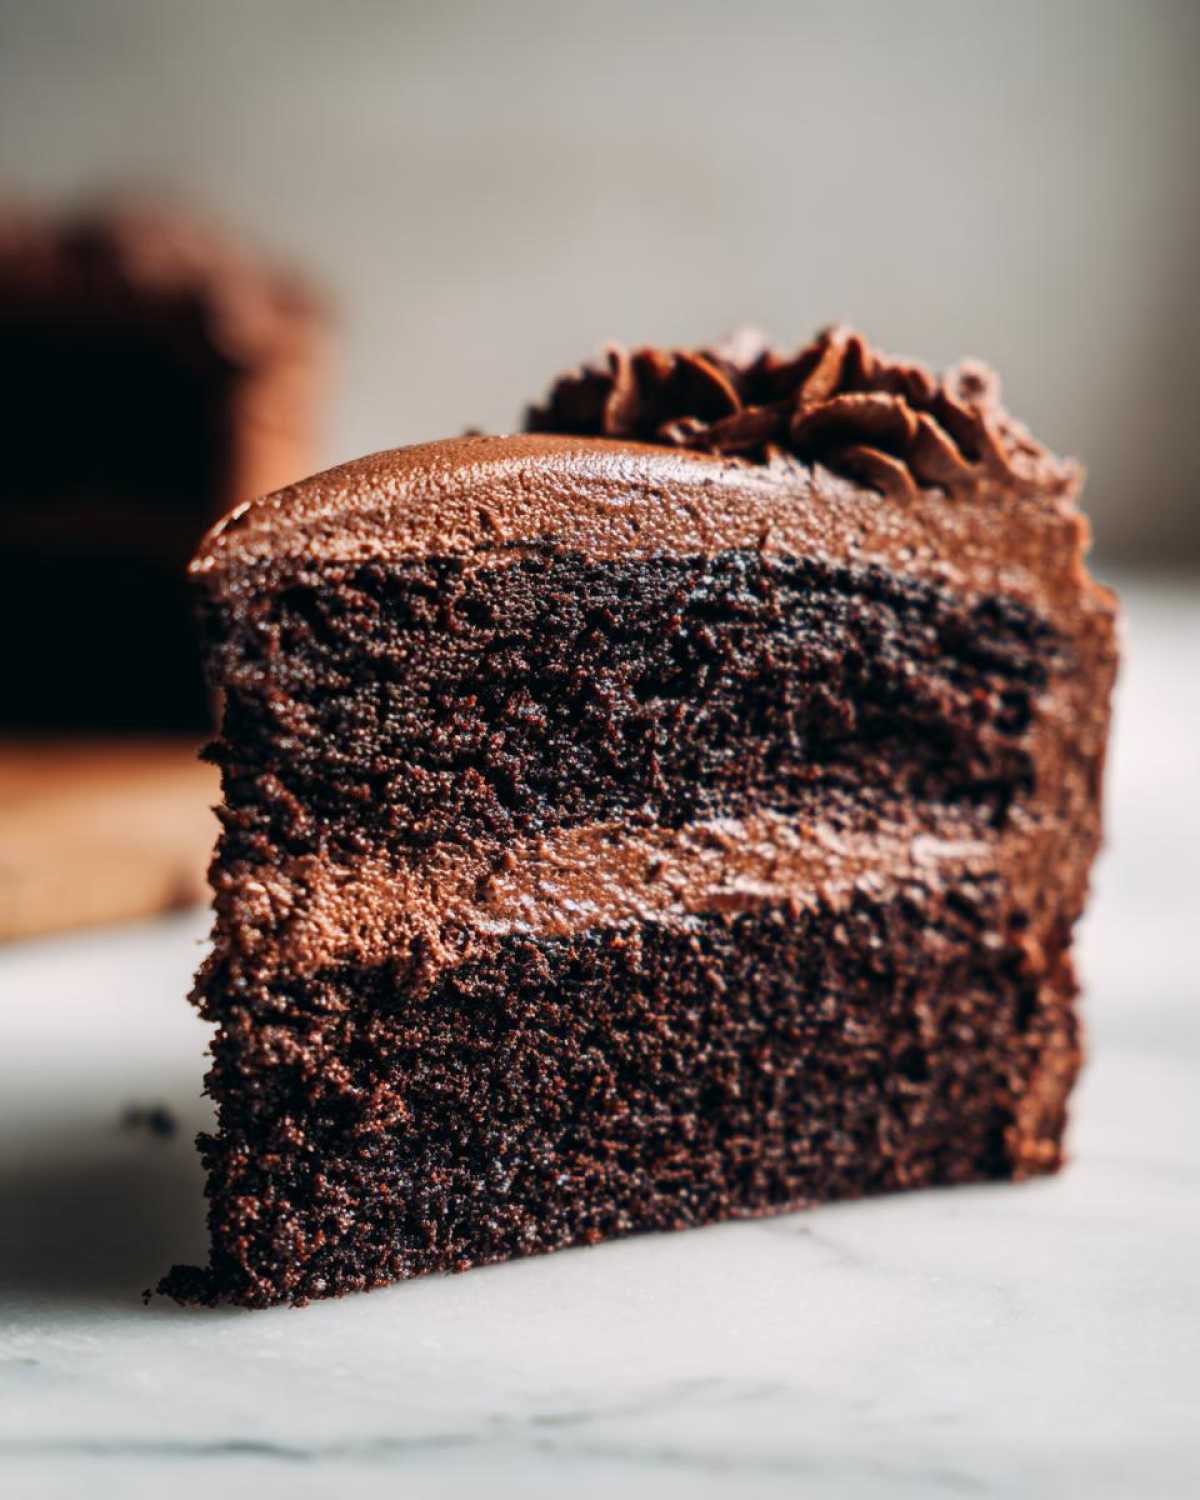
Storage and Reheating Instructions for Leftover Chocolate Cake
Now that you’ve successfully made this glorious, rich chocolate dessert, you need to know how to keep it looking and tasting fantastic for the next few days. Because this is such a moist chocolate cake due to the oil and buttermilk, it keeps really well, but storage is still important!
The storage method actually depends on your climate and how soon you plan to eat the rest of it. If you made the buttercream frosting I shared, we have a couple of different approaches, depending on which of my other quick chocolate recipes you might prefer next time!
Storing the Frosted Chocolate Cake
If you used the rich chocolate buttercream, the cake generally does best stored at cool room temperature, provided your kitchen isn’t sweltering hot! The butter in the frosting keeps it nice and soft.
- Room Temperature: Cover the cake loosely with a large cake dome or place it under a large, overturned mixing bowl. Keep it away from direct sunlight or heat sources. At room temperature, it’s usually good for 2 to 3 days. This keeps the cake layers moist and the frosting perfectly soft for serving.
- Refrigeration: If your kitchen is very sunny or humid, or if you plan to keep it for longer than three days, you absolutely should refrigerate it. Make sure to place the cake in an airtight container or wrap the plate tightly with plastic wrap before chilling. The cold air can dry out exposed cake fast!
How to Bring Chilled Cake Back to Perfection
The downside of refrigeration is that the butter in both the cake and the frosting hardens up a bit. That beautiful fudgy texture you worked so hard to achieve can turn slightly firm in the fridge!
You just need to give it a little time to relax. Seriously, pull the slices—or the whole cake—out of the fridge about an hour before you plan to serve them. Let them sit on the counter. This warming period allows the fats to soften again, and bam! You are instantly back to eating the most decadent chocolate dessert you’ve ever made.
Storing Unfrosted Layers
If you’re making this for a party and want to bake the layers ahead of time—a smart move!—you can absolutely do that. Once the layers are completely cool, wrap each one tightly in plastic wrap, making sure to press the wrap right up against the cut edges to seal in the moisture.
You can store these wrapped layers tightly in the freezer for up to three months! They freeze beautifully. Thaw them overnight in the refrigerator, still wrapped, and then let them warm up on the counter for an hour before you proceed with frosting. This is my go-to trick for keeping my centerpiece cakes fresh.
Frequently Asked Questions About Making Chocolate Cake
It’s totally normal to have questions when diving into a new favorite recipe. I’ve gathered the ones I hear most often about this Moist Chocolate Cake Recipe. If you’ve mastered the basics, these little tweaks should help you become a true expert at producing the Best Chocolate Birthday Cake!
Don’t forget to check out my tips on super fluffy vanilla cupcakes if you want a lighter option next time!
Can I make this chocolate cake recipe without buttermilk?
Oh yes, you absolutely can! As I stressed earlier, the key ingredient we need from buttermilk is that acid to react with our baking soda to keep the crumb beautifully tender. If you don’t have it, you can whip up a quick substitute at home in about five minutes.
Just take one cup of regular milk—whole milk makes the richest result—and stir in one tablespoon of white vinegar or fresh lemon juice. Give it a gentle stir and let it sit on the counter for about five minutes. It will look slightly curdled, which is exactly what you want! That mixture is ready to become your secret weapon for this Classic Chocolate Cake.
What is the best pan size for this chocolate cake?
This recipe is portioned perfectly for two 9-inch round pans to make that lovely layer cake structure. However, if you are serving a larger crowd or just prefer using one pan, you can certainly adapt it!
If you opt for a 9×13 inch baking dish, you’ll have a single, simpler sheet cake, which is wonderful for effortless serving. Because the depth of the batter is greater in one 9×13 compared to two shallow 9-inch pans, you must adjust the baking time. Start checking with your wooden pick around 40 minutes in, rather than the 30-35 minute mark for the layers. It’s still a fast bake for such a huge amount of cake!
Why is my chocolate cake batter so thin?
If you followed the instructions and added that final cup of hot water or coffee, your batter *should* look very thin, almost soup-like. I know this alarms people who are new to this Fudgy Chocolate Cake formula, but please, resist the urge to add more flour!
That thinness is essential because the hot liquid blooms the cocoa powder, which creates an intense flavor and moisture level that a thicker batter just can’t achieve. It’s the primary reason this is such an amazing Moist Chocolate Cake Recipe. Trust the process; it bakes up perfectly!
How do I ensure I get perfectly flat layers?
Flat layers make frosting so much easier—no one wants to carve a dome off the top! While trimming is always an option, there are two things you can do during the bake to help:
- Make sure your oven temperature is spot-on by using an oven thermometer. If the oven is too hot, the outside sets too fast and balloons up in the middle.
- Consider using *baking strips*. These are fabric strips you soak in water and wrap around the outside of your cake pans. They insulate the edges, helping the cake bake more evenly from the center out. They are fantastic for getting flat tops on any Homemade Chocolate Layer Cake.
Nutritional Estimates for This Rich Chocolate Dessert
Okay, let’s talk fuel for a moment. While this Ultimate Moist One-Bowl Chocolate Cake is definitely a treat designed for celebrations and pure decadent enjoyment, I know some of you are curious about the numbers behind this amazing creation. I always strive to be transparent about what goes into my favorite desserts, especially after all that rich chocolate buttercream!
I pulled together the estimates based on the ingredients listed above. Before you dive in, please remember these are just guidelines. Because brands vary and we all scoop ingredients a little differently, consider these figures a general overview for comparison rather than strict legal facts. Think of these numbers as helpful context for enjoying this showstopper!
If you love seeing these kinds of sweet comparisons, you might also enjoy looking over the notes for my chocolate dipped coconut bars!
- Serving Size: 1 slice
- Calories: 450
- Sugar: 55g
- Sodium: 300mg
- Fat: 25g
- Saturated Fat: 12g
- Unsaturated Fat: 13g
- Trans Fat: 0g
- Carbohydrates: 58g
- Fiber: 3g
- Protein: 5g
- Cholesterol: 60mg
As you can see, with that much butter and sugar in the frosting, this is definitely best served as a special treat. But honestly, when a chocolate cake tastes this good, it’s worth every single glorious crumb!
Share Your Ultimate Moist Chocolate Cake Creations
Now that you’ve whipped up what I truly believe is the best chocolate cake recipe on the internet—the ultimate, no-fail, one-bowl wonder—I absolutely need to hear about it! I poured years of tweaking and tasting into this recipe, and knowing that it ends up making someone else’s day special is what keeps me in the kitchen.
So please, don’t be shy! Once you’ve enjoyed a slice (or two) of this decadent chocolate dessert, come right back here and let me know how it turned out in the comments below. Did you go for the hot coffee? How did your frosting hold up?
Leaving a star rating is *huge* for me and for other bakers trying out new recipes—it helps them trust the method just like you do now! If you baked this for a birthday or just because, snap a picture. Tag me on social media, please! I just love seeing my recipes come to life in your kitchens. It truly means the world to me. Happy baking, and thank you for trusting me with your baking adventures!
Print
Ultimate Moist One-Bowl Chocolate Cake with Rich Chocolate Buttercream Frosting
- Total Time: 55 min
- Yield: 12 servings
- Diet: Vegetarian
Description
A simple, one-bowl recipe for a deeply rich and moist chocolate layer cake, perfect for birthdays or any special occasion.
Ingredients
- 1 3/4 cups all-purpose flour
- 1 3/4 cups granulated sugar
- 3/4 cup unsweetened cocoa powder
- 1 1/2 teaspoons baking soda
- 1 1/2 teaspoons baking powder
- 1 teaspoon salt
- 2 large eggs
- 1 cup buttermilk
- 1/2 cup vegetable oil
- 2 teaspoons vanilla extract
- 1 cup hot water or hot brewed coffee
- 1 cup unsalted butter, softened (for frosting)
- 3 cups powdered sugar (for frosting)
- 1/2 cup unsweetened cocoa powder (for frosting)
- 1/2 cup milk or heavy cream (for frosting)
- 1 teaspoon vanilla extract (for frosting)
Instructions
- Preheat your oven to 350°F (175°C). Grease and flour two 9-inch round cake pans.
- In a very large bowl, whisk together the flour, sugar, cocoa powder, baking soda, baking powder, and salt until combined.
- Add the eggs, buttermilk, oil, and vanilla extract to the dry ingredients. Beat with an electric mixer on medium speed for two minutes.
- Carefully pour the hot water or coffee into the batter and mix on low speed until just combined. The batter will be thin.
- Divide the batter evenly between the prepared cake pans.
- Bake for 30 to 35 minutes, or until a wooden pick inserted into the center comes out clean.
- Let the cakes cool in the pans for 10 minutes before inverting them onto a wire rack to cool completely.
- To make the frosting, beat the softened butter in a large bowl until creamy.
- Gradually add the powdered sugar and cocoa powder, alternating with the milk or cream, beating until smooth.
- Beat in the vanilla extract. Add more powdered sugar for a thicker frosting or more milk for a thinner consistency.
- Once the cakes are completely cool, frost and stack them.
Notes
- Using hot coffee instead of hot water deepens the chocolate flavor without making the cake taste like coffee.
- Do not overmix the batter once the wet ingredients are added; this keeps the cake tender.
- Buttermilk is key for moisture; if you do not have buttermilk, add 1 tablespoon of white vinegar or lemon juice to 1 cup of regular milk and let it sit for 5 minutes.
- Prep Time: 20 min
- Cook Time: 35 min
- Category: Dessert
- Method: Baking
- Cuisine: American
Nutrition
- Serving Size: 1 slice
- Calories: 450
- Sugar: 55g
- Sodium: 300mg
- Fat: 25g
- Saturated Fat: 12g
- Unsaturated Fat: 13g
- Trans Fat: 0g
- Carbohydrates: 58g
- Fiber: 3g
- Protein: 5g
- Cholesterol: 60mg


Comments are closed.