

Oh, the sheer tragedy of a dry chocolate cake! I swear, I’ve thrown out more crumbly, sad excuses for dessert than I care to admit before I cracked the code. It’s the ultimate baking quest, isn’t it? We want that deep, dark, almost fudgy richness, but more importantly, we need the moisture. Well, stop searching, friend, because I finally have it: the recipe for the ultimate moist chocolate cake. This isn’t some fussy recipe that requires ten different bowls; this is the one I turn to when I need a guaranteed showstopper that sings with chocolate flavor.
I’ve learned a few things over the years about baking with cocoa powder. Most recipes fall short because they treat the dry powder like just another flour, but cocoa needs gentle coaxing! That first time I switched my standard recipe to incorporate hot liquid, I nearly wept at the difference. It blooms the cocoa in a way that unlocks flavor you just can’t get otherwise.
Why This is the Ultimate Rich and Ultra Moist Chocolate Cake Recipe
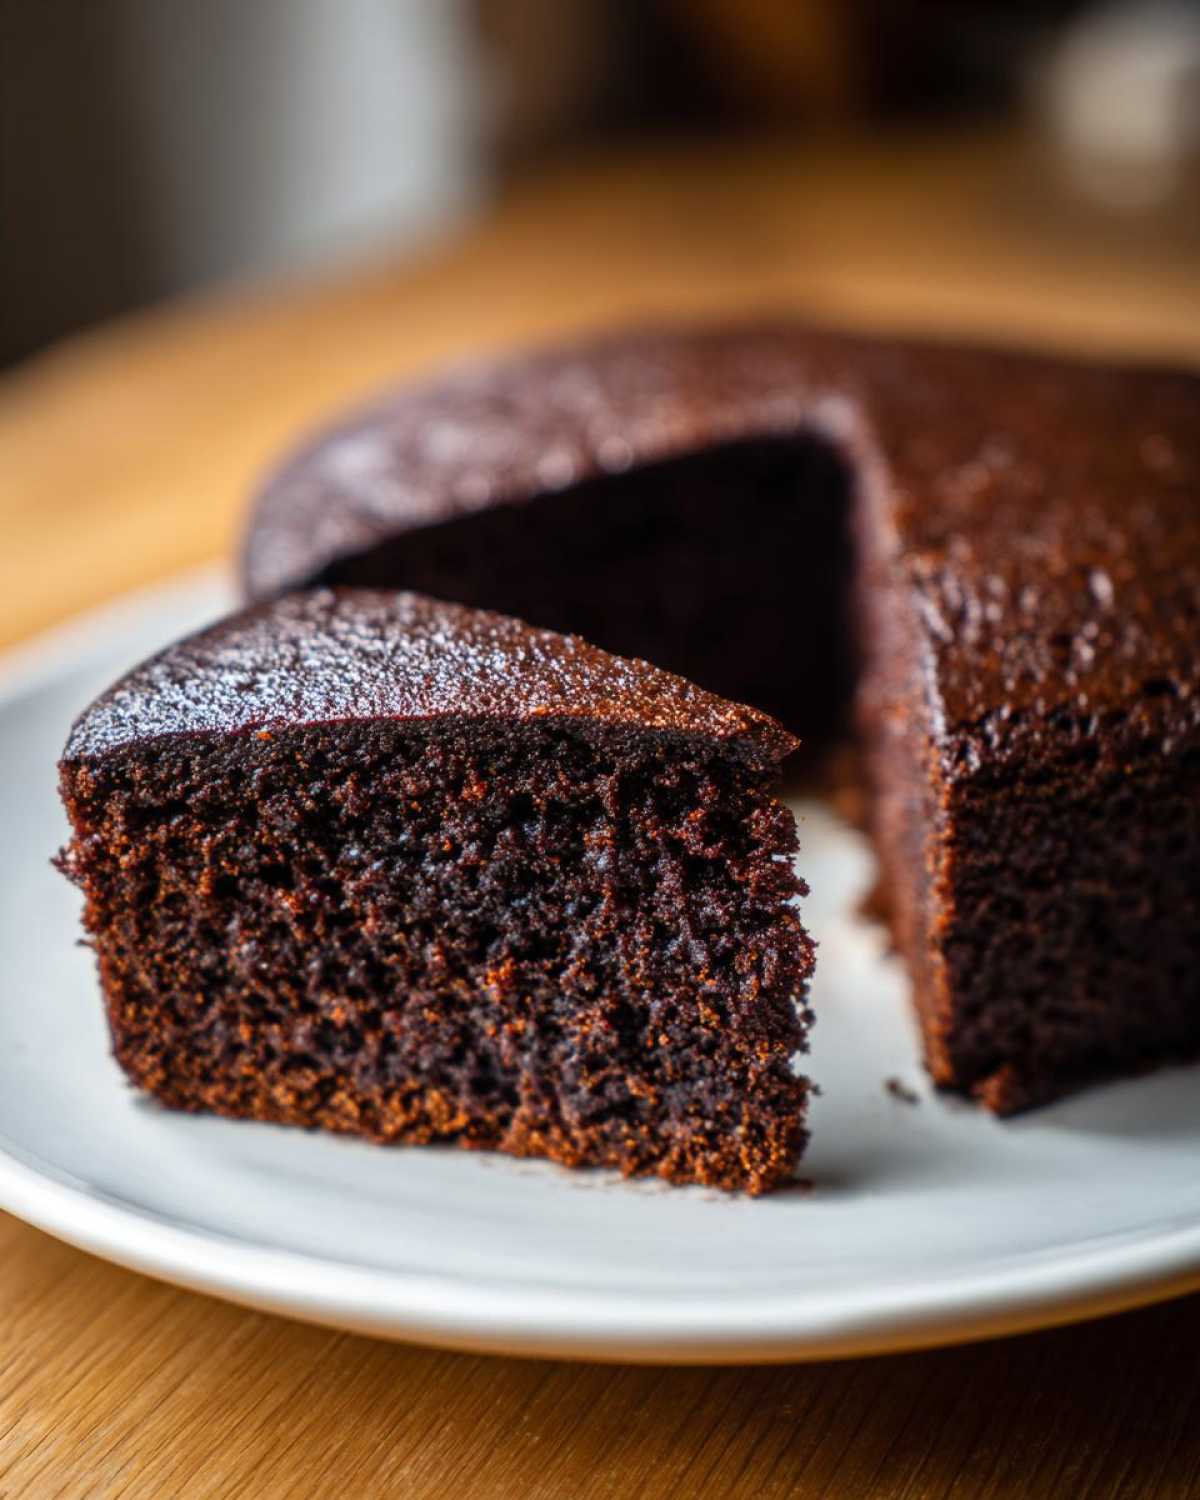
I’m telling you, this is my ultimate chocolate cake recipe. It flies off the table every single time because it holds its moisture for days—seriously, the leftover slices are almost better the next day! I’ve made every chocolate cake variation under the sun, but this one is the winner for reliable texture. Forget those cakes that feel like fine sandpaper; we are aiming for something that melts when you eat it.
The secret weapon here is twofold: buttermilk and hot coffee. These aren’t optional add-ins; they are the backbone of this tender crumb chocolate cake. The buttermilk reacts with the baking soda to give you lift, but its slight acidity also tenderizes the flour, preventing that tough, chewy texture we hate. Then, you pour in piping hot coffee right at the end.
Key Factors for a Moist Chocolate Cake
That hot coffee does something magical. It completely dissolves the cocoa powder, meaning you get deep, dark chocolate flavor dispersed evenly through every molecule of the batter. This process is called blooming, and trust me, it’s what takes you from a good chocolate cake to a spectacular one. It also loosens the batter enough to keep everything ultra-moist. We’re aiming for a batter that looks suspiciously thin before it goes into the oven—that’s how you know you’re on your way to success!
If you want to see how I use buttermilk in other recipes to keep things fluffy, check out my guide for the best moist and fluffy blueberry muffins. It’s the same principle!
Ingredients Needed for This Moist Chocolate Cake
Getting the right ingredients ready before you start mixing is half the battle won when it comes to baking a perfect cake. Because this recipe comes together so fast—it’s practically an easy homemade chocolate cake—you don’t want to be scrambling for things once the mixer is on. I always lay everything out on the counter first, making sure that buttermilk and eggs are sitting out getting close to room temperature. That small step helps everything emulsify better, which translates directly to a smoother batter.
You’ll need basic pantry staples, but those liquids are the stars! Remember, we’re building flavor and moisture right from the beginning. If you need something amazing to put on top once this beauty is baked, you should check out my recipe for the best cream cheese frosting; it’s divine over dark chocolate.
- 2 cups all-purpose flour
- 2 cups granulated sugar
- 3/4 cup unsweetened cocoa powder (use good quality here!)
- 2 teaspoons baking soda
- 1 teaspoon baking powder
- 1 teaspoon salt
- 1 cup buttermilk, room temperature
- 1/2 cup vegetable oil (neutral flavor is key)
- 2 large eggs, room temperature
- 1 teaspoon vanilla extract
- 1 cup hot brewed coffee (seriously, make it strong!)
Step-by-Step Instructions for the Moist Chocolate Cake
Making this cake from scratch honestly feels like cheating because the assembly is so straightforward. You throw everything in a bowl, mix it up, and boom—you get a cake so rich and moist chocolate cake perfect for stacking. I love baking this version because it’s truly a from scratch chocolate cake but requires way less fuss than traditional recipes. Just pay close attention to the order we’re mixing things in; that’s where the magic happens!
First things first: get that oven going! Preheat your oven to 350°F (175°C). And don’t forget to prep your pans right away. I grease mine well and then dust them lightly with flour. If you want to see a video of my ultimate pan-greasing method—which I inherited from my great-aunt who baked professionally—you can check out my carrot cake tutorial; the pan prep is exactly the same!
Mixing the Dry and Wet Components
Grab your biggest bowl! We start simple: whisk together the flour, sugar, cocoa powder, baking soda, baking powder, and salt until everything looks uniformly mixed. No clumps allowed! Next, you’re going to add the three liquid elements that aren’t the coffee: the buttermilk, oil, eggs, and vanilla. Pop the mixer on medium speed—this isn’t a quick stir. You need to beat this for a solid two minutes. This mixing time ensures we’re starting to build that great emulsion that keeps the final texture so inviting.
Now for the exciting part that makes this an easy homemade chocolate cake: the hot coffee. Carefully pour that hot brew right into the batter while the mixer is running on low speed. It’s going to look crazy thin—almost watery—but please resist the urge to add more flour! That liquid texture is exactly what ensures you get that beautiful, tender crumb chocolate cake we are aiming for.
Baking and Cooling the Moist Chocolate Cake Layers
Once everything is just combined—and I mean *just* combined, don’t overmix now!—divide that thin batter evenly between your two prepared 9-inch cake pans. Pop them gently into the preheated oven. They usually bake for 30 to 35 minutes at that 350°F temperature. You know they’re done when a wooden pick inserted right into the center comes out clean, or maybe with a few moist crumbs clinging to it. Remember, we’re going for moist, not wet batter!
This cooling step is vital for maintaining that stunning texture. Let the layers cool right there in the pans on a wire rack for about 10 minutes. This lets the structure set up just enough so they don’t collapse when you invert them. After that brief rest, carefully turn them out onto the rack to cool completely before you even think about frosting. If you frost them even slightly warm, trust me, you’ll end up with a gooey, sliding mess.
Expert Tips for the Best Moist Chocolate Cake Results
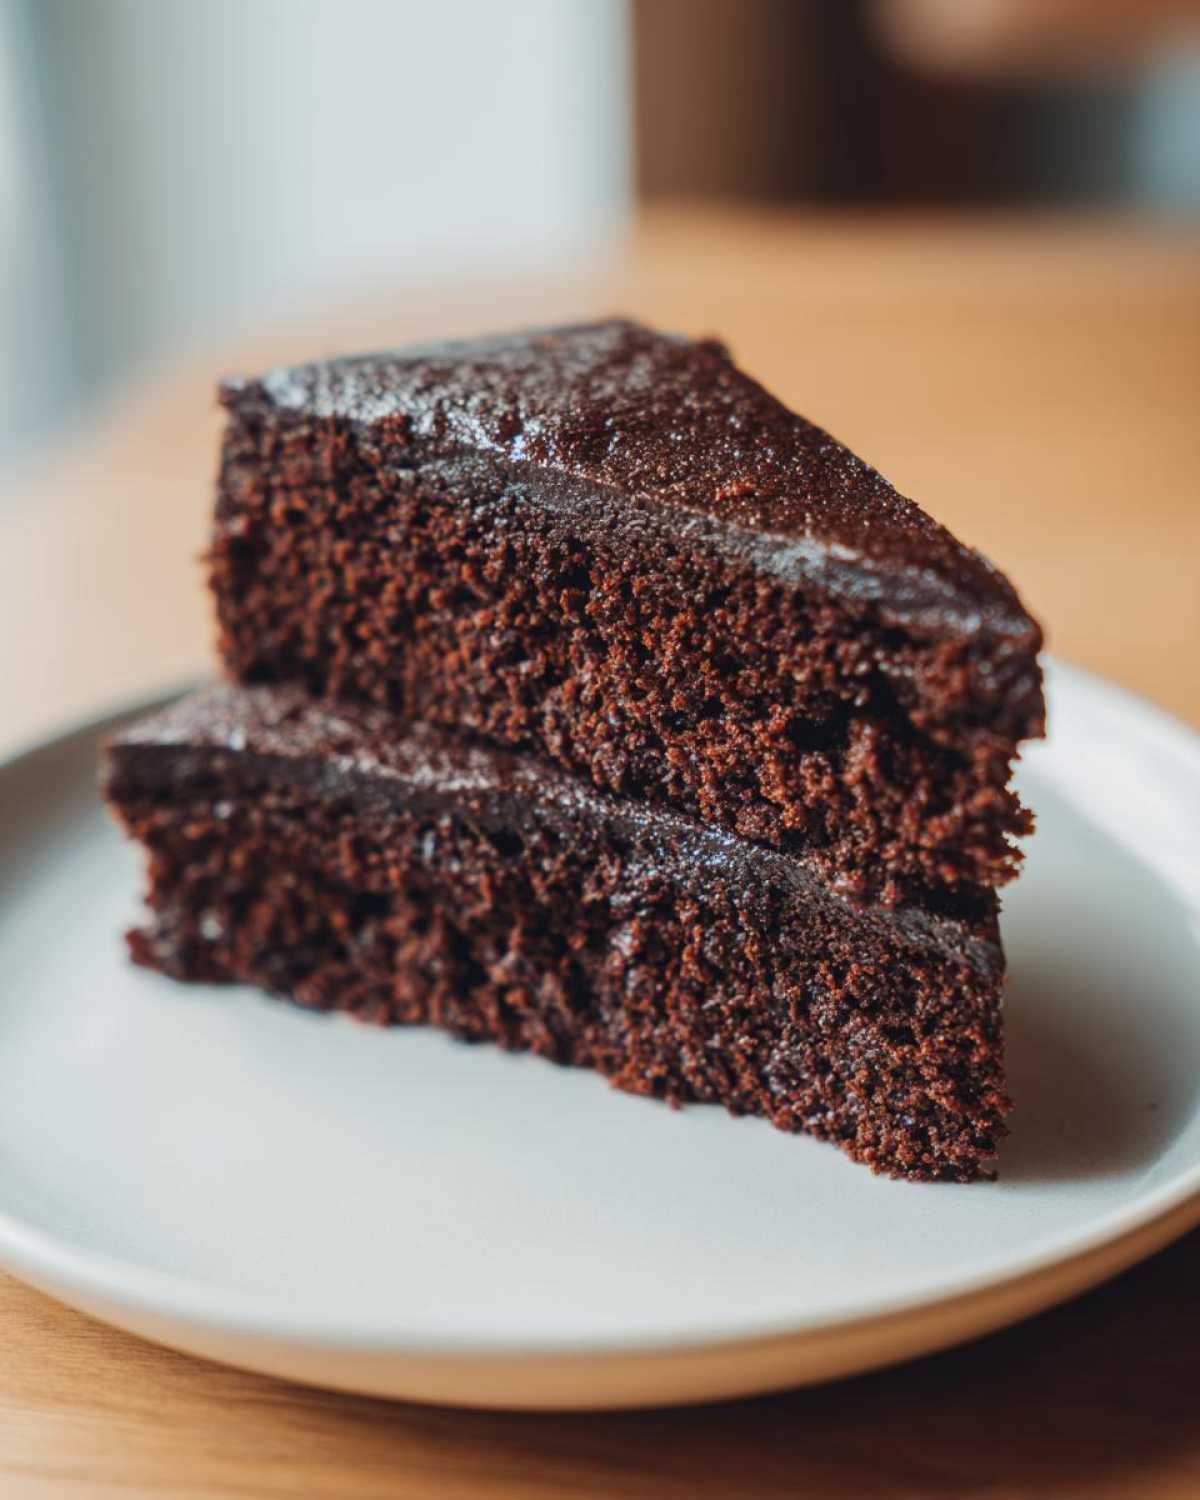
If you want this to be your definitive, no fail chocolate cake recipe, a few tiny tweaks make a huge difference. I’m religious about these steps now because I’ve seen the payoff in texture. While the instructions get you 99% of the way there, these little points of expertise are what push this cake over the edge into absolute decadence.
When it comes to checking for doneness, don’t rely 100% on the toothpick test alone. Once the timer goes off, gently press the very center of the cake with your finger. Does it spring back slightly? That’s great! If the cake is pulling away from the edges of the pan by even a millimeter, it’s usually time to pull it out right then. A few stray crumbs clinging to the toothpick are perfect; if it’s totally dry, you’ve gone a little too far!
Ingredient Temperature Matters for a Moist Chocolate Cake
I know it’s tempting to just grab the eggs and buttermilk straight from the fridge, but resisting that urge is essential for achieving that true velvety texture. When cold ingredients meet creamy fat (that melted butter/oil mixture), they tend to seize up and curdle slightly, which ruins the smooth emulsion we worked so hard to create in the mixing stage. Room temperature eggs and buttermilk mix together seamlessly with the fats, creating tiny, stable air bubbles that keep the overall cake wonderfully tender.
If you forget to pull them out, I have a quick hack for the eggs: place them in a bowl of warm (not hot!) tap water for five minutes. It warms them just enough to get them ready for baking duty. For more tips on nailing temperatures in baking, you should look at my guide for the best moist and fluffy vanilla cake; the science is the same!
Frosting and Finishing Your Decadent Chocolate Dessert
Now you have two breathtakingly moist, dark chocolate layers cooling—what’s next? Frosting, of course! This deeply chocolatey cake deserves something equally luxurious. Because the cake itself is so rich and inherently tender, I tend to pair it with a frosting that has a little bit of tang or richness to cut through the sweetness, otherwise, it all becomes a little too heavy.
My absolute go-to for this recipe is a good, thick chocolate buttercream, but if you want something truly divine that makes it a show-stopping decadent chocolate dessert, you have to try a browned butter frosting. The nutty undertones just sing against the bitterness of the cocoa powder.
If you’re looking for a super easy, silky smooth frosting that complements the richness of the dark chocolate perfectly, you absolutely must see my recipe for the best cream cheese frosting recipe. It’s foolproof and perfectly balances that intense chocolate flavor.
Ideas for a Bakery Style Chocolate Cake Presentation
To take this cake from ‘great homemade’ to ‘I bought this at a fancy bakery,’ presentation really matters. You don’t need complicated piping skills, honestly! Sometimes the simplest touch makes the biggest impact.
If you’ve made your layers level, a simple spread of dark chocolate ganache over the top followed by letting it slowly drip down the sides is fantastic. This gives you that popular look reminiscent of modern chocolate drip cake ideas without needing a fancy squeeze bottle. Just pour slowly! Or, for something even easier, you can just stack the layers and dust the very top generously with high-quality unsweetened cocoa powder just before serving. That deep matte finish is stunning against bright white cream cheese frosting!
Storage and Reheating Instructions for Moist Chocolate Cake
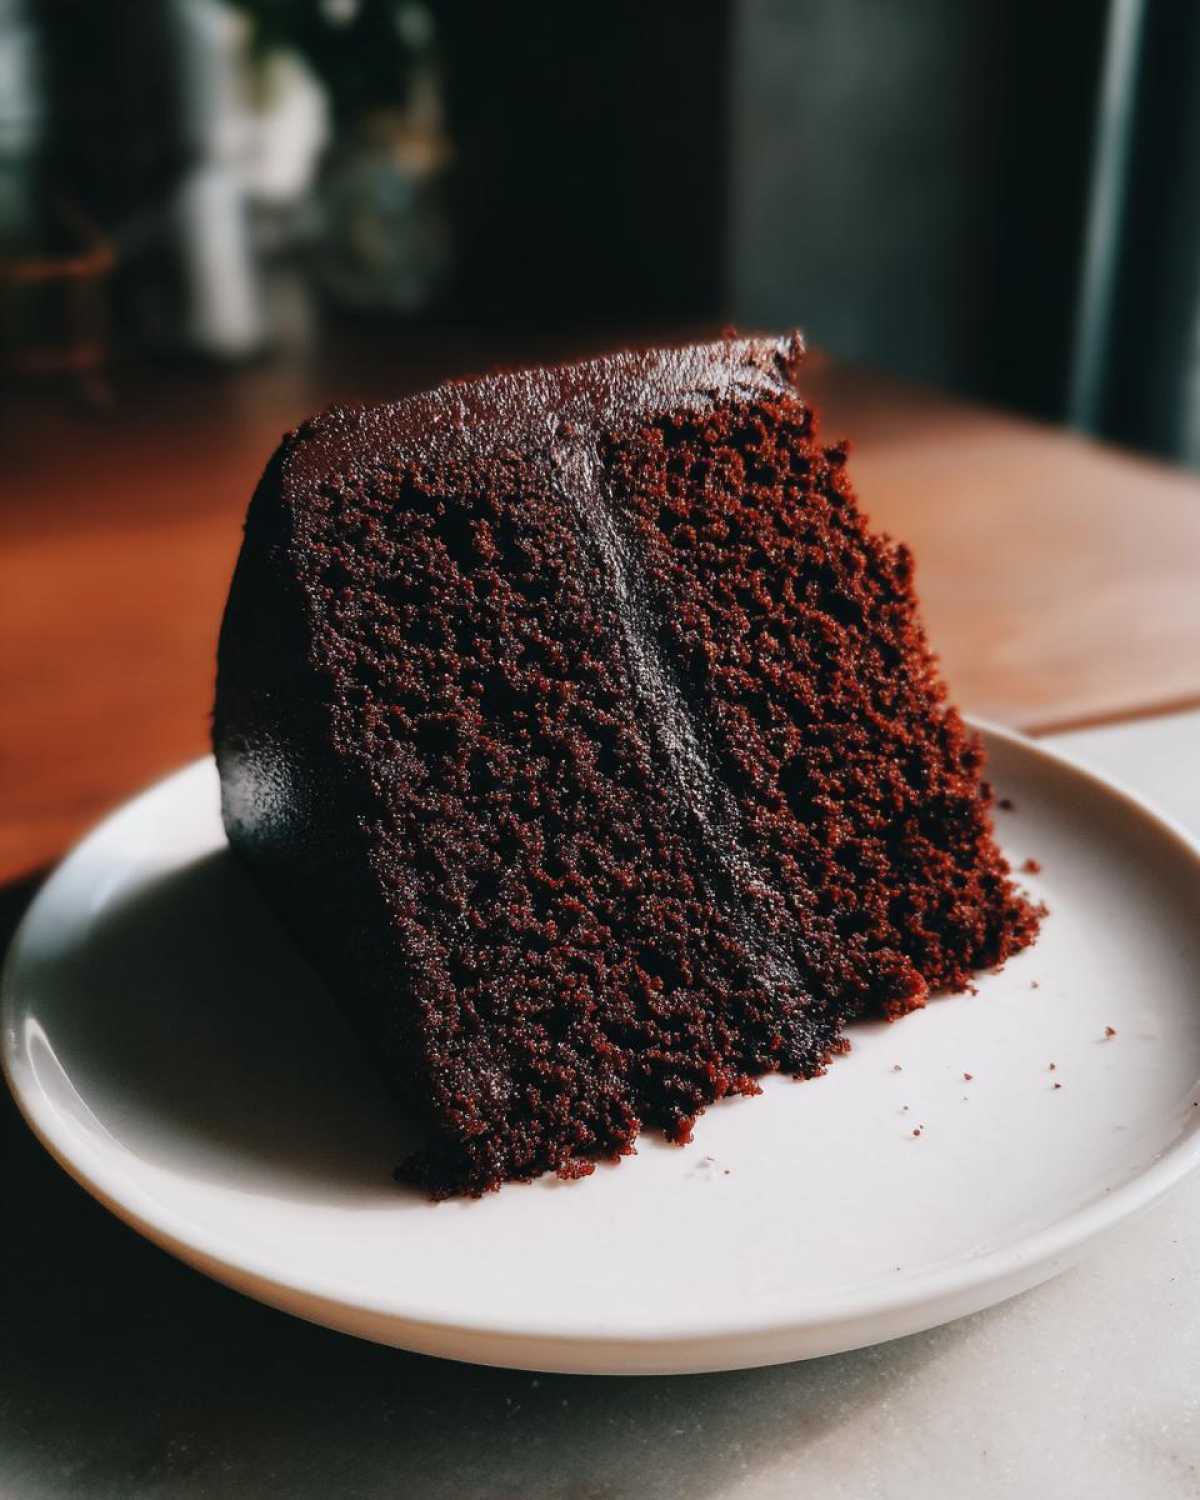
Okay, so you’ve managed to create the world’s most perfect, moist chocolate cake. Hurray! Now, the really important part: keeping it perfect. This cake is so rich, and because of that liquid content, it can dry out faster than a standard butter cake if left uncovered on the counter. We need to treat it right so that second slice tastes just as dreamy as the first one!
If you frosted it, that dictates how you store things. If you used a standard buttercream, you can generally leave the whole cake covered on the counter for a day if your kitchen isn’t too warm. But for keeping it truly fresh for more than 24 hours, the fridge is our best friend. Just make sure you wrap the whole cake tightly in plastic wrap first, or place it in an airtight container. This locks in all that beautiful steam and moisture we worked so hard to create.
If you only cut a few slices, wrap the exposed cut edges tightly with plastic wrap before putting the whole thing back in the container. That little barrier makes a huge difference!
Now, what if you put a slice in the fridge and it gets a little chilled? That’s totally normal, but no one wants stiff cake! To refresh a slice, you just need a touch of warmth and moisture. I usually wrap the slice loosely in a damp (not soaking wet!) paper towel and micro-wave it for about 10 seconds. That little burst of steam softens the crumb right back up. It’s the best trick for enjoying this leftover goodness without any dryness creeping in!
Troubleshooting Common Moist Chocolate Cake Issues
Even with the best recipe, baking sometimes throws us a curveball, right? Don’t panic if you run into a little hiccup. Most issues with a cake like this—which is loaded with moisture—come down to very small mistakes in mixing or oven temp. My goal here is to make sure you get the moist chocolate cake every single time, so let’s talk about how to fix the two big problems I used to have.
If your cake comes out feeling dry around the edges, that usually means one of two things: either your oven runs a bit hot, or you baked it just a minute or two too long. Since this cake is meant to be gooey, those extra minutes make a huge difference! Next time, start checking with that toothpick around the 28-minute mark.
Why Did My Cake Sink in the Middle?
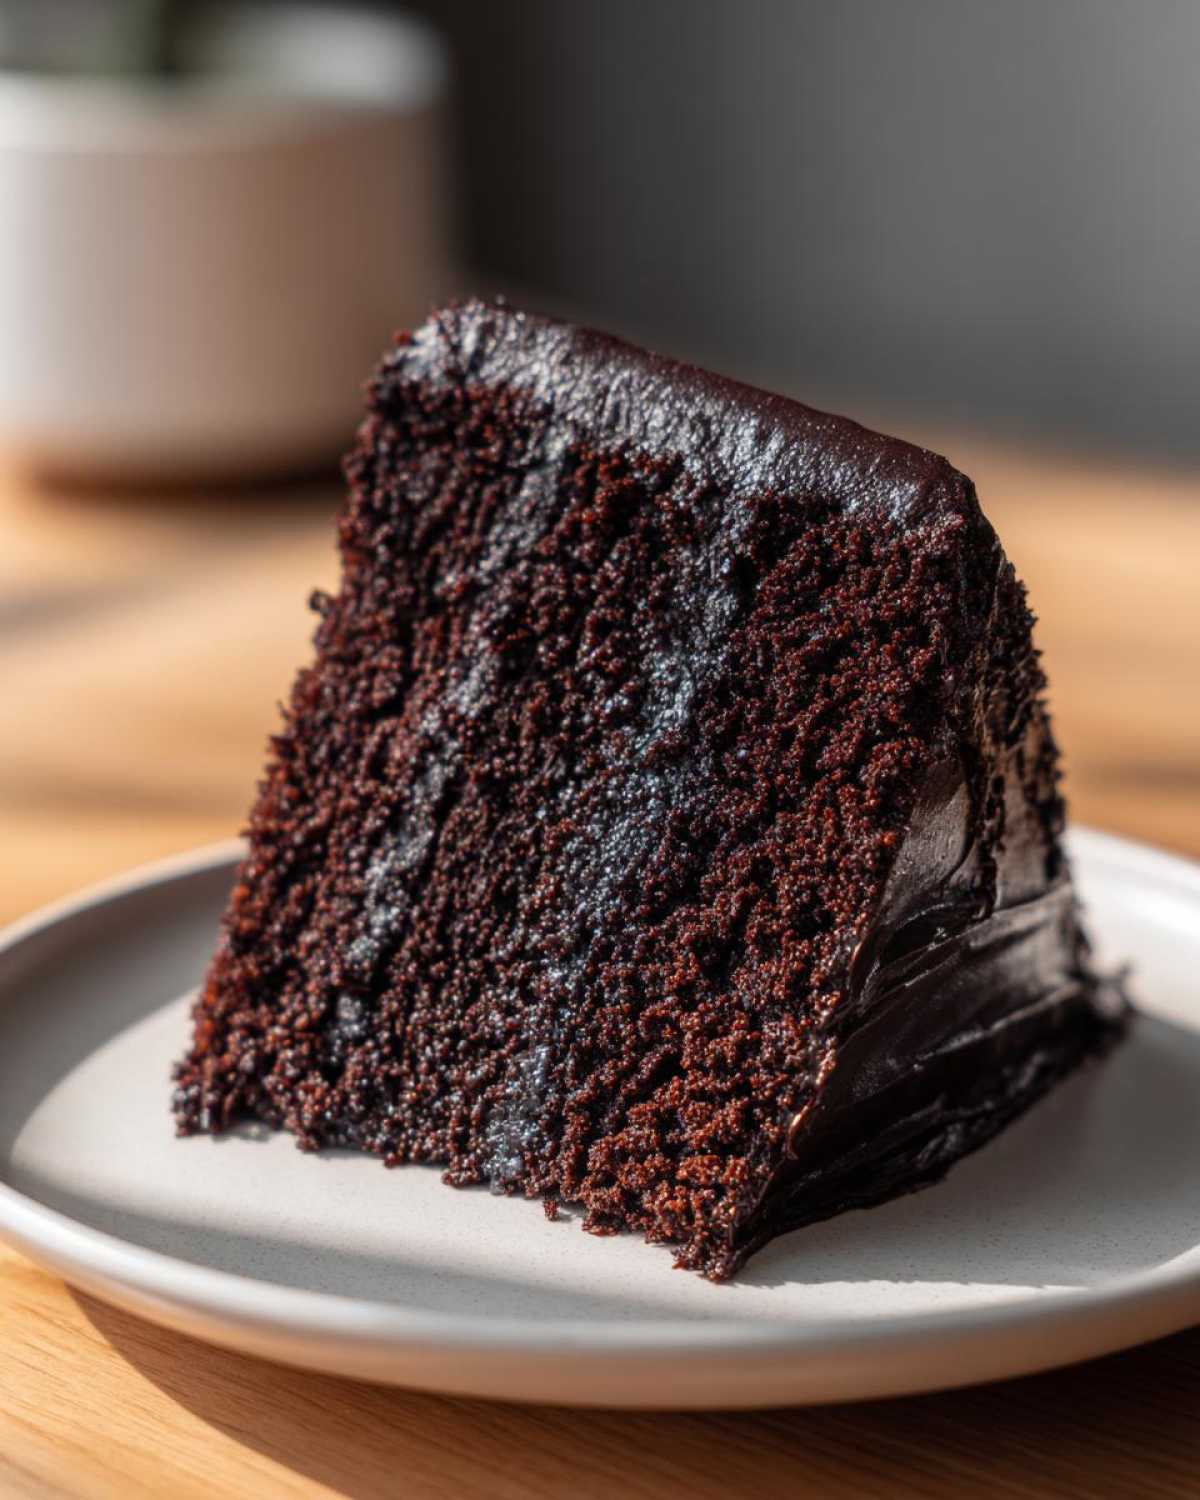
This often happens when the structure hasn’t had time to set up before you take it out, or if you over-mixed after adding the hot liquid. When the batter is that thin, it needs a firm structure underneath it! Make sure you beat those eggs and sugar for the full two minutes before adding the rest, and definitely don’t over-agitate the batter once that hot coffee is in there—we don’t want to deflate all those delicate air bubbles we purposefully created. A sunken center just means this specific moist chocolate cake needed 60 more seconds in the oven to fully solidify!
Addressing Dry Edges on a Super Moist Cake
If you have dry, almost tough edges, but the center is perfect, we need to look at your pan prep. Did you grease and flour adequately? More importantly, did you use the right size pan? If the pan is too shallow, the batter bakes too quickly, especially around the sides. This recipe is sized perfectly for two 9-inch rounds, so stick to that for the best ever moist chocolate cake experience. If you must use 8-inch pans, you absolutely need to lower your oven temperature by 15 degrees and add maybe 10 minutes to the bake time.
What If My Cake is Too Fudgy, Not Fluffy?
If you want a very fudgy chocolate cake recipe, then congrats, you nailed it! But if you were aiming for a slightly lighter, more ‘layer-cake’ lift, you might have used too much cocoa powder or too little sugar, which concentrates the density. However, usually, this means you went heavy on the coffee! Remember, the coffee is very strong. If you accidentally used strong espresso instead of brewed coffee, or used 1.5 cups instead of 1 cup, you’re going to get a denser, almost brownie-like result. It’s still delicious, but next time, stick exactly to that 1-cup measure!
Frequently Asked Questions About This Moist Chocolate Cake
I always get asked the same few things when people successfully bake this recipe for the first time. It’s usually about substitutions because, let’s be honest, sometimes you run out of buttermilk mid-bake! I’ve gathered the most common queries here so you can make this moist chocolate cake perfectly, batch after batch.
Can I skip the hot coffee and just use milk?
Oh, please try not to! While you *could* use regular milk, you would completely lose the depth of flavor that makes this my best ever moist chocolate cake. The hot coffee doesn’t make the cake taste like coffee; it activates the cocoa powder, making the chocolate taste richer and deeper. Plus, the hot liquid is crucial for getting that ultra-thin batter consistency that results in a truly tender crumb chocolate cake.
Can I use this batter to make chocolate cupcakes instead?
Yes, absolutely! Cupcakes bake much faster than full layers, so be ready to pull them out early. Fill your liners about two-thirds full. They usually take about 18 to 20 minutes at 350°F. They cool quickly and make perfect little grab-and-go portions of decadent chocolate dessert. This is also a great way to practice if you are nervous about doing a full layer cake for the first time!
How long can I store the baked cake layers before frosting?
This is great for make-ahead bakers! Once the layers are completely cool, you can wrap each one very tightly in plastic wrap. I like to put them inside a zip-top bag after that, just for extra security against freezer burn or dryness. Stored this way, they will stay beautifully moist for up to two days on the counter, or you can freeze them for up to two months. When you’re ready to frost that rich dark chocolate cake, just let the layers thaw on the counter for an hour or two while still wrapped—the condensation stays outside the cake, keeping it super moist!
Is there a way to make this recipe less sweet?
If you prefer something less sweet, reducing the sugar feels risky in a cake this rich, but it can be done! I suggest reducing the granulated sugar by no more than a quarter cup to start. Since the cocoa powder is unsweetened, that sweetness is really important to balance the bitterness. For a different flavor profile entirely, you might want to check out my recipe for easy honey bran muffins; it uses honey instead of sugar, which provides a totally different kind of sweetness.
Estimated Nutritional Snapshot
Now, before you dive into that gorgeous, super moist chocolate cake, I always like to throw in this little disclaimer about the numbers. Since none of us are using *exactly* the same brand of cocoa or the same type of oil, these figures are just a guideline. They are based strictly on the cake recipe itself, without any frosting—because let’s be real, frosting adds its own whole nutritional profile!
Treat this information as a vague estimation for a single slice serving size. Once you start slathering on that thick buttercream or ganache, the calories go up, but hey, that’s part of the joy of baking a truly decadent chocolate dessert!
- Serving Size: 1 slice
- Calories: Around 350 (cake only, no topping!)
- Sugar: Approximately 40g
- Fat: Around 16g total
- Protein: 5g
If you are looking for a much lighter treat that still feels indulgent, you might want to check out how I handle sugar in recipes like my easy honey bran muffins. But for this deep, rich chocolate fix? Dig in!
Share Your Ultimate Chocolate Cake Experience
Honestly, the best part of sharing a recipe like this—my top trick for the moist chocolate cake—is seeing your results! I spend so much time tweaking and testing to make sure you get that perfect, reliable texture, and I just love knowing it worked in your kitchen too.
Did you manage to get that beautiful, tender crumb? Did the hot coffee really deepen the chocolate flavor as much as I promised? Don’t be shy! Come back here and drop a comment below letting me know how it went. A simple rating helps other bakers trying to decide if this recipe is worth their precious oven time.
And please, if you snapped a picture of your stacked, frosted layers—especially if you did a cool drip effect—tag me on social media! I absolutely adore seeing how you finish the decorating on this decadent chocolate dessert. Seriously, seeing your beautiful bakes makes my day!
If you’re looking for a non-dessert project that is just as satisfying when it comes out perfectly, you should take a peek at my guide for the easy chicken fried rice—it’s my go-to quick dinner!
Print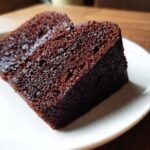
Ultimate Rich and Ultra Moist Chocolate Cake
- Total Time: 45 min
- Yield: 12 servings
- Diet: Vegetarian
Description
A straightforward recipe for a deeply chocolatey, tender, and very moist layer cake, perfect for any occasion.
Ingredients
- 2 cups all-purpose flour
- 2 cups granulated sugar
- 3/4 cup unsweetened cocoa powder
- 2 teaspoons baking soda
- 1 teaspoon baking powder
- 1 teaspoon salt
- 1 cup buttermilk, room temperature
- 1/2 cup vegetable oil
- 2 large eggs, room temperature
- 1 teaspoon vanilla extract
- 1 cup hot brewed coffee
Instructions
- Preheat your oven to 350°F (175°C). Grease and flour two 9-inch round cake pans.
- In a large bowl, whisk together the flour, sugar, cocoa powder, baking soda, baking powder, and salt.
- Add the buttermilk, oil, eggs, and vanilla extract to the dry ingredients. Beat with an electric mixer on medium speed for two minutes.
- Carefully pour the hot coffee into the batter and mix on low speed until just combined. The batter will be thin.
- Divide the batter evenly between the prepared cake pans.
- Bake for 30 to 35 minutes, or until a wooden pick inserted into the center comes out clean.
- Let the cakes cool in the pans for 10 minutes before inverting them onto a wire rack to cool completely before frosting.
Notes
- Using hot coffee deepens the chocolate flavor and helps create a very moist crumb. Do not skip this step.
- Buttermilk is essential for tenderness; substitute with milk mixed with 1 tablespoon of white vinegar if needed, letting it sit for 5 minutes before use.
- For a bakery style finish, use a rich chocolate ganache or buttercream frosting.
- Prep Time: 15 min
- Cook Time: 35 min
- Category: Dessert
- Method: Baking
- Cuisine: American
Nutrition
- Serving Size: 1 slice
- Calories: 350
- Sugar: 40g
- Sodium: 320mg
- Fat: 16g
- Saturated Fat: 3g
- Unsaturated Fat: 13g
- Trans Fat: 0g
- Carbohydrates: 50g
- Fiber: 3g
- Protein: 5g
- Cholesterol: 45mg


Comments are closed.