

Crispy Nori Chips: Your Easy Homemade Seaweed Snack
I don’t know about you, but I’m completely hooked on those store-bought nori chips. They’re just so satisfyingly salty and crispy! For the longest time, I’d grab a pack whenever I saw them, but then I got to thinking, what if I could make my own crispy seaweed snacks at home? It turns out, it’s incredibly simple!
My journey with food started young, in my uncle’s lively Texas restaurant. He showed me how food brings people together. That passion stuck with me. Now, I love sharing that same joy through cooking.
Making your own nori chips is surprisingly easy. You only need a few pantry staples. Plus, you get to control exactly what goes into them. It’s a fantastic way to enjoy a light, flavorful snack without all the extra stuff you might find in store-bought versions. Get ready to discover how simple and rewarding it is to create your own delicious nori chips!
What You’ll Need to Make Nori Chips (Crispy Seaweed Snacks)
Gathering your ingredients is the first step to making these delightful nori chips. You won’t need much, which is part of their charm! We’re going to use four sheets of nori, which is that thin, dried seaweed you often see in the international aisle of your grocery store. For our super simple seasoning, you’ll need two tablespoons of good quality olive oil, half a teaspoon of salt, and a quarter teaspoon each of garlic powder and onion powder. These simple pantry staples are all you need to transform plain nori into crispy, savory bites!
Core Ingredients for Your Nori Chips
Let’s talk about the stars of our show. First, we have the nori sheets. They’re dried seaweed, delicate and packed with that amazing umami flavor. You can usually find them near the sushi ingredients at your supermarket. Then there’s olive oil; it helps the seasonings stick and gives our nori chips a lovely crispness when baked. I always opt for a nice extra virgin olive oil for a little extra depth. The salt, garlic powder, and onion powder are our flavor powerhouses. They might seem basic, but together, they create a savory backbone that is just irresistible. I remember my uncle always saying that the best flavors come from simple, quality ingredients, and that’s so true for these nori chips!
Optional Flavor Boosters for Nori Chips
If you’re feeling a bit adventurous, don’t hesitate to jazz up your nori chips! A tiny pinch of cayenne pepper added to the oil mixture will give them a subtle kick that’s surprisingly addictive. Or, for a lovely nutty crunch and a visual appeal, sprinkle some sesame seeds over the seasoned nori before baking. These little additions can really make your homemade nori chips your own!
Crafting Your Nori Chips (Crispy Seaweed Snacks) Step-by-Step
Making these delicious nori chips is a breeze, and the whole process, from start to finish, takes about 15 minutes! You’ll be prepping for just 5 minutes, and the baking time is a quick 10 minutes. Let’s get started on creating your own crispy seaweed snacks.
Getting Your Oven and Baking Sheet Ready
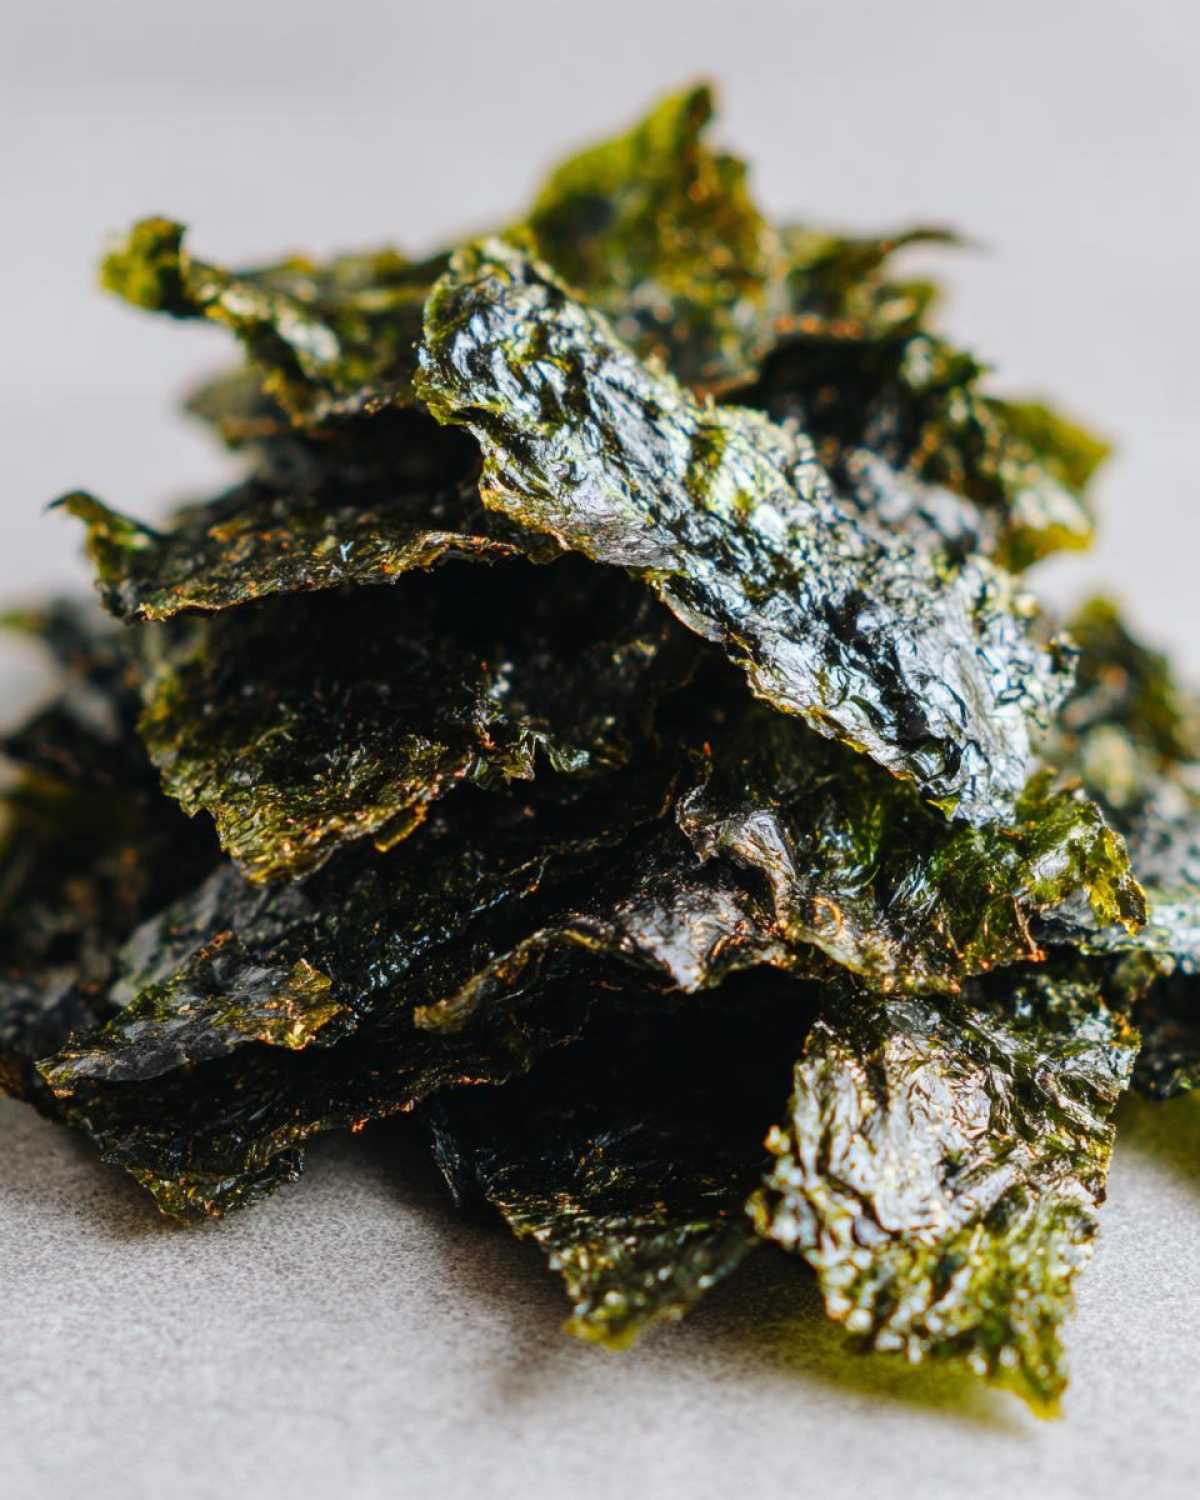
First things first, let’s get our oven nice and warm. Preheat it to 300°F (150°C). This lower temperature helps the nori crisp up without burning too fast. Then, grab a baking sheet and line it with parchment paper. This step is a lifesaver for cleanup, trust me!
Creating the Flavorful Seasoning Mix
In a small bowl, it’s time to whip up our magic potion. Whisk together the olive oil, salt, garlic powder, and onion powder until they’re all nicely combined. This simple mix is what gives our nori chips their savory punch.
Seasoning and Cutting Your Nori Sheets
Lay your nori sheets flat on a clean surface. Using a pastry brush or even the back of a spoon, gently brush both sides of each nori sheet with the seasoned oil mixture. Make sure you get an even coating. Next, take a knife or pizza cutter and cut each seasoned nori sheet into your desired chip shapes. Squares or triangles work wonderfully! You should get about 30-40 yummy pieces from these four sheets.
Baking Your Crispy Nori Chips to Perfection
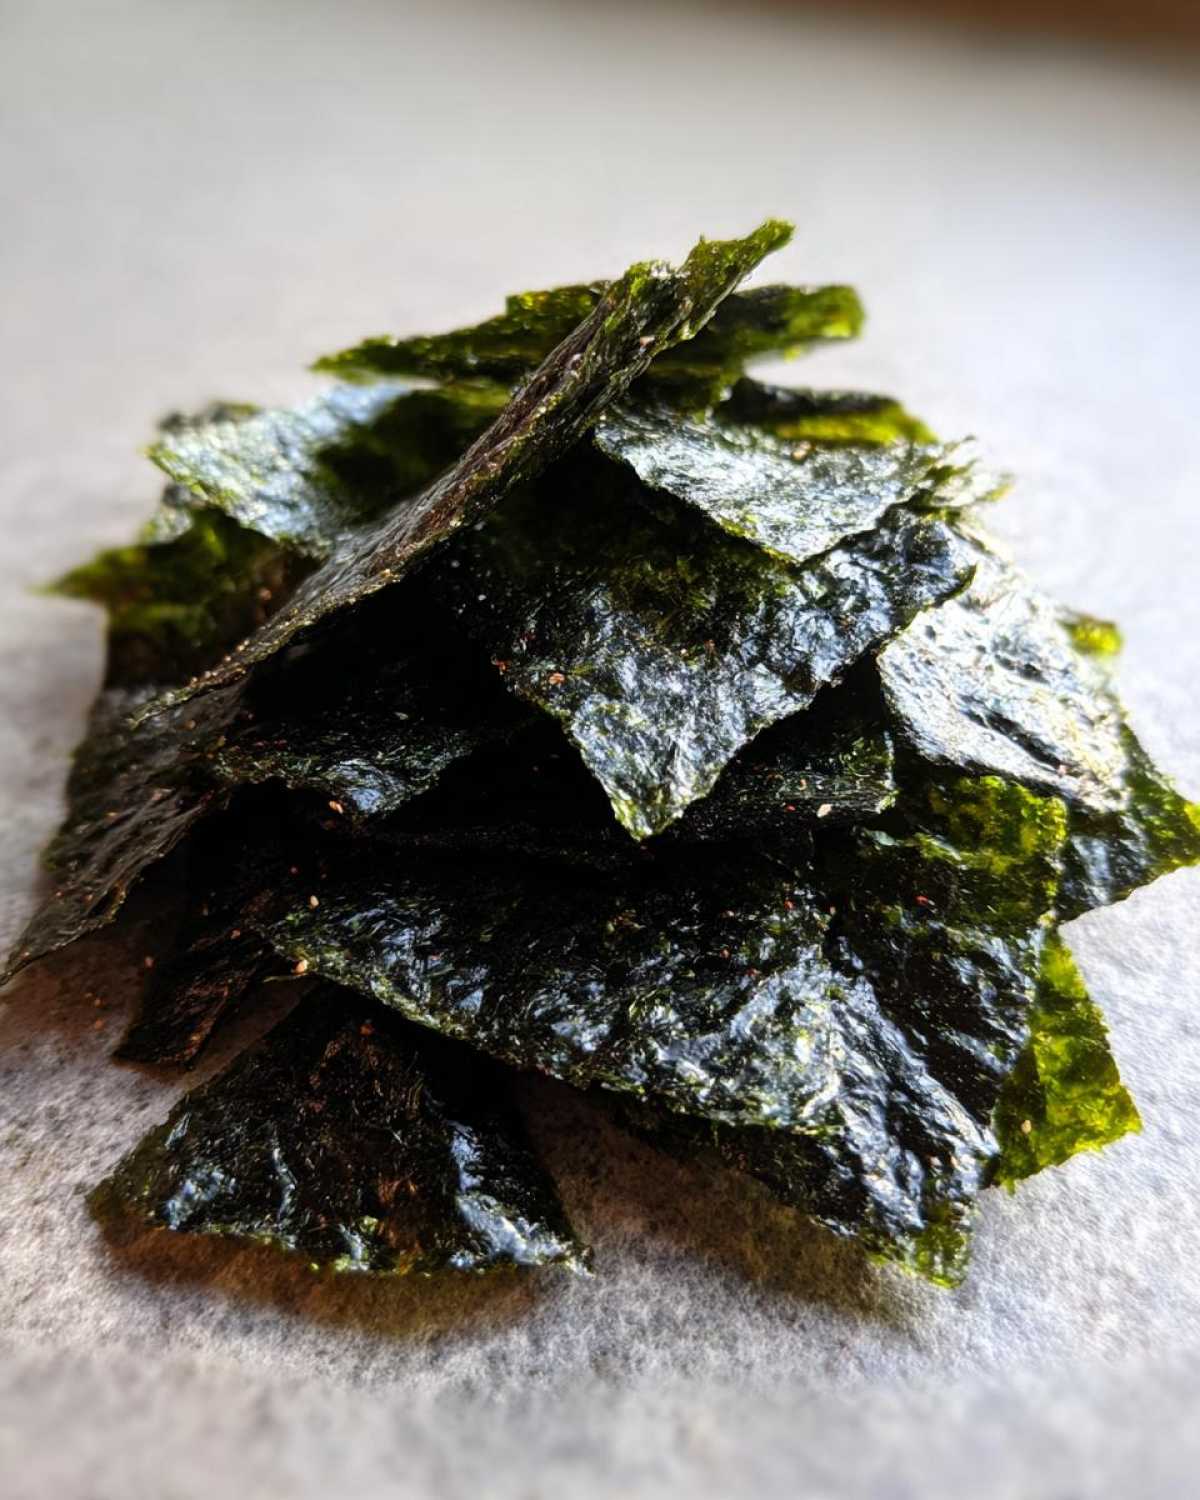
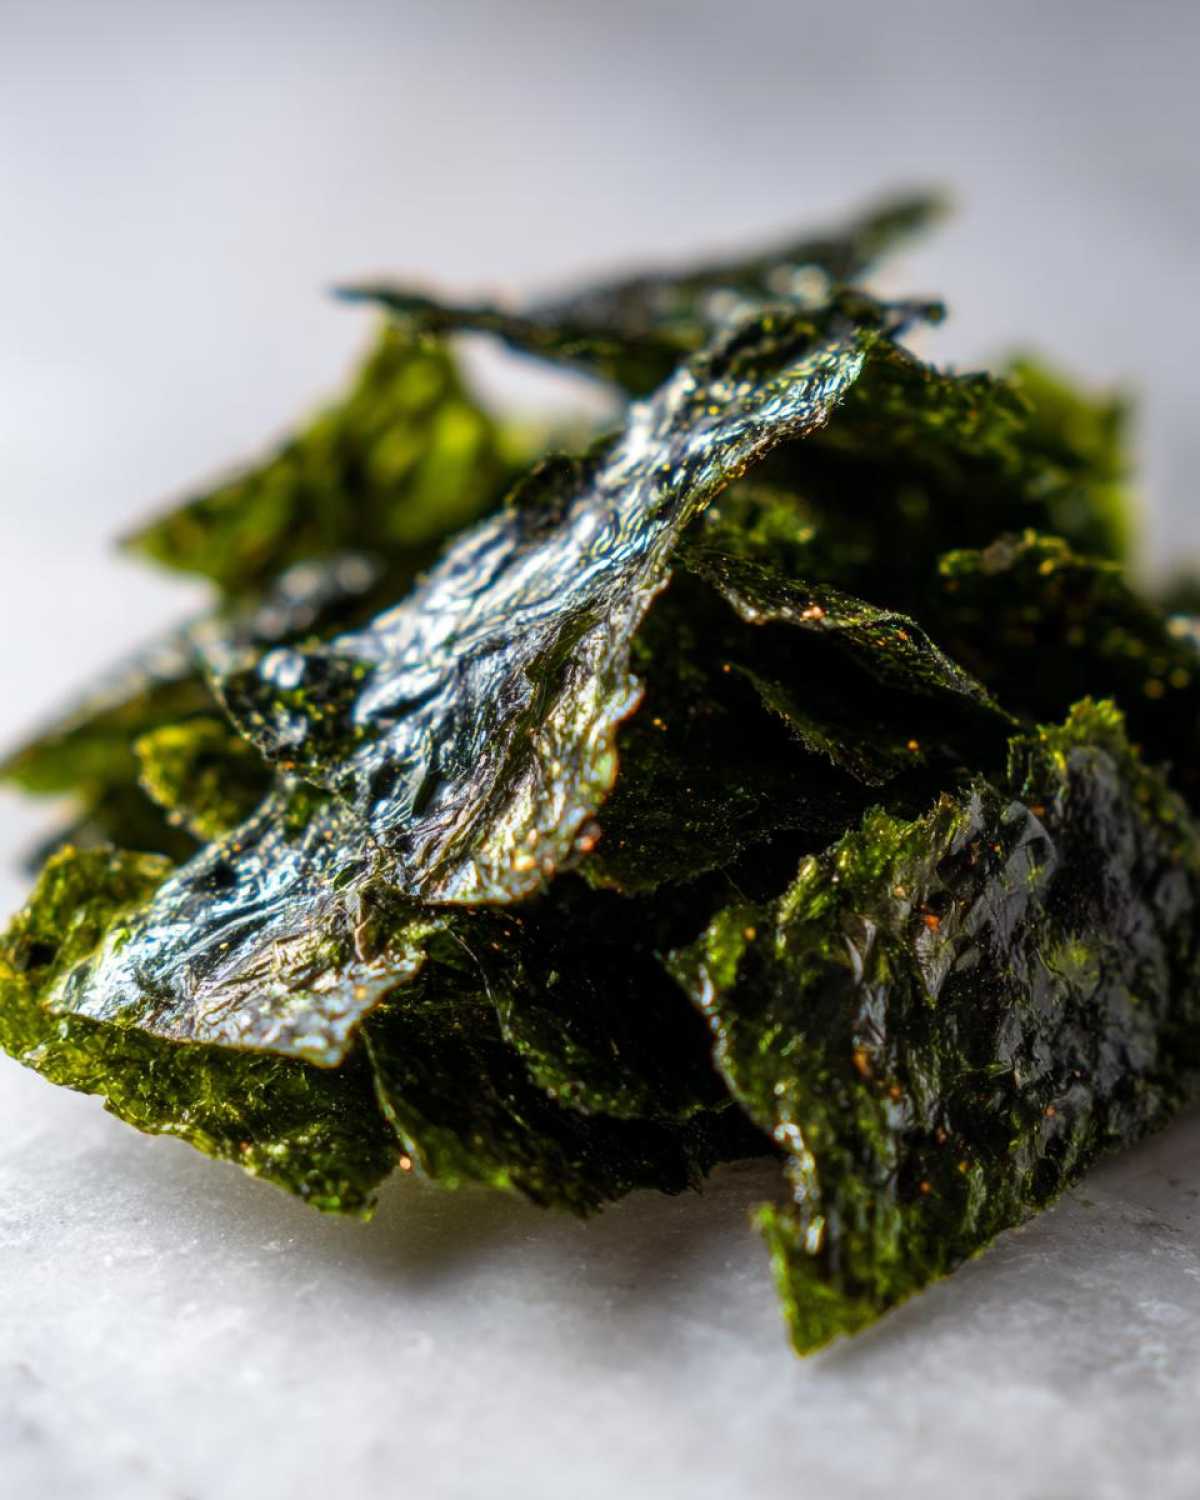
Carefully arrange the cut nori pieces in a single layer on your prepared baking sheet. It’s really important they don’t overlap, or they won’t get evenly crispy. Pop them into the preheated oven and bake for about 8 to 12 minutes. Keep a super close eye on them! Nori can go from perfectly crisp to burnt in a flash. Once they look crisp and slightly darker, remove them from the oven. Let the nori chips cool completely on the baking sheet. They’ll continue to crisp up as they cool down, giving you that satisfying crunch you’re looking for.
Why You Will Love These Nori Chips (Crispy Seaweed Snacks)
You’re going to adore making and munching on these homemade nori chips! They hit all the right notes for a fantastic snack.
- Quick and Easy to Make: Seriously, these take no time at all. You’ll be snacking in under 20 minutes from start to finish.
- Healthy Snack Alternative: Ditch the processed stuff. These are a lighter, more wholesome choice packed with flavor.
- Satisfying Salty and Umami Flavor: Get ready for that irresistible savory taste that makes you reach for more. It’s pure deliciousness.
- Perfect for On-the-Go Snacking: These crispy seaweed snacks are super portable. Pack them for lunches, road trips, or just a quick bite at your desk.
Essential Equipment for Making Nori Chips
Having the right tools makes whipping up these nori chips a breeze. You don’t need anything fancy, just a few kitchen basics.
- Baking Sheet: This is where your chips will get perfectly crisp.
- Parchment Paper: It prevents sticking and makes cleanup a snap.
- Small Bowl: Perfect for mixing your flavorful oil.
- Whisk or Fork: For getting your seasoning mixture nice and smooth.
- Pastry Brush or Spoon: To evenly coat the nori sheets with oil.
- Knife or Pizza Cutter: For cleanly cutting your nori into bite-sized pieces.
Tips for the Best Nori Chips (Crispy Seaweed Snacks)
Want to make sure your homemade nori chips are absolutely perfect every time? I’ve learned a few tricks along the way that really make a difference. Follow these simple tips, and you’ll be rewarded with the crispiest, most flavorful seaweed snacks!
- Use Fresh Nori Sheets: Always start with nori that’s fresh and crisp. If your nori feels a bit soft or stale, it won’t bake up as nicely. Check the packaging date and store it in a cool, dry place.
- Don’t Overcrowd the Baking Sheet: This is a big one! Giving your nori pieces enough space on the baking sheet is crucial. If they’re piled up or touching too much, they’ll steam instead of getting baked to a perfect crisp. Single layers, always!
- Adjust Baking Time Based on Your Oven: Ovens can be a bit quirky, can’t they? Mine sometimes runs hotter or cooler than it says. Keep a close eye on your nori chips during those last few minutes of baking. They can go from golden to burnt really fast.
- Cool Completely for Maximum Crispness: I know it’s tempting to dive in right away, but letting the nori chips cool down entirely on the baking sheet is key. They firm up and become wonderfully crisp as they reach room temperature. Patience truly pays off here!

Frequently Asked Questions About Nori Chips
Got questions about making these yummy nori chips? I’ve got answers for you! It’s always good to know the little details so your homemade seaweed snacks turn out just right.
Can I use different types of oil for my nori chips?
Absolutely! While olive oil is my go-to for its flavor and how it bakes, you can experiment. Sesame oil adds a wonderful nutty taste, perfect for an Asian-inspired twist. Avocado oil is also a great choice because of its high smoke point.
How should I store leftover nori chips?
This is key for keeping them crispy! Once your nori chips are completely cool, store them in an airtight container at room temperature. I usually try to eat them within a week. If they lose a bit of their crunch, you can pop them back in the oven for a minute or two to revive them.
Are these nori chips gluten-free?
Yes, they are! Nori itself is naturally gluten-free. As long as you’re using plain nori sheets and your seasonings don’t have any hidden gluten ingredients (which is rare for basic salt, garlic, and onion powder), your homemade nori chips will be gluten-free. For more gluten-free snack ideas, check out these gluten-free chicken tenders.
Can I make these nori chips spicy?
You sure can! If you like a little heat, add a pinch of cayenne pepper to the oil and spice mixture before you brush it onto the nori. You can also try a dash of chili powder or even some red pepper flakes for an extra kick. It’s a fun way to customize your crunchy seaweed snacks!
Understanding the Nutritional Value of Your Nori Chips
It’s great to know what you’re snacking on, right? These homemade nori chips are a light choice. Keep in mind these numbers are just estimates. They can change a bit depending on the exact ingredients and brands you use. For other healthy snack alternatives, consider these cheddar jalapeno cauliflower tots.
- Serving Size: 10 chips
- Calories: 30
- Sodium: 150mg
- Fat: 2g
- Carbohydrates: 2g
- Protein: 1g
Share Your Homemade Nori Chip Creations!
I truly hope you enjoy making and devouring these simple nori chips as much as I do! Your culinary adventures inspire me, and I’d absolutely love to hear all about yours. Did you try any fun variations? How did they turn out for you?
Please share your experience in the comments below! If you have a moment, consider rating this recipe. And if you snap a picture of your beautiful homemade nori chips, I’d be thrilled if you tagged me on social media. Let’s spread the joy of delicious, healthy snacking together!
Print
Ridiculously Easy 15-Min Nori Chips
- Total Time: 15 minutes
- Yield: Approximately 30-40 chips
- Diet: Vegetarian
Description
Create your own crispy, flavorful nori chips at home! These baked seaweed snacks are a healthy and delicious alternative to store-bought versions, offering a satisfying salty and umami taste.
Ingredients
- 4 sheets Nori (seaweed)
- 2 tablespoons Olive oil
- 1/2 teaspoon Salt
- 1/4 teaspoon Garlic powder
- 1/4 teaspoon Onion powder
Instructions
- Preheat your oven to 300°F (150°C). Line a baking sheet with parchment paper.
- In a small bowl, whisk together the olive oil, salt, garlic powder, and onion powder.
- Lay the nori sheets flat on a clean surface. Brush both sides of each nori sheet with the seasoned oil mixture.
- Cut each seasoned nori sheet into your desired chip shapes (e.g., squares, triangles).
- Arrange the nori pieces in a single layer on the prepared baking sheet, ensuring they don’t overlap.
- Bake for 8-12 minutes, or until the nori is crisp. Keep a close eye on them as they can burn quickly.
- Let the nori chips cool completely on the baking sheet before serving. They will become crispier as they cool.
Notes
- For extra flavor, you can add a pinch of cayenne pepper or sesame seeds to the oil mixture.
- Store leftover chips in an airtight container at room temperature for up to a week.
- Prep Time: 5 minutes
- Cook Time: 10 minutes
- Category: Snacks
- Method: Baking
- Cuisine: Asian-inspired
Nutrition
- Serving Size: 10 chips
- Calories: 30
- Sugar: 0.5g
- Sodium: 150mg
- Fat: 2g
- Saturated Fat: 0.3g
- Unsaturated Fat: 1.7g
- Trans Fat: 0g
- Carbohydrates: 2g
- Fiber: 1g
- Protein: 1g
- Cholesterol: 0mg



Comments are closed.