
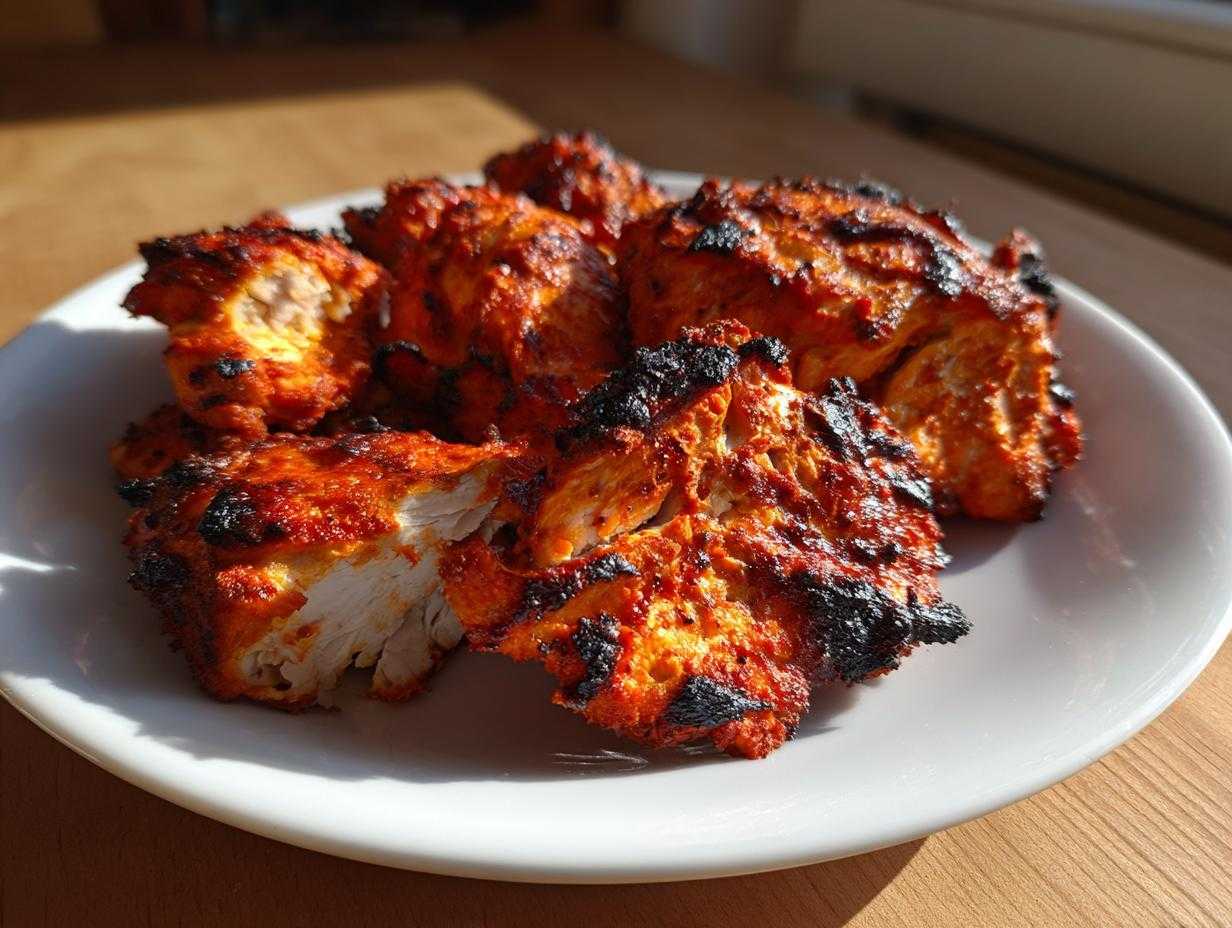
Okay, listen up, because I’m about to let you in on a huge kitchen secret: You absolutely do not need a giant clay tandoor oven sitting in your yard to get that incredible, smoky, slightly charred flavor of authentic tandoori chicken. Seriously, I spent years trying to nail that vibrant color and keep the meat impossibly juicy at home, and I finally cracked it using just my standard oven! This isn’t just another spicy chicken recipe; this is my definitive, tested-and-proven guide for making the most flavorful Baked Tandoori Chicken Oven that genuinely tastes like restaurant quality. I’ve refined the marinade and the high-heat baking method over countless weekends, and trust me, this technique replicates that smoky, tender perfection every single time. Forget dry, pale chicken—we’re making magic happen!
Why This is the Best Baked Tandoori Chicken Oven Recipe
I know you’ve probably tried a few recipes that promised the world but delivered chicken that looked sleepy and tasted dry. Not here! This process is specifically designed to combat the biggest frustrations when cooking Indian food at home. It’s the easiest path to success for making a Juicy Tandoori Chicken Recipe Baking your new weeknight staple. It’s designed to be foolproof, which is why I call it my Easy Tandoori Chicken Recipe Home Oven.
- You get that signature, vibrant red/orange coloring every time.
- The chicken stays unbelievably tender, even the leaner breast pieces.
- We lock in deep flavor without needing three days of prep.
Achieving Authentic Color and Char
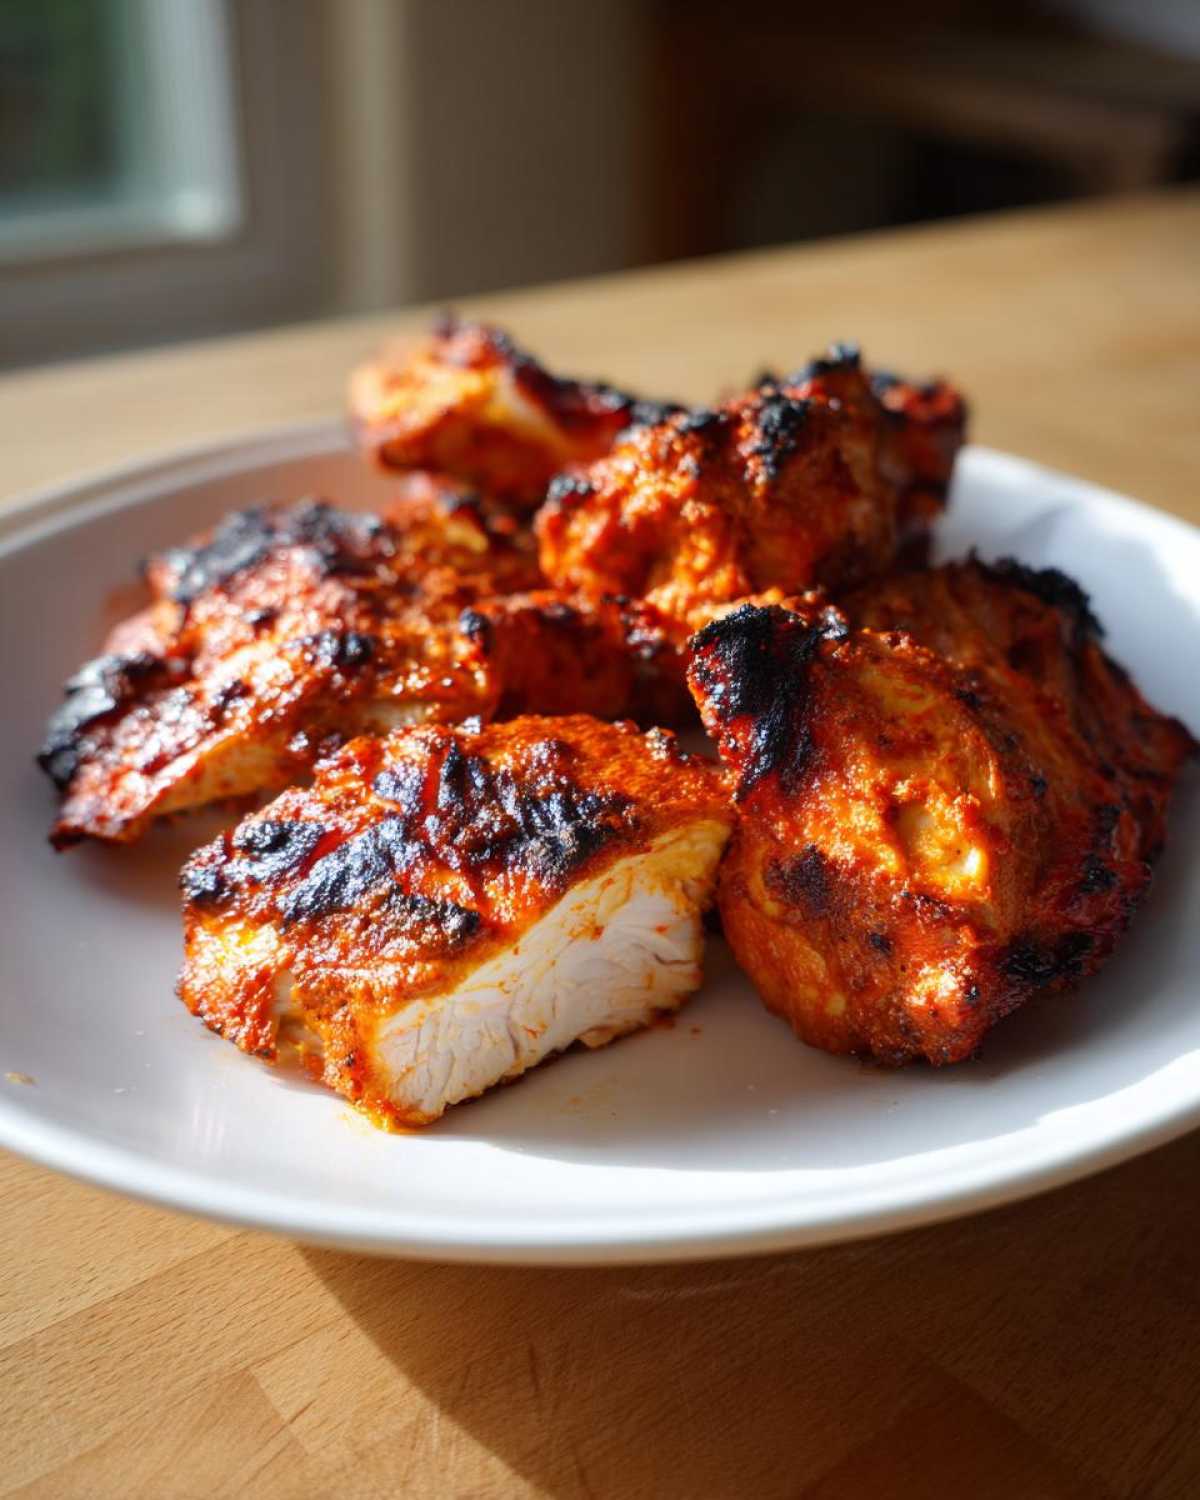
The secret to the color is really using authentic Kashmiri red chili powder—it gives you that beautiful deep hue without setting your mouth on fire. And to get the char you crave? We use the broiler at the very end. That quick blast of top heat mimics the intense heat of the tandoor wall, giving you those fantastic, slightly blackened edges that make the dish look and taste authentic.
The Secret to the Best Baked Tandoori Chicken Marinade
Honestly, if you nail the marinade, you’ve won half the battle. This isn’t just throwing spices in a bowl; this is building deep flavor layers that penetrate the meat. I had one batch years ago where the spices just sat on top, and the next day it was bland. What changed everything was switching to whole milk yogurt—it’s thicker and coats the chicken much better than the watery stuff! This formulation is my go-to for the Best Baked Tandoori Chicken Marinade, ensuring total flavor saturation.
When I finally got the ginger-garlic paste ratio just right (equal parts, folks!), wow. That’s when the flavor went from good to truly addictive. I actually wrote down the spice measurements in permanent marker on my original card because I never want to lose this balance!
Ingredient Breakdown for Authentic Indian Chicken Marinade Oven
Let’s talk specifics for this Authentic Indian Chicken Marinade Oven approach. The ginger-garlic paste is your flavor powerhouse, so don’t skimp; two tablespoons is what you need. And for the color, that Kashmiri chili powder is non-negotiable if you want that deep red. If you use regular cayenne, you’re going to get heat, but you’ll miss the earthy color, so maybe substitute a little paprika for bulk if you must, but try to find the Kashmiri! Mixing this all together using one of my favorite mixing bowls, like the one I used for this Asian-inspired marinade, always makes me happy.
Preparing Your Chicken for Perfect Baked Tandoori Chicken Oven Results
This step is where so many people mess up before even getting to the oven! You absolutely must pat your chicken pieces bone-dry first. Seriously, use paper towels until you think they can’t absorb any more moisture. Wet chicken steams, and we want that beautiful crust. Also, grab a sharp knife and give the thickest parts of the chicken deep slits—don’t be shy! This is crucial for whatever cut you use, whether you’re doing thighs or even if you’re trying this with white meat like in a yogurt marinated chicken breast oven application.
Those slits act like little welcome mats for the marinade. They let that yogurt mixture sneak deep inside so the flavor isn’t just sitting on the surface. A little prep work here goes a long way toward ensuring juicy results when you bake!
Understanding Overnight Tandoori Chicken Marinade Time
Okay, the recipe says a minimum of six hours, and you should absolutely respect that minimum. However, if you can swing it, let it sit overnight. The acid in the lemon juice and yogurt needs time to tenderize the muscle fibers. If I forget, I’ll set an alarm to pull it out after six hours, but I promise you, the 12 or even 24-hour bath in those spices makes the difference between good tandoori and *fantastic* tandoori. It’s worth the advanced planning!
The Step-by-Step Method for Baked Tandoori Chicken Oven
Alright, buckle up, because this method is what separates the pale, okay chicken from the deeply colored, restaurant-worthy stuff. First things first: organization is key for this high-heat cooking. Get an oven rack positioned in the upper third of your oven. Then, grab a sturdy baking sheet and line it with foil—this makes cleanup a breeze, I promise! Next, you need a wire rack that fits snugly on top of that foil-lined sheet. This rack is non-negotiable because we need air flowing completely around the chicken pieces so they cook evenly and don’t sit in any rendered liquid.
You want your oven screaming hot, so preheat it to precisely 450 degrees Fahrenheit (that’s our magic Tandoori Chicken Cooking Temperature Oven setting). Once it’s up to temperature, place your marinated chicken on that wire rack, making sure none of the pieces are touching—give them some space to breathe! I like to brush them with a tiny touch of oil, kind of like they are getting ready for a sunbath. Then, pop them in for the initial baking phase, usually about 20 minutes. If you want the secret for getting perfectly crispy edges like these roasted potatoes, this setup is how you do it!
Smoky Tandoori Chicken Oven Broiler Method for Char
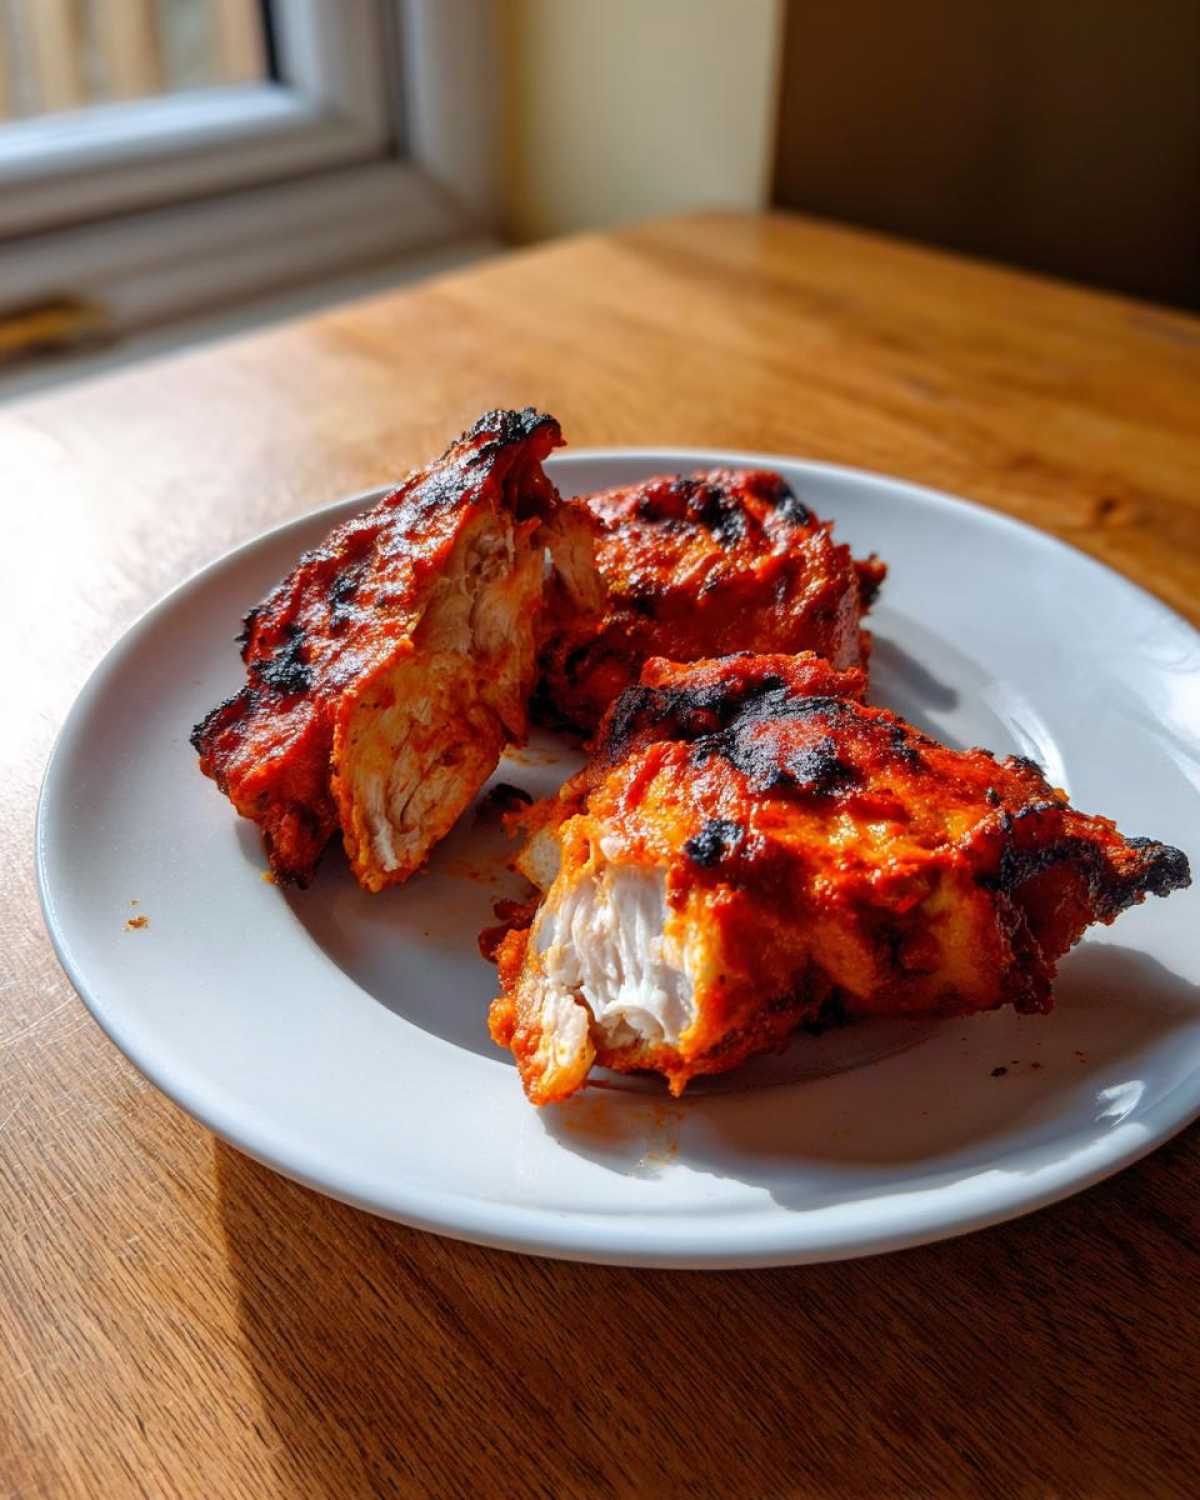
This is the grand finale, the part where we mimic the blast of heat from the clay oven! Once the chicken is cooked through internally (check that temp!), switch your oven setting immediately to broil on high. You need to stand guard here—don’t walk away! Broiling takes only about three to five minutes. You are just looking to get those beautiful, slightly hardened, dark spots on the edges. Pull it out the second you see that char developing. If you leave it too long, it burns, and we spent way too much time marinating for that to happen!
Tips for Restaurant Style Tandoori Chicken at Home
If you really want to feel like you’ve tricked your neighbors into thinking you own a commercial kitchen, I have one trick left up my sleeve. This sounds wild, but trust me, it works wonders for that smoky aroma that’s hard to capture otherwise. It’s about briefly introducing smoke right into the oven environment!
For ultimate Restaurant Style Tandoori Chicken at Home, follow the broiler step, but before you do, take a tiny piece of clean charcoal—the stuff they sell for grilling, not lighter fluid soaked briquettes! Heat that charcoal directly on a burner until it’s glowing red hot. Toss it carefully into a small, foil-lined metal bowl you can safely put in the oven. Drop just one tiny drop of ghee or oil onto that hot charcoal immediately, pop the oven door shut, and *then* you broil. The smoke it releases is unbelievable!
This little bit of theater imparts amazing authenticity. Just make sure you use the right equipment to handle the chicken, like the baking pan setup I recommend for my garlic herb butter chicken. This technique, combined with the right marinade, seriously cranks up the depth of flavor!
Essential Equipment for Making Baked Tandoori Chicken Oven
You don’t need fancy gadgets, but having the right setup makes the difference between a good bake and a fantastic one. Since we aren’t using a real tandoor, we have to create that high-heat environment in our home oven. The absolute MVP here is a good quality, oven-safe wire rack. I mentioned it before, but that rack allows air to circulate completely underneath the chicken, which is how you avoid that soggy bottom we all hate.
Make sure that wire rack sits over a heavy baking sheet lined with foil. That foil ensures cleanup is minimal, which is a huge win after dealing with thick yogurt marinades! Also, because we are aiming for perfect doneness every time, an instant-read meat thermometer is a must-have tool. Guessing with chicken is risky, and we talked about how vital it is to hit that 165°F internal temperature. Trust me, taking the temperature is way faster than cutting into a piece to check!
Serving Suggestions for Your Baked Tandoori Chicken Oven
Phew! Once you pull that gorgeous, smoky chicken out, you deserve the perfect accompaniments. This Spicy Indian Chicken Bake is robust, so it needs cooling, fresh sides. You absolutely can’t skip the cool cucumber raita—it just cuts through the spice perfectly.
Of course, you need something to scoop up all those delicious juices, so a side of warm, soft naan bread is mandatory. I love making a simple skillet naan right before serving; I’ve got an easy recipe for that if you need one! A simple side salad with fresh lemon wedges and thinly sliced red onions is also a simple, bright addition that finishes the meal beautifully.
Storage and Reheating Instructions for Baked Tandoori Chicken Oven
When you inevitably have leftovers—because this is just too good to eat only once—storage is simple. Just pop the cooled chicken into an airtight container and straight into the fridge. It keeps beautifully for about three to four days, still packed with flavor!
Reheating is important so you don’t dry it out. Forget the microwave if you can; it works, but it’s not the best. My trick for keeping this chicken tender when reheating is wrapping the pieces loosely in foil and warming them up in a very low oven—maybe 300 degrees—for about ten minutes. That gentle heat and the foil trap the moisture perfectly!
Common Questions About How to Make Tandoori Chicken without Tandoor
I get so many messages asking how to tweak things, which totally makes sense! When you’re trying How to make Tandoori Chicken without Tandoor, you run into little hurdles that a real clay oven handles automatically. The biggest hurdle is usually dryness, but we talked about how much the yogurt helps with that. This section covers the most frequent things readers ask me about when perfecting this.
People often panic about the color or the cut of meat. Remember, the success here is the high heat and the marinade doing the heavy lifting. Check out this simple chicken fried rice recipe if you’re looking for another easy win next time!
Can I use chicken breasts instead of thighs for this Baked Tandoori Chicken Oven recipe?
You absolutely can! Thighs are my favorite because they are naturally more forgiving and stay juicy forever, but breasts are great if you’re watching the fat. The only thing you *must* do differently is reduce the baking time slightly before you hit it with the broiler. Chicken breasts dry out much faster than bone-in thighs, so check them about five minutes sooner than the recipe states, just to be safe!
What if I don’t have Kashmiri chili powder?
Don’t sweat it, but you do need a substitution plan! Kashmiri chili powder is mainly for that deep ruby color without massive heat. If you only have regular chili powder or cayenne, use about 1 teaspoon of paprika (for color bulk) mixed with about 1/2 teaspoon of cayenne (for controlled heat). Mix that in place of the Kashmiri powder, and you’ll still get amazing flavor, even if the color is slightly less vibrant!
Print
Baked Tandoori Chicken in Oven
- Total Time: 38 hours
- Yield: 4 servings
- Diet: Low Fat
Description
A straightforward recipe for making flavorful, juicy Tandoori Chicken in a standard home oven, achieving a color and taste close to traditional tandoor cooking.
Ingredients
- 2 lbs chicken pieces (bone-in thighs or breasts with skin removed)
- 1 cup plain whole milk yogurt
- 2 tablespoons lemon juice
- 1 tablespoon ginger-garlic paste
- 2 teaspoons salt
- 2 teaspoons garam masala
- 2 teaspoons Kashmiri red chili powder (or paprika for less heat)
- 1 teaspoon turmeric powder
- 1 teaspoon ground cumin
- 1 teaspoon ground coriander
- 1/2 teaspoon black pepper
- 1/4 teaspoon ground cinnamon
- 1/4 teaspoon food-grade red coloring (optional, for authentic color)
- 1 tablespoon vegetable oil (for brushing)
Instructions
- Prepare the chicken: Pat the chicken pieces completely dry with paper towels. Make deep slits into the thickest parts of the chicken to allow the marinade to penetrate.
- Make the marinade: In a large bowl, combine the yogurt, lemon juice, ginger-garlic paste, salt, garam masala, chili powder, turmeric, cumin, coriander, black pepper, cinnamon, and optional red coloring. Mix well until smooth.
- Marinate the chicken: Add the chicken pieces to the marinade, ensuring every piece is fully coated. Cover the bowl and refrigerate for a minimum of 6 hours, or preferably overnight for the best flavor.
- Preheat the oven: Position an oven rack in the upper third of the oven. Preheat your oven to 450 degrees Fahrenheit (230 degrees Celsius). Line a baking sheet with foil and place an oven-safe wire rack on top of the foil-lined sheet.
- Arrange the chicken: Remove the chicken from the marinade, letting excess drip off (do not wipe clean). Place the chicken pieces skin-side up on the wire rack, ensuring they do not touch. Brush lightly with vegetable oil.
- Bake the chicken: Bake for 20 minutes.
- Broil for char: Switch the oven setting to broil (high). Broil the chicken for 3 to 5 minutes, watching constantly, until the edges of the chicken develop dark, slightly charred spots similar to a tandoor oven.
- Check doneness: The internal temperature of the chicken should reach 165 degrees Fahrenheit (74 degrees Celsius).
- Rest and serve: Remove the chicken from the oven and let it rest for 5 minutes before serving with naan bread or cucumber raita.
Notes
- For extra smoky flavor without a tandoor, place a small piece of burning charcoal in a small metal bowl inside the oven during the last 10 minutes of baking, after adding a drop of ghee or oil to the charcoal. Immediately close the oven door.
- Use bone-in, skin-on chicken for the juiciest results, but remove the skin before marinating if you prefer a leaner dish.
- If the chicken browns too quickly before cooking through, move the rack to a lower position for the initial baking phase.
- Prep Time: 20 min
- Cook Time: 30 min
- Category: Main Course
- Method: Baking and Broiling
- Cuisine: Indian
Nutrition
- Serving Size: 1 piece
- Calories: 320
- Sugar: 3
- Sodium: 650
- Fat: 15
- Saturated Fat: 4
- Unsaturated Fat: 11
- Trans Fat: 0
- Carbohydrates: 5
- Fiber: 1
- Protein: 40
- Cholesterol: 110



Comments are closed.