

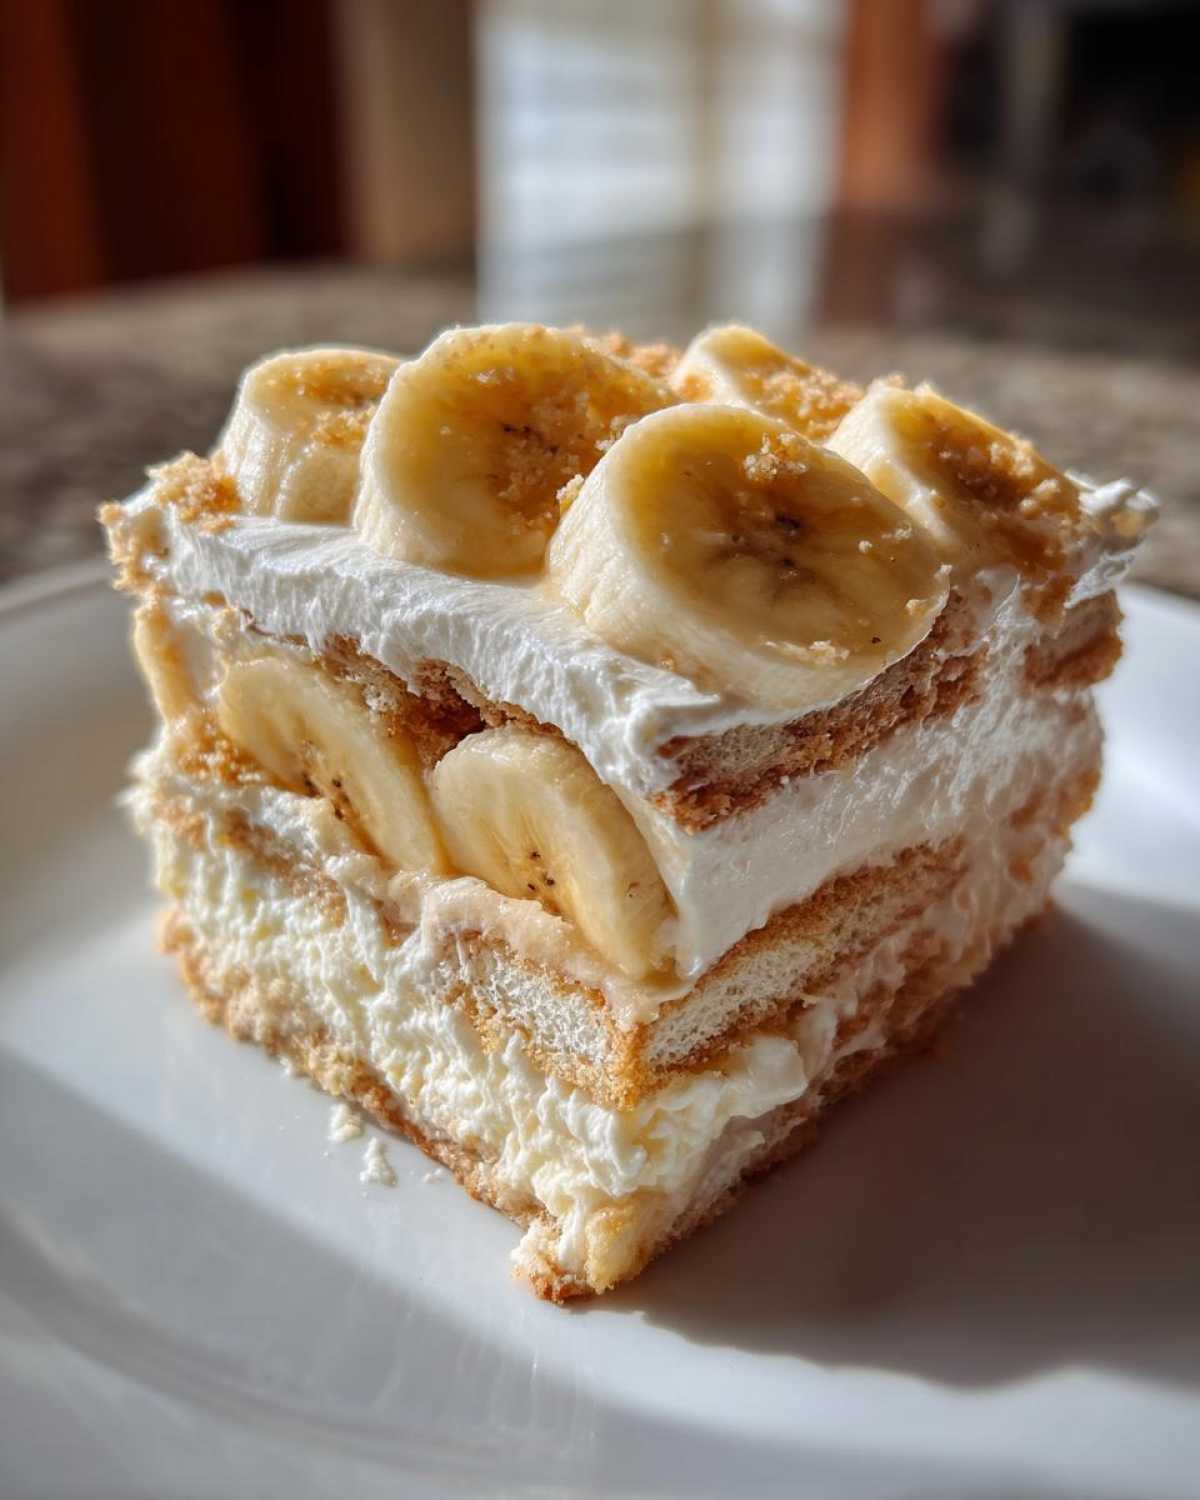
The Ultimate Banana Pudding Icebox Cake Recipe
Get ready for a dessert that’s pure Southern comfort! This no-bake Banana Pudding Icebox Cake is a dream. It layers creamy pudding, sweet bananas, and crunchy vanilla wafers. It’s so easy, you’ll want to make it all the time. I just love bringing classic flavors to life. This recipe is a winner for any occasion.
Why You’ll Love This Banana Pudding Icebox Cake
- It’s a no-bake wonder.
- Uses simple, pantry-staple ingredients.
- Tastes just like grandma’s banana pudding.
- Perfect for feeding a crowd.
- Super easy to assemble.
A Taste of Southern Comfort: My Story
My love for Southern desserts started young. It was in my uncle’s Texas restaurant. The smells were amazing. He made everything with so much care. I watched him create magic in the kitchen. He taught me food is about love. It brings people together. This Banana Pudding Icebox Cake reminds me of those days. It’s a simple layered cake. It captures that comforting feeling. My family loves it. It’s a special treat for us. I hope it becomes one for you too.
Gathering Your Banana Pudding Icebox Cake Ingredients
Let’s get everything ready for our delicious Banana Pudding Icebox Cake! This cake is wonderfully simple, and so are the ingredients. You likely have many of them right in your pantry already. Having everything prepped makes assembly a breeze. You’ll see just how easy it is to bring this classic Southern dessert to life. No fancy equipment needed here. Just simple, wholesome goodness waiting to be layered.
Essential Ingredients for Your Banana Pudding Icebox Cake
- Two (3.4 ounce) packages of instant vanilla pudding mix.
- Three cups of cold milk.
- One (8 ounce) container of frozen whipped topping. Make sure it’s thawed.
- One (11.5 ounce) can of evaporated milk. Keep this chilled!
- One (16 ounce) package of vanilla wafers.
- Four ripe bananas.
Ingredient Notes and Optional Substitutions
Ripe bananas are key for the best flavor. They should be sweet but not mushy. If you can’t find instant pudding, you can use regular pudding, but you’ll need to cook it according to package directions. For a richer taste, try using half-and-half instead of just milk for your pudding mix. And always make sure that evaporated milk is super cold for the creamiest texture. It really makes a difference.
Crafting Your Perfect Banana Pudding Icebox Cake
Now comes the fun part! Assembling this Banana Pudding Icebox Cake is like painting a delicious picture. It’s all about those lovely layers. I love how simple it is to build this dessert. You’ll see how quickly it comes together. Just follow these steps. You’ll have a stunning cake ready for the fridge. It’s a true no-bake wonder.
Step-by-Step Assembly of Your Banana Pudding Icebox Cake
Grab a big bowl. Whisk the pudding mixes and milk. Stir until it’s smooth. Let it sit for about five minutes. It will get nice and thick.
Gently fold in the thawed whipped topping. Mix until it’s all combined. Be careful not to overmix.
Pour in the chilled evaporated milk. Whisk it all together. It should be smooth and creamy.
Now for the layers. Get a 9×13 inch baking dish. Arrange a layer of vanilla wafers on the bottom.
Spread half of the pudding mixture over the wafers. Make it even.
Next, add half of your sliced bananas. Place them right on top of the pudding.
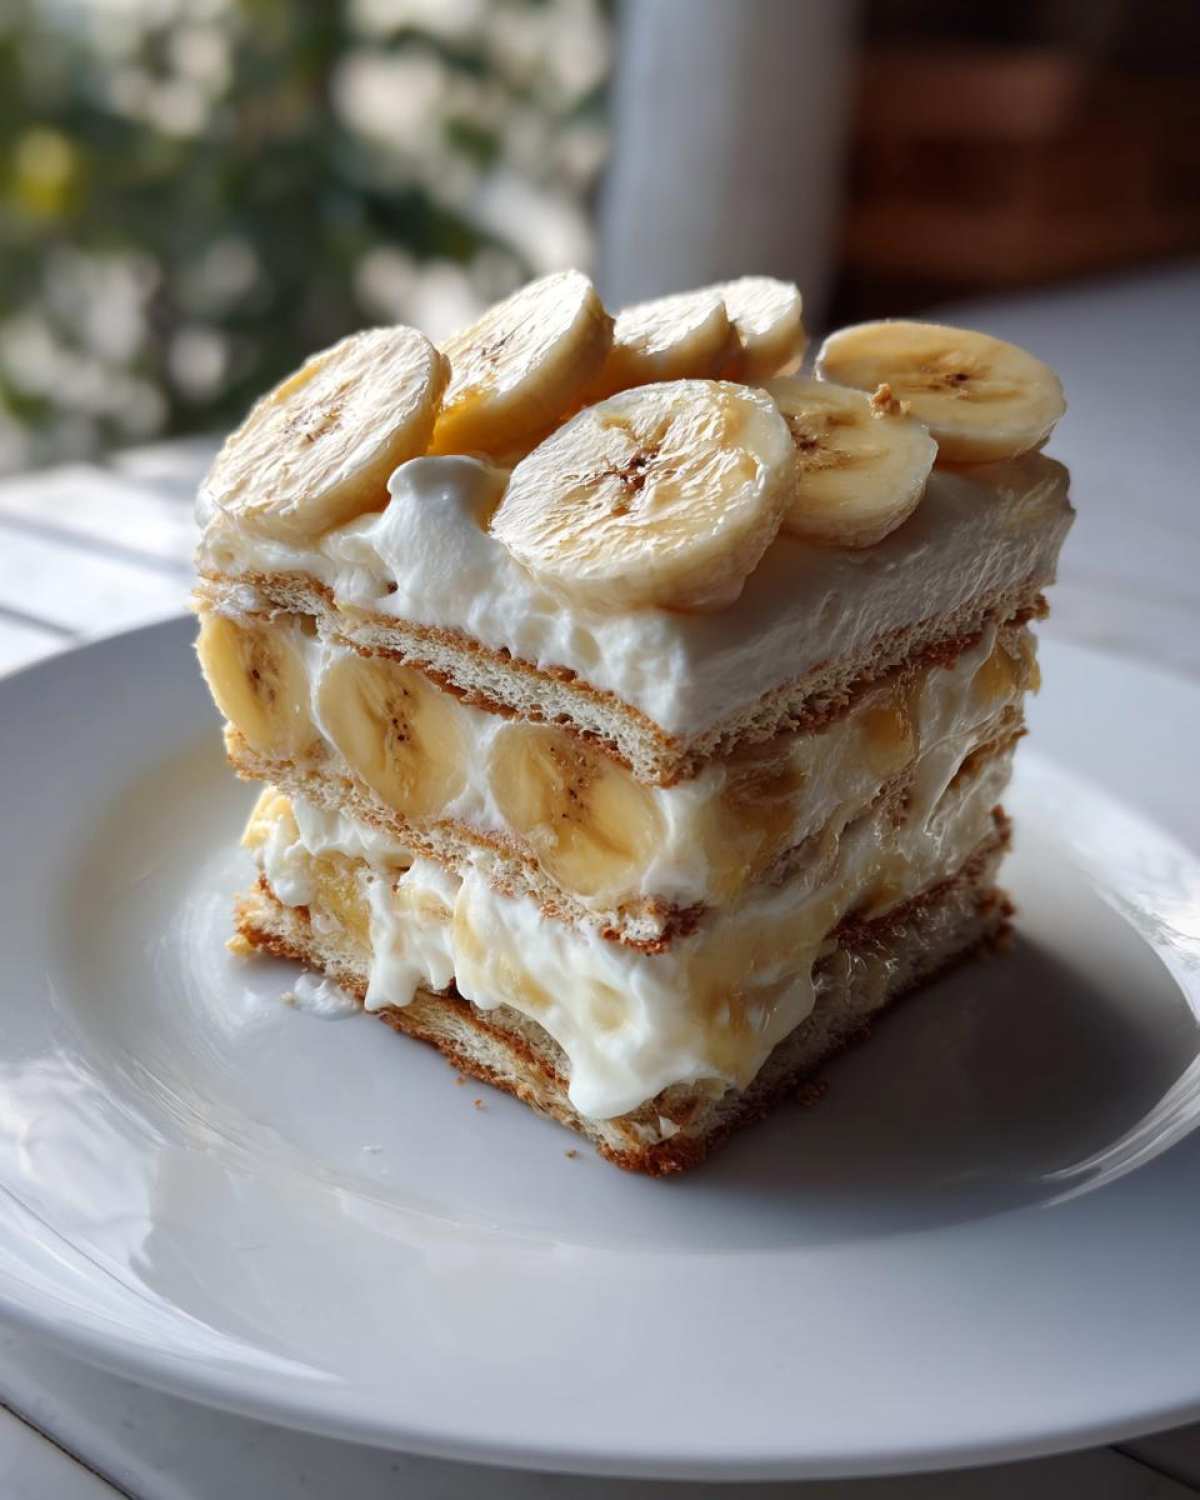
Repeat those layers. Add more vanilla wafers. Then, spread the rest of the pudding. Top with the remaining banana slices.
Finish with one last layer of vanilla wafers. Cover the dish tightly. It needs to chill. Refrigerate for at least four hours. Overnight is even better. This lets the flavors mingle. The wafers will soften perfectly.
Tips for a Flawless Banana Pudding Icebox Cake
Make sure your evaporated milk is super cold. This helps the pudding set up beautifully. Don’t skip the chilling time! It’s crucial for the wafers to soften. This creates that lovely cake-like texture. Use ripe bananas for the best sweetness. They should be soft but not mushy. You can adjust the number of wafers and bananas too. Make it just how you like it. This cake is forgiving and fun.
Equipment Needed for Your Banana Pudding Icebox Cake
To whip up this delightful Banana Pudding Icebox Cake, you won’t need much! Just a few basic kitchen tools will do the trick. Make sure you have a large mixing bowl handy. You’ll also need a whisk for smooth pudding. Don’t forget your measuring cups and spoons. A good spatula is useful for folding. Lastly, a 9×13 inch baking dish is essential for layering. That’s it! Easy, right?
Frequently Asked Questions About Banana Pudding Icebox Cake
Got questions about this delightful Banana Pudding Icebox Cake? I’ve got answers! This no-bake cake is pretty straightforward, but a few tips can make it even better. Let’s clear up any confusion so you can make the perfect vanilla wafer cake every time. I love helping you create delicious desserts.
How long does the Banana Pudding Icebox Cake need to chill?
For the best results, your Banana Pudding Icebox Cake needs to chill for at least 4 hours. Overnight is even better! This important step lets the vanilla wafers soften. They absorb the pudding and become cake-like. It truly makes a difference in texture.
Can I make the Banana Pudding Icebox Cake ahead of time?
Absolutely! This no-bake cake is perfect for making ahead. In fact, it’s best when made a day in advance. This gives the flavors time to meld beautifully. Store it covered in the refrigerator. It will stay delicious for 2-3 days.
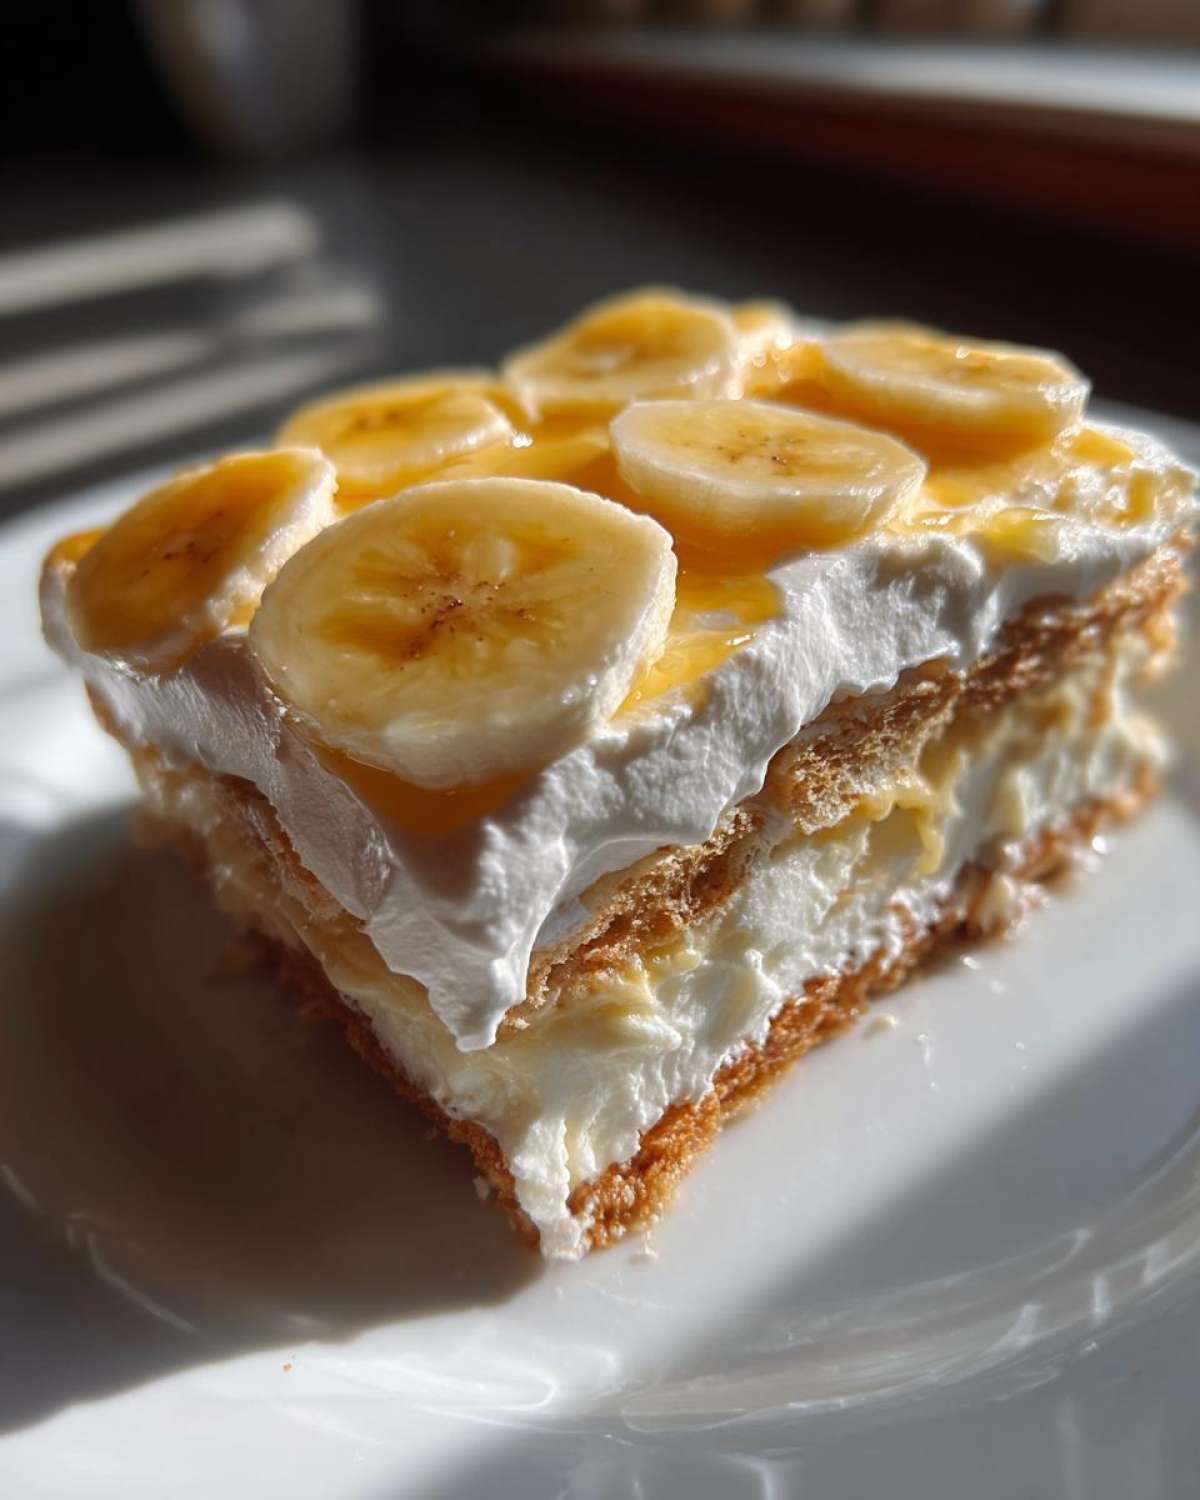
What kind of bananas are best for this Banana Pudding Icebox Cake?
Use ripe bananas for this layered cake. They should be yellow with a few brown spots. These bananas are sweeter. They also have a softer texture. Avoid overly mushy bananas. They can make the cake too wet. Just-ripe bananas are perfect.
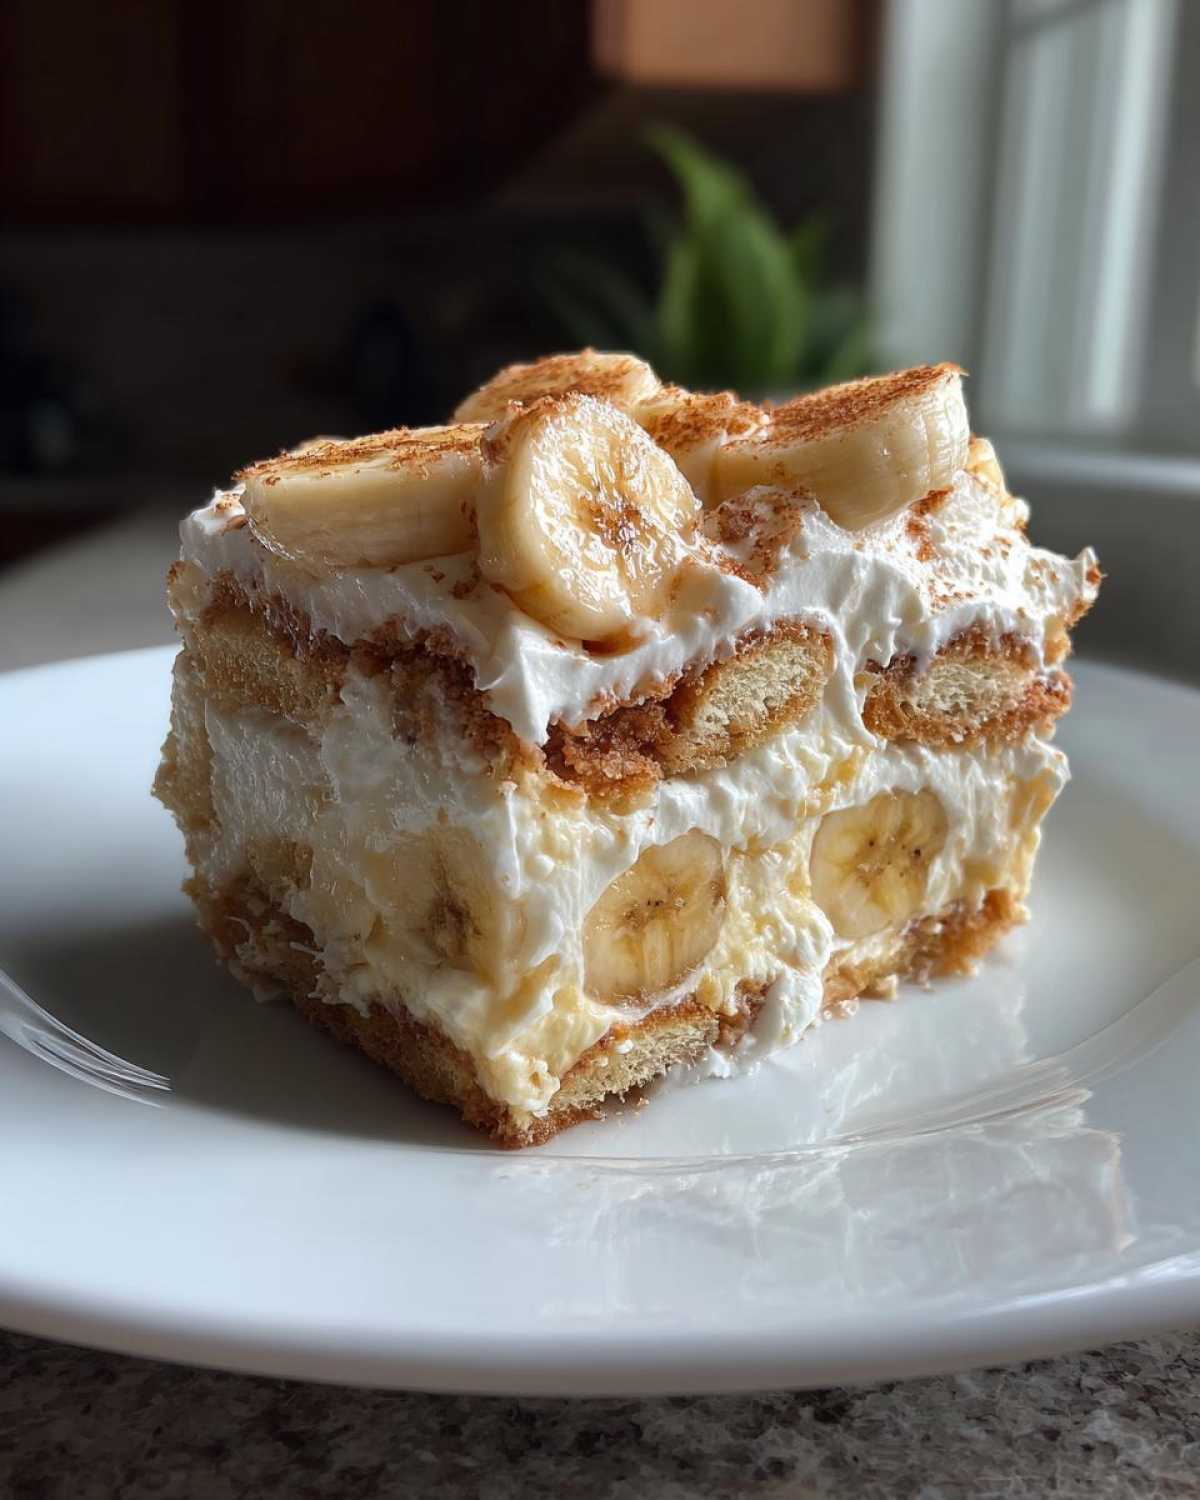
Serving and Storing Your Delicious Banana Pudding Icebox Cake
Once your Banana Pudding Icebox Cake has chilled and the flavors have melded, it’s ready to enjoy! Slice it into generous portions. I love serving it chilled, straight from the refrigerator. It’s a refreshing treat, especially on a warm day. You can garnish with a few extra vanilla wafers or even a dollop of whipped cream if you like!
Leftovers? No problem! Cover the dish tightly with plastic wrap or foil. Store any remaining Banana Pudding Icebox Cake in the refrigerator. It will keep well for about 2 to 3 days. The wafers will continue to soften, making it even more cake-like. Just be sure to keep it covered to prevent it from drying out.
Estimated Nutritional Information for Banana Pudding Icebox Cake
Here’s a look at the approximate nutritional details for one serving of our Banana Pudding Icebox Cake. These numbers are estimates per slice. They can vary based on exact ingredient amounts. Enjoy this delicious, comforting dessert!
- Calories: 350
- Sugar: 30g
- Fat: 15g

Amazing Banana Pudding Icebox Cake Makes 8
- Total Time: 4 hours 20 minutes
- Yield: 12 servings
- Diet: Vegetarian
Description
Create a delightful no-bake Banana Pudding Icebox Cake. This easy layered dessert combines vanilla wafers, creamy pudding, and fresh bananas for a taste of classic Southern comfort.
Ingredients
- 2 (3.4 ounce) packages instant vanilla pudding mix
- 3 cups milk
- 1 (8 ounce) container frozen whipped topping, thawed
- 1 (11.5 ounce) can evaporated milk, chilled
- 1 (16 ounce) package vanilla wafers
- 4 ripe bananas, sliced
Instructions
- In a large bowl, whisk together the instant pudding mixes and milk until smooth. Let stand for 5 minutes to thicken.
- Gently fold in the thawed whipped topping until well combined.
- Pour the chilled evaporated milk into the pudding mixture and whisk until smooth.
- Arrange a layer of vanilla wafers in the bottom of a 9×13 inch baking dish.
- Spread half of the pudding mixture evenly over the wafers.
- Arrange half of the sliced bananas over the pudding layer.
- Repeat the layers: vanilla wafers, the remaining pudding mixture, and the remaining banana slices.
- Top with a final layer of vanilla wafers.
- Cover the dish and refrigerate for at least 4 hours, or preferably overnight, to allow the flavors to meld and the wafers to soften.
Notes
- For a richer flavor, you can use a combination of milk and half-and-half for the pudding.
- Ensure the evaporated milk is very cold for the best texture.
- Chill the cake for at least 4 hours to allow the wafers to soften and create a cake-like consistency.
- Adjust the number of wafers and bananas to your preference.
- Prep Time: 20 minutes
- Cook Time: 0 minutes
- Category: Dessert
- Method: No-Bake
- Cuisine: American
Nutrition
- Serving Size: 1 slice
- Calories: 350
- Sugar: 30g
- Sodium: 250mg
- Fat: 15g
- Saturated Fat: 8g
- Unsaturated Fat: 7g
- Trans Fat: 0g
- Carbohydrates: 50g
- Fiber: 2g
- Protein: 5g
- Cholesterol: 10mg


Comments are closed.