
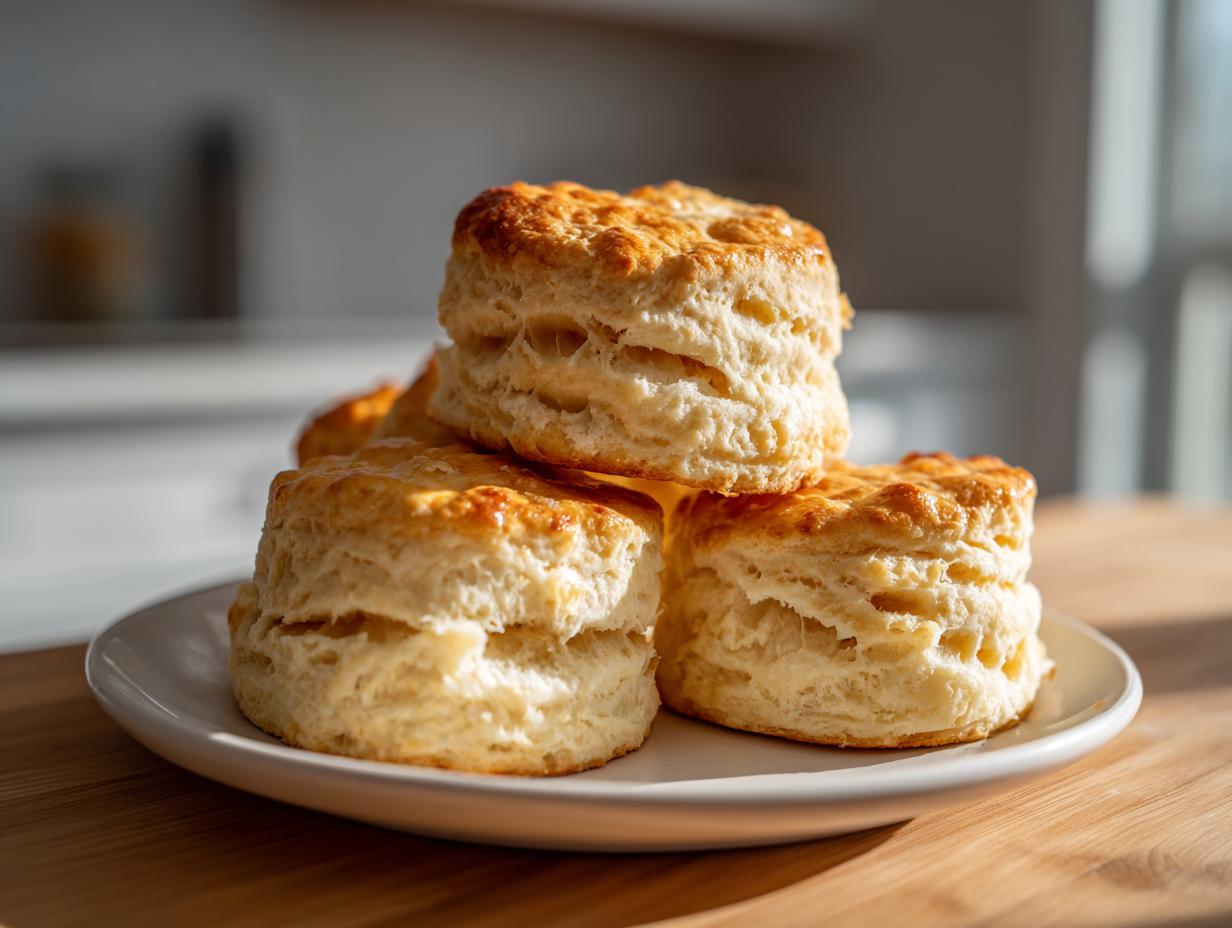
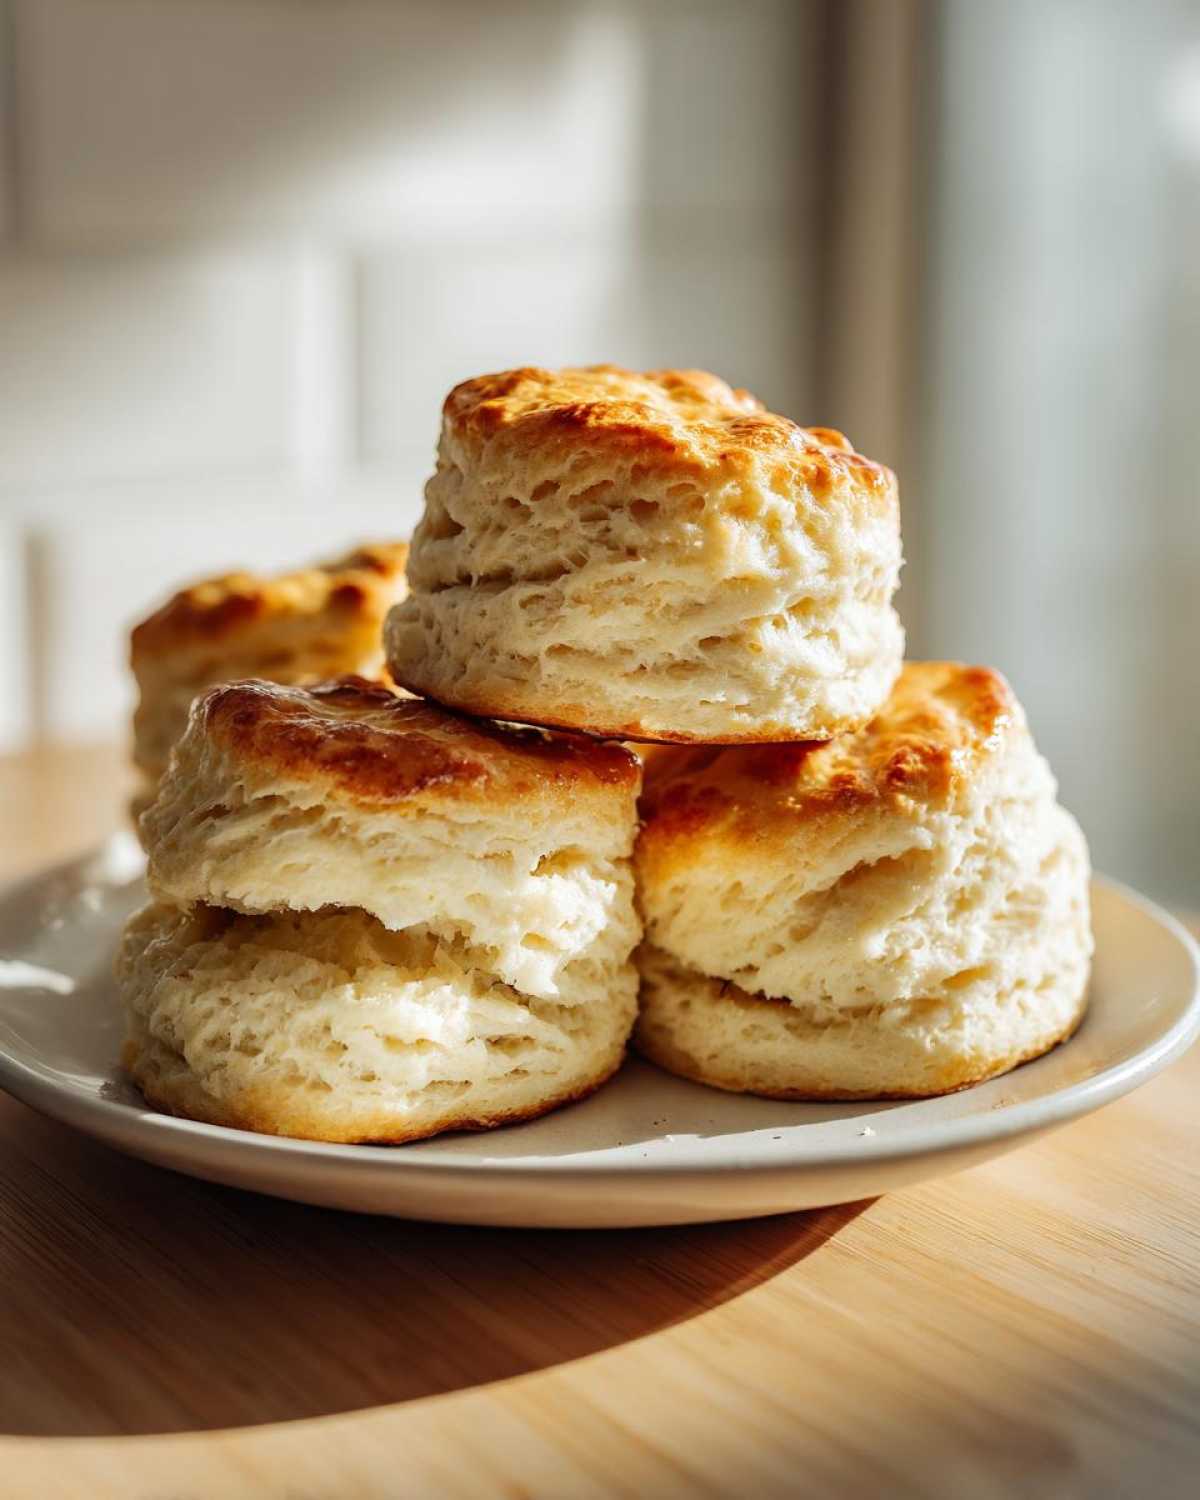
You know that moment? You bite into a biscuit and it just… disappears? So soft, so buttery, and tall enough that you feel like you need a ladder just to eat it? I spent years chasing that elusive Southern perfection. My early attempts were flat hockey pucks, I’m not going to lie. I thought the magic was in some secret family cookbook I didn’t have. Turns out, the magic isn’t secret, it’s just technique!
Forget mushy, dry, or dense bakes. I’m finally sharing my definitive guide for the fluffiest, tallest buttermilk biscuits you will ever see leave your oven. We are talking melt-in-your-mouth tenderness and flaky layers that separate beautifully when you pull them apart. If you follow these steps for your buttermilk biscuits, you’ll be making comfort food baking staples for years to come.
Why These are the Best Buttermilk Biscuits You Will Ever Make
I know everyone claims they have the best biscuit recipe, but mine deliver on every single promise. I’ve tried every trick in the book, and these are the ones that consistently make people ask for the recipe when they’re served at brunch. They just hit different!
- They are unbelievably fluffy—they practically float off the plate.
- The center crumb is so tender you hardly need to chew.
- The layers pull apart like heaven; nobody wants a dense biscuit, right?
- That signature, slightly tangy, buttery Southern flavor comes through perfectly.
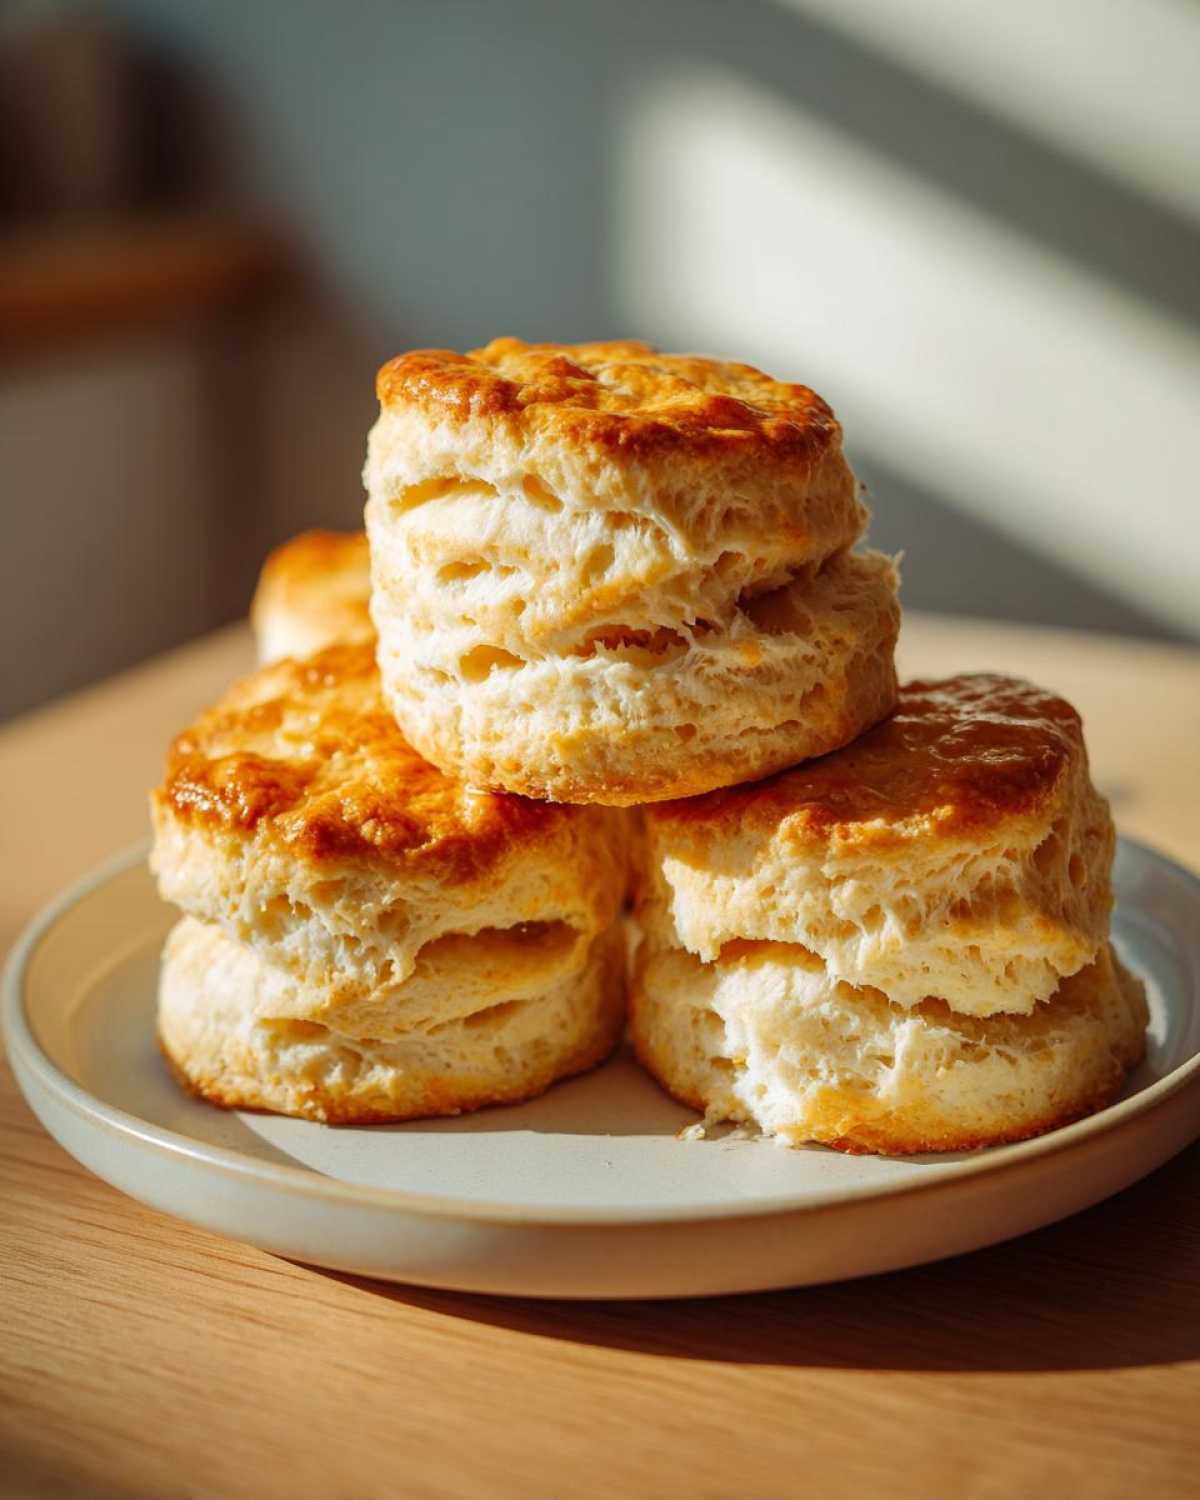
Achieving Maximum Fluffiness in Your Buttermilk Biscuits
It all boils down to three things: keeping everything icy cold, making sure your butter pieces stay intact, and those gentle folds we do later on. Those pea-sized butter pieces create little steam pockets when they hit the hot oven. That steam pushes those layers apart, giving you the height you dream about. If you want that gorgeous loft, cold hands are your best friend! Mastering this is almost as important as my recipe for moist, fluffy cornbread, trust me.
Essential Ingredients for Perfect Buttermilk Biscuits
The beauty of this Southern Style Biscuits Recipe is how simple the ingredient list is. You probably have most of this stuff on hand right now! But listen, the quality and temperature of these few items make or break your entire batch of tender buttermilk bakes.
You’ll need:
- 2 cups all-purpose flour (nothing fancy here!)
- 1 tablespoon baking powder (it’s the lift!)
- 1 teaspoon salt
- 1 teaspoon sugar
- 1/2 cup (1 stick) of cold unsalted butter, cut into small cubes. Seriously, freeze it for 10 minutes before starting.
- 3/4 cup cold buttermilk, plus a little extra if you need to brush the tops.
If your butter melts before it hits the flour, you’ll get a cookie, not a biscuit. Keep that butter arctic!
Step-by-Step Instructions for Fluffy Buttermilk Biscuits
Alright, this is where we put the pedal to the metal! First things first: crank that oven up to 425 degrees Fahrenheit. You need that high heat to shock the butter and force a big rise. Once it’s heating, line a baking sheet with parchment paper, or just give it a quick, light greasing.
Start by grabbing your large bowl and whisking together the flour, baking powder, salt, and sugar until it’s all friends. Now, toss in those tiny cubes of cold butter. This is your “cutting in” step. Some folks use a pastry blender, which is great, but honestly, your fingers work just fine—just work fast! You’re looking for coarse crumbs, and you absolutely need some visible, pea-sized chunks of butter remaining. Seeing those butter bits means you’re on track for easy homemade biscuits that actually taste like something!
Here comes the wet stuff: pour in all that cold buttermilk at once. Use a fork, not your mixer, and just barely mix it until it comes together into a shaggy, clumsy dough. If you overmix here, you seal the fate of your biscuits—they’ll come out tough. Don’t worry about it looking perfect; it shouldn’t!
The Secret to Layered Buttermilk Biscuits: Folding Technique
Turn that shaggy mess out onto a lightly floured counter. Now, pat or roll it gently until it’s about 3/4 inch thick. This next part is what separates the mediocre from the magnificent. You need to fold the dough over itself, like you’re folding a letter, maybe two or three times. Flatten it back out to about an inch thick after each fold. This simple “letter fold” process stacks those butter pockets right on top of each other! When those layers hit the heat, they puff up, giving you those beautiful, tall, flaky biscuits we love so much. Don’t knead it; just fold and press gently.
Use a sharp 2-inch biscuit cutter. Press straight down—I mean straight down—and lift it out. Do not twist the cutter! Twisting seals the edges shut, and if the edges are sealed, the biscuit can’t climb upward. Place them close together if you want soft sides, or spread them out a bit for crispier edges.
Baking Time and Temperature for Golden Buttermilk Biscuits
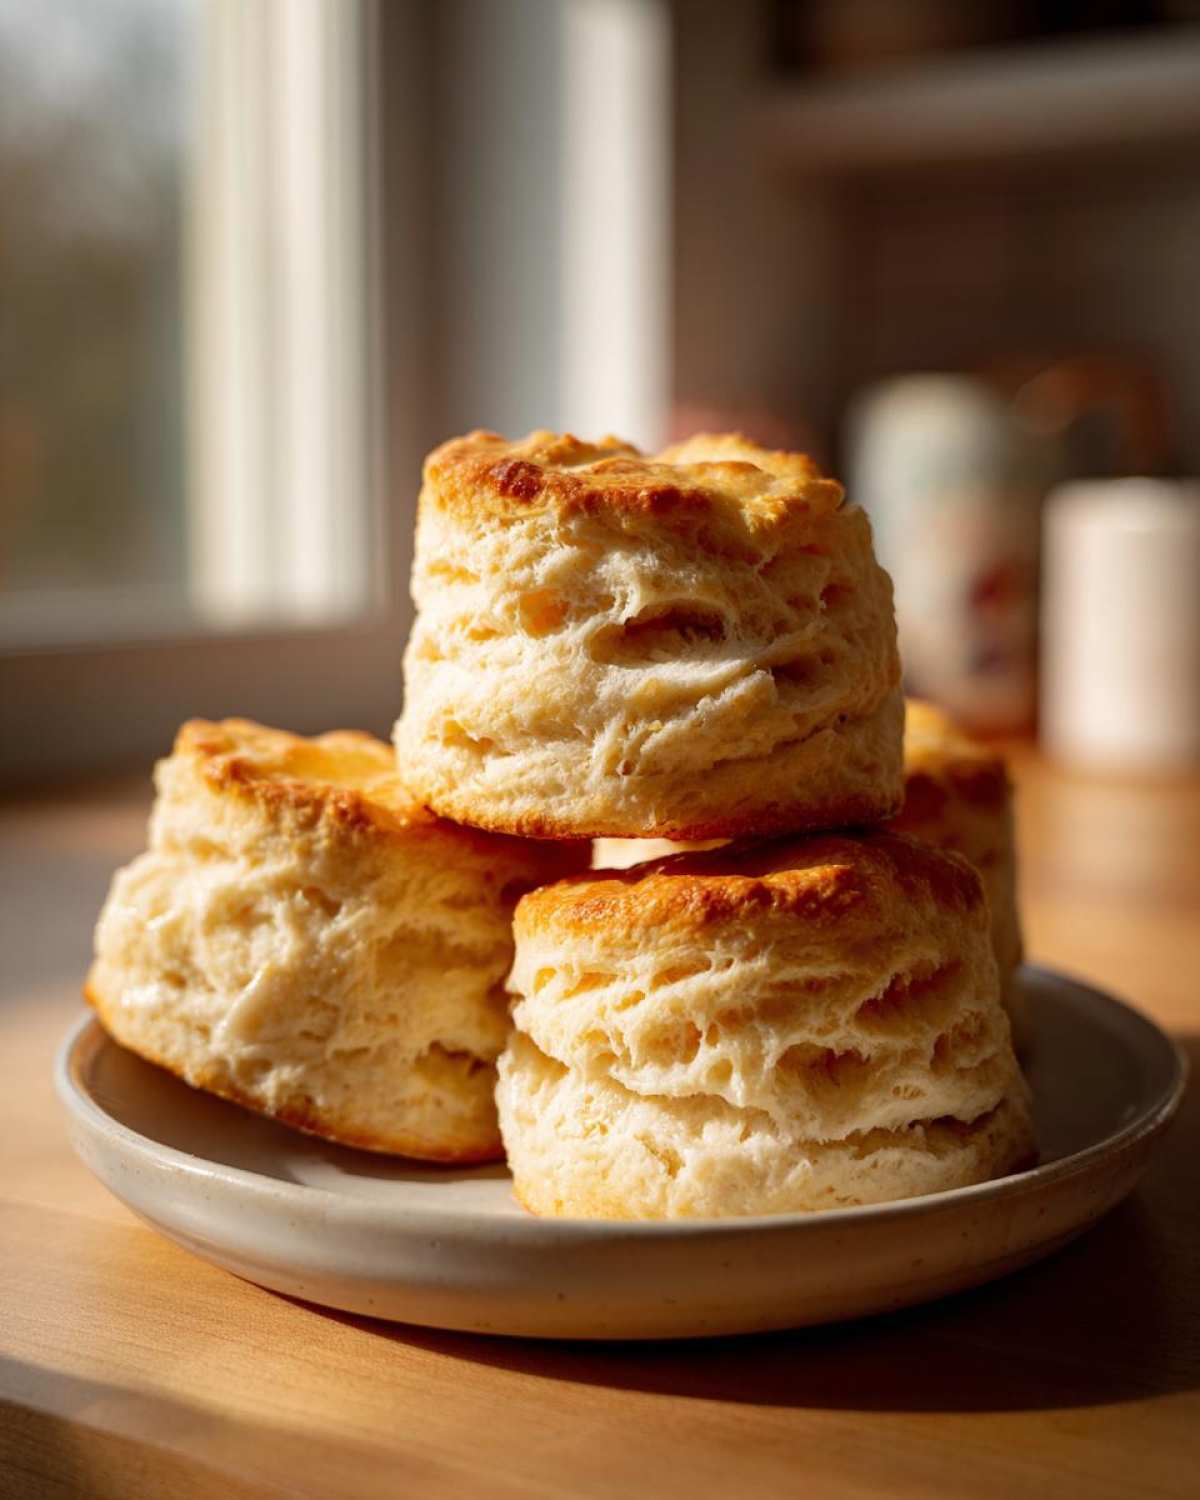
Now, quickly brush the tops with a little extra buttermilk—that helps them brown nicely. Pop them into that hot oven (425°F) for about 12 to 15 minutes. You’re looking for them to be gloriously golden brown on top, and when you peek underneath, the bottoms should look cooked, too.
Pull them out, and if you’re feeling extra decadent (which you should be!), brush them immediately with melted butter while they’re steaming hot. Serve ’em now while they’re fresh! That smell alone is worth the effort.
Tips for Success When Making Homemade Biscuits
If you’ve followed the steps but still feel like your biscuits are holding a grudge against you, let’s talk troubleshooting. The biggest enemy of a great biscuit is heat, both in the ingredients and in your hands when you’re mixing. Remember: cold or it’s flat!
Beyond the cold butter, how you handle the dough matters immensely for those tender buttermilk bakes. You want minimal contact. If you’re kneading or folding and you feel the dough start to get warm or sticky, stop! Stick the whole thing back in the fridge for 10 minutes. It feels like cheating, but trust me, a 10-minute nap in the cold makes a huge difference in final height.
Here’s my personal trick: after cutting the biscuits, I don’t move them right away. I pop the whole tray into the freezer for five minutes before they go into the oven. Those extra minutes of chilling firm up the butter one last time. When they hit that 425-degree heat, they are so cold they have no choice but to shoot straight for the ceiling. It’s extreme, but it guarantees those tall, flaky biscuits every single time!
Ingredient Notes and Substitutions for Buttermilk Biscuits
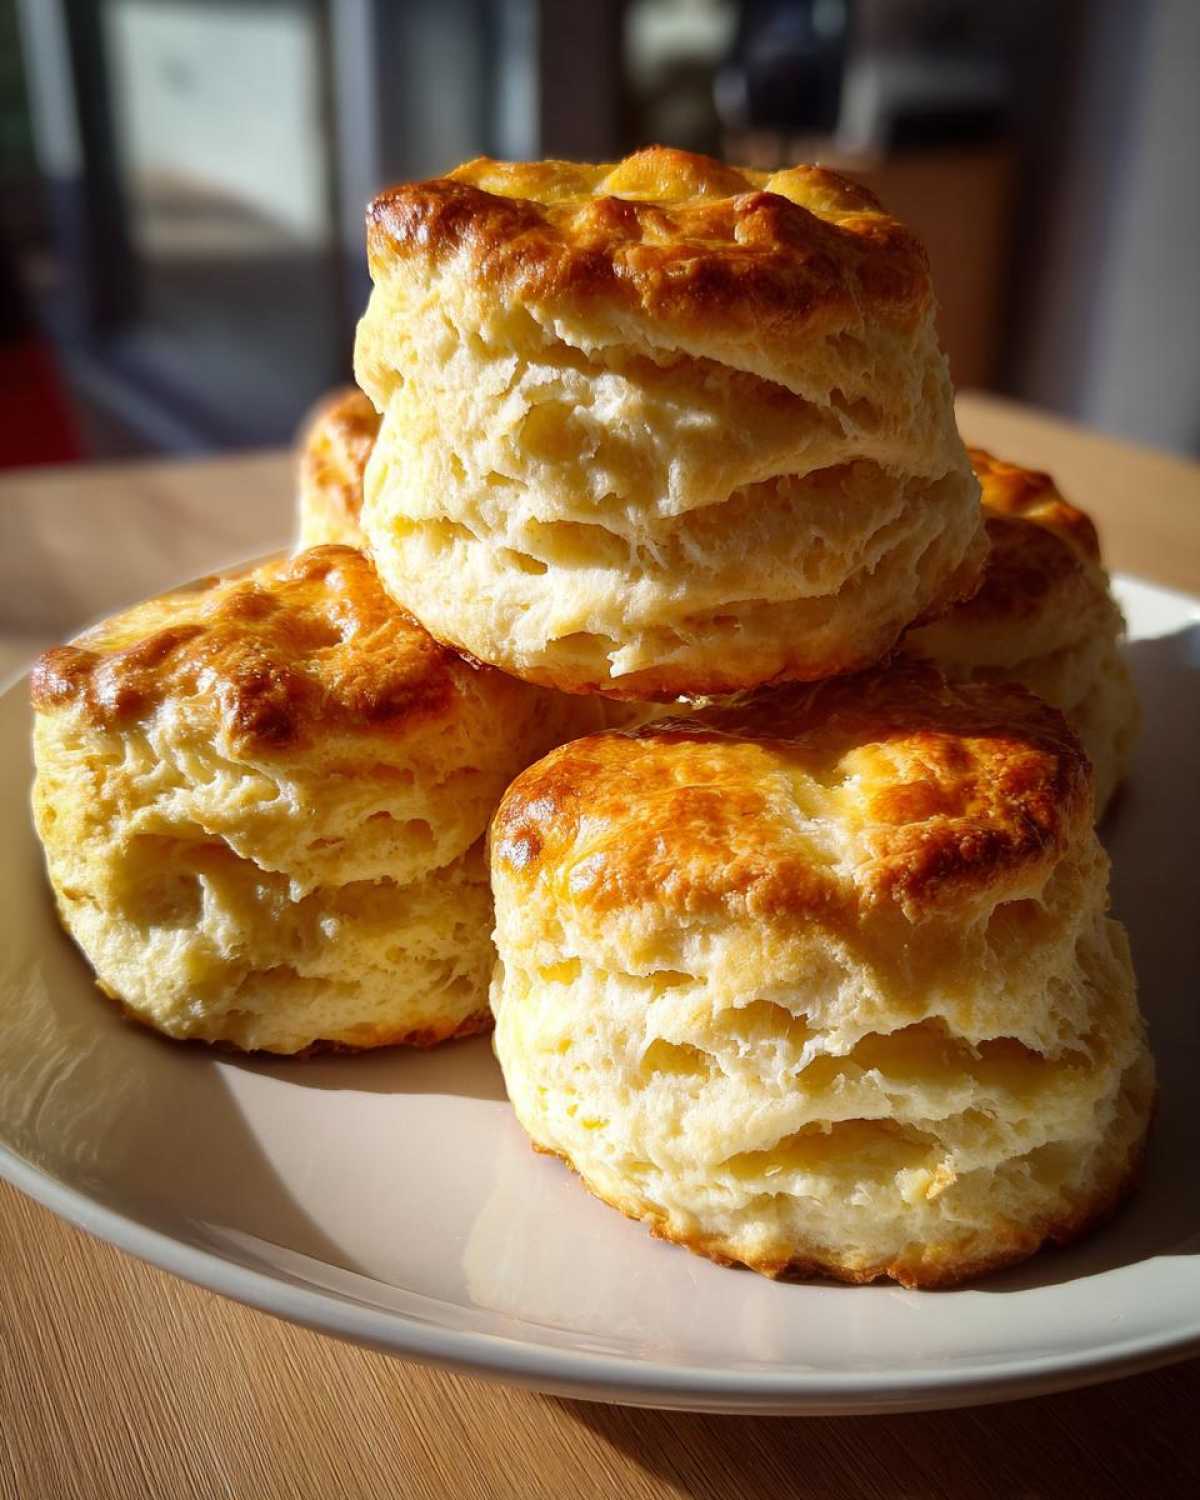
Let’s clear up any confusion about the ingredients, because substitutions can easily turn these fluffy buttermilk biscuits into sad, flat discs. The coldness of the butter? That is non-negotiable. I can’t stress this enough. If your butter is soft, it mixes right into the flour, and you lose all the structure we spent so much time building with those folds. Cold butter melts slowly in the oven, creating steam that physically pushes the layers apart. If you use soft butter, you are essentially short-circuiting the fluffiness process. So, cold butter is law here!
Now, what if you run out of buttermilk? It happens to the best of us! Don’t throw in the towel. You can make a quick substitute just by adding a little acid to regular milk. For the 3/4 cup of buttermilk this recipe calls for, take 3/4 cup of regular whole milk—or even 2% if that’s what you have—and stir in one teaspoon of white vinegar or lemon juice. Give it a quick stir and just let it sit on the counter for about five minutes. It will curdle slightly, and you now have buttermilk that works just as well! It gives the dough that slight tang, too.
Also, don’t play games with the baking powder. Using old or expired baking powder is another way to guarantee flat biscuits. Since these are considered quick breads, they rely heavily on that chemical leavener to rise fast. Always make sure your baking powder is fresh!
Serving Suggestions for Your Tender Buttermilk Bakes
Whew! You made the best buttermilk biscuits recipe, and now they are golden brown and steaming hot! Do not, I repeat, do not let these sit around until they get cold on the counter. These need to be eaten right away while they’re still warm. That first bite, when the butter you brushed on top melts into those flaky layers? That’s the moment you deserve!
What should you serve them with? Well, they are the perfect breakfast bread ideas all on their own. A thick schmear of butter and homemade strawberry jam is classic perfection. Or, if you grew up anywhere near the South, you know these are just appetizers for the main event: sausage gravy! I love smothering two biscuits in creamy, peppery gravy for a weekend brunch that feels like a warm hug.
But these aren’t just for breakfast! They make an excellent side dish for dinner, especially when you’re serving something hearty. They are amazing for soaking up the last bits of rich sauce from a stew. They’d be fantastic alongside a creamy bowl of baked potato soup or chili. They are basically little edible sponges of joy. Honestly, I’ll eat them plain with a drizzle of honey sometimes, just to appreciate that buttery Southern baking texture!
Storage and Reheating Instructions for Leftover Buttermilk Biscuits
Okay, so sometimes, miraculously, you have leftover biscuits. I usually only manage one or two, because they are impossible to stop eating straight from the pan! But if you do manage to save some of these fluffy buttermilk biscuits, storage is super important if you want them to taste almost as good the next day.
The key here is air—or rather, keeping the air out. You want these cozy overnight. Store them in an airtight container at room temperature for up to three days. Do not stick them in the fridge! Seriously, the fridge is the enemy of a tender buttermilk bake. The cold temperature hardens that butter and makes them stale incredibly fast. If you need to keep them longer than three days, you can freeze them, wrapped tightly in plastic wrap and then foil, for up to two months.
How to Reheat Biscuits to Bring Back the Fluff
This is the crucial part, right? Nobody wants a room-temperature, slightly stiff biscuit. The microwave is technically an option if you’re desperate, but it steams them and often makes them dense and chewy. We want to revive that crisp exterior and soft inside so they taste fresh-from-the-oven again.
My preferred method, which gives you the best results for restoring that wonderful height, is using the oven or a toaster oven. Preheat your oven to about 350 degrees Fahrenheit. Wrap your biscuit—or a couple of them—loosely in aluminum foil. The foil traps just enough moisture to keep them from drying out entirely. Pop them in for about 5 to 8 minutes. They come out hot, soft, and the crumb is revived!
If you’re reheating from frozen, just add a few extra minutes to that oven time, still wrapped in foil. If you really only need one, the toaster oven works brilliantly and saves you from heating up the whole kitchen. Just watch them closely so they don’t burn on top!
Frequently Asked Questions About Making Buttermilk Biscuits
I always get questions when people try this recipe because it seems so simple, but baking always has little secrets, right? Don’t stress if you run into a hitch the first time. Most of the time, the things that go wrong with these buttermilk biscuits boil down to just a couple of easy-to-fix issues. Here are the things I hear the most!
Can I make the buttermilk biscuit dough ahead of time?
Yes, you absolutely can! This is a great tip for busy weekend mornings. Once you’ve done all the folding and you’re about to cut them out, place the whole stack of dough onto a sheet of parchment paper. Wrap it tightly in plastic wrap so it doesn’t dry out, and stick it in the fridge. It’ll keep like that for up to 24 hours. When you’re ready to bake, just take it out, let it sit on the counter for about 15 minutes just so it’s not rock hard to cut, and then proceed with cutting and baking as normal! You might need to add just a minute or two to the baking time since the dough is colder.
My biscuits are tough, what went wrong with my buttermilk biscuits?
Oh man, tough biscuits are the absolute worst! That’s almost always caused by one thing: overmixing. When you mix flour too much, especially after the liquid goes in, you are developing gluten, which is great for bread, but terrible for a tender buttermilk bake. Gluten tightens up, and boom—you have a hockey puck instead of something that melts in your mouth.
When you combine the buttermilk with the flour mixture, you want to stop mixing the second you no longer see streaks of dry flour. Remember that shaggy dough stage? Keep it shaggy! If you work the dough too long during the folding process or press too hard when you cut them, that affects the tenderness too. You must be gentle to achieve those beautiful, tall flaky biscuits!
Estimating the Nutritional Value of These Buttermilk Biscuits
Now, I usually don’t spend too much time agonizing over the numbers when I’m baking pure comfort food like this, but since you asked, I mapped out the general nutritional breakdown for you. We have to remember that these are rich, buttery Southern style biscuits, so they aren’t exactly diet food—they’re delicious comfort food meant to be enjoyed!
This information is based on the recipe yielding 8 servings. Please keep in mind that since we are using real butter and honest-to-goodness buttermilk, this is just an estimate. The exact numbers can change depending on what brand of butter you use or if you brush on extra topping.
Here’s the general idea:
- Serving Size: 1 biscuit
- Calories: Around 250
- Fat: About 13 grams (That’s where all that flaky goodness comes from!)
- Saturated Fat: Roughly 8 grams
- Carbohydrates: Near 29 grams
- Sugar: Only 2 grams (Sweetened naturally!)
- Protein: About 5 grams
- Sodium: Approximately 450mg
If you’re trying to keep things lighter, you could always use low-fat buttermilk instead of whole, but I personally wouldn’t recommend it for the best results—you need that full fat for the texture!
Print
Fluffy Southern Buttermilk Biscuits
- Total Time: 30 min
- Yield: 8 biscuits
- Diet: Vegetarian
Description
A recipe for tall, flaky, and tender buttermilk biscuits with a rich buttery flavor, perfect for breakfast or serving with dinner.
Ingredients
- 2 cups all-purpose flour
- 1 tablespoon baking powder
- 1 teaspoon salt
- 1 teaspoon sugar
- 1/2 cup (1 stick) cold unsalted butter, cut into small cubes
- 3/4 cup cold buttermilk, plus extra for brushing
Instructions
- Preheat your oven to 425 degrees Fahrenheit. Line a baking sheet with parchment paper or lightly grease it.
- In a large bowl, whisk together the flour, baking powder, salt, and sugar.
- Add the cold butter cubes to the flour mixture. Use a pastry blender or your fingertips to cut the butter into the flour until the mixture resembles coarse crumbs with some pea-sized pieces of butter remaining.
- Pour in the cold buttermilk all at once. Use a fork to gently mix until just combined into a shaggy dough. Do not overmix.
- Turn the dough out onto a lightly floured surface. Gently pat or roll the dough to about 3/4 inch thickness.
- Fold the dough over itself (like a letter) two or three times. This creates layers. Gently pat the dough back down to about 1 inch thickness.
- Use a 2-inch biscuit cutter to cut straight down through the dough. Do not twist the cutter, as twisting seals the edges and prevents rising.
- Place the cut biscuits close together on the prepared baking sheet for softer sides, or slightly apart for crispier sides.
- Brush the tops lightly with extra buttermilk.
- Bake for 12 to 15 minutes, or until the biscuits are golden brown on top and cooked through.
- Remove from the oven and brush the tops immediately with melted butter, if desired. Serve warm.
Notes
- Keep all your ingredients, especially the butter and buttermilk, very cold for the flakiest results.
- For extra height, place the cut biscuits close together on the baking sheet so they push each other up as they bake.
- If you do not have a biscuit cutter, you can cut the dough into squares using a sharp knife.
- Prep Time: 15 min
- Cook Time: 15 min
- Category: Breakfast
- Method: Baking
- Cuisine: American
Nutrition
- Serving Size: 1 biscuit
- Calories: 250
- Sugar: 2
- Sodium: 450
- Fat: 13
- Saturated Fat: 8
- Unsaturated Fat: 5
- Trans Fat: 0
- Carbohydrates: 29
- Fiber: 1
- Protein: 5
- Cholesterol: 35



Comments are closed.