
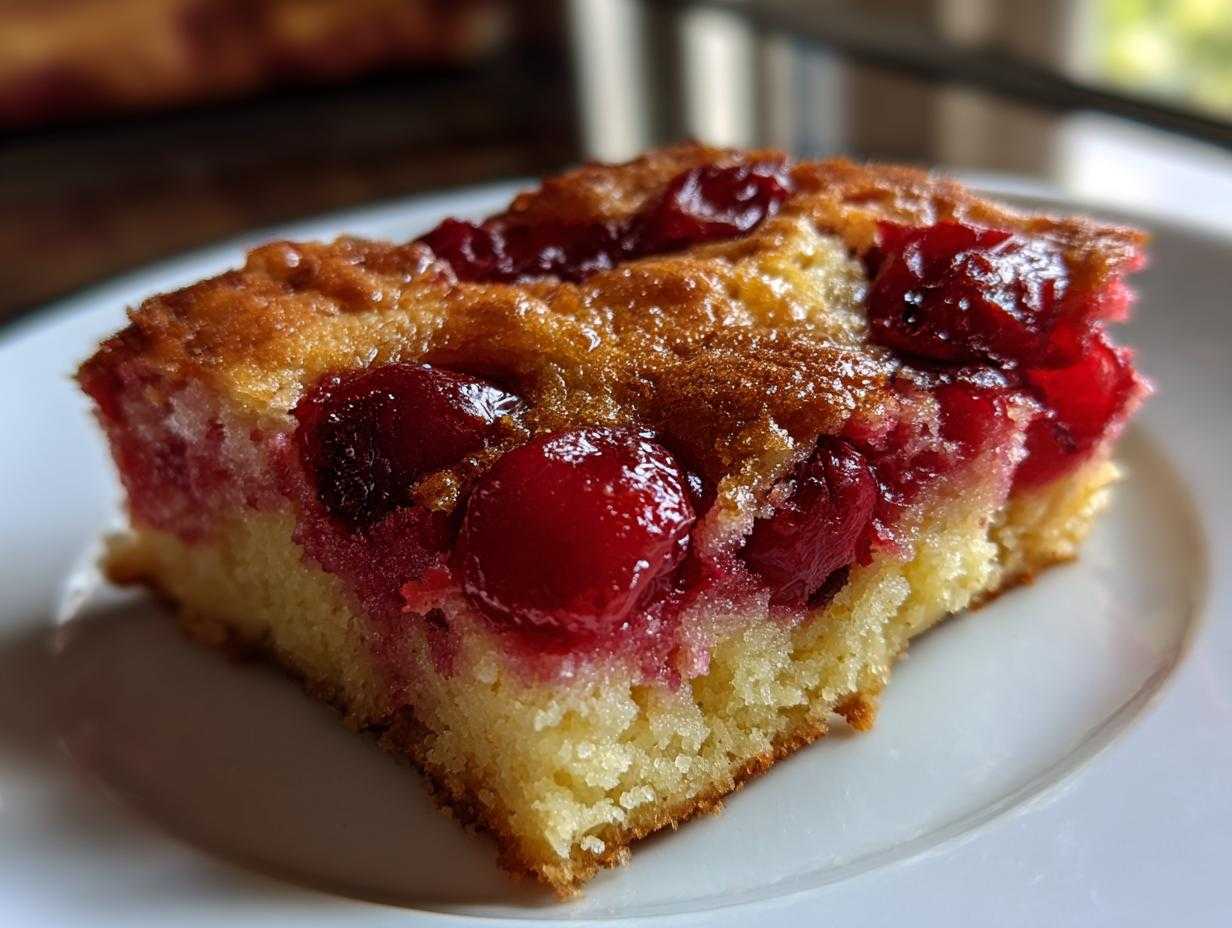
Listen, I’m going to let you in on a little kitchen secret that has absolutely saved my bacon more times than I can count. You know those evenings, right? You promised something sweet for a last-minute gathering or you suddenly realize the kids need a treat for school tomorrow, and the thought of measuring flour, creaming butter, or even digging out the hand mixer makes you want to hide under the couch? That’s when we deploy the big guns: the **cherry dump cake**.
This isn’t just a recipe; it’s a last-minute dessert miracle. It’s the definition of **Minimal Effort Baking**. Seriously, you don’t mix anything. You literally dump, sprinkle, and bake. I’m talking about taking this **Easy Cherry Dump Cake** from pantry to oven in under five minutes. I once brought this to a neighborhood potluck when my main dessert completely collapsed—and I brought home an empty dish! It’s that reliable.
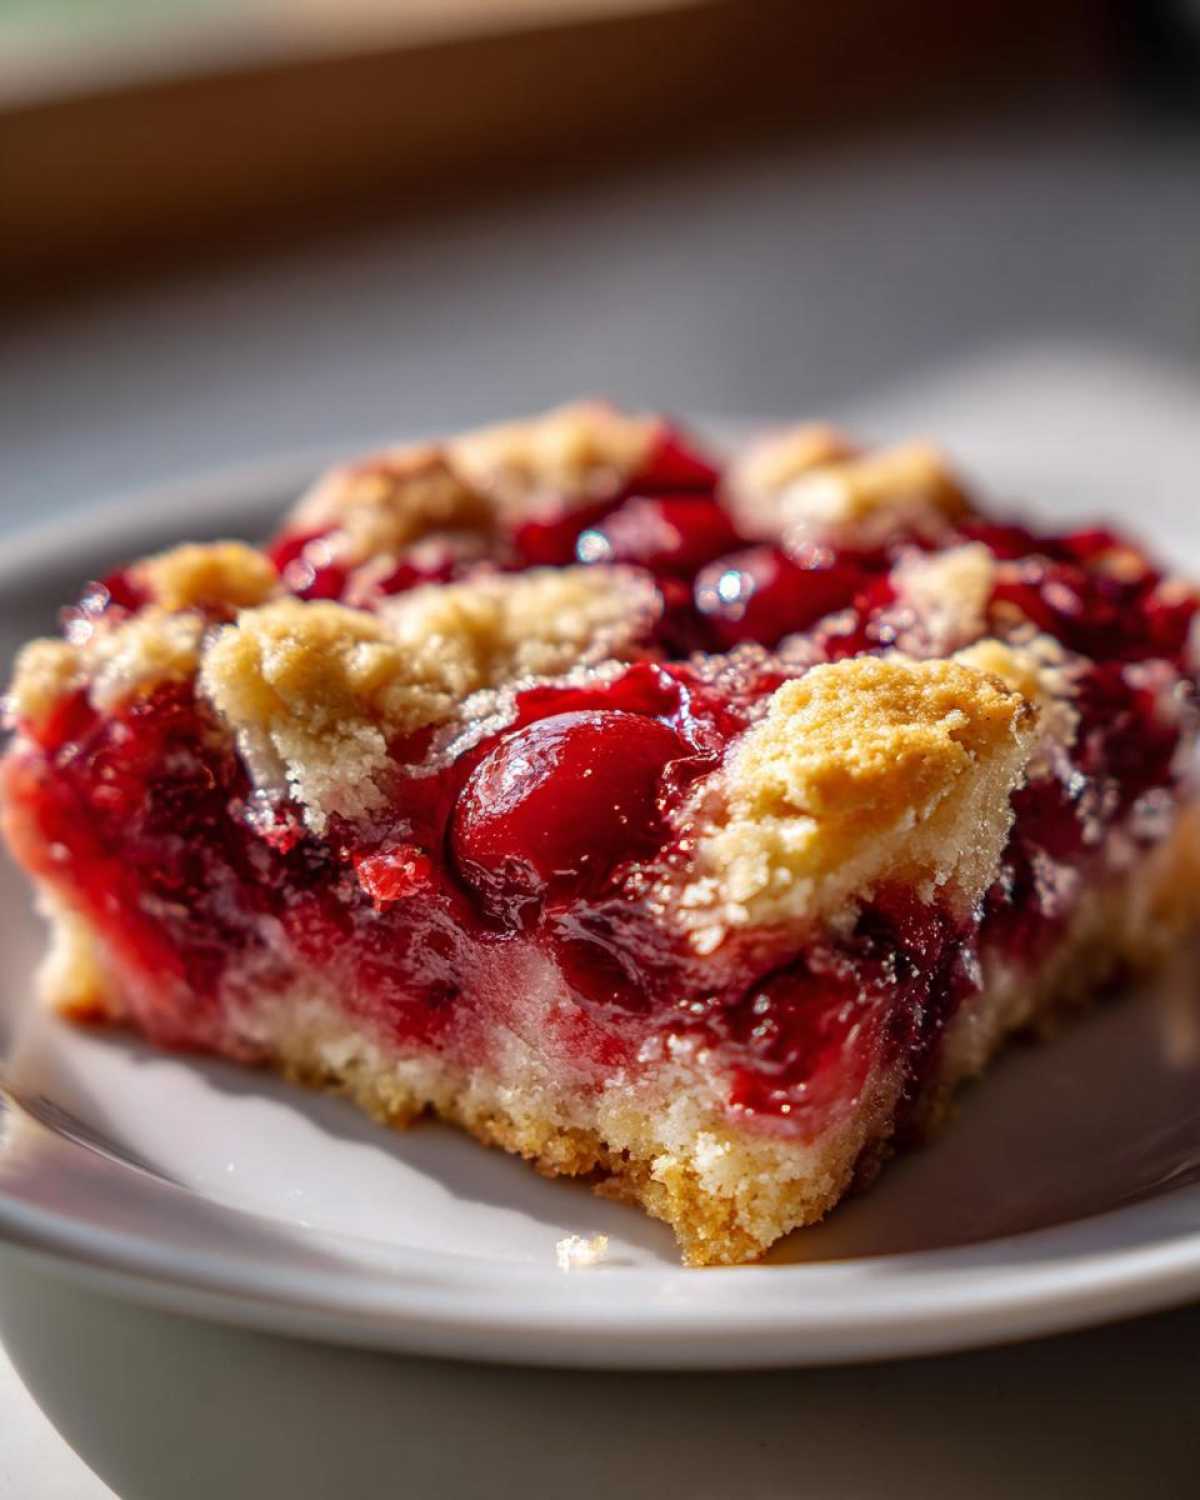
My favorite part is the texture. It bakes up into this warm, gooey, fruit-filled bottom layer with a crisp, buttery streusel topping that tastes like the best part of a cobbler. If you’re looking for a truly **Foolproof Baking Recipe** that delivers maximum comfort with zero fuss, you’ve found it. Let me show you exactly how to achieve perfection without lifting a finger!
Why This Classic Cherry Dump Cake is Your New Favorite 3 Ingredient Dessert
When I say easy, I mean *easy*. This **cherry dump cake** is the definition of reaching for the stars with minimal effort. It’s the dessert you make when you only have 10 minutes before people arrive, and you still want something that tastes like you actually tried. It’s shocking how much flavor we squeeze out of just a few pantry staples. When dessert emergencies strike, this recipe is my secret weapon, right up there with my recipe for Cowboy Cornbread Casserole!
You absolutely need this recipe in your toolkit for those busy times you need a **Quick Dump Cake Recipe** that always comes out right. Here’s why I swear by it:
- It demands almost no prep time—we’re talking five minutes, max.
- It requires just three main ingredients—a true **3 Ingredient Dessert** hero!
- It yields that magical, **warm gooey dessert** quality that ice cream desperately wants to cling to.
- It travels like a dream, making it perfect for last-minute **Potluck Desserts Easy** pickups.
The Ultimate Minimal Effort Baking Experience
Forget about softening butter or waiting for eggs to come to room temperature! This is the dream **No Mixer Dessert**. You are literally opening cans and bags, sprinkling, and tapping the pan gently. It’s so straightforward that even my kids can assemble it without supervision (though I usually handle the oven part, naturally). If you can pour things into a dish, you can make this cake.
Texture Comparison: Easy Cobbler Style Dessert
People often ask if it’s a cobbler or a crisp, and honestly, it’s better! Because we’re using dry cake mix sprinkled on top and topped with butter pieces, the topping bakes up into these incredible buttery, slightly crispy pockets that melt down into the sweet, bubbling cherry layer underneath. It gives you that fantastic texture contrast you usually only find in a great layered fruit dessert.
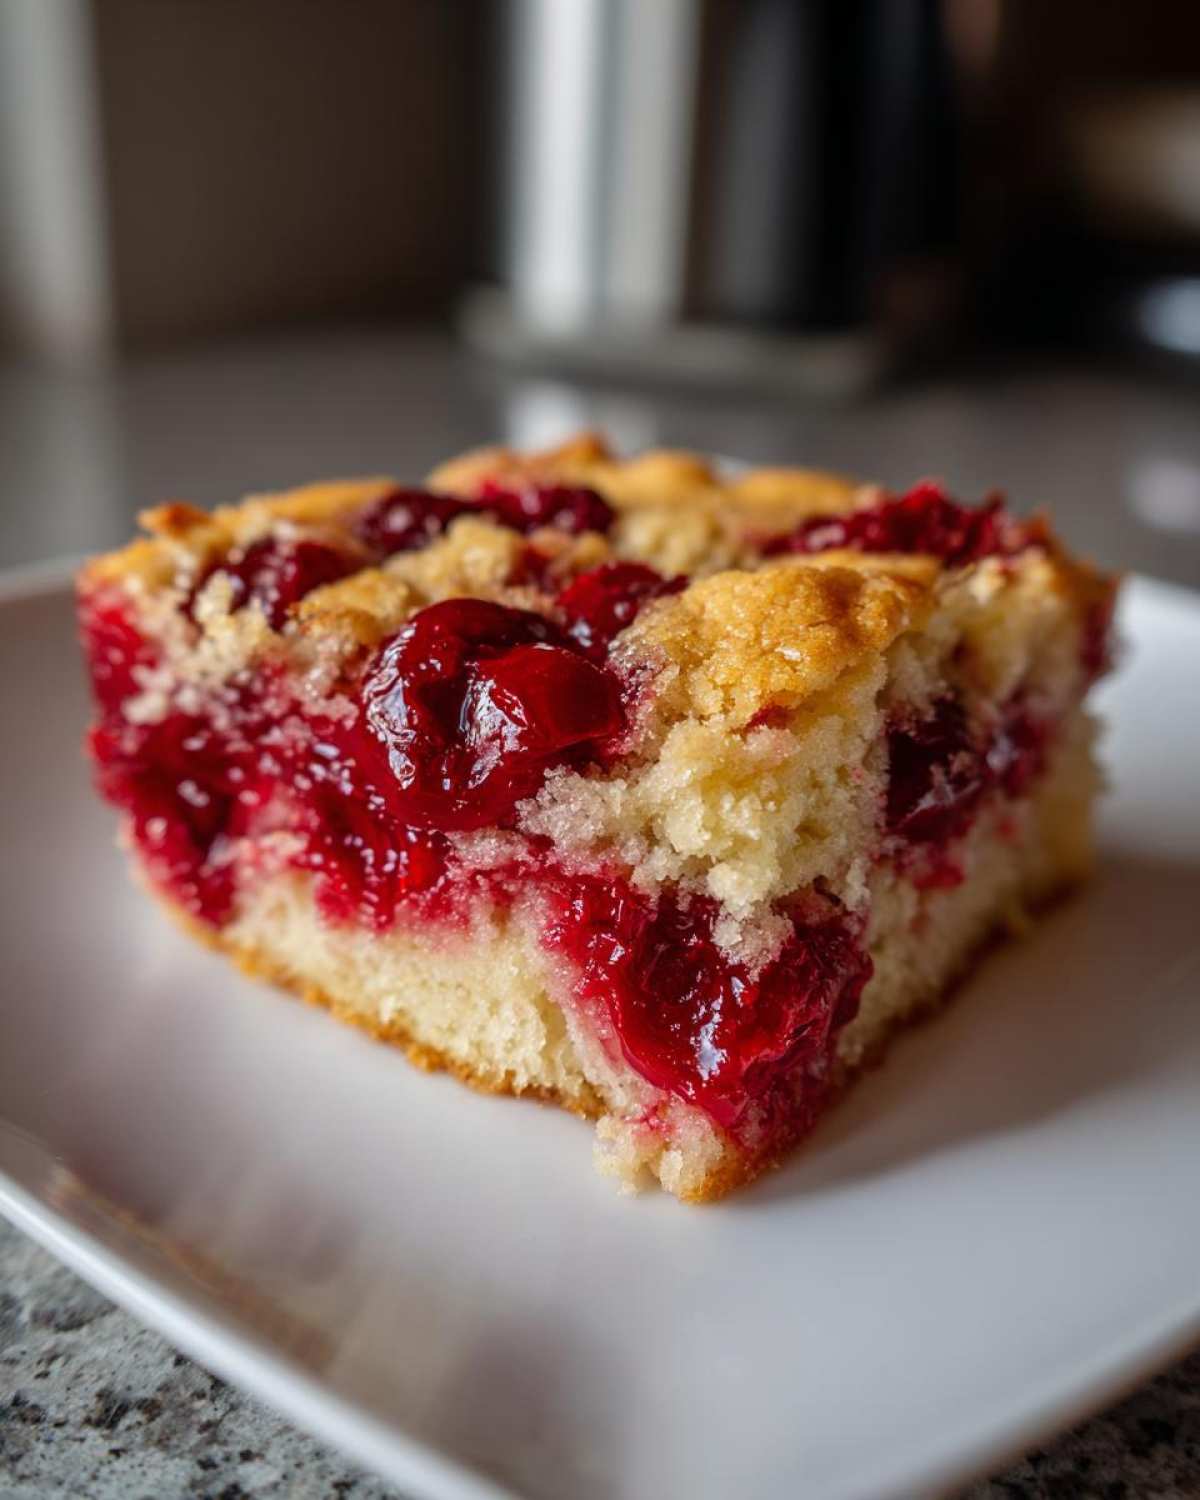
Gathering Ingredients for Your Quick Dump Cake Recipe
Okay, let’s talk ingredients because clarity here is the secret sauce to keeping this a true dump cake and avoiding a sticky mess! This is where many people trip up, thinking they need to mix the cake powder first. Nope! Remember, we need those dry layers to interact with the butter and create that perfect topping.
Getting the right stuff ensures this turns out looking beautiful and tasting amazing. It’s super straightforward, and I appreciate how little I have to shop for whenever I whip this out. For more foolproof pantry staples, you might want to check out my thoughts on Honey Bran Muffins too!
Core Components of the Cherry Pie Filling Dessert
For the base recipe—the magic three—you need three things. First, you need one standard 21-ounce can of cherry pie filling. Make sure you get the *filling*, not just cherries in syrup! Second, grab a 15.25-ounce box of yellow cake mix. Do not prepare it; just keep it dry. Third, you need half a cup of unsalted butter.
Here’s a crucial detail on the butter: take that stick of butter and slice it into small little cubes or thin slices. We need to distribute these cold pieces evenly over the top layer later, trust me on this!
Optional Additions for a Richer Buttery Topping Cake
While the core three ingredients are fantastic, you can totally jazz this up a tiny bit if you want an extra layer of flavor. I sometimes add a teaspoon of pure vanilla extract right into the cherry layer just before sprinkling the dry mix over it. It just deepens that sweet fruit flavor!
And if you happen to have some chopped pecans or walnuts kicking around, throwing a half cup on top with the butter pieces adds a nice little crunch. It’s not necessary, but it elevates this **Simple Fruit Dump Cake** just a touch!
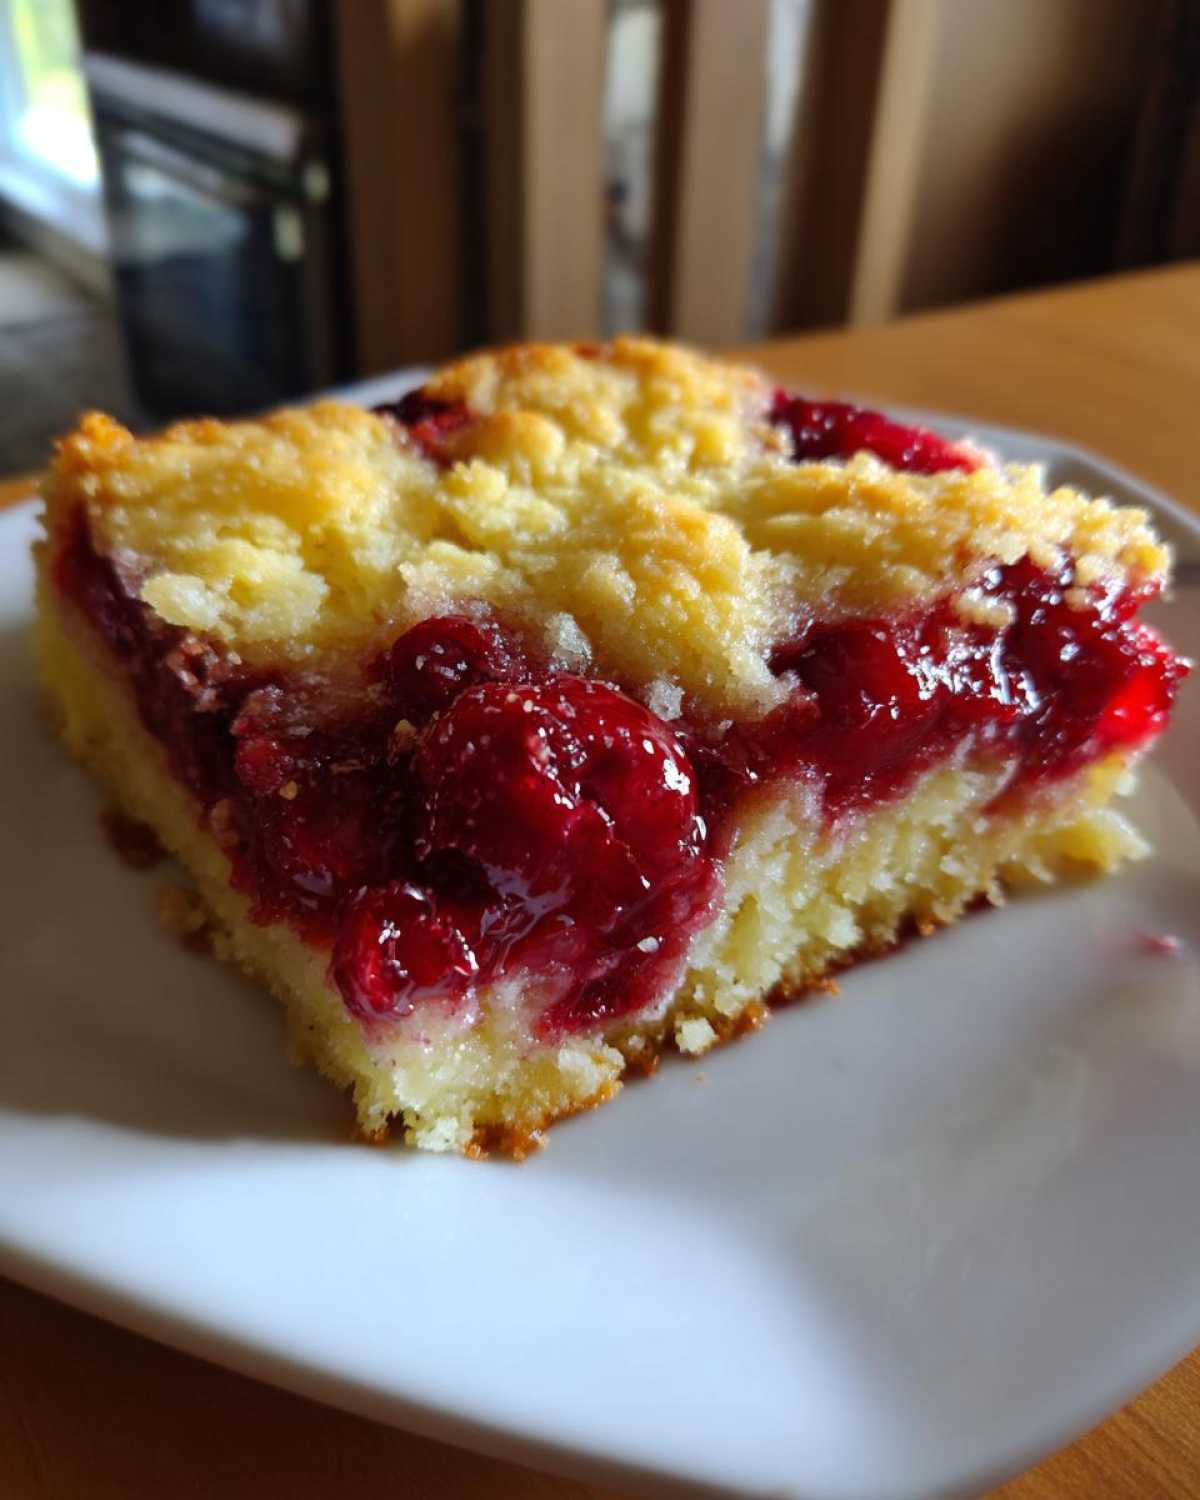
Step-by-Step Guide to Making the Best Dump Cake Recipe
This is where the magic happens, and honestly, it feels like cheating because it’s so simple. Remember, the number one rule for the **Best Dump Cake Recipe** is: under no circumstances do you stir! Stirring is what turns our beautiful, layered dessert into a chunky, wet mess. We want a distinct, sweet, gooey bottom and a crisp, buttery top, and layering is the key to that separation. Before we even touch the ingredients, make sure your oven is warming up to 350 degrees Fahrenheit. If you need a quick recipe for Egg Bites while you wait, go ahead and check that out! But keep your focus here on that cherry filling.
Preparation and Layering the Dump Cake with Cake Mix
First things first: lightly grease that 9×13 baking dish. You don’t need too much, just enough so the fruit filling doesn’t cling stubbornly. Then, take that glorious can of cherry pie filling and pour the entire thing right into the bottom. Spread it out gently, just enough to cover the base evenly. Next, open that box of dry cake mix. Gently sprinkle *all* of the dry mix evenly over the cherries—don’t flatten it down! Finally, take those cold, pre-cut butter pieces we talked about and scatter them evenly across the entire surface of the dry topping. Make sure you get butter everywhere!
Baking Times and Visual Cues for Perfect Cherry Dump Cake
Now, pop that beauty into the preheated 350°F oven. You are looking at a bake time somewhere between 45 and 55 minutes. You’ll know it’s ready when the edges of that cherry filling are vigorously bubbling up, and the cake topping has turned a lovely, deep golden brown. It should look crisp, not pale! Once it comes out, resist the urge to dig in immediately. It needs about 15 minutes to rest after baking. This lets those juices settle down just a bit, making it much easier (and safer!) to scoop out those perfect, warm layers.
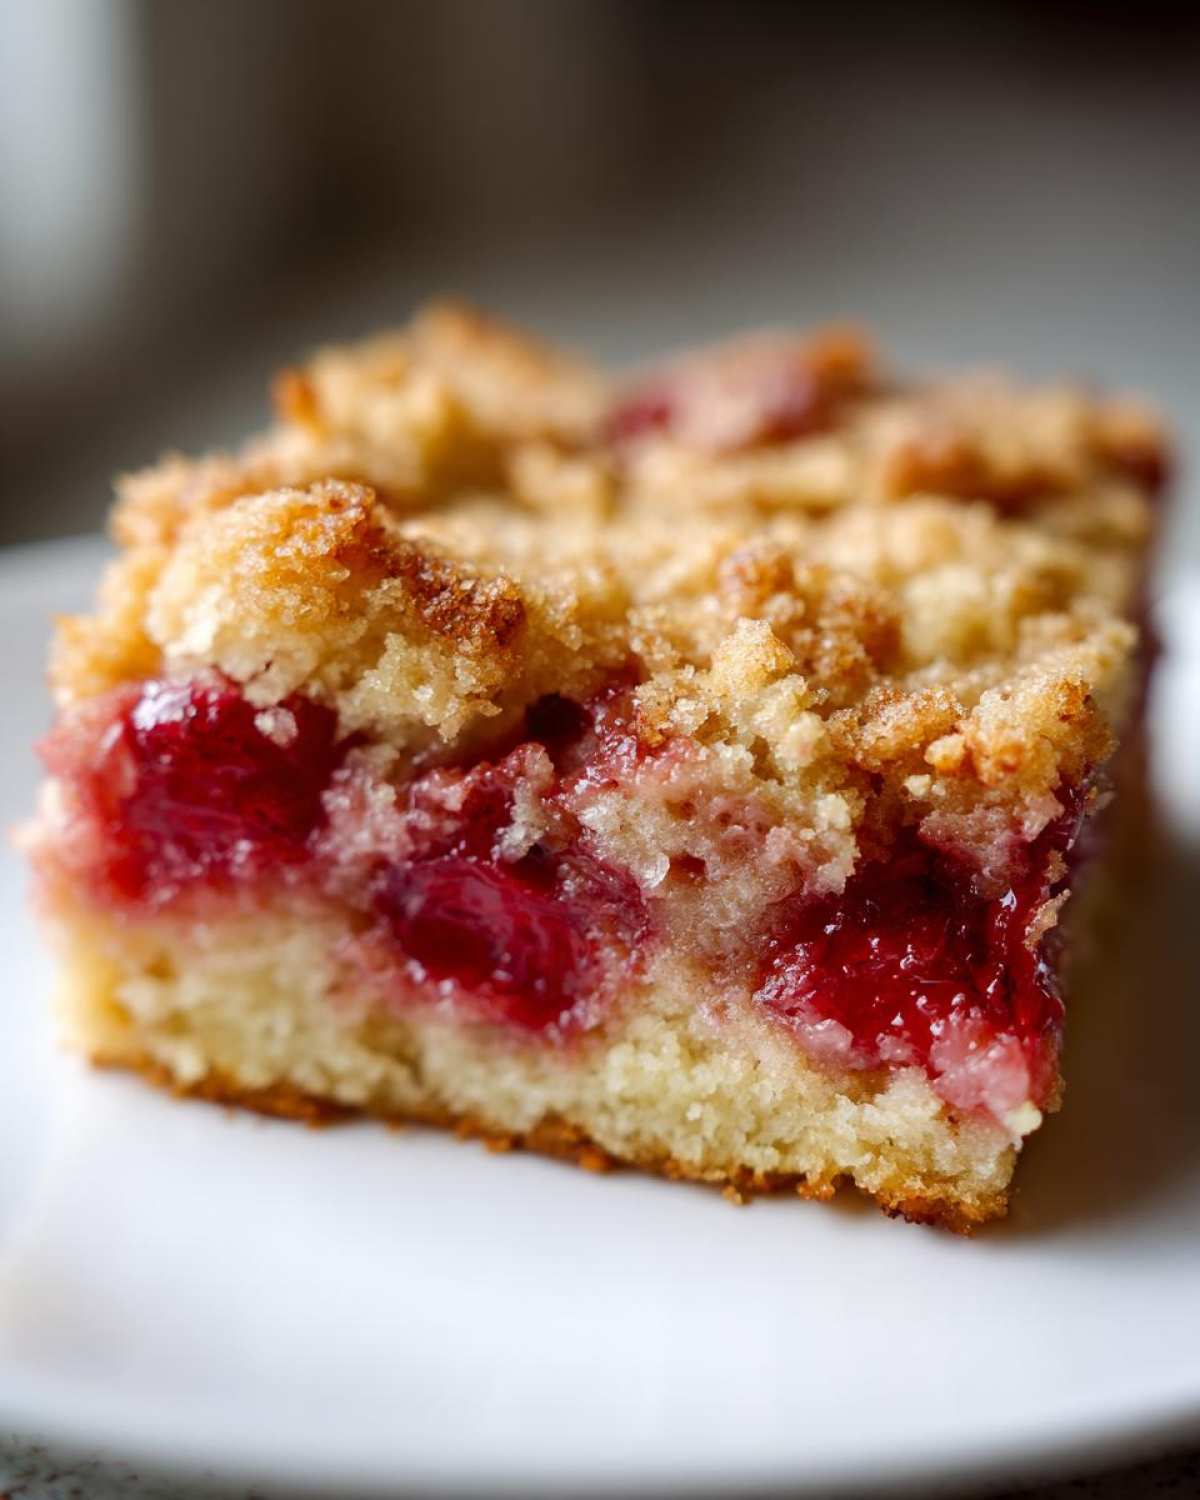
Expert Tips for a Foolproof Cherry Dump Cake
I’ve made this recipe so many times that I could probably assemble it blindfolded in the dark! But even though it’s nearly impossible to mess up, a few tweaks can honestly turn it from ‘good’ to ‘OMG, what is this magic?’ If you want to ensure you have the **Best Dump Cake Recipe** every single time, pay attention to these little details I learned the hard way.
I remember one time, I was in a real rush (quelle surprise!) and I didn’t slice the butter; I just grabbed a big dollop from the tub. Big mistake! It sunk right down into the dry mix instead of creating that beautiful, distinct crust. It ended up tasting great, but the texture was all wrong—super dense and slightly gummy on top.
This is why mastering these small adjustments is what separates a decent dessert from a genuinely **Foolproof Baking Recipe**. It’s all about the technique on the butter and your choice of box!
Here are the non-negotiable secrets I’ve picked up:
- Cake Mix Swaps: Don’t feel locked into yellow cake! I adore using white cake mix if I want the cherry flavor to really pop. But if you’re feeling bold, grab a box of chocolate cake mix. The combination of chocolate and cherry is legendary—it’s like a homemade Black Forest vibe without any effort! If you check out my Carrot Cake Recipe, you know I love mixing flavors, and this works wonders here too.
- Butter Temperature Matters: I mentioned slicing the cold butter before, but really emphasize that it needs to be *cold*. Those hard pieces melt slowly through the dry mix during baking, creating those distinct, crunchy, buttery pockets. If you use melted butter, it just soaks in immediately and you end up with a soggy layer, not a crisp one.
- The ‘No Touch’ Rule: I can’t say it enough: DO NOT STIR. When you look down into that pan before baking, you should clearly see three distinct layers: bubbling fruit on the bottom, dry powder in the middle, and butter pieces scattered on top. That stratification is what gives you the textural success later!
Making Your Classic Dump Cake in the Slow Cooker
Okay, so maybe you don’t even want to turn on the oven, or maybe it’s a gazillion degrees outside and you refuse to heat up the kitchen. I totally get it! Good news: this **Classic Dump Cake** translates beautifully to the slow cooker, making it one of the most flexible recipes in my entire collection. Who needs an oven when your Crockpot can handle the heavy lifting?
I used to think slow cooker desserts were always a little… mushy. But the dump cake structure handles the moisture perfectly. It’s fantastic for setting up in the morning before work and coming home to a warm, ready-to-eat dessert. If you’re digging slow cooker methods, you need to check out my recipe for Garlic Butter Steak Bites—it proves the slow cooker can handle anything!
Getting the timing right is key here, just like the oven version. The structure stays the same: cherries on the bottom, dry mix sprinkled over that, and those butter pieces right on top. Don’t stir! However, because the heat circulates differently down low, we need to adjust the time.
Follow these simple guidelines for **Crockpot Cherry Dump Cake** success:
- Prep the Crock: Make sure you lightly grease the inside of your slow cooker insert, or you can use a slow cooker liner for super easy cleanup—that’s my favorite hack!
- Cooking Time: Cook on the LOW setting for about 3 to 4 hours. I find that 3.5 hours is usually my sweet spot, but always check around the 3-hour mark just in case your machine runs hot.
- Doneness Check: You’re looking for the same visual cues as baking: the topping should be set, and you should see the fruit layer bubbling gently around the edges of the insert.
It comes out amazingly tender, almost like a softer cobbler filling. Just scoop carefully, because those juices are molten hot!
Serving Suggestions for Your Warm Gooey Dessert
I mean, theoretically, you *could* eat this straight out of the 9×13 dish with a giant spoon while standing over the sink—and trust me, I’ve been there!
But for everyone else, especially if you’re sharing this incredible **Cherry Dump Cake** at a gathering, presentation definitely matters! The best part about a **Warm Gooey Dessert** like this is that it’s begging for a cold counterpart to balance out that hot, tart fruit and buttery crust. It just cries out for something cool and creamy sitting right on top of that caramelized topping.
When I bring this out, I always make sure I have the perfect pairing ready to go. My friends always comment on how thoughtful it looks, and it takes me exactly 30 seconds longer than just serving it plain. If you love easy, delicious pairings, you might want to look at my recipe for Moist Vanilla Cupcakes—it shows just how much simple additions can boost flavor!
Here are my absolute top ways to serve this **Easy Dump Cake Recipe**:
- The Classic Ice Cream Pairing: You simply cannot beat a generous scoop of good quality, plain vanilla ice cream melting slowly down the sides. The contrast between the hot fruit and the icy cream is pure perfection.
- Whipped Cream Cloud: If ice cream isn’t an option, use freshly whipped cream. If you whip heavy cream with just a tiny bit of powdered sugar and maybe a splash of almond extract (instead of vanilla!), it tastes decadent and light.
- The Simple Dusting: If you’re serving it the next day or just want the topping to really shine, forget the additions. Just use a fine mesh sieve to give the cooled surface a lovely, delicate dusting of powdered sugar. It looks elegant and lets that buttery topping be the star.
Honestly, no matter how you serve it, just make sure you get a big spoonful that includes plenty of that bubbling cherry layer and a nice chunk of that crisp, golden topping. That’s the winning bite!
Storage and Reheating Instructions for Last Minute Dessert Idea
Because this **cherry dump cake** is so rich with fruit filling and butter, it actually keeps really well! This is great news because the leftovers are fantastic, warming up so nicely for a second round. It completely earns its place as a go-to **Last Minute Dessert Idea** because you can make it ahead or enjoy the bounty for days!
My rule of thumb is that if you can manage to save any, you shouldn’t let it go to waste! I often make this when I know I’m going to be busy the next day because having a warm dessert ready to go is such a treat.
If you’re curious about other recipes that store well and reheat like a dream, you might want to see how I handle leftovers from my Honey Garlic Baked Salmon—though that one’s savory, the storage tips are solid!
Here’s the rundown on keeping your gooey goodness fresh:
- Room Temperature: If you have leftovers and you think you’ll eat them within about 6 hours, covering the baking dish tightly with foil or plastic wrap on the counter is fine. The high sugar content helps keep it stable for a short time. Don’t leave it out overnight, though! Fruit filling needs to be kept safe.
- Refrigerator Life: For anything beyond a lunch break, wrap that dish tightly and pop it in the fridge. It will last beautifully for 3 to 4 days. It firms up a bit when cold, but don’t worry, we fix that easily!
Restoring the Gooey Texture After Refrigeration
When you pull your **dump cake with cake mix** creation out of the fridge, that buttery top will feel hard, and the filling will be dense. Don’t panic! The goal of reheating is to bring back that glorious, bubbling, **warm gooey dessert** feel we achieved straight from the oven.
You have two ways to tackle this, depending on how much you’re heating up:
- The Oven (For Large Portions or Best Results): This is my preferred method, especially if you want to restore some crispness to the topping. Preheat your oven to 325°F. Cover the dish loosely with foil (we don’t want the top to burn immediately) and heat for about 15 to 20 minutes. If you want that topping crispy again, take the foil off for the last 5 minutes. It heats perfectly evenly this way.
- The Microwave (For Single Servings): If you just want one piece right now, scoop a portion onto a microwave-safe plate. Heat it on medium power for about 30 to 45 seconds. Medium power is crucial here; direct high power can make the fruit scalding hot while leaving the cake part cold. Check it after 30 seconds and add short bursts until it’s steaming and soft again.
No matter which method you pick, serving it warm with that scoop of vanilla ice cream makes it taste just as good as the first time it came out of the oven!
Frequently Asked Questions About the Easy Cherry Dump Cake
It’s funny, even though this is the simplest recipe in the world, people always have great questions about how to customize it or travel with it! I love that so many of you are embracing this as your go-to **Easy Cherry Dump Cake**. Since everyone wants to make this quick dessert their own, let’s clear up a few common things I hear constantly. If you’re looking for other quick meal ideas, I’ve got a great guide for Chicken Fried Rice that’s fast too! But back to dessert!
Here are the answers to the most common things readers ask me about making this **Classic Dump Cake**.
Can I substitute the cherry pie filling in this Simple Fruit Dump Cake?
Yes, absolutely, you can! That’s the beauty of this kind of recipe. The “dump” concept applies perfectly to any standard-sized can of pie filling you love. I highly recommend using blueberry pie filling if you want a slightly tarter flavor profile. Apple pie filling works well too, but you might need to sprinkle a little extra cinnamon over the dry mix since apples are less assertive than cherries. If you try peach filling, you get a wonderful, slightly different crumble texture!
Is this recipe suitable for Potluck Desserts Easy transport?
It is arguably the *best* dessert for potlucks, picnics, or road trips because it travels so well! Here’s my tip for ensuring it stays gorgeous on the drive over: bake it completely, let it cool down for at least an hour on the counter, and *then* cover it securely. If you cover it while it’s piping hot, you’re locking in steam, which makes the topping soggy.
Serve it slightly warm, or even at room temperature. Since it’s so rich and gooey, it rarely needs to be piping hot like some cakes. Just keep it covered well, and it’s ready to impress!
Why does my topping look soggy instead of crisp?
This is usually due to one of two things, both related to moisture management. The most common culprit is using melted butter instead of cold pats. Cold butter creates steam pockets as it melts in the oven, which leads to that beautiful, slightly crispy, golden streusel topping. If the butter is melted, it just soaks directly into the dry cake mix, steaming the topping underneath instead of frying it nicely!
The second reason can be impatience! If you cover the **dump cake with cake mix** while it’s still very hot, that condensation drips back down onto the crust. Always let it cool for at least an hour before covering it for storage or transport.
Do I have to use yellow cake mix?
Nope! You can use any standard boxed cake mix you have on hand. Yellow is classic because its sweetness balances the tart cherry perfectly, but vanilla or white cake mixes are great if you want the cherry flavor to shine through a bit more clearly. If you want to try my favorite little trick for the ultimate flavor bomb, use chocolate cake mix for a decadent black forest experience!
How does this dessert compare to a regular cobbler?
That’s a great question! A true cobbler usually has a biscuit-like topping, which is mixed and patted on. This **Easy Cherry Dump Cake** offers a much simpler, richer, and sweeter crust. It’s less about bread and more about a dense, buttery cake layer that bakes right over the fruit. It’s faster, relies on the dry mix for structure, and often ends up sweeter and more crumbly than a traditional biscuit-topped cobbler, giving you that wonderful **Buttery Topping Cake** finish!
Nutritional Estimates for Your Weeknight Cherry Treat
Okay, so if you’re anything like me, you probably aren’t making this absolutely addictive **cherry dump cake** thinking about the macros—that’s what other recipes are for! This is pure comfort food, a true **Weeknight Cherry Treat** designed to satisfy a craving fast. But, since I’m a firm believer in knowing what you’re eating, I’ve compiled the approximate nutritional information based on the standard ingredients I use.
If you’re counting calories or watching sugar, I always recommend checking the labels on your specific can of pie filling and box of cake mix, as brands can vary a little bit here and there. This is just a general snapshot to tell you what you’re generally looking at if you use a standard yellow cake mix and store-bought cherry filling.
For reference, I’m basing these figures on the standard yield of 8 generous servings, which is always how I cut this dessert! If you manage to spread it out further (good luck!), the numbers per serving will obviously drop. If you want to see the breakdown of another incredibly tasty, slightly more health-conscious bake, check out my Sweet Potato Brownies!
Here’s what the general breakdown looks like per serving:
- Serving Size: 1 serving
- Calories: Roughly 380 kcal
- Sugar: About 45 grams (Yes, it’s a treat!)
- Fat: Around 19 grams
- Saturated Fat: Roughly 11 grams
- Carbohydrates: Around 50 grams
- Protein: About 4 grams
Fair warning: the sugar content reflects the combined sugar from the pie filling and the dry cake mix, so keep that in mind! But honestly, a single scoop of this **dump cake with cake mix**, especially when paired with melting ice cream, is worth every single bite. Enjoy it guilt-free as the simple, glorious dessert that it is!
Print
Classic 3-Ingredient Cherry Dump Cake
- Total Time: 55 min
- Yield: 8 servings
- Diet: Vegetarian
Description
Make this extremely easy cherry dump cake using only three main ingredients. You simply dump the filling, sprinkle the dry cake mix, and top with butter for a warm, gooey dessert.
Ingredients
- 1 (21 ounce) can cherry pie filling
- 1 (15.25 ounce) box yellow cake mix (do not prepare according to package directions)
- 1/2 cup (1 stick) unsalted butter, cut into small pieces
- 1 teaspoon vanilla extract (optional, for serving)
- Vanilla ice cream (optional, for serving)
Instructions
- Preheat your oven to 350 degrees Fahrenheit (175 degrees Celsius). Lightly grease a 9×13 inch baking dish.
- Pour the entire can of cherry pie filling into the bottom of the prepared baking dish. Spread it evenly across the bottom.
- Sprinkle the dry cake mix evenly over the top of the cherry filling. Do not stir or mix the layers.
- Arrange the small pieces of butter evenly over the layer of dry cake mix.
- Bake for 45 to 55 minutes, or until the topping is golden brown and the filling is bubbling around the edges.
- Remove from the oven and let it cool for at least 15 minutes before serving.
- Serve warm, perhaps with a scoop of vanilla ice cream and a dash of vanilla extract if desired.
Notes
- For a richer flavor, you can substitute the yellow cake mix with white, butter, or even chocolate cake mix.
- If you prefer a slightly crispier topping, use melted butter instead of cold butter pieces, but pour it slowly over the dry mix.
- This recipe works well in a slow cooker on low for 3 to 4 hours; place the butter pieces on top before cooking.
- Prep Time: 5 min
- Cook Time: 50 min
- Category: Dessert
- Method: Baking
- Cuisine: American
Nutrition
- Serving Size: 1 serving
- Calories: 380
- Sugar: 45
- Sodium: 310
- Fat: 19
- Saturated Fat: 11
- Unsaturated Fat: 8
- Trans Fat: 0.5
- Carbohydrates: 50
- Fiber: 2
- Protein: 4
- Cholesterol: 45


Comments are closed.