
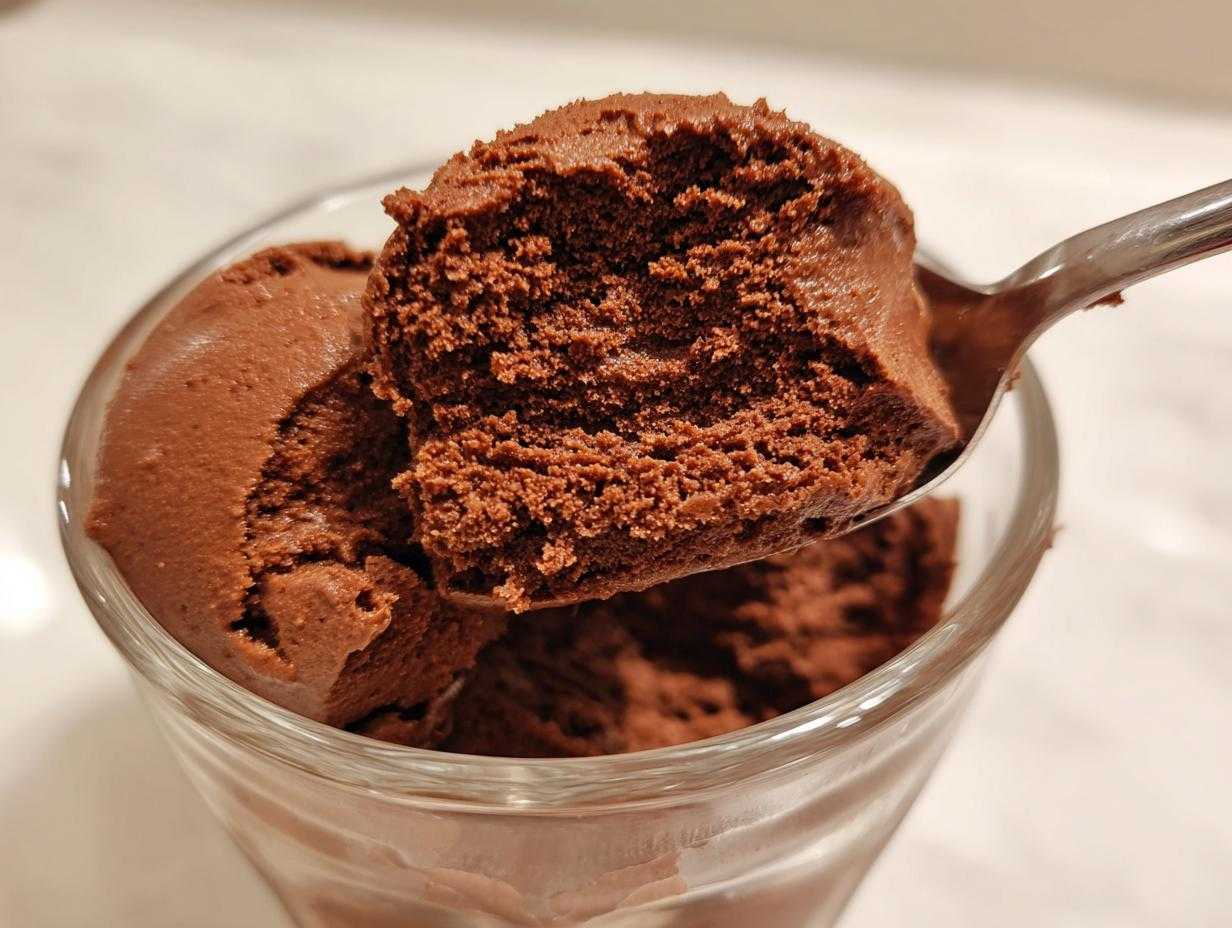
You know that feeling when you want something incredibly indulgent, something that tastes like five-star pastry, but you just don’t want to turn the oven on? That’s exactly why this **chocolate mousse** recipe lives rent-free in my dessert rotation. For years, I thought making true mousse meant mastering tricky tempering or using complicated stabilizers. Nope! I wasted so much time thinking that.
This version? It’s ridiculously easy. It’s a no-bake dream. I finally cracked the code years ago when I needed a last-minute, elegant dessert for an anniversary, and I swear, the texture is unbelievable—silky, light, and just intensely dark chocolatey. Forget dry, dense chocolate; we are aiming for pure, decadent airiness here. Trust me, if you can whisk, you can nail this recipe.
Why This Easy Chocolate Mousse Recipe Works So Well
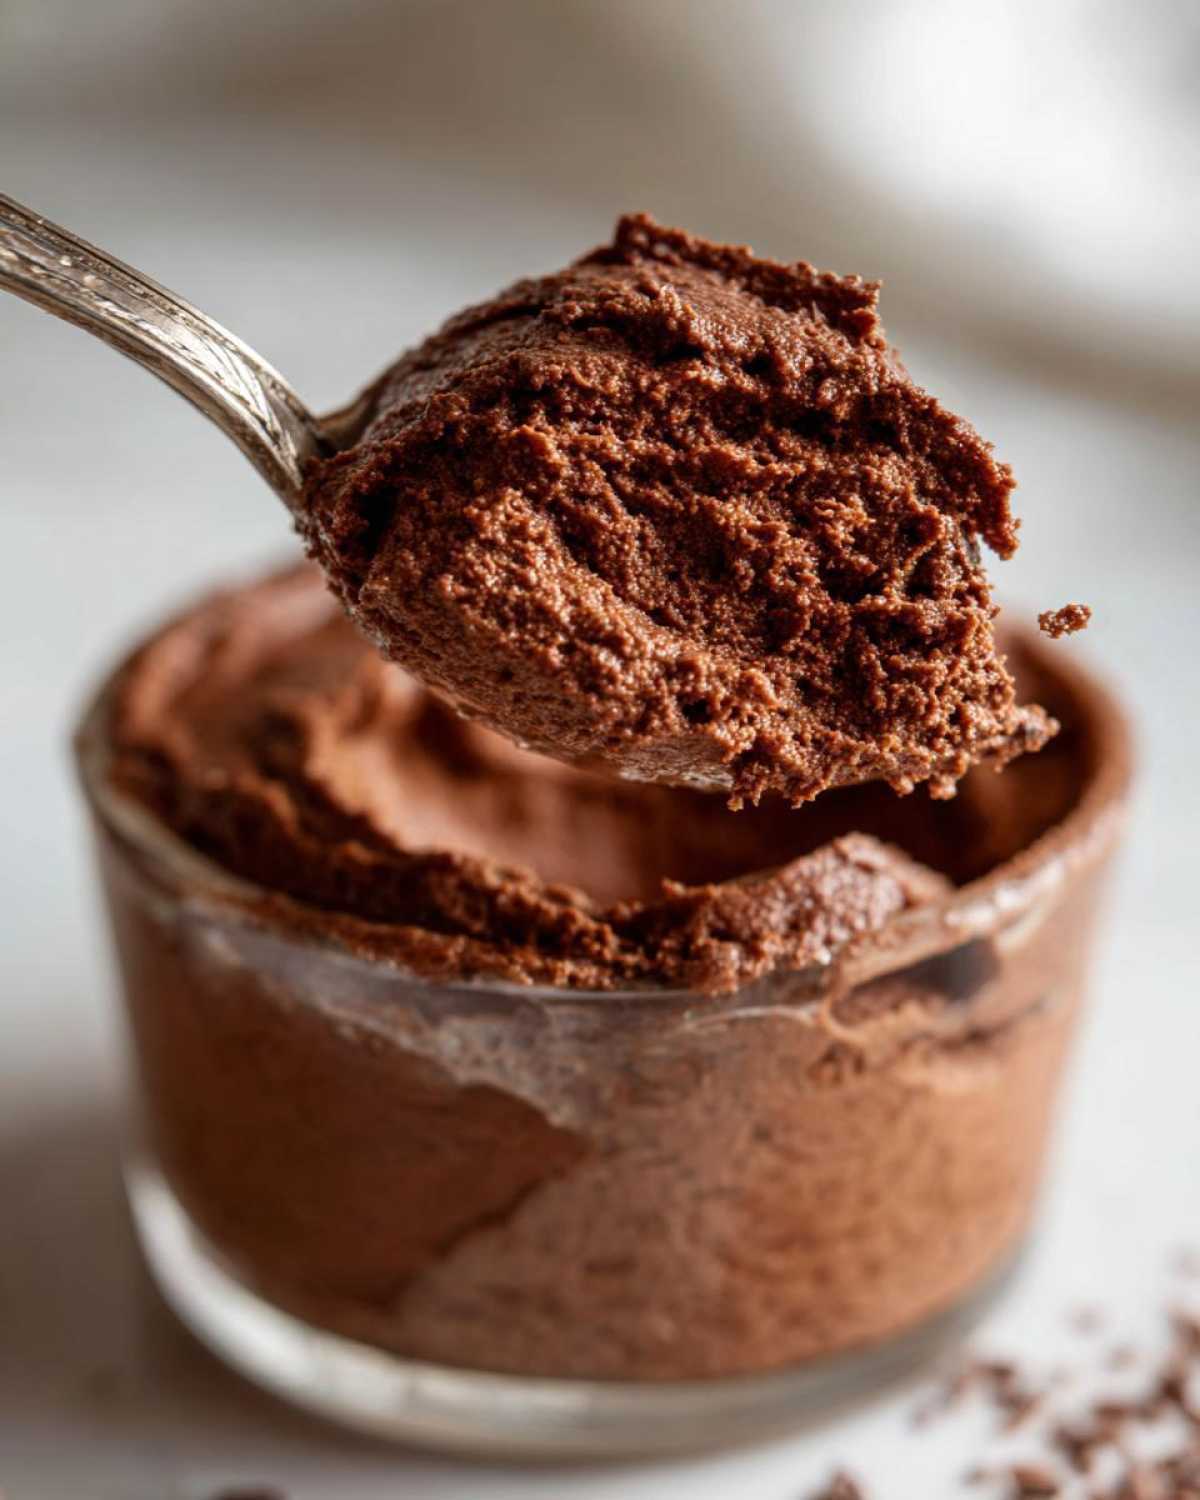
I get asked constantly how I get such a reliably **creamy chocolate mousse** without baking or using gelatin. Honestly, it comes down to respecting the two main forms of air we’re trapping in this dessert. Traditional mousse can be intense, but mine focuses on big flavor delivered simply.
If you’ve been intimidated by recipes that require constant stirring or a double boiler, take a deep breath! You’re going to love how straightforward this is. It hits every note we want in a perfect **no bake dessert**.
- It’s completely **no bake**! No fuss, no waiting for an oven to preheat. Instant win.
- It uses real, excellent quality dark chocolate, ensuring that deep, **rich chocolate dessert** flavor you’re craving.
- The technique is incredibly reliable, making it a fantastic choice for a **dessert for beginners** who want an elegant result.
We combine the best parts of three different desserts—rich ganache, folded whipped cream, and airy meringue—without any complicated steps. You can see how other simple versions stack up when you check out my 3-ingredient Nutella mousse, but this dark chocolate version really takes the prize for elegance!
Achieving That Velvety Mousse Texture
The secret sauce is separating the egg whites and the heavy cream into totally different mixing processes before folding them gently into the melted chocolate base. The cream provides the buttery richness, and the stiff egg whites deliver that glorious, ethereal lift. That’s what ensures your final product is light and truly **velvety mousse texture**.
Gathering Ingredients for Your Chocolate Mousse
You can’t rush perfection, but you can certainly simplify ingredients! For this **chocolate mousse** to reach its highest potential—that deep, **rich chocolate dessert** profile—we need to be picky about just one thing: the chocolate itself. Buy the best dark chocolate you can find; I insist on using at least 60% cacao, or even pushing into 70% if you like it truly intense.
The rest of the components are simple, but attention to temperature is key, especially for the heavy cream. Here’s what you need for four perfect servings:
- 6 ounces high-quality dark chocolate (at least 60% cacao), chopped
- 1/4 cup hot water
- 1 teaspoon vanilla extract
- 1/8 teaspoon salt (don’t skip this; it wakes up the chocolate flavor!)
- 3 large eggs, separated (make sure they are room temperature for best whipping)
- 1/4 cup granulated sugar, divided into two portions
- 1 cup heavy whipping cream, cold (must be ice cold!)
Ingredient Notes and Substitutions
When it comes to the dark chocolate, think of it as the backbone of this whole operation. If you use cheap chips, you get a cheap-tasting mousse—it’s that simple! Higher cacao content means a deeper, more complex flavor, which is what makes this **dark chocolate mousse** so gourmet tasting.
If you’re worried about using raw eggs, I totally get it! While this particular method is very safe because the yolks get mixed with slightly cooled warm chocolate and the whites are heavily stabilized by the sugar when whipped, you could opt for pasteurized eggs if you feel more comfortable. We aren’t adding any gelatin here because the combination of chocolate, whipped cream, and meringue creates all the structure we need for that light-as-air texture.
Step-by-Step Instructions for Perfect Chocolate Mousse
Okay, this is where we turn simple ingredients into pure magic! Since this is a **no bake dessert**, the order of operations really matters, especially when dealing with temperature changes. Don’t panic, though; I’m going to walk you through every little stir. If you follow these steps exactly, you’ll end up with an incredibly **creamy chocolate mousse** that looks like you spent all day on it.
We need three separate mixing zones working simultaneously: the chocolate base, the whipped cream fluff, and the egg white lift. Make sure you have your four serving dishes ready to go before you start! If you’re feeling adventurous, you can see how I branch this into espresso cups later!
Melting the Chocolate Base
First things first: the chocolate. Put your chopped dark chocolate into a nice, heatproof bowl. Now, heat up that 1/4 cup of water until it’s piping hot—not quite boiling, just steaming hot. Pour it right over the chocolate and STOP mixing. Let it sit there for two full minutes. This gentle introduction helps it melt evenly. After two minutes, start whisking slowly until it’s completely smooth and glossy. Stir in your vanilla extract and that tiny pinch of salt. It needs to cool down a little bit before we proceed, so you don’t accidentally cook the egg yolks!
Once the chocolate is just slightly warm to the touch (not hot!), whisk in your egg yolks and half of your sugar—that’s 2 tablespoons! Whisk this until it gets lighter in color and thickens up a bit. Then, mix this yolk/chocolate mixture into any leftover slightly cooled melted chocolate you might have set aside. Now, set this bowl aside.
Incorporating Air for a Velvety Mousse Texture
This is where we build the “fluff.” You need two perfectly clean, grease-free bowls here. If there’s even a trace of fat in the bowl for the whites, they won’t whip up properly!
In one bowl, take your three egg whites and beat them until they just start forming soft peaks—you know, like soft waves in the ocean. While the mixer is still running, slowly sprinkle in the remaining 2 tablespoons of sugar. Keep beating until those peaks are stiff, glossy, and stand up straight on their own. That’s your meringue done!
In the second bowl, whip that cold heavy cream until you get medium-stiff peaks. Medium-stiff means when you pull the whisk out, the peak flops over ever so slightly at the very tip. Not too stiff, or it’ll be grainy!

Folding Techniques for Light and Airy Chocolate Mousse
Now we gently marry the air with the dark chocolate base. This is the most crucial part for achieving a **creamy chocolate mousse** and not a block of chocolate pudding! Take about one-third of your whipped cream and fold it into your chocolate mixture. This first addition is just to loosen up that thick base—don’t worry about being perfect here. Once it’s roughly combined, gently fold in the rest of the whipped cream just until it’s mostly blended.
Finally, take your stiff egg whites. Fold them in carefully, maybe in two additions. Use a big spatula and cut down through the middle of the mixture, then scoop up from the bottom and fold over the top. Stop folding the second you see no more white streaks. Resist the urge to over-mix; that’s how you deflate all that beautiful air we worked so hard to create!
Spoon the finished mix into your dishes immediately. Cover them up and pop them in the fridge for a minimum of 4 hours. Seriously, 4 hours, or better yet, overnight! That chilling time guarantees the **velvety mousse texture** is locked in.
Tips for Success with Your Simple Mousse Recipe
Even though this is technically an **easy chocolate mousse**, success hinges on a couple of tiny details I learned through trial and error. Those little notes I added to the recipe card weren’t just suggestions; they were mandatory rules! If you get these two things right, you’ll have the most flawless, light-as-air dessert every time.
First, use that high-quality dark chocolate we talked about. If you use a lower-grade chocolate, the texture of the final mousse just won’t set up right, and the flavor will be dull. Second, timing is everything when we are folding. You must ensure your whipped cream and the egg white meringue are both beaten to the proper stiffness before they meet the chocolate. If your cream is too soft, your mousse will collapse into a puddle!
And please, don’t forget that tiny pinch of salt in the chocolate base—it本当に makes the flavor pop! You can check out my guide on whipping egg whites (they are key here!) if you want more tips for making perfect meringue structures for any recipe, like those meringue cookies.
Serving Suggestions for This Elegant Dessert
We went through all that effort to create this beautiful, **creamy chocolate mousse**, so we absolutely have to serve it right! Since this is such a **rich chocolate dessert**, a little bit goes a long way, which is why I love spooning my servings into small glass ramekins or pretty teacups. It instantly elevates it to true gourmet status.
Garnishes are where you can really have fun! A light dusting of unsweetened cocoa powder is classic and simple. For color, you can’t beat a couple of fresh raspberries—the tartness cuts through the richness perfectly. If you want incredible texture contrast, shave some extra dark chocolate over the top just before serving. Honestly, this quick dessert makes the perfect dramatic finish for any **date night dessert** menu!

If you’re looking for other amazing, simple fridge desserts that don’t require turning on the heat, you should check out my recipe for those chocolate dipped coconut bars too!
Storage and Reheating for Your Homemade Chocolate Mousse
So, you’ve made this stunning, airy **homemade chocolate mousse**, and now you have leftovers—or maybe you want to get ahead of the game for a dinner party! That’s smart planning, since this is such a wonderful **quick chocolate dessert** to have waiting in the fridge.
Because this recipe relies entirely on the air trapped in the whipped cream and the meringue, chilling is essential for setting everything up perfectly. You absolutely must get this into the refrigerator for at least four hours. I always tell people to make it the day before serving, honestly. Once it’s chilled for that minimum time, the texture is beautifully firm, light, and ready to eat!
The good news is that this **chocolate mousse recipe** keeps really well for about two to three days in the fridge. Just make sure you cover your serving dishes tightly, either with plastic wrap pressed directly onto the surface or with tight-fitting lids. This prevents it from absorbing any funky fridge smells.
Now, here’s a word of warning: this dessert just does not like being frozen! If you try to freeze it, the air structure will collapse completely when it thaws, and you’ll end up with a dense, watery chocolate sludge instead of that **velvety mousse texture** we worked so hard to create. It’s best enjoyed fresh from the fridge on any day you need a little pick-me-up!
Variations on the Classic Chocolate Mousse
Part of the fun with a perfect base like this **simple mousse recipe** is getting creative! It’s so pure that it takes on other flavors beautifully. If you’re looking for new **chocolate dessert ideas**, playing with this recipe is the way to go. You mentioned earlier that you love a little kick, right? Well, for a simple mocha twist, dissolve about a teaspoon of instant espresso powder right into that hot water when you melt the dark chocolate. It deepens the chocolate flavor without making it taste overtly like coffee.
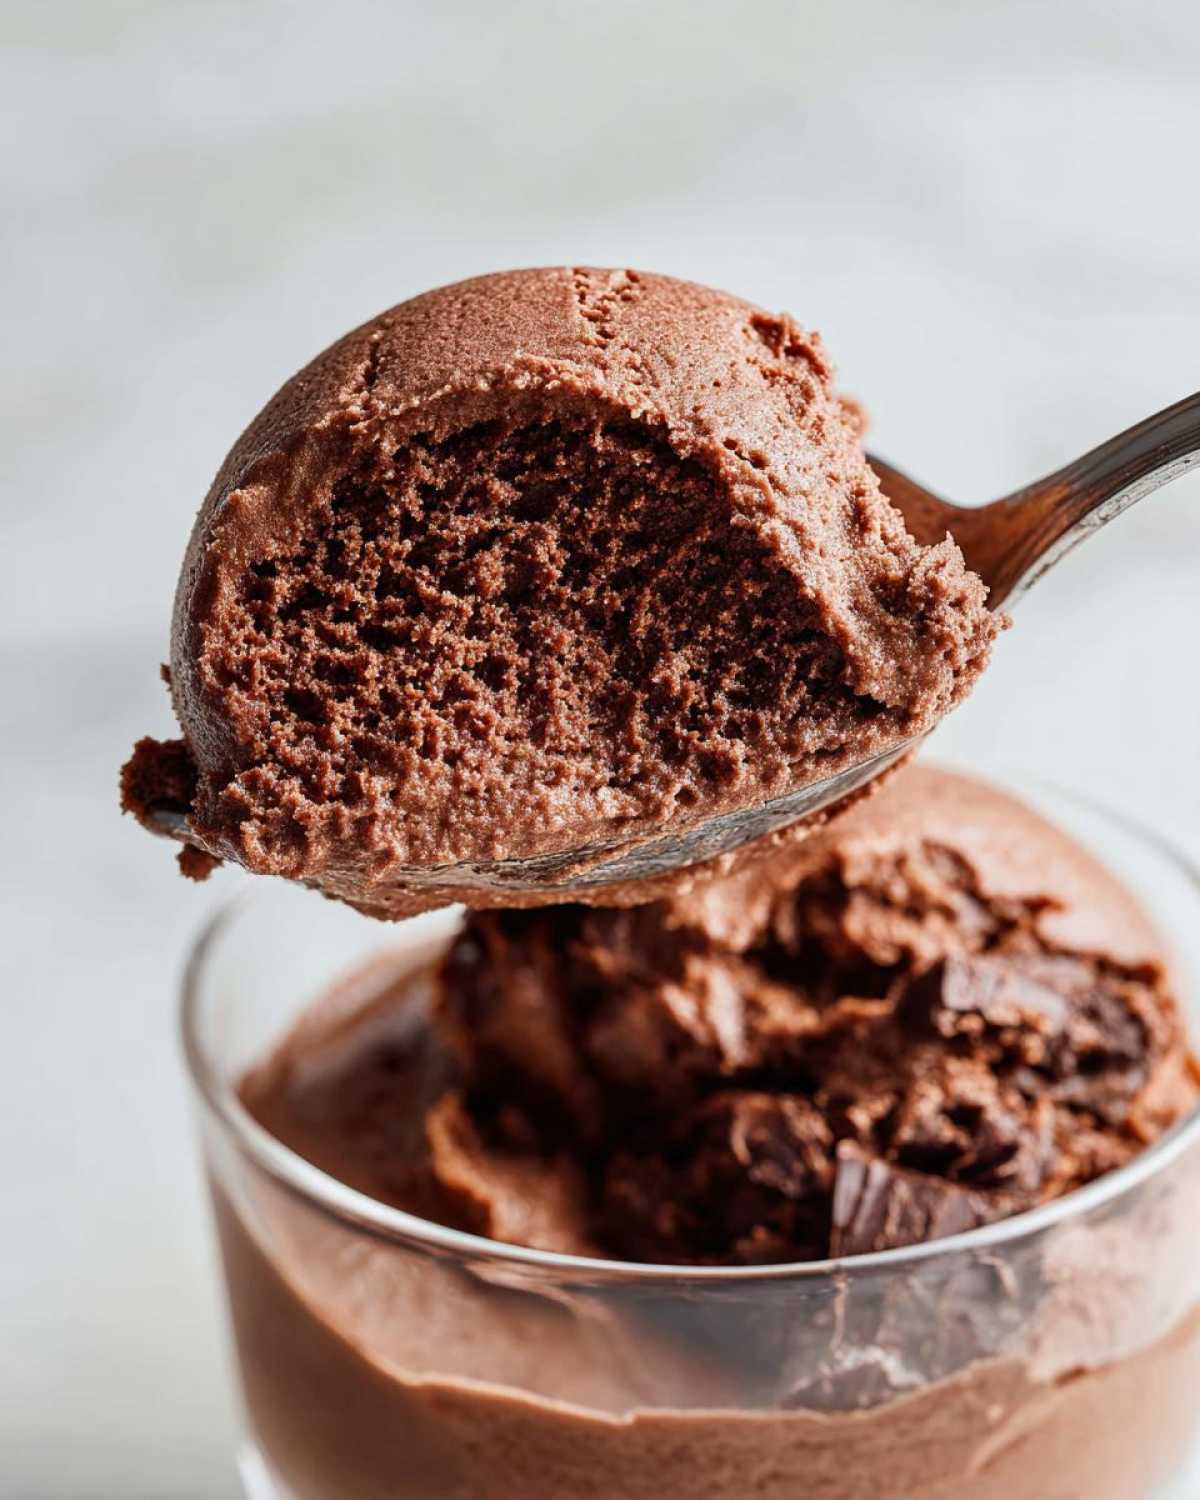
If you want more texture, you can absolutely fold in some toppings right at the end, along with the meringue. I’m talking about mini chocolate chips, or even some chopped toasted hazelnuts for a delightful crunch. Just avoid anything too heavy or wet, or you risk deflating your hard-earned air!
And hey, if you’re ever in a real pinch and can’t even manage this quick recipe, you should check out my super fast chocolate mug cake—it’s totally different, but scratches that chocolate itch in about 90 seconds!
Frequently Asked Questions About Making Chocolate Mousse
I pulled together some of the questions I get the most when people try this for the first time. Honestly, most people worry about the same things, usually revolving around the eggs or achieving that perfect texture in this **no bake dessert**!
It’s simple once you know the tricks for this **easy chocolate mousse**, but those first few tries can be nerve-wracking. Don’t worry, I’ve got the answers so you can feel confident every time you whip this up!
Can I make this chocolate mousse recipe ahead of time?
Yes, and I highly suggest it! This is one of those desserts that tastes even better the next day. While the minimum chilling time is 4 hours to ensure it sets up properly and gets that wonderful **creamy chocolate mousse** feel, making it the day before is ideal. It allows all those flavors to really meld together. Just make sure it’s covered tightly in the fridge!
Is this considered a rich chocolate dessert if I use milk chocolate?
That’s a great point about richness! To get the genuinely **rich chocolate dessert** experience we’re aiming for here, you really need to stick to dark chocolate, 60% cacao or higher. Milk chocolate has way more sugar and milk solids, which changes the structure. It will still taste good, but it will be softer, sweeter, and won’t have that deep, bold intensity that makes this mousse so memorable. If you use milk chocolate, you might also find it doesn’t firm up quite as well.
I always tell people that if you’re a beginner, start with the dark stuff—you can always serve it with a side of sweet whipped cream if you need a little less intensity. You can find some other great no-bake options over here if you’re looking for variety, like my creamy peanut butter pie!
Nutrition Facts for This Chocolate Mousse
So, you’ve made this incredibly **decadent mousse**, and now you’re probably wondering about the damage, right? Don’t worry too much, because this is technically a **quick chocolate dessert**, and we’re focusing on that rich flavor, not counting every single calorie! But since I track this stuff just in case, here is the estimated nutritional breakdown for one serving of this **homemade chocolate mousse**.
Remember, these numbers are just estimates, and they can shift around depending on the exact brand of dark chocolate you use and whether you decide on those optional mix-ins. But this gives you a great general idea:
- Serving Size: 1 serving
- Calories: 410
- Fat: 31 grams
- Saturated Fat: 18 grams
- Carbohydrates: 30 grams
- Sugar: 28 grams (Yes, that’s why it tastes so good!)
- Protein: 8 grams
- Sodium: 95 mg
See? Not bad for something that feels like pure luxury! It’s a fantastic treat for a special occasion or a marvelous Friday night **date night dessert**. Enjoy every spoonful!
Print
Easy No-Bake Dark Chocolate Mousse
- Total Time: 4 hr 20 min
- Yield: 4 servings
- Diet: Vegetarian
Description
Make a rich, creamy, and decadent dark chocolate mousse without turning on your oven. This simple recipe is perfect for beginners and special occasions.
Ingredients
- 6 ounces high-quality dark chocolate (at least 60% cacao), chopped
- 1/4 cup hot water
- 1 teaspoon vanilla extract
- 1/8 teaspoon salt
- 3 large eggs, separated
- 1/4 cup granulated sugar
- 1 cup heavy whipping cream, cold
Instructions
- Place the chopped dark chocolate in a medium heatproof bowl. Pour the hot water over the chocolate and let it sit for 2 minutes. Whisk until the chocolate is completely smooth and melted. Stir in the vanilla extract and salt. Set aside to cool slightly.
- In a separate small bowl, whisk the three egg yolks with half of the sugar (2 tablespoons) until the mixture is pale yellow and slightly thickened. Whisk the yolk mixture into the cooled chocolate mixture until fully combined.
- In a clean, grease-free bowl, beat the three egg whites with an electric mixer until soft peaks form. Gradually add the remaining 2 tablespoons of sugar while continuing to beat until stiff, glossy peaks form.
- In a third bowl, whip the cold heavy cream until medium-stiff peaks form.
- Gently fold one-third of the whipped cream into the chocolate mixture to lighten it. Then, gently fold in the remaining whipped cream until just combined, being careful not to deflate the air.
- Gently fold the egg white meringue into the chocolate mixture in two additions, using a large spatula. Fold until no white streaks remain, keeping the mixture light and airy.
- Divide the mousse into individual serving dishes or ramekins. Cover and chill in the refrigerator for at least 4 hours, or until firm.
Notes
- Use good quality dark chocolate for the best flavor in this simple recipe.
- Ensure your mixing bowl and whisk attachments are completely free of grease when whipping the egg whites for maximum volume.
- For a double chocolate version, fold in 1/4 cup of mini chocolate chips after combining the whipped cream.
- Prep Time: 20 min
- Cook Time: 0 min
- Category: Dessert
- Method: No-Bake
- Cuisine: French
Nutrition
- Serving Size: 1 serving
- Calories: 410
- Sugar: 28
- Sodium: 95
- Fat: 31
- Saturated Fat: 18
- Unsaturated Fat: 13
- Trans Fat: 0.5
- Carbohydrates: 30
- Fiber: 3
- Protein: 8
- Cholesterol: 170


Comments are closed.