
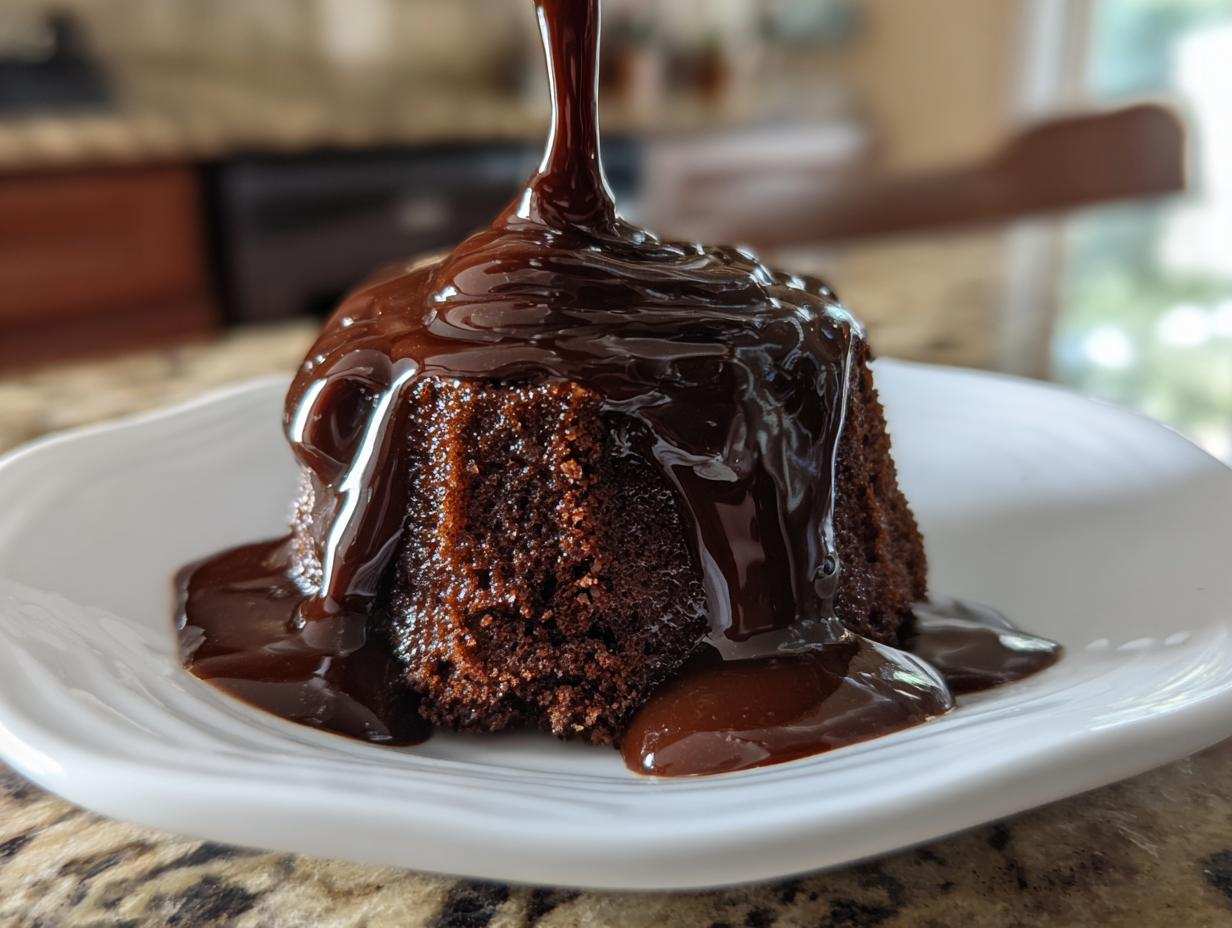
Oh my gosh, stop what you’re doing right now and toss that sad, sticky bottle of store-bought goop! Seriously, I realized years ago that I was wasting money on something I could make better, richer, and faster myself. This, my friend, is the ultimate quick and easy homemade chocolate syrup recipe. I’m talking maybe ten minutes total, and the flavor absolutely blows away anything you buy in the supermarket—even that famous brand everybody knows. I haven’t bought a bottle of commercial chocolate syrup in ages because this pantry staple recipe is just perfect for everything! Trust me, you need this amazing chocolate syrup in your life starting today.
Why This Homemade Chocolate Syrup Recipe Beats Store-Bought
If you’re still relying on that bottle in the fridge door, you are missing out on SO much joy! This recipe is all about quality control, which means you get a beautiful, rich chocolate topping every single time. You control the ingredients, and that makes all the difference in the world. Forget that sometimes chalky texture you get from the store; we are aiming for unbelievably smooth results.
Quick Dessert Sauce Ready in Minutes
Honestly, the speed is shocking. We’re looking at about five minutes of prep and five minutes of cooking time total. That makes this the ultimate quick dessert sauce when an ice cream craving hits at 8 p.m. You just won’t find that kind of freshness commercially.
Achieving a Silky Chocolate Drizzle Texture
The secret to that incredible texture that pours and drizzles like silk is all in the whisking and simmering time. When you cook the sugar and cocoa powder together without corn syrup or weird stabilizers, the sugar dissolves completely. That dissolving action is what creates that flawless silky chocolate drizzle when it cools down, not that grainy texture some store brands develop.
Ingredients for the Best Homemade Chocolate Syrup
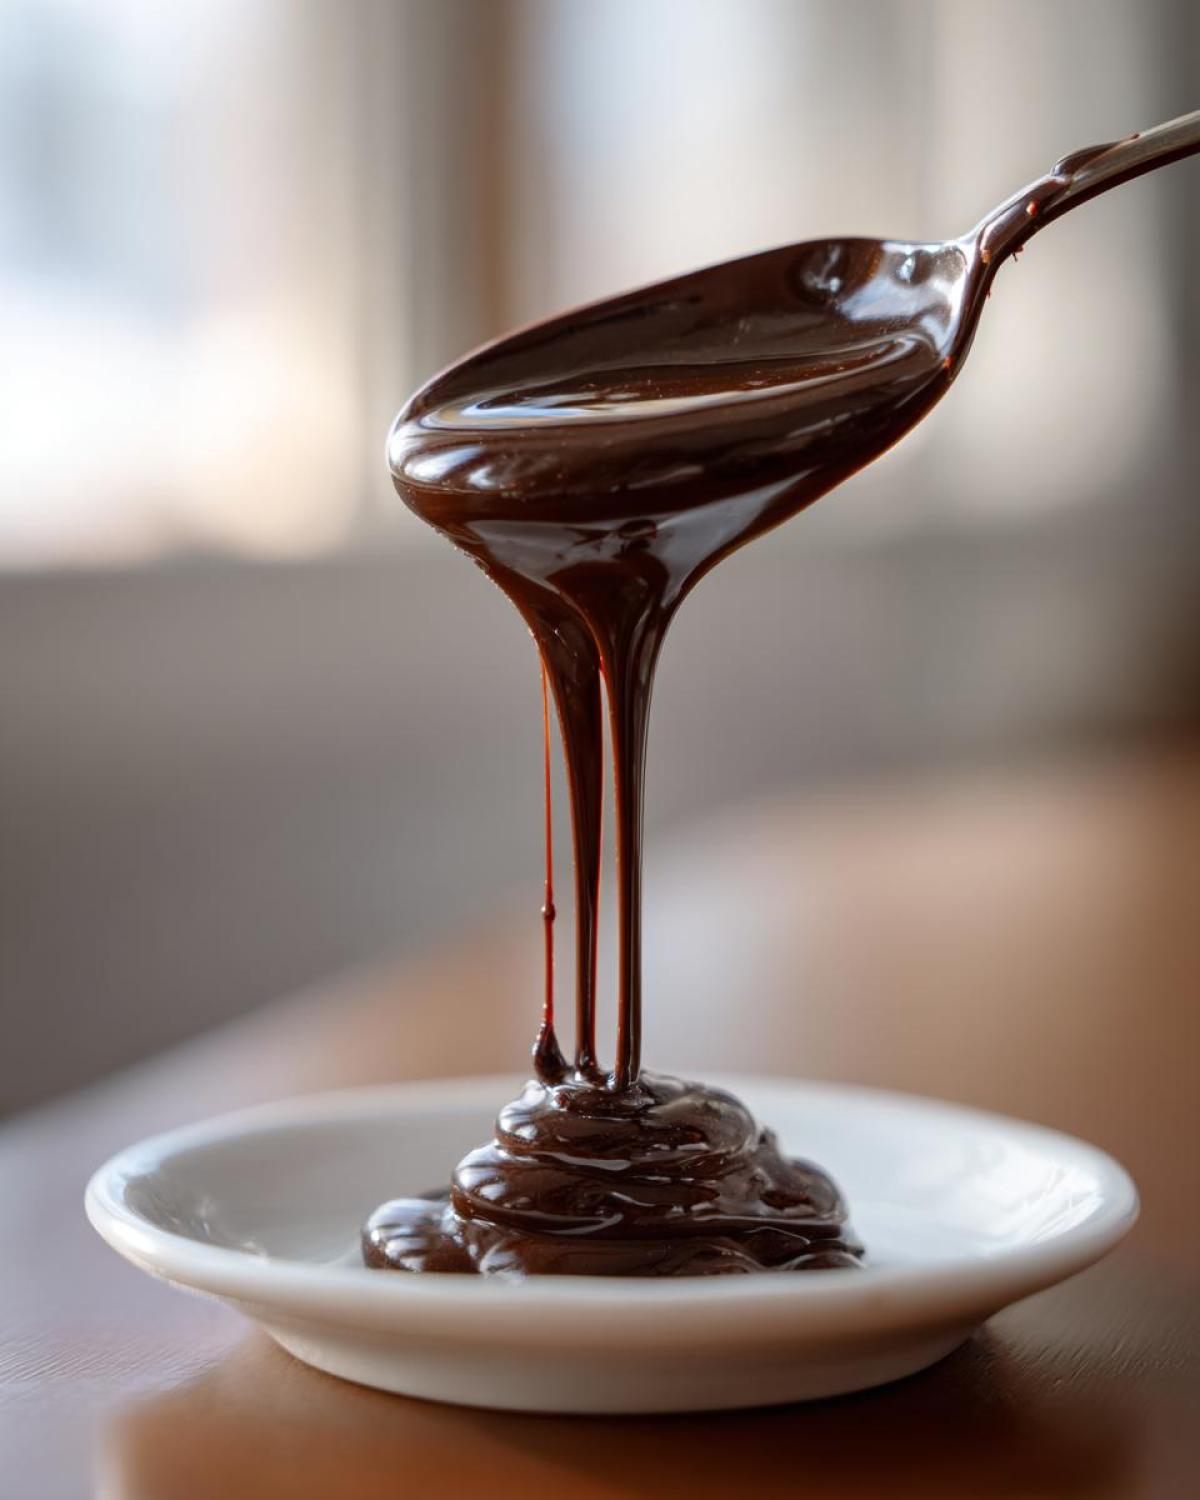
The best part about making your own chocolate syrup is that you likely have everything you need in your pantry right now! We aren’t messing around with weird stabilizers or high-fructose syrups. This is the real deal, using the simplest stuff you already own. You are going to need just five basic things to get that rich, dark flavor we’re looking for.
- 1 cup granulated sugar
- 1 cup unsweetened cocoa powder
- 1 cup water
- 1 teaspoon vanilla extract
- Pinch of salt
Ingredient Notes and Substitutions for Your Chocolate Syrup
You might wonder about dietary swaps, and I already have you covered! Because we stick to basic sugar, water, and cocoa, this recipe is naturally vegetarian, and honestly, it works perfectly fine for most vegan diets too. If you are trying to cut the sugar, you absolutely can swap the granulated sugar for your favorite granular zero-calorie sweetener. Just taste as you go, because your chosen sweetener might need a different measurement to hit the perfect sweetness level for your chocolate syrup.
Step-by-Step Instructions for Perfect Chocolate Syrup from Cocoa Powder
Okay, let’s get stirring! Don’t walk away from this one—it moves fast, but if you follow these steps, you will have the absolute best homemade syrup. Grab a small saucepan. We’re combining the sugar, the unsweetened cocoa powder, and the water right at the start.
- Combine the sugar, cocoa powder, and water in a small saucepan.
- Place the saucepan over medium heat. Whisk the mixture constantly until the sugar dissolves and the mixture begins to simmer. You have to keep whisking here so the cocoa doesn’t clump on the bottom!
- Reduce the heat way down to low and let it simmer gently for just 1 minute, stirring occasionally. Don’t let it boil hard—we just want it happy and warm.
- Take the saucepan right off the heat. Now, stir in the vanilla extract and that tiny pinch of salt we added for depth.
- Allow the syrup to cool completely before you even think about tasting it again! This is crucial!
- Once it’s totally cool, pour your gorgeous chocolate syrup from cocoa powder into an airtight container for storage.

Crucial Tip: Why Cooling Thickens Your Chocolate Syrup
This one trips people up every time. When you take the saucepan off the heat, the mixture looks a little thin, right? Almost like watery chocolate milk? Don’t panic! The sugar and cocoa solids need that time off the heat to settle and hydrate properly. As the temperature drops, the mixture firms up dramatically. It gels into that beautiful, pourable syrup consistency we all want. If you try to serve it hot, it will just run right off your ice cream, and nobody wants sad, runny toppings!
If you’re impatient and need syrup *now* for something like a quick chocolate mug cake or something, you can chill it in the freezer for about ten minutes, but the stovetop cooling method gives you the absolute best result.
How to Use Your Rich Chocolate Topping
Now that you have this gorgeous, homemade rich chocolate topping, the real fun begins! Honestly, I make this just to pour over my weekend pancakes—we’re talking about my fluffy sourdough pancakes or even my quick French toast. It just elevates everything instantly. Forget the sticky stuff in bottles; this drizzling quality is unbeatable.
It’s perfect for a decadent ice cream topping, obviously, but I also love stirring it into my morning coffee to make a quick mocha. It dissolves beautifully into hot liquids, which is exactly what you want!
Making the Ultimate Chocolate Milk Syrup
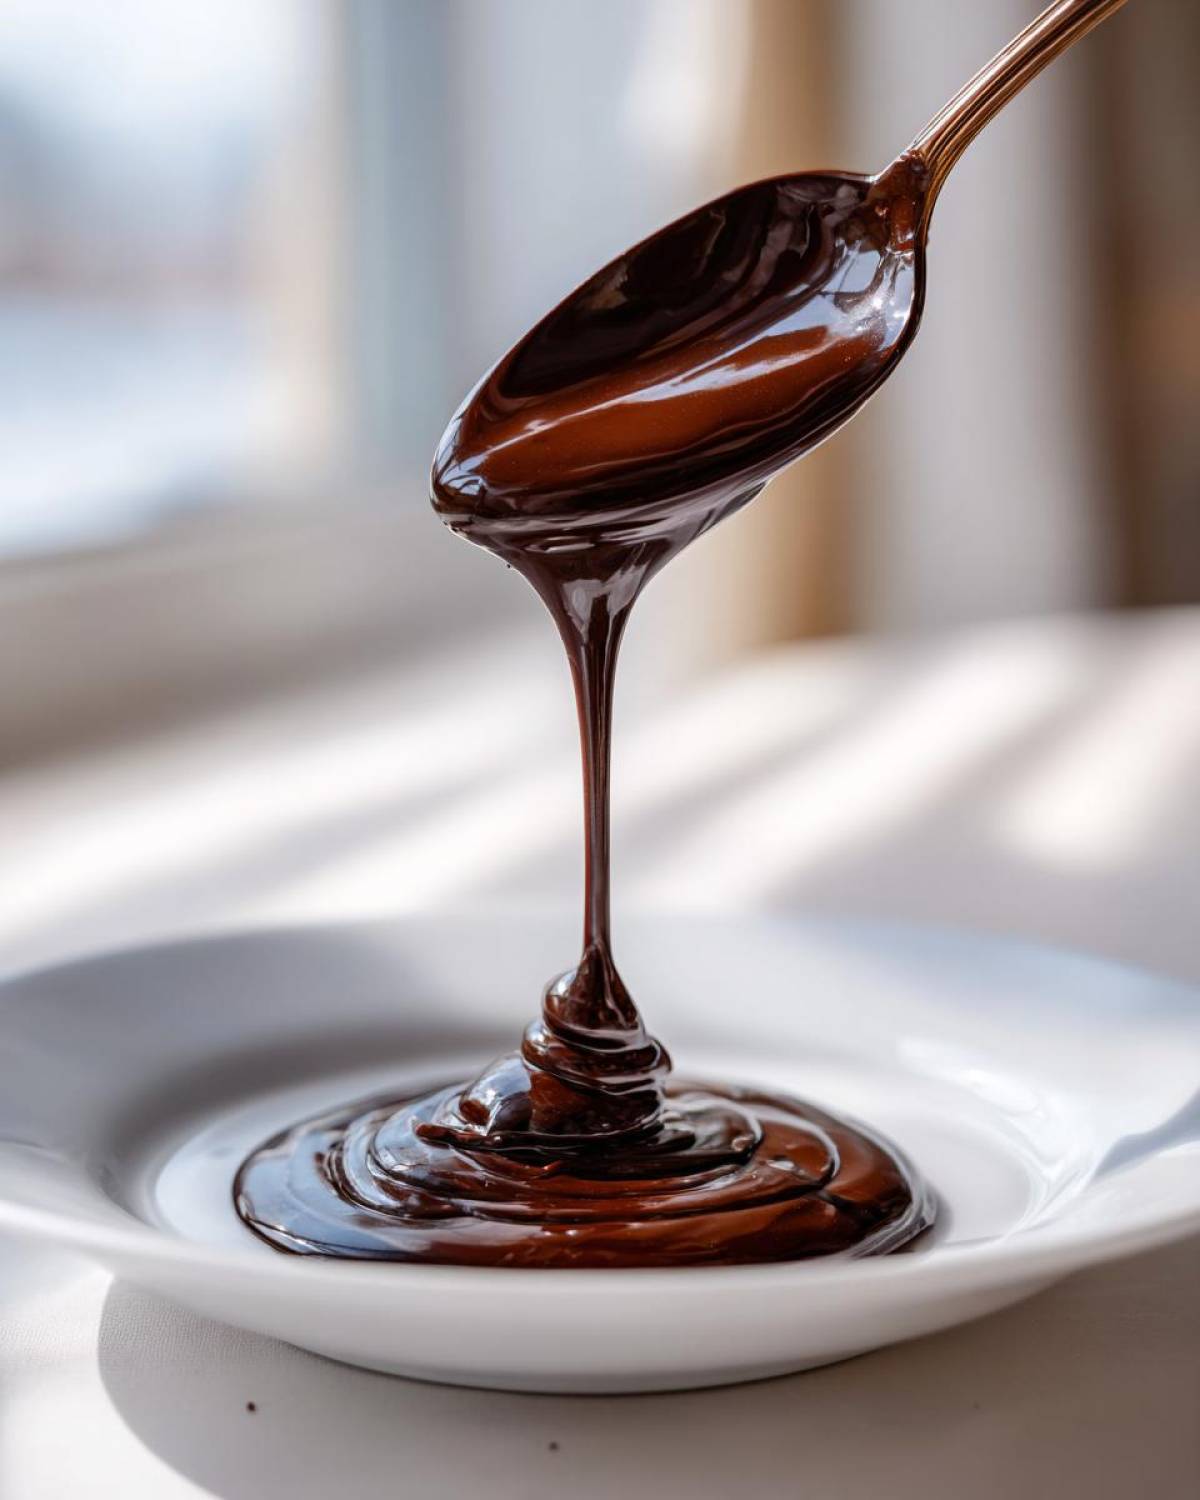
For the best chocolate milk of your life—the kind that actually tastes like cocoa, not just sugar—you need to adjust the thickness slightly. Instead of using the syrup straight, try this ratio: mix about three tablespoons of this syrup into one cup of very cold milk. You have to stir or shake it hard, but once it’s mixed, you have the creamiest chocolate milk syrup imaginable. It’s so much better than those packets!
Storage and Reheating Instructions for Homemade Chocolate Syrup
Once you finish making your batch of the chocolate syrup, you want to store it right. Since it has zero commercial preservatives, it needs to be tucked away in the fridge. Just pop it into a clean, airtight container—a glass jar works perfectly for me. It should last quite a while, but honestly, it disappears so fast in our house I rarely test the shelf life!
Now, here’s the thing you need to remember about refrigerating any good homemade syrup: it gets firm! When you pull it out of the fridge the next day, it might look more like a chocolate fudge than a drizzle. Don’t worry about that!
If that happens, just scoop out what you need and put it in a small, microwave-safe bowl for about 10 to 15 seconds. It loosens right up, and you’re back to having that beautiful, silky texture for pouring over whatever you’ve got planned for dessert!
Variations: Making Gourmet Chocolate Sauce
The standard recipe gives you that incredible, classic flavor, but honestly, who stops at standard when you’re cooking from scratch? This is where you can really have some fun and turn your everyday chocolate syrup into something truly special.
I love experimenting once the base is done and cooling. Want a little kick? Add a tiny, tiny pinch of cayenne pepper right at the end when you stir in the vanilla. It doesn’t make it spicy, but it really deepens the chocolate flavor—that’s my hack for a pseudo-Mexican or *gourmet chocolate sauce* flavor!
Or maybe peppermint aligns with your mood? Pop in a drop or two of good quality peppermint extract after it cools down. Suddenly, you have a perfect cool-weather drizzle overnight. It’s so easy to upgrade this simple formula!
Chocolate Syrup as Homemade Holiday Food Gifts
This is one of my absolute favorite things to do around Christmas or for little hostess gifts—making homemade holiday food gifts! Because this syrup is so inexpensive and tastes so amazing, it feels incredibly indulgent when packaged nicely.
I always save little swing-top glass bottles for this purpose. Just pour the cooled, thick syrup into the jars, tie a cute little ribbon around the neck, and attach a handwritten tag. If you’re feeling extra fancy, maybe include a little card suggesting they use it over my no-bake chocolate coconut bars! It’s thoughtful, it lasts long enough, and everyone loves getting something truly delicious that didn’t come from a major corporation.
Frequently Asked Questions About Making Chocolate Syrup
I get so many questions about this recipe, which just goes to show how much people prefer the homemade version over whatever is on the shelf! I tried to keep things simple, but sometimes you just need a bit more clarity before you start whisking away. Don’t worry if you have questions; that’s what this section is for!
Can I use powdered sugar instead of granulated sugar in this chocolate syrup recipe?
Oh, honey, please don’t! I know powdered sugar seems like a good idea because it’s already “powdery,” but it contains anti-caking agents, usually cornstarch, to keep it from clumping in the bag. If you use it here, your wonderful chocolate syrup will end up slightly gritty, which ruins that smooth coating you want on your ice cream. Stick to the granulated sugar for a perfectly smooth finish, trust me on this one.
What is the difference between chocolate sauce and chocolate syrup?
That’s such a good question because the terms get tossed around so much! Generally speaking, a true chocolate syrup is thinner because it has a higher ratio of liquid compared to the sugar and cocoa. A chocolate sauce is usually much thicker—sometimes they achieve that thickness by adding cornstarch or even fat like butter when they cook it down. This recipe lands perfectly in that sweet spot, leaning toward a very thick syrup or a light sauce, depending on how long you let it cool!
Is this an old fashioned chocolate syrup recipe?
Yes, it absolutely is! This simple, stovetop method using only cocoa powder, sugar, and water is super close to what my grandmother used to make when she didn’t want to run to the store. We are completely avoiding commercial thickeners and corn syrup, which is why this tastes so much cleaner. If you are looking for that nostalgic taste, this genuine old fashioned chocolate syrup recipe is exactly what you need!
Estimated Nutritional Information for This Chocolate Syrup
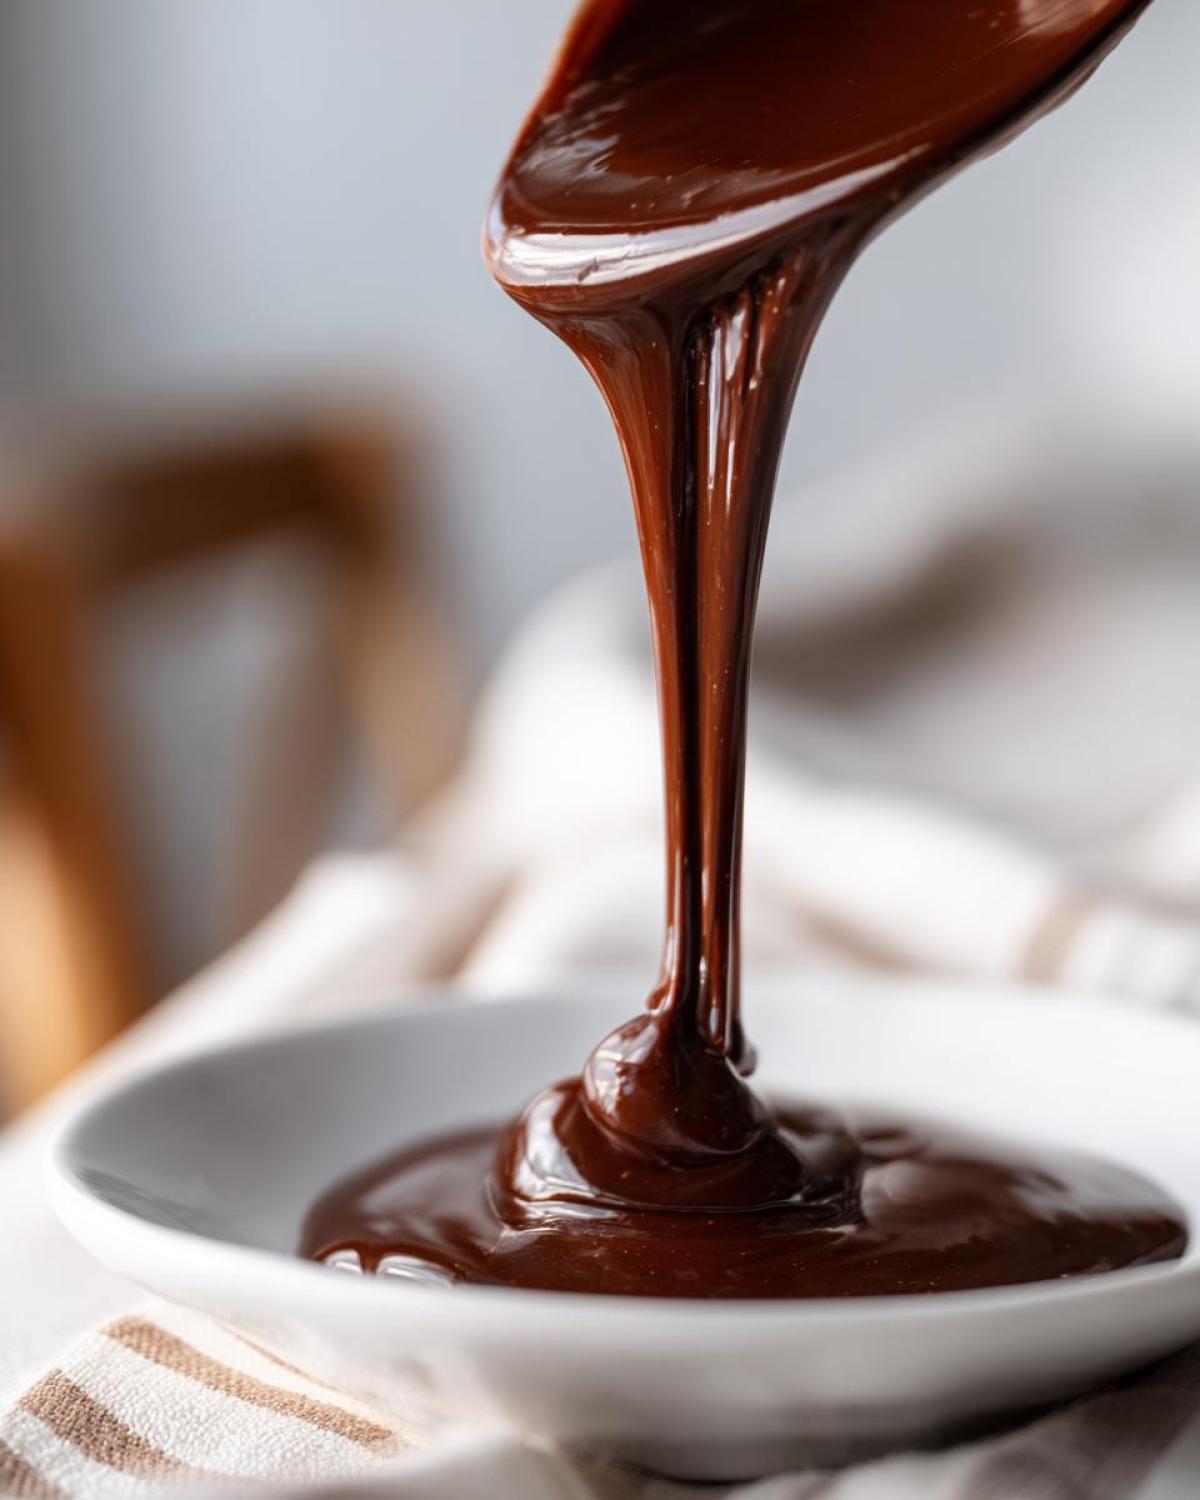
Everyone always asks about the numbers, and I get it! When you’re making your own chocolate syrup, you want to know what you’re pouring over those delicious treats. Keep in mind these numbers are estimates based on the standard ingredients we used—since you might be using a different zero-calorie sweetener, your final count might vary slightly!
Here’s the breakdown for a standard serving size of two tablespoons of this amazing, rich topping:
- Serving Size: 2 tablespoons
- Calories: 90
- Sugar: 18g (This is where you save by making it yourself!)
- Sodium: 5mg
- Fat: 1g
- Protein: 1g
This is for the standard recipe, of course. If you switch to an easy chocolate sauce recipe with a sugar substitute, those sugar grams will obviously drop too! I just find that having this simple comparison helps everyone enjoy their homemade treats guilt-free.
Share Your Silky Chocolate Drizzle Creations
Alright, that’s the whole process! You have now mastered the absolute best best homemade syrup. I really, truly hope you love how easy it was to ditch the store-bought stuff. When you make this homemade chocolate syrup, I desperately want to hear how you ended up using it!
Did you put it over my fluffy pancakes? Did you mix it into your coffee? Please leave a comment down below telling me how it turned out and maybe give the recipe a star rating—it really helps other folks know they can trust this simple method. And if you snap a picture of that glorious silky chocolate drizzle melting down your next dessert, please tag me on social media! I always peek at everyone’s creations. If you’re looking for more ways to upgrade your drizzling game, check out my tips on making the best homemade syrup variations!
Print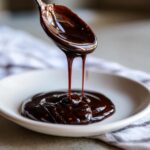
Quick and Easy Homemade Chocolate Syrup
- Total Time: 10 min
- Yield: About 1.5 cups
- Diet: Vegetarian
Description
Make a rich, silky chocolate syrup from scratch using cocoa powder. This recipe is faster and tastes better than store-bought versions.
Ingredients
- 1 cup granulated sugar
- 1 cup unsweetened cocoa powder
- 1 cup water
- 1 teaspoon vanilla extract
- Pinch of salt
Instructions
- Combine the sugar, cocoa powder, and water in a small saucepan.
- Place the saucepan over medium heat. Whisk the mixture constantly until the sugar dissolves and the mixture begins to simmer.
- Reduce the heat to low and let it simmer gently for 1 minute, stirring occasionally. Do not boil rapidly.
- Remove the saucepan from the heat. Stir in the vanilla extract and salt.
- Allow the syrup to cool completely before using. It will thicken as it cools.
- Pour the cooled syrup into an airtight container for storage.
Notes
- For a vegan version, use only standard ingredients as listed, as they are typically vegan.
- To make a sugar-free version, substitute the sugar with your preferred granular zero-calorie sweetener, adjusting the amount to your taste.
- This syrup thickens significantly when refrigerated. If it becomes too thick for drizzling, warm a small amount gently on the stovetop or in the microwave.
- Use this syrup to flavor milk for chocolate milk or mochas, or pour it over ice cream and pancakes.
- Prep Time: 5 min
- Cook Time: 5 min
- Category: Dessert Topping
- Method: Stovetop Cooking
- Cuisine: American
Nutrition
- Serving Size: 2 tablespoons
- Calories: 90
- Sugar: 18g
- Sodium: 5mg
- Fat: 1g
- Saturated Fat: 0.5g
- Unsaturated Fat: 0.5g
- Trans Fat: 0g
- Carbohydrates: 23g
- Fiber: 1g
- Protein: 1g
- Cholesterol: 0mg



Comments are closed.