
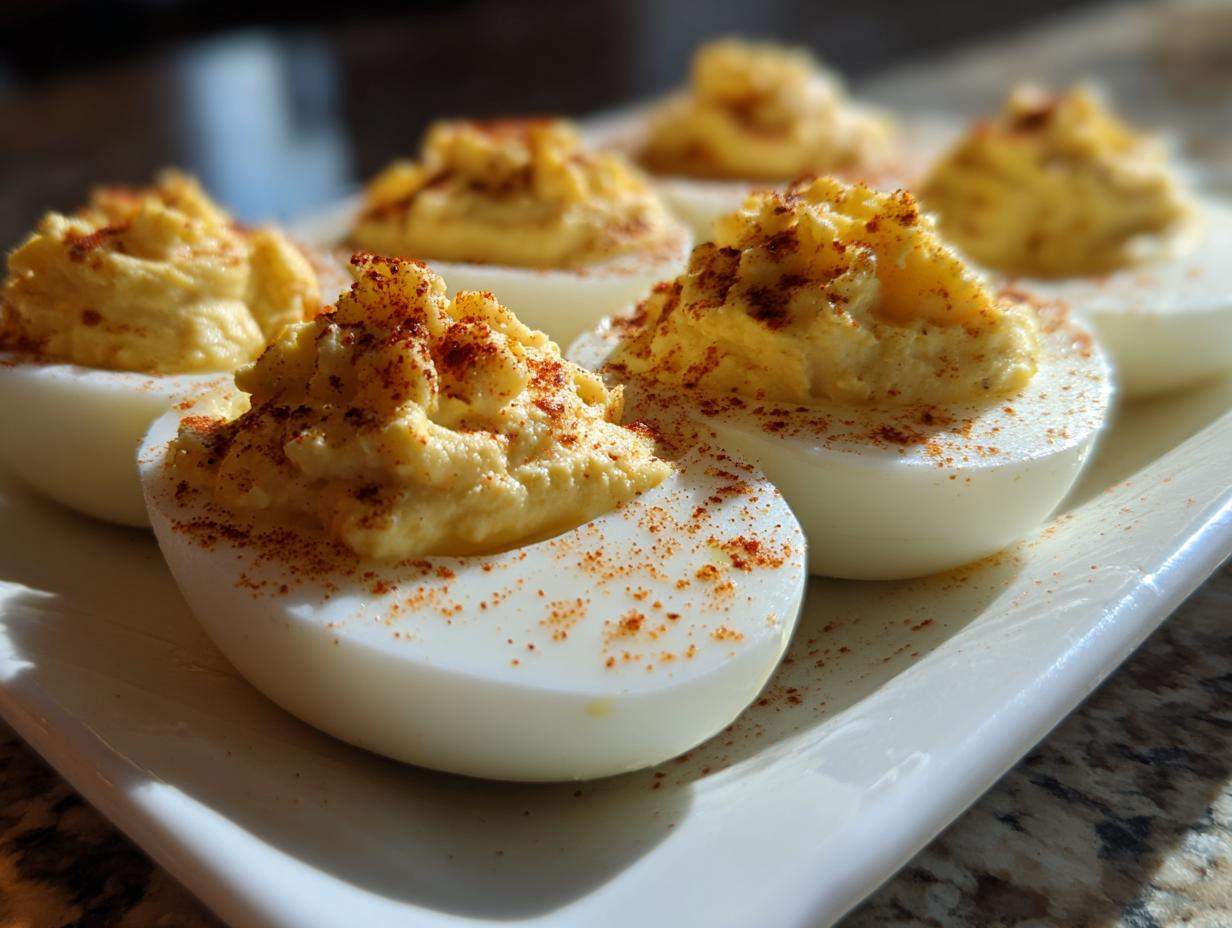
Okay, let’s talk about the appetizer that shows up at every single good gathering and instantly disappears: deviled eggs. Honestly, if you bring these to a potluck, you might as well just pack up and leave right after they’re all gone because your job is done! I spent years messing these up—either the filling was grainy, or peeling them felt like an impossible chore. But I finally cracked the code. This recipe for classic deviled eggs is my foolproof method. It’s tangy, it’s unbelievably creamy, and I promise they come out perfect every single time. Trust me, once you master the cooling technique, you’ll never battle a green ring again!
Why This Is the Best Classic Deviled Eggs Recipe (Appetizer That Always Wins)
Look, there are a million ways to make these little bites, but I stick to mine because it guarantees success. This is the appetizer that always wins at any party, holiday dinner, or game day. If you want the absolute best deviled eggs around, you need this method. What makes these shine? It’s the texture contrast. You get that perfectly firm but tender egg white holding a filling that is so smooth and light, it practically melts in your mouth.
Plus, we tackle the two biggest nightmares head-on: the horrible grey-green ring around the yolk and the lumpy filling situation. If you follow my ice bath timing, you get clean, bright yellow yolks ready for mixing. You can see my full breakdown on dealing with egg prep right over here, but for these classic deviled eggs, let’s focus on the payoff!
Achieving Perfectly Creamy Deviled Eggs Filling
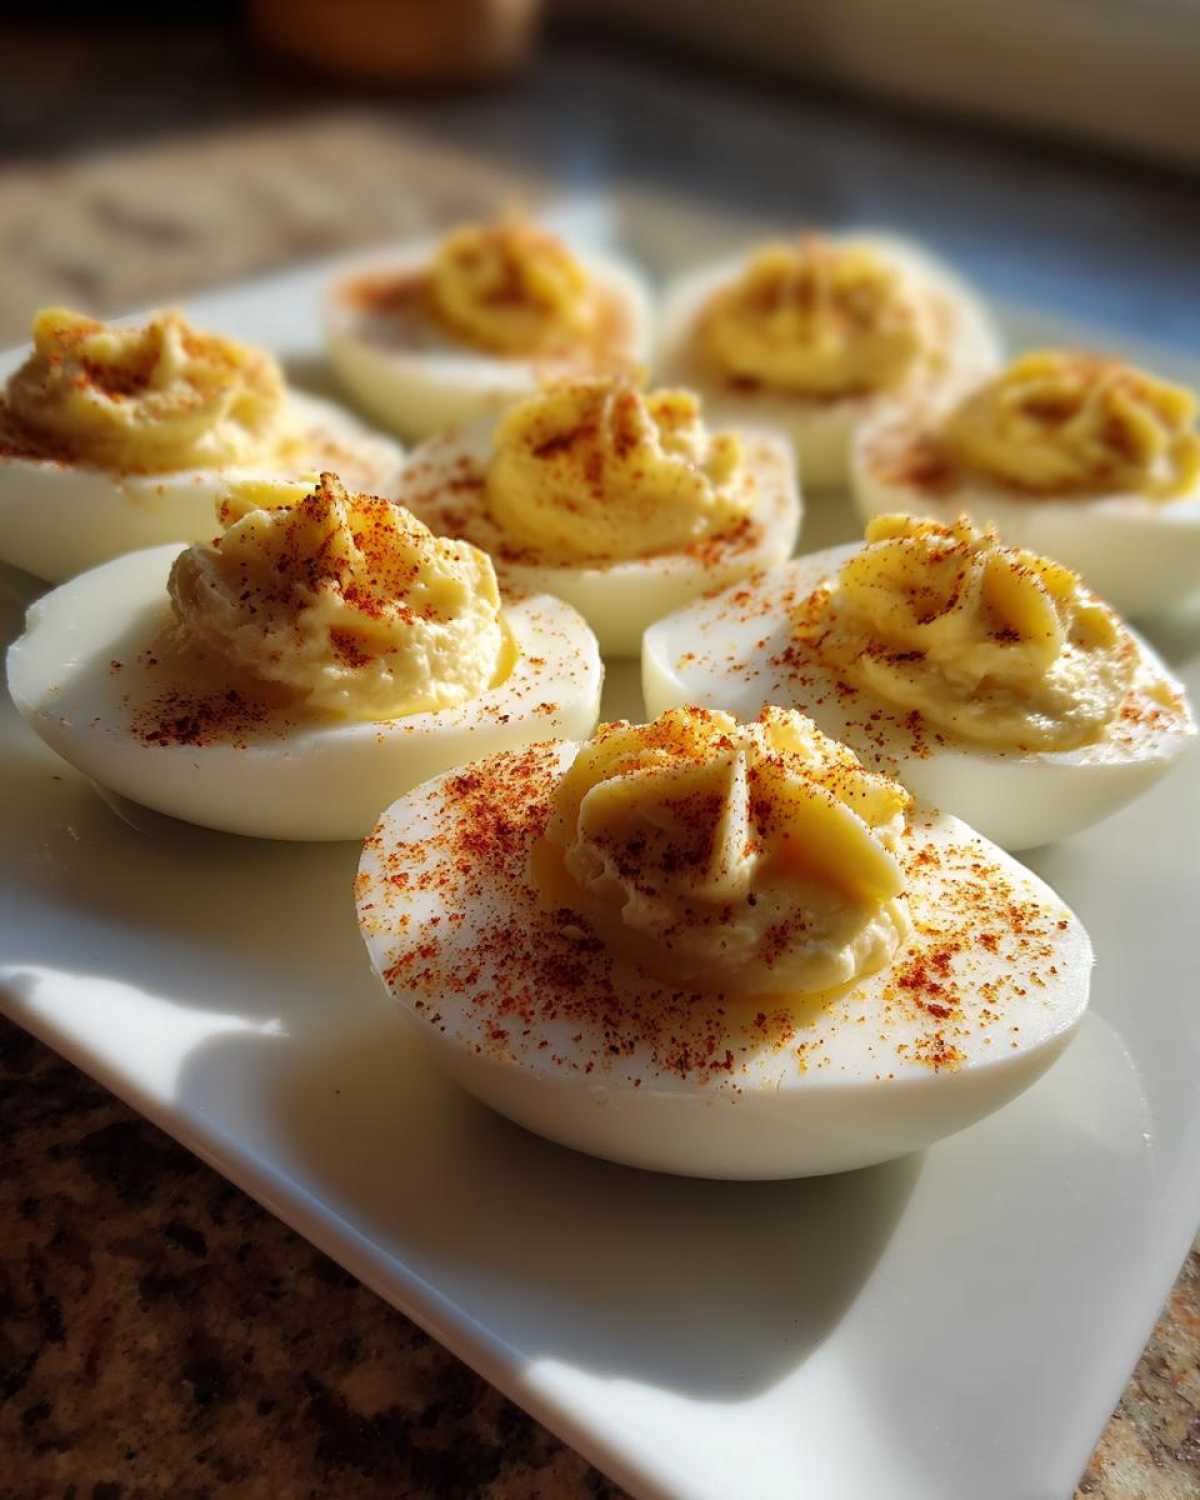
Nobody wants a grainy or stiff filling, right? That is an absolute flavor fail. When you mash those yolks, you have to be ruthless about getting them totally smooth with just a fork first—seriously, use your elbow grease here. Once it looks like fine sand, then you start adding your mayo and mustard. This early mashing step is huge for making the creamy deviled eggs texture you’re dreaming of. It’s the foundation for really tasty treats.
The Secret to Perfect Hard-Boiled Eggs
The science here is simple, but you have to be disciplined about the timing. We aren’t gentle boiling; we bring it to a full, roaring boil, kill the heat, cover it, and set the timer for exactly 12 minutes. This cooks the white perfectly without overcooking the yolk itself. Immediately after that, those hot eggs go straight into a freezing ice bath—no cheating! That fast shock stops the sulfur reaction that causes those ugly green rings around the yolk. It makes peeling easier too, which is a huge bonus when you’re prepping for a crowd.
Ingredients for Your Classic Deviled Eggs Recipe
Alright, before we get messy, let’s talk ingredients. For these classic deviled eggs to taste absolutely spot-on—that perfect blend of creamy richness and tangy zing—you can’t just eyeball things. You need the right proportions of the staples. We’re using a dozen large eggs, because honestly, who ever makes just six? For the filling, you’ll need about half a cup of good mayonnaise—don’t skimp on the quality here, it matters! You’ll also want two tablespoons of classic bright yellow mustard, not that fancy Dijon stuff, just the regular kind for that traditional flavor kick. That little bit of acidity comes from one tablespoon of white vinegar.
Then we season it up simply: a quarter teaspoon of salt and just a whisper of black pepper—an eighth of a teaspoon sounds right. And finally, the garnish that screams “deviled eggs”: paprika, sprinkled generously over the top. That’s it! No celery, no pickles—that’s for later variations. This is pure, beautiful, traditional deviled eggs heaven right here.
How to Make Classic Deviled Eggs Step-by-Step
Now we get to the fun part! This is where you learn exactly how to make deviled eggs that look gorgeous and taste amazing without any stress. We break this down into three simple phases. Keep things moving quickly between steps, especially once the water is boiling, and you’ll have a tray of these tasty treats ready in no time flat. It’s a much faster process than people think, which is why they are such a fantastic potluck appetizer. If you want to check out my ideas for speedy breakfast prep while you’re in speed-mode, take a peek at my easy egg bites recipe!
Boiling and Cooling the Eggs
You need a rolling boil for these babies. Pop those eggs in cold water, bring it up high and fast to a full boil, then immediately cover the pan and take it off the heat. Set your timer for exactly 12 minutes—that’s the golden number here! As soon as that timer goes off, hustle them straight into a big bowl packed with ice and cold water. Let them chill completely for about 10 minutes. This rapid cooling is what makes them peel like a dream, so don’t skip that ice bath!
Creating the Simple Deviled Egg Filling
Once peeled, slice those whites carefully in half and scoop out every bit of that cooked yolk into a separate bowl. Now, mash, mash, mash! You need to get these yolks totally crumbly before anything else goes in, or you’ll end up with little white clumps mixed in—we want a smooth base for our simple deviled egg filling. Once it’s near powder, drizzle in that mayo, mustard, vinegar, salt, and pepper. Mix her up until she’s silky and looks too good to eat. This is what makes the classic deviled eggs so irresistible!
Piping and Applying the Paprika Garnish
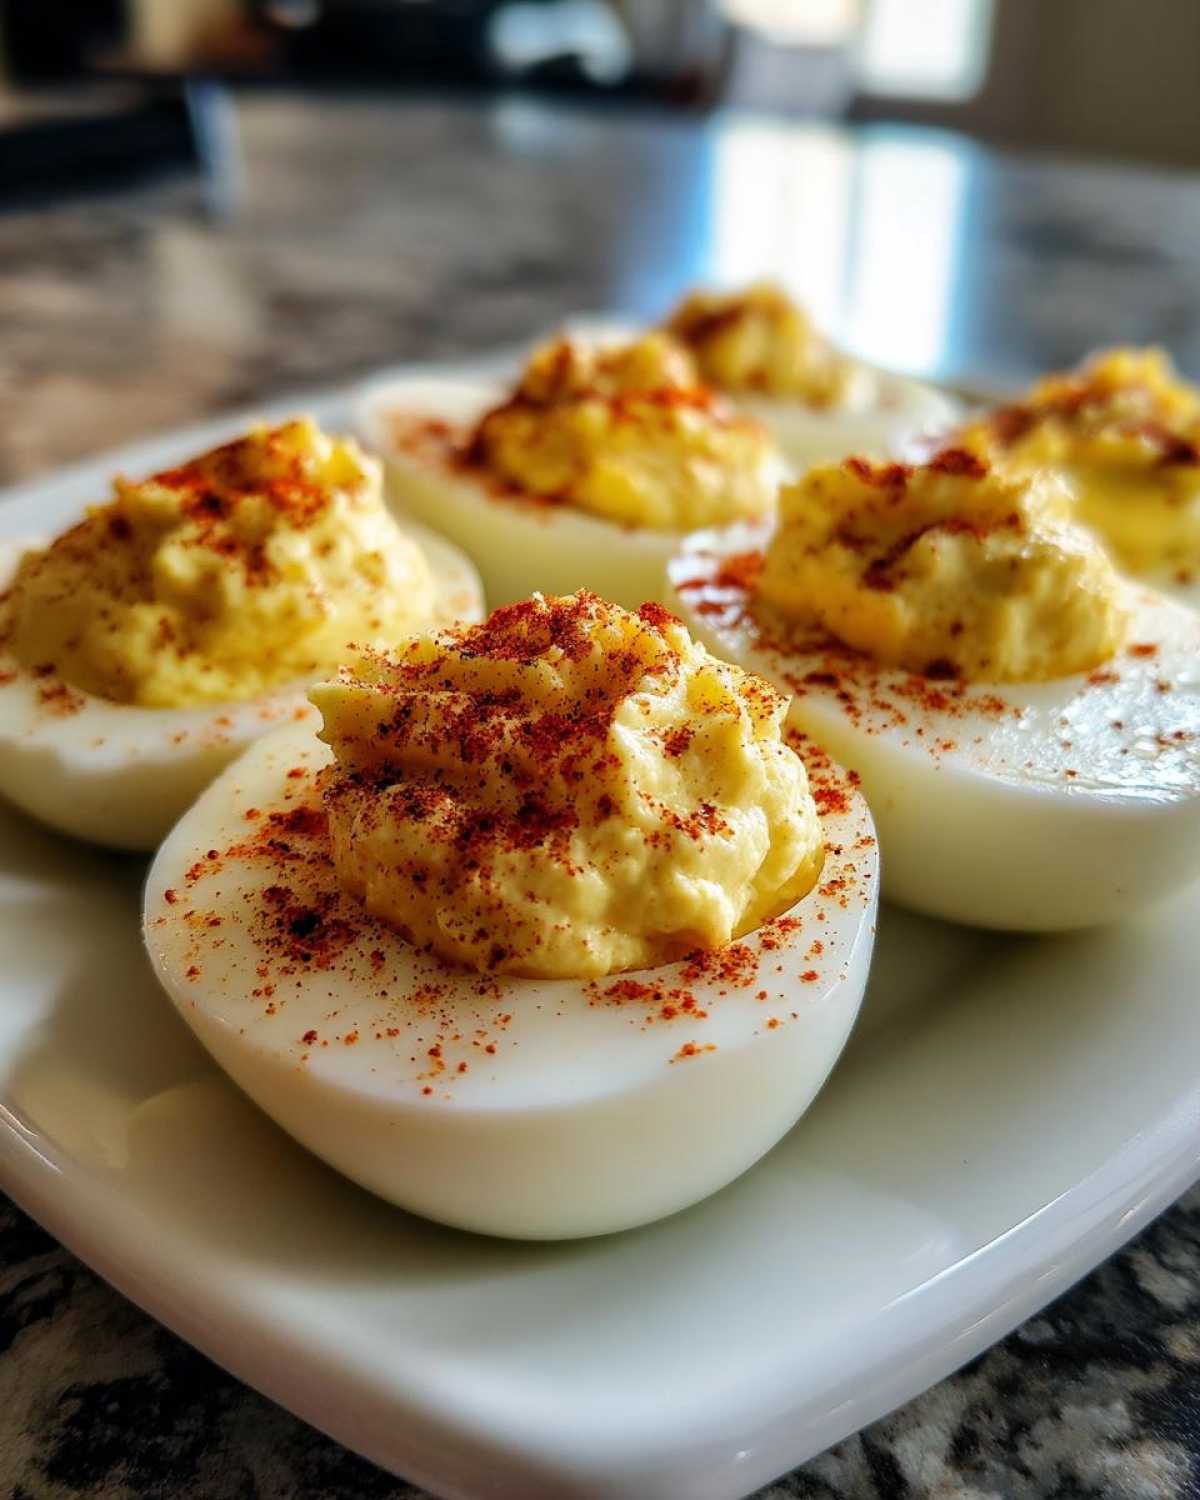
You can totally use a small spoon to scoop the filling back into the white halves, and it looks rustic and homemade. But if you want that picture-perfect look, pop that filling into a piping bag—even a Ziploc bag with the corner snipped off works—and gently swirl it back into the egg white. That little peak of filling looks so professional for your deviled eggs with paprika garnish. Finish by lightly dusting everything with paprika across the tray. A quick flip of the wrist does the trick!

Tips for Perfect Classic Deviled Eggs Every Time
I want your classic deviled eggs to be famous at your next gathering, so let me share the little tricks I learned over years of trial and error. If you absolutely cannot stand a single tiny lump, the real game-changer for that ultra-smooth texture is this: press your mashed yolks through a fine-mesh sieve before you mix in the wet stuff. Seriously, it takes an extra minute, but it guarantees the silkiest, dreamiest, most tangy deviled eggs you’ve ever had. It’s worth the minor extra work!
Also, don’t panic about getting everything done right before the party starts. The filling? You can totally mix that up a day ahead! Just keep that yummy yolk mixture covered tightly in the fridge. When you’re ready to serve, just pipe it back into the whites. But, and this is important, only fill the egg whites right before company arrives. Fully assembled eggs can get a little sweaty or weepy sitting around. If you want the freshest look, do the final assembly right before heading out!
If you’re curious about using up leftover yolks (we all make too much sometimes!), I have a great guide on making my creamy egg salad recipe that uses those extra bits perfectly.
Make Ahead and Storage for Classic Deviled Eggs
One of the biggest reasons I love bringing classic deviled eggs to a gathering is how easy they are to prep ahead! If you’re hosting or bringing them to a massive party, you certainly don’t want to be mashing yolks while everyone else is eating appetizers. So here’s my system for those great make ahead breakfast items—you can apply the same logic here.
Focus on making the filling first! Mix up that glorious, creamy deviled eggs filling exactly as the recipe says, but stop before you pipe it back into the whites. Store that filling in an airtight container in the coldest part of your fridge. It keeps beautifully for a full day. When it’s serving time, just let the filling sit on the counter for about 15 minutes to warm up slightly, then fill your peeled egg whites right before serving!
Now, you *can* assemble the whole tray, but honestly, I don’t recommend it, especially in warm weather. Fully assembled classic deviled eggs tend to dry out just a tiny bit or the mayo gets a little weird sitting out. If you must, cover the entire platter tightly with plastic wrap, making sure the wrap isn’t touching the tops, and keep them chilled until the absolute last minute. But trust me, that pre-made filling is the real time-saver!
Variations on Traditional Deviled Eggs
While I swore by my basic, tangy recipe for years—because basics are best, right?—sometimes you want to jazz things up a little when you’re making your holiday egg recipe for the tenth time that month. But don’t worry, these additions are simple ways to get creative without turning them into something totally unrecognizable!
My favorite little tweak for a bit of crunch and sweet-sour flavor is simply stirring in one tablespoon of finely minced sweet pickle relish right into the yolk mixture when you add the mayo. It adds a little texture that keeps things interesting. Another idea? If you want a little kick—and I mean just a tiny little *zing*—a few dashes of your favorite hot sauce right in with the mustard completely changes the flavor profile.
For those of you who are watching dairy intake or just trying to cut back on mayo a bit, you can swap out half of the required mayonnaise with plain Greek yogurt. It keeps the filling really thick—almost thicker than the original—and provides a great, clean tanginess. Keep the vinegar light if you go this route, though! These little swaps mean you get a completely new experience from the same easy deviled eggs base.
Serving Suggestions for Your Classic Deviled Eggs
These classic deviled eggs are the ultimate hero when it comes to party planning because they pair well with almost everything! They are perfect as a starter before a big barbecue or alongside heavier mains at a holiday buffet. Since they are so rich and creamy, they balance beautifully with smoky or spicy items.
If you’re making a huge spread, try setting them right next to my smoky Cowboy Cornbread Casserole—that casserole recipe is a showstopper! For presentation, skip the plain tray if you can. Put them on a bed of crisp lettuce leaves or even arrange them in a circle on a big wooden cutting board. A final sprinkle of fresh, chopped chives over the paprika just elevates them from a simple potluck appetizer to something truly special!
Estimating Nutritional Data for Classic Deviled Eggs
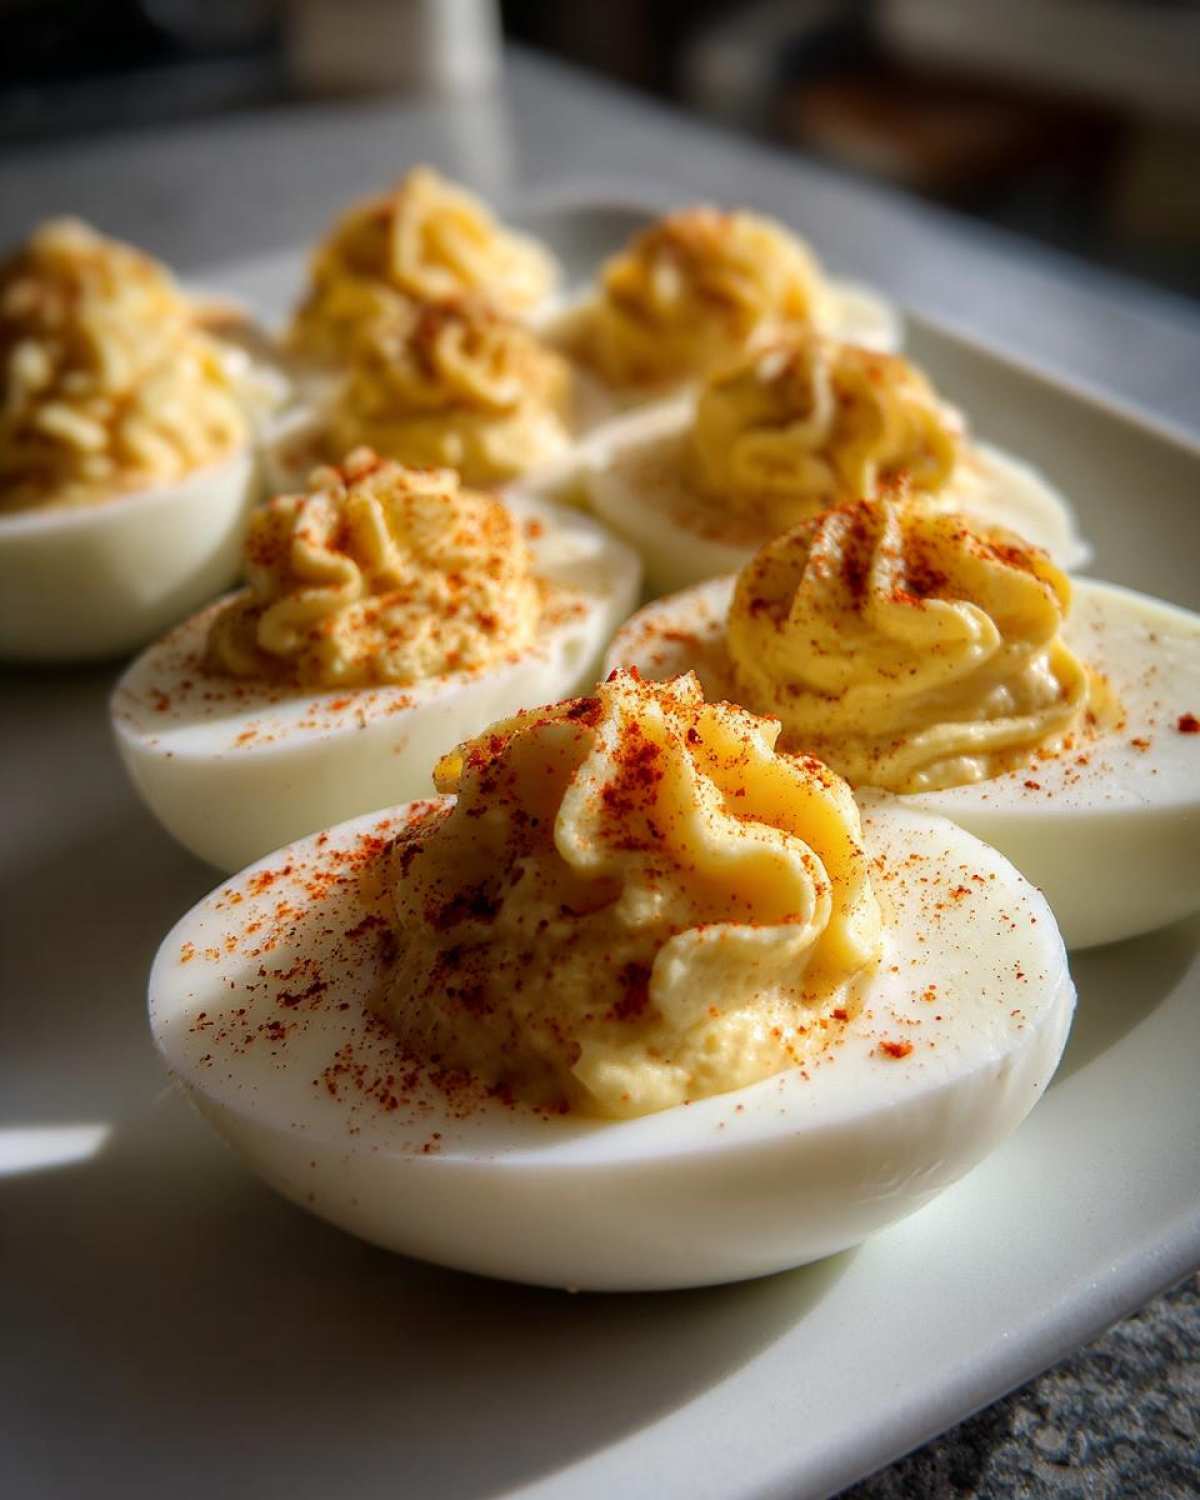
Okay, let’s get down to the very practical stuff, even though my mom always told me not to count calories when food tastes this good! Because these are such a standard appetizer, folks sometimes ask about the numbers, so here is a quick rundown. Keep in mind these are just estimates based on the 12 eggs, standard mayo, and mustard we use. They are calculated per serving, which we defined as two halves, like my make-ahead breakfast muffins!
For two halves, you’re looking at about 90 calories. Fat is around 8 grams, with about 3 grams of protein. They are thankfully very low in carbs, just about half a gram. See? Nothing too scary for a party food! Just remember this is a general guide, not lab testing!
Share Your Experience Making These Classic Deviled Eggs
I truly hope you give my recipe a try! Knowing that my favorite classic deviled eggs are showing up at your family parties is the best part of doing this. Once you whip up a batch, please come back and leave me a star rating. I’m also dying to know what your personal favorite garnish tweak is—do you go for cayenne, fresh dill, or stick classic paprika? Tell me all about it in the comments below!
If you snap a picture of your perfect plate, tag me on social media! Connecting with all of you is so important, and I love seeing your beautiful creations. If you ever run into trouble or have questions, don’t hesitate to use my contact page; I’m always happy to help troubleshoot!
Print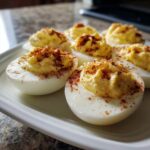
Classic Deviled Eggs: Creamy and Tangy Recipe
- Total Time: 37 min
- Yield: 24 halves
- Diet: Vegetarian
Description
Make traditional, creamy deviled eggs using this simple recipe. This method focuses on achieving a smooth filling perfect for any gathering.
Ingredients
- 12 large eggs
- 1/2 cup mayonnaise
- 2 tablespoons yellow mustard
- 1 tablespoon white vinegar
- 1/4 teaspoon salt
- 1/8 teaspoon black pepper
- Paprika, for garnish
Instructions
- Place eggs in a large saucepan and cover with cold water by one inch. Bring the water to a rolling boil over high heat.
- Once boiling, immediately remove the pan from the heat, cover it, and let the eggs stand for exactly 12 minutes.
- Prepare an ice bath by filling a large bowl with ice and cold water.
- Transfer the eggs immediately to the ice bath using a slotted spoon. Let them cool completely, about 10 minutes.
- Peel the cooled eggs. Slice each egg in half lengthwise. Gently scoop the yolks into a medium bowl. Place the egg white halves on a serving platter.
- Mash the yolks thoroughly with a fork until no lumps remain.
- Add the mayonnaise, mustard, vinegar, salt, and pepper to the mashed yolks. Mix until the filling is completely smooth and creamy.
- Spoon or pipe the yolk mixture back into the hollows of the egg white halves.
- Sprinkle paprika lightly over the top of each filled egg half before serving.
Notes
- For the smoothest filling, press the mashed yolks through a fine-mesh sieve before mixing in the other ingredients.
- You can make the filling up to one day ahead and store it covered in the refrigerator. Fill the egg whites just before serving.
- To prevent green rings around the yolks, cool the eggs quickly in an ice bath immediately after boiling.
- Prep Time: 15 min
- Cook Time: 12 min
- Category: Appetizer
- Method: Boiling and Mixing
- Cuisine: American
Nutrition
- Serving Size: 2 halves
- Calories: 90
- Sugar: 0.5
- Sodium: 110
- Fat: 8
- Saturated Fat: 2
- Unsaturated Fat: 6
- Trans Fat: 0
- Carbohydrates: 0.5
- Fiber: 0
- Protein: 3
- Cholesterol: 100


Comments are closed.