
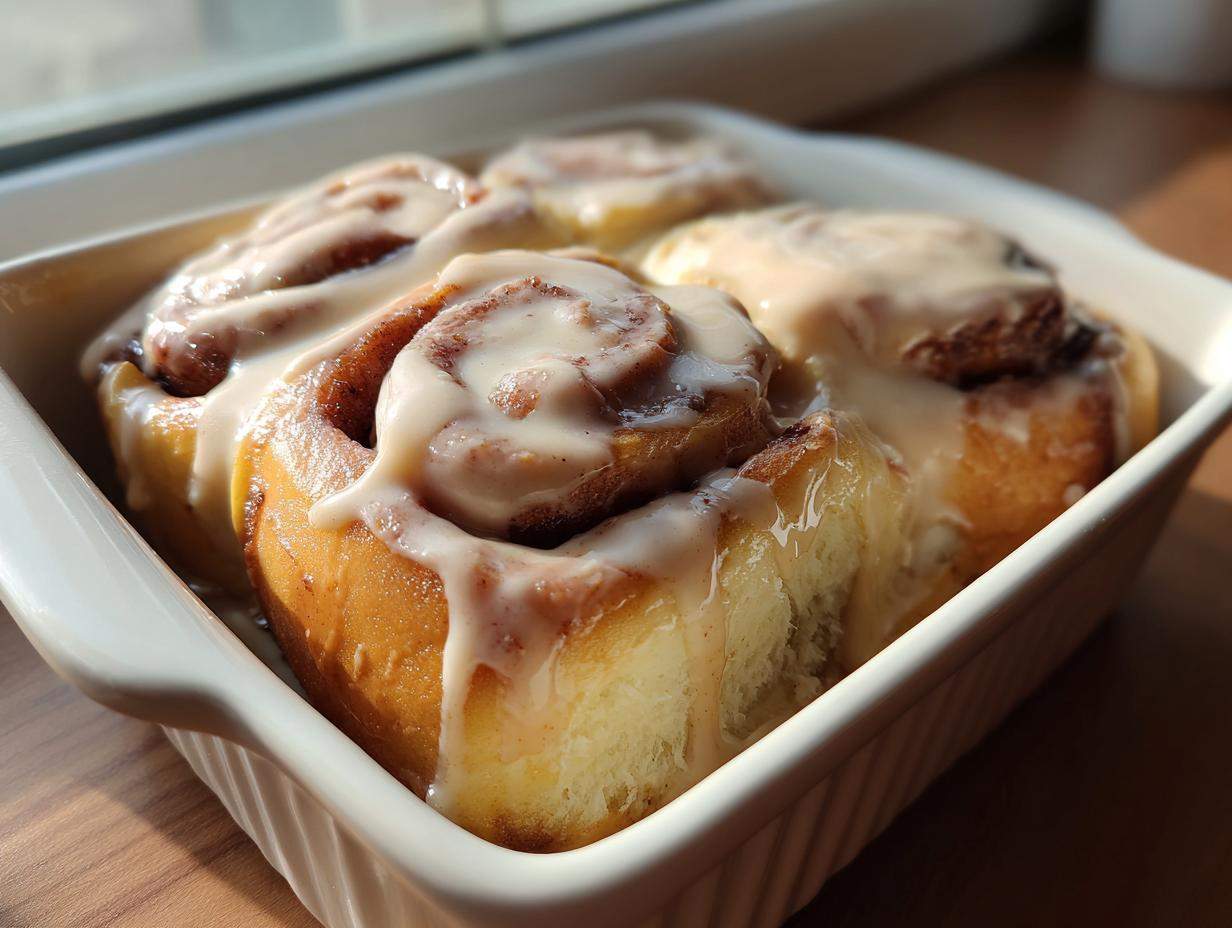
Oh my gosh, if you love reinventing a classic, then buckle up! You know how much I adore playing in the kitchen, taking something familiar, like a perfectly soft cinnamon roll, and giving it a huge, cozy flavor upgrade? Well, that’s exactly what we did here. I remember the first time I smeared Biscoff straight into a crescent roll dough—it was pure magic. The spice notes just *sing* with that yeast richness!
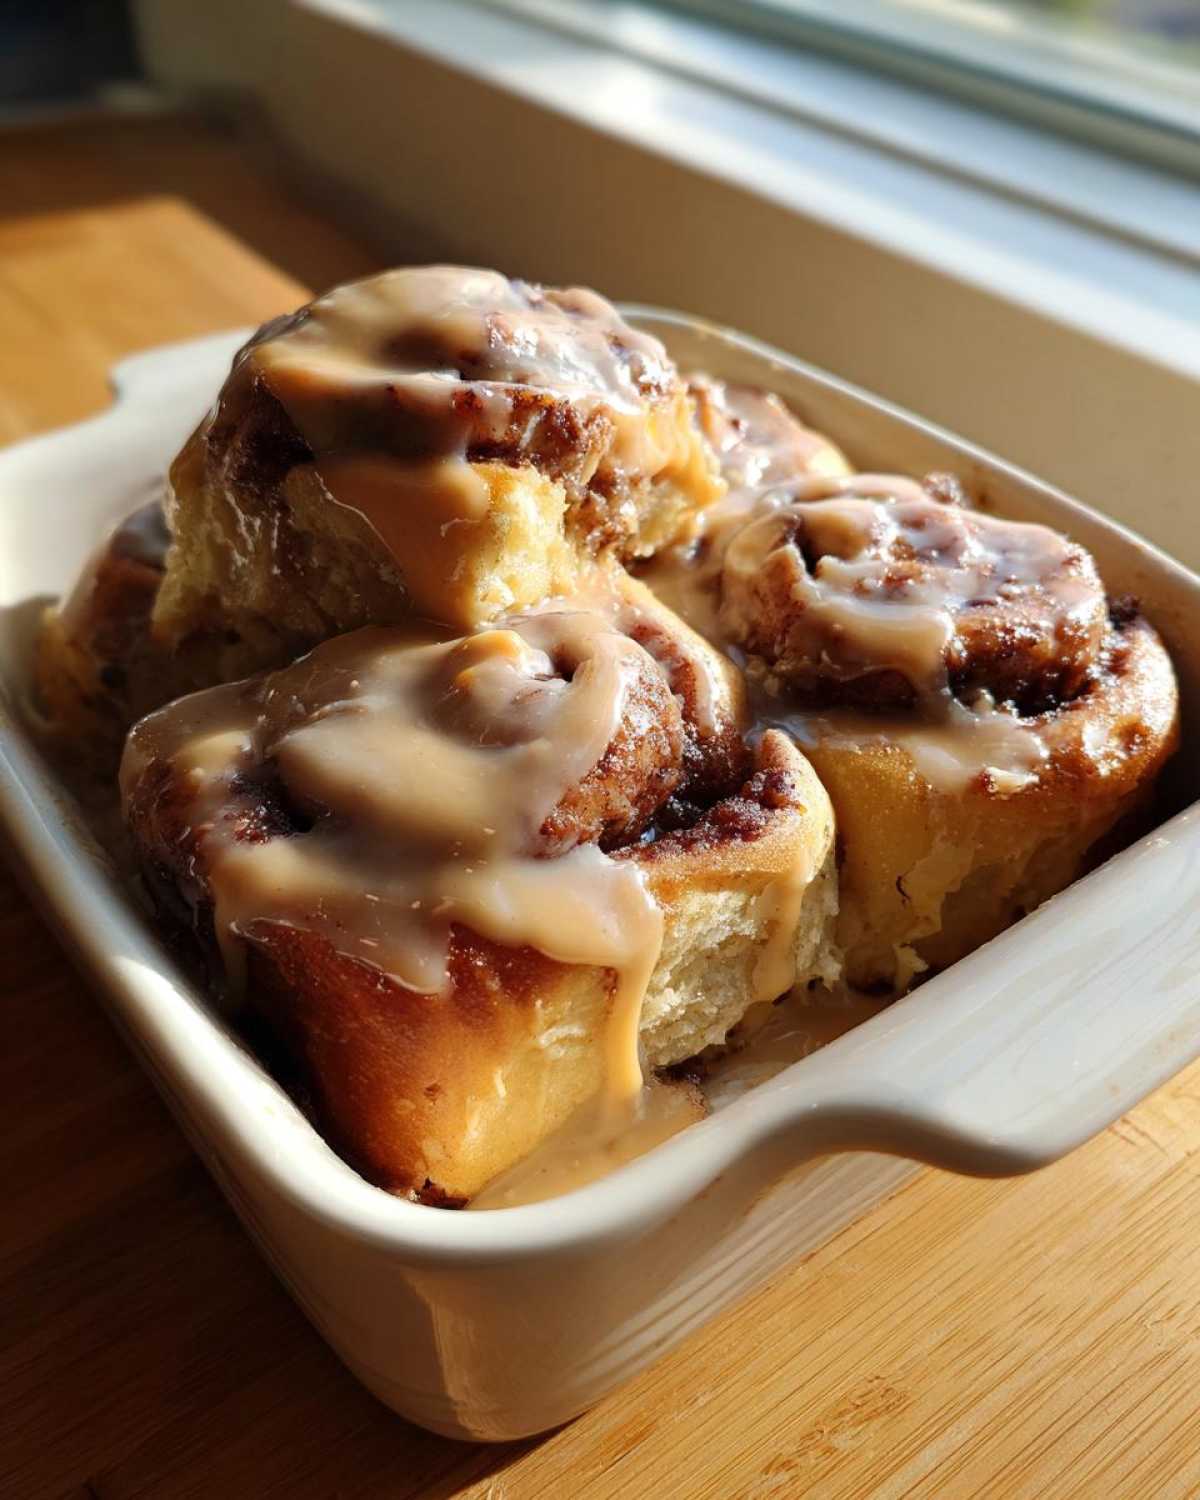
Forget boring breakfasts; we are diving headfirst into the best hybrid pastry trend out there. These aren’t just sweet rolls; these are incredibly soft, unbelievably gooey **Cookie Butter Cinnamon Rolls** packed with a homemade spiced filling and dripping with a simple Biscoff glaze. Seriously, the texture you get from this dough recipe is next level. Trust me, once you make these, they’ll become your new favorite weekend baking project!
Why You Will Love These Cookie Butter Cinnamon Rolls
Honestly, these rolls hit all the right notes. They are exactly what your weekend brunch has been missing! If you’re looking for reasons to pull out the mixer this Saturday morning, here are a few that make this recipe a total winner:
- They disappear fast! Seriously, they are so dangerously delicious that they rarely last until lunchtime.
- The texture is supreme—we’re talking cloud-like soft dough that practically melts in your mouth.
- That filling! It’s a thick, deeply spiced layer of actual cookie butter mixed with cinnamon and brown sugar. Pure decadence!
- You get that perfectly glossy, sweet Biscoff drizzle on top that locks in the moisture for days (if they last that long).
- It feels fancy, but the dough process is surprisingly straightforward. I even linked my favorite basic dough tutorial right here just in case you need a refresher!
- They smell incredible while baking. That mix of yeast, butter, and spiced cookies is just about the best aroma on earth.
Ingredients for the Ultimate Cookie Butter Cinnamon Rolls
Okay, listen up! The secret to amazing baked goods is always starting with the right ingredients—and making sure you measure them right the first time. I’ve broken this down into three clear groups so you can shop, prep, and conquer easily. Don’t skimp on the quality of the cookie butter here; it really makes all the difference!
If you were looking for a fantastic cream cheese frosting, I’ve got a go-to recipe you can check out before you dive in, just in case you want to riff on the glaze later: my favorite tangy frosting base.
For the Soft Cinnamon Roll Dough
This dough is the foundation for everything soft and pillowy. Remember, the milk needs to be warm, not hot—we don’t want to kill our little yeast friends!
- 1 cup whole milk, warmed just right (it should feel comfortably warm to your finger, not hot!)
- 2 1/4 teaspoons active dry yeast
- 1/2 cup granulated sugar, divided (we use a little in the yeast mixture)
- 1/4 cup unsalted butter, melted
- 1 large egg, room temperature is best
- 3 1/2 cups all-purpose flour, plus extra for dusting that countertop
- 1 teaspoon salt
For the Homemade Cookie Butter Filling
This is where the deep, spiced flavor comes from. Make sure your cookie butter isn’t straight from the fridge; it needs to be soft enough to spread like peanut butter.
- 1/2 cup cookie butter (like Biscoff), softened
- 1/4 cup packed light brown sugar
- 2 tablespoons ground cinnamon
For the Biscoff Cookie Butter Glaze
This glaze sets up quickly, so you want to have all your ingredients measured out before the rolls even come out of the oven. Melt the cookie butter just slightly so it incorporates smoothly!
- 1/2 cup powdered sugar (sifted if yours is lumpy!)
- 3 tablespoons cookie butter, melted
- 1 tablespoon milk
How to Make Gooey Cookie Butter Rolls: Step-by-Step Instructions
Making homemade rolls can feel intimidating, but this dough is so forgiving—it’s one of the reasons I love this recipe so much! We follow classic methods, but I’ve streamlined the process to keep everything moving smoothly. Keep a damp towel nearby for wiping your hands, because things can get a little sticky with all that cookie butter goodness!
If you’re curious about making rolls completely from scratch next time, I have a fantastic tutorial on making soft, fluffy dinner rolls that uses similar dough principles.
Activating the Yeast and Mixing the Dough
First things first, we wake up the yeast! In a small bowl, whisk together your warm milk, the active dry yeast, and just one teaspoon of the granulated sugar from the total amount needed. You have to wait five minutes for this, and I always watch closely for that foamy cap to form on top. If it foams, your yeast is happy and ready to go!
In your big mixing bowl—or the bowl of your stand mixer if you use one—combine the rest of the sugar, the melted butter, and the egg. Pour in that bubbly yeast mixture and stir it up. Now, add the flour and salt gradually. Once it looks shaggy, turn it out onto a lightly floured surface. Knead this dough hard for about five to seven minutes. You’re looking for elasticity; it should feel smooth and springy when you poke it gently.
First Rise and Preparing the Cookie Butter Filling
Tuck that smooth ball of dough into a lightly greased bowl, cover it with plastic wrap or a clean cloth, and let it do its thing! Find a warm spot—near the sunny window or on top of the warm stove works great—and leave it alone for a good hour to an hour and a half until it has doubled in size. Don’t peek too early!
While the dough is puffing up, tackle the filling. This is SO easy. Just toss your softened cookie butter, light brown sugar, and the two tablespoons of cinnamon into a small dish. Mix it with a fork until it’s just combined into a thick, deep brown paste. That’s it for the filling!
Rolling, Filling, Cutting the Cookie Butter Cinnamon Rolls
Once doubled, gently punch the air out of the dough and then roll it out onto your floured surface. You really need accuracy here: aim for a neat 12 by 18-inch rectangle. If you are slighty over or under, don’t panic, but try to keep the long sides straight!
Now for the centerpiece! Take your cookie butter filling and spread it evenly across the dough. Here’s my pro tip for that perfect swirl: leave a full one-inch border clear along one of the long edges. That empty strip is important because it helps the log seal shut!
Starting on the opposite side of that empty border, roll the dough up as tightly as you possibly can into a log. Squeeze that seam closed firmly. Then, use a sharp knife or unflavored dental floss to cut the log into 12 equal rolls. Place them cut-side up snugly into your greased 9×13 inch baking dish.
Second Proof and Baking Your Sweet Rolls
Cover the dish loosely and let the rolls have their second rest for about 30 minutes. They won’t double this time, but they should look noticeably puffy. I always use the last 10 minutes of this proofing time to preheat the oven to 375°F—you don’t want the oven waiting on you!
Bake them for about 20 to 25 minutes. They are done when they are beautifully golden brown on top. You might notice the centers looking set and firm when you gently tap them.
Making and Applying the Biscoff Glaze
As soon as those rolls come out of the oven, they need their topping! While they are piping hot, mix the glaze ingredients in a small bowl: powdered sugar, the melted cookie butter, and the splash of milk. Whisk it until it’s smooth and totally drizzly.
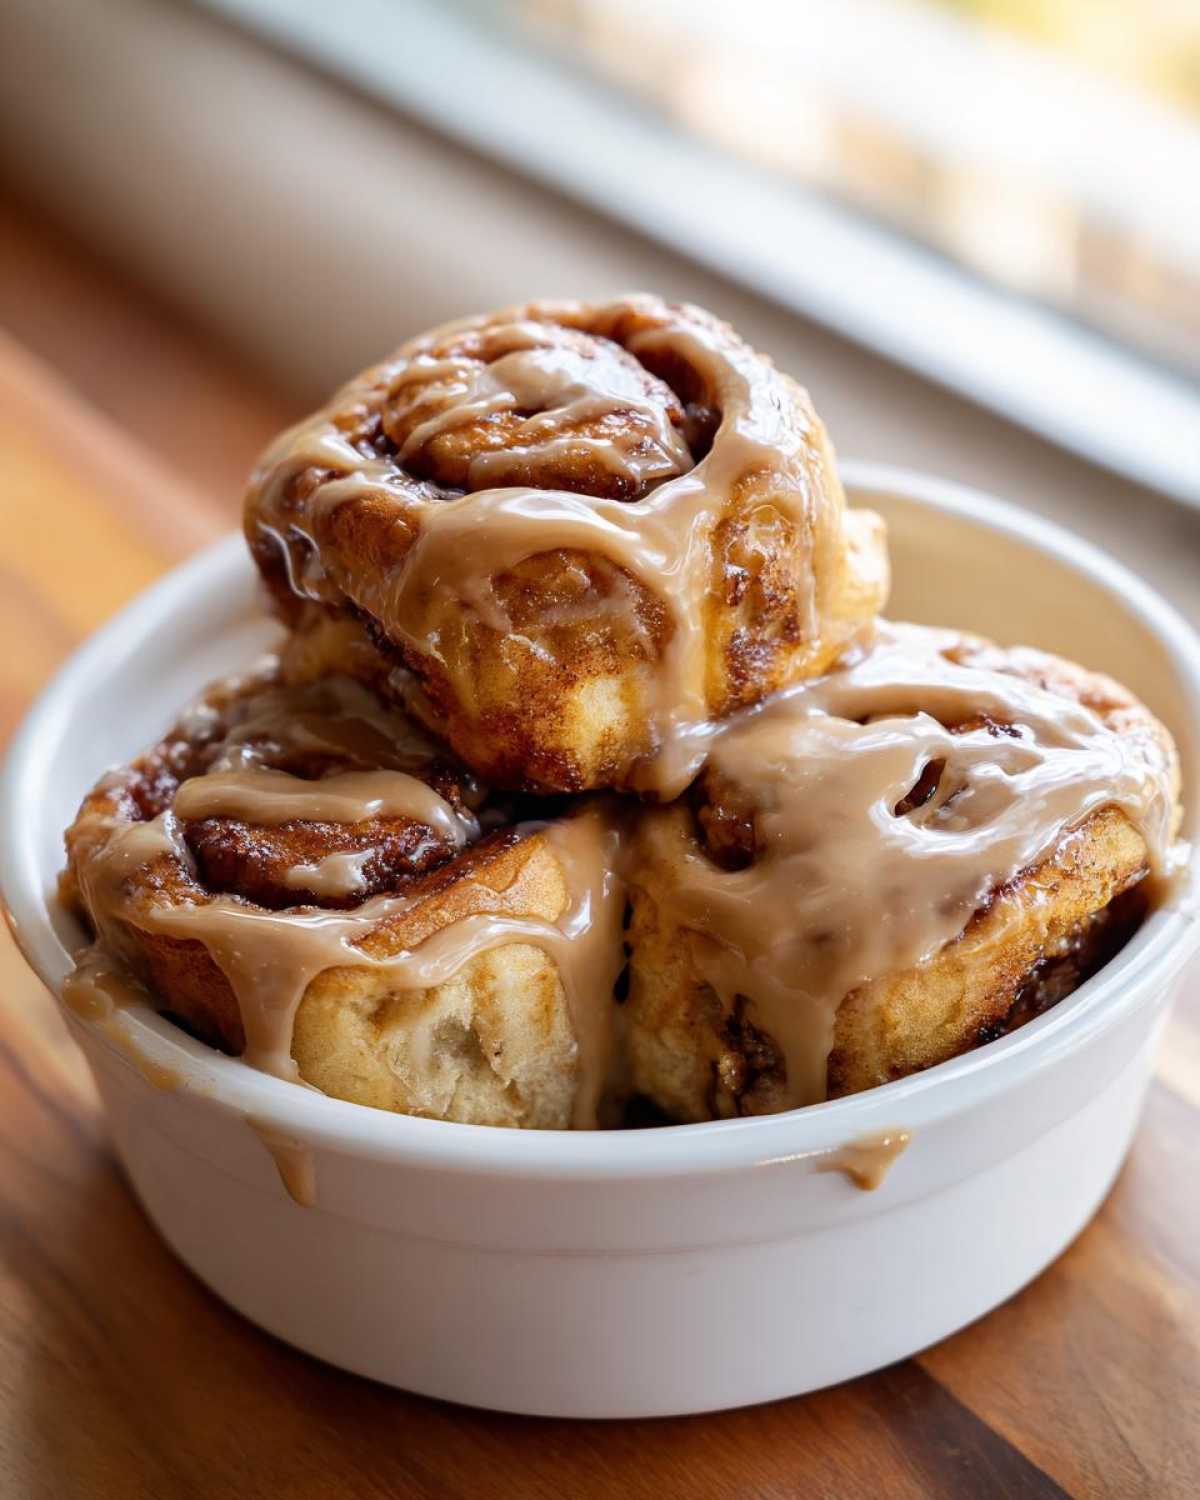
Don’t hesitate! Drizzle that gorgeous glaze all over the hot rolls immediately. The heat melts the glaze just enough so it seeps down in between every single swirl, making them extra gooey. Serve them warm—that’s when they are truly unbeatable!
Tips for Perfect Cookie Butter Cinnamon Rolls
We all want those bakery-style rolls that are soft and slightly chewy, right? Even though this recipe is pretty straightforward, I learned a few tricks over the years to make sure these Cookie Butter Cinnamon Rolls are absolutely perfect every single time. It all comes down to paying attention to the details, especially concerning temperature and how you treat the dough!
Ingredient Handling for the Best Dough Texture
If you skip one thing, skip checking your yeast temperature! Remember how I said the milk needs to be warm? It has to be just warm enough to activate the yeast without killing it. If you’re worried about getting it wrong, just use a clean thermometer—aim for about 105°F to 115°F. Too hot, and you’ll end up with dense bricks instead of fluffy rolls.
Also, you can try swapping out half of your all-purpose flour for bread flour, as noted in my recipe extras. That little bit of extra protein in the bread flour helps develop stronger gluten, which gives you a chewier, more satisfying bite. It’s one of those easy swaps that really bumps up the final texture of your sweet rolls.
If you want to dive deeper into mastering dough texture overall, I highly recommend looking at my easy cinnamon roll dough guide for more fundamental tips!
Achieving Maximum Softness in Your Cookie Butter Cinnamon Rolls
The real secret, especially when dealing with flavored spreads like cookie butter, is ensuring that final proof is as cozy as possible. My favorite trick for guaranteed softness is the ‘turned-off oven’ method for that second rise. After the rolls are cut and placed in the pan, pop them into your oven, but make sure the oven is turned OFF.
If your oven was recently used, it will hold residual heat, creating a wonderfully warm, draft-free chamber perfect for proofing. This gentle warmth helps those yeast cells work overtime and creates rolls that are extra billowy. When you uncover them 30 minutes later, they should look noticeably plump and ready for baking. This little step is essential for those truly gooey cookie butter rolls!
Storage and Reheating Instructions for Leftover Cookie Butter Cinnamon Rolls
If, by some miracle, you have leftovers of these amazing rolls, you want to keep them gooey!
Unfrosted rolls store well covered at room temperature for up to two days. If you glazed them immediately, definitely cover them tightly and refrigerate. To bring them back to life, microwave one roll at a time for about 15 to 20 seconds. That little bit of warmth reactivates the moisture and melts that sugar glaze perfectly. Trust me, reheating is key!
Variations on Your Speculoos Sweet Rolls
While these Cookie Butter Cinnamon Rolls are absolutely phenomenal exactly as written, I always encourage folks to make a recipe their own! Baking is so much more fun when you put your own spin on things. These rolls are really adaptable, which is why they’re great for holiday baking recipes when everyone has slightly different tastes at the table.
Adding Extra Crunch to the Filling
If you miss that classic textural element often found in standard cinnamon rolls, don’t be afraid to mix in some chopped nuts to the filling! I love using toasted pecans or walnuts—they hold up beautifully against the creamy cookie butter. Just gently fold about 1/3 cup of chopped, toasted nuts into the cookie butter mixture right before you spread it onto the dough. This addition makes them feel even more special, and they pair wonderfully with the spice.
Level Up That Biscoff Glaze
The simple melted glaze is perfect, but if you want something tangier, switch it up! Instead of using all powdered sugar, try swapping half of it for a couple of tablespoons of softened cream cheese. Beat the cream cheese smooth first, then whip in the melted cookie butter and milk. This gives it a slightly richer, almost cheesecake-like finish that pairs perfectly with the Biscoff Cinnamon Rolls. It’s a great way to make these dessert rolls feel extra decadent!
A Spicy Boost for Fall Flavored Baked Goods
If you are making these during the cooler months—or just really love that warm bakery spice—I have a fun little trick for ramping up the spice profile. When you mix the filling, add just a tiny pinch of ground cloves or allspice along with your cinnamon. You won’t taste them directly, but they deepen the overall warmth of the cookie butter flavor profile, making these truly memorable Speculoos Sweet Rolls!
For more ideas on fun flavor profiles, you might enjoy looking at my recipes for carrot cake; those spice blends are always inspiring!
Frequently Asked Questions About Cookie Butter Cinnamon Rolls Recipe
I get so many questions every time I post photos of these gooey treats! It makes total sense; everyone wants to know the shortcuts or the best way to make sure their **Biscoff Cinnamon Rolls** turn out bakery-perfect. Here are the things I hear most often when people are diving into making these rich breakfast pastry recipes.
Can I use store-bought dough for these Cookie Butter Cinnamon Rolls?
Oh, absolutely! We’ve all been there when time is tight. If you want to make this a super-fast weekend baking project, you can definitely use a can of pre-made cinnamon roll dough. Just skip steps 1 through 4 completely!
When you unroll the store-bought dough, just make sure you gently stretch it a little bit to get that larger rectangle shape for a better swirl. Then, follow the recipe exactly starting at Step 5—spread on the homemade cookie butter filling and drizzle with the glaze. It’s a sneaky way to get that amazing, rich flavor without the full scratch dough time. If you’re looking for a guide on making the dough portion easier in general, you might want to check out my thoughts on an Easy Cinnamon Roll Dough Recipe, but for a true shortcut, the store-bought route is your friend!
What is the best cookie butter to use for this recipe?
Honestly, I’m loyal to the original speculoos brand—you know the one!—but truly, any high-quality cookie butter spread will work wonders here. For the *filling*, you want a brand that is very thick and holds its shape well when mixed with the brown sugar and cinnamon. If you find your favorite brand is too runny, you might need to chill it slightly before mixing it into the filling mixture.
For the *glaze*, however, I prefer one that is naturally a bit smoother, as it needs to melt nicely. The major brands usually deliver on that smooth finish, which helps create that beautiful, shiny drizzle over the top of your sweet breakfast treats.
Can I make these ahead of time, like the night before?
Yes, you definitely can prep these ahead of time, and it’s perfect for easier holiday baking! You can mix and roll the dough, cut the rolls, and place them snugly in the greased 9×13 pan. Cover that dish tightly with plastic wrap and pop it into the refrigerator overnight. This slows down the first, long rise, and you handle the second proofing right before baking.
The trick is taking the rolls out of the fridge about 1.5 to 2 hours before you want to start baking so they can come to room temperature and finish that second rise nicely. If you are planning this far ahead, you might want to wait to add the glaze until right before serving, or just glaze them when they are still warm from the oven in the morning. For more ideas on making breakfast baking ahead of time, I have some tips in my article on making a cinnamon roll casserole!
Estimated Nutritional Data for Cookie Butter Cinnamon Rolls
Now, let’s talk real talk for a second. When you’re baking something this unbelievably rich and gooey, you know it’s going to be a treat, not an everyday staple! I’ve pulled together the estimated nutritional breakdown based on the ingredients in this recipe, but please remember this is just a guide.
Baking quality ingredients means you’re getting fantastic flavor, but naturally, that adds up! These numbers are based on getting 12 servings from the entire batch. If you end up cutting them into smaller pieces—and trust me, you might be tempted!—the per-serving values will obviously change.
- Serving Size: 1 roll
- Calories: 420
- Sugar: 35g (That cookie butter is sweet stuff!)
- Fat: 21g
- Carbohydrates: 55g
- Protein: 6g
This data assumes you used the amounts listed perfectly. If you load up on extra butter or drizzle way more glaze (which I highly support, by the way!), expect those numbers, especially the fat and sugar content, to tick up a bit. Enjoy these Cookie Butter Cinnamon Rolls responsibly—they’re truly a labor of love meant for special occasions!
Share Your Sweet Breakfast Treats Experience
Wow, we made it through the entire bake! I am so happy that you decided to try making these decadent **Cookie Butter Cinnamon Rolls**. Seriously, once you taste that rich, spiced filling against the soft dough, you’ll completely understand why I’m obsessed with this flavor combo!
Now tell me all about it! Did they turn out super gooey? Did you add any extra cinnamon to your glaze? Please, please, leave a comment below telling me how your experience went. I read every single one and love hearing which part was your family’s favorite part. It helps me know what amazing **sweet breakfast treats** to bake next!
If you snapped any beautiful pictures of your finished **Biscoff Cinnamon Rolls**—and I know you did, because they look gorgeous!—tag me on social media! I absolutely love seeing your creations in your own kitchens. You can tag me using the usual handles, and don’t forget to check out my recipe for easy honey bran muffins if you need something less time-intensive for your weekday mornings!
Thank you so much for baking with me today. Happy eating!
Print
Cookie Butter Swirl Cinnamon Rolls with Biscoff Glaze
- Total Time: 145 min
- Yield: 12 servings
- Diet: Vegetarian
Description
Make soft, gooey cinnamon rolls featuring a rich cookie butter filling and topped with a simple Biscoff glaze.
Ingredients
- 1 cup whole milk, warm
- 2 1/4 teaspoons active dry yeast
- 1/2 cup granulated sugar, divided
- 1/4 cup unsalted butter, melted
- 1 large egg
- 3 1/2 cups all-purpose flour, plus more for dusting
- 1 teaspoon salt
- 1/2 cup cookie butter (like Biscoff), softened, for filling
- 1/4 cup packed light brown sugar, for filling
- 2 tablespoons ground cinnamon, for filling
- 1/2 cup powdered sugar, for glaze
- 3 tablespoons cookie butter, melted, for glaze
- 1 tablespoon milk, for glaze
Instructions
- Combine the warm milk, yeast, and 1 teaspoon of the granulated sugar in a bowl. Let stand for 5 minutes until foamy.
- In a large bowl, whisk together the remaining granulated sugar, melted butter, and egg. Add the yeast mixture and stir.
- Gradually add the flour and salt to the wet ingredients. Mix until a shaggy dough forms, then knead on a lightly floured surface for 5-7 minutes until smooth and elastic.
- Place the dough in a greased bowl, cover it, and let it rise in a warm place for 1 to 1.5 hours, or until doubled in size.
- While the dough rises, prepare the filling by mixing the softened cookie butter, brown sugar, and cinnamon in a small bowl until combined.
- Punch down the risen dough and roll it out into a 12×18 inch rectangle on a floured surface.
- Spread the cookie butter filling evenly over the dough, leaving a 1-inch border on one long edge.
- Starting from the long edge opposite the border, tightly roll the dough into a log. Pinch the seam closed.
- Cut the log into 12 equal rolls. Place the rolls cut-side up in a greased 9×13 inch baking dish.
- Cover the dish and let the rolls rise again for 30 minutes. Preheat your oven to 375°F (190°C) during the last 10 minutes of the second rise.
- Bake for 20-25 minutes, or until golden brown.
- While the rolls bake, prepare the glaze by whisking together the powdered sugar, melted cookie butter, and milk until smooth.
- Remove the rolls from the oven and immediately drizzle the glaze over the warm rolls. Serve warm.
Notes
- For extra soft rolls, let them proof in a slightly warmer area, like inside an oven that has been turned off but still holds residual heat.
- If your cookie butter is too stiff for spreading, microwave it for 10-15 seconds to soften it slightly before mixing with the brown sugar and cinnamon.
- You can substitute half of the flour with bread flour for a chewier texture.
- Prep Time: 45 min
- Cook Time: 25 min
- Category: Breakfast
- Method: Baking
- Cuisine: American
Nutrition
- Serving Size: 1 roll
- Calories: 420
- Sugar: 35g
- Sodium: 310mg
- Fat: 21g
- Saturated Fat: 10g
- Unsaturated Fat: 11g
- Trans Fat: 0g
- Carbohydrates: 55g
- Fiber: 2g
- Protein: 6g
- Cholesterol: 35mg



Comments are closed.