
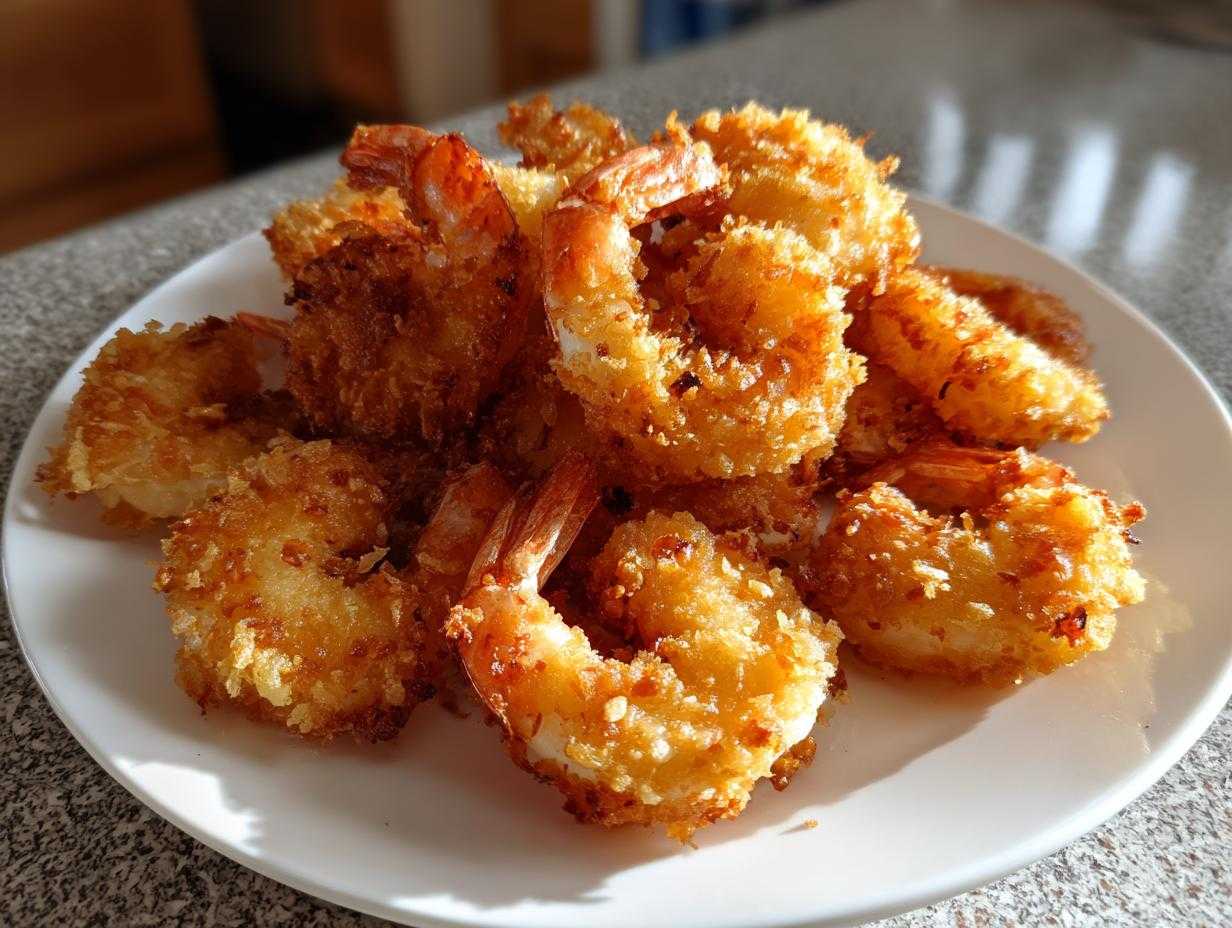
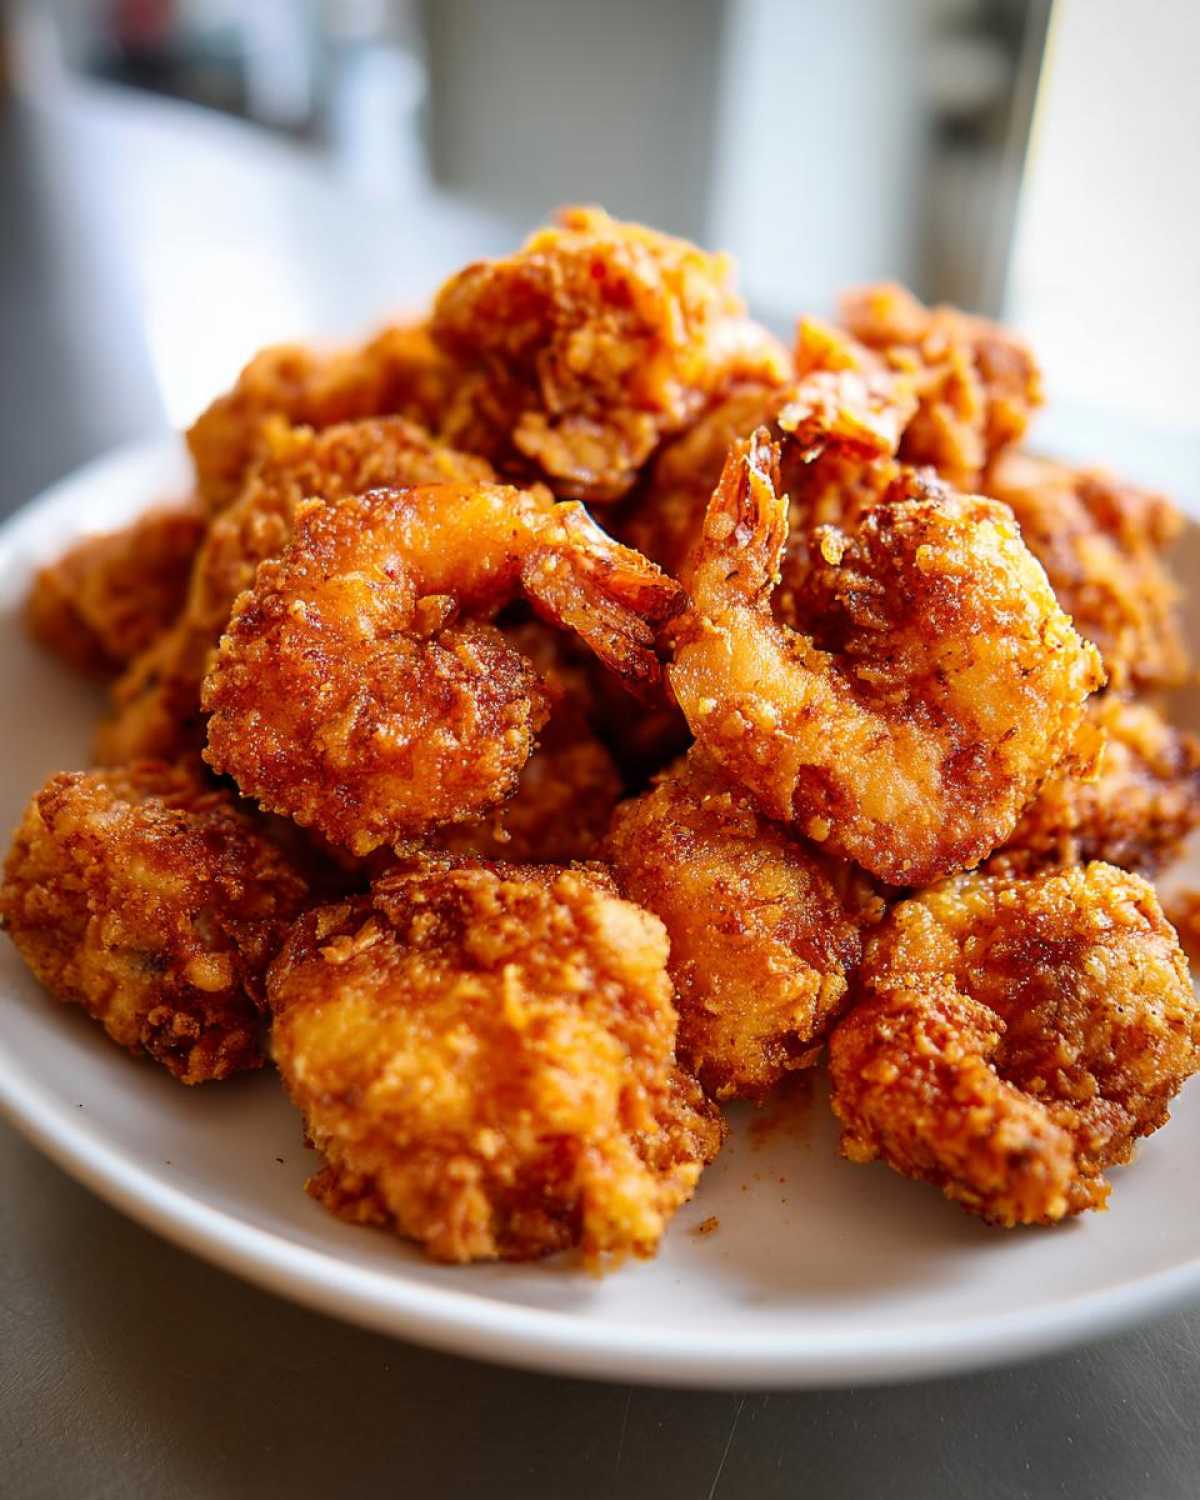
If you’ve ever taken a bite of truly magnificent **fried shrimp** and wondered, “How do they get it *that* crispy?”—then friend, you’ve come to the right place! Forget soggy coatings and bland flavor. We are doing this the right way today, focusing heavily on that glorious, crunchy texture we all crave. This is our ultimate recipe for Crispy Southern Fried Shrimp, and trust me, it knocks anything you get from a restaurant out of the park.
I spent an entire summer perfecting the oil temperature. I used to pull my shrimp out too early, or worse, my oil would drop too low, and I’d end up with greasy little logs instead of golden perfection. But once I nailed that 365°F sweet spot and committed to that buttermilk soak, everything changed! This technique is the secret sauce for achieving that addictive, crunchy shell that defines great Southern seafood.
Why This Crispy Fried Shrimp Recipe Works (The Secrets to Success)
You want that deep golden crunch, right? That’s what separates a good shrimp dinner from a legendary one. Achieving that signature crunch isn’t random; it’s science mixed with a little bit of Southern tradition. These steps build on each other to make sure any batch of **fried shrimp** you make comes out perfectly textured. We’re aiming for that classic **southern fried shrimp** sound when you bite into it!
I learned years ago that throwing shrimp straight into flour just doesn’t cut it. We need adhesion, tender meat, and protection from the hot oil. That’s why this approach is my go-to every single time. If you want to see what else works wonders with a good acid soak like buttermilk, check out my guide on crispy buttermilk Southern fried chicken—the principle is exactly the same!
The Essential Buttermilk Fried Shrimp Soak
The buttermilk is non-negotiable! The mild acid in buttermilk actually works magic on those tiny shrimp muscles, tenderizing them so they don’t seize up into little rubber bands when they hit the heat. Plus, the buttermilk creates a sticky, slightly damp surface that your dredging flour just loves to cling to.
Achieving the Best Batter for Fried Shrimp
This is where the crunch factor is locked in. We aren’t just using plain flour; we mix in cornstarch. The cornstarch is the key player here! It helps draw out moisture during frying, resulting in an unbelievably light and brittle coating. The paprika and garlic powder we toss in give it that classic savory flavor, making it the absolute **best batter for fried shrimp**.
Ingredients for Perfect Southern Fried Shrimp
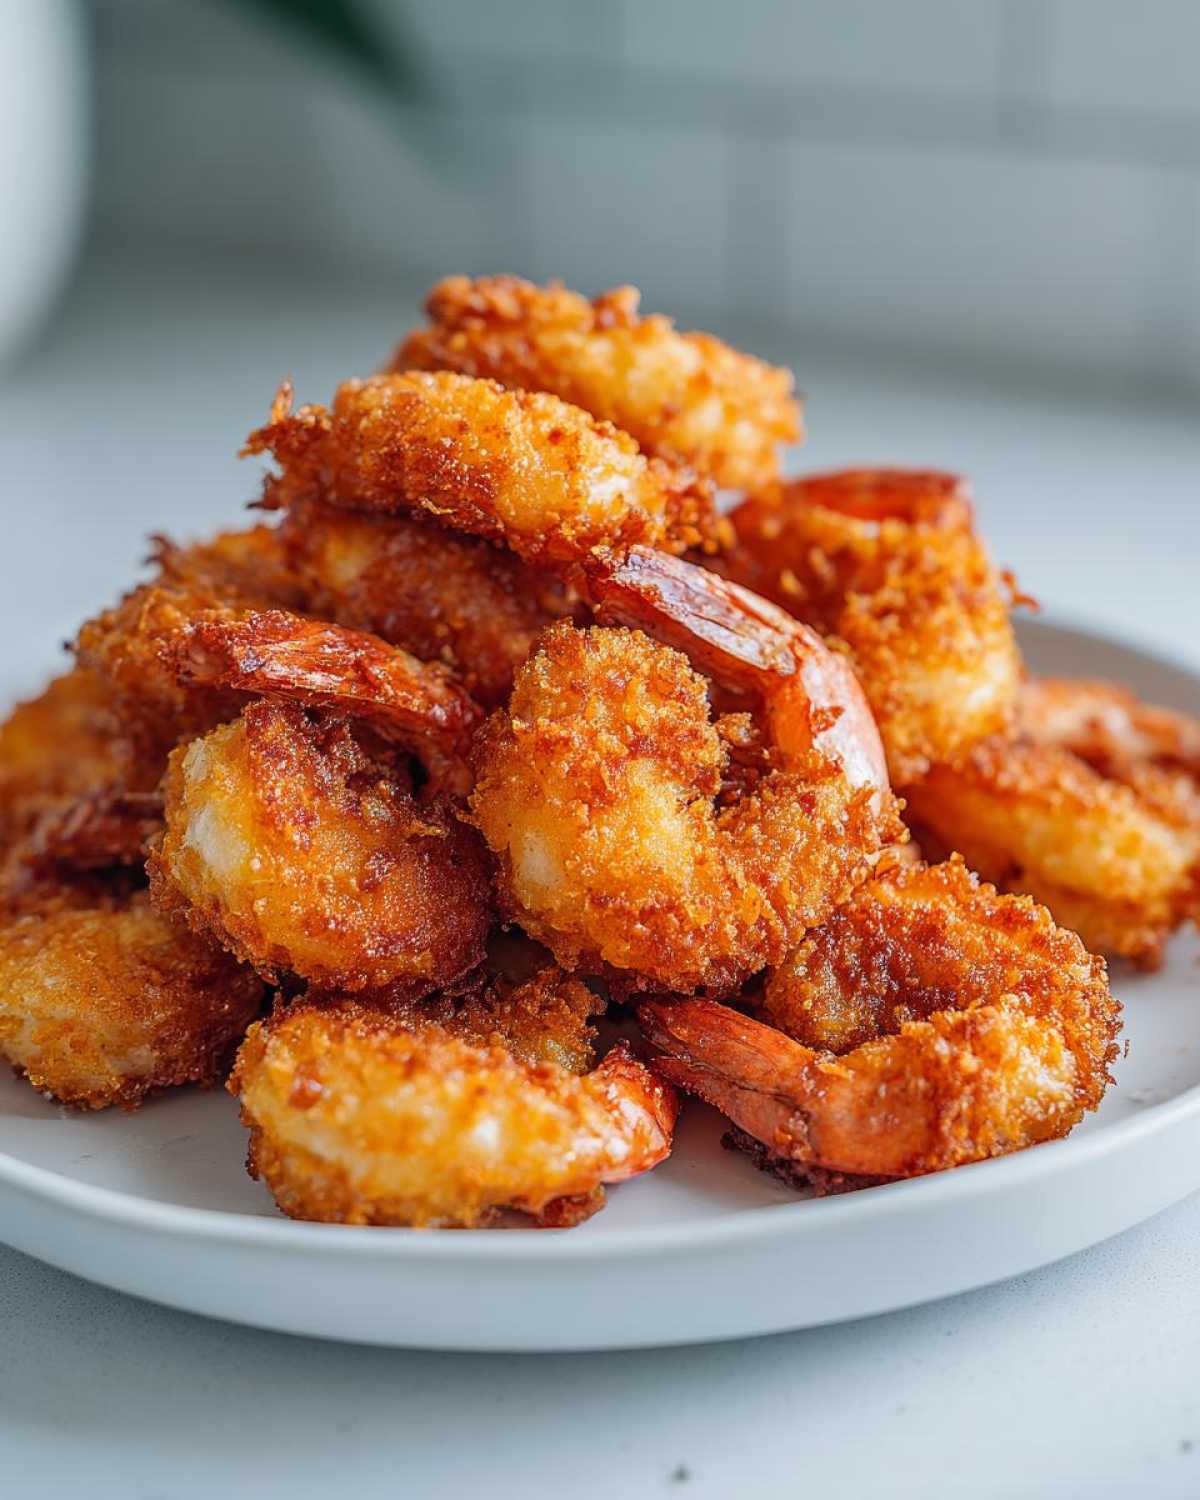
Okay, let’s talk ingredients. You can’t make **homemade fried shrimp** spectacular without good components. I’ve listed everything you need below, but please, use large shrimp if you can find them—they just hold up better to the heat and dredge nicely. Don’t skimp on the buttermilk soak; it’s worth planning ahead for!
- 1 pound large shrimp, peeled and deveined (Make sure those little legs and tails are gone!)
- 1 cup buttermilk (The full-fat kind works best for richness.)
- 1 teaspoon salt
- 1/2 teaspoon black pepper
- 1 cup all-purpose flour
- 1/2 cup cornstarch (Remember, this is our secret weapon for crispiness!)
- 1 teaspoon paprika (For color and warmth.)
- 1/2 teaspoon garlic powder
- Vegetable oil, for frying (You’ll need about 2 inches deep in your pot.)
When I prep my oil, I always use a thermometer. Seeing that consistent temperature is the only real way to guarantee you avoid greasy results. This list is the backbone of our **crispy fried shrimp recipe**!
How to Make Fried Shrimp Crispy: Step-by-Step Instructions
Alright, this is where we put it all together! Making truly **fried shrimp** that stays crispy requires paying attention to heat management more than anything else. If your oil temperature drops, you lose the crunch and welcome grease. So, get your thermometer ready, and let’s fry!
Remember, cooking in small batches is the key to maintaining that perfect temperature, which is crucial for our **easy fried shrimp** success story. If you want more ideas on achieving that perfect crust, have a look at my technique for crispy fried pickles—the dredging method is just as important there!
Soaking and Preparing the Shrimp Coating
First things first: the soak! You want those shrimp chilling for at least 30 minutes in the buttermilk in the fridge. This gets them tender and ready to roll. While that’s happening, whisk up your dry coating mixture in a wide dish—that’s the flour, cornstarch, and all those lovely spices. Just before you start frying, pull the shrimp out one by one. Let the excess buttermilk drip off a bit, but you want a thin layer residual. Then, dredge them HARD in the coating. Seriously, press that flour mixture onto them, coating every nook and cranny!
Frying Technique for Golden Fried Shrimp
Now, heat up your oil to 365°F (185°C). This is non-negotiable for **how to make fried shrimp crispy**. Carefully introduce the coated shrimp to the hot oil. Please, don’t drop a huge pile in; that will drop the oil temperature instantly. Fry them in small batches. They cook so fast—only about 2 to 3 minutes per side until they turn that amazing golden brown color. If you see them start to look pale, your oil is too cool, so crank the heat slightly for the next batch.
Draining and Serving Your Homemade Fried Shrimp
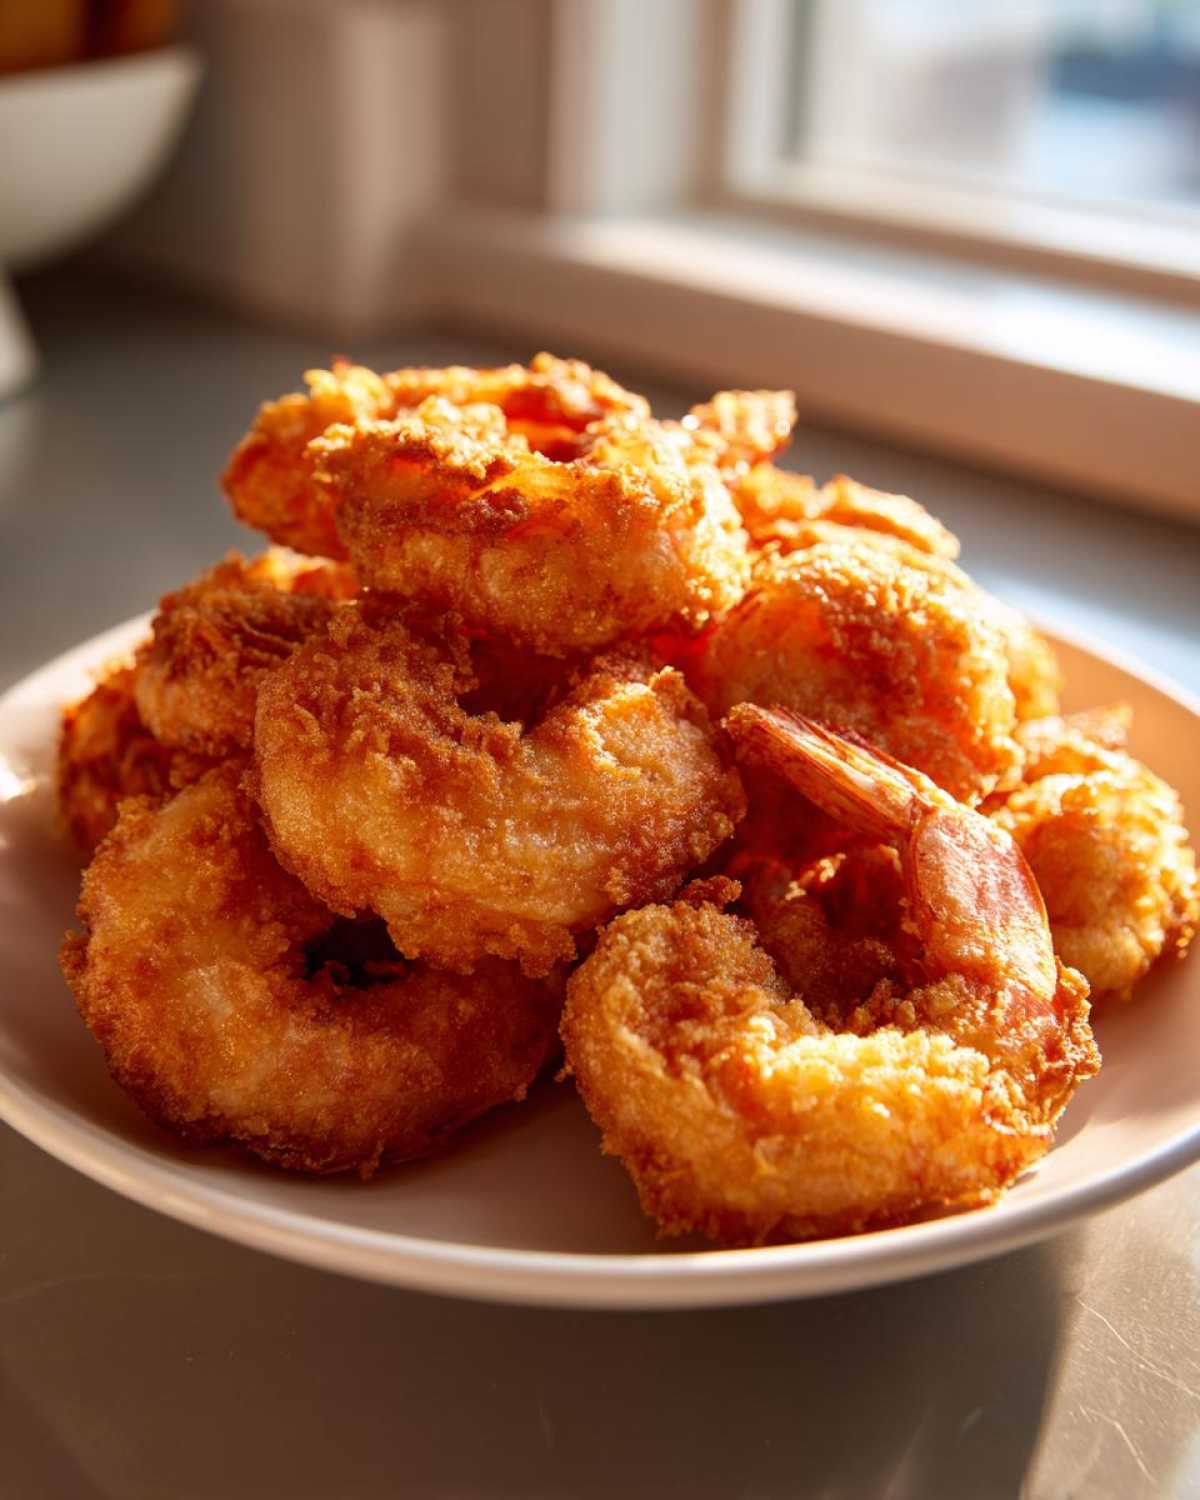
Once they look perfectly golden, scoop them out quickly with a slotted spoon. Here is a pro tip for **homemade fried shrimp**: don’t put them on a paper towel! Paper towels trap steam, and steam equals sogginess. You need to place them on a wire rack set over a baking sheet. This lets air circulate all around them, keeping that crust shattering crisp. Serve them right away! This **quick seafood dinner** doesn’t wait for anyone!
Tips for the Best Deep Fried Shrimp Every Time
Even with the best recipe, sometimes you need an extra little nudge to guarantee perfection, especially when making **deep fried shrimp**. If you want that texture to be absolutely unbelievable, you need to try the double-dip. Seriously, this is my favorite insurance policy for guaranteed crispiness. You coat the shrimp once, dip it *very* quickly back into the buttermilk—don’t soak it, just a quick dunk—and then dredge it HARD again in the seasoned flour mix.
This builds up a thicker, more rugged coating that really stands up to the heat. Also, I cannot stress the oil temperature enough! If you cook too many shrimp at once, the oil temperature tanks, and your beautiful **shrimp coating** just soaks up grease instead of crisping up. Never overcrowd the pot! For more tips on keeping those coatings crunchy, you should look at these great grilling secrets I shared with the folks over at fried pickles recipe for crisping up coatings—it’s all about the crunch!
Variations on Crispy Fried Shrimp Recipe
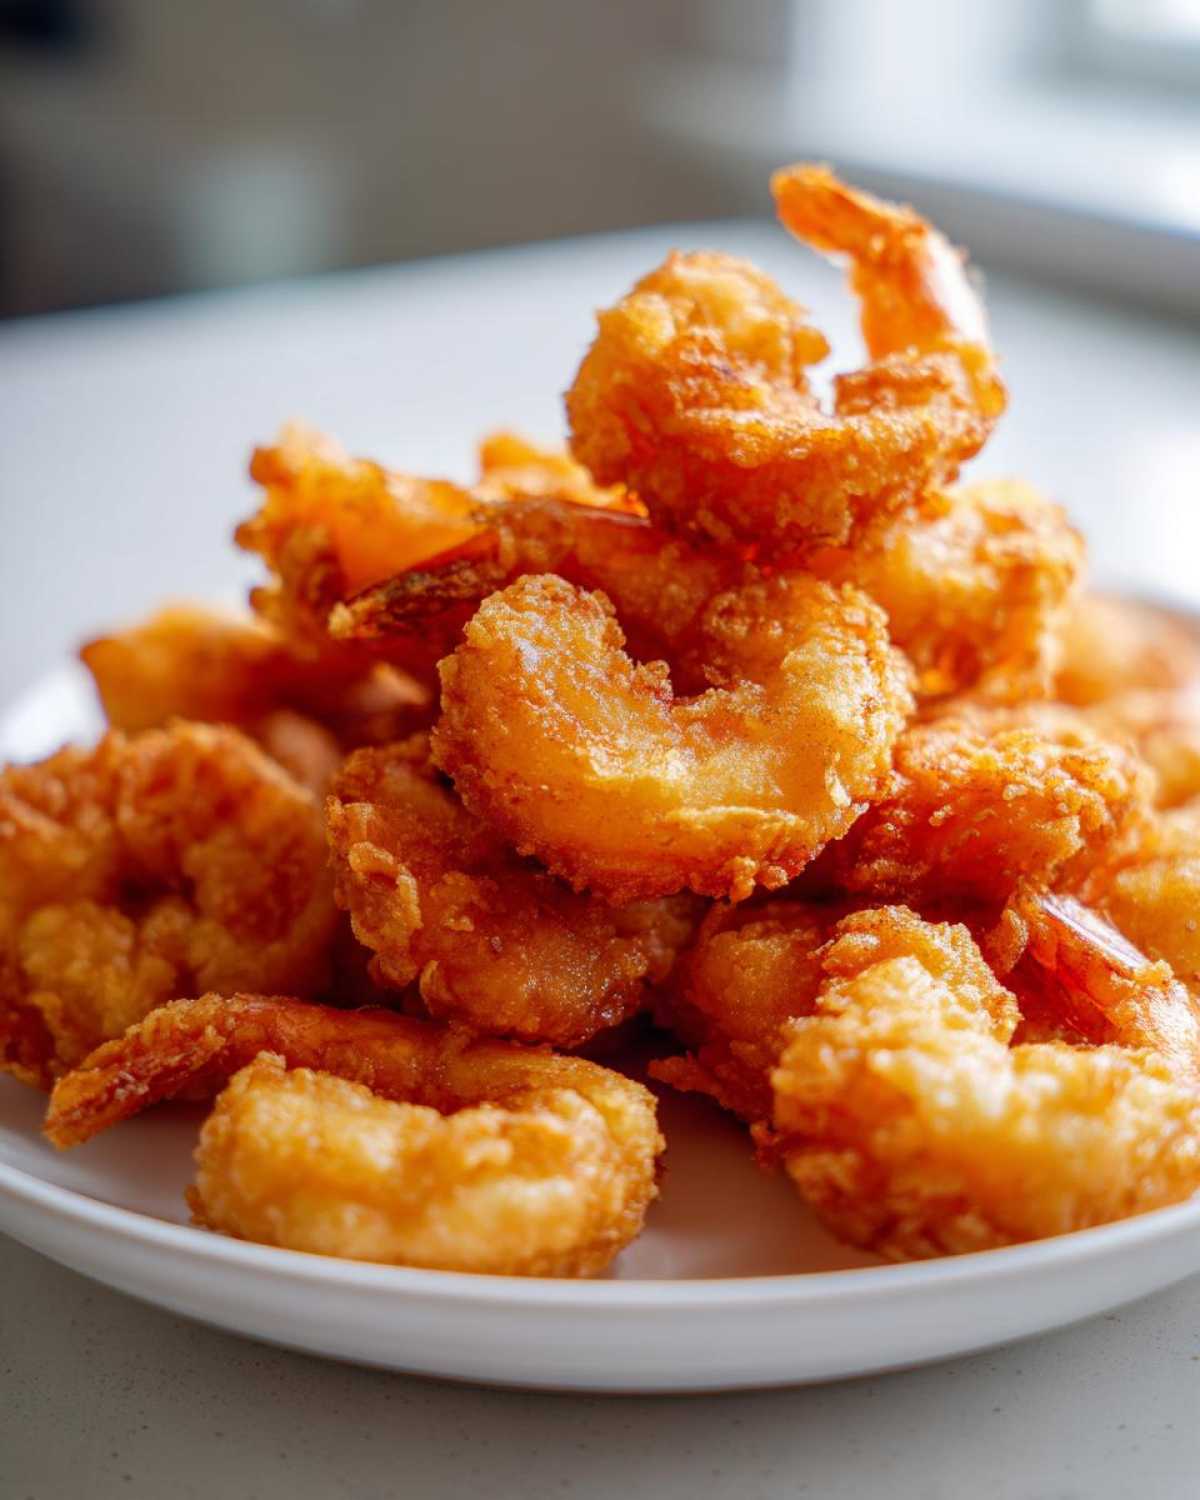
Once you master the core technique for incredible **fried shrimp**, you can start playing around with the flavors! That buttermilk soak and seasoned flour are a fantastic base, but sometimes you want a little extra kick or a different kind of tanginess. Don’t feel like you have to stick to just the recipe I gave you; this is your kitchen!
If you want to spice things up just a touch, throw some cayenne pepper straight into your flour mixture. I usually add about a half teaspoon when I’m making a big batch of **shrimp coating** because I love that little warmth on the back end. It’s enough to taste it, but not so much that it overwhelms the shrimp itself.
Here are a couple of other easy swaps you might want to try next time you’re making this for an **easy seafood dinner idea**:
- Beer Batter Hint: Instead of using a full cup of buttermilk, substitute about half a cup with a decent quality pale lager or pilsner. The carbonation adds a lighter texture to the crust, though you might need to slightly increase the flour to get the same consistency because beer thins things out.
- Cornmeal Kick: For a slightly grittier, more rustic Southern texture—almost like the kind you find on the coast—replace about a quarter cup of the all-purpose flour with fine yellow cornmeal. It gives an amazing crunch! This goes wonderfully with my crispy fried relish recipe as a side note.
- Herb Infusion: Fresher is always better here. Right before dredging, try adding a teaspoon of very finely minced fresh parsley or a touch of dried oregano into your flour mixture. It brightens up the whole experience.
These little tweaks keep the magic of the buttermilk soak but let you customize the final flavor profile of your **golden fried shrimp**!
Serving Suggestions and Fried Shrimp Dipping Sauces
You’ve made the best **fried shrimp** on the block, but what are you going to dip it in? That’s just as important as the frying itself! For me, this dish screams for something cold, tangy, and bold to cut through that glorious fried richness. You absolutely need a good dipping sauce ready for when these come off the rack.
My top two choices are always classic cocktail sauce and a creamy, homemade tartar sauce. Don’t just use the jarred stuff; making your own tartar sauce is so simple, and I promise it elevates the whole meal. If you’re looking for a fun, creamy alternative that pairs surprisingly well with seafood, you should check out the recipe for my Big Mac sauce—it’s tangy and delicious on shrimp too!
As for sides to make this a complete **quick seafood dinner**, keep it light. We’ve got rich shrimp, so we need balance. Think creamy coleslaw, a zesty lemon asparagus, or just some perfectly seasoned French fries. Honestly, if you have good shrimp, coleslaw, and lemon wedges, you have won the dinner game!
Storage and Reheating Instructions for Leftover Fried Shrimp
So, you made a huge batch of **fried shrimp** (you know, because that’s the only way to make it, right?) and now you have a few pieces left over? This is the tricky part. Fried food hates sitting in the fridge because that moisture gets trapped, and when you reheat it, you end up with a sad, limp mess. We absolutely cannot have that on my watch!
The goal when storing leftover shrimp is to keep the crust as dry as possible. Don’t cover the container tightly! If you seal it up, the humidity builds right back up. Instead, spread any leftovers out in a single layer on a plate and cover that loosely with plastic wrap or even just a paper towel before tucking it into the fridge. This tiny bit of airflow makes a huge difference in how fresh they taste the next day.
The Best Way to Reheat Fried Shrimp
When it comes to reviving that glorious crisp, you have two champions, and neither of them involves the microwave—ever! Microwaves are the enemy of crispiness; they just steam everything. For the absolute best texture, I highly recommend either using a conventional oven or, if you have one, the air fryer.
If you’re using the oven, preheat it to about 400°F (200°C). Lay the cold shrimp out in a single layer on a wire rack set over a baking sheet. This rack ensures heat hits the bottom crust too! Pop them in for about 6 to 8 minutes, checking them after 5 minutes. You want them piping hot all the way through, and you’ll hear that crust start to crisp up again!
Air Fryer Method for Ultimate Crisp
If you’ve invested in an air fryer—and honestly, if you love crunchy things, you should—this is your quickest win for bringing back those **golden fried shrimp**. Set your air fryer to 375°F (190°C). Place the shrimp in the basket in a single layer, making sure there’s space between each piece for the air to circulate. Only cook them for about 4 minutes, shaking the basket halfway through. The convection heat is so intense, it pulls that lingering moisture right out of the coating, making them taste almost fresh-made! For tips on getting other leftovers crispy, check out how I do my air fryer salmon—the science is eerily similar!
Frequently Asked Questions About Making Fried Shrimp
I know you might still have a few lingering doubts, especially when deep frying makes people nervous! We’ve all been there. These are the most common questions I get about getting that perfect **fried shrimp** texture, so let’s clear the air and get you frying with confidence!
Can I use panko breadcrumbs instead of flour for my fried shrimp coating?
Oh, absolutely! If you swap the flour mixture for Panko breadcrumbs, you’ll get a completely different, but still delicious, crunch. Panko tends to be lighter and flakier than the flour dredge. Just make sure you still let the shrimp soak in the buttermilk first so the Panko has something sticky to grab onto!
What is the best oil temperature for easy fried shrimp?
This is the number one secret! The best temperature for **easy fried shrimp** is actually 365°F (185°C). If it’s cooler than that, the coating sits in the oil too long and gets greasy before it crisps up. If it’s smoking hot, the coating burns before the shrimp cooks. Stick to that 365 mark and fry in small batches—that’s how you make your **fried shrimp** truly crispy!
Can I make this a quick seafood dinner using an air fryer?
Yes! While deep frying gives you the very best result, the air fryer is fantastic for a healthier, faster version. For an **air fryer potato wedges** comparison, it works the same way: toss the dredged shrimp lightly with a spray of oil, pop them in a single layer in the basket, and air fry at 380°F (195°C) for about 8 to 10 minutes, flipping halfway. They come out nice and golden!
For more reliable crispy results on all your favorite fried items, check out my handy guide on getting the crunch just right with air fryer potato wedges—the principles for perfect crispness overlap!
Estimated Nutritional Data for Crispy Fried Shrimp
Okay, let’s talk turkey about what goes into a serving of this **fried shrimp**. I always say that if you’re frying, you’re indulging a little bit, and that’s totally fine! Treat yourself! But knowing the ballpark figures is always helpful for planning out the rest of your week’s meals.
Keep in mind these numbers are just solid estimates based on the ingredients we used—the type of oil you choose and how much you allow to soak in can really change things! This is assuming you are making a standard serving size based on the recipe yield for this **crispy fried shrimp recipe**.
- Serving Size: 1/4 of recipe
- Calories: Roughly 350—that’s pretty good for something this delicious!
- Protein: Around 24 grams (Shrimp are little protein powerhouses!)
- Fat: About 18 grams (This is where the deep frying comes in, naturally.)
- Carbohydrates: Around 25 grams (Mostly from the coating.)
- Sodium: We’re looking at about 550mg. Always taste your salt before adding the full amount to the buttermilk soak!
I always try to keep the sides light when I serve this, maybe some fresh steamed green beans or a tangy, vinegar-based slaw, just to balance out the richness of these incredible **seafood recipes**!
Print
Crispy Southern Fried Shrimp
- Total Time: 55 min
- Yield: 4 servings
- Diet: Low Fat
Description
Make perfectly crispy fried shrimp using a simple buttermilk soak and seasoned flour coating. This recipe delivers golden, crunchy shrimp ideal for dinner or appetizers.
Ingredients
- 1 pound large shrimp, peeled and deveined
- 1 cup buttermilk
- 1 teaspoon salt
- 1/2 teaspoon black pepper
- 1 cup all-purpose flour
- 1/2 cup cornstarch
- 1 teaspoon paprika
- 1/2 teaspoon garlic powder
- Vegetable oil, for frying
Instructions
- Place the peeled and deveined shrimp in a bowl. Pour the buttermilk over the shrimp, add salt and pepper, and toss to coat. Let the shrimp soak for at least 30 minutes in the refrigerator.
- In a shallow dish, whisk together the flour, cornstarch, paprika, and garlic powder. This is your coating mixture.
- Heat about 2 inches of vegetable oil in a deep, heavy-bottomed pot or deep fryer to 365°F (185°C).
- Working in small batches, remove the shrimp from the buttermilk, letting excess drip off. Dredge each shrimp thoroughly in the flour mixture, pressing lightly to help the coating adhere.
- Carefully place the coated shrimp into the hot oil, ensuring you do not overcrowd the pot.
- Fry for 2 to 3 minutes per side, until the shrimp are golden brown and cooked through.
- Remove the shrimp with a slotted spoon and place them on a wire rack set over a baking sheet to drain excess oil.
- Serve immediately with your preferred dipping sauce.
Notes
- For extra crispiness, you can double-dip the shrimp: coat once in flour, dip briefly back into the buttermilk, and then coat again in the flour mixture.
- Maintain the oil temperature between 350°F and 375°F for the best results. If the oil is too cool, the shrimp will be greasy.
- Serve with cocktail sauce or tartar sauce for dipping.
- Prep Time: 15 min
- Cook Time: 10 min
- Category: Seafood
- Method: Deep Frying
- Cuisine: American
Nutrition
- Serving Size: 1/4 of recipe
- Calories: 350
- Sugar: 2
- Sodium: 550
- Fat: 18
- Saturated Fat: 3
- Unsaturated Fat: 15
- Trans Fat: 0
- Carbohydrates: 25
- Fiber: 1
- Protein: 24
- Cholesterol: 180


Comments are closed.