
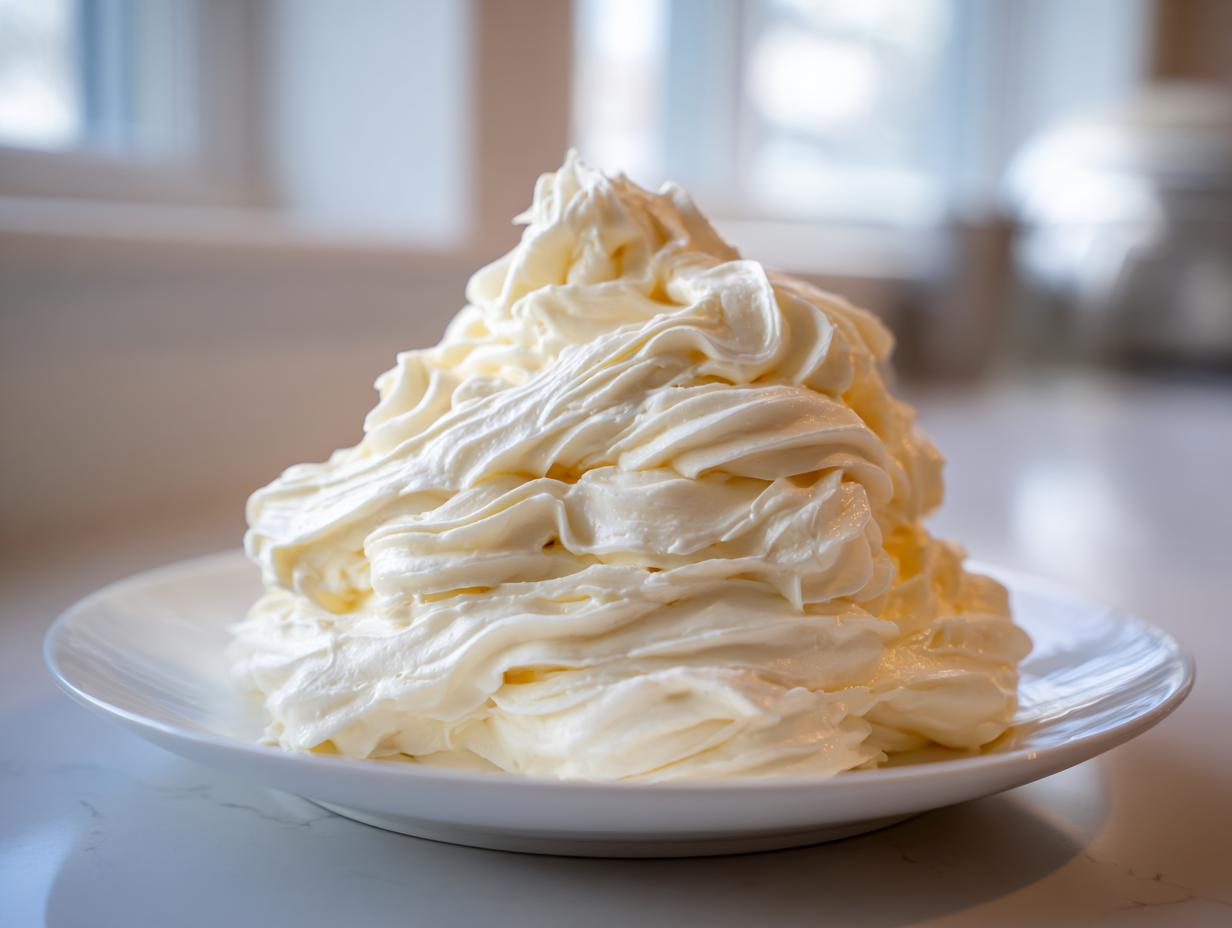
There’s nothing sadder than spending hours baking a beautiful cake only to ruin the whole experience with lackluster frosting, right? I’ve been there, staring at a gritty, slightly greasy topping wishing I’d just bought the canned stuff. But that stops today! If you’re searching for the pinnacle of sweetness and smoothness, you’ve found it. This vanilla buttercream frosting is, hands down, the best, easiest, and fluffiest recipe I keep in my back pocket at Forkful Heaven. For me, a reliable frosting is the signature on my culinary letter—it has to be perfect to represent the care I put into the bake underneath. Trust me, this classic American buttercream is about to revolutionize your simple desserts topping game.
Why This Classic American Vanilla Buttercream Frosting is Your New Go-To
I know you’ve tried a dozen recipes claiming to be the ‘best,’ but this one truly delivers. When I’m whipping up something special, like my famous lemon cake which needs a perfect top layer, I rely on this specific formulation. It hits every mark.
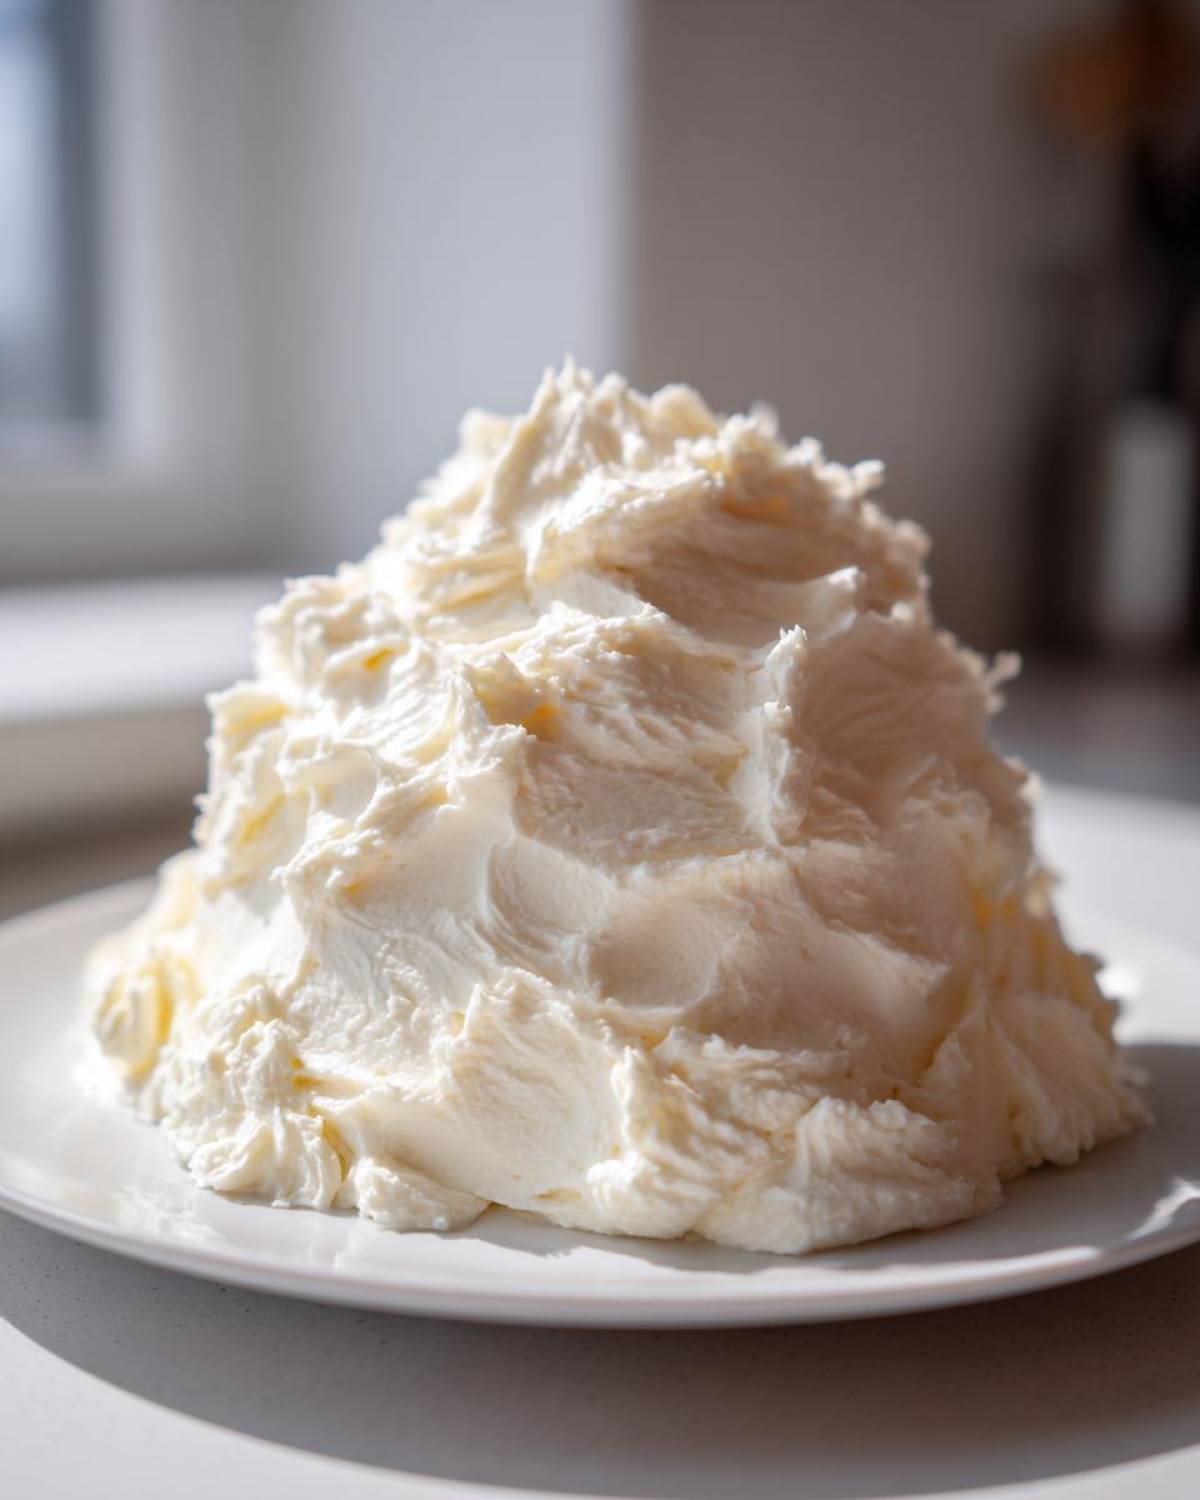
- It mixes up fantastically fast—we’re talking 10 minutes from start to finish!
- It’s easily the most reliable creamy vanilla frosting recipe floating around.
- This is undoubtedly the best buttercream for cakes because it tastes rich without being overly sweet.
Texture Perfection: Fluffy Vanilla Icing Tutorial
The real magic here isn’t just the taste, it’s the texture. We’re ditching that dense, almost paste-like frosting of the past. The secret to achieving this light and fluffy result is all in the whipping time we’ll talk about later. When you’re done, you get a cloud-like finish that melts beautifully in your mouth.
Piping Power: Achieving Perfect Buttercream Frosting Piping Consistency
If you love decorating, you need a frosting that cooperates. This buttercream frosting piping consistency is incredibly stable, provided you add your liquid slowly. A little extra cream makes it soft for spreading; adding just a touch less keeps those stiff star tips looking sharp and professional. It’s totally customizable!
Gathering Your Ingredients for the Ultimate Vanilla Buttercream Frosting
Every great frosting starts long before you even turn on the mixer. Seriously, if you skimp on quality here, no amount of whipping will save you later. When I make this classic dessert topping, I treat the ingredients like precious gems. We aren’t making anything fancy today—just pure, dependable flavor—so we need to make sure the basics are spot on. That means using the right butter and, yes, taking the time to sift that sugar!
Ingredient Notes and Substitutions for Your Vanilla Buttercream Frosting
Let’s talk specifics because these small details are what separates a good frosting from spectacular vanilla buttercream frosting. The star here is your butter. It needs to be softened, but listen closely to me: I mean *cool* room-temperature soft. It should yield to gentle pressure but shouldn’t feel greasy or start melting on your fingers. If it’s too warm, your final product will be runny and way too soft for piping.
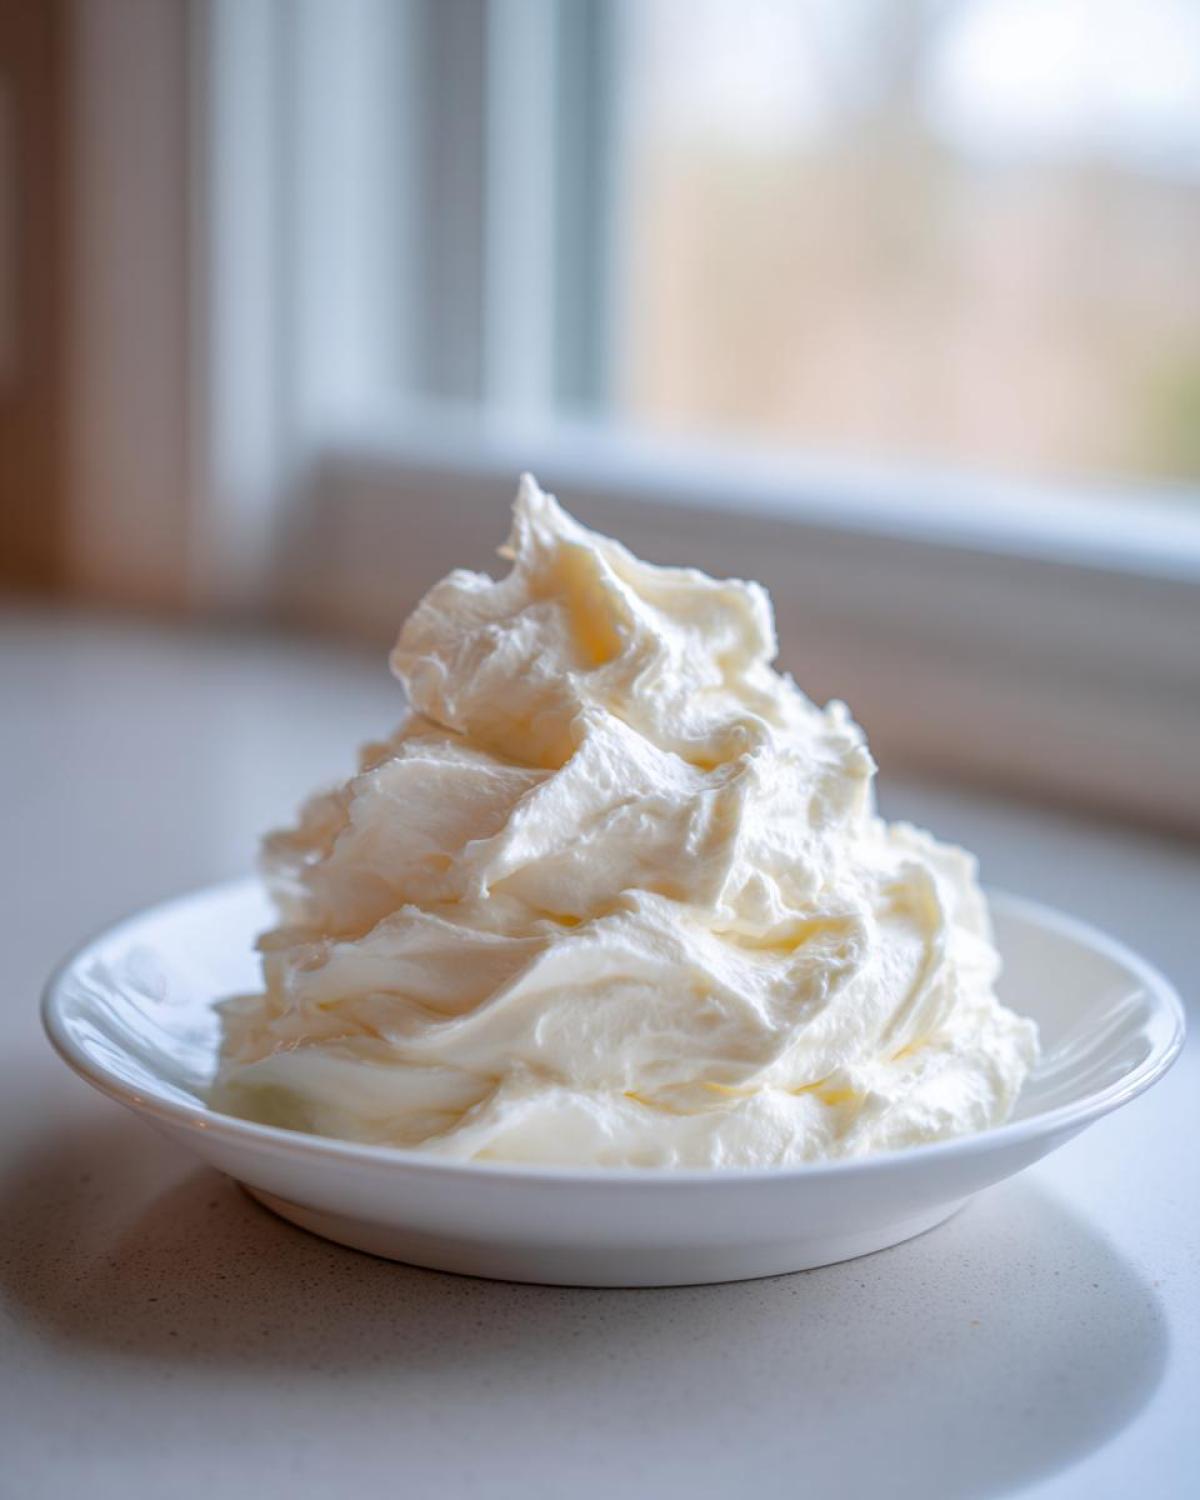
Another vital player is that tiny pinch of salt. Don’t skip it! It’s our silent hero, cutting through the intense sweetness that comes from all that powdered sugar. It just balances the flavor profile so your frosting tastes like vanilla, not a sugar packet. If you don’t have heavy cream on hand for whatever mystical reason, whole milk works fine as a substitute, but I often find half-and-half gives me an even richer mouthfeel without making the frosting too thin initially. Remember, for the best flavor, always spring for pure vanilla extract; the imitation stuff just tastes fake when the vanilla flavor is the main spotlight!
Step-by-Step Guide: How to Make Smooth Vanilla Buttercream Frosting
Alright, time to roll up our sleeves and bring this gorgeous, creamy vanilla frosting recipe to life! This is where the magic happens, and honestly, the technique isn’t difficult, but precision matters. If you follow these steps exactly, you’ll have the most beautiful, velvety vanilla buttercream frosting you’ve ever made, ready to sit right on top of your favorite honey-glazed carrots dessert (kidding, kidding—mostly!). The real key to that light, airy texture is making sure you don’t rush the mixing stages.
Creaming the Butter: The Foundation of Great Vanilla Buttercream Frosting
This is the single most important step, friends. You have to go in there with your stand mixer (or a strong hand and a hand mixer!) and beat that butter until it looks completely different. I mean smooth, pale, almost mousse-like. I once tried to rush this because I was late for a potluck—big mistake! Everything else went in, and my resulting vanilla buttercream frosting was just… grainy and sad. Don’t be me!
We need that butter, which should be perfectly softened, beating for a solid two minutes on medium speed until it’s utterly uniform. Scrape down the sides halfway through because those sneaky bits stuck high up won’t incorporate themselves. We’re building the structure here, so give that butter the attention it deserves.
Incorporating Sugar and Achieving Creamy Vanilla Frosting Recipe Texture
Now for the powdered sugar. You absolutely must sift this first, or you’ll spend the rest of the afternoon picking out little rock-hard clumps. We add it gradually—one cup at a time—always mixing on low speed at first. If you crank the speed up now, you’ll end up wearing the sugar cloud I mentioned earlier. It spatters everywhere, trust me. Once it’s just mixed in from the low speed, we add our flavor stabilizers: the salt and that gorgeous pure vanilla extract. Give it a quick 30-second mix on low just to get those flavors acquainted.
Whipping for Fluff: Finalizing Your Buttercream Frosting
This is where we get that truly whipped vanilla frosting volume. Turn that mixer up to medium-high speed. You are going to beat this mixture for a full 3 to 5 minutes. Yes, five minutes! This step blasts air into the butter-sugar mixture, making it lighter and fluffier than almost any other frosting you’ll try. This prolonged whipping transforms a heavy base into a beautiful, light confection.
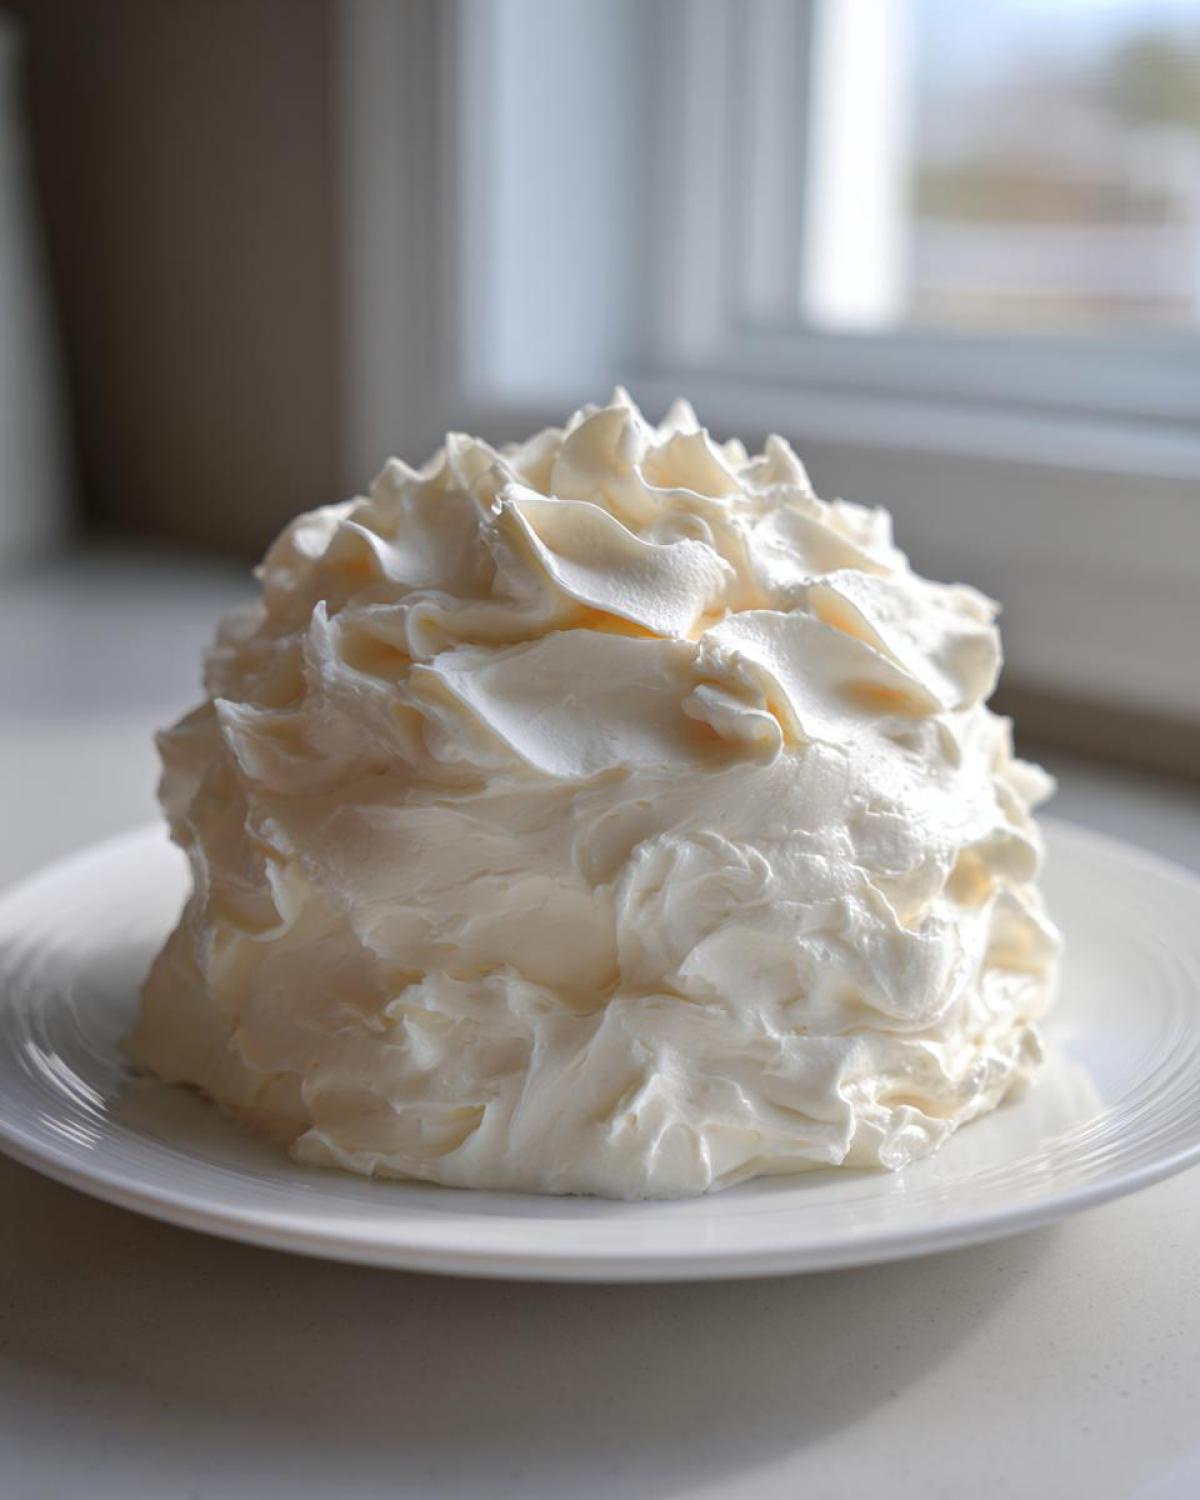
Once the time is up, check it out. If it looks too stiff—maybe you like your frosting quite firm for heavy decorating—now is the time to add that final splash of heavy cream, maybe a teaspoon at a time, until it feels perfect for your specific need. This adjustment is what perfects that final creamy vanilla frosting recipe for spreading or piping!
Troubleshooting Common Issues with Your Vanilla Buttercream Frosting
Hey, we’re home cooks here, not factory mixers, so sometimes things go a little sideways! That’s totally fine. The beauty of this vanilla buttercream frosting is that it’s remarkably forgiving. You just need to know the fix. I’ve certainly had frustrating moments where I thought I’d ruined the batch, but a quick adjustment saved the day. Don’t throw that bowl away just yet!
Here are the three main hiccups I see people run into when making this classic American buttercream, and how we can whip them back into shape.
Problem: My Frosting Is Too Stiff or Crumbly
If you look in your bowl and it seems like it won’t spread without tearing your cake, don’t panic. This usually happens if the air incorporated during the whipping stage wasn’t quite enough, or maybe your powdered sugar was extremely fine and absorbed too much liquid overall. The fix here is gentle hydration!
Start by adding extra heavy cream, a teaspoon at a time. Mix it in slowly on low speed until you feel it start to loosen up. If you keep adding liquid, you risk making it too sloppy, so take it easy. Alternatively, if you feel the texture is just too dense, you can swap that cream for a tablespoon of melted—but slightly cooled—unsalted butter. That little bit of extra fat can smooth things out fast!
Problem: My Vanilla Buttercream Frosting Looks Too Soft or Runny
This is the opposite issue, usually caused by using butter that was too warm when you started, or maybe you added one splash too many of cream during the final whipping phase. If you spread this on a cake in the summer, it will definitely slide right off!
If it’s too soft, we need to bulk it up. The easiest way to firm up runny frosting is by adding more powdered sugar. Add about 1/4 cup at a time, mixing well after each addition until you hit that perfect spreading consistency. Remember, always sift the sugar before adding it, even when you’re correcting a soft batch, otherwise, you’re just adding clumps!
Problem: My Frosting Looks Greasy or Separated
Ugh, greasy frosting is the worst! This almost always means your butter was too warm before you started, or the mixture got warm during extended blending. When butter gets too warm, the fat starts to separate from the sugar and liquid, giving you that oily look.
Here is the trick I learned from standing next to Uncle Joe in that hot Texas kitchen: Chill it out! Put the entire bowl (without attachments) into the refrigerator for about 15 to 20 minutes. You want it to firm up significantly, but not freeze solid. Once it’s chilled, bring it back to the mixer. Add a teaspoon of cold milk or cream and start whipping it again on medium speed. That shock of cold, combined with the re-mixing action, often forces the fat and sugar back into a beautiful emulsion. It usually works like a charm to salvage vanilla buttercream frosting!
Storage and Making Ahead Tips for Homemade Vanilla Buttercream Frosting
You might want to make a huge batch of this frosting because it’s just that good, or maybe you finished decorating early and have leftovers. I’m all about making life easier when I can, especially with make-ahead components. I often mix up a big batch when I’m preparing for the week, kind of like how I prep my breakfast muffins ahead of time so I have something ready to grab. This frosting is fantastic for that!
The key to storing any quality buttercream is keeping the air *out*. If you let air hit that butter and sugar mixture for too long, it tends to dry out on the edges and can start smelling a little ‘off.’ So, grab a good piece of plastic wrap or an airtight container—no sad, loose Ziploc bags allowed!
Storing at Room Temperature
If you made the frosting and plan to use it within a day or two for something simple like cupcakes, you can keep it right on the counter. However, because we use real butter, this only works comfortably if your kitchen isn’t too warm. If the room is humid or hot, that delicate balance we achieved during whipping starts to break down quickly, and you’ll end up with a soupy mix.
Seal it tightly and keep it out of direct sunlight. For short-term storage, this is the fastest way to have your frosting ready to go without needing extra steps.
Refrigerating for Longer Life
If you need to keep your gorgeous buttercream for longer—say, up to a week in the fridge—that’s perfectly fine. Just make sure it’s sealed well inside a sturdy, airtight container. The butter will firm up significantly, becoming rock hard, but that’s expected!
When you pull it out, don’t expect to use it right away! You need to let it sit on the counter for at least an hour, maybe longer depending on how cold your fridge is, until it softens up to that cool room temperature again. If you try to use it straight from the fridge, it will crumble everywhere and be impossible to spread.
Reviving Your Frozen or Chilled Buttercream
If you made a massive batch and froze some—which is totally smart, by the way—you need to bring it back to life carefully. Always thaw it in the refrigerator overnight first. Don’t try to rush this by putting it on the counter or, heaven forbid, microwaving parts of it!
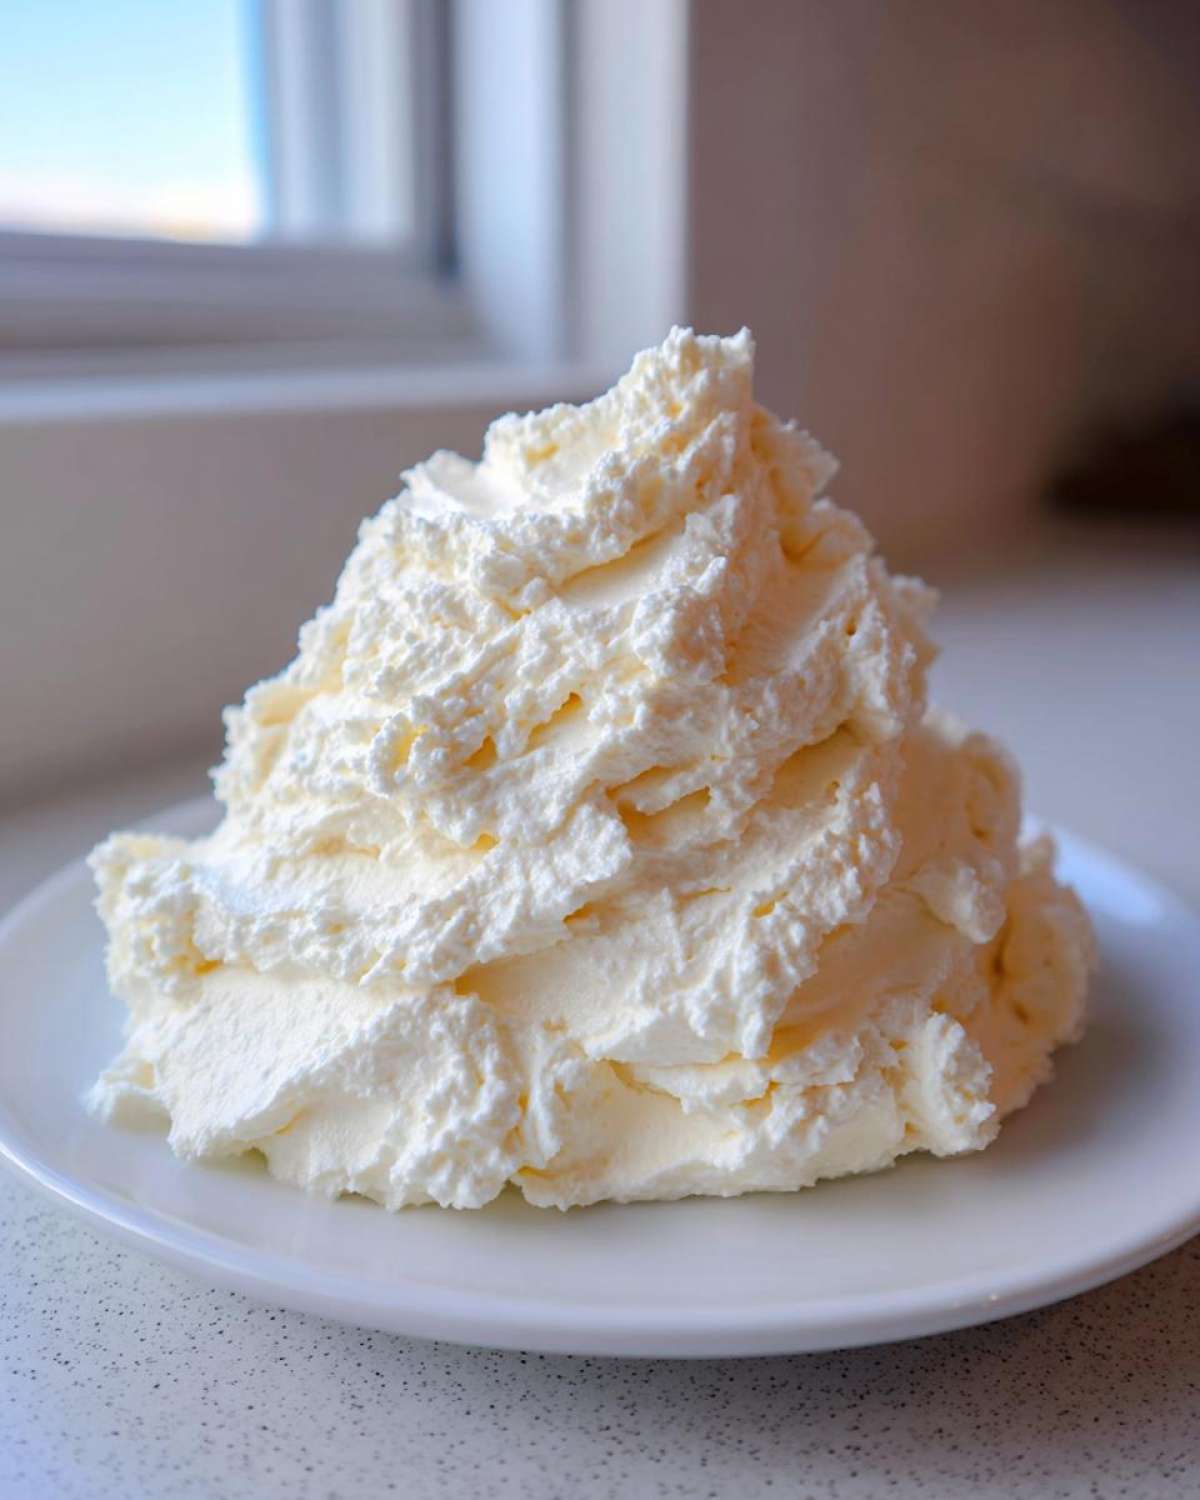
Once it’s fully softened but still cool to the touch, you need to introduce some air. Put that chilled buttercream back into the stand mixer bowl and beat it again on medium-high speed for about 2 to 3 minutes. This re-whipping process redistributes the fat, incorporates any microscopic air bubbles that may have collapsed during chilling, and brings back that fluffy volume that makes this recipe so lovely!
Serving Suggestions: What to Pair with This Vanilla Buttercream Frosting
Now that you have a bowl overflowing with the most amazing, flawless vanilla buttercream frosting, the real fun begins: smothering everything in sight! Seriously, I find excuses to make this just so I can have extra for snacking. This isn’t just any frosting; it’s versatile enough to handle whatever sweet creation you throw at it. It’s the definition of a perfect simple desserts topping.
Whether you’re aiming for an elegant layer cake centerpiece or just need to dress up a quick batch of Thursday night treats, this classic American buttercream shines. It’s all about maximizing the joy, right?
The Classic Match: Cupcakes Demanding Quality
Let’s be real, the star pairing here is always the cupcake. Whether you are making vanilla, chocolate, or even those fun funfetti mixes, this frosting is the perfect counterpart. When talking about vanilla frosting for cupcakes, you want something that pipes cleanly and tastes heavenly, and this recipe delivers both in spades. My absolute favorite combination is spreading a thick swirl of this on a rich chocolate cupcake—the intense chocolate against this light, sweet vanilla finish is just heaven.
Layer Cakes That Need the Best Buttercream for Cakes
If you’re assembling a layer cake, you need a frosting that can stand up to the weight and look beautiful doing it. This recipe works perfectly both as the delicious interior filling between the layers and as the final exterior crumb coat and decoration. It’s sturdy enough to handle carving out a design, yet soft enough that you don’t need superhuman pressure to spread it around evenly.
Quick Treats and Cookies
But don’t stop at just cakes and cupcakes! This vanilla buttercream frosting is wonderful for turning simple cookies into holiday treats or just afternoon snacks. Think about sugar cookies—this whips up beautifully onto cutouts. It’s also fantastic for topping homemade brownies or even swirling onto a platter of rich, fudgy bars when you want a bright contrast. Honestly, once you master this recipe, you’ll find reasons to use it everywhere!
Frequently Asked Questions About Making Vanilla Buttercream Frosting
It’s natural to have questions once you nail the basic technique—I certainly did when I first started working with Uncle Joe’s recipes! We covered the steps, but sometimes you need quick answers for specific situations. Don’t hesitate to ask if you’ve run into trouble; that’s why we’re here building this community! I hope these quick tips clear up any lingering confusion regarding your vanilla buttercream frosting. If you want to see how other amazing cooks handle this essential topping, I always check out Natasha’s work over at Natasha’s Kitchen for inspiration!
Can I use salted butter in this vanilla buttercream frosting recipe?
Oh, that’s a great question! Technically, you *can*, but I really, really caution against it, especially if you’re aiming for that balanced sweetness we worked so hard to achieve. Salted butter varies wildly in how much salt is actually in it, and that inconsistency throws off the whole flavor profile. If you absolutely have no unsalted butter left, proceed with salted butter, but cut the added pinch of salt in the recipe completely. Honestly though, since this is a butter and sugar frosting, using unsalted allows you to control the salt level exactly, leading to a much cleaner vanilla taste.
How long does this homemade frosting last?
Because this is a true buttercream made with real butter, it doesn’t last indefinitely, but it holds up nicely! If you keep it sealed airtight at room temperature—out of direct sun, of course—it should be good for about two days. If you need it to last longer, like if you’re testing out new recipes for the ultimate veggie patty and want the topping ready early, stick it in the fridge for up to a week. Just remember what I said earlier: always bring it back to room temperature and re-whip it until fluffy before using it on your cakes!
What is the secret to making this a no-cook buttercream recipe?
This is such a smart question because many European buttercreams require heating ingredients! The reason this American version counts as a no-cook buttercream recipe is purely mechanical. We aren’t adding heat to dissolve the sugar; instead, we rely on the friction and force of the mixer! When you beat the butter and then slowly add the sugar and whip it fast for those five minutes, the mechanical action forces air into the fat, creating volume and dissolving enough sugar granules against the fat to create a smooth, spreadable texture. It’s all about whipping the air in, not melting the sugar down!
Estimated Nutritional Data for Classic Vanilla Buttercream Frosting
Just a heads-up, friends: measuring out all that butter and sugar means things get indulgent quickly! I always like to include the nutritional breakdown, but please take this with a grain of salt—or perhaps a tablespoon of sugar, ha! Since every brand of butter and every brand of powdered sugar varies just a tiny bit, this information is purely my best estimate based on standard calculations for the yield of this simple desserts topping.
This data breaks down per serving size, which we calculated as about 1/4 cup of the final butter and sugar frosting scooped out of the batch. Keep in mind that if you pipe a huge swirl onto your birthday cake, you’ll be consuming a bit more than this chart suggests!
Option A: Standard Estimated Breakdown
Here is the general scoop on what’s in your perfectly prepared batch:
- Serving Size: 1/4 cup
- Calories: Around 380 calories per serving—definitely a treat!
- Total Fat: Roughly 18g, with about 11g coming from saturated fat (that’s the butter doing its job!).
- Carbohydrates: This is where the bulk of the macros are, sitting around 54g, with most of that being pure sugar (52g).
- Protein: Very little, maybe half a gram, unless you count the joy it brings you!
- Cholesterol: About 45mg, as expected when using real butter.
See? It’s rich, it’s sweet, and it’s exactly what you want on a classic bake. This is why we only make this homemade vanilla cake frosting for special occasions!
Share Your Perfect Vanilla Buttercream Frosting Creations
And just like that, friends, we’ve whipped up the most beautiful, stable, and dreamy creamy vanilla frosting imaginable! I feel like I’ve spent my whole afternoon in the kitchen with you, and I’m so energized by what we’ve created together. That’s the joy of home cooking, isn’t it? Turning simple dairy and sugar into something that makes people smile.
Now that you have this magnificent topping, I desperately want to know how it turned out for you! I truly believe every recipe should be tested and loved by real people in real kitchens. Your feedback helps me, and it helps everyone else reading who is looking for that guaranteed success.
Did you pipe intricate roses? Did you just slather it on thick with an offset spatula? Did you serve it on some moist chocolate cupcakes or maybe even try it on a savory-sweet creation? I’m dying to hear all about it. When I’m testing out new, lighter options, like making that lovely fresh pear and arugula salad, I always wonder where my readers are taking these foundational recipes.
Please, please use the rating system below to tell me how the process went. Did the butter temperature work perfectly for you? Did you manage that 5-minute whipping time? Drop a comment below telling me what you frosted! Let’s celebrate your success in making this fantastic, easy homemade frosting.
Happy decorating, and thank you again for making Forkful Heaven a stop on your baking journey!
Print
The Best Classic American Vanilla Buttercream Frosting
- Total Time: 10 min
- Yield: About 3 cups
- Diet: Vegetarian
Description
You can make this creamy, smooth, and fluffy vanilla buttercream frosting from scratch in minutes. This classic American buttercream is perfect for piping details on your favorite cakes and cupcakes.
Ingredients
- 1 cup (2 sticks or 226g) unsalted butter, softened to cool room temperature
- 4 cups (480g) powdered sugar, sifted
- 1 teaspoon pure vanilla extract
- 3 to 4 tablespoons heavy cream or whole milk
- Pinch of salt
Instructions
- Place the softened butter into the bowl of a stand mixer fitted with the paddle attachment (or use a large bowl with a hand mixer). Beat the butter on medium speed until it is completely smooth and creamy, about 2 minutes. Scrape down the sides of the bowl.
- Gradually add the sifted powdered sugar, one cup at a time, mixing on low speed until just combined after each addition. This prevents a sugar cloud in your kitchen.
- Once all the sugar is incorporated, add the vanilla extract and a pinch of salt. Mix on low speed for 30 seconds.
- Add 3 tablespoons of heavy cream or milk. Increase the mixer speed to medium-high and beat for 3 to 5 minutes. This whipping time is key to achieving a light and fluffy texture.
- Check the consistency. If the vanilla buttercream frosting is too stiff for your liking, add the remaining tablespoon of cream, one teaspoon at a time, until you reach your desired spreading or piping consistency.
- If the frosting seems too soft, add a small amount (about 1/4 cup) of additional sifted powdered sugar and mix until incorporated.
- Use immediately to frost cakes or pipe decorations onto cupcakes.
Notes
- For the smoothest vanilla buttercream frosting, use butter that is cool to the touch but still soft enough to press a finger into easily. If your butter is too warm, the frosting will be greasy.
- Sifting the powdered sugar is important to prevent lumps in your final product, which helps achieve that perfect smooth buttercream.
- If you need a very stable buttercream for intricate piping consistency in a warm room, reduce the cream to 2 tablespoons initially and use cold cream.
- To make a chocolate version, sift in 1/2 cup of unsweetened cocoa powder with the powdered sugar.
- Prep Time: 10 min
- Cook Time: 0 min
- Category: Dessert Topping
- Method: Mixing
- Cuisine: American
Nutrition
- Serving Size: 1/4 cup
- Calories: 380
- Sugar: 52
- Sodium: 55
- Fat: 18
- Saturated Fat: 11
- Unsaturated Fat: 7
- Trans Fat: 0.5
- Carbohydrates: 54
- Fiber: 0
- Protein: 0.5
- Cholesterol: 45


Comments are closed.