

Oh, there is nothing quite like the cozy, comforting embrace of a truly classic dessert, right? When the weather turns cool or when you just need a hug in pie form, the simple **custard pie** has to be the answer. Forget fussy fillings and complicated layers; this recipe is about honoring tradition. If you loved the simplicity of vintage baking, you’ll adore how this comes together. It reminds me so much of those simpler, slower days, much like the ingenuity found in water pie magic.
I’m going to show you the way to achieve that unbelievable, silky-smooth texture—the kind that just melts on your tongue. It tastes exactly like the pies my aunts used to bring to every Christmas Eve gathering! Trust me, once you nail this texture, you won’t look back. So, let’s get baking this simple egg pie and make some new memories!
Why This Homemade Custard Pie Recipe Works (The Secret to Silky Custard Filling)
People often struggle with their **custard pie** turning out either rubbery or weeping water, and that just breaks my heart! This recipe avoids all that drama simply because we treat the eggs with respect. We aren’t looking for a meringue here; we want a rich, almost delicate texture that wobbles just right when you move it. That perfect balance of sugar, milk, and eggs creates a structure that is beautifully creamy, much like a rich pastry cream you’d find in a classic French creme brulee, only baked right in a crust!
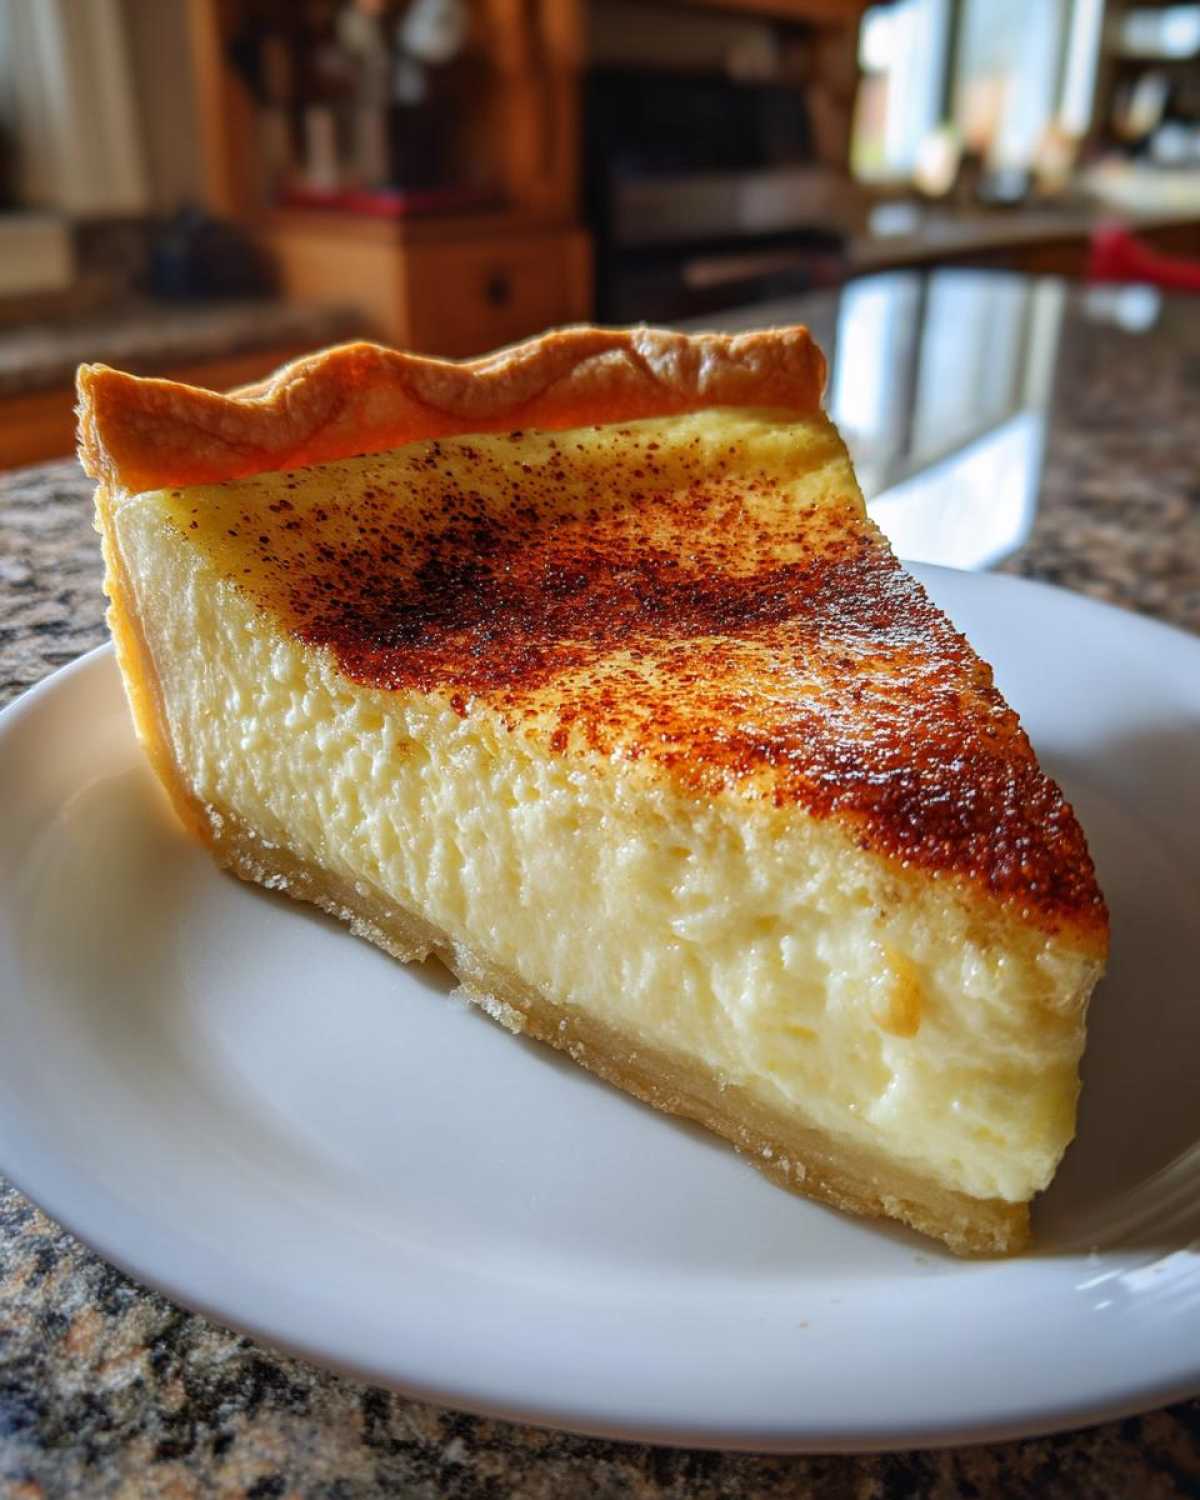
The flavor foundation is deceptively simple, relying heavily on fragrant vanilla and freshly grated nutmeg. That warm, spicy top note prevents the whole thing from tasting too plain. It’s that old-fashioned dessert feeling, you know? When you stick to the specific ratios here—not too much sugar, just enough egg—you get a **Homemade Custard Pie Recipe** that sings. It proves that comfort cooking doesn’t have to mean complicated steps, just the right technique!
Achieving the Perfect Silky Custard Filling
If you want that advertised smooth texture, listen close: you must never, ever over-beat the mixture once the milk goes in. We’re combining ingredients, not whipping air into them! Excess air causes bumps and curdling when it bakes, leading to weepiness later. My absolute key for a fail-proof result is straining. Pour that entire liquid mixture through a fine-mesh sieve right into the crust. This step is essential for achieving the **Silky Custard Filling** that looks and tastes professional. It catches any tiny bits of unmixed egg white or spice clumps. Don’t skip it!
Gathering Ingredients for Your Classic Custard Pie
When you’re making a **Classic Custard Pie**, the quality of what you put in really shines through because there are so few components. We’re aiming for pure, sweet, vanilla-laced comfort here! That means grabbing the freshest eggs you can find and making sure you’re using whole milk. Creaminess lives in that fat content, so don’t try to skimp there! This **Homemade Custard Pie Recipe** is so straightforward, but those few ingredients have to be top-notch.
Ingredients for the Homemade Custard Pie Recipe
Here is exactly what you’ll need laid out on the counter before you even think about preheating that oven. Measure everything out first—that’s my rule for any recipe involving a liquid filling! You’ll need one (9 inch) unbaked pie crust, four large eggs, a half cup of sugar, just a tiny pinch of salt, one teaspoon of pure vanilla extract, a whisper of ground nutmeg for warmth, and two cups of whole milk.
Preparing the From Scratch Pie Crust for Your Custard Pie
Even though this **custard pie** recipe calls for pouring that lovely liquid right into an unbaked crust, what you choose for that base really matters! If you’re making a **From Scratch Pie Crust**, make sure it’s chilled right up until you’re ready for the filling. We don’t want butter melting before our custard even slides in there. If you’re using a store-bought shell, grab the best quality you can find!
Now, because we are baking this custard relatively quickly, you might be tempted to blind-bake it, but for this classic version, we skip that fuss. However, you absolutely need to crimp those edges nicely and make sure the dough is pressed perfectly into the plate without any big air bubbles underneath the bottom. A happy, flat base prevents weird slumping when it sets!
We want stability for that silky filling, so don’t overwork the dough if you made it yourself. If you’re looking for some truly vintage inspiration on pie shells, you should definitely peek at how they managed things back in the day—it’s wild how resourceful cooks were! Check out water pie magic for a real look at simple doughs.
Step-by-Step Instructions for the Creamy Baked Pie
Okay, now for the fun part: bringing this **Creamy Baked Pie** to life! Getting these steps right is what separates a good custard from the absolute best. First things first, remember that high heat cooks the outside too fast, especially if you used a rich, buttery crust. We’re popping our oven up to a steady 375 degrees F (that’s 190 degrees C) right now so it’s ready when you are. Remember how we talked about texture? Everything from how you mix the eggs to how long you chill the final product matters!
Mixing and Pouring the Custard Filling
Grab that bowl with your lightly beaten eggs—and I mean *lightly* beaten, don’t whip them into a froth! Then, gently whisk in your sugar, salt, nutmeg, and vanilla. Now, here’s the slowing-down part: slowly whisk in the whole milk. Go easy! If you beat it too hard, you introduce air bubbles that lead to cracks later. Keep whisking just until everything looks unified and smooth. Pour that beautiful liquid gently into your unbaked crust. This mixture is so delicate, it’s what makes a perfect **custard pie**!
Baking and Setting the Custard Pie
Slide that pie into the hot oven and set your timer for 35 minutes. We are looking for that perfect moment, usually between 35 and 45 minutes. You’ll test it by inserting a knife near the center—if it comes out clean, you’re almost there! The very center might have a little wobble, a slight jiggle, but that’s okay. It’s actually a sign it won’t be rubbery! Never, ever take it out if it’s liquidy, though. Once it looks right, get it out and let it breathe on a wire rack. But here’s the real secret for that ultimate set: you have to let it cool completely, and then chill it for at least two hours before slicing. Patience pays off. This careful cooling process is just as important as getting those cookie recipes right; checking out how we handle chilling those classic snickerdoodle cookies shows you why patience matters in baked goods!
Tips for the Best Custard Pie Experience
Even after your **custard pie** has fully set in the fridge, we still have a few little tricks up our sleeve to make sure every slice is absolutely unforgettable! If you want that truly authentic, old-fashioned dessert smell, please, please use freshly grated nutmeg. The pre-ground stuff loses its punch so fast, and that sharp, warm spice right before serving makes all the difference contrasted against the cold, creamy egg. It elevates this simple pie, making it perfect for any holiday pie recipes gathering!
I also want to remind you of the big secret from the recipe notes: straining the filling! If you didn’t strain it the first time, you can certainly try gently covering the edges of your baked pie with foil if they are getting too dark halfway through baking. Don’t worry if you see a little water separation when it cools; that’s normal if you didn’t strain, but chilling it completely fixes most minor imperfections!
Flavor Variations: Nutmeg Topping Pie and Beyond
While this recipe is the gold standard for a classic **custard pie**, sometimes you just need a little twist, right? If you love that spice kick, leaning into the **Nutmeg Topping Pie** approach—by adding an extra dusting of fresh nutmeg right before serving or even a light sprinkling before the last five minutes of baking—works wonders. If you’re feeling adventurous, people sometimes sneak in sliced pears for a lovely **Pear Custard Baking** twist, or even press pecans onto the bottom edge for an accidental **Pecan Custard Variations** effect. But honestly, the vanilla always wins for me!
Serving Suggestions for This Traditional Southern Pie
Serving this **custard pie** is almost as fun as baking it, but you absolutely must serve it cold! Seriously, it won’t achieve that perfect texture if it’s even slightly warm. This **Traditional Southern Pie** begs for a beautifully simple presentation. I love keeping the top clean, maybe just with that sprinkle of fresh nutmeg we talked about, seeing that pale, smooth surface gleaming in the light. It just looks so comforting!
If you want to dress it up just a touch, honestly, you can’t go wrong with a generous dollop of freshly whipped cream. I sometimes make a big batch of homemade vanilla ice cream that doesn’t even need churning, and a slice of cold pie with a scoop of it? That’s heaven on a plate, straight out of Grandma’s playbook!
Storage and Make Ahead Pie Instructions
Dealing with leftovers from a perfect **custard pie** is never really a problem around here, but storing it correctly is key to keeping that texture just right. Since this is a dairy-based filling, we absolutely need fridge time. Once it’s thoroughly chilled (remember, at least two hours!), cover the entire thing loosely with plastic wrap—we don’t want it touching the surface of the custard itself, which can transfer condensation. This pie is absolutely meant to be a **Make Ahead Pie**!
If you bake it the day before your gathering, it will be perfectly set and ready to slice the next day. It usually stays wonderfully fresh for about three, maybe four days when kept covered tightly in the refrigerator. Don’t try to freeze it, though; the texture just isn’t the same when it thaws out. For the absolute best experience, treat it like a chilled dessert. If you need a good guide on timing your baking schedule around big meals, I shared some tips on doing a full make ahead pie plan!
Frequently Asked Questions About Classic Custard Pie
I always get so many questions once people try making this **Classic Custard Pie** for the first time! It’s such a simple recipe, but baking with eggs can sometimes feel a little nerve-wracking. Most folks want to know how to guarantee that perfect texture we talked about. Honestly, as long as you use the chilling time, you’re halfway there to achieving that beautiful **Silky Custard Filling**!
Can I substitute the milk in this Easy Custard Pie?
You certainly can try, but you have to know what you’re sacrificing! Whole milk is best for that traditional, creamy taste. If you use half-and-half or heavy cream, your pie will be way too rich and might separate badly—we need that water content from the milk to balance the fat. Some people use evaporated milk, but make sure you dilute it slightly with water to match the volume of whole milk. Just know that any substitute might change how firm your **Easy Custard Pie** sets up!
Why is my custard pie center still runny?
Ah, the dreaded runny center! This almost always comes down to one of two things: either you pulled it out a little too soon before the center firmed up, or—and this is more common—you didn’t let it chill long enough. Remember I stressed that 2-hour minimum chilling time? That isn’t just a suggestion, honey, it’s mandatory baking science! The heat finishes cooking the egg proteins as it cools down outside the oven. If it’s still liquid after cooling on the counter, pop it back in the fridge; it needs that rest time to settle into its **Silky Custard Filling** glory!
Nutritional Estimates for Your Vanilla Custard Dessert
Now, I always feel a little strange talking about numbers when we’re focused on comfort food, but for those keeping track, here are the general estimates for one slice of this **Vanilla Custard Dessert**. Please remember, these are just guiding numbers based on standard ingredients—if you use leaner milk or less sugar, your totals will change! But for a standard slice of this rich, **Creamy Baked Pie**, you’re looking at about 250 calories.
The breakdown is pretty straightforward: around 12g of total fat (6g saturated, which is where the whole milk comes in handy!), about 28g of carbohydrates, and a solid 8g of protein to keep you satisfied. It’s a classic baked treat, so we know there’s some sugar in there, about 20g, but trust me, it earns every single one of those macros!
Share Your Perfect Custard Pie Creation
I am so excited for you to try this **custard pie**! Honestly, seeing you all bake these classic, comforting desserts always warms my heart right up. Once you’ve had a chance to chill it properly—and I mean *really* chill it—I would absolutely love to know what you thought!
Don’t be shy, please jump down into the comments below and give this recipe a rating. Even a quick star rating helps other bakers feel confident trying it out. Tell me if you stuck to the classic nutmeg or if you decided to sneak in some of those fruit variations we talked about!
And hey, if you snap a picture of that beautiful, silky slice—maybe next to a cup of coffee or on your best holiday serving plate—share it with me on social media! Tag me so I can see your gorgeous results. It truly means the world when you share your baking triumphs. If you have any nagging questions after you’ve baked it, you can always reach out directly through the contact page, and I’ll do my best to help you out. Happy baking, friends!
Print
Classic Egg Custard Pie
- Total Time: 55 min
- Yield: 8 servings
- Diet: Vegetarian
Description
A recipe for a traditional, creamy baked custard pie with a smooth texture and simple vanilla flavor.
Ingredients
- 1 (9 inch) unbaked pie crust
- 4 large eggs
- 1/2 cup granulated sugar
- 1/4 teaspoon salt
- 1 teaspoon vanilla extract
- 1/4 teaspoon ground nutmeg
- 2 cups whole milk
Instructions
- Preheat your oven to 375 degrees F (190 degrees C). Place the unbaked pie crust in a 9-inch pie plate.
- In a medium bowl, whisk the eggs until they are lightly beaten.
- Add the sugar, salt, vanilla extract, and nutmeg to the eggs. Whisk until combined.
- Slowly whisk in the milk until the mixture is smooth. Do not over-beat the mixture.
- Pour the custard filling into the unbaked pie crust.
- Bake for 35 to 45 minutes, or until a knife inserted near the center comes out clean. The center should be mostly set but may still have a slight jiggle.
- Cool the pie completely on a wire rack before slicing. This allows the custard to fully set.
- Chill the pie for at least 2 hours before serving for the best texture.
Notes
- For a silkier texture, you can strain the custard mixture through a fine-mesh sieve before pouring it into the crust.
- If the crust edges start to brown too quickly during baking, cover them loosely with aluminum foil.
- This pie tastes best when served cold.
- Prep Time: 15 min
- Cook Time: 40 min
- Category: Dessert
- Method: Baking
- Cuisine: American
Nutrition
- Serving Size: 1 slice
- Calories: 250
- Sugar: 20
- Sodium: 150
- Fat: 12
- Saturated Fat: 6
- Unsaturated Fat: 6
- Trans Fat: 0
- Carbohydrates: 28
- Fiber: 1
- Protein: 8
- Cholesterol: 110


Comments are closed.