
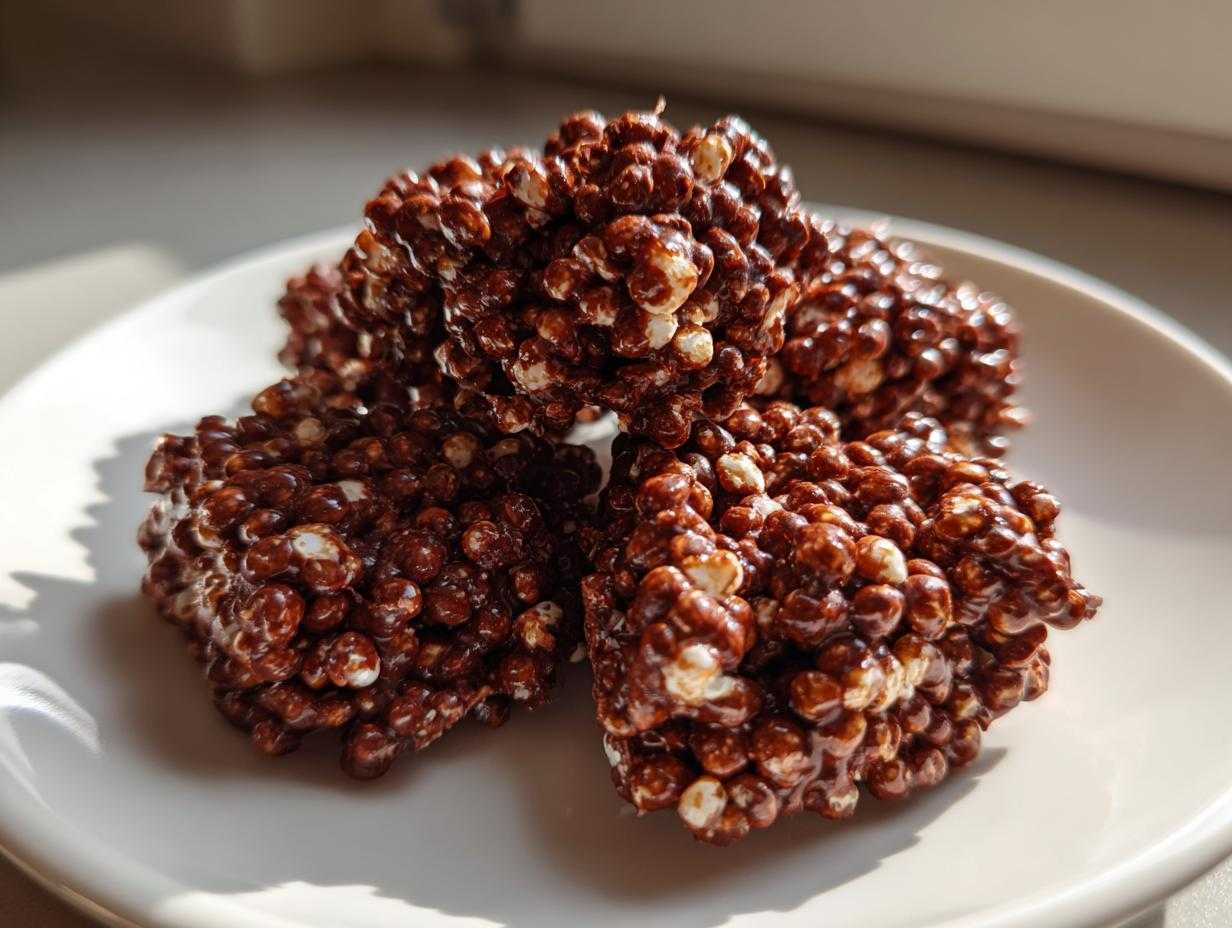
Oh my gosh, you guys know I live for those moments when a totally healthy snack somehow tastes like I’m sneaking an entire candy bar, right? For ages, I’ve been trying to nail that perfect crunch without resorting to deep-frying or a million additives. It took me nearly a dozen tries where the skillet either wouldn’t pop or the chocolate turned grainy, but I finally cracked the code! I’m so excited to share my ultimate recipe for **Dark Chocolate Quinoa Crisps**. These are perfectly crunchy, naturally sweetened with maple syrup, and packed with that rich dark chocolate flavor we all crave. Trust me, once you nail the popping technique, these crunchy chocolate snack ideas are going to be your new go-to!
Why You Will Love These Dark Chocolate Quinoa Crisps
Seriously, I’ve made so many healthy dark chocolate treats over the years that ended up being chewy or tasting faintly of cardboard. Not these! These crisps hit every single requirement on my personal snack checklist. They’re exactly what you need when you want something satisfying but you don’t want that usual sugar crash.
Here’s why these little gems are making it into my permanent rotation:
- The Ultimate Crunch Factor: We take extra steps—popping *and* baking—to ensure these are shatteringly crispy. They hold their texture way better than most homemade granola bars, making them fantastic portable snacks.
- Rich, Not Sweet: I insist on 70% cacao or higher for the chocolate. It gives you that deep, intense dark chocolate flavor that cuts through the sweetness from the maple syrup perfectly. It feels luxurious!
- Super Quick Assembly: Once the quinoa is popped and baked, you are just drizzling chocolate. If you have 15 minutes of active time, you can have these ready for the fridge.
- Quinoa Power Boost: Using whole quinoa means these aren’t just empty calories. They’re packed with fiber and a surprising amount of protein, which is why I call them my favorite crispy quinoa snacks!
- Naturally Amazing: They are naturally gluten-free and surprisingly easy to keep vegan if you stick to maple syrup. It’s wholesome goodness disguised as candy.
Essential Ingredients for Perfect Dark Chocolate Quinoa Crisps
You won’t believe how few things you need to pull off these incredible **Dark Chocolate Quinoa Crisps**! Seriously, the ingredient list is short, which means the quality of what you use really shines through. When you’re using so few elements, every one counts, right? I always have a bag of dry quinoa on hand because you never know when you’ll need a crunchy chocolate fix.
Here’s what you absolutely need:
- 1 cup dry quinoa (This is non-negotiable! You’ll pop this.)
- 2 tablespoons coconut oil
- 1/4 cup maple syrup (Our natural sweetener!)
- 4 ounces dark chocolate (Go for 70% cacao or higher—no less, or it won’t have that rich bitterness we want.)
- 1 teaspoon vanilla extract
- Pinch of sea salt
Ingredient Notes and Substitutions
I’m a strict follower of this list, but here are a few practical notes. First, please make sure you rinse that quinoa really, really well before you try to pop it, otherwise, you’ll end up with dusty, sad little puffs. As for the sweetener, if you aren’t sticking strictly to my vegan plan, you can swap the maple syrup for honey, but I find maple syrup gives a cleaner, less overpowering sweetness.
And about that chocolate—don’t skimp! High-quality dark chocolate is what elevates this from a simple snack to a true treat. If you use anything lower than 70%, it might taste too sweet once combined with the maple glaze.
How to Make Crispy Quinoa Snacks: Popping and Baking
Okay, this is the make-or-break moment for our **Dark Chocolate Quinoa Crisps**! Getting that amazing crunch—the thing that makes them awesome **crispy quinoa snacks**—all comes down to the popping technique. If you mess this up, you end up with soft, slightly sweet grains instead of crunchy puffs.
First off, you MUST rinse that dry quinoa until the water runs clear, and then you need to drain it until you think it couldn’t possibly hold any more water. I usually let it sit in the strainer for a few minutes. Then comes my best tip for **how to make crispy quinoa**: use a large, dry skillet—no oil yet! Heat that skillet over medium-high until it’s really hot, then toss in your rinsed, drained quinoa.
You have to stir constantly, like you’re stirring corn over a campfire. In about 5 to 8 minutes, they start popping! Sound like miniature popcorn? That’s your cue. Pull that skillet off the heat immediately and dump all those beautiful puffs into a big bowl.
But we aren’t done achieving crispness yet! We still need to coat them in the maple syrup binder found in the next step, but before we add the chocolate, we bake them. Spreading them in a thin layer on your parchment and popping them into a 300°F oven for about 15 minutes locks in that texture. It dries them out perfectly before they meet the melted chocolate. Don’t worry, they cool down quickly, and then they are ready to be transformed into those delightful chocolate-coated wonders.
Assembling Your Dark Chocolate Quinoa Crisps
Now that you have your perfectly popped and pre-baked crunchy quinoa—which smells so good already!—it’s time to build the actual **Dark Chocolate Quinoa Crisps**. This phase is all about binding those individual grains together gently before the grand finale of chocolate. Remember those **puffed quinoa chocolate clusters** you dreamed of? We’re making them now!
Take your saucepan where you melted the coconut oil and maple syrup—low and slow is the key here, don’t let it boil or get too hot. Pour that warm, sweet liquid right over your cooled, crispy quinoa. Add in your teaspoon of vanilla and that tiny pinch of sea salt. Now, use a big rubber spatula and gently fold everything together. I mean *gently*! You want every single crisp coated, but if you stir too hard, you’ll crush all that beautiful air you worked so hard to put in there.
Once everything is nicely coated, spread that mixture thinly on your parchment-lined sheet. Let it cool completely before moving on to the chocolate—this is critical. If the quinoa is still warm, your beautiful melted chocolate will just slide right off!
For the chocolate step, melt that good dark chocolate until it’s super smooth. Then, the fun part! Drizzle it all over the cooled quinoa. Use that spatula again to gently fold it one last time, just until you see nice ribbons of chocolate, not a completely smooth batter. Spread it back out, press it maybe just a tiny bit if you want defined squares, and then tuck it into the fridge for at least half an hour. Seeing them firm up is the best feeling—you’ve basically made your own homemade chocolate covered quinoa bars!
Tips for Success When Making Dark Chocolate Quinoa Crisps
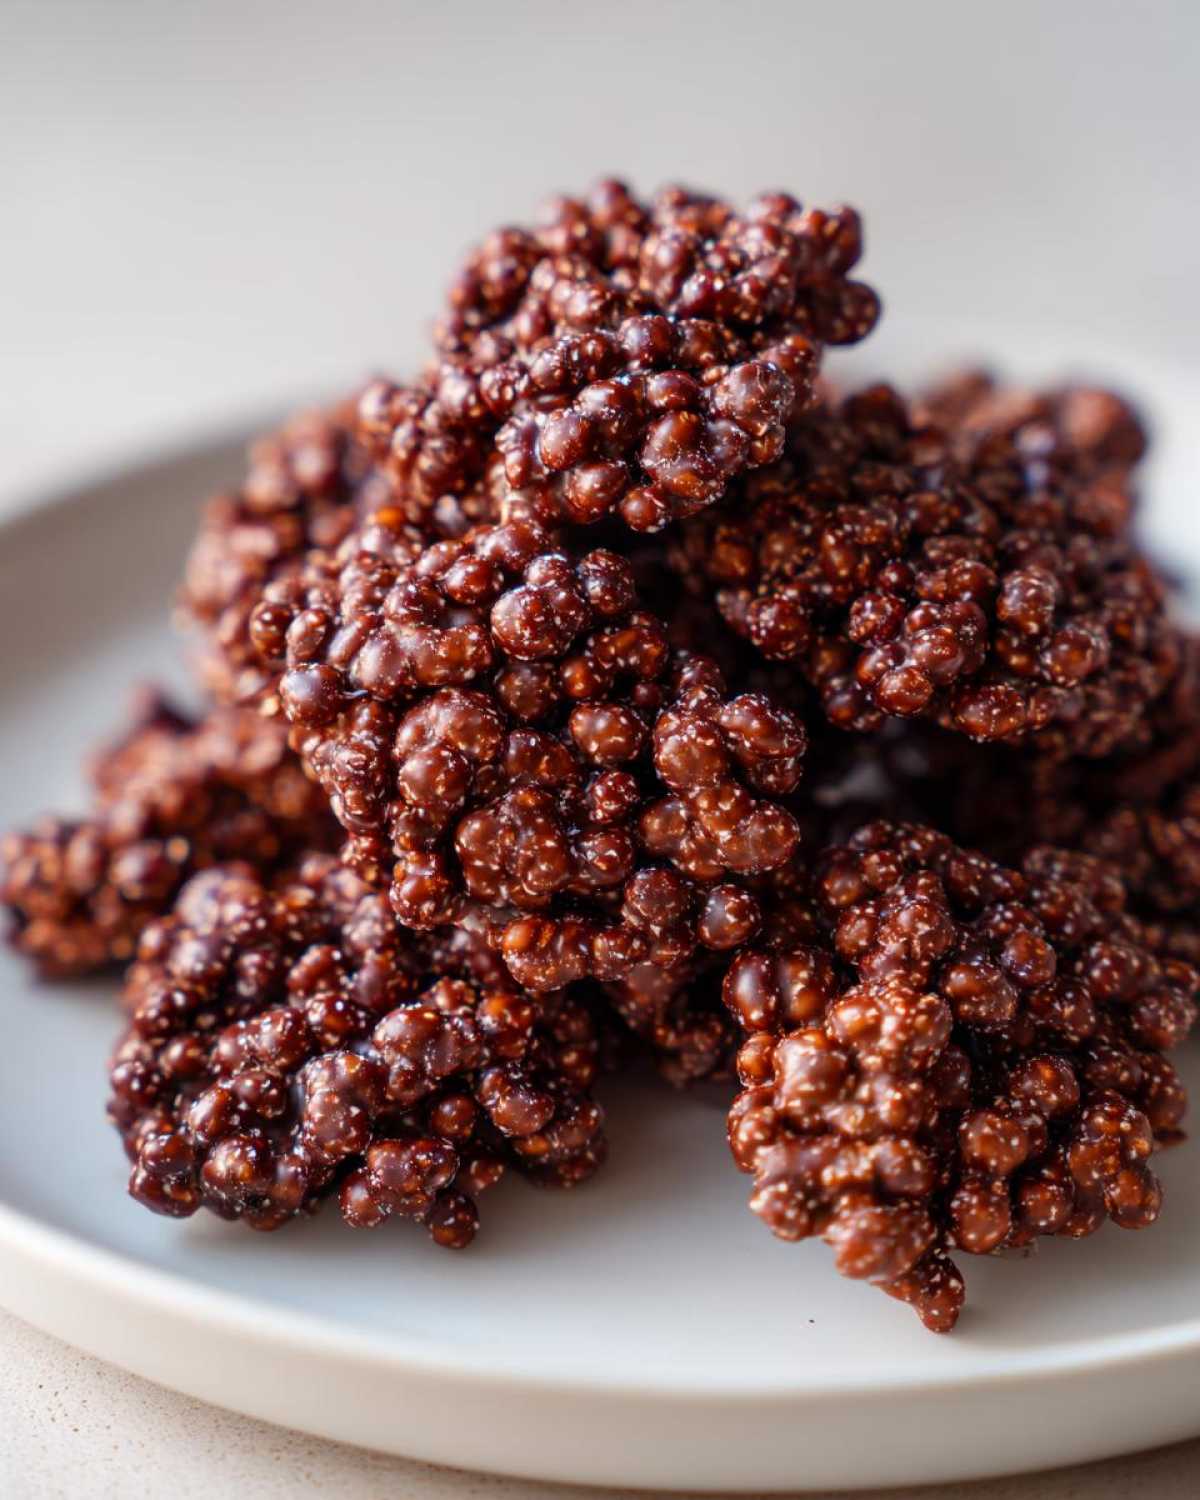
I learned these little tricks the hard way, believe me! Making **Dark Chocolate Quinoa Crisps** that stay crunchy and hold together is all about respecting the temperature of the ingredients. If you follow these few steps, you’ll stop having runny chocolate disasters and start making perfect **puffed quinoa chocolate clusters** every time.
First, and this is crucial: The quinoa MUST be completely cool before the chocolate hits it. I mean room temperature cool, maybe even slightly chilly from sitting on the counter. If there is any residual warmth, the chocolate will melt right through the maple coating instead of creating that nice, stiff shell we want.
Second, when you’re drizzling the chocolate, don’t overwork it during the final mix. I find that pouring the chocolate over the top, letting it sit for just a minute, and then giving it *two or three gentle folds* is enough. You want streaks, you want definition, not just a homogenous brown mass. It’s about aesthetics and texture!
Third, be patient during the chill time. You want a firm snap when you break these apart. If you rush the chilling process, you’ll end up with sticky fingers and a mushy center. Try not to peek in the fridge for at least 30 minutes. If you want them faster, you can pop them in the freezer for 15 minutes, but the fridge gives you the best results overall, just like when I’m getting my chocolate chip cookies just right.
Finally, always use a good quality parchment paper liner on your baking sheet. Believe it or not, parchment helps maintain even cooling and prevents those delicious bottoms from sticking and breaking when you try to separate your finished crisps!
Variations for Your Dark Chocolate Quinoa Recipe
The base recipe for these **Dark Chocolate Quinoa Crisps** is amazing all on its own, but gosh, half the fun of cooking is getting creative, isn’t it? I like to treat the puffed quinoa base like a blank canvas for whatever flavor I’m craving that day. They are already really satisfying, wholesome dark chocolate treats, but we can always punch them up!
If you want to stray slightly from the classic **dark chocolate quinoa recipe**, here are three simple switches I love making when I have extra ingredients lying around:
- Nutty Crunch: Fold in about a half cup of toasted pecans or almonds along with your vanilla and salt mixture. The extra fat and crunch make these feel extra decadent.
- Spicy Kick: For a real surprise, sprinkle about 1/4 teaspoon of cayenne pepper or smoked paprika over the syrup-coated quinoa *before* mixing in the chocolate. It turns these into intensely flavored, **wholesome dark chocolate snacks** that wake up your taste buds!
- A Little Brightness: Right after you drizzle the chocolate, take a small lime or orange and grate just a tiny bit of zest over the top while the chocolate is still wet. That citrus brightens up the deep cocoa flavor beautifully beside the vanilla you already added.
When you try these changes, remember to keep that final chilling time, even with the additions. You can also check out my tips for making other simple treats for more ideas on how to mix up healthy bases!
Storage and Reheating Instructions for Crunchy Chocolate Snack Ideas
So you’ve made the perfect batch of **Dark Chocolate Quinoa Crisps**—hooray! Now we have to talk about keeping them crunchy. This is honestly the hardest part, because as soon as they hit humidity, that satisfying crisp starts to soften up. My main goal for these **crunchy chocolate snack ideas** is always maintaining that snap!
The chocolate needs to harden completely, so if you live in a warm house or it’s a sticky summer day, you absolutely must refrigerate them first. Once the chocolate is firm, you can transfer them to an airtight container. I prefer glass containers because plastic sometimes seems to hold onto moisture.
Now, here’s the thing about refrigeration: while it sets the chocolate perfectly, the cool temperatures can sometimes pull a tiny bit of moisture from the air into the quinoa. If you plan on snacking on these over several days, I recommend letting the container sit on the counter for about fifteen minutes before serving. That little bit of warming lets the quinoa “breathe” and helps restore some of that initial brittle crunch.
I haven’t found a true “reheating” method that works because once the chocolate melts, it gets messy, and who wants sticky hands? So, the key is storage: keep them cool, keep them separated from anything overly fragrant, and use them up within five days. They rarely last that long for me anyway!
Frequently Asked Questions About Dark Chocolate Quinoa Crisps
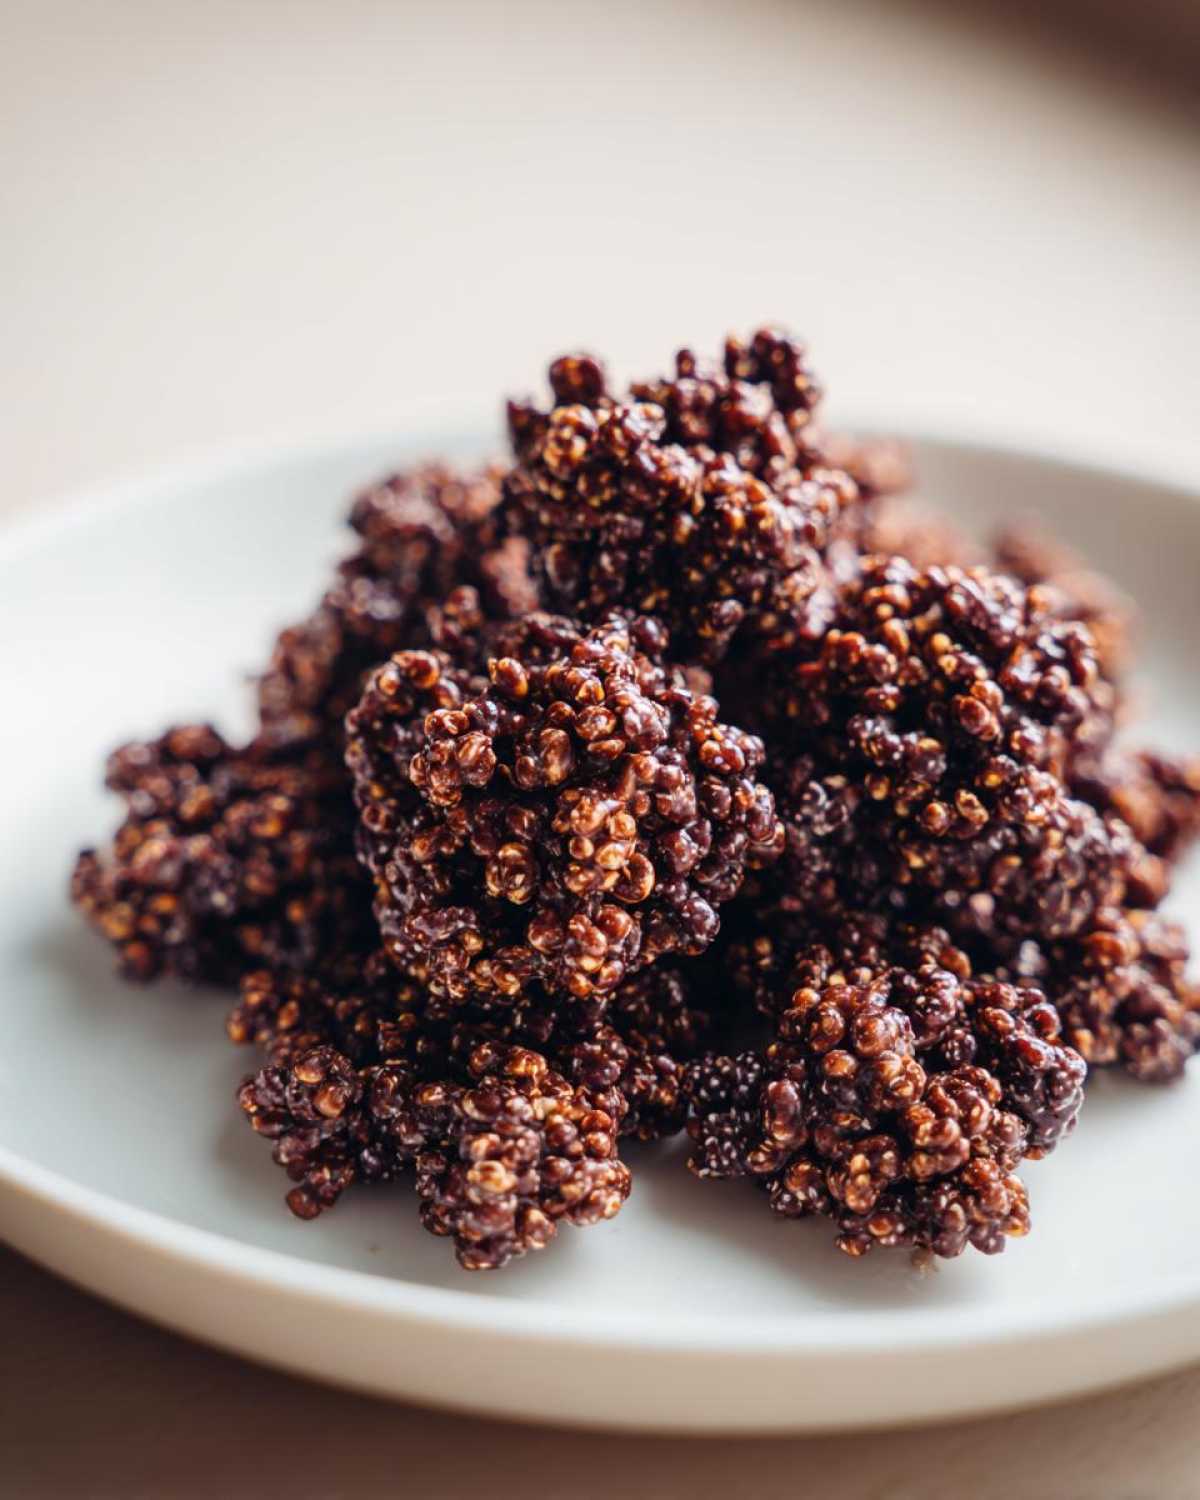
I get so many questions whenever I post pictures of these things because they look way more complicated than they actually are! It’s smart to ask, though—we want these **Dark Chocolate Quinoa Crisps** to turn out perfectly crunchy every single time. Here are the things people usually ask me about when they try this **quinoa snack recipe** for the first time.
Can I make these Dark Chocolate Quinoa Crisps Vegan?
That’s a great question! And yes, absolutely! As written, this recipe is perfectly vegan! We use maple syrup instead of honey for binding, and that’s what makes them such wonderful **vegan dark chocolate crisps**. The only thing you have to watch out for—and I mean *seriously* watch out for—is your dark chocolate. Most high-cacao chocolate is dairy-free, but sometimes manufacturers add milk solids for richness, so always check the ingredient label just to be 100% sure! Otherwise, you’re good to go!
What is the best way to ensure the quinoa pops?
If there’s one part of the process that demands your attention, it’s the popping step! This is where you make or break the ultimate crunch factor for your **crispy quinoa snacks**. I cannot stress this enough: the quinoa must be RINSED super well, and then it must be COMPLETELY dry before it hits that hot skillet. If you try to pop wet quinoa, it just steams and gets soggy. Seriously, rinse it until the water is clear, then let it drain in a fine-mesh sieve for at least ten good minutes. That dry heat does the magic!
Are these Homemade Chocolate Quinoa Bites high in protein?
They certainly are! That’s one of the big reasons I love them so much over other grab-and-go sweets. Quinoa is a complete protein, which is pretty amazing for a little grain. While adding the oil and maple syrup does bring up the fat and sugar content a bit, the quinoa still packs a decent protein punch per serving. So yes, these **homemade chocolate quinoa bites** absolutely give you more staying power than your average sweet treat. It’s why I consider them a great high protein quinoa dessert option when I need something satisfying!
Nutritional Snapshot of This Dark Chocolate Quinoa Recipe
I always get asked if these magical **Dark Chocolate Quinoa Crisps** are actually good for you since they taste so much like candy. Look, they have dark chocolate and maple syrup, so they aren’t exactly celery sticks, but for a homemade treat using whole grains, they are fantastic! Because we’re using quinoa, you’re getting fiber and protein that most other crunchy chocolate snacks just don’t offer.
These numbers are just estimates based on the ingredients I used—especially that 70% cacao mark—so take them with a little pinch of salt, just like the recipe calls for! But this gives you a good idea of what you’re getting when you enjoy a serving of these **dark chocolate quinoa recipe** clusters.
Here is the rundown per serving (we get about 6 servings from the batch):
- Calories: 280
- Sugar: 15g
- Protein: 8g
- Fat: 15g
- Fiber: 5g
See? Eight grams of protein! That’s pretty solid for something you’ll want to eat while watching a movie. If you’re looking to boost that even further, combining these crisps with something like my banana protein muffins makes for a perfect, balanced afternoon snack setup. The main thing is that you know exactly what went into making them—no mystery ingredients here!
Print
Dark Chocolate Quinoa Crisps
- Total Time: 60 min
- Yield: 6 servings
- Diet: Vegan
Description
Make these simple, crunchy crisps using puffed quinoa coated in rich dark chocolate for a satisfying snack.
Ingredients
- 1 cup dry quinoa
- 2 tablespoons coconut oil
- 1/4 cup maple syrup
- 4 ounces dark chocolate (70% cacao or higher), chopped
- 1 teaspoon vanilla extract
- Pinch of sea salt
Instructions
- Rinse the dry quinoa thoroughly under cold water using a fine-mesh sieve. Drain well.
- Heat a large, dry, heavy-bottomed skillet over medium-high heat. Add the rinsed and drained quinoa.
- Stir the quinoa constantly for 5 to 8 minutes until it begins to pop like popcorn. Remove immediately from heat once most grains have popped and transfer the puffed quinoa to a large bowl.
- In a small saucepan, combine the coconut oil and maple syrup. Heat over low heat until the oil is melted and the mixture is smooth. Remove from heat.
- Pour the warm syrup mixture over the puffed quinoa. Add the vanilla extract and sea salt. Stir gently until all the quinoa is evenly coated.
- Spread the coated quinoa in a thin, even layer on a baking sheet lined with parchment paper. Bake at 300°F (150°C) for 15 minutes to dry out and crisp further. Let cool completely.
- Melt the chopped dark chocolate in a double boiler or in the microwave in 30-second intervals, stirring until smooth.
- Drizzle the melted dark chocolate over the cooled, crispy quinoa mixture. Use a spatula to gently fold the mixture until the chocolate is distributed.
- Spread the mixture back onto the parchment-lined baking sheet. Press lightly to form a thin layer or leave as clusters.
- Refrigerate for at least 30 minutes, or until the chocolate is firm. Break into pieces before serving.
Notes
- For best popping results, ensure the quinoa is completely dry before heating.
- If you prefer bars over loose crisps, press the mixture firmly into an 8×8 inch pan before chilling.
- Use high-quality dark chocolate for the best flavor in this simple recipe.
- Prep Time: 15 min
- Cook Time: 45 min
- Category: Snack
- Method: Baking
- Cuisine: American
Nutrition
- Serving Size: 1/6 of recipe
- Calories: 280
- Sugar: 15
- Sodium: 35
- Fat: 15
- Saturated Fat: 9
- Unsaturated Fat: 6
- Trans Fat: 0
- Carbohydrates: 32
- Fiber: 5
- Protein: 8
- Cholesterol: 0

Comments are closed.