
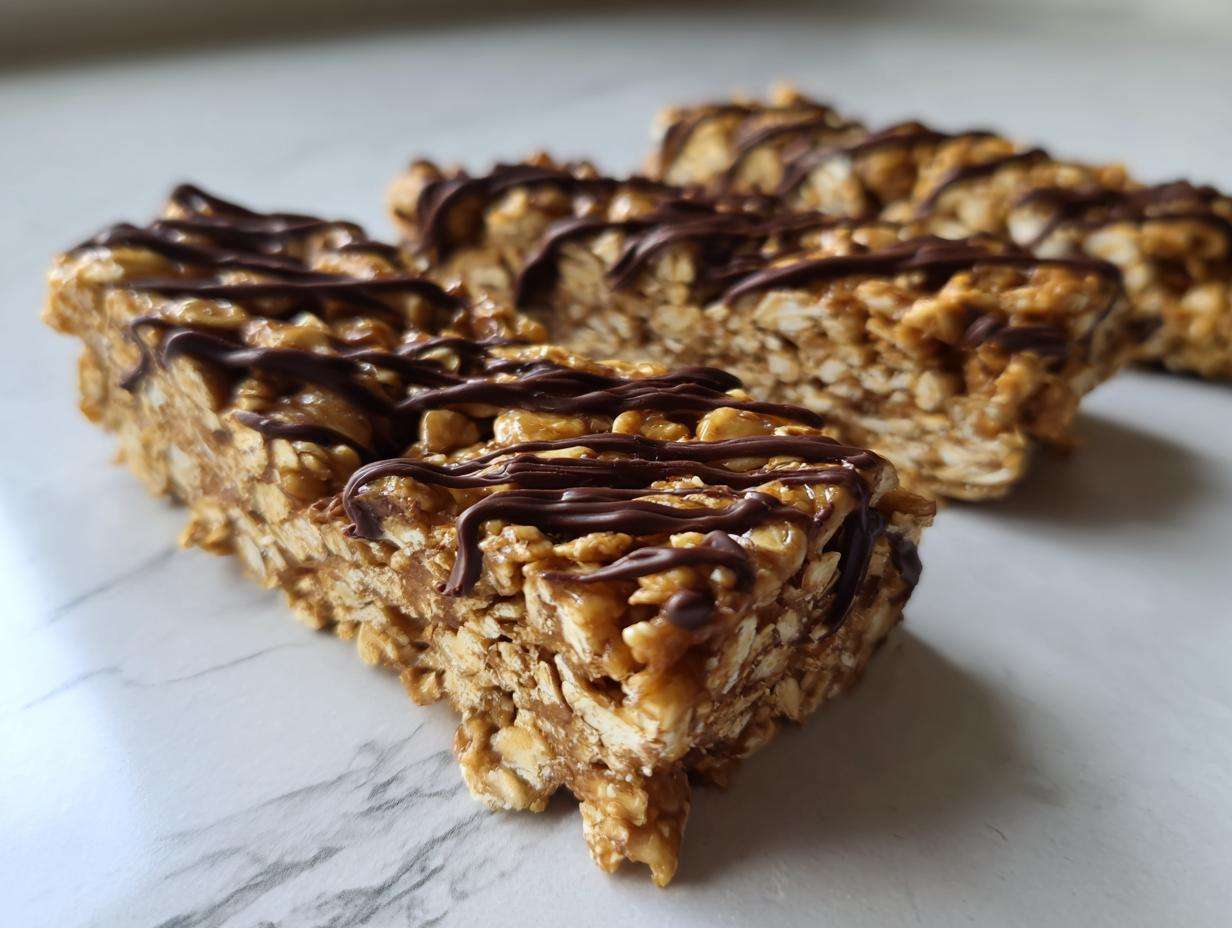
Oh, friends, let’s talk honestly about the snack aisle for a minute. Have you ever stood there, staring at those brightly colored packages, desperately searching for a snack that’s genuinely good for you but doesn’t taste like sweetened cardboard? I’ve been there a thousand times! That continuous hunt for genuinely satisfying, healthy snacks led me down a rabbit hole searching for the *best* homemade protein bars. It was a journey filled with dry mixes and weird aftertastes until I cracked the code on something ridiculously easy. Trust me when I say these Easy No-Bake 5-Ingredient Peanut Butter Protein Bars are the solution. They are my absolute favorite way to keep high-protein fuel ready for those afternoon slumps!
Why You Need These Easy No-Bake 5-Ingredient Protein Bars
Look, I get it. Store-bought energy bars cost a fortune and are usually loaded with fillers we can’t pronounce. That’s why I’m so excited about this simple formula—it truly delivers on flavor without the hassle. You only need five ingredients, y’all! That’s practically a miracle when you need quick snacks around here.
- It’s the perfect solution for busy weeks when you need great meal prep bars.
- They taste legitimately decadent, not like chalky supplements.
- You can whip up a whole batch faster than you can drive to the grocery store!
Perfect for Meal Prep and Quick Protein
Life gets hectic, and having these ready to go in the fridge is a game-changer. If you’re looking for ways to simplify your routine, these homemade protein bars are it. I often make a double batch on Sunday, and they are gone by Wednesday morning. They keep me fueled and feeling satisfied, which means fewer trips to the vending machine, right? Check out my Almond Joy Energy Balls if you like this grab-and-go vibe, too!
The Best Tasting Protein Bars Without Baking
The biggest myth out there is that homemade bars can’t compete with the store shelf. Wrong! Because we are using real peanut butter and honey, these turn out incredibly chewy and rich. They genuinely taste like a decadent peanut butter dessert, only they clock in at 15g of protein per serving. Seriously, these are the best tasting protein bars I’ve ever made at home, and that’s saying something!
Essential Ingredients for Your Homemade Protein Bars
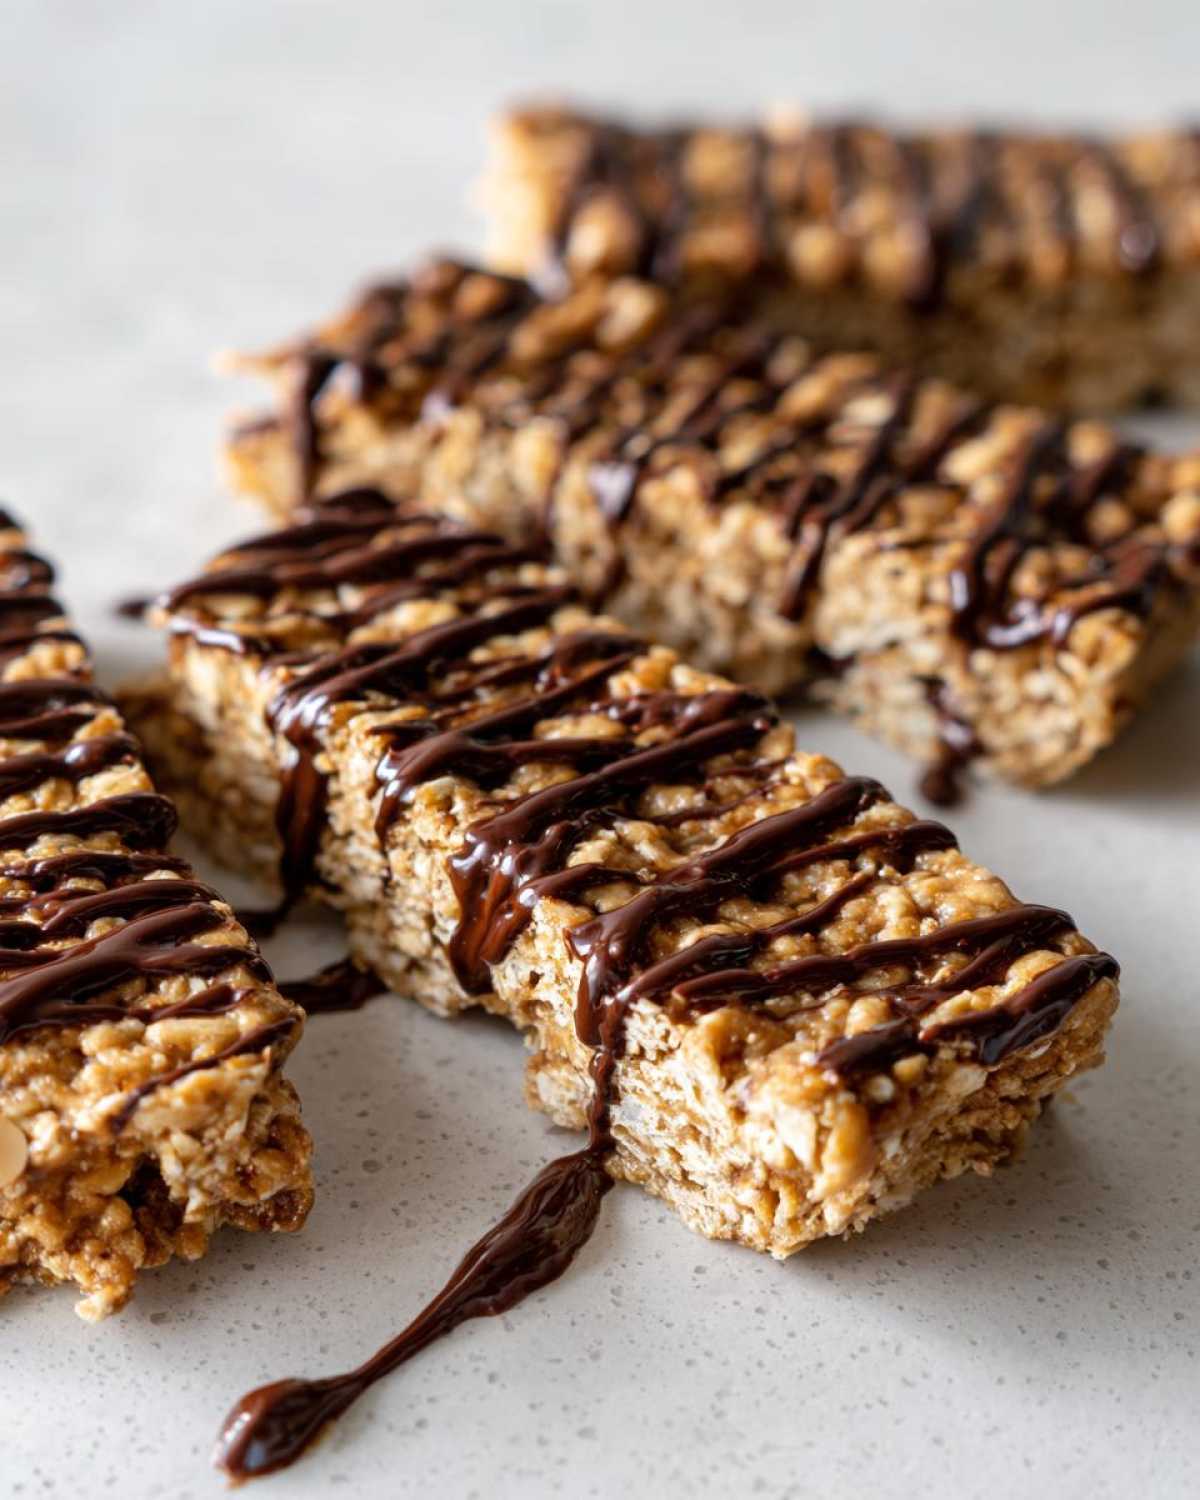
The secret weapon here is simplicity. We’re only dealing with five core items, which is why this recipe is so fast! I keep these ingredients stocked constantly because they are the foundation of these magnificent protein bars. You need rolled oats for structure, your choice of protein powder, a sweet binder like honey, and of course, that creamy natural peanut butter. Quality matters here, folks, so make sure that peanut butter doesn’t have any added junk—we want the real deal for the best flavor!
Ingredient Notes and Substitutions for Protein Bars
Now, let’s talk swaps because I know everyone’s pantry looks a little different. If you need to make these vegan protein bars recipe friendly, just swap the honey out for maple syrup. It works perfectly! And if nuts aren’t your jam, almond butter or sunflower seed butter work beautifully as substitutes for the peanut butter. If you want to lean into a lower-carb vibe, you can experiment with monk fruit blend protein powder, too. This recipe is wonderfully adaptable for making your own healthy snack bars.
Step-by-Step Instructions for No Bake Protein Bars
Okay, buckle up, because this is where the magic truly happens, and I promise you, it requires zero actual baking! These no bake protein bars come together so fast, I usually make them right after I finish cleaning up dinner. The whole mixing process should take you maybe ten minutes, tops. Just follow my lead, and you’ll have fantastic, chewy bars ready for the fridge.
Preparing the Base for Your Protein Bars
First things first, you need to line that pan with parchment paper with an overhang. Seriously, don’t skip this part; it’s your handle later on! Grab a medium bowl and dump in your dry stuff—oats and protein powder—then add the wet binders: the peanut butter and honey (or maple syrup). Start stirring! You are looking for a very thick, uniform dough. If your peanut butter is being stubborn and the whole thing seems too dry and crumbly, don’t panic! Just warm your peanut butter for about 15 seconds in the microwave before mixing; that little bit of heat makes it so much easier to bring everything together into a clean ball. You want it tacky, not sticky!
Chilling and Cutting Your Easy Protein Bar Recipe
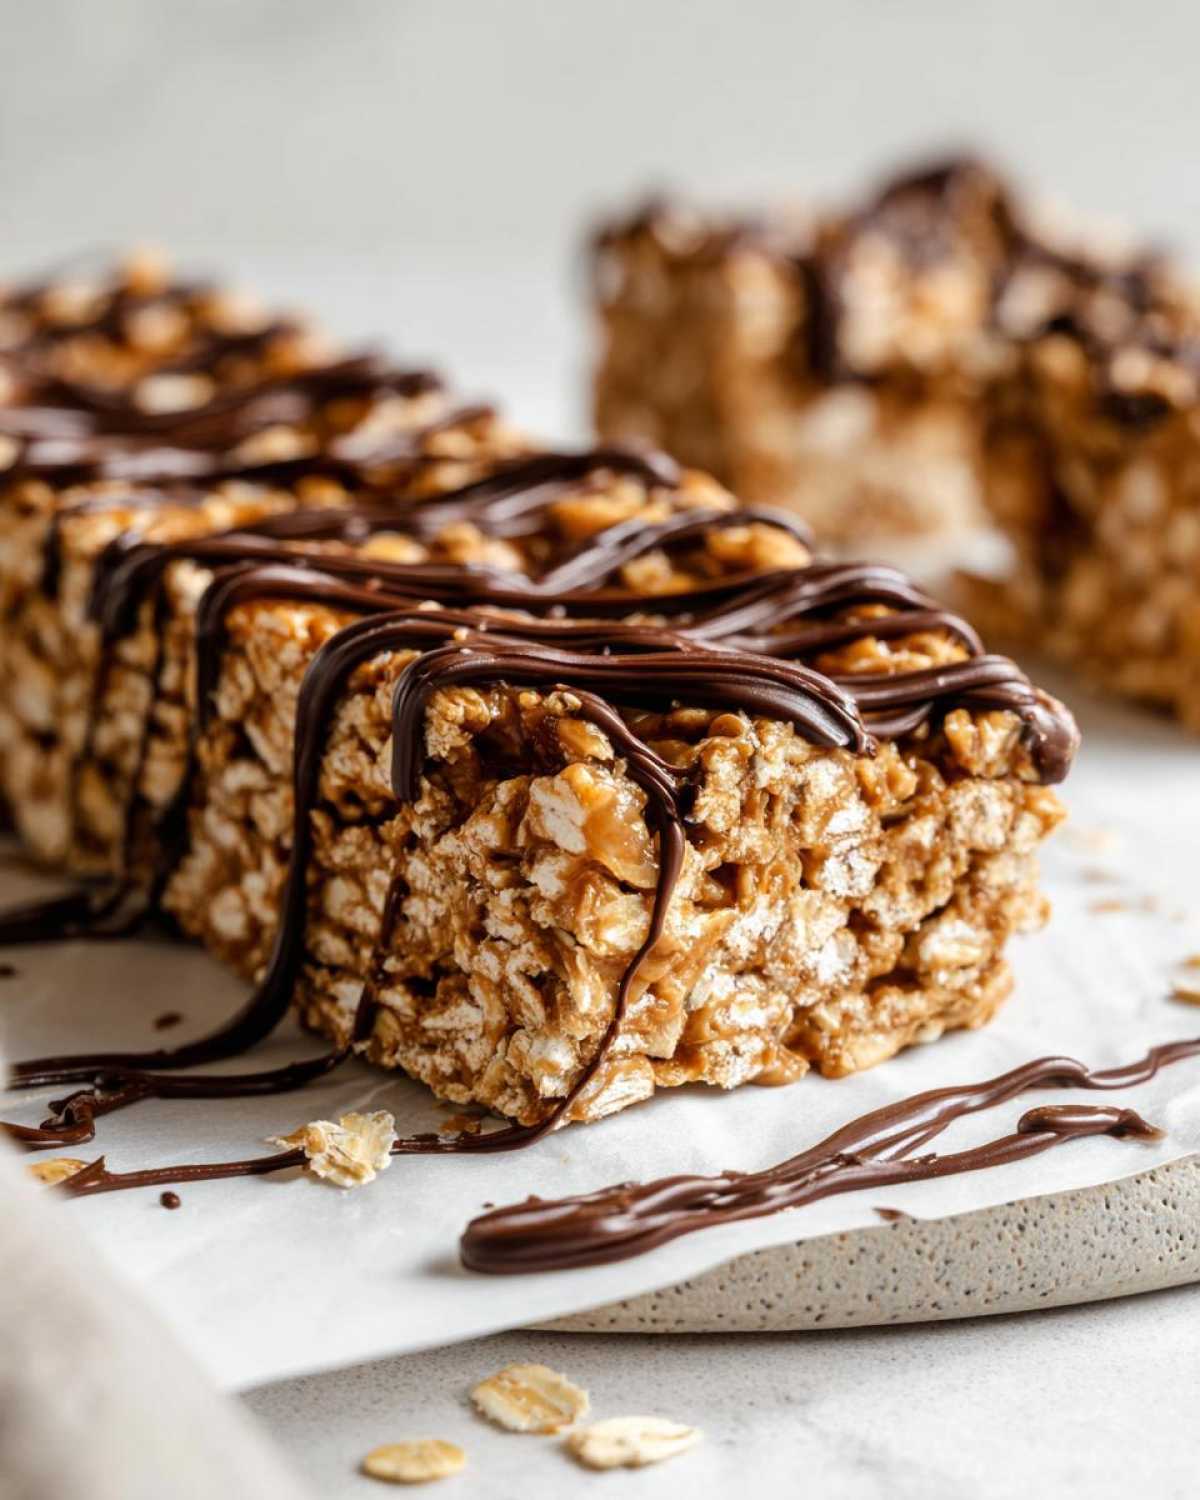
Once it’s all mixed, press that dough *firmly* into the lined pan. I mean press it down hard with the back of a spoon or even the bottom of a glass. Packing it tight is what stops these from falling apart later. Now, the step everyone wants to rush: chilling! You need the bars to chill for at least one full hour in the refrigerator. This is crucial for getting those clean cuts. If you try to slice them early, you’ll end up with a messy pile of oats, and nobody wants that. Once they are rock solid, you pull them out using the parchment overhang and slice them evenly. Then, the final, joyous step: melting a bit of dark chocolate for a beautiful drizzle. You can check out how I finish my chocolate-dipped coconut bars for a similar finishing touch! If you need more inspiration for quick, few-ingredient snacks, check out this recipe I found from some friends over at Q8 Rashaqa.
Tips for Perfect Chewy Protein Bars Every Time
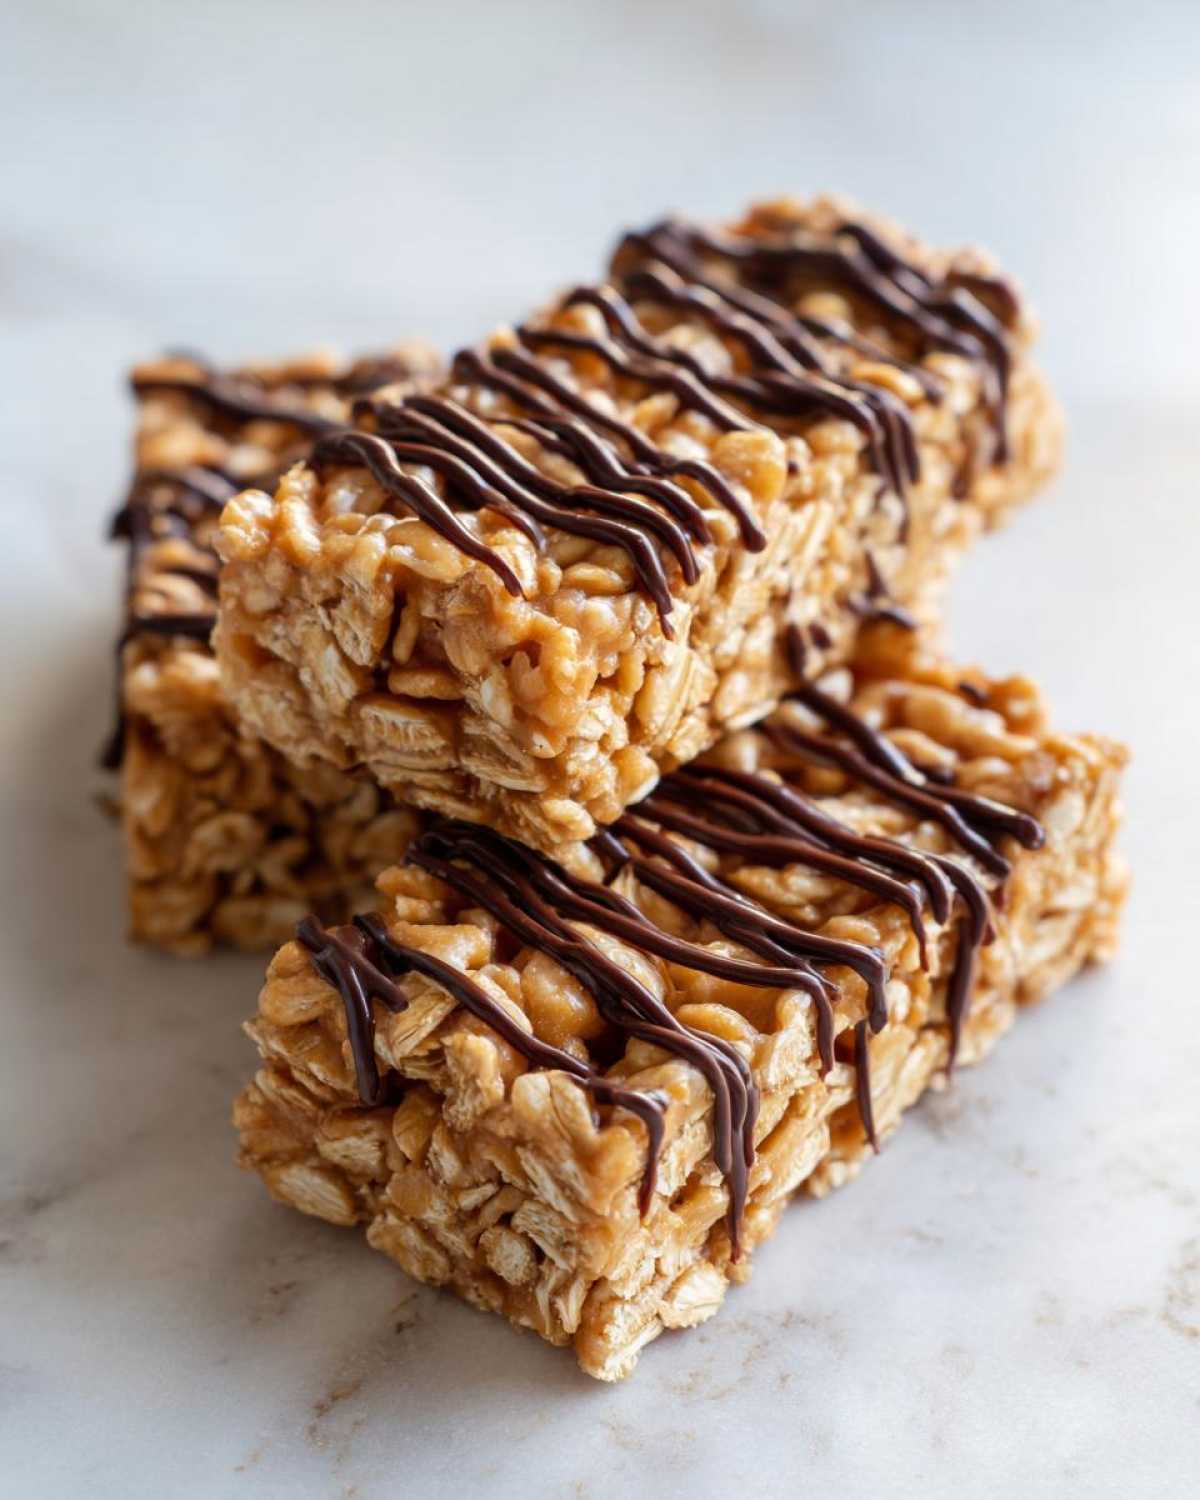
Getting that perfect, chewy texture in homemade protein bars is sometimes trickier than it looks! It’s usually the difference between a satisfying snack and something that just crumbles when you pick it up. Remember, since we aren’t adding any heat, the texture relies 100% on how you mix and chill the ingredients. Pay close attention to the consistency when you’re mixing the peanut butter and your binder—that’s the ticket!
If you find your mixture is too dry *before* you press it in, a teaspoon of water or a splash of milk at a time can save the batch. Don’t overdo it, though! We want it thick, like cookie dough, not a batter you can pour. If it’s too liquidy, you’ll end up with a sticky mess that just won’t set properly, even after chilling. For more solid bars that still have that perfect chew, make sure you’re using rolled oats, not instant ones, because instant oats absorb too much moisture too quickly.
Now, about that chocolate drizzle—this is my favorite step because it adds that visual ‘pop’! When you melt your dark chocolate, don’t overheat it in the microwave. Chocolate hates high heat! Use short bursts, like 20 seconds at a time, stirring well in between. If you cook it too long, it gets thick and grainy instead of smooth. Drizzle it quickly across the chilled slab before it has a chance to seize up. If you want a fun twist on this, you might love my recipe for No-Bake Cookie Dough Bars, which uses a similar finishing technique!
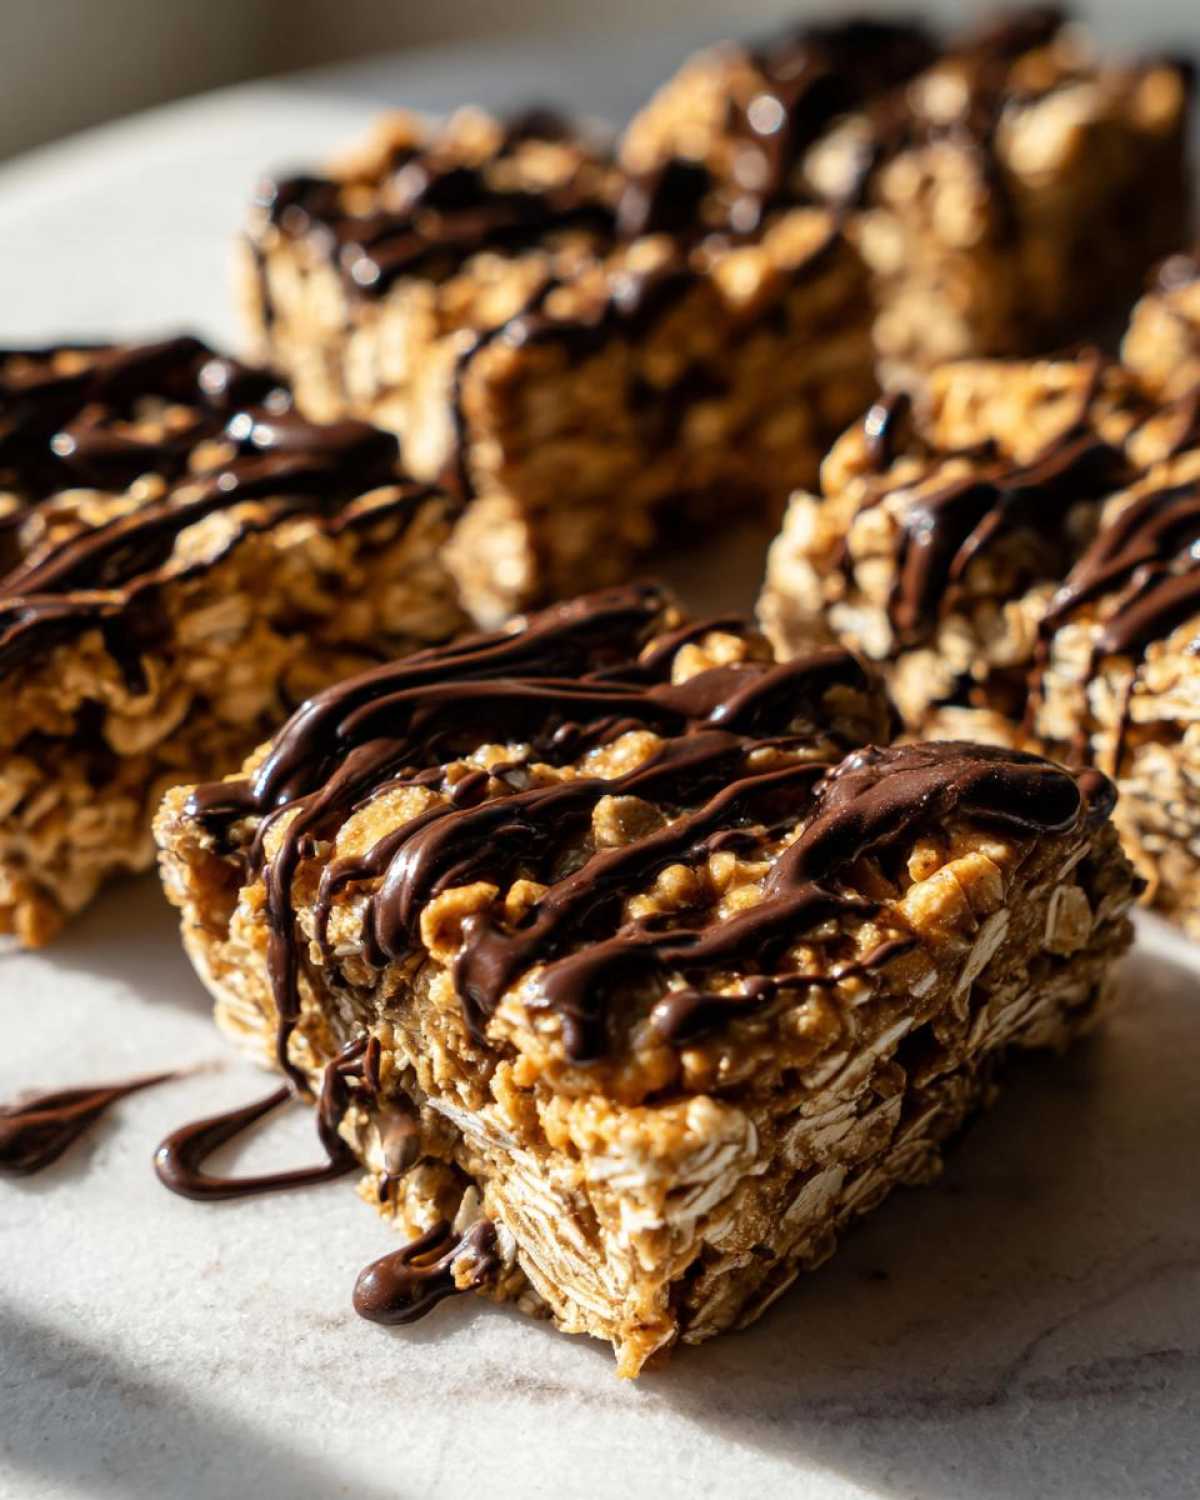
For more tips from the experts on keeping homemade recipes from becoming crumbly disasters, I always check out what my friends at Everyday Cooking Tips are sharing on their site regarding homemade protein bars. Knowing the right ratios is everything!
Storage and Make Ahead Tips for Homemade Protein Bars
One of the absolute best things about making these protein bars yourself is that they are champions of meal prep. Honestly, they are even better on day two! Since these are no-bake, we treat them a little differently than baked goods when it comes to keeping them fresh. They definitely qualify as fantastic make ahead protein snacks.
The key here is keeping them cool and sealed up tight. Once you’ve cut them and the chocolate drizzle is set, you need to transfer them immediately into an airtight container. I prefer glass containers because I find plastic sometimes retains a slight smell from the peanut butter over several days.
You must store these in the refrigerator. They will last beautifully for about a week in the fridge, sometimes longer, but honestly, mine never last that long! Because they rely on fats (like peanut butter) to stay firm rather than baking to set the structure, the cold temperature is essential. If you leave them out on the counter for too long, especially on a warm day, they start getting a bit too soft and greasy for my liking. If you are making a HUGE batch for later, you can absolutely freeze them! Just wrap individual high protein recipes snacks tightly in plastic wrap or wax paper, place them in a freezer-safe bag, and they hold up great for about two months. Thaw them for about 20 minutes on the counter before eating, or just grab one straight from the freezer if you like them extra firm!
If you love setting yourself up for success at breakfast, check out how I prep my egg muffins! It’s the same philosophy—make it simple today so you can enjoy it tomorrow.
Variations for Your Favorite Protein Bars
While these peanut butter protein bars are absolutely fantastic just as they are—seriously, don’t knock ’em until you try ’em—I always encourage you creative folks in the kitchen to play around! Food should be fun, and once you master the base, you can start building your own customized versions of these simple homemade snacks. It’s like having a blank canvas made of oats and protein powder!
For instance, if you’re craving something richer, try making chocolate protein bars no bake style! Just take about two tablespoons of your vanilla protein powder out and stir in two tablespoons of unsweetened cocoa powder when mixing the dry ingredients. You might need just a tiny splash more liquid (milk or water) to bring it back together, but wow, does that transformation work well. It makes them taste like fudge!
If you want to switch up the nut butter flavor, go for it! Almond butter gives a slightly mellower, toasted taste, while cashew butter is richer and creamier. Remember how I mentioned sunflower seed butter as a dairy-free/nut-free swap? That’s an excellent way to keep these high protein recipes tasting great if allergies are a concern.
Want to add texture? Mix-ins are your best friend here. I love tossing in things like hemp seeds or chia seeds for an extra nutritional boost—they blend right in and don’t affect the structure much. For those who love crunch, try adding about a quarter cup of chopped pecans or mini cocoa nibs right at the end along with the chocolate drizzle. It gives you that satisfying little crunch in every bite.
If you’re exploring other ways to get your energy fix, you absolutely must check out my recipe for Almond Joy Energy Balls. They use a similar binding concept but swap peanuts for coconut and almonds—pure heaven!
Frequently Asked Questions About Making Protein Bars
I know when you’re making protein bars for beginners, questions pop up right when you’re about to mix everything. That’s totally normal! I’ve gathered the top three things people ask me most often about these super simple homemade protein bars. Hopefully, this clears up any confusion before you even start!
Can I make these protein bars lower in sugar?
That’s a brilliant question, especially if you are tracking sugar intake! Since honey (or maple syrup) is what binds these bars, cutting it out completely can make them fall apart. However, you can definitely make them low sugar protein bars by making a swap! Instead of honey, try increasing your peanut butter slightly to create a better base, and rely on a zero-calorie sweetener that measures cup-for-cup with sugar—things like erythritol or monk fruit blends work well. Just be cautious! You might need to add a tiny splash of water or milk because these sweeteners don’t add the same moisture level as honey does. You’ll have to feel it out a bit, but it’s definitely doable for a low sugar protein bars version.
What is the best protein powder to use in no bake protein bars?
This is where things can get slightly messy, but I’m here to guide you through the world of high protein recipes powders! Honestly, the best powder is generally the one you tolerate best and enjoy drinking! For texture, whey isolate tends to mix the smoothest in no bake protein bars because it’s very fine. However, if you use a plant-based powder, like pea or rice protein, know that they tend to absorb liquid much faster. If you find your mix gets too stiff when using vegan powder, add that splash of water or milk I mentioned earlier during the mixing stage. The protein powder you choose dictates the final density and chewiness, so always start with a little less than the recipe calls for, especially with plant powders, and add more as needed!
Why are my homemade protein bars crumbly?
This is the number one heartbreak when making easy protein bar recipes, and I’ve seen it happen! Nine times out of ten, if your bars are crumbly, it’s one of two things: either you didn’t press the mixture down hard enough, or you didn’t chill them long enough. Remember how I stressed pressing the mixture firmly into the pan? You need to use some muscle there to make sure all those oats and powders bind tightly together! If you think you’ve pressed it hard enough, press it harder! Secondly, if you cut them before they are totally firm—like, refrigerator-temperature hard—they will crumble when you slice them. Patience is your main binding agent in these make ahead protein snacks!
Estimated Nutritional Information for These Protein Bars
Now, let’s talk fuel! When you’re making your own healthy snack bars, it’s so much better knowing exactly what’s going into your body compared to just grabbing something off the shelf. Since these are based on simple ingredients like oats and peanut butter, we get a fantastic balance of macros designed to satisfy that need for quick energy without the crash. I ran the numbers through my calculator, and here is what you can generally expect per bar from this easy protein bar recipe.
Keep in mind, this is my estimate based on the ingredients listed, and your mileage might vary slightly depending on the exact brand of protein powder or honey you use. That’s the fun (and slight precision challenge) of making any high protein recipes at home!
- Calories: Around 210 per bar
- Protein: A solid 15 grams! That’s why they are so satisfying.
- Sugar: About 7 grams (mostly natural sugars).
- Fat: Roughly 11 grams.
- Carbs: Totaling about 20 grams.
If you used almond butter instead of peanut butter, or swapped out the sweetener, those numbers will shift a bit, so always adjust if you deviate much from the core recipe. But that 15 grams of protein is solid fuel for getting you through the afternoon slump! For some other delicious flavor profiles that hit similar nutritional guidelines, you should definitely peek at these wonderful raspberry bars from Dailydelish Co. They offer great ideas for switching things up!
Share Your Homemade Protein Bars Creations
Well, that’s it! You’ve got the blueprint for what I honestly believe is one of the easiest, tastiest homemade protein bars recipes out there. Now comes the best part: watching you create them in your own kitchen! I truly get such a rush hearing from you folks about what you thought. When I first started sharing these simple homemade snacks, I never imagined how many variations I’d see from readers.
Did you try swapping the peanut butter for cashew butter? Did you stick to the plain vanilla powder, or did you go for a chocolate version? Let me know! Please, if you make these no-bake wonders, take a photo and tag me on social media—I would absolutely love to see how your drizzle turned out!
More importantly than sharing a picture, please take a moment to pop down below and leave a rating for this recipe. Those little stars really help other folks find these simple, high-protein treats when they are searching for healthy options. Your feedback lets me know I’m on the right track with these quick protein treats. If you also enjoy swapping things up in your cooking for better veggie inclusion, make sure you check out my recipe for Sweet Potato and Black Bean Burgers—it’s a totally different world, but the same spirit of making real food at home!
Thank you so much for cooking with me today. Happy snacking!
Print
Easy No-Bake 5-Ingredient Peanut Butter Protein Bars
- Total Time: 70 min
- Yield: 10 servings
- Diet: Vegetarian
Description
Make these simple, no-bake peanut butter protein bars at home. They use only five ingredients, require no oven time, and are perfect for quick meal prep or a satisfying, high-protein snack.
Ingredients
- 1 cup rolled oats
- 1/2 cup natural peanut butter
- 1/2 cup vanilla or unflavored protein powder
- 1/4 cup honey or maple syrup
- 2 tablespoons melted dark chocolate (for drizzle)
Instructions
- Line an 8×8 inch baking dish with parchment paper, leaving an overhang on the sides for easy removal.
- In a medium bowl, combine the rolled oats, peanut butter, protein powder, and honey or maple syrup. Mix well until a thick, uniform dough forms. If the mixture seems too dry, add a teaspoon of water or milk until it holds together.
- Press the mixture evenly into the prepared baking dish. Use the back of a spoon or your fingers to pack it down firmly.
- Place the dish in the refrigerator and chill for at least 1 hour, or until the bars are firm enough to cut.
- Remove the mixture from the dish using the parchment paper overhang. Cut the slab into 10 even bars.
- Melt the dark chocolate in a microwave-safe bowl in 30-second intervals, stirring until smooth. Drizzle the melted chocolate over the tops of the bars.
- Return the bars to the refrigerator for 10 minutes to allow the chocolate to set before serving.
Notes
- Store these homemade protein bars in an airtight container in the refrigerator for up to one week for the best texture.
- For a vegan option, substitute honey with maple syrup.
- You can substitute peanut butter with almond butter or sunflower seed butter for a different flavor profile.
- Prep Time: 10 min
- Cook Time: 0 min
- Category: Snack
- Method: No-Bake
- Cuisine: American
Nutrition
- Serving Size: 1 bar
- Calories: 210
- Sugar: 7
- Sodium: 85
- Fat: 11
- Saturated Fat: 3
- Unsaturated Fat: 8
- Trans Fat: 0
- Carbohydrates: 20
- Fiber: 3
- Protein: 15
- Cholesterol: 0

Comments are closed.