

Oh, you know that moment, right? It hits you like a truck—that deep, desperate craving for something *rich*, something intensely chocolatey, but you really, truly do not want to spend an hour stirring sugar over a precise temperature. I get it! We’ve all been there, staring into the pantry like it holds the secrets to the universe. Well, stop staring! This 3-Ingredient Chocolate Fudge is my absolute lifeline. It’s the recipe I fall back on when I need decadent sweets immediately, and trust me, it delivers the ultimate, unbelievably creamy chocolate fudge every single time. It’s just magic in a pan, and the best part? You don’t even need that scary candy thermometer!
Why This Easy Chocolate Fudge Recipe Works So Well
When you’re dreaming of fudge, nobody wants a gritty, grainy mess. That’s the biggest fear with homemade candy, but I promise you, this recipe is pure success in a pan. It’s incredibly satisfying to whip up a truly decadent sweet treat without diving into complicated techniques. Forget that whole situation of dipping into a recipe like chocolate dipped coconut bars and worrying about temperatures—we skip all that!
This method is my go-to for quick weekend batches or when I need a last-minute favor for dessert. It’s the definition of a No Bake Fudge miracle. If you want to know the real secret behind achieving that perfect, melt-in-your-mouth consistency every single time, it’s right here:
- It delivers an unbelievably Creamy Fudge Dessert experience.
- Prep time is practically zero—we are talking minutes!
- It’s fantastic for beginners; you truly cannot mess this up.
Guaranteed Smooth Fudge Texture
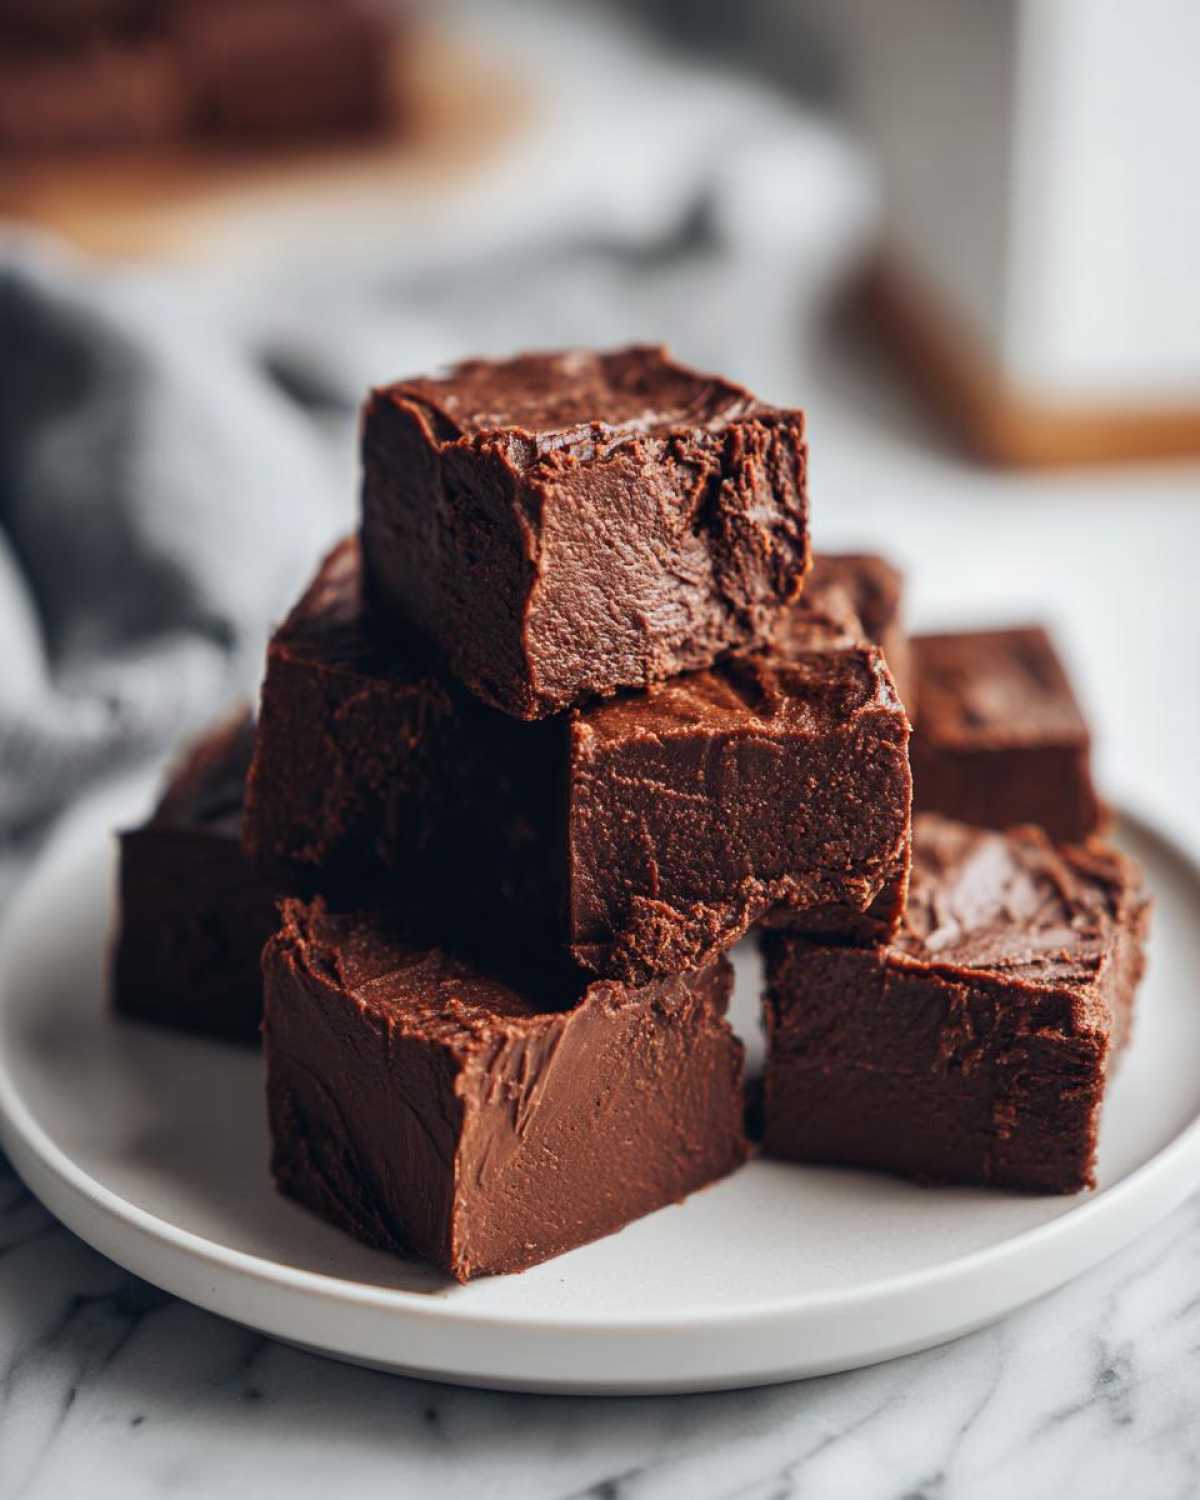
The reason this works so beautifully without a candy thermometer is the sweetened condensed milk. Truly, that’s the magic ingredient here. Because that milk already contains so much sugar, it acts as a protective agent. It practically freezes the sugar crystals from the chocolate chips, keeping everything suspended and perfectly smooth. It stops that dreaded graininess dead in its tracks, giving you that luxurious, velvety finish traditional fudge sometimes struggles to achieve.
Speed and Simplicity of This Fudge
I often call this my “emergency dessert.” Since we are using the microwave and relying on three core components, this is the ultimate Quick Fudge Tutorial. It doesn’t get faster or easier than this! If you’re looking for something that feels gourmet but takes less than ten minutes of active working time, this is the way to go. I’ve even had friends who *hate* baking make this successfully!
Ingredients Needed for Perfect 3-Ingredient Fudge
When you rely on just a few things to make something this decadent, the quality—and definitely the quantity—matters immensely! Gathering these items for your fudge is half the battle, and frankly, the easiest part because there are only three things on the list. Make sure you snag the right size of condensed milk bag, because measuring here is key to that velvety texture we love so much. If you have a craving for something similar but maybe a little less chocolatey, you might want to check out my peanut butter pie recipe next!
- One standard (14 ounce) can of sweetened condensed milk. Don’t confuse this with evaporated milk, that’s a totally different thing!
- Two cups of semi-sweet chocolate chips. I prefer chips because they melt so easily, but good quality chopped chocolate works too.
- One tiny teaspoon of vanilla extract. This just wakes up the chocolate flavor, trust me!
Step-by-Step Instructions for Homemade Chocolate Fudge
Okay, this is where the magic actually happens, but don’t let the simplicity fool you—a tiny bit of attention here ensures you get those beautiful, perfect Rich Dessert Squares. We aren’t using any complicated double boilers or anything fussy for this batch of Homemade Chocolate Fudge. It’s all about controlled heat and elbow grease! We want that silky, smooth finish, so pay close attention to how you stir when things get melty. If you want more ideas on great candy-making, pop over and check out my guide to the best homemade candy tips!
Preparing the Pan and Melting the Base for Your Fudge
First things first: get your 8×8 inch pan ready. I always line mine with parchment paper, making sure to leave a good overhang on both long sides. This is crucial because it acts as built-in handles later when you need to lift the firm fudge out! Next, combine your chocolate chips and the entire can of sweetened condensed milk right in a microwave-safe bowl. Microwave this on high for exactly 60 seconds. Now, pull it out and stir like you mean it! This first stir is important to start distributing the heat evenly. If it’s not totally smooth, pop it back in for 30-second bursts, stirring well between each blast until it looks like liquid velvet.
Here’s my pro tip for smoothness: don’t just push the chocolate around! Stir in small, deliberate circles from the center outward. This gentle blending prevents you from incorporating too much air, keeping that gorgeous texture tight.
Finishing and Setting the Creamy Fudge Dessert
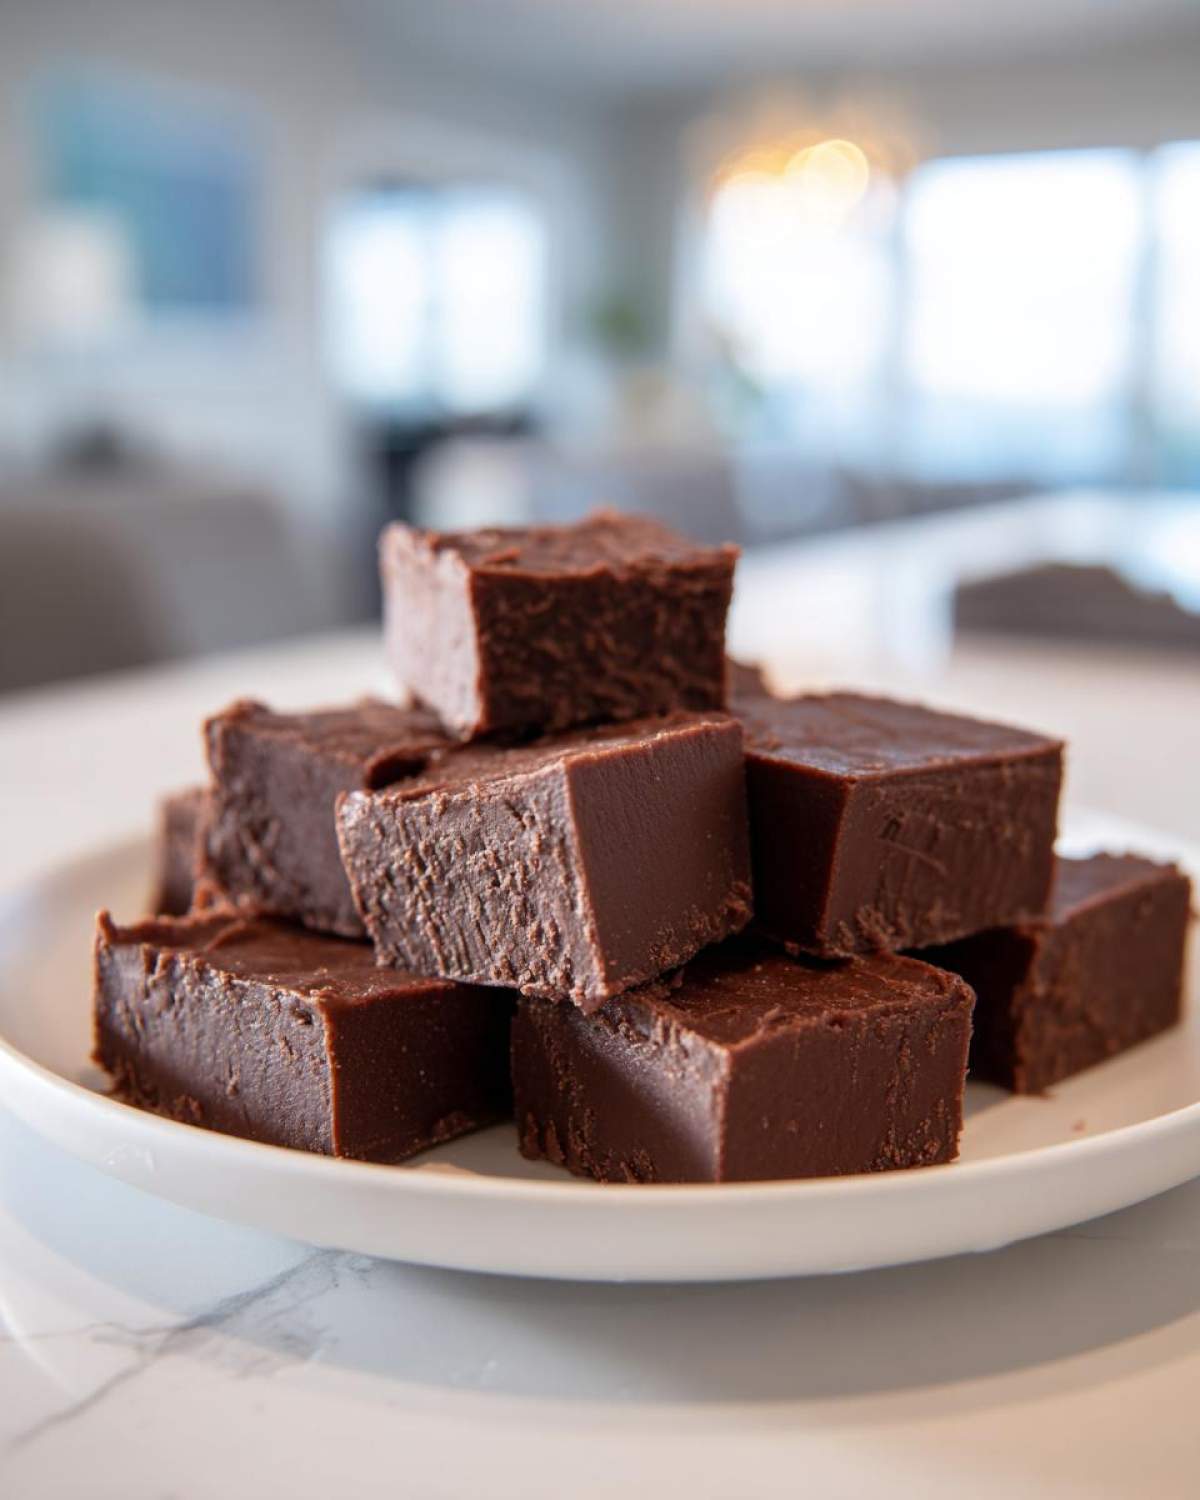
Once you’ve got a completely uniform, glossy mixture, take it out for the last time and quickly stir in that teaspoon of vanilla extract until it disappears. Immediately pour everything into your prepared pan. Use an offset spatula—or the back of a spoon—to spread it out evenly. Don’t fuss over making it absolutely perfect on top; you’ll be cutting it soon anyway! Now, give it some space to firm up in the fridge. It needs a solid two hours, minimum, to become proper, sliceable candy. Patience here turns it into the Melt in Your Mouth Fudge you’ve been dreaming of!
Tips for Making the Best Fudge Every Time
I’ve made this ridiculously easy fudge more times than I can probably count—for neighbor gifts, school treats, or just because it’s Tuesday! Because there are so few ingredients, you might think it’s impossible to mess up, but honestly, overheating is still the biggest hurdle, even in this microwave version. If you treat the mixture harshly, you can still end up with a less-than-perfect final texture. I want you to succeed, so here are the little things I’ve learned over the years to ensure absolute success and preserve that deliciousness!
Achieving a Smooth Fudge Texture: Pro Secrets
Even though we aren’t using a thermometer, overheating in the microwave is the secret killer of smooth texture. Remember how I said to stir well after every 30-second burst? That’s not just busy work! As the chocolate chips start to melt, they get incredibly hot on the edges faster than the center. If you just keep zapping it without stirring, the edges can actually seize up or get too hot, which ruins the way it sets. When you start stirring, if you notice it looks stiff or grainy right away, stop microwaving immediately. You can often save it by continuing to stir vigorously off the heat—the residual warmth is usually enough!
Storage and Handling of Your Homemade Fudge
Once your beautiful squares are cut, how you store them matters so much for keeping that soft, melt-in-your-mouth quality. Don’t just leave them uncovered on the counter—they’ll get hard too fast! I wrap the cut pieces tightly in plastic wrap, and then I stack those wrapped pieces in an airtight container. This keeps moisture locked in. You can leave them on the counter for about a week, but honestly, if you can resist, they stay even better in the fridge. If you chill them, let them sit on the counter for about 15 minutes before serving so they soften up just a touch and deliver that perfect creamy bite. If you’re looking for other recipes that store well, you might enjoy my secrets from baking the best chocolate chip cookies!
Simple Fudge Variations and Flavor Swaps
Now that you have mastered the easiest base for decadent fudge known to humankind, you are ready to start experimenting! I absolutely love coming up with Simple Fudge Variations because the base recipe is so forgiving. You only change out the chips and the extract, and suddenly you have a whole new dessert ready to go. It’s like having a secret flavor vault!
If you’re making this for someone who isn’t a huge dark chocolate fan, you can easily pivot. Swap the semi-sweet chips for white chocolate chips! You’ll want to use a teaspoon of peppermint extract instead of vanilla then—pure white chocolate peppermint squares! Or maybe you prefer something butterscotch? Those chips work beautifully too. The key is to make sure whatever you swap in melts at roughly the same rate as the semi-sweet chips you started with.
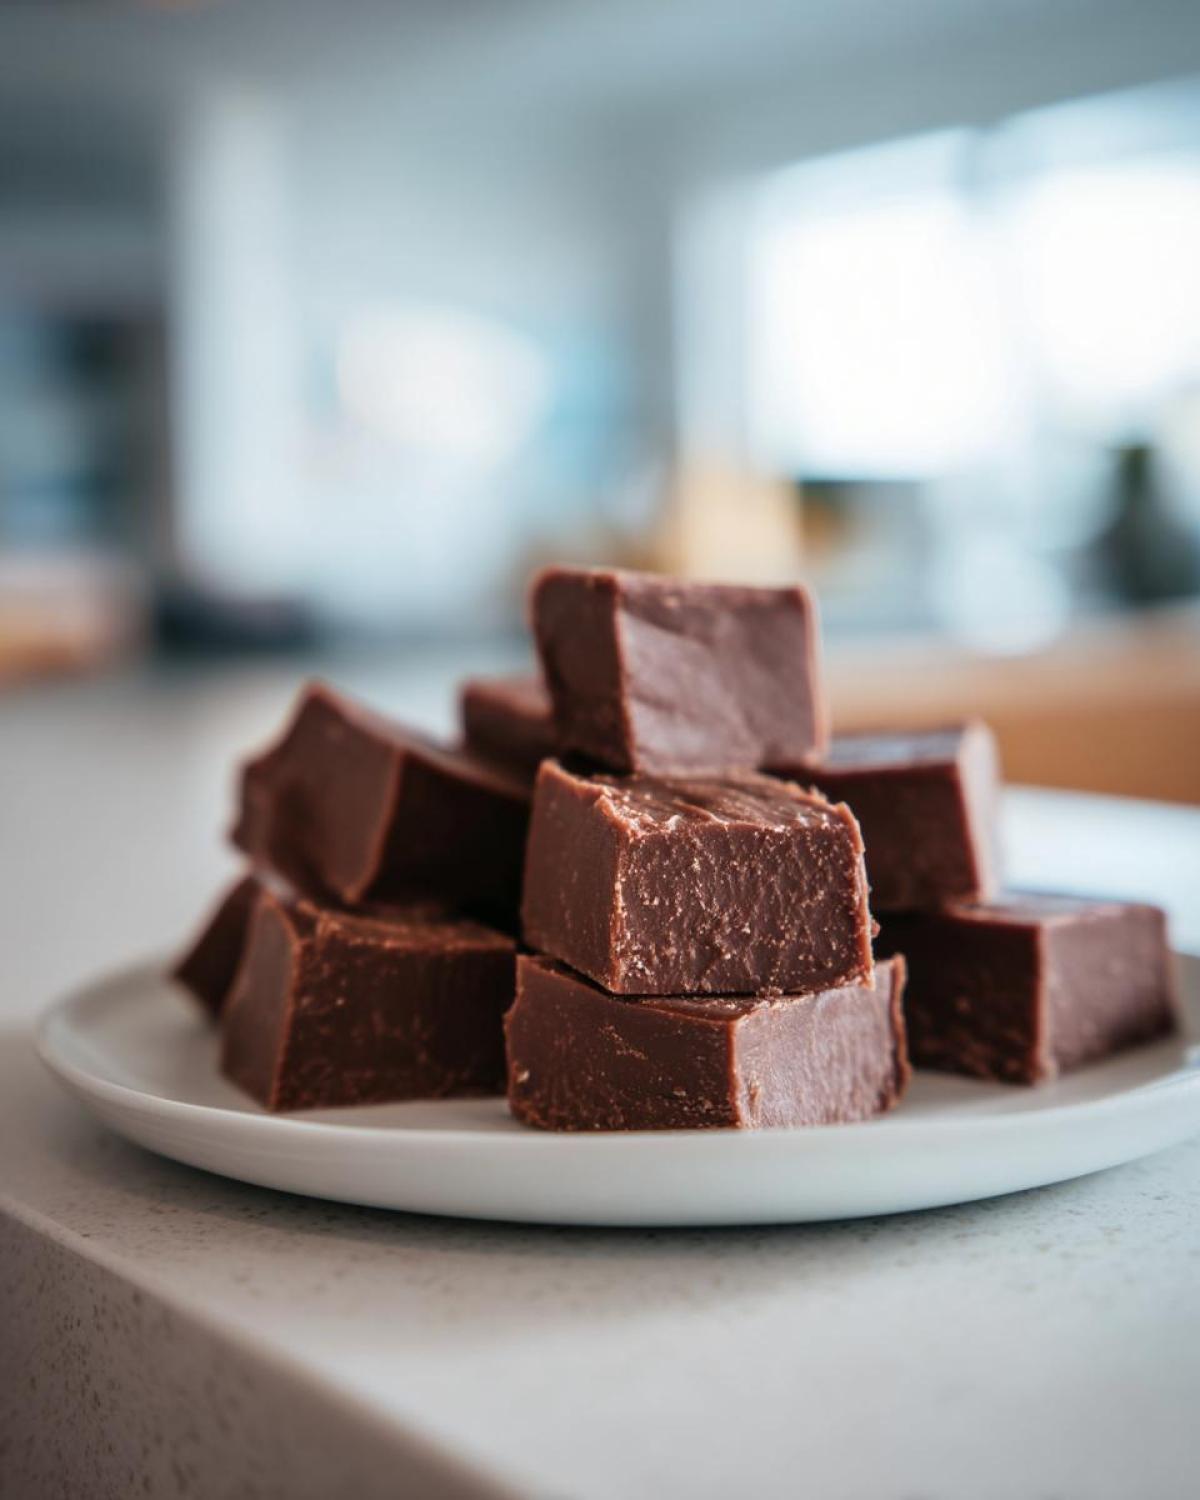
My absolute favorite swap, though, is turning this into a true peanut butter experience. This is a real showstopper, especially if you’re looking for Holiday Fudge Ideas. Right when you’re stirring in the vanilla extract (Step 5 in the instructions), throw in about half a cup of soft, creamy peanut butter—the natural kind gets too oily, so stick to the standard jarred stuff for this. Stirring that in along with the vanilla makes the whole mix thicken up, but it sets into the most incredible, rich peanut butter candy. If you love that kind of nutty goodness, you have to try my crispy tender peanut butter cookies next time you’re craving a classic!
Serving Suggestions for Your Decadent Sweet Treats
Once your glorious, rich fudge has set up perfectly and you’ve lifted it out using those parchment handles, the real fun starts: presentation! If you are making a batch for Fudge for Gifting, presentation is everything. Don’t just plop them in a bag; make them look like the professional candy they taste like! After cutting your squares, I love to give mine a light dusting.
You can use high-quality unsweetened cocoa powder for a sophisticated, slightly bitter contrast to the sweetness, making these little squares look professional. Or, if you used a vanilla or butterscotch base, a quick dip in melted chocolate and pressing a tiny sprinkle of sea salt on top turns them into true showstoppers. If you happen to have some leftover melted chocolate from making other treats, drizzle it over the top before it sets for an extra layer of texture!
Frequently Asked Questions About Making Fudge
It’s funny how even the simplest recipes always seem to spark a ton of questions! When I first started making this quick, glorious fudge, I had the same handful of worries. I’m happy to report that most of those worries are totally unfounded because this method is so forgiving. You asked, and I answered! I hope these thoughts help you get that perfect batch of candy!
Can I use milk chocolate chips instead of semi-sweet in this fudge recipe?
You absolutely can, but here’s my honest take: you probably should only do that if you have a serious sweet tooth! Milk chocolate chips have significantly more sugar and fat than semi-sweet chips. Since this recipe already relies heavily on the sugar from the condensed milk, using milk chocolate will make your final fudge much sweeter overall. Also, sometimes the higher fat content in milk chocolate can make the final square a little softer than the classic firm bite we are looking for. If you go that route, maybe chill it for an extra hour just to be safe before cutting!
How long does this no bake fudge last?
This recipe disappears so fast in my house that I rarely have leftovers, ha! But seriously, because this is a no-bake preparation, it stays perfect for quite a while if you follow my wrapping advice from earlier. If you keep your pieces tightly wrapped in plastic wrap and stored in an airtight container at cool room temperature, it should hold its texture beautifully for a solid week, maybe even ten days. If you’re worried about it getting too soft in a warm kitchen, pop it into the fridge. It’s perfect stored in the fridge for up to three weeks, though I recommend letting it sit out for about 15 minutes before serving so it softens back up to that lovely melt-in-your-mouth consistency.
What is the best way to cut clean squares of fudge?
Cutting clean squares can be surprisingly tricky if the fudge is too cold or too sticky. My secret here is warming up your knife. Once the fudge is completely firm—like, seriously firm after chilling for two hours—take a nice, sharp chef’s knife and run the blade quickly under very hot water. Wipe it completely dry and make your first straight cut. Wipe the knife clean again, rinse it hot, dry it, and cut the next line. Repeating this simple rinse-and-wipe process between every single cut keeps the fudge from sticking to the blade and dragging the edges. You’ll end up with beautifully sharp, shiny sides on every piece!
Estimated Nutritional Data for Chocolate Fudge
Now, listen closely, because while this fudge is pure indulgence and my favorite kind of treat, it’s good to have a rough idea of what you’re sharing—especially when you’re bagging these up for Fudge for Gifting! Because this recipe is just three incredibly rich components, these numbers reflect a truly decadent square. I always stress that these are estimates, though. Those chocolate chips you buy might be slightly different than mine, so take these figures as a friendly guideline rather than gospel truth!
This chart is based on cutting the recipe into 36 small squares, just like in the recipe instructions, so remember that if you cut larger pieces, those counts go up quickly!
- Serving Size: 1 square
- Calories: 120
- Fat: 6g (Be honest, most of that is the good stuff!)
- Saturated Fat: 4g
- Trans Fat: 0g
- Cholesterol: 10mg
- Carbohydrates: 17g
- Sugar: 16g (Yes, it’s sweet, but that’s why it’s dessert!)
- Fiber: 1g
- Protein: 2g
See? It proves that the simplest recipes can still give you a satisfying, rich dessert square without any weird fillers or additives. Enjoy every bite!
Share Your Creamy Fudge Dessert Creations
Well, that’s it! You have officially mastered the easiest, quickest, richest fudge recipe I know. Seriously, if this didn’t satisfy that craving for a decadent sweet treat, I don’t know what will! Now I’m dying to know what you thought. Did you stick exactly to the three ingredients, or did you try one of the fun flavor swaps? Maybe you went all out with the peanut butter version?
Please, please leave me a comment below letting me know how your batch turned out. Did you find it truly melt-in-your-mouth smooth? Did you manage to cut those perfect, tiny squares, or did yours shrink down before you could get to them? I always love hearing from you folks, and your feedback helps everyone else who is looking for that perfect, foolproof candy recipe!
If you tried this out and it became your new go-to, consider giving it a five-star rating right here on the page—it helps other people find this incredible Creamy Fudge Dessert, too! And if you are already looking for your next simple baking adventure, maybe give my easy honey bran muffins a whirl. Happy baking (or, in this case, happy melting)!
Print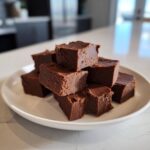
Easy 3-Ingredient Chocolate Fudge
- Total Time: 10 min
- Yield: 36 small squares
- Diet: Vegetarian
Description
Make rich, creamy chocolate fudge quickly using only three ingredients. This no-bake method avoids the need for a candy thermometer.
Ingredients
- 1 (14 ounce) can sweetened condensed milk
- 2 cups semi-sweet chocolate chips
- 1 teaspoon vanilla extract
Instructions
- Line an 8×8 inch baking pan with parchment paper, leaving an overhang on the sides for easy removal.
- Place the chocolate chips in a medium, microwave-safe bowl.
- Pour the sweetened condensed milk over the chocolate chips.
- Microwave on high for 60 seconds. Stir well.
- Continue microwaving in 30-second intervals, stirring well after each interval, until the mixture is completely smooth and melted. This usually takes 1 to 2 minutes total.
- Stir in the vanilla extract until fully combined.
- Pour the fudge mixture into the prepared pan and spread evenly.
- Refrigerate for at least 2 hours, or until firm.
- Lift the fudge out of the pan using the parchment paper overhang. Cut into small squares before serving.
Notes
- For a smoother texture, use good quality chocolate chips or chopped chocolate bars.
- If you prefer a different flavor, substitute the chocolate chips with white chocolate chips or butterscotch chips.
- For peanut butter fudge, stir in 1/2 cup of creamy peanut butter along with the vanilla extract.
- Prep Time: 5 min
- Cook Time: 5 min
- Category: Dessert
- Method: No Bake
- Cuisine: American
Nutrition
- Serving Size: 1 square
- Calories: 120
- Sugar: 16
- Sodium: 35
- Fat: 6
- Saturated Fat: 4
- Unsaturated Fat: 2
- Trans Fat: 0
- Carbohydrates: 17
- Fiber: 1
- Protein: 2
- Cholesterol: 10


Comments are closed.