
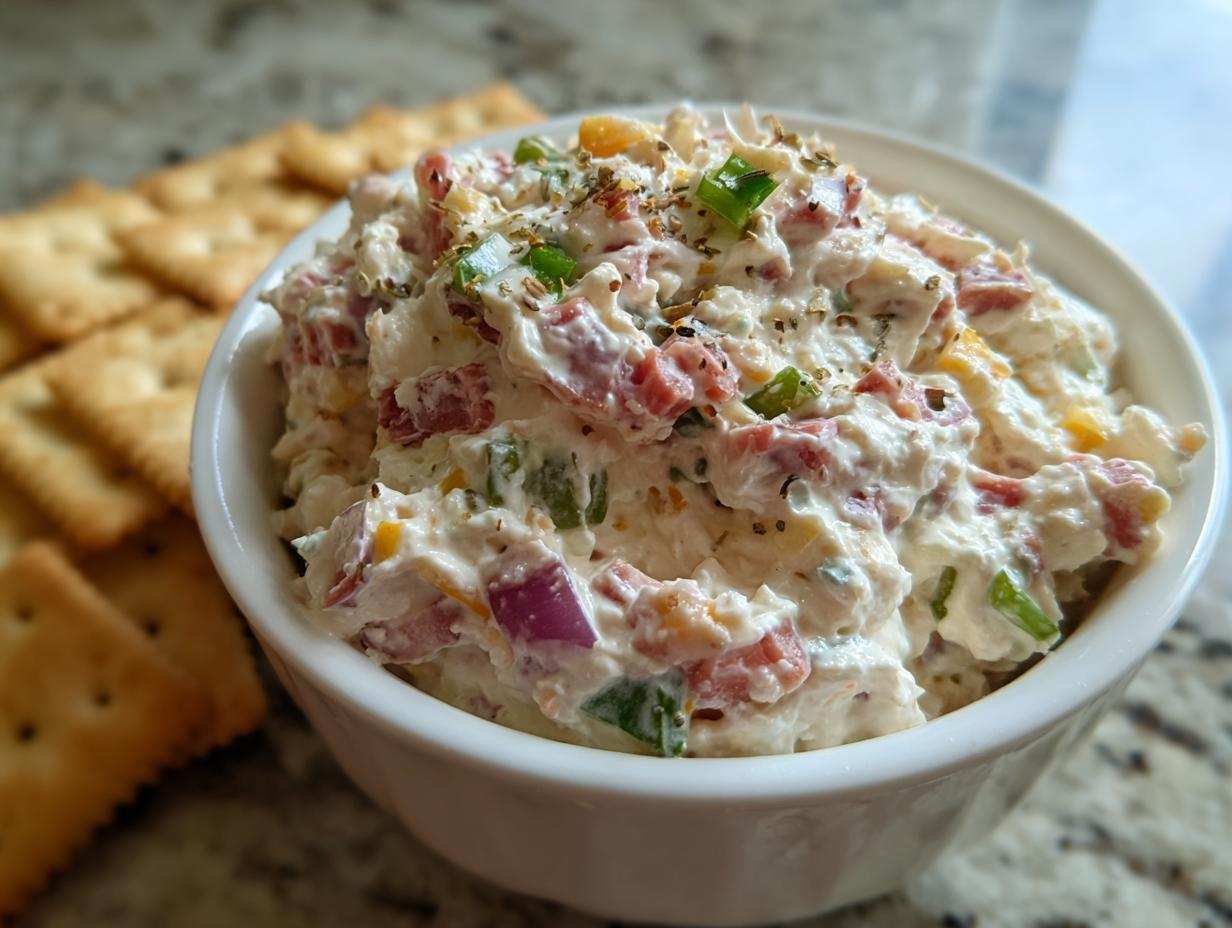
Oh my goodness, if you’re anything like me, your appetizer game needs to be strong, especially when the big game is on or you have last-minute folks dropping by! Forget the dusty seven-layer dips of the past. I found something that blew everyone away at the last potluck, and people are still asking me for the secret. This hoagie dip is exactly what you need: it tastes precisely like biting into a perfectly loaded Italian sub, but you just scoop it up! It’s completely no-cook, which means I can whip it up while I’m dealing with literally everything else. Trust me, this easy crowd-pleasing dip is my new favorite way to feed a crowd!
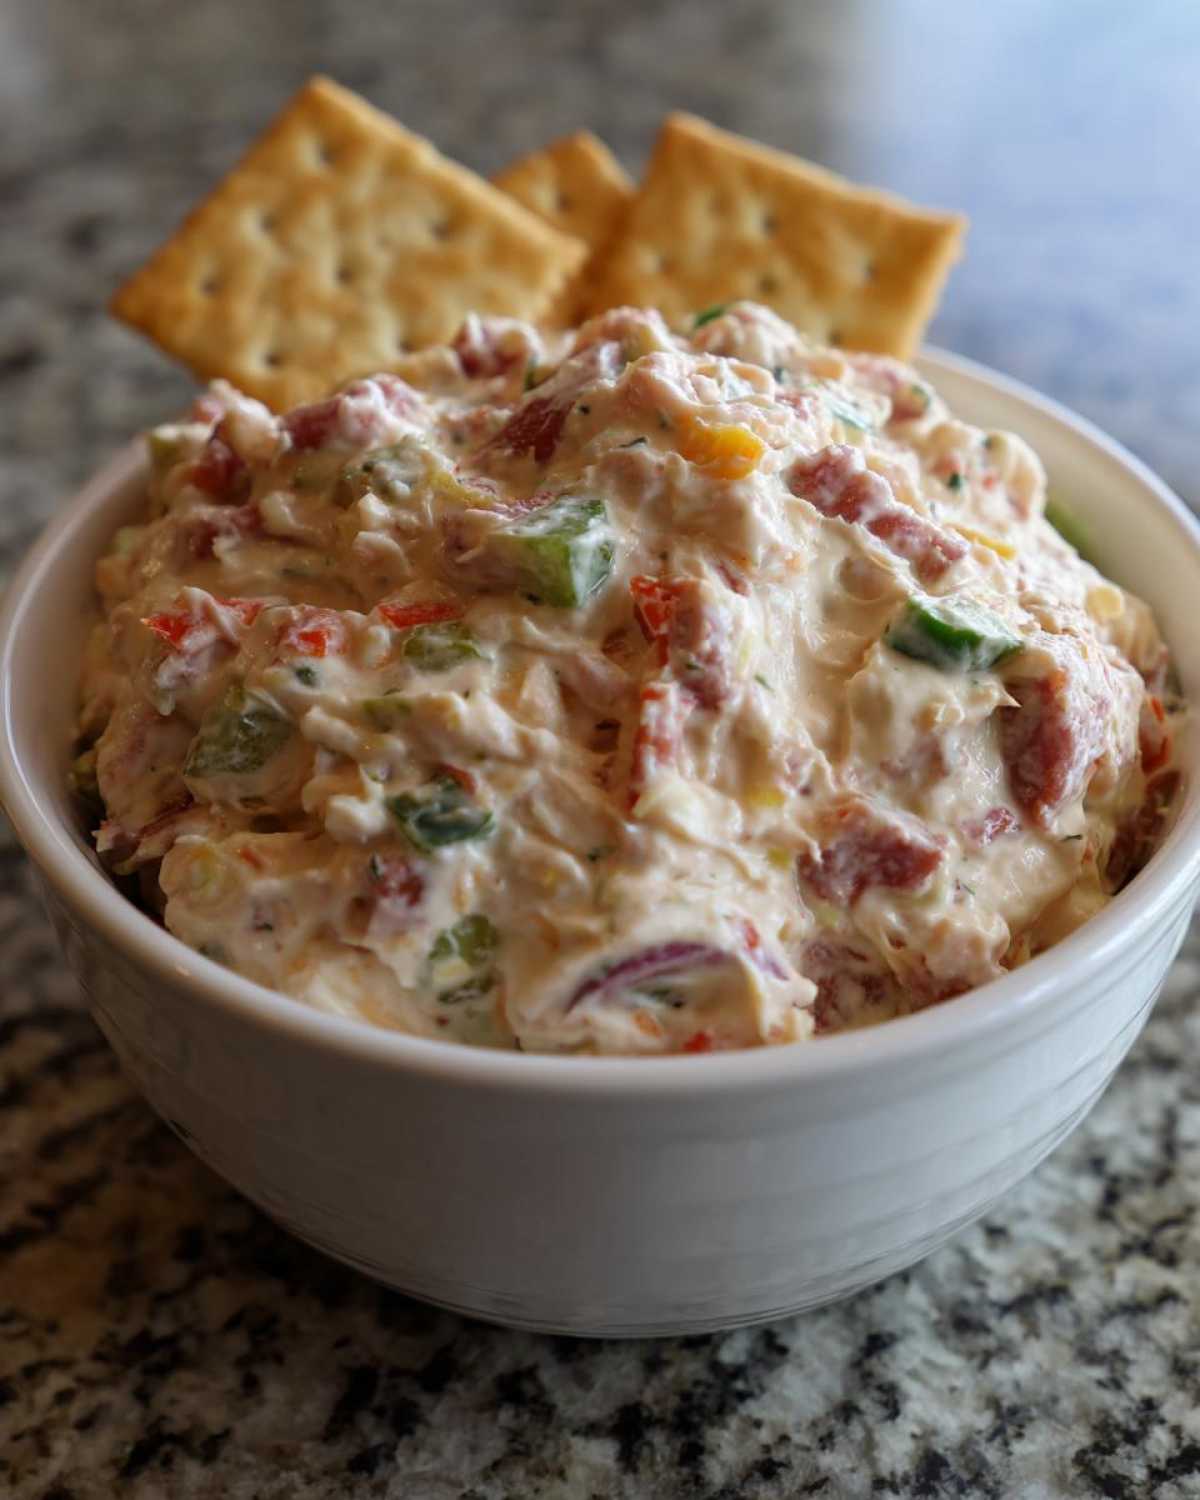
Why This Cold Italian Hoagie Dip is the Ultimate Party Appetizer
Listen, when entertaining, I need an appetizer that doesn’t keep me stuck in the kitchen fussing with an oven. That’s why this hoagie dip is officially my MVP. It’s the best party dips winner year after year because it wins on convenience and flavor both. If you’re planning your next next game day dip spread, this has to be on the menu. It just works!
Quick Assembly: The Beauty of a No-Cook Hoagie Dip
Seriously, the active time here is maybe fifteen minutes, tops. You just mix, chill, and serve. It’s the definition of a perfect no bake dip. I usually throw it together the morning of the party, or even the night before, and it is ready exactly when the first guests start showing up. That means less stress for me!
Authentic Italian Sub Flavors in a Scoopable Dip Recipe
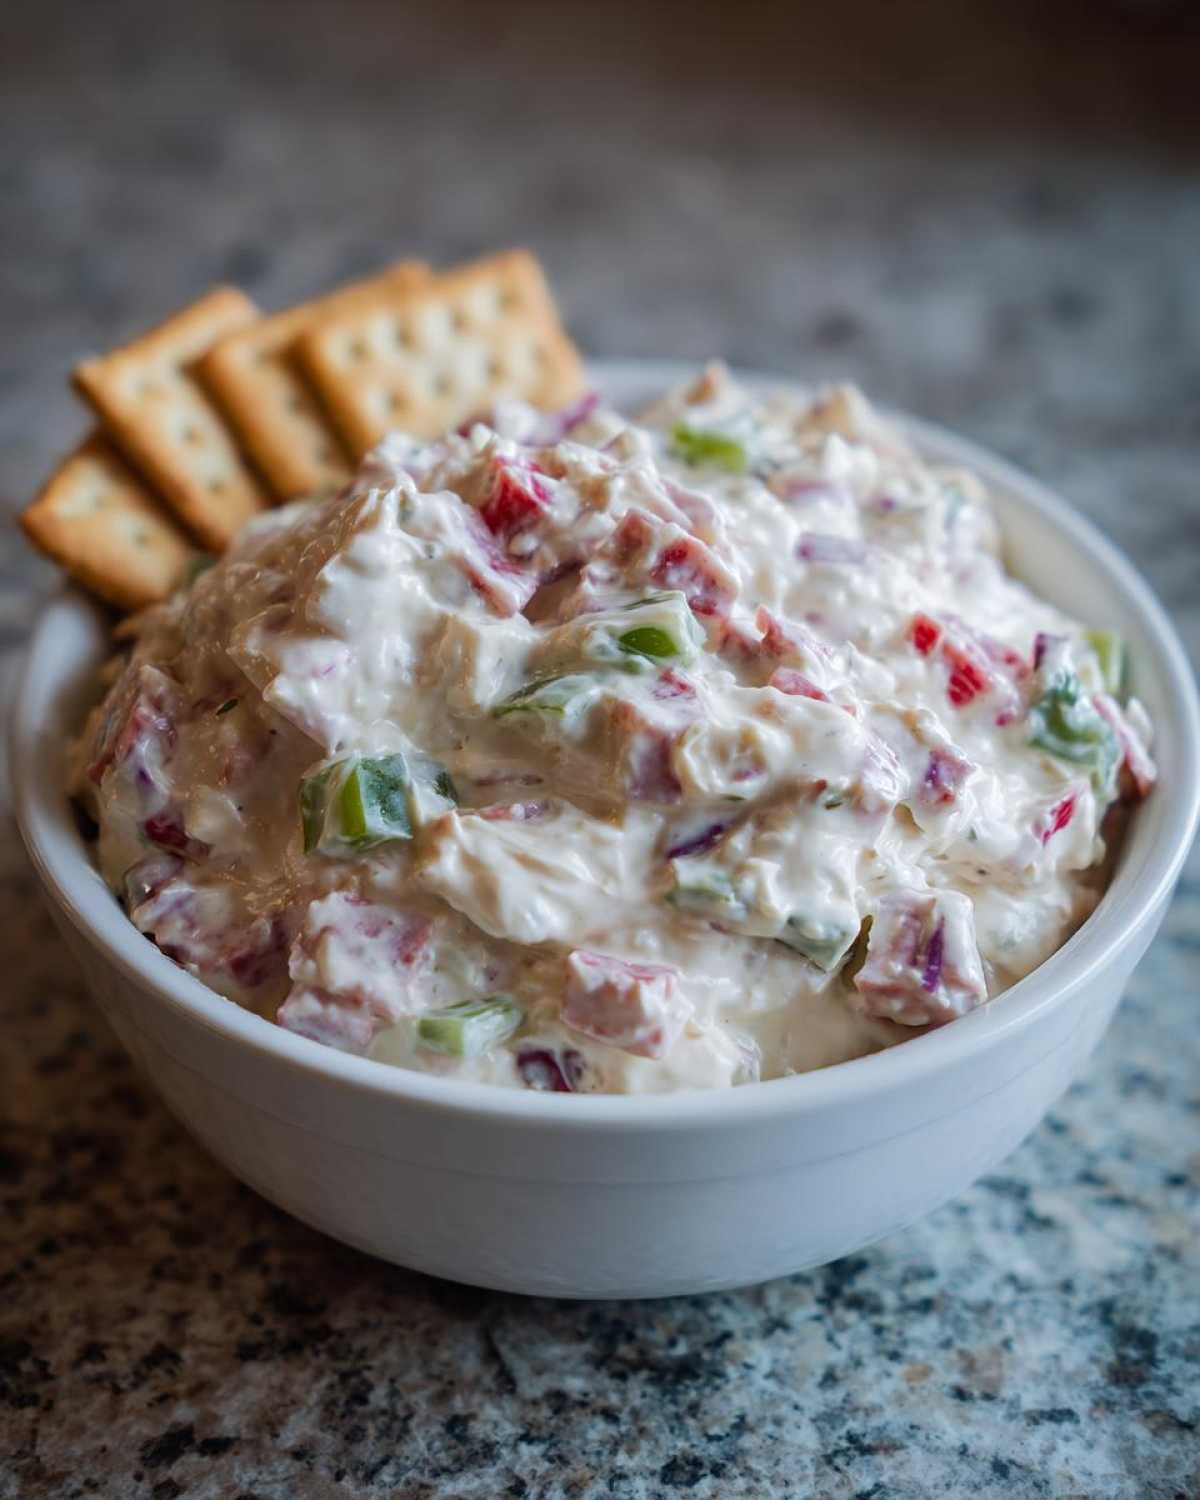
What I love most is that every flavor you want in a cold-cut sandwich is packed in here. We’ve got that salty pepperoni, sharp provolone, and the bite of onion and vinegar. It really captures that authentic italian sub dip vibe. Because it’s so rich and thick, it turns into the most satisfying scoopable dip recipe you’ve ever made, perfect for soaking up all that amazing flavor.
Gathering Your Ingredients for the Perfect Hoagie Dip Recipe
Okay, let’s talk about what you need to pull this incredible hoagie dip recipe together. Since this is a no-cook situation, the quality of your base ingredients really matters. Everything comes together in one bowl, so we need to make sure the cream cheese is perfect right from the start. Honestly, gathering these things is almost as fun as eating the dip later!
Deli Meat and Cheese Foundation for Your Hoagie Dip
You’re going to start with 8 ounces of cream cheese, but here’s the thing: it has to be softened. If it’s cold, your mix won’t be smooth, and we want zero lumps! We also need 8 ounces of shredded provolone cheese—that really brings the classic melt-in-your-mouth sandwich texture. Mix those with one cup of mayonnaise and a packet of Italian dressing mix, plus a teaspoon of oregano. Then, grab half a cup each of finely chopped salami and ham, and a quarter cup of finely chopped pepperoni. It’s a meat lover’s dream in a bowl!
The ‘Veggies and Zing’ That Make This Italian Hoagie Dip
This is where we get that fresh crunch that stops this deli meat dip from tasting too heavy. You need a quarter cup of finely chopped green bell pepper and a quarter cup of finely chopped red onion. Don’t forget those two tablespoons of chopped black olives! Now, for the magic zing: one tablespoon of red wine vinegar. Seriously, don’t skip the vinegar; the quality of your red wine vinegar totally changes the brightness of the final Italian hoagie dip, so use a decent one if you have it!
Step-by-Step Instructions for Making the Cold Hoagie Dip
Now that you have all your fabulous ingredients, putting this hoagie dip together is shockingly fast! The recipe seems complicated just because of all the chopping, but the actual mixing happens in a flash. Just follow these steps, and you’ll have the best appetizer for a crowd ready in no time. Remember, we aren’t turning on the oven, which is a major win.
Mixing the Creamy Base for Your Hoagie Dip Recipe
First things first, grab that bowl with your softened cream cheese. You need to get that base absolutely smooth before anything else goes in. I use my hand mixer for this part for about a minute until it’s fluffy—no lumps allowed! Then, beat in the shredded provolone and the mayonnaise right along with the Italian dressing mix and dried oregano. Keep mixing until it looks like one luscious, pale-yellow cloud. If you add your meats now, you’ll overmix, so stop before that!
Folding in the Deli Meats and Seasonings
Once that base is perfect, switch over to a sturdy rubber spatula. This is crucial! We want to gently fold everything else in. Add the salami, ham, pepperoni, peppers, onions, and olives. Fold them in until they are just evenly distributed. Don’t churn the mix; we don’t want to break up those nice crunch bits from the veggies. Once everything is nestled together, stir in that tablespoon of red wine vinegar, and then give it a little taste test for salt and pepper. That’s it for assembly!
Chilling Time: Essential for the Best Hoagie Dip
Okay, this is the part that separates a decent deli meat dip from a legendary one: chilling! You absolutely cannot skip this step for the perfect cold hoagie dip. Pop a lid or plastic wrap over that bowl and stick it in the fridge for a minimum of two hours. Those two hours let that Italian dressing mix really penetrate the cream cheese and the meats. If you serve it right away, it tastes fine, but after chilling? Wow. The flavors truly meld, making it taste exactly like a fully dressed Italian sub.
Tips for Serving This Amazing Party Appetizer
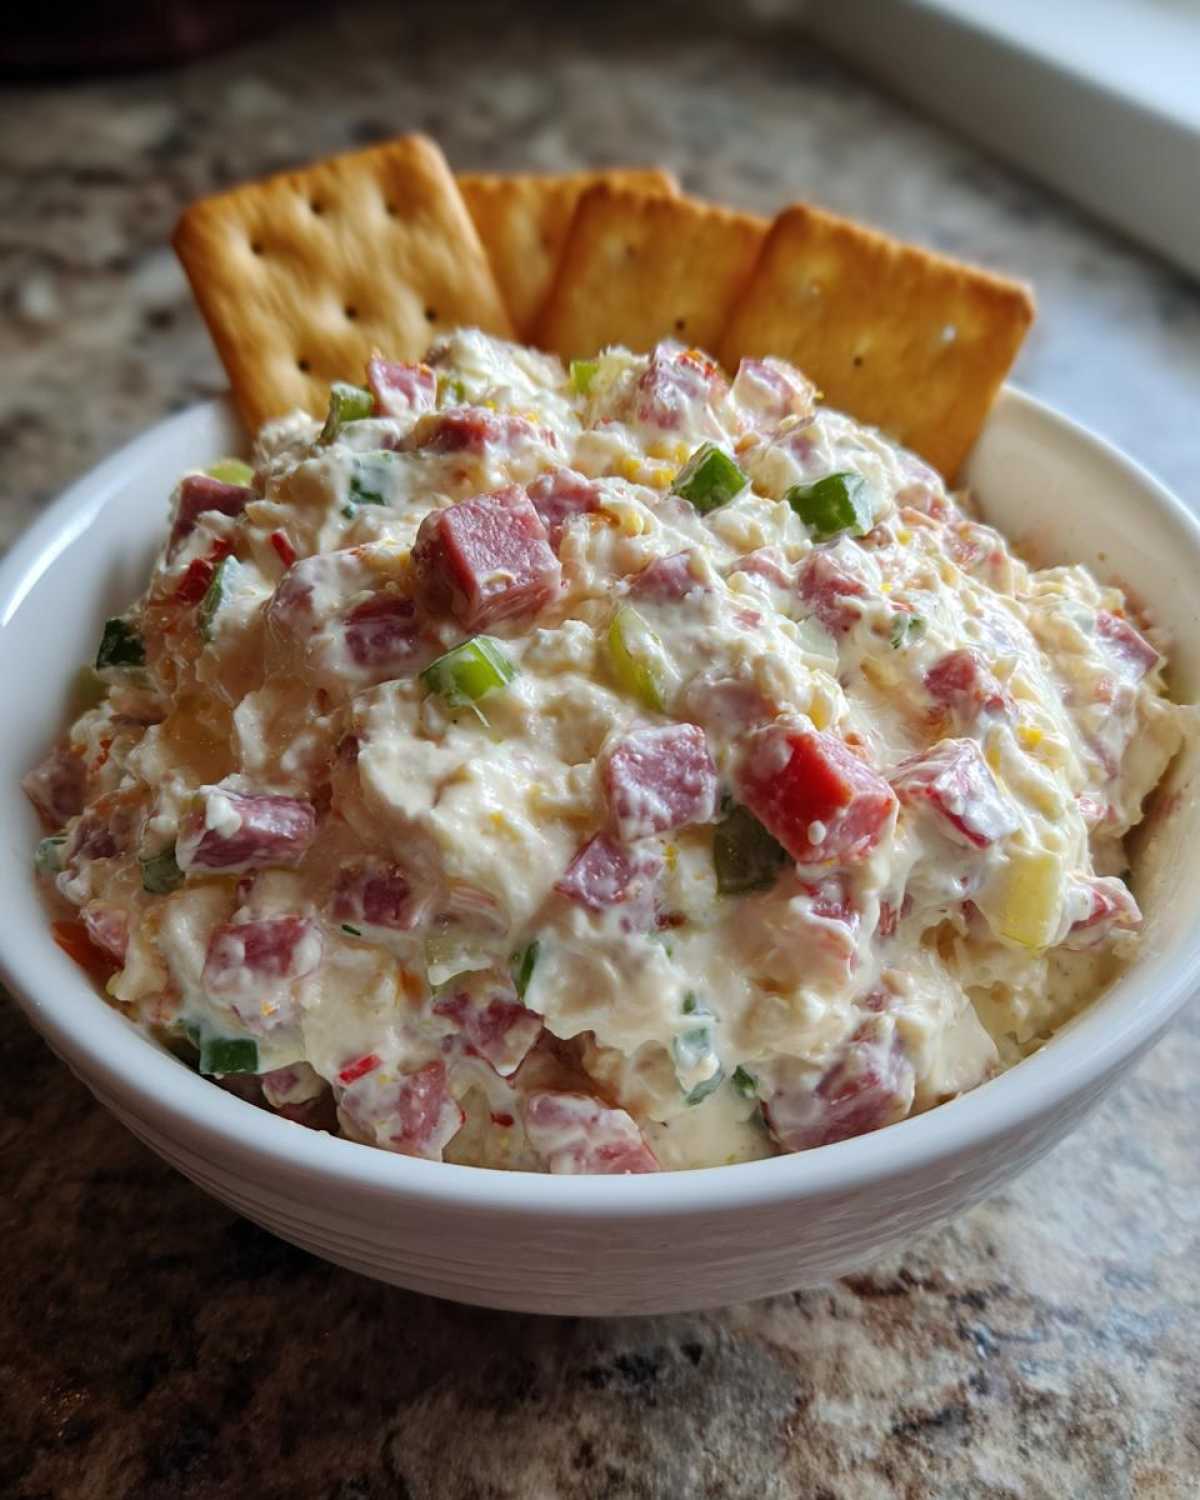
You’ve made the perfect hoagie dip, it’s chilled, and now it’s time for the grand reveal! Serving this appetizer for a crowd is almost as fun as mixing it up. Presentation matters, especially when you’re prepping for a big event, like your favorite game day dip lineup. Don’t let all that hard work just sit in a plastic tub!
Serving Suggestions for Your Italian Hoagie Dip
Since this is a rich, thick dip, you need sturdy vehicles for scooping, otherwise, you’ll end up with broken crackers everywhere! Ditch the wavy potato chips that can’t handle the weight of all that glorious meat and cheese. I always serve this with sturdy water crackers, some thick-cut pita chips, or thinly sliced, toasted baguette rounds. They hold up so well to the deli meat!
But for real show-stopping appeal? Try hollowing out a nice, crusty artisan loaf of bread—something round and dense—and place the chilled Italian hoagie dip right inside. It looks incredible displayed on a platter, and people just love tearing off pieces of the bread bowl edges to dip with. It honestly doubles the snack factor!
Pro Tips for the Best Hoagie Dip Experience
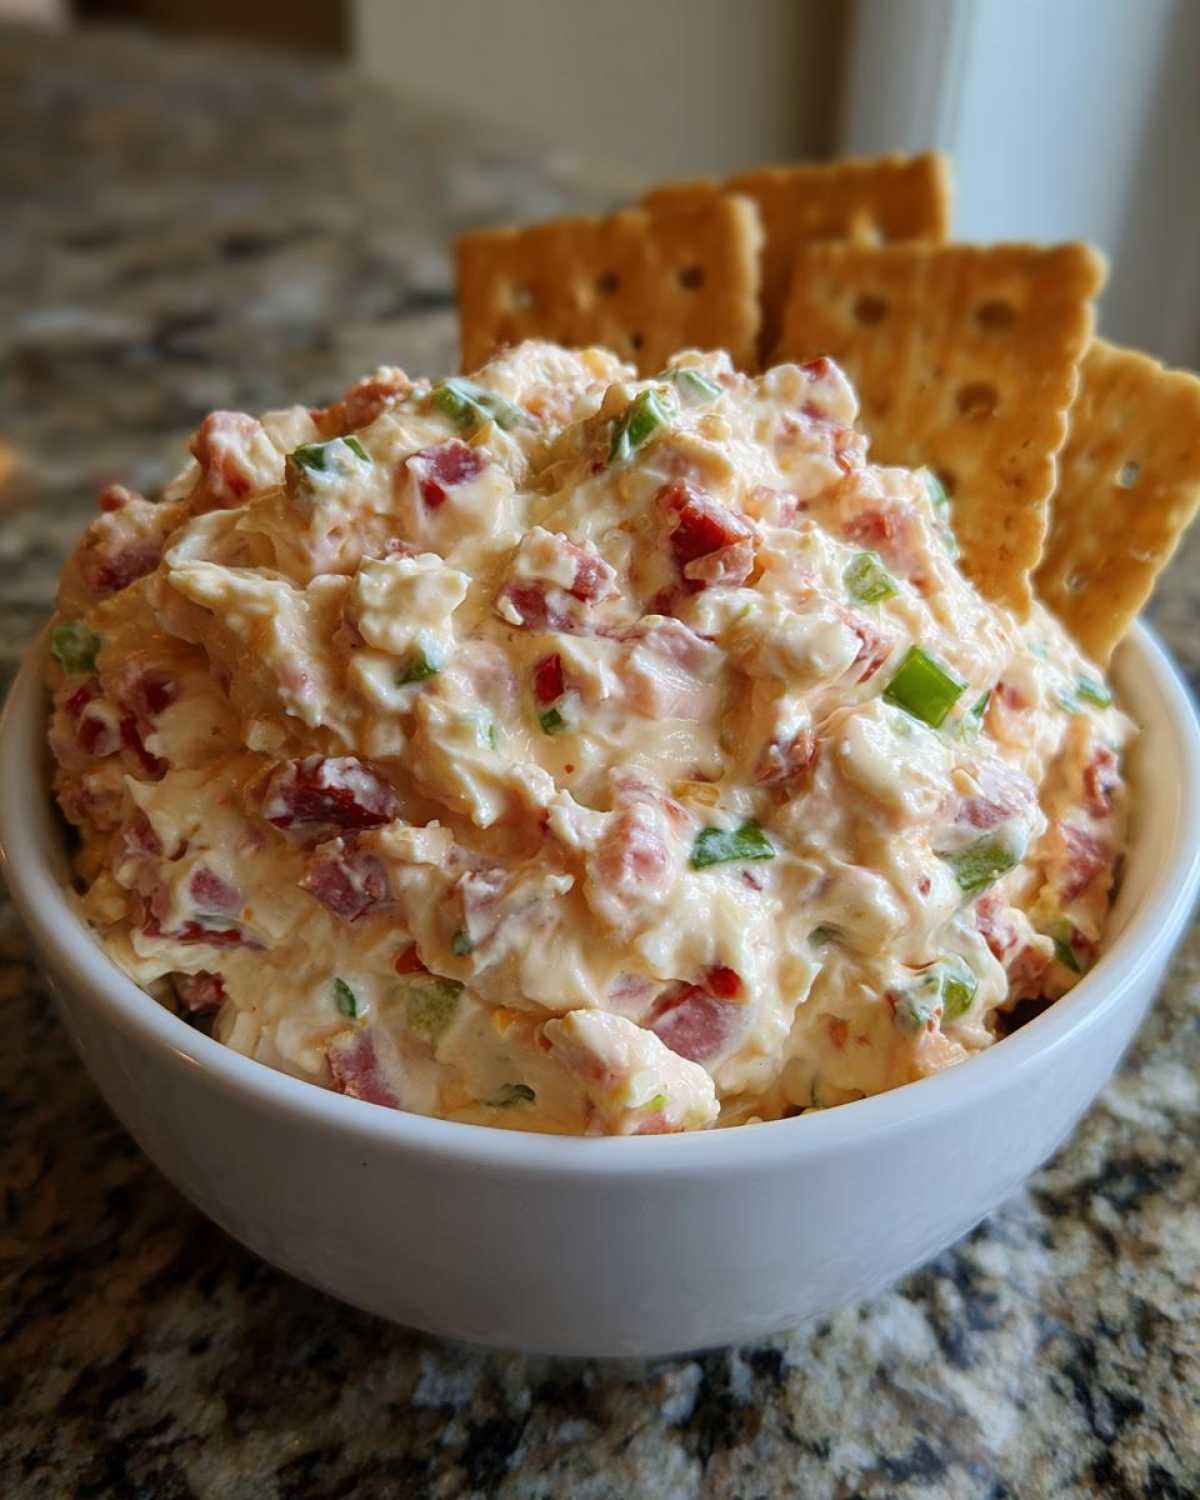
I want you to have the absolute best experience with this provolone dip, so here are a couple of tricks I learned from testing batch after batch. If you or your guests like a lot of heat—and I mean a real kick—remember that adding a tablespoon of finely chopped pepperoncini peppers is a game-changer. That vinegary heat really cuts through the richness of the salami and ham.
If you’ve made the dip ahead of time (which is highly recommended!), sometimes the cream cheese base firms up just a touch too much in the cold environment. If that happens when you pull it out, don’t worry! Just let the bowl sit on the counter for about 15 minutes before you put it out for guests. That small rest period softens it back up just enough so it’s perfectly dippable without losing its structure.
Variations on the Classic Hoagie Dip
I love that this hoagie dip recipe works so well right out of the fridge, but you know me—I can never leave well enough alone! If you’re looking to shake things up or maybe you’ve run out of one of the deli meats, there are tons of fun ways to play with these flavors. Every adjustment can turn this into a slightly different, but equally amazing, provolone dip experience. It’s all about getting inventive!
Making a Hot and Cheesy Hoagie Dip
So, here’s the deal: because all the ingredients are already delicious raw, turning this into a baked version is super simple, and it definitely satisfies that craving for a warm, gooey creamy hoagie dip. You’d mix everything exactly as written, but instead of chilling it, you’d transfer the mix to a small oven-safe baking dish. I’d boost the provolone by about half a cup, and maybe sprinkle a little extra on top just for that beautiful golden crust!
Pop it into a 350°F oven—don’t preheat too aggressively, we don’t want the mayo to break—and bake it for about 20 to 25 minutes. You’re just looking for it to get bubbly all the way through and for that top layer of cheese to turn slightly golden brown. Honestly, serving this hot version with slices of warmed Italian bread? Forget about it. It is next-level good for game day!
Vegetarian Swaps for Your Deli Meat Dip
If you have vegetarian friends coming over, or you just felt like skipping the cured meats this time, this is still a fantastic sandwich dip! You can simply leave out all the salami, ham, and pepperoni. But we can’t just leave empty space where the flavor was, right? We need to replace that savory element.
I suggest pumping up the volume on the brine and tang. Try using a good quarter cup of finely chopped sun-dried tomatoes—the ones packed in oil are the best for adding richness. And if you can find them, chopped artichoke hearts work wonders! They soak up the dressing mix beautifully and give you that hearty texture you need in a non-meat version of this hoagie dip.
Storage and Make-Ahead Options for This Hoagie Dip Recipe
I know, I know, planning for a big event is chaos, and sometimes you just need to get ahead! The absolute best news about this amazing hoagie dip is that it practically begs you to make it early. When I’m loading up my tray for big potluck food ideas, this is always the first thing I prep because it gets better with age, almost like my grandmother’s carrot cake!
Preparing the Hoagie Dip in Advance
You can totally make this ahead of time, and honestly, I think you should! I aim to mix up the entire batch—from the provolone base to folding in all those delicious chopped meats and peppers—the day before I plan to serve it. The recipe notes mention you can safely prep this up to 24 hours in advance. Twenty-four hours is my sweet spot. It gives the cream cheese mixture ample time to absorb all that peppery, vinegary goodness from the dressing mix and the olives.
Just remember that when you pull it out of the fridge after that long chill, it might be a little firmer than when you first mixed it. That’s totally normal! It’s why we let it sit on the counter for a bit before serving, just long enough for the texture to loosen up again.
Storing Leftover Sandwich Dip
And if, by some miracle, you actually have leftovers (which rarely happens at my house!), storing this sandwich dip is super easy. You just need an airtight container. A good container will keep this deli dip fresh and delicious in the refrigerator for about three to four days. I find that the flavor is still fantastic on day three!
Do not, under any circumstances, try to freeze this dip. The mayonnaise and cream cheese just don’t freeze well; when they thaw, the texture gets grainy and sort of weep-y. It’s best enjoyed fresh (or within four days of being made fresh!). Keep it covered tightly, and it’s good to go!
Frequently Asked Questions About This Party Appetizer
I always get a ton of questions when I share this recipe because people are so excited to make the ultimate hoagie dip for their guests. It’s natural to wonder about substitutions or how to handle it when you’re making it for a huge crowd, like for the Super Bowl! I’ve rounded up some of the most common things folks ask me to make sure your experience making this party appetizer is perfect.
Can I use different deli meats in this hoagie dip recipe?
Oh, absolutely you can! That’s the fun of adapting any good deli meat dip. The baseline ingredients (cream cheese, provolone, and veggies) give you that basic Italian flavor profile, and you can swap the meats around to suit your taste or what you have on hand. I usually stick to salami, ham, and pepperoni because that’s what feels most like a classic sub. If you want a little kick, try swapping out some of the ham for spicy capicola. Just be careful! If you go with spicier meats, maybe pull back on the amount of pepperoni slightly so the whole hoagie dip doesn’t get too overwhelming for your guests.
What is the best way to keep the cold hoagie dip fresh at a party?
This is vital, especially when you have people grazing for hours at a big event. Because it’s a cold hoagie dip, we want to keep it chilled so both the texture stays firm and the ingredients stay safe. If you’re setting it out on a buffet table where it will sit for a while, here’s my trick: you need an ice bath!
Take a larger bowl—maybe a glass one that looks nice—and fill the bottom with ice cubes. Place your serving bowl containing the actual Italian hoagie dip *inside* that larger bowl. As the ice slowly melts, it keeps the dip nice and cold without watering it down as fast. It’s a simple presentation trick that works wonders for keeping your easy crowd pleasing dip at the perfect temperature!
Is this hoagie dip suitable for Super Bowl snacks?
Is it suitable? Honey, it was *made* for Super Bowl snacks! This is probably the most requested recipe every time I bring it to a viewing party. It’s perfect because it requires zero oven space—you know how competitive that appliance gets during the Super Bowl! It’s also incredibly dense, which means it travels like a dream. You mix it up, put the lid on tight, and toss it in a cooler with some ice packs. It’s definitely one of the best, most transportation-friendly game day dip options out there!
Nutritional Estimate for Your Hoagie Dip
Now, look, I am a baker and a cook, not a nutritionist! When I’m making a massive batch of hoagie dip for a party, I am focused on flavor and fun, not counting carbs. But I know a lot of you like to keep track of what you’re serving, so I pulled together the estimated nutritional breakdown for this recipe.
Please keep in mind that these numbers are just a guide, okay? Since we are using deli meats and different brands of cream cheese and mayo, your values might shift a little bit. This estimate breaks down per serving size, which we figured at about half a cup, which seems like a reasonable scoop for any appetizer lineup.
Here’s what the numbers look like based on the ingredients we use:
- Serving Size: 1/2 cup
- Calories: 350
- Fat: 30g (Be mindful that this is a rich, cheesy dip!)
- Saturated Fat: 12g
We’ve got some good protein in there from all the salami and ham, which helps keep everyone satisfied while they’re watching the game! Here are those final numbers:
- Unsaturated Fat: 18g
- Trans Fat: 0g
- Cholesterol: 65mg
- Carbohydrates: 4g
- Fiber: 1g
- Sugar: 3g
- Protein: 18g
- Sodium: 750mg
Yeah, the sodium content is what you’d expect when you put salami, pepperoni, and provolone cheese into one delicious scoopable dip recipe. That’s why I always make sure to put out fresh veggies on the side when serving this party appetizer. It helps balance everything out nicely!
Share Your Experience Making This Hoagie Dip
Okay, my friends, now it’s your turn! I’ve shared all my favorite secrets for making this the best hoagie dip recipe around, and now I’m dying to know how it turned out for you. Did you try adding the pepperoncini? Or maybe you bravely ventured into the hot, cheesy version we talked about? Don’t keep it to yourself!
I really need to know if this became your new go-to game day dip! Please take a moment and leave a rating below—give me those five stars if you think this cold hoagie dip is worthy of your party spread. If you tried any of the customized variations, drop a comment below explaining what you did! I love hearing how you all adapt things in your own kitchens.
If you posted a picture of your amazing platter of Italian hoagie dip on social media, please tag me! Seeing my recipes come to life on your tables is honestly the best part of doing this. You can reach out to me directly through my contact page, too, if you have feedback or just want to rave about how easy this no bake dip was to prepare. Happy dipping, everyone!
Print
Cold Italian Hoagie Dip
- Total Time: 2 hours 15 min
- Yield: 6 servings
- Diet: Low Lactose
Description
A simple, no-cook dip that captures the flavor of an Italian sub sandwich, perfect for parties or game days.
Ingredients
- 8 ounces cream cheese, softened
- 8 ounces provolone cheese, shredded
- 1 cup mayonnaise
- 1 tablespoon Italian dressing mix
- 1 teaspoon dried oregano
- 1/2 cup finely chopped salami
- 1/2 cup finely chopped ham
- 1/4 cup finely chopped pepperoni
- 1/4 cup finely chopped green bell pepper
- 1/4 cup finely chopped red onion
- 2 tablespoons chopped black olives
- 1 tablespoon red wine vinegar
- Salt and pepper to taste
- Crackers, pita chips, or baguette slices for serving
Instructions
- In a medium bowl, combine the softened cream cheese, shredded provolone cheese, mayonnaise, Italian dressing mix, and dried oregano. Mix until smooth and fully combined.
- Fold in the chopped salami, ham, pepperoni, green bell pepper, red onion, and black olives.
- Stir in the red wine vinegar. Season with salt and pepper.
- Cover the bowl and refrigerate for at least 2 hours to allow the flavors to meld.
- Serve cold with your choice of crackers or bread for dipping.
Notes
- For a tangier flavor, add 1 tablespoon of finely chopped pepperoncini peppers to the mix.
- You can prepare this dip up to 24 hours in advance.
- If the dip thickens too much after chilling, let it sit at room temperature for 15 minutes before serving.
- Prep Time: 15 min
- Cook Time: 0 min
- Category: Appetizer
- Method: No-Cook
- Cuisine: American
Nutrition
- Serving Size: 1/2 cup
- Calories: 350
- Sugar: 3
- Sodium: 750
- Fat: 30
- Saturated Fat: 12
- Unsaturated Fat: 18
- Trans Fat: 0
- Carbohydrates: 4
- Fiber: 1
- Protein: 18
- Cholesterol: 65



Comments are closed.