

When you need a dessert that screams ‘party fun’ but whispers ‘I spent zero time on this,’ you run straight for the Jello poke cake. Seriously, nothing gets guests talking faster than a slice of cake that looks like a rainbow exploded inside it! This recipe—my go-to jello poke cake—is my absolute secret weapon for holiday gatherings, summer BBQs, or those random Tuesday nights when I just need bright colors.
Trust me, I’ve made this so many times I could probably do it with my eyes closed. It’s the ultimate box mix dessert hack; we take a humble cake mix, add liquid sunshine, and turn it into the softest, juiciest moist cake dessert you’ve ever had. It’s ridiculously easy, and it always disappears first on the table!
Why This Easy Poke Cake Stands Out
If you need a show-stopping party cake recipe without breaking a sweat, this is it. It checks all the boxes!
- It’s the definition of an easy poke cake; honestly, the hardest part is waiting for it to chill!
- It delivers unbelievable moisture thanks to the Jello absorption. It’s a truly moist cake dessert.
- The visual impact is huge! It’s one of the best colorful dessert ideas for any gathering.
We rely on that famous box mix hack to keep things simple while still achieving that deep, jelly-soaked texture.
Ingredients for the Ultimate Jello Poke Cake
Okay, here’s where you need to pay attention to the details because precision makes this Jello Poke Cake Recipe foolproof. We are combining pantry staples with bright, beautiful gelatin to soak the cake perfectly. Don’t substitute the pan size here—we need that 9×13 for the best distribution!
For the Cake Base
This is pure simplicity. We rely on the box for the heavy lifting.
- One box (15.25 oz size) white or yellow cake mix
- All the ingredients the box calls for: eggs, oil, and water
For the Jello Infusion
This is the flavor! Remember, we need this liquid when we pour it in, so don’t let it set up in the bowl!
- 1 cup boiling water (divided between the three flavors)
- 3 ounces strawberry Jello powder
- 3 ounces lime Jello powder
- 3 ounces blue raspberry Jello powder
- 1 cup cold water (1/3 cup for each flavor after the boiling water)
For the Cool Whip Topping Cake Finish
This topping is lighter than a traditional frosting, which I love for a chilled dessert. Make sure your whipped topping is actually thawed!
- 1 container (8 oz) frozen whipped topping, thawed
- 1/2 cup heavy cream
- 2 tablespoons powdered sugar
- 1 teaspoon vanilla extract
Step-by-Step Instructions for Your Jello Poke Cake
This is where the magic happens! Don’t rush these steps, especially the cooling times, because they make the difference between a good dessert and the best jello poke cake ever. We are building layers of flavor and moisture using that simple box mix—it’s such a smart shortcut.
Baking and Preparing the Cake Base
First thing first, bake that white or yellow cake mix according to the package directions in your 9×13 inch pan. Once it’s out of the oven, you have to let it sit right there in the pan for exactly 15 minutes. This short cooling time is crucial; it lets the cake firm up just a tiny bit so it doesn’t totally collapse when you start poking!
Mixing and Cooling the Jello for the Jello Poke Cake
While your cake is cooling down, get your Jello ready. In three separate bowls, dissolve each flavor—strawberry, lime, and blue raspberry—into 1/3 cup of boiling water for each one. Stir them until they are totally smooth, trust me, no grainy bits allowed! Then, stir in 1/3 cup of cold water for each bowl. You want this liquid Jello mixture to cool completely down to room temperature, which usually takes about 30 minutes. If it’s warm when you pour it, it will just melt the cake!
Poking and Infusing the Moist Cake Dessert
Time for the fun part! Grab the handle of a sturdy wooden spoon or a really big fork. Poke holes all over that slightly warm cake, digging deep—almost to the bottom of the pan—and try to space them about an inch apart. Now, pour your cooled, liquid Jello gently over the top. I usually try to alternate the colors, pouring one color into one set of holes, then switching to the next color in the adjacent holes. This is what gives you that amazing, colorful result inside this moist cake dessert.
Once all the Jello is poured, cover that beauty up and send it to the fridge. You absolutely must chill it for a minimum of 4 hours, but really, overnight is ideal so the gelatin sets up perfectly.
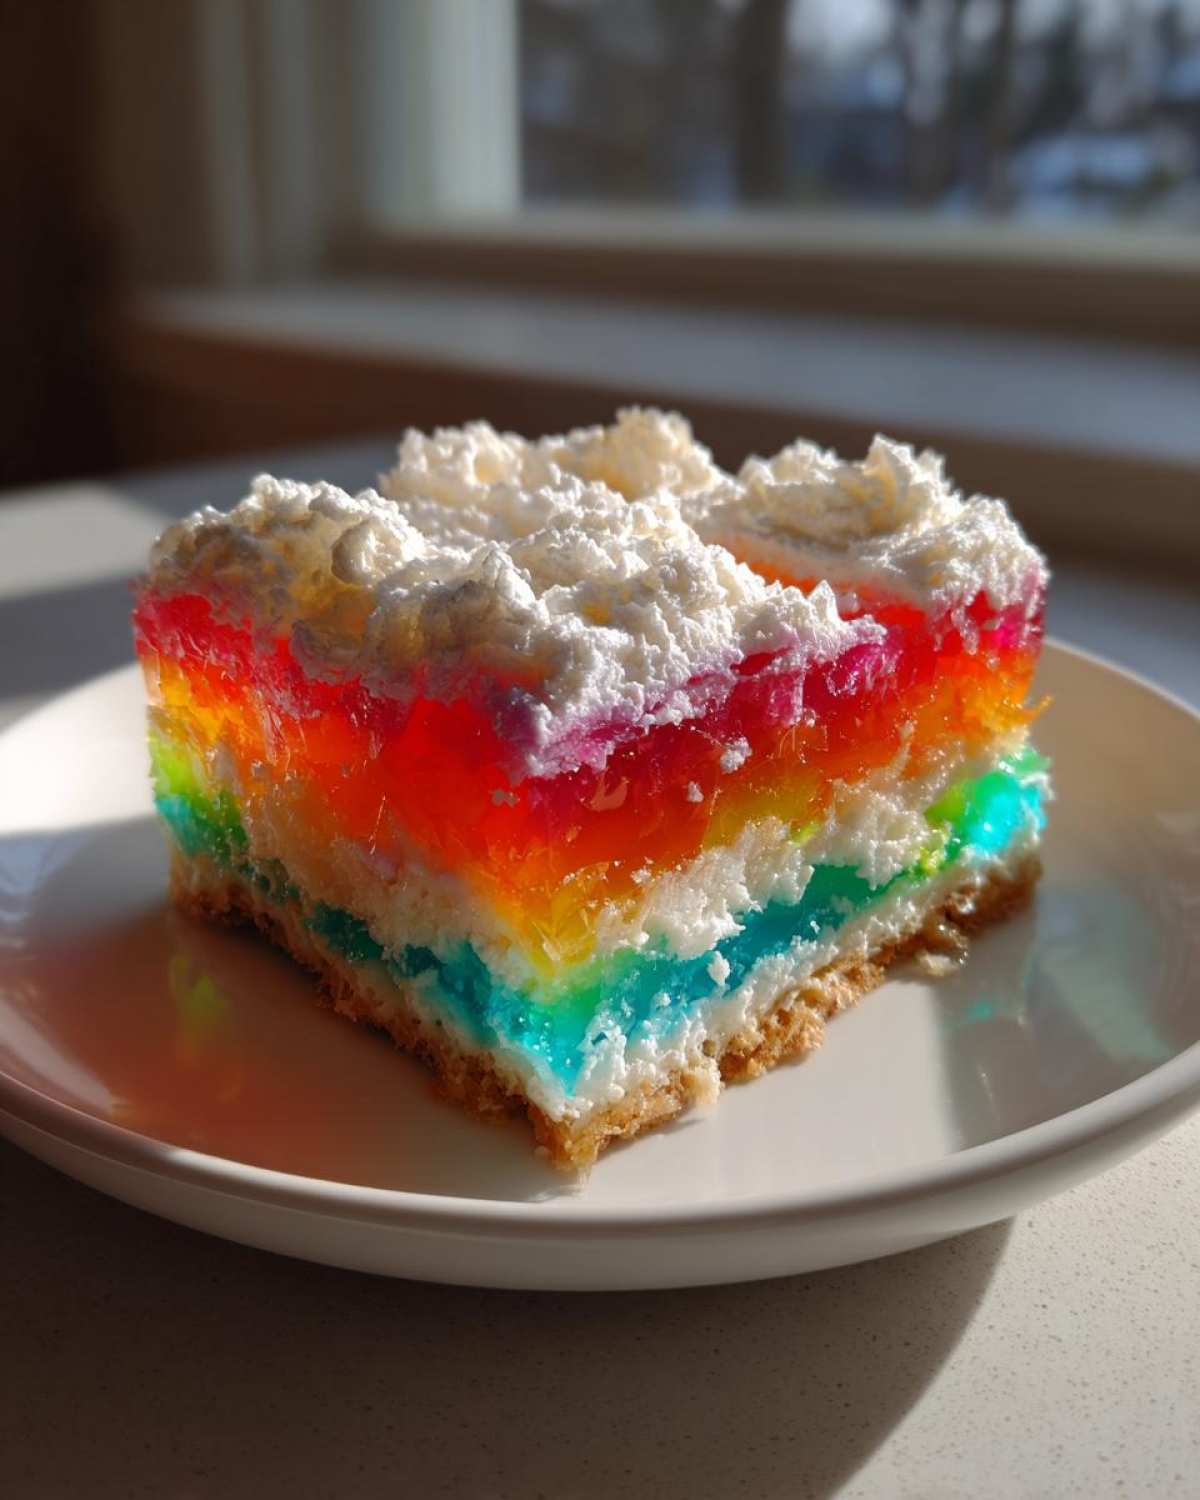
Creating the Cool Whip Topping for the Jello Poke Cake
Once the Jello is firm, whip up that light topping! Get your heavy cream, powdered sugar, and vanilla extract in a bowl and beat it until you see stiff peaks forming—it should hold its shape nicely. Then, gently, gently fold in your fully thawed whipped topping. Don’t stir vigorously, or you’ll deflate all that air! Spread this light, creamy mixture evenly over the set Jello layer, returning the finished jello poke cake to the fridge until you’re ready to serve!
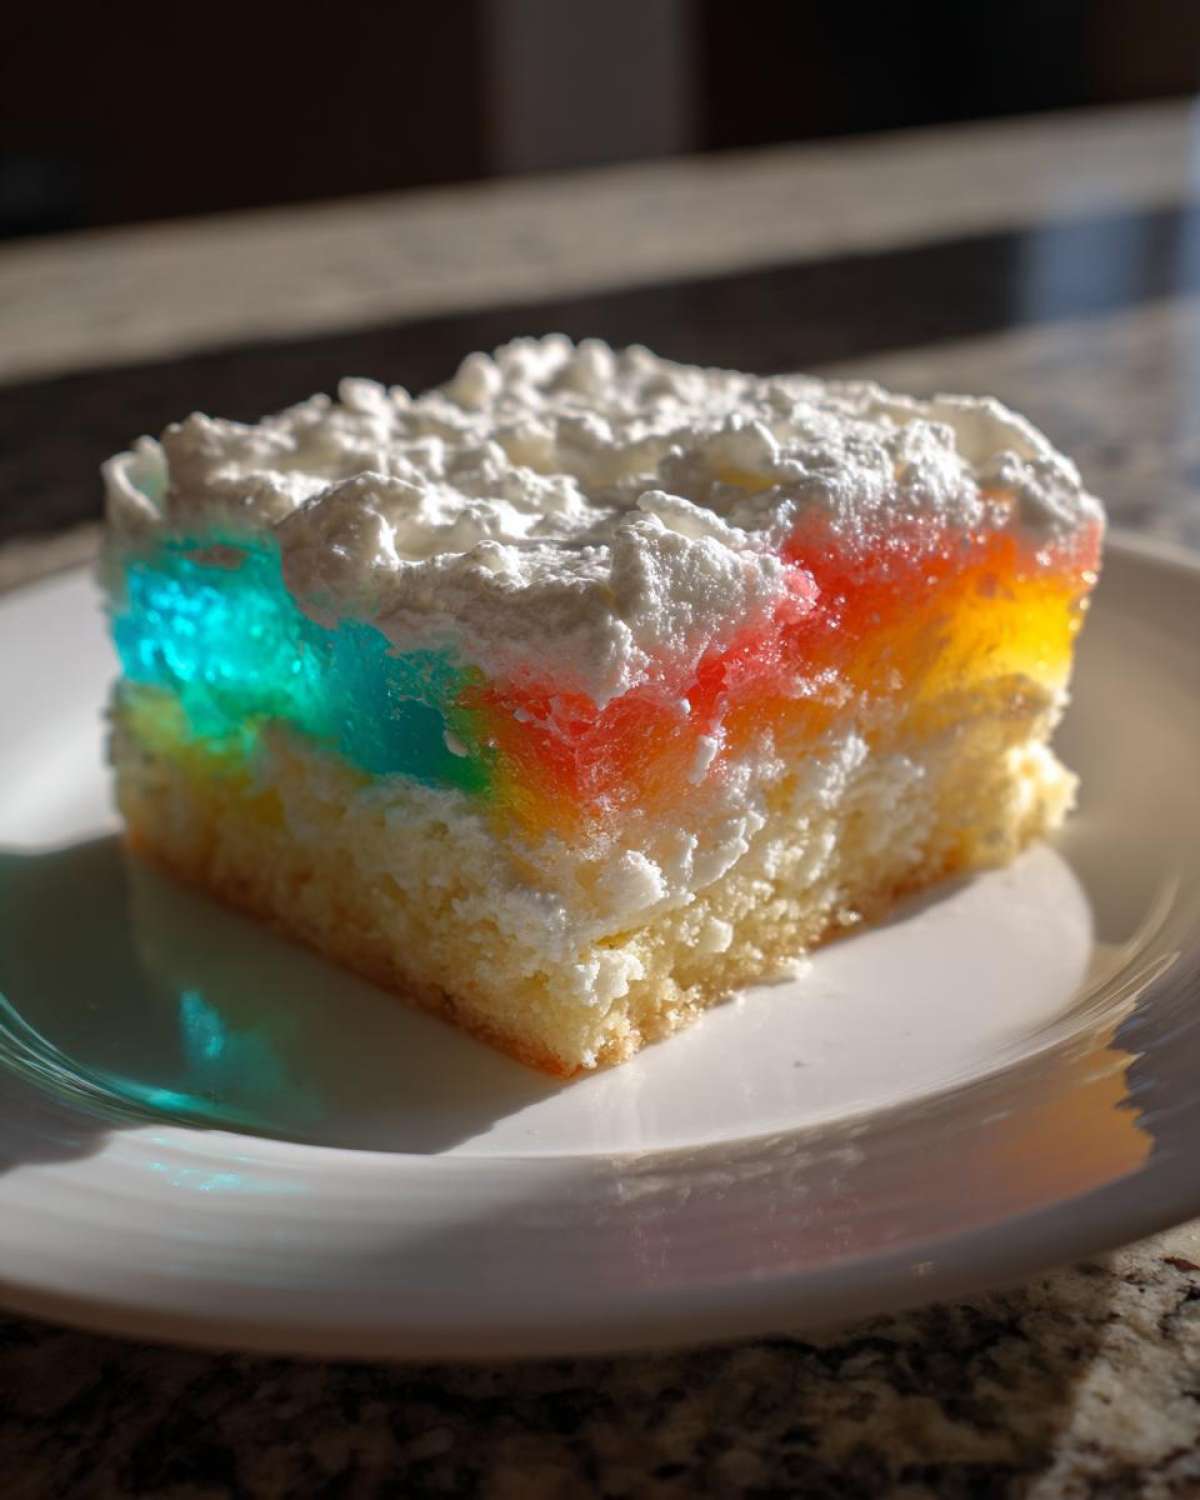
Now, if you ever decide you want something a little richer than this light topping—maybe for a fancier holiday—you should check out my guide on making the best, smoothest cream cheese frosting. That works great too, but for a classic jello poke cake, the Cool Whip is perfect!
Tips for the Perfect Jello Poke Cake
You know, even with the easiest recipe, sometimes you need just a couple of pro nudges to make it absolutely perfect. Since we are looking for that ultimate moisture and wow factor in our jello poke cake, here are the things I always double-check right before I serve it!
And just a heads up, if you find your cake base isn’t coming out as perfectly tender as you’d like, sometimes swapping out the box mix for a really solid homemade vanilla base helps. You can see my guide for the best moist fluffy vanilla cake if you ever want to step it up from the box!
Achieving Maximum Color Saturation
If you only use one color, it looks nice, but it doesn’t have that ‘aha!’ factor we are going for. To make sure you get that vibrant, distinct look between the lime, blue raspberry, and strawberry, you have to be systematic when pouring. As you pour one liquid flavor into a section of holes, move immediately to the next color and pour it into the area right next to it—don’t let the first color bleed too far!
A trick I learned is to use a slightly different pouring tool for each color if you can—maybe a small measuring cup with a spout for one and a spoon for the next. This sharp separation is what makes it such a stunning colorful dessert idea when you finally slice into it.
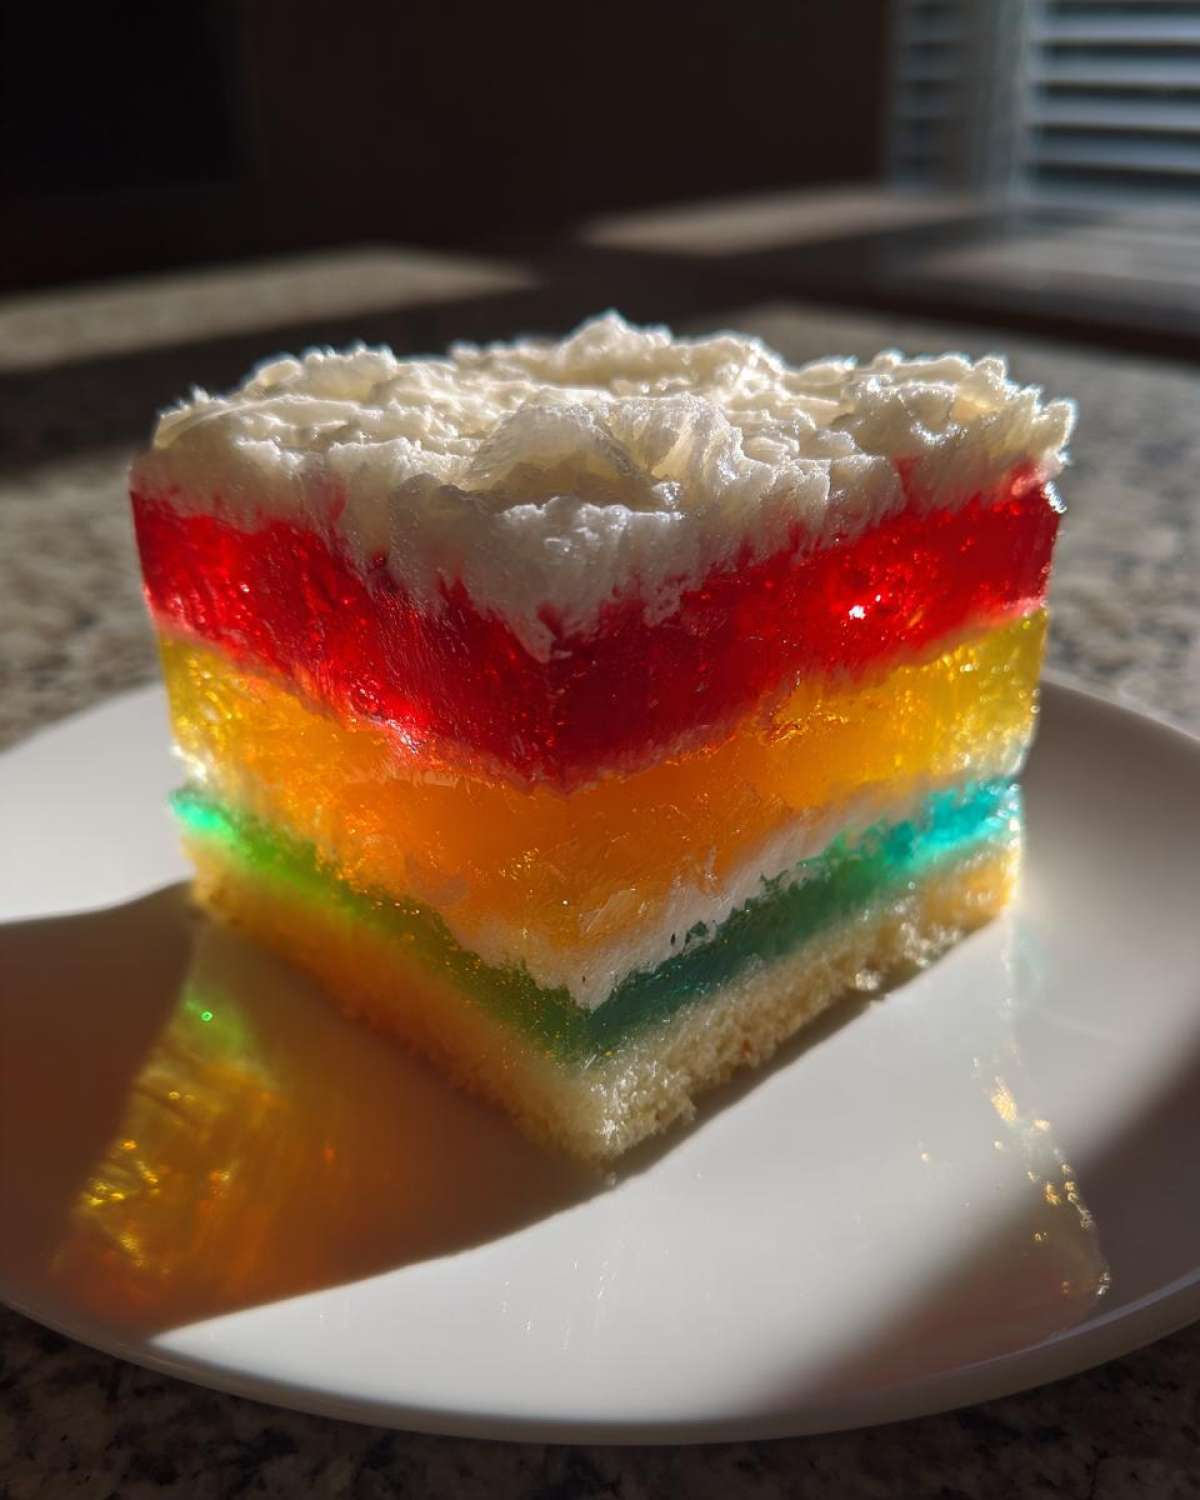
Topping Substitutions for Your Jello Poke Cake
The whipped topping is light and keeps the dessert feeling refreshing, which is amazing, especially in the summer. But, let’s be honest, sometimes you want something a little more decadent, more of a celebration dessert. If that’s the case, you can absolutely skip the whipped cream folding step!
Instead of that light topping, use a simple, slightly tangy cream cheese frosting. It gives the final product more structure and a richer mouthfeel. It’s a heavier addition to your jello poke cake, but totally worth it if you are making it for a main holiday dessert!
And I can’t stress this enough: no matter which topping you choose, give this cake time! Chilling overnight does wonders. The Jello fully absorbs into every nook and cranny, turning the cake into the most ridiculously moist dessert ever.
Storage & Reheating Instructions for this Party Cake Recipe
Because we have all that lovely, jiggly Jello and that creamy Cool Whip topping, this party cake recipe absolutely needs to stay cold. You have to cover that 9×13 pan tightly—plastic wrap works best—and keep it right in the refrigerator. It stays fresh and perfectly moist for about three to four days!
Now, reheating? Forget about it! This dessert is meant to be served chilled, straight from the fridge, especially when you’re serving it up in the summer heat. If it gets too warm, that Jello layer starts weeping, and nobody wants a soupy cake!
Variations: Making Your Jello Poke Cake Unique
While the strawberry, lime, and blue raspberry combo is fantastic for a general party vibe—it hits that nostalgic vibe perfectly—you really can tailor this jello poke cake for any holiday or season! That’s the beauty of starting with a basic white cake base: it’s a total blank canvas for flavor and color!
If you’re thinking about the winter holidays, instead of going bright primary colors, try switching up the Jello powders completely. Imagine a deep crimson cake. You could use cherry or cranberry Jello, maybe mixed with a plain white layer of pineapple Jello for contrast. It instantly becomes a beautiful Christmas poke cake!
We also get tons of requests for a full-on Strawberry Jello Cake version, and that’s super simple: just use three separate bowls of strawberry Jello, perhaps mixed with a tiny bit of raspberry Jello in one for depth. That way, the whole cake has that gorgeous pink hue.
For something completely different—and this is one of my favorite summer dessert adventures—try using three different yellow/citrus flavors: lemon, pineapple, and orange. It makes for such a bright, sunny jello poke cake that doesn’t require the oven on a hot day! If you love planning your seasonal desserts, I have a whole rundown on pulling off the absolute best Christmas poke cake looks and flavors, which might give you some fun ideas for tackling other holidays!
Remember, once you get the hang of poking and pouring the liquid Jello, you can get as creative as you want with your flavor combinations!
Serving Suggestions for this Colorful Dessert Idea
Honestly, once this beautiful, shimmering jello poke cake is out of the fridge, it demands the spotlight! Because it’s so moist and colorful, it doesn’t need much fuss on the plate, making it the perfect star for any casual event.
This is an absolute champion of potluck desserts. Why? Because it travels beautifully in the 9×13 pan, it’s pre-cut into easy squares, and it’s perfect for serving everyone from toddlers to grandparents. Just make sure you tell people to grab a fork because this cake is soft!
For summer gatherings, think light sides. It pairs wonderfully with fresh fruit skewers or even just a little side of slightly tart lemonade. It’s a refreshing, cool end to a heavy BBQ meal—much better than a heavy, lukewarm brownie! This bright, cool dessert is one of the best summer dessert recipes because it doesn’t require any extra heating or baking right before serving.
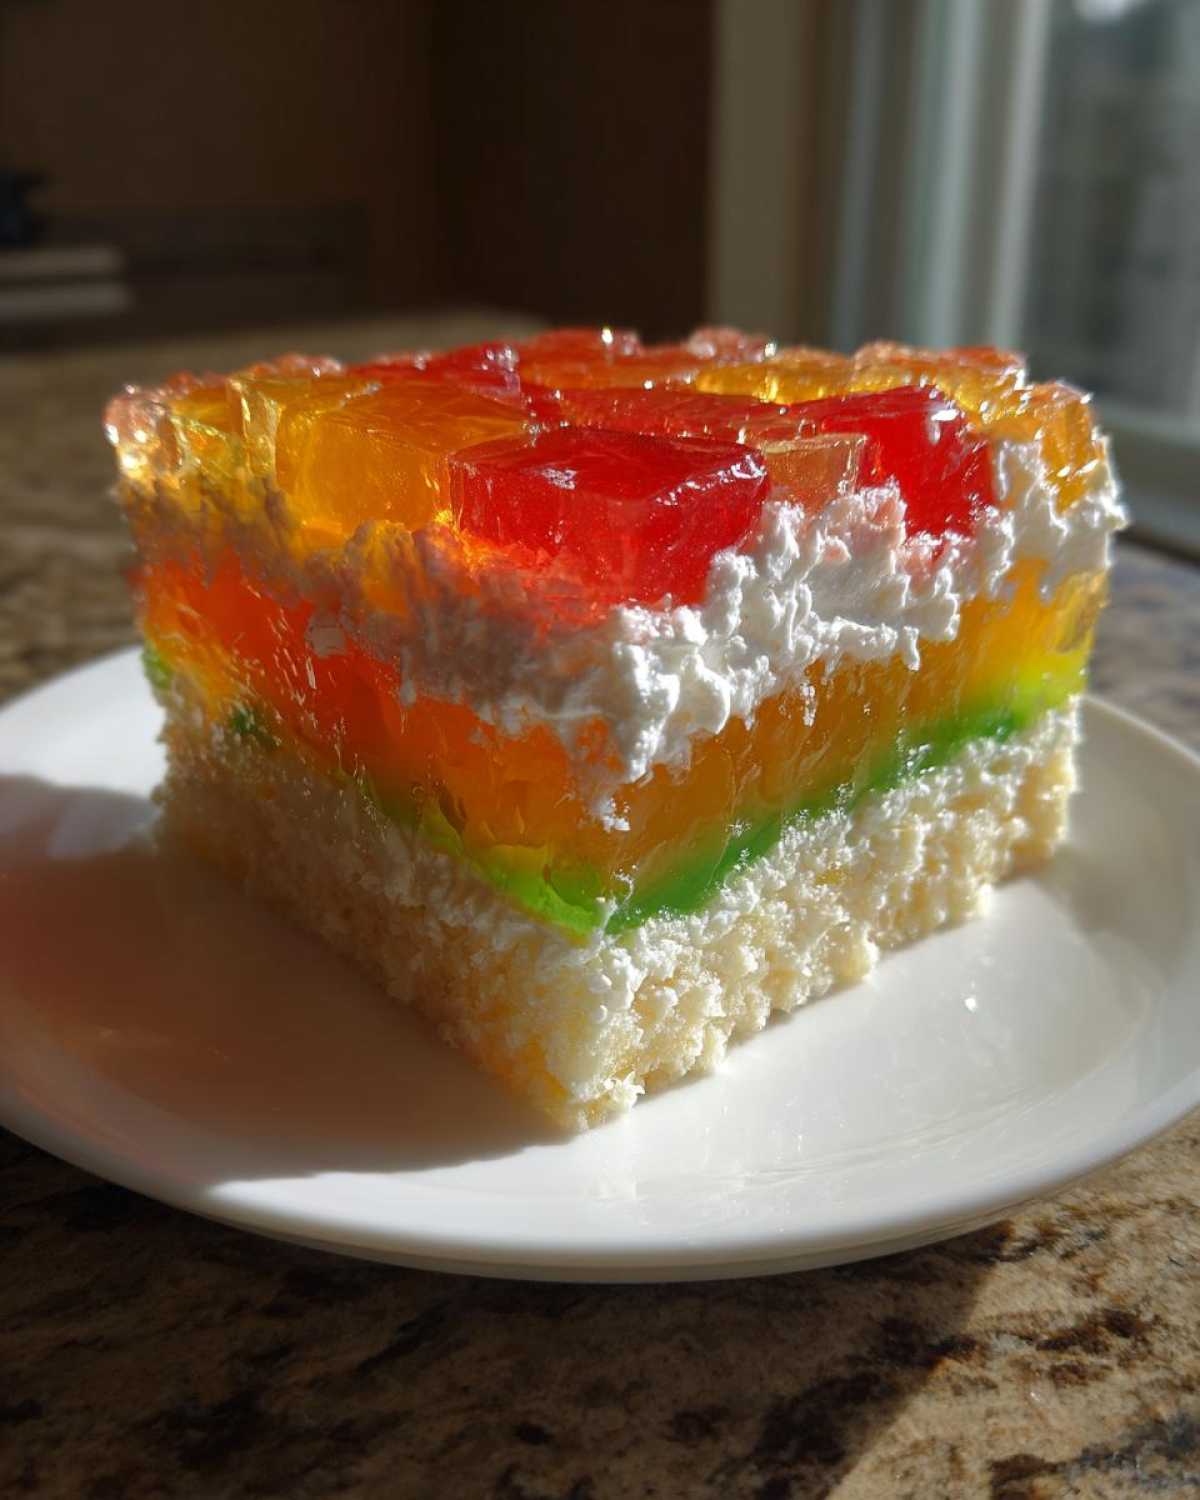
When presenting it, I always use a bright white serving platter. The white background really makes those trapped layers of red, green, and blue Jello just pop! It’s such an easy way to create a stunning presentation without having to fuss with piping bags or fancy techniques. This colorful dessert idea really sells itself!
Frequently Asked Questions about the Jello Poke Cake Recipe
I get so many messages about this Jello Poke Cake Recipe, and honestly, most of the confusion comes from worrying about substitutions. Don’t stress! It’s a truly forgiving quick & easy cake, but here are the top things people always ask me about creating the best possible jello poke cake!
If you are baking from scratch instead of using a box mix, I highly recommend soaking your cooked cake with a simple syrup first! Check out my guide for easy honey bran muffins; you can use that same technique to brush a honey-water syrup on your vanilla cake before adding the Jello for next-level moisture!
Can I use chocolate cake instead of white cake for this jello poke cake?
You absolutely *can* use a chocolate cake, but you lose most of the visual punch! The entire reason we love this colorful dessert idea is seeing those bright red, green, and blue Jello pockets shining against a light background. If you use chocolate cake, the colors will be much muddier and harder to see because the dark cocoa absorbs the Jello color more intensely. For the most dramatic effect, stick to white or yellow cake!
How long does the jello poke cake need to chill?
The official minimum time for your jello poke cake is 4 hours in the refrigerator. That gives the Jello enough time to firm up so your knife doesn’t just drag through liquid when you slice it. However, if you really want that ultimate, melt-in-your-mouth, super moist cake dessert texture, you should leave it chilling overnight! Seriously, resting it for 8 to 12 hours lets the gelatin fully seep into every pore of the cake structure. It makes the cake unbelievably juicy!
Estimated Nutritional Information
Now, listen closely: because we are relying on a standard boxed cake mix, adding Jello, and topping it with heavy cream whipped topping, these numbers are just an estimate! I’ve pulled the general breakdown based on a typical serving size of one square from the 9×13 pan. If you use premium ingredients or double the heavy cream, your numbers will change, of course.
If you are counting macros or watching sugar intake, this jello poke cake is definitely a weekend treat! But isn’t it worth it for the bright colors and that amazing moisture?
- Serving Size: 1 square
- Calories: Approximately 320 calories
- Sugar: Roughly 45 grams (That Jello adds up!)
- Total Fat: Around 12 grams
- Saturated Fat: About 6 grams
- Carbohydrates: Around 54 grams
- Protein: Approximately 3 grams
Remember, this is just a guide for serving one square of this delicious Simple Gelatin Cake. It’s designed to be a fun, easy dessert, not a health food!
Print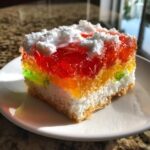
Easy Multi-Color Jello Poke Cake
- Total Time: 4 hours 55 min
- Yield: 12 servings
- Diet: Vegetarian
Description
Make this simple, moist Jello Poke Cake using a box mix and bright gelatin flavors for a colorful party dessert.
Ingredients
- 1 box (15.25 oz) white or yellow cake mix, plus ingredients listed on box (eggs, oil, water)
- 1 cup boiling water
- 3 ounces strawberry Jello powder
- 3 ounces lime Jello powder
- 3 ounces blue raspberry Jello powder
- 1 cup cold water (divided)
- 1 container (8 oz) frozen whipped topping, thawed
- 1/2 cup heavy cream
- 2 tablespoons powdered sugar
- 1 teaspoon vanilla extract
Instructions
- Prepare and bake the cake according to the box directions using a 9×13 inch baking pan. Let the cake cool in the pan for 15 minutes after removing it from the oven.
- While the cake cools slightly, prepare the Jello. In separate bowls, dissolve each flavor of Jello powder (strawberry, lime, blue raspberry) into 1/3 cup of boiling water for each flavor. Stir until completely dissolved.
- Add 1/3 cup of cold water to each dissolved Jello mixture, stirring well. Set the mixtures aside to cool to room temperature, about 30 minutes. Do not let them set.
- Use the handle of a wooden spoon or a large fork to poke holes all over the warm cake, spacing them about 1 inch apart. Poke deep holes, almost to the bottom of the pan.
- Carefully pour the liquid Jello mixtures over the cake, dividing the colors evenly among the poked sections. You may need to pour one color into one set of holes, then the next color into the remaining holes.
- Refrigerate the cake for at least 4 hours, or until the Jello is completely set.
- Prepare the topping: In a medium bowl, beat the heavy cream, powdered sugar, and vanilla extract until stiff peaks form. Gently fold in the thawed whipped topping.
- Spread the whipped topping mixture evenly over the set Jello cake.
- Return the cake to the refrigerator until ready to serve. Cut into squares.
Notes
- For a more intense color, use two different colors of Jello and alternate pouring them into the holes.
- You can substitute the whipped topping with a cream cheese frosting if you prefer a denser topping.
- Chill the cake overnight for the best flavor and moisture absorption.
- Prep Time: 20 min
- Cook Time: 35 min
- Category: Dessert
- Method: Baking and Chilling
- Cuisine: American
Nutrition
- Serving Size: 1 square
- Calories: 320
- Sugar: 45
- Sodium: 280
- Fat: 12
- Saturated Fat: 6
- Unsaturated Fat: 6
- Trans Fat: 0
- Carbohydrates: 54
- Fiber: 1
- Protein: 3
- Cholesterol: 25



Comments are closed.