
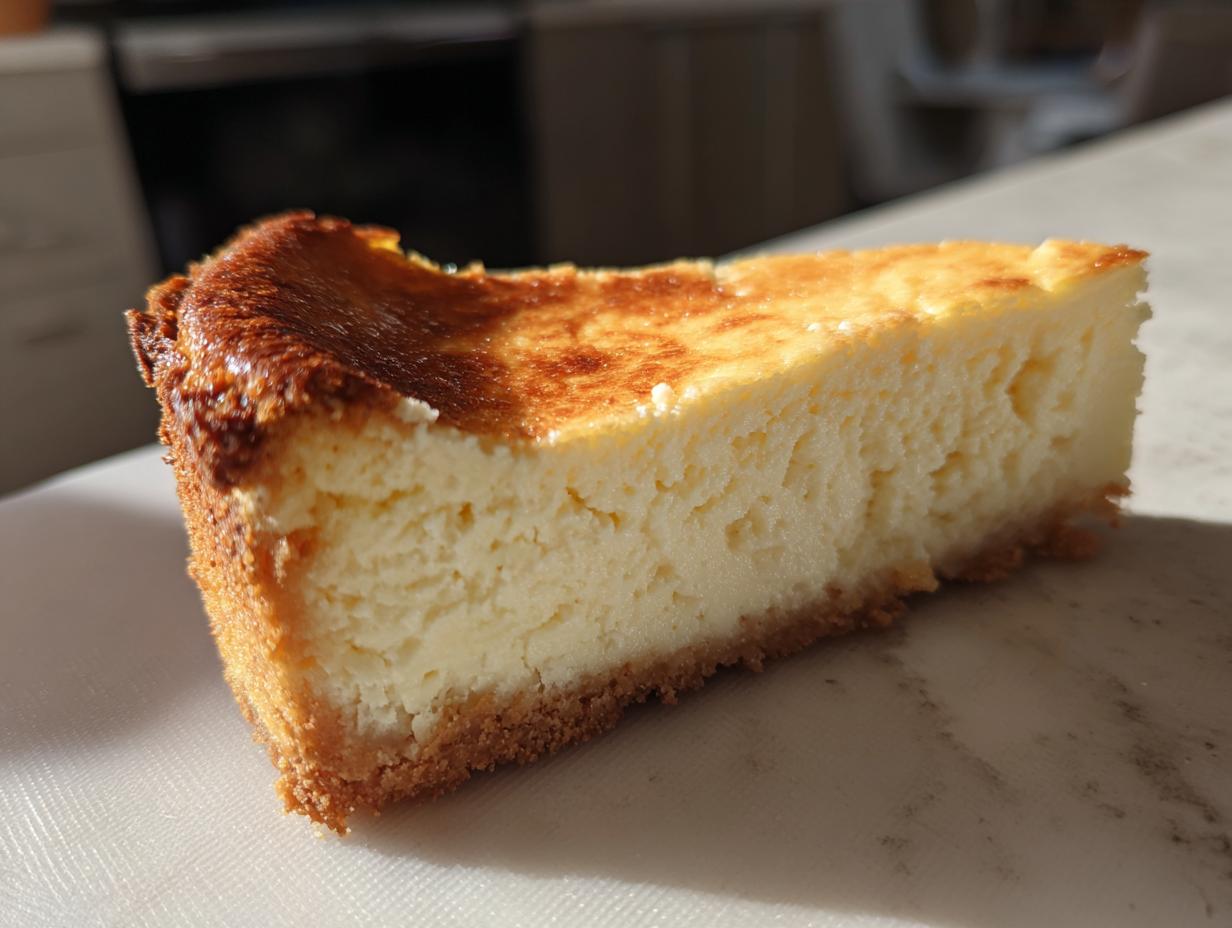
I know that feeling, my friends. You finish a tough workout, or maybe you’ve just had a long day, and you deserve something sweet, something truly indulgent. But then the guilt creeps in, right? Not anymore! I’m Alexander Knight, and creating healthy versions of those decadent desserts is truly what I live for here at Forkful Heaven. That’s why I am so excited to share this Ultimate Healthy Baked Protein Cheesecake with you. Forget everything you think you know about protein desserts; this creamy delight is loaded—and I mean *loaded*—with over 35 grams of protein per slice thanks to the magic we work with cottage cheese and Greek yogurt. This isn’t just a snack; it’s a satisfying, guilt-free experience, and I promise you’ll never look at a standard slice of cake the same way again. You can check out other amazing options using cottage cheese, too, like my sweet and savory toast topping ideas over at Forkful Heaven! For this baked version, you can see similar concepts over at yourdietexpert.com, but trust me, we’re doing it right here!
Why This Baked Protein Cheesecake is Your New Favorite Healthy Cheesecake Dessert
Honestly, when people hear “protein dessert,” they often think of something rubbery or gritty. Not this recipe! This is hands-down the best Healthy Cheesecake Dessert I’ve ever made while keeping macros razor-sharp. It bakes up just like the real deal—creamy, dense, and velvety soft. We are talking about a serious, satisfying treat that packs a whopping 35 grams of protein, making it incredibly Macro Friendly Cheesecake for any meal plan. You get all the indulgence without the usual sugar crash. If you want more proof that you don’t need heavy cream cheese for perfection, check out the ideas over at galleybites.com!
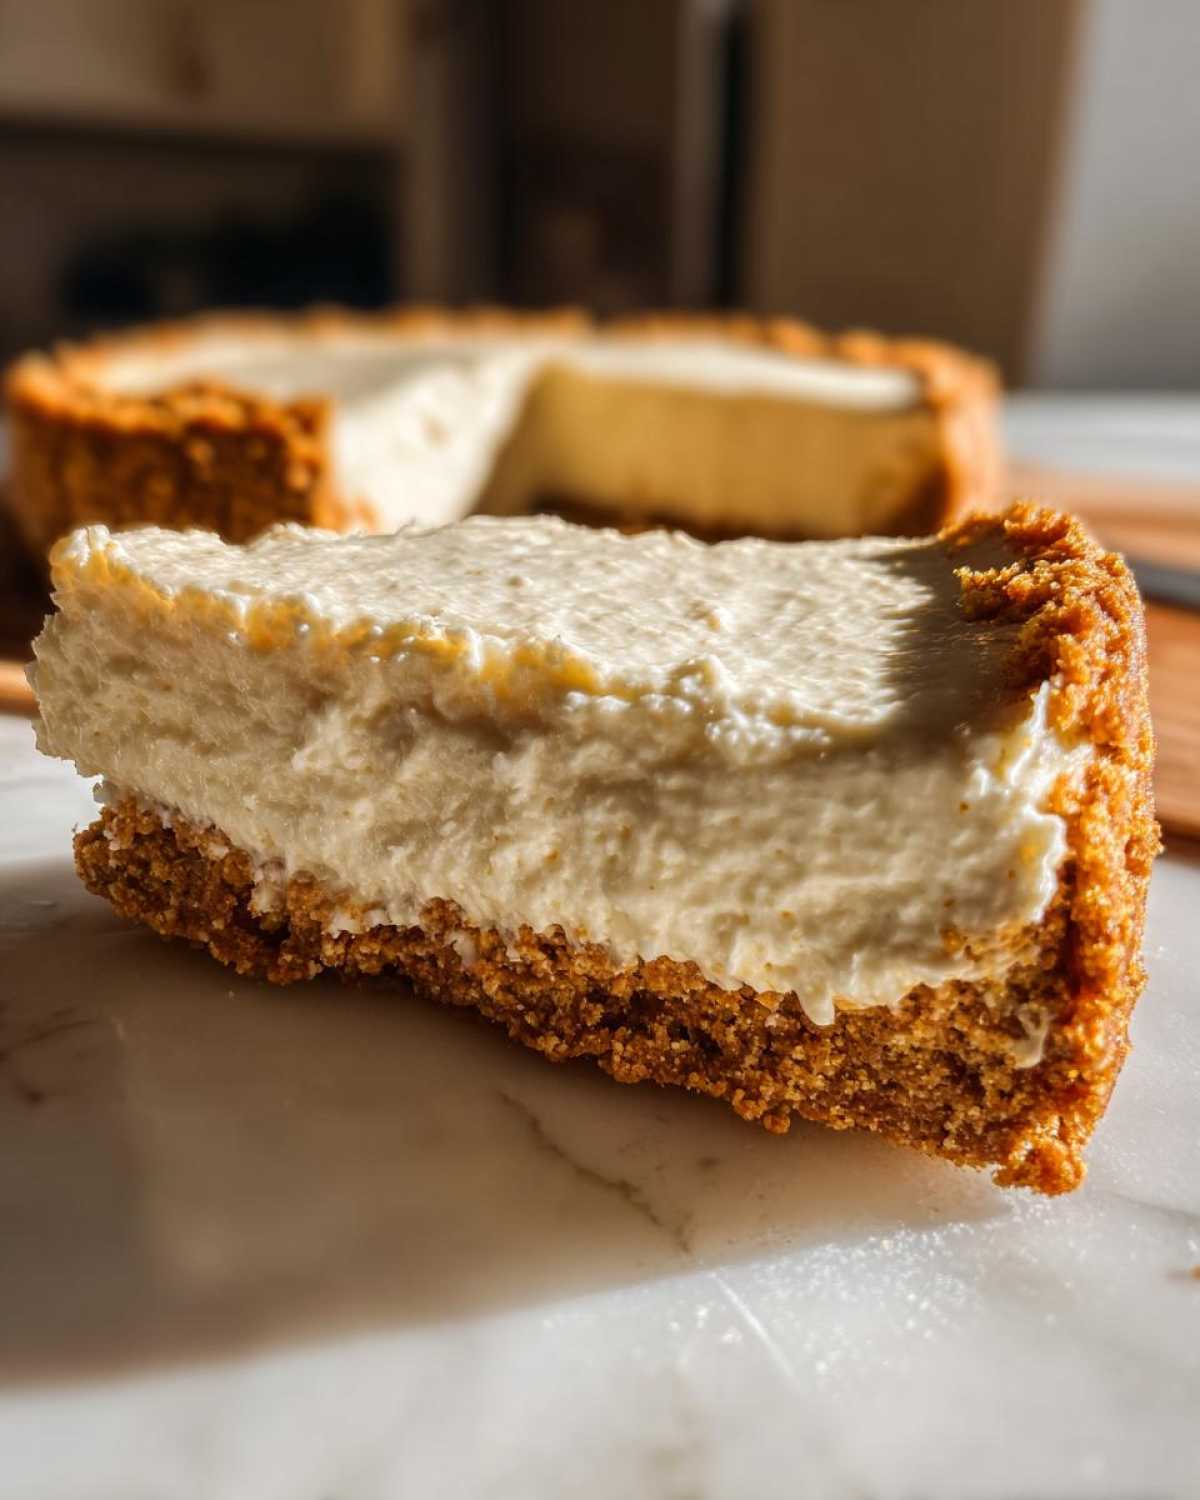
Achieving Creaminess with Cottage Cheese in Your Protein Cheesecake
The secret weapon here is using that full-fat cottage cheese base paired with Greek yogurt. If you just throw cottage cheese into anything, you end up with texture issues, right? But when you blend it thoroughly in my method, it transforms into a luxurious, Creamy Protein Dessert. It completely replaces most of the heavy cream cheese, dropping the fat way down while somehow boosting the protein through the roof. It’s pure culinary genius!
Gathering Ingredients for the Ultimate Protein Cheesecake
Alright, let’s talk about what you need to grab before we get baking! Getting your ingredients ready upfront makes the whole process as smooth as the final product. Trust me, having everything measured out saves you from frantically digging through the pantry mid-mix. We need ingredients for two distinct parts: the crust that keeps things sturdy and gluten-free, and the powerhouse filling that brings the protein!
Don’t forget, organization is half the battle! If you’re prepping for the week, having your ingredients ready for quick bakes, like my make-ahead egg muffins, is a great habit for this dessert too!
Crust Components for Your Baked Protein Cheesecake
For our base, we are skipping the graham crackers for something much more fitness-friendly. You’ll need 1 cup of almond flour—this helps make it a wonderful Gluten Free Cheesecake option—along with 1/4 cup of erythritol (or whatever sweetener you love) and 4 tablespoons of melted coconut oil. That’s it for the crust!
Filling Ingredients for a High Protein Cheesecake Recipe
This is where the magic happens on the protein front. You MUST have 16 ounces of low-fat cottage cheese that you drain really well, plus 1 cup of plain non-fat Greek yogurt. Then, pile in the flavor: 1/2 cup of vanilla whey protein powder boosts this to a true Dessert with High Protein Content, plus 1/2 cup more sweetener, 2 large eggs, 1 teaspoon of vanilla extract, and 1 tablespoon of lemon juice for that classic tang!
Step-by-Step Instructions for Your Baked Protein Cheesecake
Okay, now for the fun part! Baking this ultimate High Protein Cheesecake Recipe is actually relaxing once you see how smoothly everything comes together. We need to respect the oven temperature and the cooling time—that slow cooling is the real reason your cake won’t crack, which is always my biggest fear with anything baked!
As you work, remember you can check out my recipe for chocolate-dipped coconut bars if you need a set-it-and-forget-it fridge dessert right now. But for this baked beauty, let’s follow these steps!
Preparing and Pre-Baking the Crust
First off, get that oven humming at 325°F (160°C) and prep your 7-inch springform pan—I use parchment paper on the bottom, just for extra security! Mix your almond flour and sweetener, then dump in that melted coconut oil until it looks exactly like wet sand. You have to press this hard into the bottom of the pan, really compact it down! Give it 8 minutes in the oven, then pull it out so it can cool off a bit.
Blending the Smooth Protein Cheesecake Filling
This is where we create that fantastic, airy texture. In your food processor or blender—grab the good one for this—you need to blend the drained cottage cheese and Greek yogurt FIRST. I mean blend them until they are unbelievably smooth, like silk. Seriously, scrape those sides until there’s not a single lump left; this is the secret to a true Light Cheesecake Recipe! Once that dairy base is perfect, toss in the protein powder, the rest of the sweetener, eggs, vanilla, and lemon juice. Blend just until everything comes together. Don’t go crazy mixing once those eggs are in!
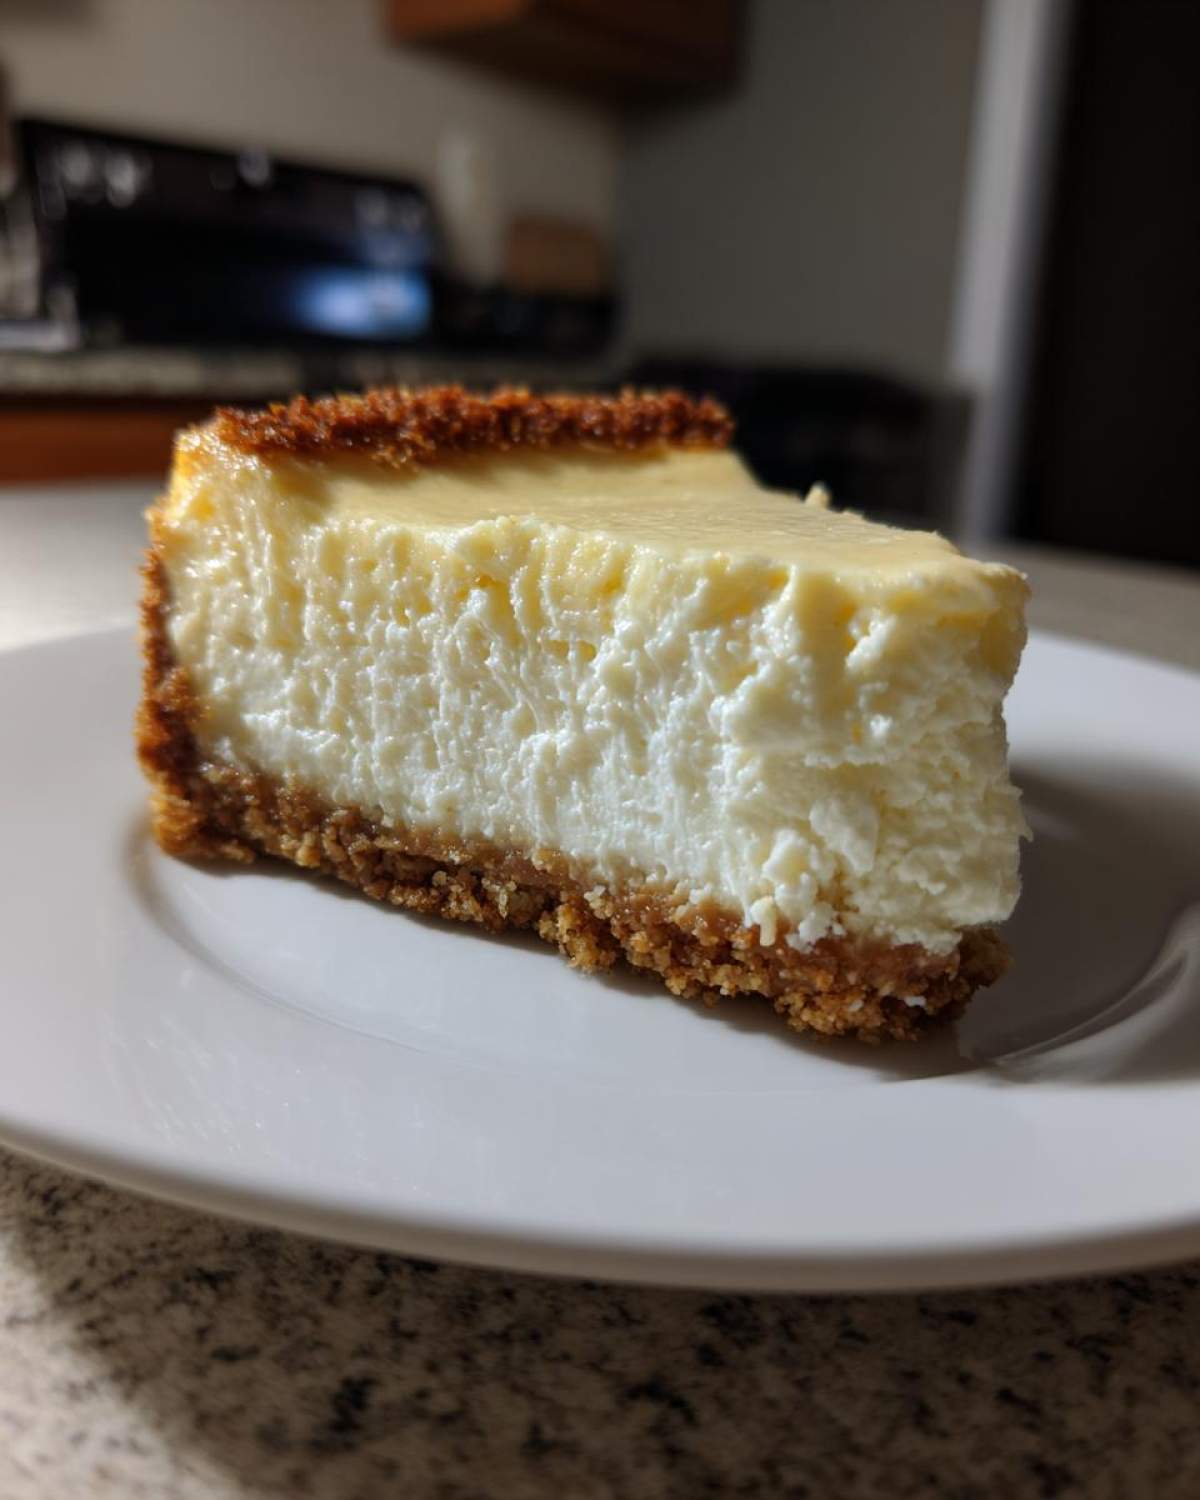
Baking and Cooling Your Protein Cheesecake
Gently pour that rich filling right over your warm crust. Pour slowly, then tap the pan on the counter a few times to get those annoying air pockets out. Slide it into the oven for about 45 to 55 minutes. You are looking for edges that are firm but a center that still has a tiny little wobble. When it’s done, turn the oven OFF, crack the door open just a touch, and let it sit in there for a full hour. This slow chill prevents major cracks, which is super important for that perfect look!
Tips for the Best Macro Friendly Cheesecake Experience
Look, baking takes practice, and I want your very first Protein Cheesecake to be a total success! Since we’re aiming for a fantastic Macro Friendly Cheesecake here without sacrificing flavor, a few upfront tips can make all the difference. Remember, even small adjustments in how you handle the dairy make this taste like a truly luxurious experience, not just a healthy protein substitute.
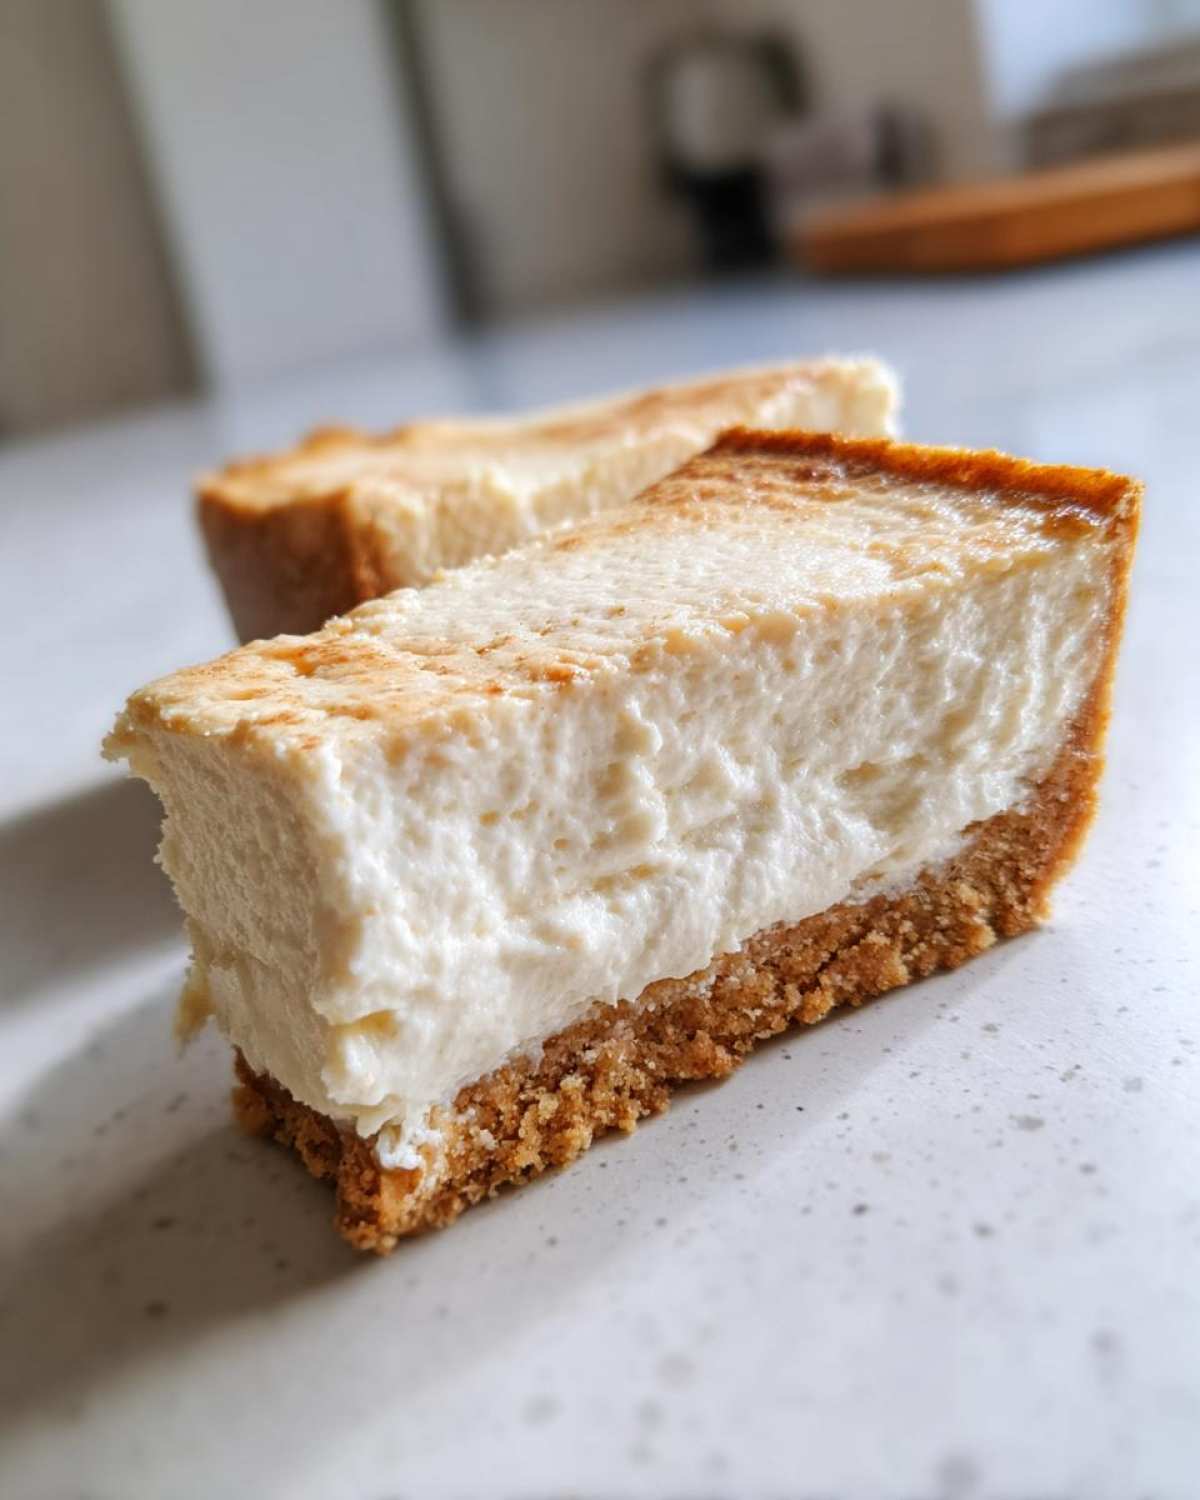
I always talk about technique over magic, and it’s true! If you love my vegan zucchini soup, you know I love simple tricks to elevate basic ingredients. These tips are essential for this famous Cottage Cheese Cheesecake Recipe.
Ingredient Notes and Substitutions for Protein Cheesecake
The absolute most important thing you must do is drain that cottage cheese—I mean really drain it, press out the liquid! If it’s watery, your texture suffers. Also, feel free to swap sweeteners; if you’re keeping things low-carb, make sure you use a sweetener that’s specifically formulated to be a Keto Friendly Protein Dessert ingredient.
Making Ahead: Protein Dessert Meal Prep
You absolutely cannot rush the chilling process for this bake. While you can certainly bake this as part of your weekend Protein Dessert Meal Prep, it needs at least six hours, but overnight is best. That chilling time is what lets everything set up perfectly, turning it into those gorgeously Satisfying Protein Snax you want to grab all week!
Serving Suggestions for Your Guilt Free Cheesecake Treat
Now that you have this magnificent, high-protein baked masterpiece chilled, we have to talk about making it look as good as it tastes! Even though this Guilt Free Cheesecake Treat is fantastic all on its own, a little topping just gives it that restaurant finish, doesn’t it? I love using fresh fruit because it adds brightness without adding tons of extra sugar.
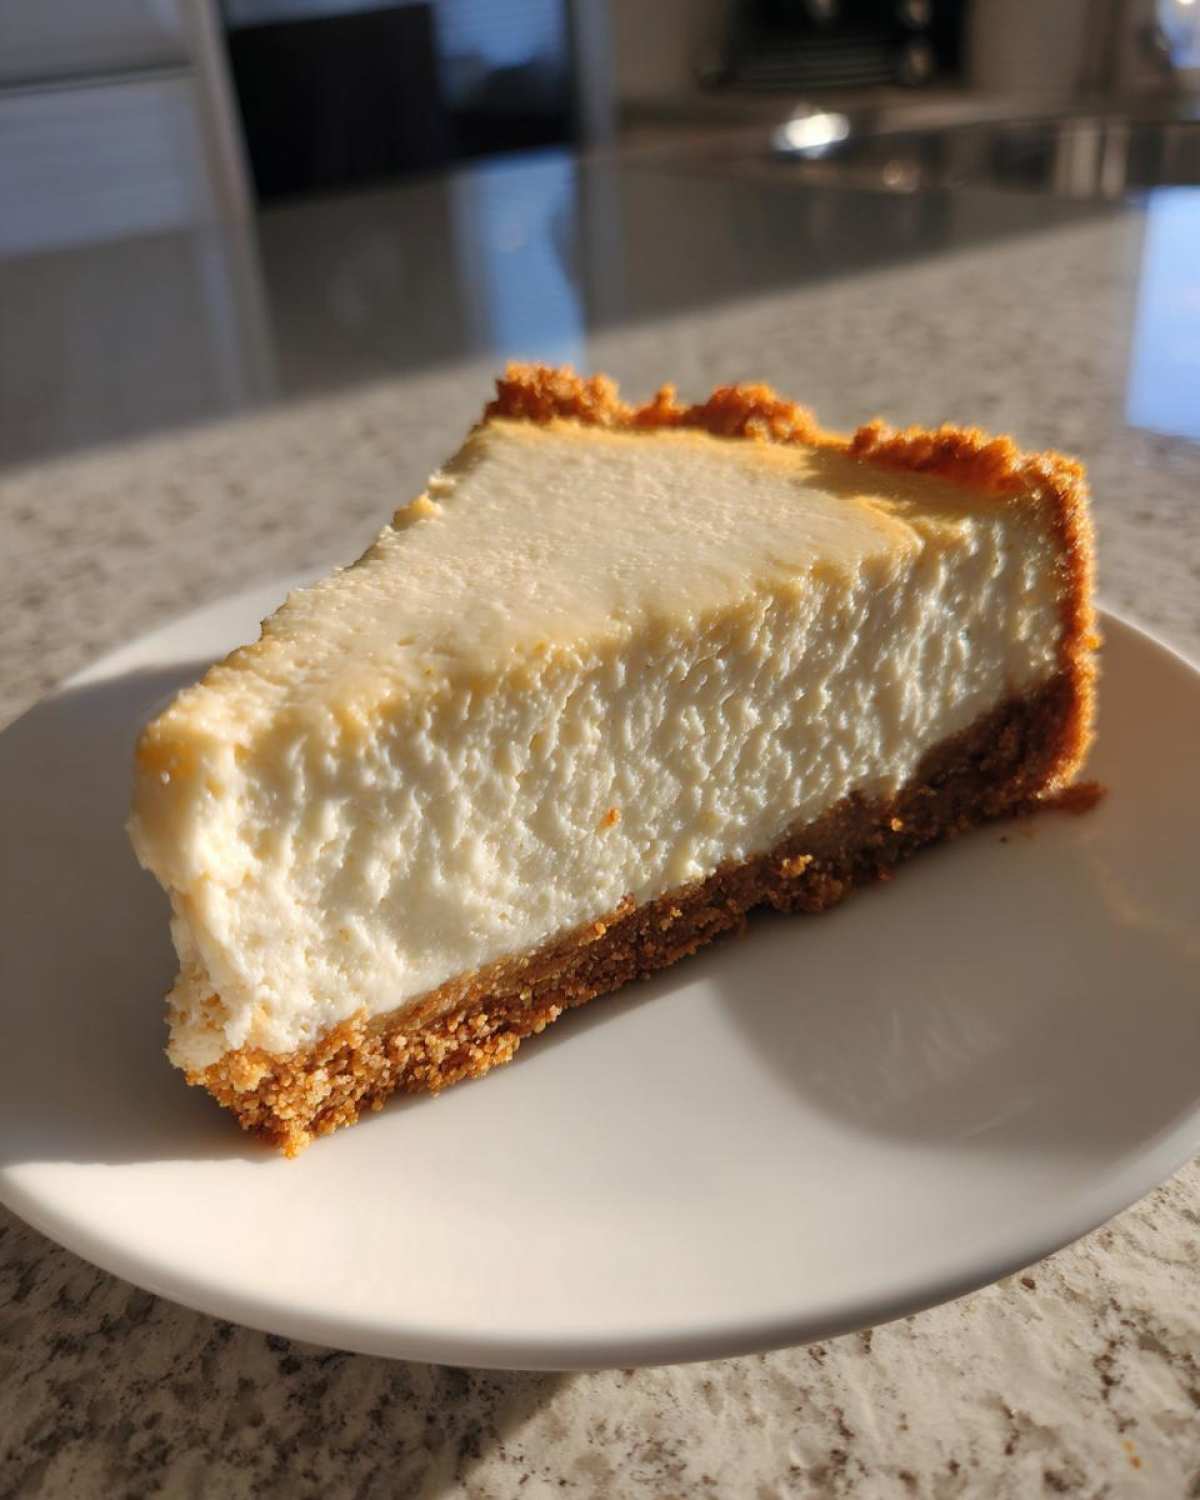
If you’re keeping things ultra-simple, a light drizzle of sugar-free maple syrup or a tiny sprinkle of finely grated lemon zest really wakes up the vanilla flavor. If you’re feeling fancy, you could pair a slice with a side salad—I know, I know, dessert and salad! But my pear and arugula salad actually has a light sweetness that works surprisingly well alongside a bite of the creamy cake!
Storage and Reheating Instructions for Your Protein Cheesecake
Okay, you’ve nailed the bake, and now you have to store this beautiful creation. The good news is that this Protein Cheesecake keeps really well since it’s heavier on those dairy ingredients. You want to keep it covered tightly in the refrigerator, and honestly, it lasts great for about 4 to 5 days. I recommend serving it cold, straight from the fridge if you can! That chilling period lets the texture firm up just right, making those macros even more satisfying.
Frequently Asked Questions About This High Protein Cheesecake Recipe
I always get emails and comments after people try a new recipe, especially when it comes to hitting those tricky macros! Here are a few of my most common questions about this High Protein Cheesecake Recipe. If you tried the jar version, you can find tips for that over at Medium, but for this bake, read on!
Can I turn this into a No Bake Protein Cheesecake?
That’s a great question! Since this formula relies on eggs and baking time to set up that incredible 35g of protein structure, converting it to a No Bake Protein Cheesecake is tricky. No-bake versions usually rely on cream cheese and gelatin. If you want no-bake, I’d suggest looking for a dedicated jar recipe, but for this specific Creamy Protein Dessert, we need the oven!
What if I don’t have a 7-inch springform pan?
Don’t sweat it! If you don’t have exactly a 7-inch springform, you can absolutely still make this. If you use a standard 8-inch or 9-inch springform, it will just bake up thinner and cook slightly faster, so keep an eye on it. If you only have a pie dish, that works too, but you must line it perfectly with parchment paper that hangs over the edges—we don’t want any sticky messes!
How do I guarantee I hit the 35g of protein per serving?
The 35g number comes from dividing the total protein in the recipe evenly across 8 slices using the exact ingredients listed, especially the protein powder. To maintain that high number, you must use a quality whey protein powder, and try not to substitute it with collagen, as that won’t set up properly. Consistency in your dairy choices also matters for achieving that maximum Dessert with High Protein Content!
Is this recipe easy to adapt for our favorite mac and cheese night?
While I absolutely adore savory bakes—you should try my jalapeño popper mac and cheese—this cheesecake is strictly sweet! If you want to add flavor complexity, try mixing in some sugar-free chocolate chips or a swirl of sugar-free raspberry jam before baking. That’s about as wild as I get with flavor variations for this specific recipe!
Nutritional Snapshot: Understanding Your Protein Cheesecake Macros
I know many of you are tracking, and that’s smart! When you’re enjoying this Low Calorie Cheesecake, you want the numbers to line up. Per glorious slice, you’re looking at roughly 210 calories, with a massive 35 grams of protein, just 9 grams of fat, and about 12 grams of carbs. Keep in mind, these numbers are fantastic estimates, but they can shift a little depending on the exact brand of cottage cheese or protein powder you sprinkle in!
Share Your Perfect Protein Cheesecake Creation
Now that you’ve made this incredible, macro-friendly creation, I genuinely want to see what you did with it! Did you top it with strawberries, or perhaps you got brave and added a little almond extract instead of vanilla? This community thrives on sharing those little tweaks that make a recipe uniquely yours. Don’t be shy!
Please, when you take that first bite of your Protein Cheesecake slice—especially after chilling it overnight—let me know how it tasted! Drop a comment right down below and tell me if it hit that creamy sweet spot you were craving. If you snapped a picture, tag me on social media so I can cheer you on. Knowing that Forkful Heaven helped you conquer a sweet craving healthily brings me so much joy. If you are experimenting with other baked snacks, my zucchini pizza bites are another great way to sneak in some extra nutrients!
Happy baking, and I can’t wait to read your thoughts!
Print
Ultimate Healthy Baked Protein Cheesecake (35g Protein Per Slice)
- Total Time: 75 min
- Yield: 8 servings
- Diet: Low Fat
Description
You asked for a healthy cheesecake that tastes indulgent, and I delivered! This baked protein cheesecake uses cottage cheese and Greek yogurt to achieve a creamy texture while packing over 35 grams of protein per slice. It is a macro-friendly dessert perfect for your fitness goals.
Ingredients
- 1 cup almond flour
- 1/4 cup erythritol or preferred sweetener
- 4 tablespoons melted coconut oil
- 16 ounces low-fat cottage cheese, drained well
- 1 cup plain non-fat Greek yogurt
- 1/2 cup vanilla whey protein powder
- 1/2 cup erythritol or preferred sweetener
- 2 large eggs
- 1 teaspoon vanilla extract
- 1 tablespoon lemon juice
Instructions
- Preheat your oven to 325°F (160°C). Lightly grease a 7-inch springform pan or line it with parchment paper.
- Prepare the crust: In a bowl, mix the almond flour and 1/4 cup sweetener. Pour in the melted coconut oil and mix until the mixture resembles wet sand. Press this mixture firmly into the bottom of the prepared pan. Bake the crust for 8 minutes, then remove it from the oven.
- Prepare the filling: In a food processor or high-speed blender, combine the drained cottage cheese and Greek yogurt. Blend until completely smooth, scraping down the sides as needed. This step is key for a creamy texture.
- Add the protein powder, 1/2 cup sweetener, eggs, vanilla extract, and lemon juice to the blender. Process until the filling is smooth and fully combined. Do not overmix once the eggs are added.
- Pour the protein cheesecake filling over the pre-baked crust. Gently tap the pan on the counter a few times to release any large air bubbles.
- Bake for 45 to 55 minutes. The edges should look set, but the center should still have a slight wobble.
- Turn off the oven, crack the door open slightly, and let the cheesecake cool inside the oven for 1 hour. This slow cooling prevents cracking.
- Remove the cheesecake from the oven and let it cool completely on the counter. Once cool, cover it and refrigerate for at least 6 hours, or preferably overnight, before slicing and serving.
Notes
- For the creamiest texture, make sure you thoroughly drain your cottage cheese before blending. Pressing it between paper towels works well.
- You can substitute vanilla whey protein with unflavored protein powder and add 1/2 teaspoon of extra vanilla extract.
- If you want a low-carb, keto friendly protein dessert, use a keto-approved sweetener throughout the recipe.
- This recipe is excellent for protein dessert meal prep; slice it before chilling for easy portion control.
- Prep Time: 20 min
- Cook Time: 55 min
- Category: Dessert
- Method: Baking
- Cuisine: American
Nutrition
- Serving Size: 1 slice
- Calories: 210
- Sugar: 4
- Sodium: 250
- Fat: 9
- Saturated Fat: 4
- Unsaturated Fat: 5
- Trans Fat: 0
- Carbohydrates: 12
- Fiber: 2
- Protein: 35
- Cholesterol: 75



Comments are closed.