

Oh my gosh, you are going to absolutely flip for these! If there’s one thing I know in the kitchen, it’s how to take a gorgeous dessert and shrink it down until it fits perfectly on a dessert platter… or, you know, right into my mouth. Forget fussy layers; we are talking about the easiest, most decadent red velvet cake pops you will ever make. Seriously, they are little bursts of heaven!
I’ve tried all the fancy ways—scratch cake, homemade frosting, temperamental dipping chocolate—but for sheer reliability and flavor, nothing beats this streamlined approach. We use a simple cake mix paired with our secret binder (hint: it’s that sweet, tangy cream cheese frosting we all love). Trust me; once you master this method, you’ll be making these rich, bite-sized treats for every single holiday coming up!
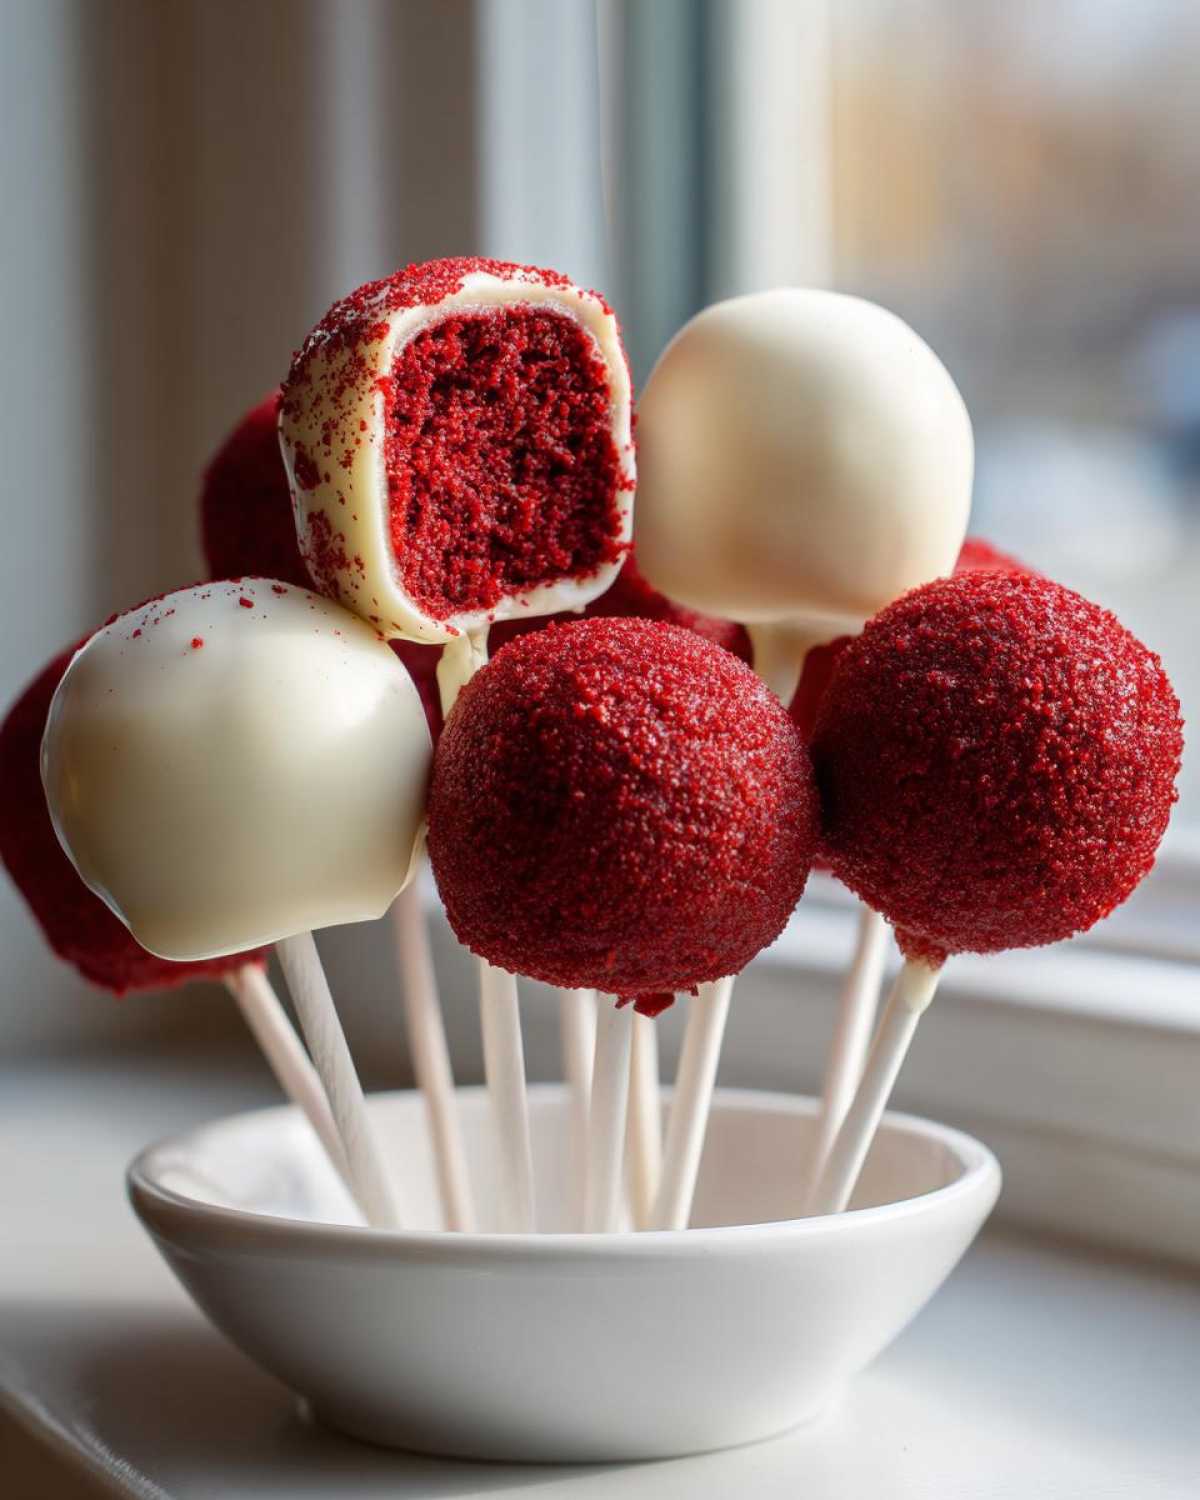
Why You Will Love These Easy Red Velvet Cake Pops
Honestly, I keep making these because they are virtually foolproof, even if you are just starting out. They look gourmet, but they come together faster than just making a pan of brownies. Here is why these have become my go-to party dessert:
- They are the ultimate Cake Pops for Beginners! We skip the confusing step of making cake from scratch.
- Total flavor bomb: You get that signature tangy, deep red velvet taste in every single bite. I even have a whole recipe for red velvet cupcakes with cream cheese frosting if you want to go that route later!
- The texture is unmatched—super moist and dense thanks to the frosting binder. No dry or crumbly horrors here!
- They are perfect Bite Sized Red Velvet Desserts; great for portion control, which is a total lie because I eat three at a time!
- The chocolate coating sets beautifully and creates that amazing, satisfying snap when you bite into it.
- They are amazing for gifting or taking to parties because they travel so well. Plus, they look fantastic on a platter!
Essential Ingredients for Perfect Red Velvet Cake Pops
Okay, listen up, because the magic of these red velvet cake pops really is in how few ingredients you need! That’s right, we are keeping this simple, but we are *not* skimping on flavor or quality spots. Using a cake mix is our shortcut, but the mix-ins are where we elevate things.
Here’s what you need to grab from the pantry:
- One standard box (15.25 oz) of red velvet cake mix. Yep, that’s it for the base!
- Whatever the box tells you to add—usually a few eggs, some oil, and water.
- The absolute key is the binder: one whole container (about 8 oz) of pre-made cream cheese frosting. If you prefer homemade, you can check out my recipe for that killer tangy frosting, but honestly, the canned stuff works wonders here because it’s stiff enough. Find my favorite full frosting recipe here if you want to go that super gourmet route, though!
- For dipping, you’ll need 12 oz of white chocolate melting wafers or good quality chips.
- My little secret for dipping success? A teaspoon of coconut oil or even some plain shortening. This just thins the chocolate out enough so it coats smoothly without being too heavy.
That’s the easy list! Notice we aren’t adding powdered sugar or extra flour—the pre-made frosting carries all the sweetness and binding power we need.
Step-by-Step: How to Make Moist Red Velvet Cake Pops
Alright, pull up a chair! This is the fun part where we turn baked cake into these gorgeous little spheres. The entire success of these red velvet cake pops hinges on two things: making sure the cake is stone cold and chilling those rolled balls until they are rock solid. I’m not kidding, don’t rush the fridge time! If you are interested in seeing how to make the cake base totally from scratch, check out my guide on making [moist red velvet cake] before you crumble it.
Baking and Creating the Cake Pop Dough Base
First things first, bake that red velvet cake mix exactly according to the box directions. Don’t get brave here; we want the standard texture that works best for crumbing. Once it comes out of the oven, you absolutely MUST let it cool all the way down. If you try crumbling warm cake, you get mush—not dough! That’s our first big mistake prevention step.
When it’s completely cool, crumble it up into a huge bowl. I mean, get in there and smash it until it looks like coarse sand used for playgrounds. Next, dump in the entire tub of cream cheese frosting. Now, mix it! This takes some elbow grease. You’ll be tempted to stop when it looks sticky, but keep going! You want a uniform, thick dough. If you want a brighter, more vibrant color, this is also the time you can sneak in a couple of drops of gel food coloring and mix it until the dough is evenly dark red. If, for some reason, you used too much frosting and the dough feels sloppy, just cover it and chill it for half an hour. It firms right up!
Chilling and Rolling Your Red Velvet Cake Pops
Once you have that perfect, moldable dough—think Play-Doh, but richer—it’s time to make our red velvet cake pops! Grab a small cookie scoop or just use your hands and roll the dough into balls that are exactly one inch across. Try to keep them uniform so they all look professional when they’re done.
Place these perfect little spheres onto a baking sheet lined with parchment paper. Now, here’s the non-negotiable part: they have to go into the freezer or the very back of the fridge to get cold and firm. I usually chill mine for at least an hour. If they are not cold when you start dipping, they will melt and crumble the moment they hit the warm chocolate. You’ll end up with sad little chocolate puddles instead of perfect pops!
Mastering the White Chocolate Dipped Cake Pops Technique
While those pops are getting chilly, melt your white chocolate wafers. I use the microwave because it’s fast, but you must do it in 30-second bursts, stirring well in between each time. If it starts looking stiff, stir in that tiny bit of coconut oil or shortening we talked about. That keeps the coating thin enough to use.
Now for the stick trick—this is essential for professional-looking white chocolate dipped cake pops! Take a lollipop stick, dip the very tip—just the last quarter inch—into the chocolate, and stick that chocolate-covered tip about halfway into a frozen cake ball. That chocolate acts like instant cement! Pop those sticks back into the freezer for about ten minutes to set that glue completely. Once the stick is secure, you can dip the whole thing. Dip the pop completely under the chocolate, pull it out, and gently tap the stick against the side of the bowl. This releases all the extra sticky chocolate, leaving you with a thin, beautiful coating. Stand them up in a clean block of Styrofoam and let them fully set. Simple, right?

Tips for Success When Making Red Velvet Cake Pops
I’ve learned the hard way that success with these Moist Cake Pop Recipe gems comes down to temperatures and proportions. If you follow these little nuggets of wisdom, you’ll avoid 90% of the rookie mistakes I made when I was first figuring things out!
First up: cracking! If your white chocolate shell cracks as it dries, your cake balls weren’t cold enough. They MUST be deeply chilled before that first dip. If you are having trouble getting that chocolate smooth enough to coat nicely, don’t add water—water will make the whole batch seize up instantly! Use that teaspoon of coconut oil or shortening every time.
When you are mixing the cake and the cream cheese frosting, remember: you want it to feel like thick cookie dough. If you overdo the frosting, your red velvet cake pops will be too soft and look floppy when you try to dip them. Err on the side of adding slightly less frosting than you think you need. It’s much easier to add a bit more than trying to firm up a mushy mess!
Creative Variations for Your Red Velvet Cake Pops
Once you nail the basic white chocolate coating, the real fun begins! These red velvet cake pops are basically blank canvases begging for some personality. I love switching up the coatings and sprinkles because it makes them perfect for whatever party I’m taking them to. Think of them as tiny, edible masterpieces!
You absolutely don’t have to stick to plain white chocolate. Different coatings totally change the flavor profile, and using different colors makes them instant stars on any dessert table. Here are a few ways I like to dress mine up:
Switching Up the Outer Shell
If white chocolate isn’t your favorite, don’t worry! We have alternatives that still make for gorgeous Gourmet Cake Pop Designs. Dark chocolate is an amazing choice; the slight bitterness cuts through the sweetness of the red velvet cake and cream cheese frosting perfectly. Just make sure you add that tiny bit of shortening or oil to keep the dark chocolate runny enough for dipping.
For holidays, I am obsessed with colored candy melts! Since we are already working with a festive red base, using pink or even bright cherry-red candy melts gives you a stunning monochromatic look. If you are making these for other chocolate-dipped treats, you can match the color scheme!
Sprinkles and Toppers for Every Occasion
This is where you get to be really playful! Once you dip the pop and tap off the excess chocolate, immediately roll it lightly in your chosen sprinkles while the coating is still wet. Don’t let it set up, or the sprinkles won’t stick for love nor money.
For Valentine’s Day, which is a huge occasion for these pops, stick to pink, white, and red nonpareils, or even tiny heart-shaped sprinkles. If you’re making these for a birthday party, get some fun metallic balls or jimmies!
A Drizzle Finish for Extra Pop
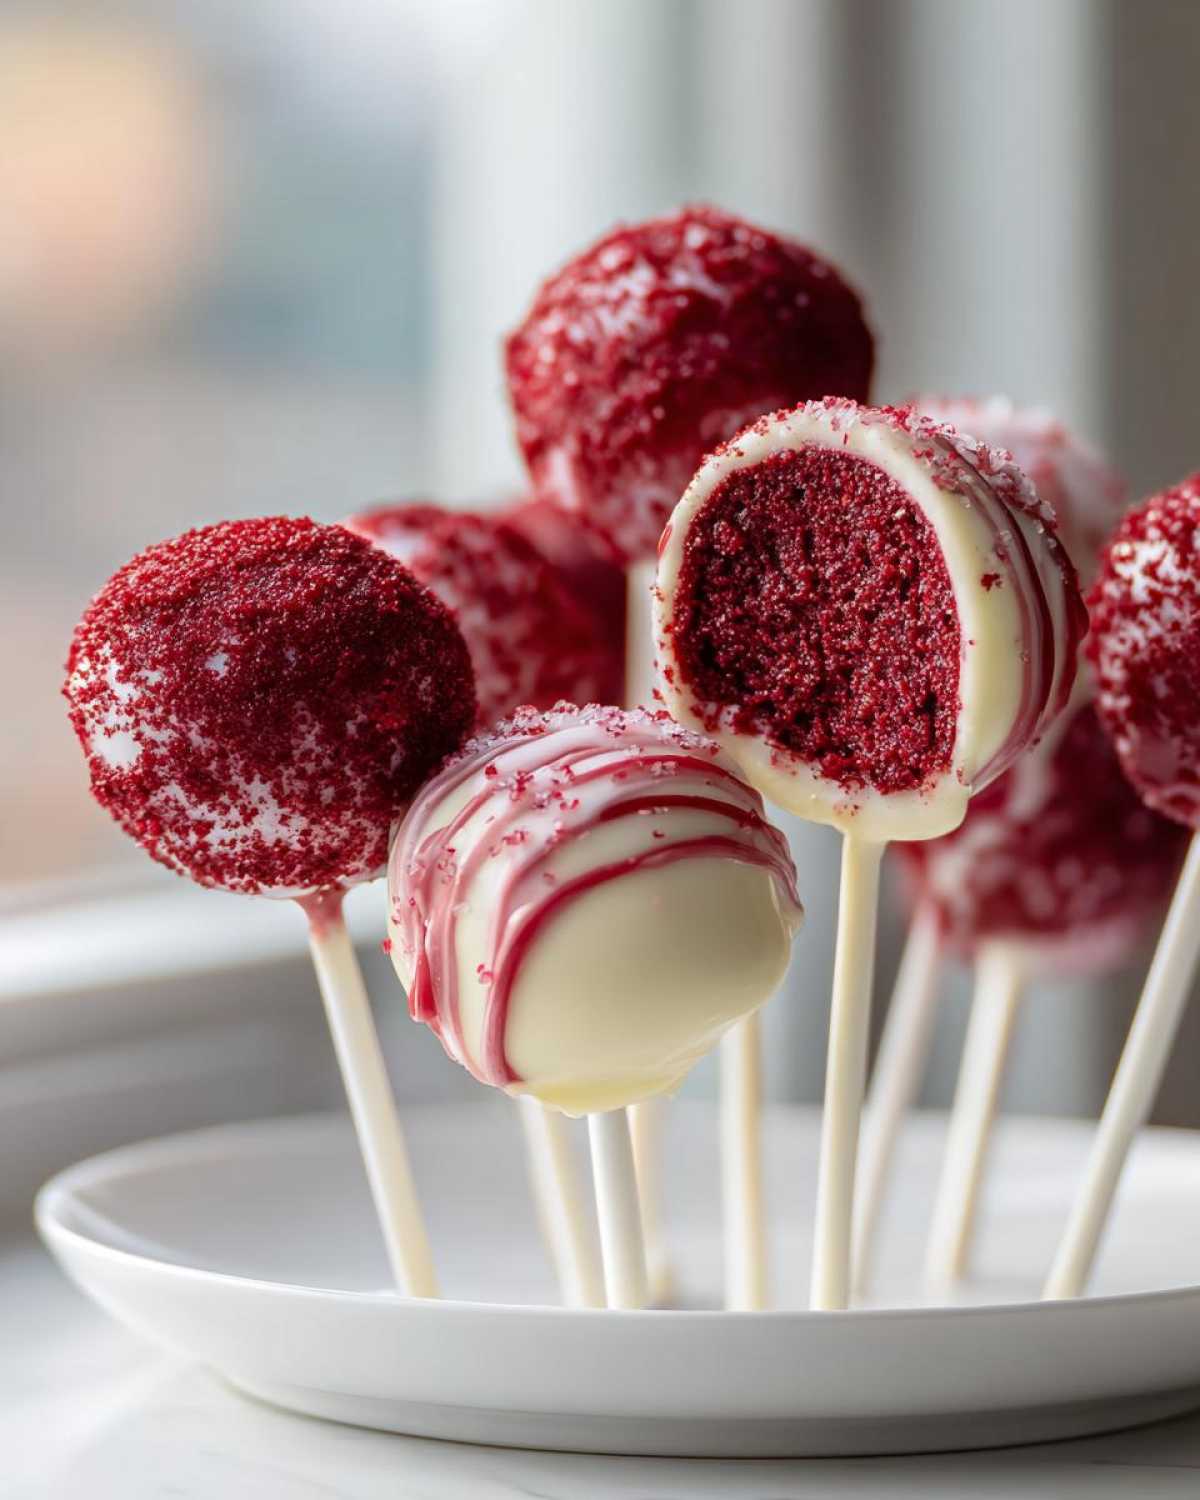
If you’re not quite ready to cover the whole thing in sprinkles, try the drizzle technique! Melt a small amount of contrasting chocolate—say, dark chocolate if you coated them in white—and put it into a piping bag with a very, very tiny tip, or even just snip the corner off a small zip-top bag corner. Drizzle thin lines across the hardened cake pops.
This technique adds a professional touch without sacrificing the beautiful red color underneath. It’s a fantastic way to make your red velvet cake pops look like they came straight from a fancy bakery. Keep the drizzle lines thin, and you’ll have some incredible Valentine Cake Pop Ideas ready to go!

Storage and Keeping Red Velvet Cake Pops Fresh
So you made a huge batch of these glorious red velvet cake pops. Congrats! Now you have to store them, and luckily, they are one of the best treats for making ahead of time. Honestly, the fresher they are, the better they taste, but they are pretty resilient. Here is how I keep mine happy until the party starts.
Because we are packing these dense little balls with cream cheese frosting, which has dairy in it, refrigeration is usually the safest bet, especially if you plan on keeping them more than a day. Store your finished, dipped pops in a single layer in a completely airtight container. If they are stacked, the sticks might wiggle or the coating could rub off, and nobody wants that mess!
How long do red velvet cake pops last?
If you keep them covered tightly in the fridge, they’ll last up to a solid week. Seven days of pure red velvet joy! If you aren’t going to eat them within a few days, you can actually freeze them, too. Pop them in that airtight container—maybe put down a piece of wax paper between layers just to be extra safe—and they are good in the freezer for about a month. They thaw out perfectly!
Serving Temperature Matters!
This is the secret tip nobody tells you about chocolate-coated truffles and cake pops! While they need to be refrigerated to stay fresh due to the frosting inside, you should never, ever serve them ice cold. If you pull these directly from the fridge to your serving platter, the chocolate coating will be super hard, and you’ll smash your teeth a bit trying to bite through it!
About 30 minutes before you plan on serving, pull them out onto the counter. Let them come up to room temperature. When they warm up just slightly, the cake inside gets softer, and the chocolate coating melts perfectly the second it hits your tongue. It makes such a difference in the overall experience of eating these red velvet cake pops.
Serving Suggestions for Your Bite Sized Red Velvet Desserts
Now that you’ve successfully made a batch of irresistible, melt-in-your-mouth red velvet cake pops, you need to show them off! These aren’t just something you throw on a plate; they deserve a grand entrance. They’re so vibrant and perfectly portioned that they instantly upgrade any spread.
When I make these for gatherings, I always make sure they are the star attraction. Forget mixing them in with plain cookies; these deserve their own moment of glory on the table. They are the perfect little addition to any collection of shareable baked goods because they are totally self-contained!
Creating a Show-Stopping Dessert Table Centerpiece
If you’re hosting a party, these cake pops automatically become your visual anchor. You need height! The best way to display them is in a styrofoam block or a specialized cake pop stand. I cover my styrofoam block in festive foil or colored tissue paper—whatever matches the party theme.
When you arrange them neatly, standing side-by-side, they create this amazing fan or fence effect. They look so neat and tidy, which is the perfect contrast to the rich, slightly messy flavor inside. These are fantastic Party Dessert Balls because everyone can just grab one toothpick and go!
Gifting and Take-Home Favors
Cake pops make the most thoughtful, delicious party favors. Since they are pre-portioned, you don’t have to worry about clumsy slicing or messy wrappers. All you need are cellophane bags and some nice ribbon!
I usually wrap three pops per bag and tie them off with a big satin bow. If you’re making them for classroom holidays or an office party, they look so much more elegant this way than just handing out brownies. For Valentine’s Day, use red and white tulle, and you’ve got a charming little gift ready to go!
Pairing with Other Festive Red Desserts
If you want to build an entire themed dessert table—say for Christmas or a birthday where red is the color—these work beautifully alongside other vibrant red items. Think about pairing your chocolate-coated pops with small bowls of fresh strawberries or maybe even some bright red velvet cookies if you have extras!
The key is variety in texture. You have the smooth snap of the chocolate coating on these pops, so balance that with something soft or crunchy. It makes the whole table look professionally curated, even if you just threw it all together an hour before everyone arrived!
Frequently Asked Questions About Red Velvet Cake Pops
I know you might have a few lingering questions! Trust me, I get them all the time. Making these sweet little treats is simple, but a few little details can make or break the final look of your red velvet cake pops. Here are the top things folks ask me when they try this recipe.
Do I really have to chill the cake balls before dipping?
YES. Please, please, please do not skip this step! I know you’re excited to get them dipped, but chilling is the backbone of a perfect coating. If the cake ball is room temperature or even a little warm, the chocolate will melt the ball slightly as soon as you dip it. That leads to disaster—either the stick falls out, or the coating becomes too thin and cracks later when it sets. Aim for rock solid straight from the freezer or fridge—it makes all the difference!
Can I use leftover homemade red velvet cake instead of a mix?
Absolutely! My primary goal when writing this was to make it easy on everyone, but if you already have a gorgeous, moist, homemade cake leftover, go for it! The only thing you have to watch out for is the moisture level. If your homemade cake is already super airy and crumbly, you might need slightly less cream cheese frosting binder than the recipe calls for.
Start by mixing in ¾ of the frosting container, then taste and feel the dough. It should hold together firmly when squeezed. If you use a heavy, dense homemade cake, you might even need a tiny bit more frosting to get that perfect dough consistency for these homemade cake pops recipe classics.
Why is my white chocolate seizing up and getting grainy?
Oh, the dread of seizing chocolate! This happens when just a tiny bit of moisture gets into your melting chocolate—it turns from smooth silk into gritty sand almost instantly. You can try to save it by stirring in about a teaspoon of vegetable oil or shortening, but it rarely comes back perfectly smooth for dipping fine things like these chocolate coated cake pops.
Make sure your bowl is perfectly dry, and NEVER add even a drop of water, milk, or steam to your melting chocolate. This usually happens if the stirring utensil you use has traces of water on it. Melt slowly, stir gently, and you should avoid this frustrating problem entirely!
How do I get that deep, vibrant red color?
If you are using a typical cake mix, the color is usually decent, but for the *wow* factor—especially if you are making vibrant red desserts for a holiday—you need gel food coloring. Liquid coloring just doesn’t cut it because you need a lot more of it, which affects the cake batter consistency.
Add about a teaspoon of high-quality red gel coloring right into your wet ingredients before you mix them with the dry ingredients. Mix it well until the batter is rich and uniform. When baked and crumbled, this gives you that deep, restaurant-quality crimson color in your final bite sized red velvet desserts!
Estimated Nutritional Data for Red Velvet Cake Pops
When you’re whipping up a batch of these gorgeous red velvet cake pops, sometimes you just need to know the ballpark figures. Because we are dealing with cake mix, frosting, and a thick chocolate shell, these are definitely a splurge treat! Keep in mind that these numbers are just estimates based on the ingredients listed. I always tell folks that if you use homemade frosting, the totals will shift a bit!
For one roughly one-inch cake pop, here are the averages:
- Serving Size: 1 pop
- Calories: 180
- Sugar: 18g
- Fat: 10g
- Carbohydrates: 20g
- Protein: 2g
If you want to dive deeper into how we calculate this, you can always check out my general guidelines over on my recipe disclaimer page. But truthfully? When they taste this good, I try not to focus too much on the numbers!
Print
Easy Red Velvet Cake Pops
- Total Time: 1 hr 5 min
- Yield: 24 pops
- Diet: Vegetarian
Description
Make moist, bite-sized red velvet cake pops using a simple process with cream cheese frosting as the binder and a smooth white chocolate coating.
Ingredients
- 1 box (15.25 oz) red velvet cake mix
- Ingredients required by cake mix box (usually eggs, oil, water)
- 1 container (8 oz) cream cheese frosting (canned or homemade)
- 12 oz white chocolate melting wafers or chips
- 1 teaspoon coconut oil or shortening (optional, for thinning chocolate)
- Red food coloring (optional, for deeper color)
Instructions
- Bake the red velvet cake according to the package directions using the specified wet ingredients.
- Let the cake cool completely on a wire rack.
- Crumble the cooled cake into a large bowl until no large pieces remain.
- Add the entire container of cream cheese frosting to the cake crumbs.
- Mix the cake and frosting together thoroughly until a dough forms. You can use your hands for the final mixing stage.
- If the mixture seems too wet, chill it for 30 minutes.
- Roll the mixture into small, uniform balls, about 1 inch in diameter. Place them on a parchment-lined baking sheet.
- Chill the cake balls for at least 1 hour until firm.
- Melt the white chocolate wafers in a microwave-safe bowl in 30-second intervals, stirring between each interval until smooth. Add coconut oil if the chocolate is too thick.
- Dip the tip of a lollipop stick into the melted chocolate and insert it about halfway into a chilled cake ball. This acts as glue.
- Return the cake pops to the freezer for 10 minutes to set the sticks.
- Dip the entire cake ball into the melted white chocolate, rotating to coat completely. Tap the stick gently against the side of the bowl to remove excess chocolate.
- Place the dipped cake pop upright on a styrofoam block or stand to set completely.
- Allow the chocolate coating to harden before serving or storing.
Notes
- For a deeper red color, add a few drops of gel food coloring to the cake batter before baking.
- If you prefer a firmer texture, use slightly less frosting in the mixture.
- To prevent cracking in the chocolate coating, ensure the cake balls are very cold when dipping.
- Prep Time: 30 min
- Cook Time: 35 min
- Category: Dessert
- Method: No Bake (after initial baking)
- Cuisine: American
Nutrition
- Serving Size: 1 pop
- Calories: 180
- Sugar: 18
- Sodium: 150
- Fat: 10
- Saturated Fat: 6
- Unsaturated Fat: 4
- Trans Fat: 0
- Carbohydrates: 20
- Fiber: 0
- Protein: 2
- Cholesterol: 15


Comments are closed.