
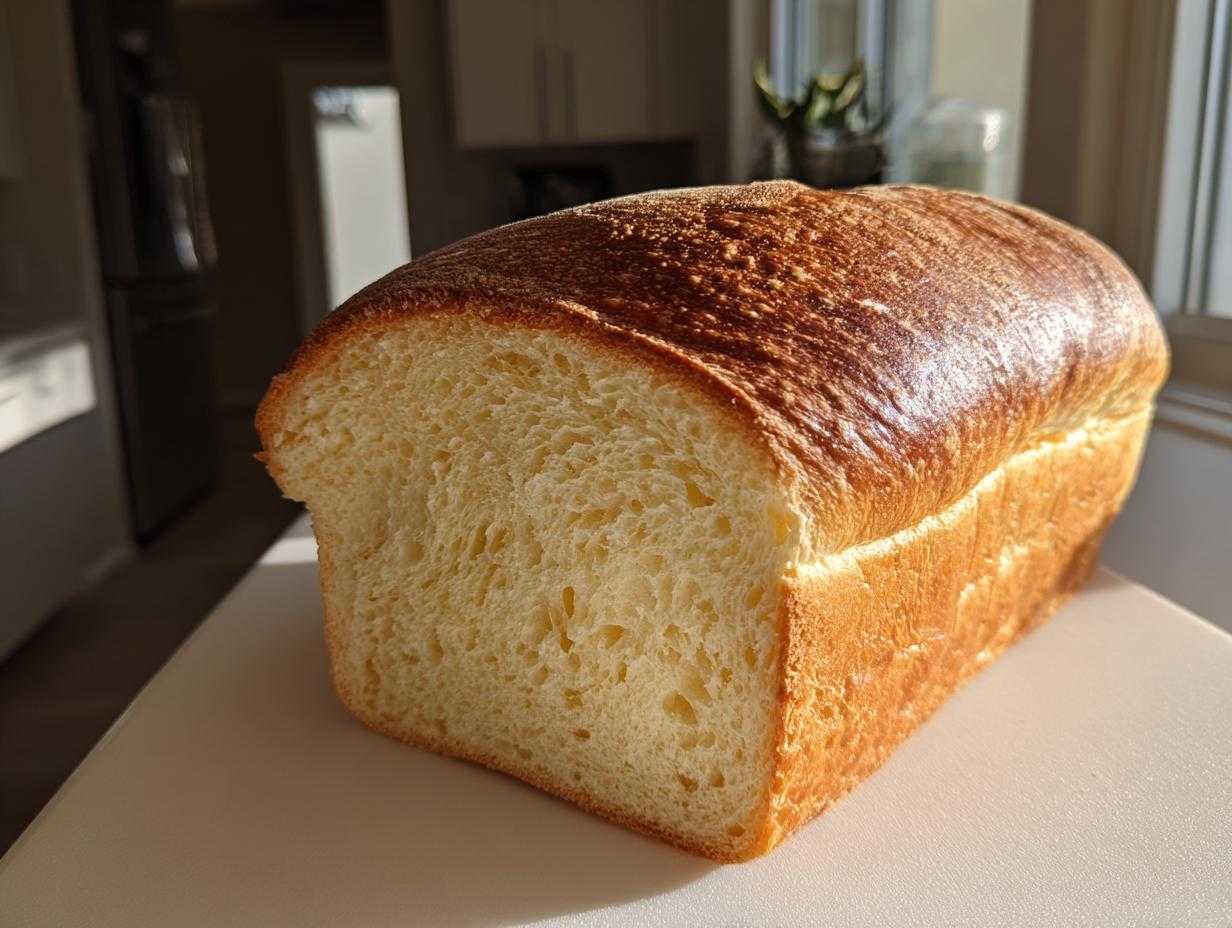
Oh my gosh, let’s talk about sourdough. I know, I know, you’ve tried making an artisan boule that looks amazing, but when you try to make a sandwich with it, it’s just too chewy or too dense to cut nicely? It’s the eternal struggle! For years, I thought sourdough just wasn’t meant for good, everyday sandwiches. Everything came out crusty and tangy, which is great for dipping, but not for my kids’ peanut butter and jelly.
But trust me, I cracked the code after so many squished, gummy failures. This recipe right here? This is the magic ticket to consistently fluffy sourdough sandwich bread. We’re talking about a texture that rivals the stuff you buy at the store, but with that subtle, gorgeous tang only your active starter can provide. This is my secret weapon for a soft and fluffy sourdough loaf that actually slices thin without turning into crumbs. It’s seriously the best sourdough sandwich recipe I’ve ever landed on for toast and lunch boxes!
Why This Soft Sourdough Sandwich Bread Recipe Works for Beginners
I get it, folks searching for an easy sourdough bread recipe often just want a reliable, soft loaf, not a complicated science project. That’s why this approach skips the aggressive kneading most artisan recipes require. We get amazing structure through gentle stretch and folds, which is much more forgiving for a beginner sourdough sandwich loaf. The main trick here is that we bake it right in the pan! It’s the absolute best way to guarantee a wonderful soft sourdough sandwich bread that actually behaves like sandwich bread should. If you’ve ever wished you could make fluffy sourdough pancakes, you know how much texture matters, and this loaf is just as satisfying! It’s seriously the best sourdough sandwich recipe I’ve ever landed on for toast and lunch boxes!

Achieving a Fluffy Sourdough Loaf Texture
The real game changer for fluffiness is that softened butter we introduce right near the end. It coats the gluten strands slightly during mixing, which keeps things tender, kind of like making brioche! We are being gentle during the shaping, too. If you overwork the dough even a little bit, you instantly get that tough, chewy gluten network. By keeping our handling light, we preserve those tiny air pockets that make the crumb so delightfully soft. We want that light springy feel, much like the sourdough pancakes I make on Sunday mornings.
The Secret to Sliceable Sourdough Bread
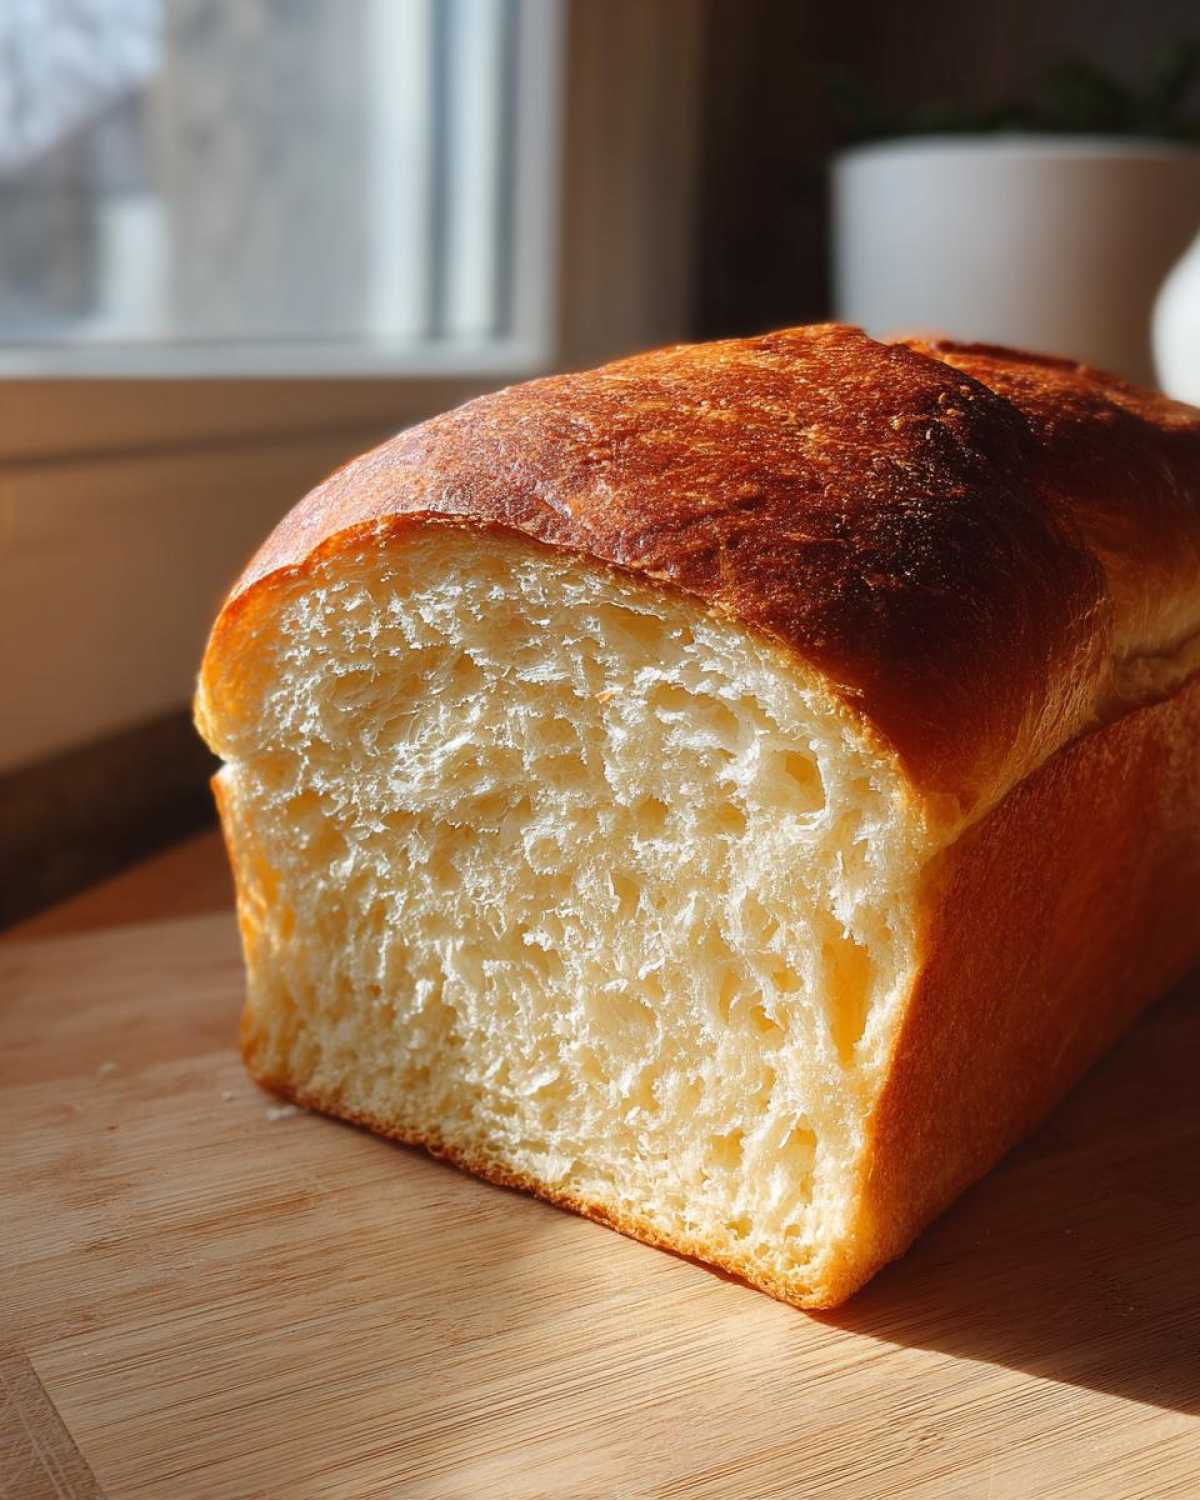
Artisan rounds are hard to slice thinly without squishing them, right? That’s history now! Baking in the pan provides the structure needed so the loaf doesn’t spread out too much during its final rise. We need that perfect upward push. Following the visual cues, especially letting it rise about an inch over the rim before baking, guarantees you get that tall, uniform shape. That uniformity is exactly what leads to beautiful, sliceable sourdough bread that holds up perfectly for toast.
Ingredients for Your Classic Sandwich Loaf Sourdough
Okay, let’s get down to brass tacks. You don’t need a million things for this loaf, but you do need the right things! Keep everything out on your counter before you start mixing. I find organizing everything helps me stay calm during the bulk fermentation stage, which is necessary when you’re aiming for that perfect sourdough sandwich bread.
Here is what you’ll need to gather up for one beautiful loaf:
- You absolutely must start with 100 grams of active sourdough starter. Make sure it’s bubbly and doubled recently, that’s key!
- For the water, grab 350 grams of warm water. We are aiming for about 85 degrees Fahrenheit—not hot, just comfortably warm to wake up your starter.
- Now for the flour: 500 grams of bread flour. Seriously, don’t try AP flour here; we need that high protein for structure.
- We need 10 grams of fine sea salt.
- And finally, the secret to that soft texture: 15 grams of unsalted butter, and it needs to be softened up a bit—not melted liquid, but perfectly pliable.
If you want to explore other reliable breads that aren’t sourdough but still use minimal ingredients, you should totally check out my thoughts over on the easy whole wheat recipe.
Ingredient Notes and Substitutions for Sourdough Sandwich Bread
Listen, this recipe relies on quality ingredients to deliver that buttery crumb sourdough everyone raves about. Bread flour is non-negotiable for this specific sourdough sandwich bread. All-purpose flour just doesn’t have the strength (the protein) to support all that softness we are building, and you’ll end up with a denser result. That 15 grams of softened butter? It does the heavy lifting to keep the crumb tender and moist, so make sure yours is at room temperature, not straight from the fridge!
Step-by-Step Instructions for Perfect Sourdough Sandwich Bread
Now we start transforming that shaggy mess into something gorgeous! Getting the timing right here is what separates a great sourdough sandwich bread from a mediocre one. We aren’t kneading, which is fantastic, but we are doing a little work to build strength. Remember how I mentioned using fewer ingredients? Well, every step in this process counts so be sure to follow along closely so you can enjoy your fresh loaf sooner!
Mixing and Bulk Fermentation for Sourdough Sandwich Bread
First, take your active starter and mix it right into the warm water until it dissolves. Then, dump in all your flour and mix it by hand until you can’t see any dry bits left. It’ll look shaggy, and that’s perfect! Cover it up and let it chill out for 30 minutes—this is called the autolyse, and it really helps the flour start absorbing the water on its own. After that short rest, sprinkle the salt over the top. Wet your fingers slightly and dimple that salt in, mixing until it disappears. Now for the stretches! You need four sets of stretch and folds, and you must space them 30 minutes apart. Just grab one side of the dough, stretch it high, and fold it over the middle. Rotate the bowl and repeat three more times. After that last set, cover it and just let it rest at room temperature (around 72F) for about 2 to 4 hours. You are looking for it to gain about 50% more volume and you should see some nice bubbles on top before you move on.
Shaping and Final Proofing of the Sourdough Sandwich Loaf
This shaping step is critical for getting that uniform look, so don’t rush it! Gently turn the dough out onto a very lightly floured surface. You want to shape it into a tight log or oval—think about wrapping it up and tucking things in really snugly so you create surface tension. Once it’s tight, gently place it seam-side down right into your lightly greased 9×5 inch loaf pan. Cover it loosely now. This is the final proof, and it usually takes about 1 to 2 hours at room temperature. The golden rule here is visual: you want the dough to have risen up about 1 full inch above the rim of the pan. If your kitchen is super warm, you might achieve this faster, possibly making this closer to a same day sourdough sandwich bread!
If you’re looking for other simple baking ideas while this one proofs, you should definitely take a peek at my honey bran muffins—they are fantastic for breakfast!
Baking Your Fluffy Sourdough Loaf
This is the moment of truth! We want that gorgeous, deep golden color without burning the outside before the middle cooks through. For this sourdough sandwich bread, we set our oven temperature to 375 degrees Fahrenheit, or 190 Celsius. Make sure your oven rack is in the lower third position—this gives the top crust a little more breathing room so it bakes evenly without becoming too dark too fast.
It usually takes between 35 to 45 minutes total. But listen, I am a firm believer in checking the internal temperature like a proper baker! If you have a digital thermometer, aim for 200 degrees Fahrenheit (93C) in the center. That little step is my personal assurance that your loaf won’t be gummy inside. If you’re curious about other baking projects, my famous carrot cake goes through a similar detailed process, which you can see here!
Cooling and Slicing the Sourdough Sandwich Bread
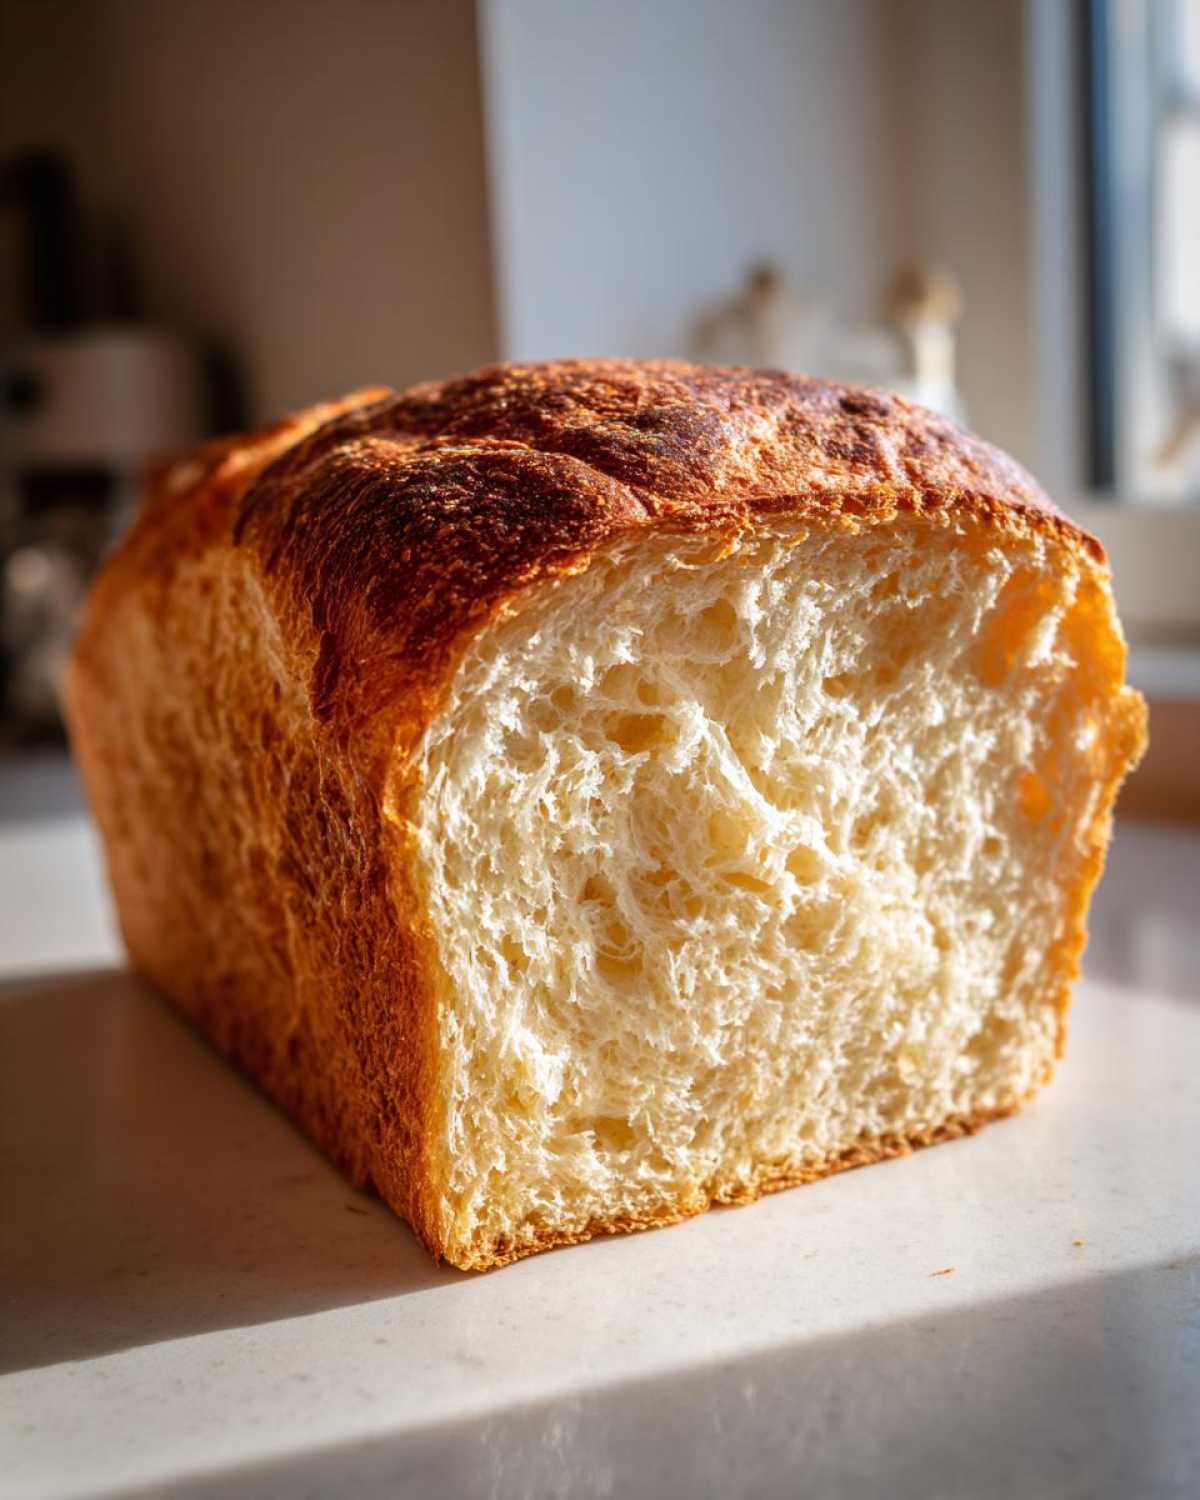
This next step is truly where most folks fail with their homemade loaves, and I’m not going to let that happen to you! After you pull that gorgeous, golden loaf out of the oven, you might be tempted to slice into it immediately—trust me, I’ve been there, coffee brewing, wanting that first taste of fresh sourdough sandwich bread. But you absolutely must resist! Slicing it too early is the number one cause of a gummy, sticky crumb inside, and we worked way too hard to get that fluffy sourdough loaf texture to ruin it now.
Immediately turn that bread out of the pan onto a wire rack. If you want to add a little extra deliciousness that pushes this over into buttery crumb sourdough territory? Right now, while it’s piping hot, grab about a tablespoon of soft butter and just brush it gently over the top crust. It melts right in and adds the most incredible richness!
Then, you wait. Seriously, set a timer for two solid hours. That time allows the internal steam to redistribute evenly throughout the crumb structure. This cooling process is the final, totally non-negotiable step needed to achieve that perfect, clean cut we need for a truly sliceable sourdough bread. If you’re looking for other ways to use simple ingredients, check out my sugar-free banana bread recipe for a different kind of treat!
Tips for Making Soft Sourdough Every Time
Now that you have the whole recipe down, let’s talk about consistency. Baking sourdough changes based on the weather, the humidity, and even how active your starter is feeling that day! If you’re chasing that lovely, soft texture repeatedly, consistency is everything. We really want that beautiful buttery crumb sourdough every single time, remember? My biggest piece of advice, especially when rushing for an easy sourdough bread recipe, is managing the proofing temperature.
If your kitchen is chilly—under 70F—your dough is going to take forever! If that happens, don’t just leave it on the counter for eight hours. Pop your covered bowl or pan inside your oven, but **do not turn on the heat**. Just switch on the oven light. That little bulb creates just enough ambient warmth to wake up that starter and get those yeasties working happily! You can check out my full guide on how to make soft sourdough for more deep dives.
Troubleshooting Common Sourdough Sandwich Bread Issues
Did your loaf come out dense? Nine times out of ten, that’s under-proofing. If it didn’t rise enough during bulk fermentation, the structure just won’t support the weight, leading to a tight crumb. You need that volume increase! On the flip side, if your dough tore slightly during shaping, you might have overworked the gluten or shaped it too aggressively. Remember, we want gentle tension. Keep reminding yourself that the goal is that pillowy soft sourdough sandwich bread, so handle it like a treasured memory, not a punching bag!
Serving Suggestions for Your Homemade Sandwich Bread Using Starter
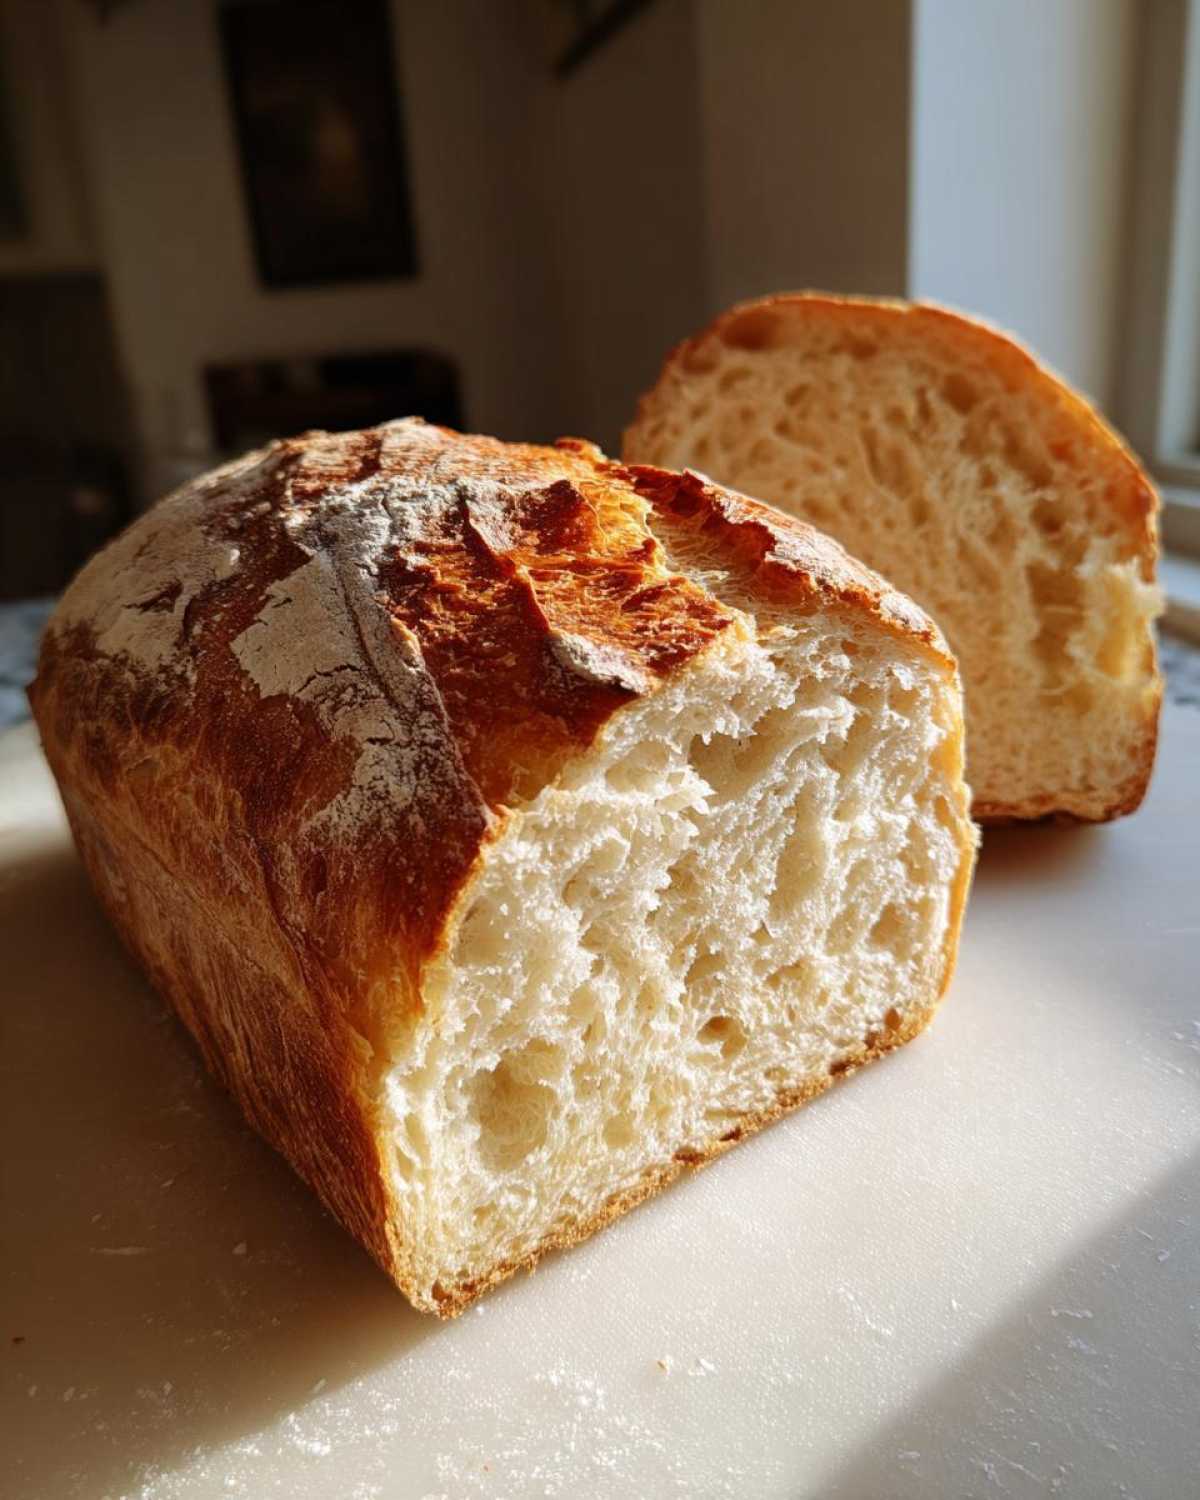
Now that you have this incredible, soft loaf, what are you going to do with it? Beyond the perfect grilled cheese, this bread shines whenever you need a sturdy, yet tender, base. That slight sourdough tang cuts through richness beautifully, which is why it’s amazing toasted. Seriously, everyone raves about this as sourdough toast bread—it toasts evenly without drying out the whole slice!
Slather thick slices with salted butter and maybe a drizzle of honey. For a quick lunch, it’s the ideal companion for something creamy, like a perfectly made egg salad. Or, when you make those oven-roasted potatoes, use two slices of this bread for dipping up all those crispy garlic bits. It just holds up so well; you won’t regret using this homemade sandwich bread using starter!
Storage and Reheating Instructions for Sourdough Sandwich Bread
Storing this beautiful soft sourdough sandwich bread is almost as important as baking it! Because we aimed for that perfectly soft, slightly buttery crumb, it can dry out faster than a rustic boule if you just leave it sitting on the counter unwrapped. My rule of thumb? Treat it like good bakery bread—it’s best eaten within two days, but you want to make sure you wrap it up properly as soon as it’s completely cool, which takes those two hours we talked about.
Wrap it tightly in aluminum foil first, and then place that foil-wrapped loaf into a large Ziploc bag or an airtight plastic container. If you live somewhere humid, the foil is your best friend because it fights off the softness-ruining moisture in the air. Some folks freeze sourdough, and that works great! Just slice it first, and then you can pull out only what you need. This makes getting quick sourdough toast bread slices super easy later on.
If you are reheating slices that are a day or two old—say, for a better sandwich or to revive that initial fluffiness—just pop the slice into a toaster or briefly into a 350F oven for about five minutes. That little bit of heat brings back the tender texture beautifully. If you’re looking for another great snack recipe to pair with your bread, you have to try my banana protein muffins!
Frequently Asked Questions About Sourdough Sandwich Bread
I always get so many questions when people first try this recipe because they are used to heavy artisan loaves, and this one is just so delightfully light! I figured I’d answer the things I get asked most often, especially from folks who are aiming for that perfect soft sourdough sandwich bread for the first time.
Can I make this sourdough sandwich bread without a loaf pan?
You certainly can, yes! If you are making a no knead sourdough sandwich bread, the pan is what really forces that beautiful square-ish shape that’s so easy to slice. If you shape it and bake it directly on a baking stone or sheet, you’ll end up with more of a free-form round or oval loaf. It’ll still taste amazing, of course, but maybe not quite as perfectly sliceable sourdough bread!
What is the best hydration level for fluffy sourdough loaf?
For this recipe, I strongly recommend sticking to 100% hydration for your starter (equal parts flour and water by weight). This recipe is already quite wet because we’re introducing butter later on to guarantee that buttery crumb sourdough. If you use a super stiff starter, say 60% hydration, you’d have to add way more water to the dough, which messes with the overall balance we need for a reliable, fluffy sourdough loaf!
Can I skip the stretch and folds for this easy sourdough bread recipe?
Oh, please don’t skip those! I know it feels like extra steps when you are looking for an easy sourdough bread recipe, but those four sets of gentle stretches are doing the work of 15 minutes of kneading. They build the necessary gluten network to trap those gases and give the loaf structure. Without them, the dough just can’t hold up the shape in the pan, and you’ll end up with a thick, dense brick instead of the light, airy result we are aiming for. It’s crucial for supporting that soft crumb!
If you’re interested in using up your extra starter instead of tossing it, you have to check out this amazing recipe for sourdough discard pizza dough—it’s a totally different, super fun way to bake!
Share Your Soft Sourdough Sandwich Bread Creations
Seriously, I want to see your beautiful, tall loaves! Making this sourdough sandwich bread is so rewarding, and nothing makes me happier than seeing your successful bakes pop up online. Once you’ve cooled your bread completely—and I mean completely, promise?—snap a picture of that amazing, soft crumb.
If you share your bake on Instagram or Facebook, please tag me! I absolutely love seeing how everyone’s kitchens smell after a fresh batch comes out of the oven. Let me know in the comments below if this recipe finally gave you the soft, sliceable loaf you’ve been dreaming of, or if you have any other tips for keeping that fluffy sourdough loaf perfect.
Don’t forget to leave a rating right below this section if this recipe earned a spot in your regular baking rotation. Happy baking, friends!
Print
Soft and Fluffy Sourdough Sandwich Bread
- Total Time: 4 hours 45 min
- Yield: 1 loaf
- Diet: Vegetarian
Description
A straightforward recipe for making soft, sliceable sourdough bread perfect for everyday sandwiches and toast, suitable for beginners.
Ingredients
- 100g active sourdough starter (100% hydration)
- 350g warm water (around 85F)
- 500g bread flour
- 10g fine sea salt
- 15g unsalted butter, softened
Instructions
- Mix the active starter and warm water in a large bowl until combined.
- Add the flour and mix by hand until just combined into a shaggy mass. Let this rest, covered, for 30 minutes (autolyse).
- Sprinkle the salt over the dough. Dimple it in with wet fingers, then mix until the salt is incorporated.
- Perform four sets of stretch and folds, spaced 30 minutes apart. For each set, wet your hands, grab one side of the dough, stretch it up, and fold it over the center. Rotate the bowl and repeat three more times.
- After the final set of folds, let the dough rest, covered, at room temperature (around 72F) for 2 to 4 hours, or until it has increased in volume by about 50% and shows some bubbles.
- Gently shape the dough into a tight log or oval and place it seam-side down into a lightly greased 9×5 inch loaf pan.
- Cover the pan loosely and let it proof at room temperature for 1 to 2 hours, or until the dough has risen about 1 inch above the rim of the pan.
- Preheat your oven to 375F (190C) with a rack in the lower third position.
- Bake for 35 to 45 minutes, or until the crust is golden brown and the internal temperature reaches 200F (93C).
- Remove the bread from the pan immediately and let it cool completely on a wire rack before slicing, about 2 hours.
Notes
- For an extra soft crumb, brush the top of the loaf with melted butter immediately after it comes out of the oven.
- If your kitchen is cold, place the covered dough in a slightly warm spot, like inside a turned-off oven with the light on, to encourage proofing.
- Use bread flour for the best structure and sliceability.
- Prep Time: 30 min
- Cook Time: 45 min
- Category: Baking
- Method: Baking
- Cuisine: American
Nutrition
- Serving Size: 1 slice
- Calories: 250
- Sugar: 1
- Sodium: 400
- Fat: 3
- Saturated Fat: 2
- Unsaturated Fat: 1
- Trans Fat: 0
- Carbohydrates: 50
- Fiber: 2
- Protein: 9
- Cholesterol: 8


Comments are closed.