
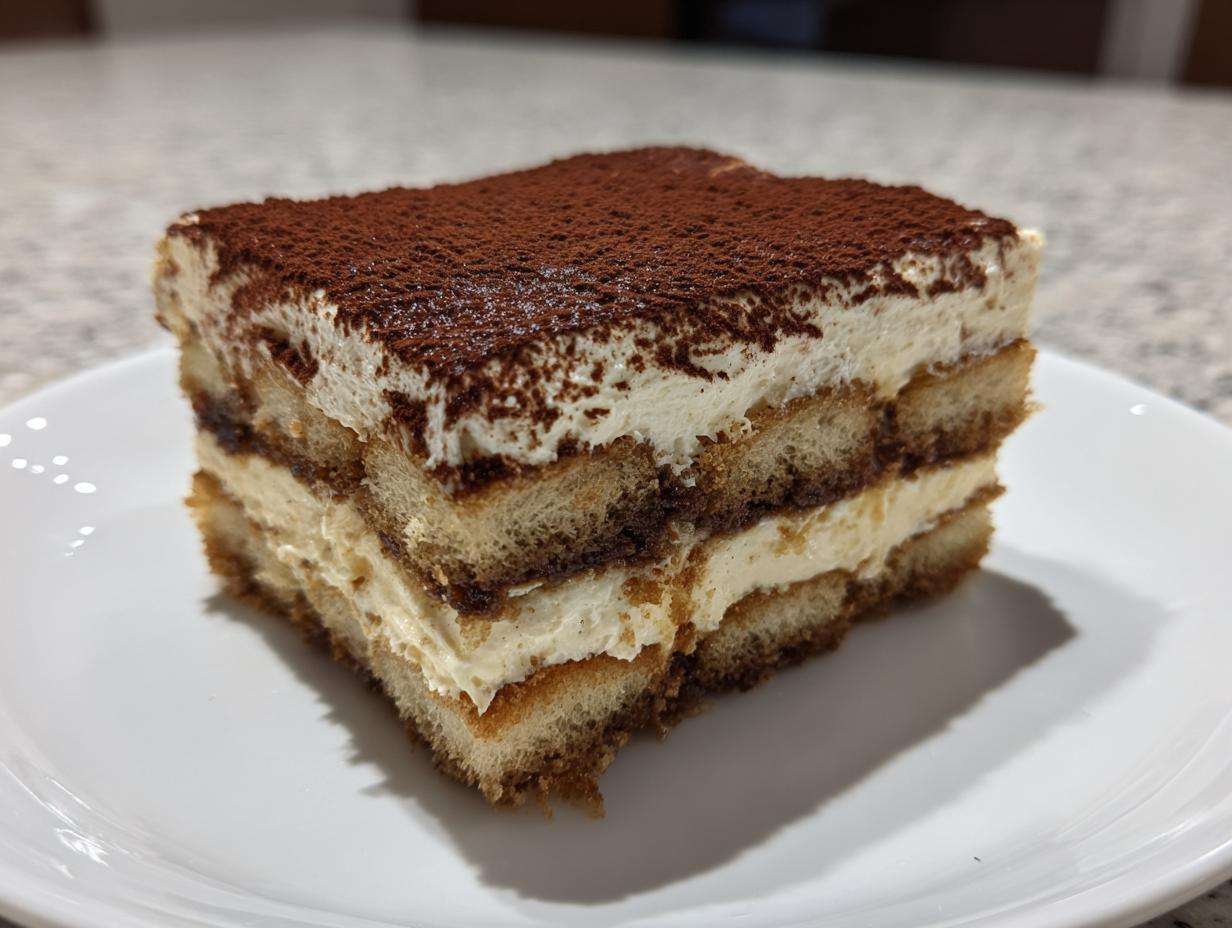
Oh my gosh, are you ready for the ultimate showstopper? Forget complicated baking; we are moving straight to the world of dazzling, no-fuss Italian desserts! When I think of elegance on a plate, I think of Tiramisu, but I used to dread making it because of those raw eggs. Not anymore! After years of tweaking and tasting (and secretly spying on my Italian neighbor’s technique), I’ve landed on the ultimate easy, no-bake classic tiramisu recipe.
Trust me when I say this version is heaven—it’s incredibly creamy, perfectly balanced with strong espresso, and you ditch the raw eggs entirely, which means less worry and more serving! We’re talking about a dreamy, decadent texture that sets up perfectly in the fridge. This isn’t just any dessert; it’s the one that gets everyone asking for the secret when you bring it to a dinner party. It’s now my go-to elegant dessert recipe for any big gathering.
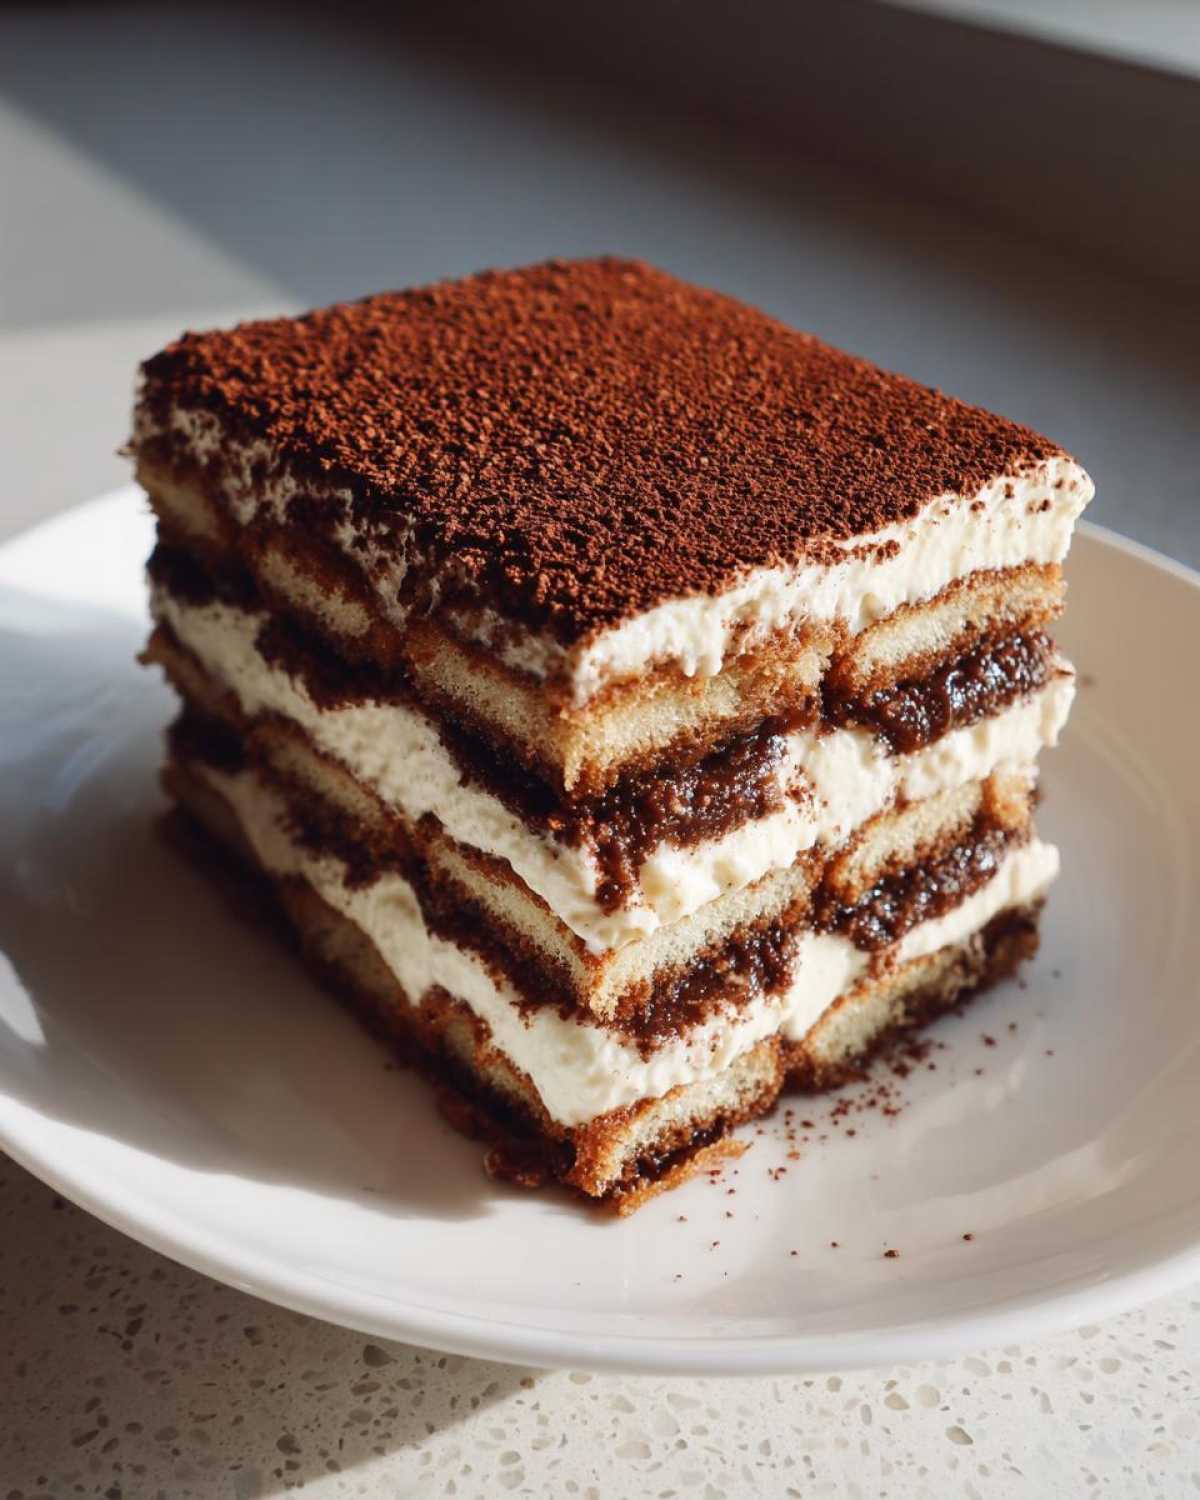
Why This Easy Tiramisu Recipe is the Best Italian Dessert
Look, there are a million ways to make Tiramisu, but honestly, this one just beats them all out, especially if you’re busy! My goal was to create an Authentic Italian Dessert that didn’t require hovering over a stovetop for hours. This tiramisu recipe delivers that rich, decadent flavor without any fuss. I actually learned a trick for getting those steak bites tender as silk recently too, which is totally unrelated but makes me think about developing flavors! Check out those steak bites if you need a savory break.
It has become my favorite because it completely removes that one worry we all have. Plus, it’s the ultimate make ahead dessert. You seriously assemble it the day before, and BAM! It’s even better the next day.
Key Features of Our Classic Tiramisu Recipe
- No more raw egg anxiety! We gently heat the yolks for safety, making it perfect for everyone.
- It’s genuinely a no bake dessert—just mixing and dipping!
- The use of strong, cooled espresso ensures that deep, wonderful Italian coffee dessert punch in every layer.
- The texture of that mascarpone cream dessert? Unbelievably light yet ultra-rich.
Essential Ingredients for Your Tiramisu Recipe
Okay, ingredient talk! Because this is an authentic Italian dessert, you really can’t skimp here. I’ve found that if you use good quality mascarpone and genuinely strong coffee, you are halfway to winning the lottery. I swear, cheap espresso makes for a timid Tiramisu, and we aren’t making anything timid here, are we? I wish my recipe for creamy Alfredo sauce let you cheat on ingredients, but Tiramisu demands the best!
Make sure all your dairy—the heavy cream and the mascarpone—are super cold when you start prepping the cream. This is crucial for getting that fluffy texture we’re aiming for. Read those amounts carefully, especially for the ladyfingers! Here is what you’ll need for 12 perfect servings:
- 6 large egg yolks (Don’t worry, we pasteurize these!)
- 3/4 cup granulated sugar
- 1 1/2 cups heavy cream, cold
- 16 ounces mascarpone cheese, cold
- 1 1/2 cups strong brewed espresso, cooled completely
- 1/4 cup coffee liqueur or dark rum (optional, but so good!)
- 2 packages (7 ounces each) ladyfingers (Savoiardi are the best shape)
- Unsweetened cocoa powder, for dusting
Step-by-Step Instructions for the Perfect Tiramisu Recipe
Alright, let’s get this amazing Tiramisu recipe assembled! You might think making this rich Italian dessert is scary because of the eggs, but we fixed that right up front. We’re using a double boiler—a heatproof bowl over simmering water—to gently warm and whisk those yolks and sugar until they hit 160 degrees Fahrenheit. That quick heat treatment pasteurizes them perfectly, so you get all the richness without any worry! It turns into this pale, thick, luxurious ribbon when it’s ready.
Once that base is cooling down a bit, you move right into building the fluffiness. Don’t forget, we need that strong, cooled espresso ready to go, maybe with a splash of rum if you aren’t driving anywhere later! This process feels incredibly satisfying, almost like making fluffy French Toast batter but way richer. If you love breakfast treats, you’ll appreciate the gentle folding technique we use here.
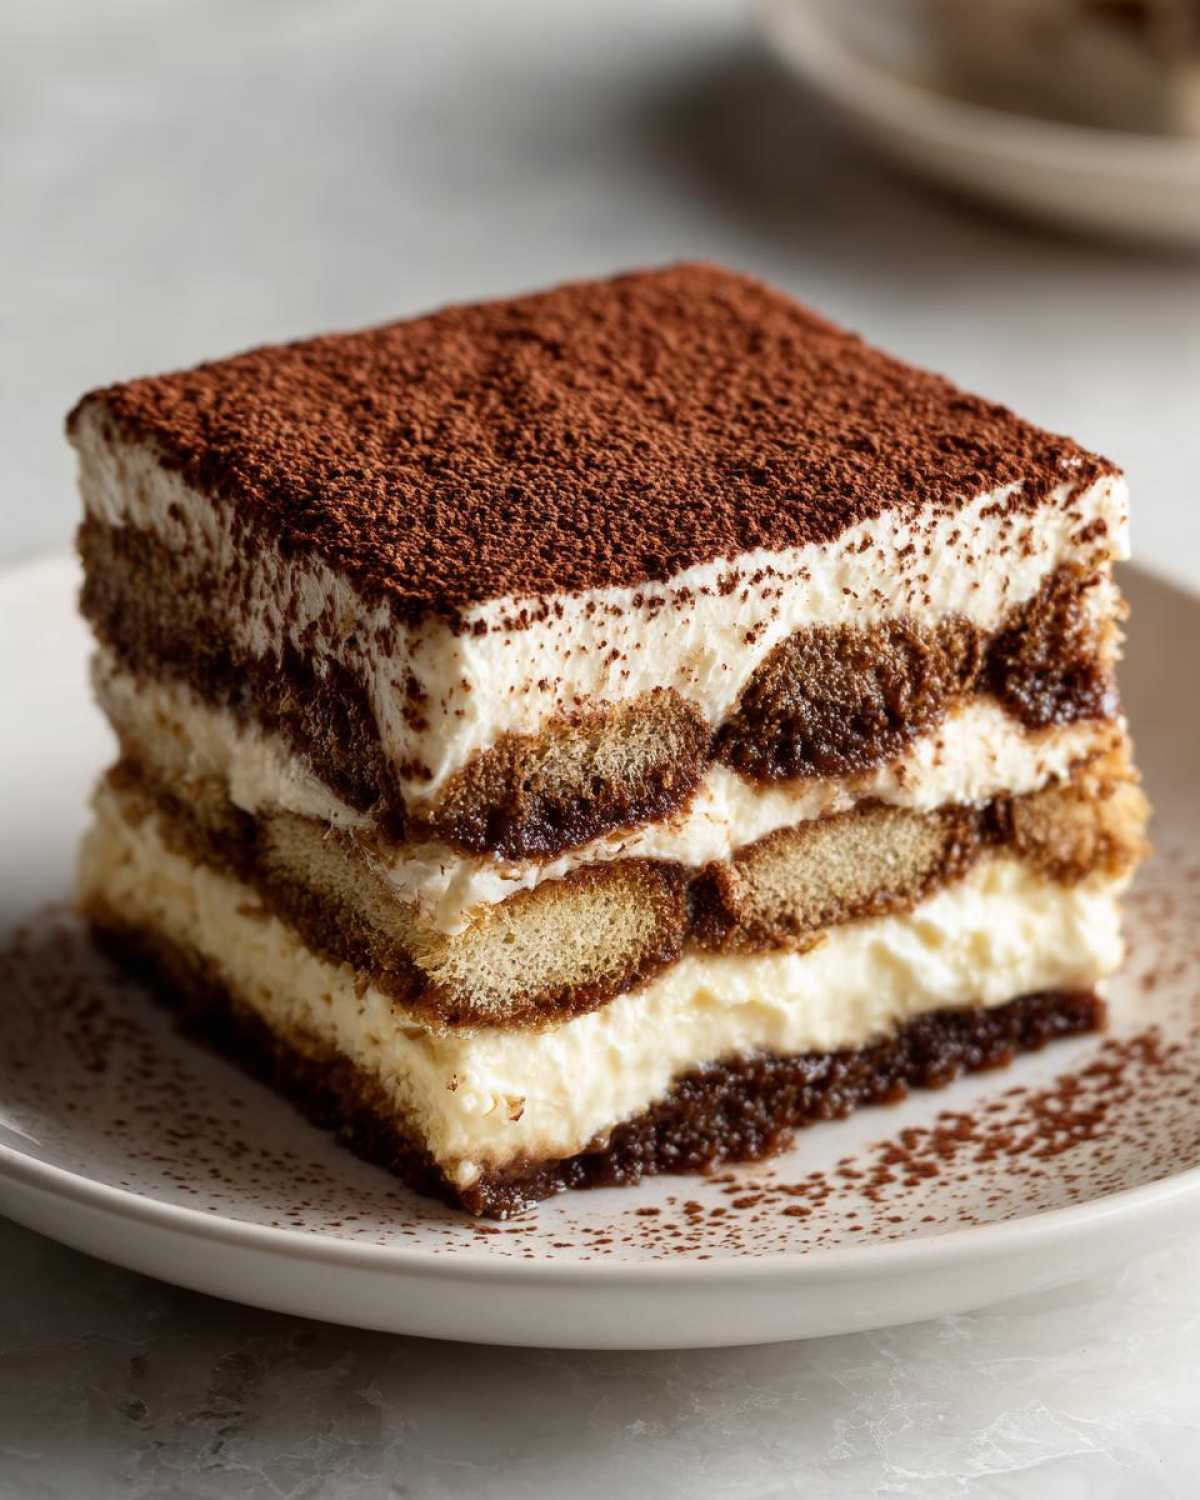
Creating the Creamy Mascarpone Dessert Base
While the egg mixture cools, whip that cold heavy cream until you get stiff peaks. Seriously, don’t stop until it holds its shape! Then, take your cooled yolk/sugar mixture and gently whisk in the cold mascarpone until it’s smooth as silk—just a quick whisk! The real magic? Gently, gently fold the stiff whipped cream into that mascarpone base in two batches. You have to be so delicate here; that’s what gives us that featherlight creamy mascarpone dessert texture. Stop as soon as you see no streaks!
Assembling Your Homemade Tiramisu
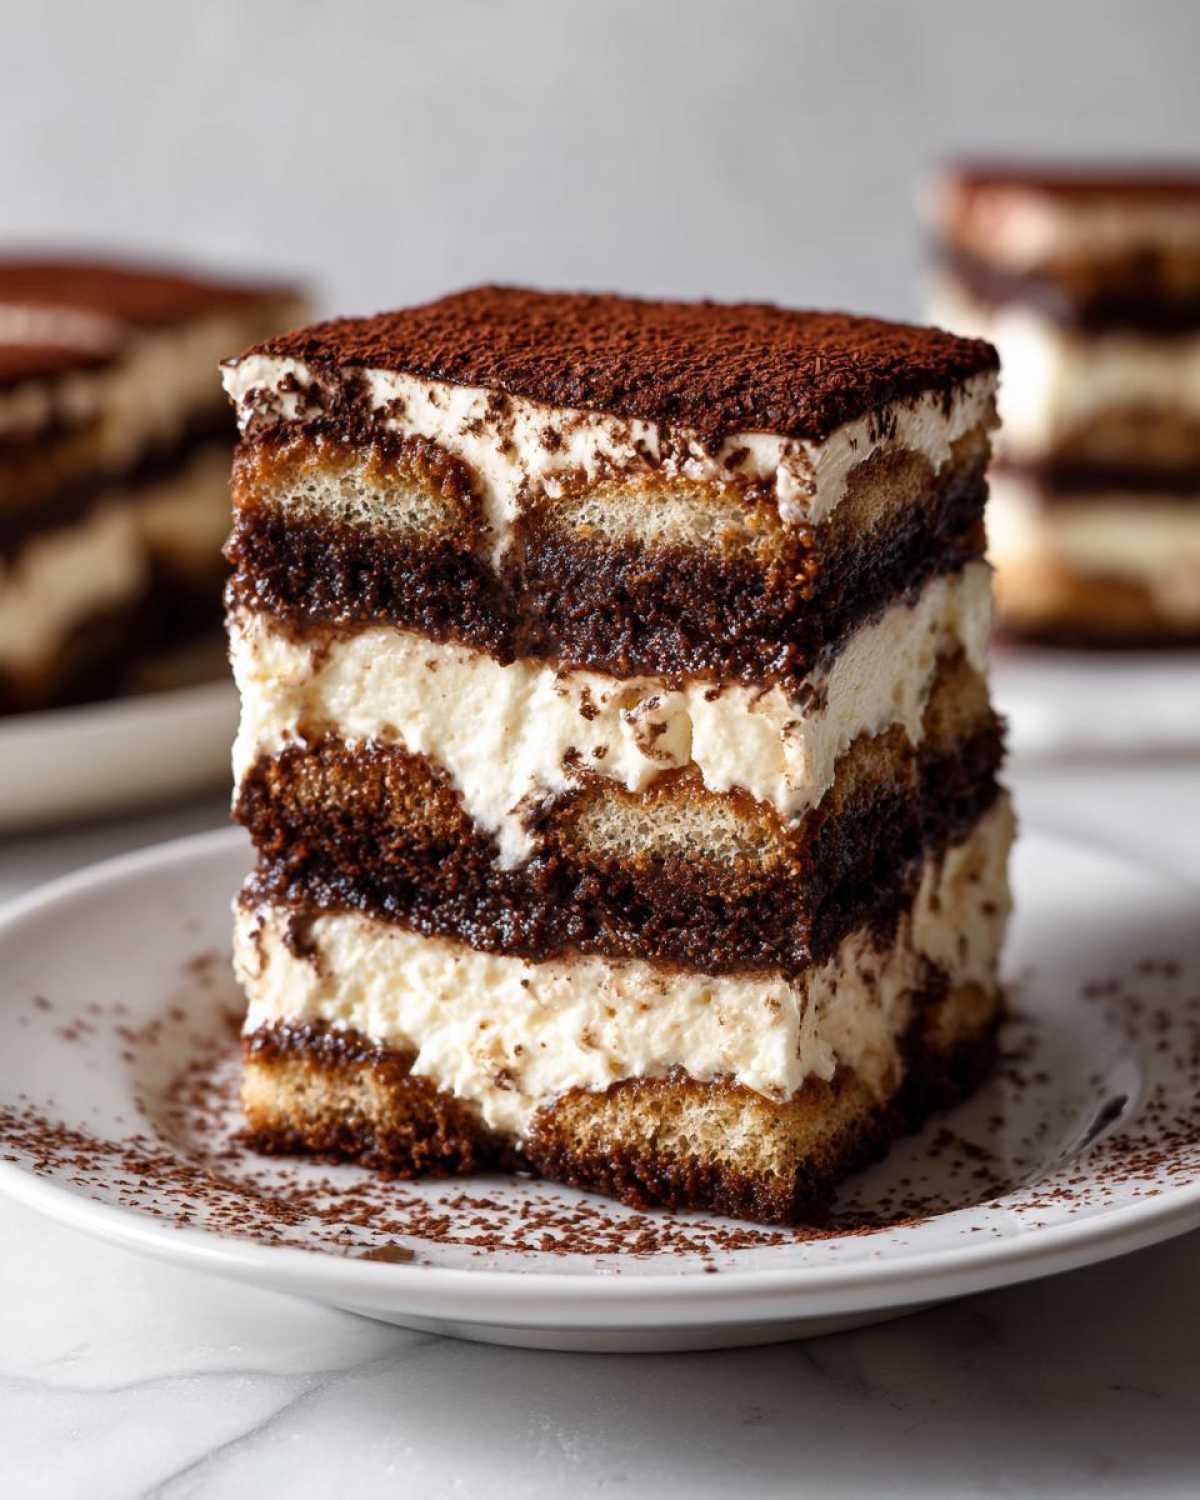
Now for the fun part: dipping! Your espresso bath should be cool. Hold one ladyfinger in the liquid for just a breath on each side. Seriously, one second maximum! If you think you’ve dipped it fast enough, dip it faster. Soggy ladyfingers ruin this entire tiramisu recipe. Lay your first layer in the bottom of your dish, spread half that glorious mascarpone cream over top, and then repeat the layers. Once everything is stacked up, cover it tight! We’re doing the hard work now so your make ahead dessert is perfect tomorrow.
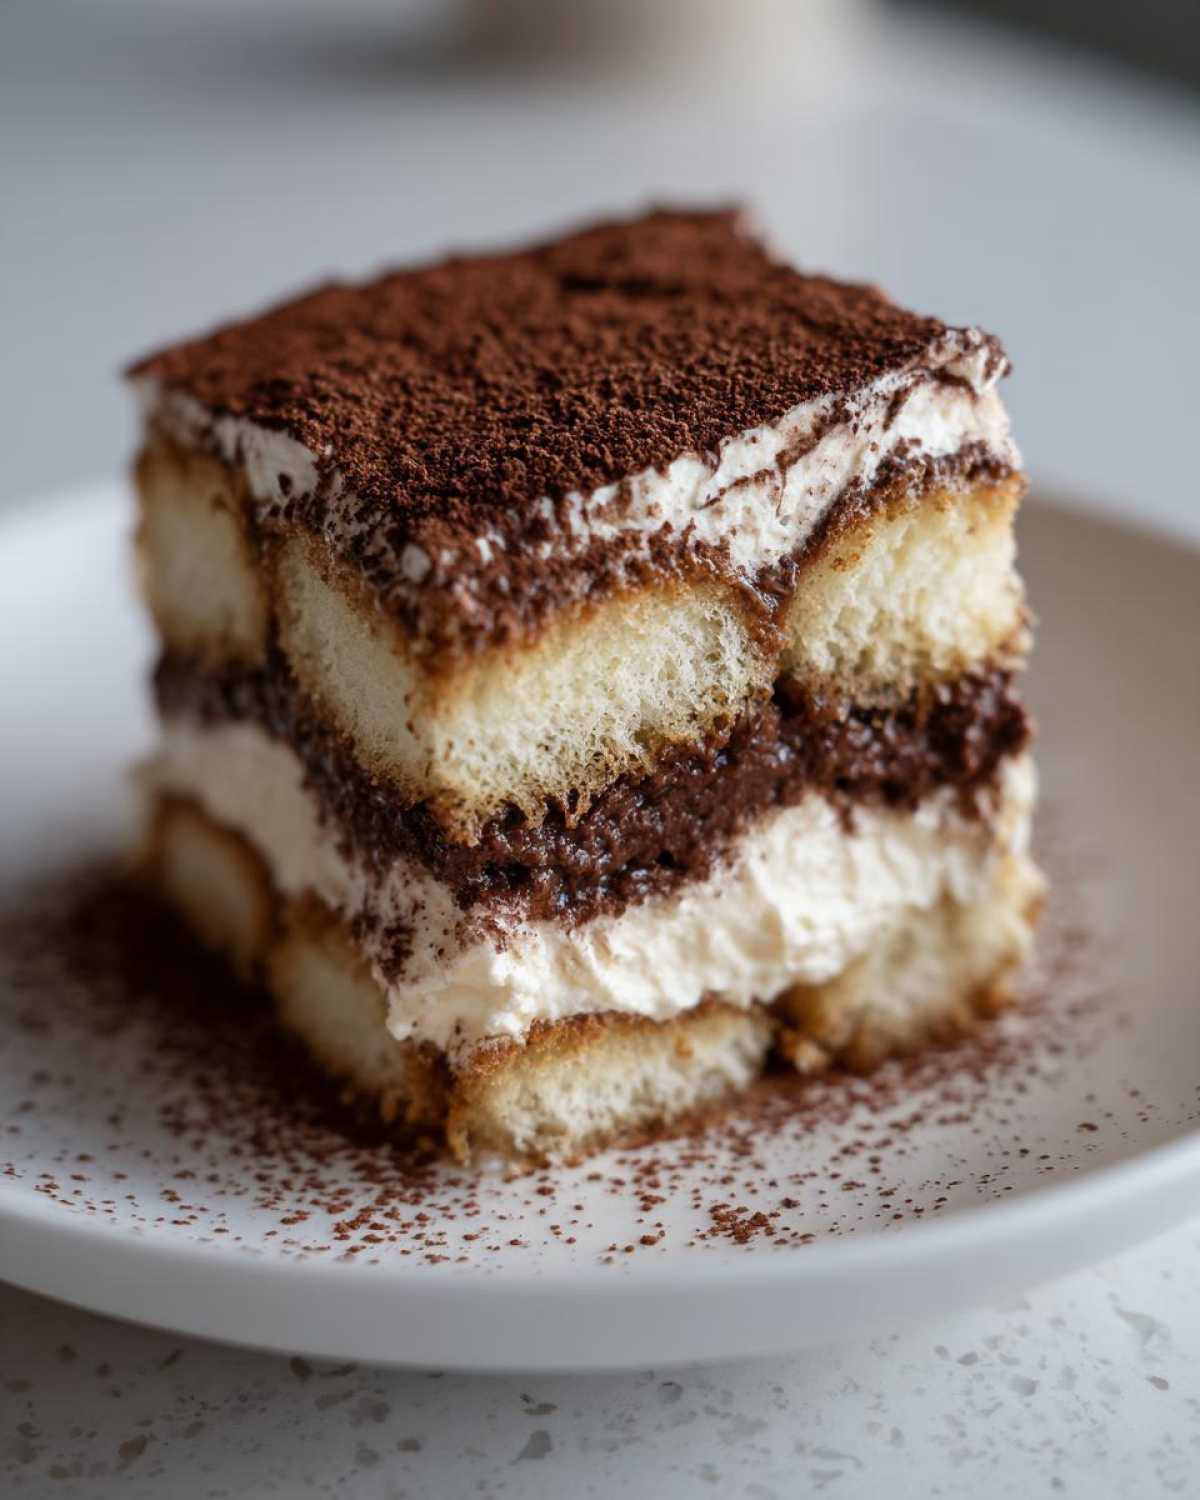
Tips for Success with This No Bake Dessert Tiramisu Recipe
I want you all to have the very best experience making this No Bake Dessert, so let me share a couple of my hard-won secrets. First rule: Temperature matters! Make sure your heavy cream and your mascarpone are straight-up cold before you start whipping and mixing the cream. If that mascarpone gets warm while you mix it, it gets soupy faster than you can say “Savoiardi!”
Second? Chill time is non-negotiable. I know you want to dig in immediately, but this is a make ahead dessert for a reason! You need the bare minimum of six hours, but honestly, overnight is where the flavor truly marries. It gives the ladyfingers time to soften up just right and lets that gorgeous espresso really permeate the cream.
My final little flourish is with the cocoa dusting. Don’t just dump it on! Dust it on right before you serve it using a super fine-mesh sieve. If you do it too early, that cocoa absorbs moisture from the fridge and looks streaky. A final, heavy dusting is my signature touch for that elegant, rich Italian look. It makes my tiramisu recipe look professionally done every single time!
Storage and Make Ahead Dessert Instructions for Your Tiramisu Recipe
This is exactly why I love this tiramisu recipe so much—it’s the perfect make ahead dessert! You absolutely must let this chill. I know waiting is the hardest part, but you cannot rush perfection. Aim for at least six hours, but if you can hold out until the next day, you’ll be rewarded ten-fold.
If you keep it covered tightly with plastic wrap, this rich Italian dessert stays fresh and creamy in the fridge for about three to four days. Don’t try to reheat it, though! This is designed to be served cold, straight from the fridge. If you happen to have leftovers, the coffee flavor actually gets deeper and more intense the second day. It’s a wonderful snack with a warm muffin, like these honey bran muffins I made last week!
Variations on the Classic Tiramisu Recipe
While I stand by this Classic Tiramisu as the gold standard, sometimes you want to switch things up a little! It’s super easy to get creative once you have the base formula down pat. I actually used this technique to make a stunning layered dessert instead of a traditional dish. It’s like making Italian bread, but you stop before you bake it!
If you want to skip the liquor entirely—maybe you’re making this for the kids or just prefer it—simply boost the espresso and add a teaspoon of vanilla extract to the soaking dish. Works like a charm! You can also easily turn this into a Tiramisu Cake Idea by layering it in springform pans for a cleaner slice. Or, for a fun twist, try soaking the ladyfingers in a mix of chilled chai tea instead of coffee!
Frequently Asked Questions About This Tiramisu Recipe
I know you might have a few lingering questions about making the Best Tiramisu Recipe at home. It’s totally normal! This tiramisu recipe is designed to be extremely dependable, but a few pro tips can really make sure you get that perfect, rich texture every single time. Don’t worry, we’re going to cover the basics, like that raw egg question, which I know is on everyone’s mind!
Can I skip the alcohol in this tiramisu recipe?
Absolutely! The coffee liqueur or rum is completely optional. If you skip it, you miss out on that little bit of sharpness that cuts through the richness, but the dessert is still delicious. My favorite trick if I leave out the liquor is to add a teaspoon of real vanilla extract right into the espresso bath. It gives a lovely aromatic lift to your Italian coffee dessert!
What is the best way to prevent a soggy tiramisu recipe?
Ah, the dreaded soggy layer! This is all speed and timing. You must dip the ladyfingers quickly—like a lightning-fast dunk. They should only touch the liquid for maybe half a second per side. They are super absorbent, so they soak up flavor in a snap! Then, make sure you follow that chilling time; that refrigeration helps the structure firm up beautifully so it holds its shape when you slice it. It’s the secret to a great Homemade Tiramisu!
How do I make this a Tiramisu Cake Idea?
That’s a fun idea! If you want to serve it sliced like a cake, skip the 9×13 dish and use an 8-inch square pan or a springform pan. You’ll just layer it the same way—dipped fingers, cream, dipped fingers, cream—but because the pan is deeper and narrower, you might need a slightly longer chilling time, perhaps an extra hour. It makes for such an elegant presentation! If you’re looking for another centerpiece dish, try following my guide for chicken fried rice!
Nutritional Estimates for This Rich Italian Dessert
Now, I have to give you the standard disclaimer here: Because this is a homemade recipe and every brand of mascarpone behaves differently, these numbers are just a general guide—a ballpark estimate. Don’t stress too much about them; just enjoy the fact that this rich Italian dessert is surprisingly reasonable for how decadent it tastes! This info focuses on what you get in one slice of this incredible tiramisu recipe.
- Serving Size: 1 slice
- Calories: 350
- Fat: 22g (Yes, it has good fat from that mascarpone!)
- Carbohydrates: 30g
- Sugar: 25g
- Protein: 7g
If you want to see my favorite baking counterpart to this amazing dish, check out my recipe for that moist carrot cake—it’s got a totally different vibe but is just as satisfying!
Share Your Homemade Tiramisu Experience
I truly hope you love making this tiramisu recipe as much as I love sharing it with you! It’s one of those desserts that just feels special, doesn’t it? Once you’ve let it chill and you finally slice into that beautiful, creamy, espresso-soaked goodness, I want to hear all about it!
Did you use rum or stick to the vanilla accent in the espresso? Tell me everything in the comments below! Seriously, your feedback helps me every day, and I read every single note. If you made this and it was the star of your dinner party, please let me know how people reacted! I live for hearing about your successes.
And please, if you snap a photo of your finished, beautifully dusted homemade tiramisu, tag me on social media! I absolutely adore seeing my recipes travel outside my own kitchen. It makes my whole day! If you’re looking for another fabulous main course to serve before this incredible dessert, you have to check out my favorite easy chicken parmesan—it’s a guaranteed family hit!
Print
The Ultimate Easy, No-Bake Classic Italian Tiramisu (No Raw Eggs)
- Total Time: 30 min
- Yield: 12 servings
- Diet: Vegetarian
Description
Make a rich, creamy, and authentic Italian Tiramisu without using raw eggs. This no-bake dessert uses espresso-soaked ladyfingers and a simple mascarpone cream, perfect for any gathering.
Ingredients
- 6 large egg yolks
- 3/4 cup granulated sugar
- 1 1/2 cups heavy cream, cold
- 16 ounces mascarpone cheese, cold
- 1 1/2 cups strong brewed espresso, cooled
- 1/4 cup coffee liqueur or dark rum (optional)
- 2 packages (7 ounces each) ladyfingers (savoiardi)
- Unsweetened cocoa powder, for dusting
Instructions
- Prepare the Zabaglione Base: In a heatproof bowl set over a saucepan of simmering water (double boiler), whisk the egg yolks and sugar constantly until the mixture is pale yellow, thick, and reaches 160 degrees Fahrenheit. This pasteurizes the eggs. Remove from heat and let cool slightly.
- Make the Mascarpone Cream: In a separate large bowl, whip the cold heavy cream until stiff peaks form. In another bowl, gently whisk the cooled egg yolk mixture with the cold mascarpone cheese until just combined and smooth. Do not overmix.
- Fold the whipped cream into the mascarpone mixture in two additions until fully incorporated, creating a light, creamy filling.
- Prepare the Soaking Liquid: Combine the cooled espresso and coffee liqueur or rum (if using) in a shallow dish.
- Assemble the Tiramisu: Quickly dip each ladyfinger into the espresso mixture, turning once. Do not soak them too long or they will become soggy.
- Arrange a single layer of soaked ladyfingers in the bottom of a 9×13 inch baking dish.
- Spread half of the mascarpone cream evenly over the ladyfingers.
- Repeat the layers: dip and arrange another layer of ladyfingers, then top with the remaining mascarpone cream.
- Cover the dish tightly with plastic wrap and refrigerate for at least 6 hours, or preferably overnight, to allow the flavors to meld and the dessert to set.
- Before serving, dust the top generously with unsweetened cocoa powder using a fine-mesh sieve. Slice and serve cold.
Notes
- For the best texture, chill the assembled tiramisu for a minimum of 6 hours.
- Use high-quality, strong espresso for the deepest coffee flavor.
- If you skip the alcohol, add 1 teaspoon of vanilla extract to the espresso for flavor.
- You can use a square 8×8 inch dish for a taller, denser tiramisu, adjusting the number of ladyfingers needed.
- Prep Time: 30 min
- Cook Time: 0 min
- Category: Dessert
- Method: No-Bake
- Cuisine: Italian
Nutrition
- Serving Size: 1 slice
- Calories: 350
- Sugar: 25
- Sodium: 75
- Fat: 22
- Saturated Fat: 14
- Unsaturated Fat: 8
- Trans Fat: 0
- Carbohydrates: 30
- Fiber: 1
- Protein: 7
- Cholesterol: 180



Comments are closed.