
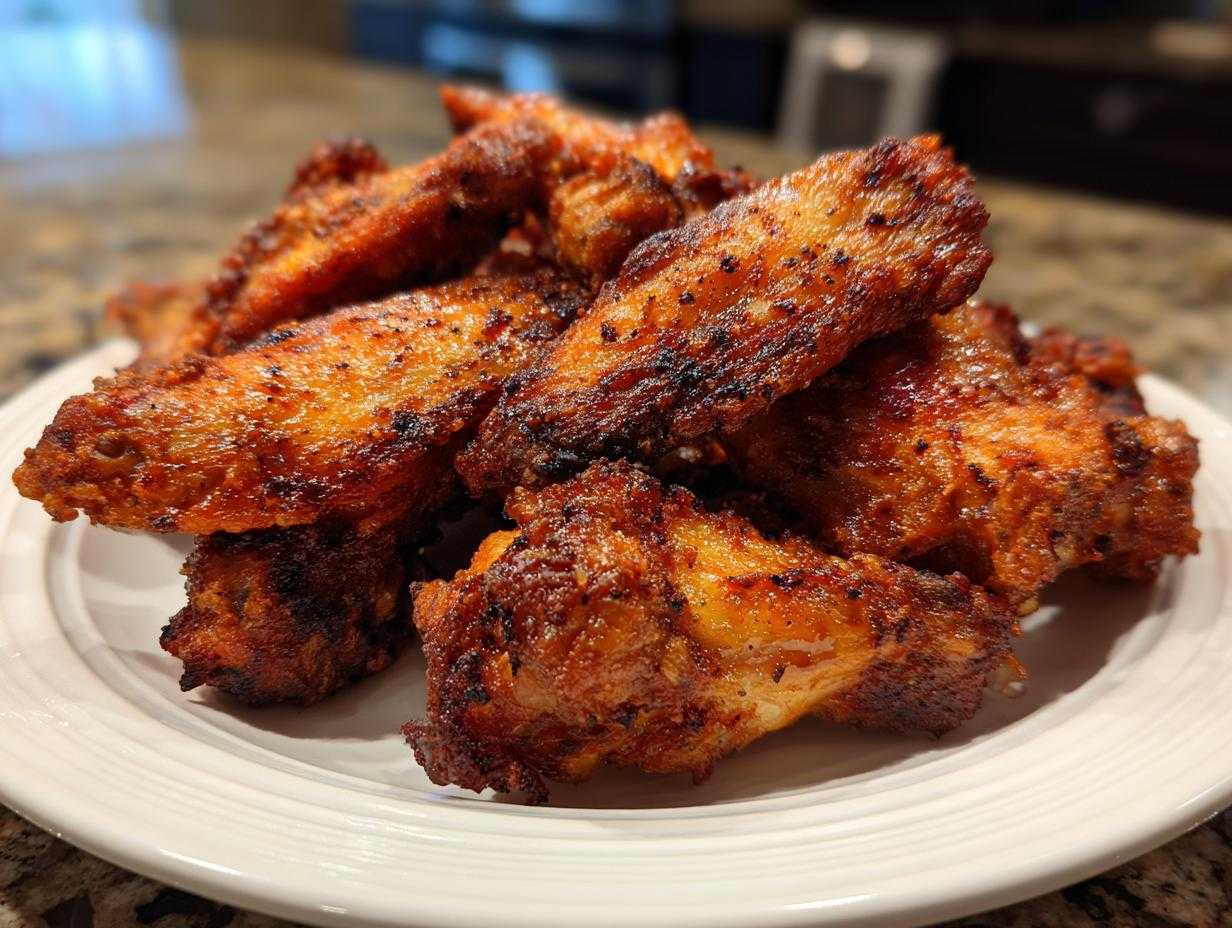
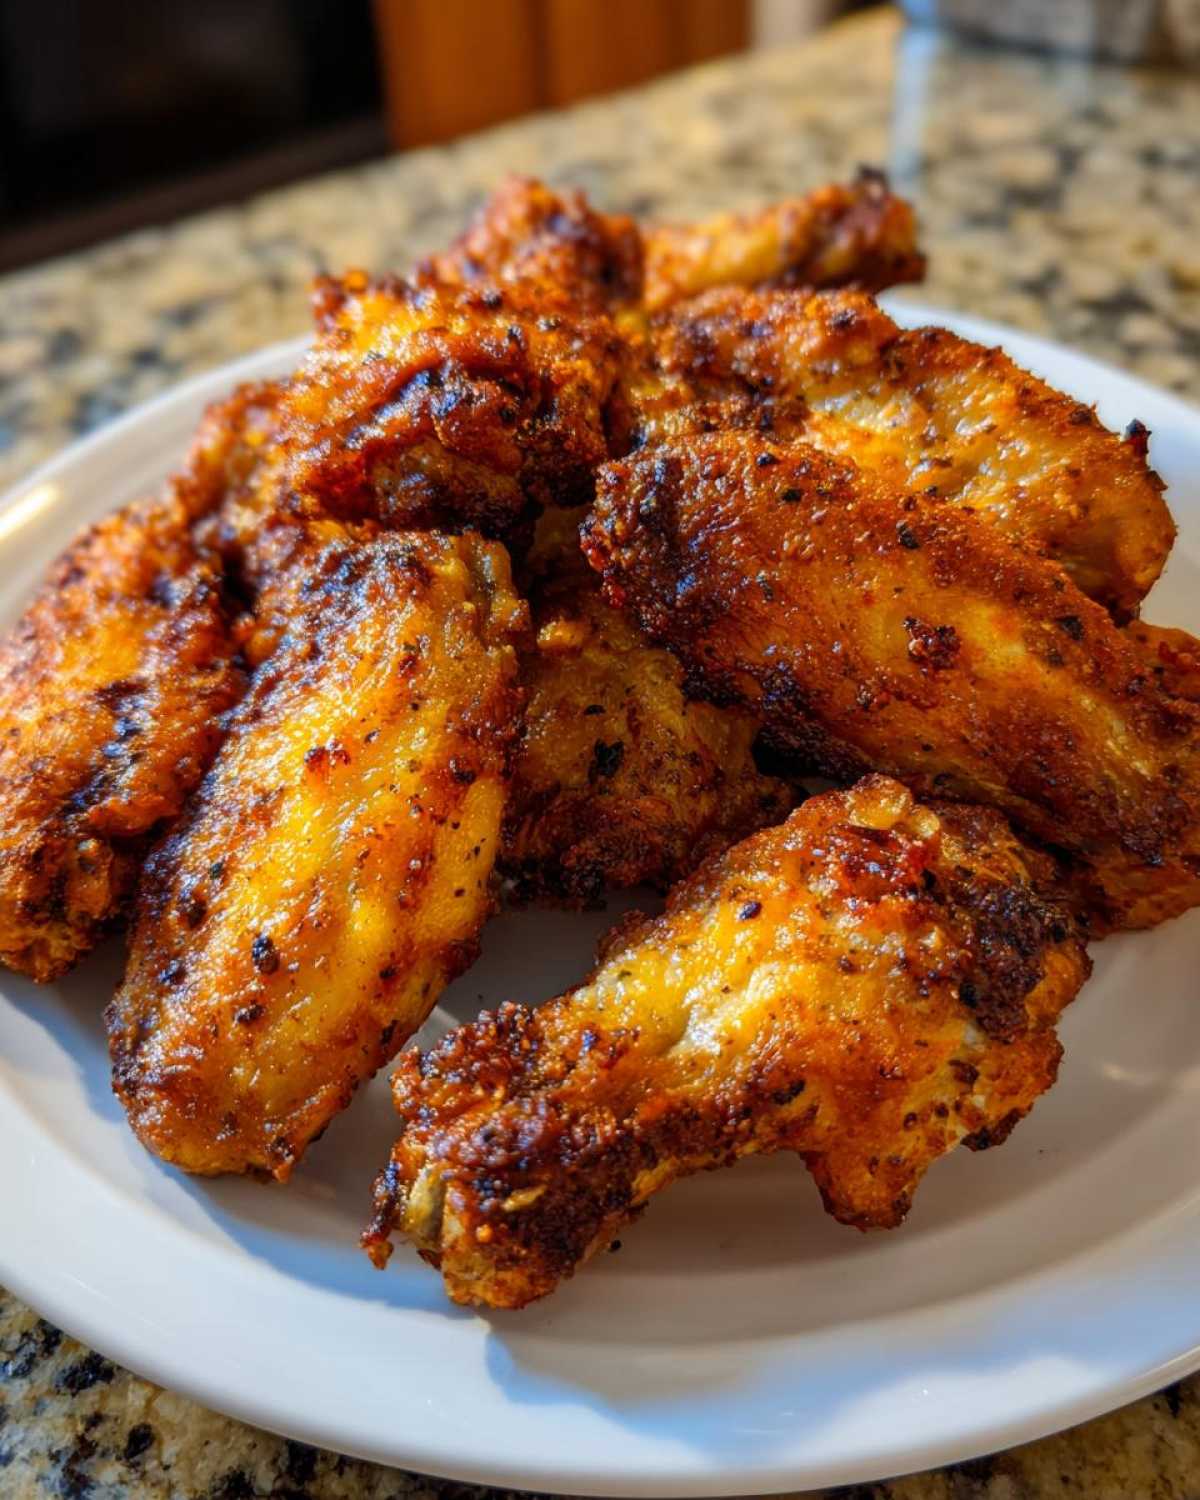
Okay, listen up. If you think that making truly amazing, shatteringly crisp **chicken wing** means hauling out the deep fryer, having oil splatter everywhere, and then cleaning grease for an hour? Think again! I spent years trying to get that perfect crunch out of my oven, and finally, I cracked the code. This isn’t just another recipe; this is the ultimate crispy baked **chicken wing** method that uses a secret technique I stumbled upon. Trust me, once you feel the crunch on these things—juicy inside, perfectly shatter-crisp outside—you’ll never look back. For the full deep dive on how I perfected my extra crispy baked chicken wings, check out my other post, but here is the core method that changes everything!
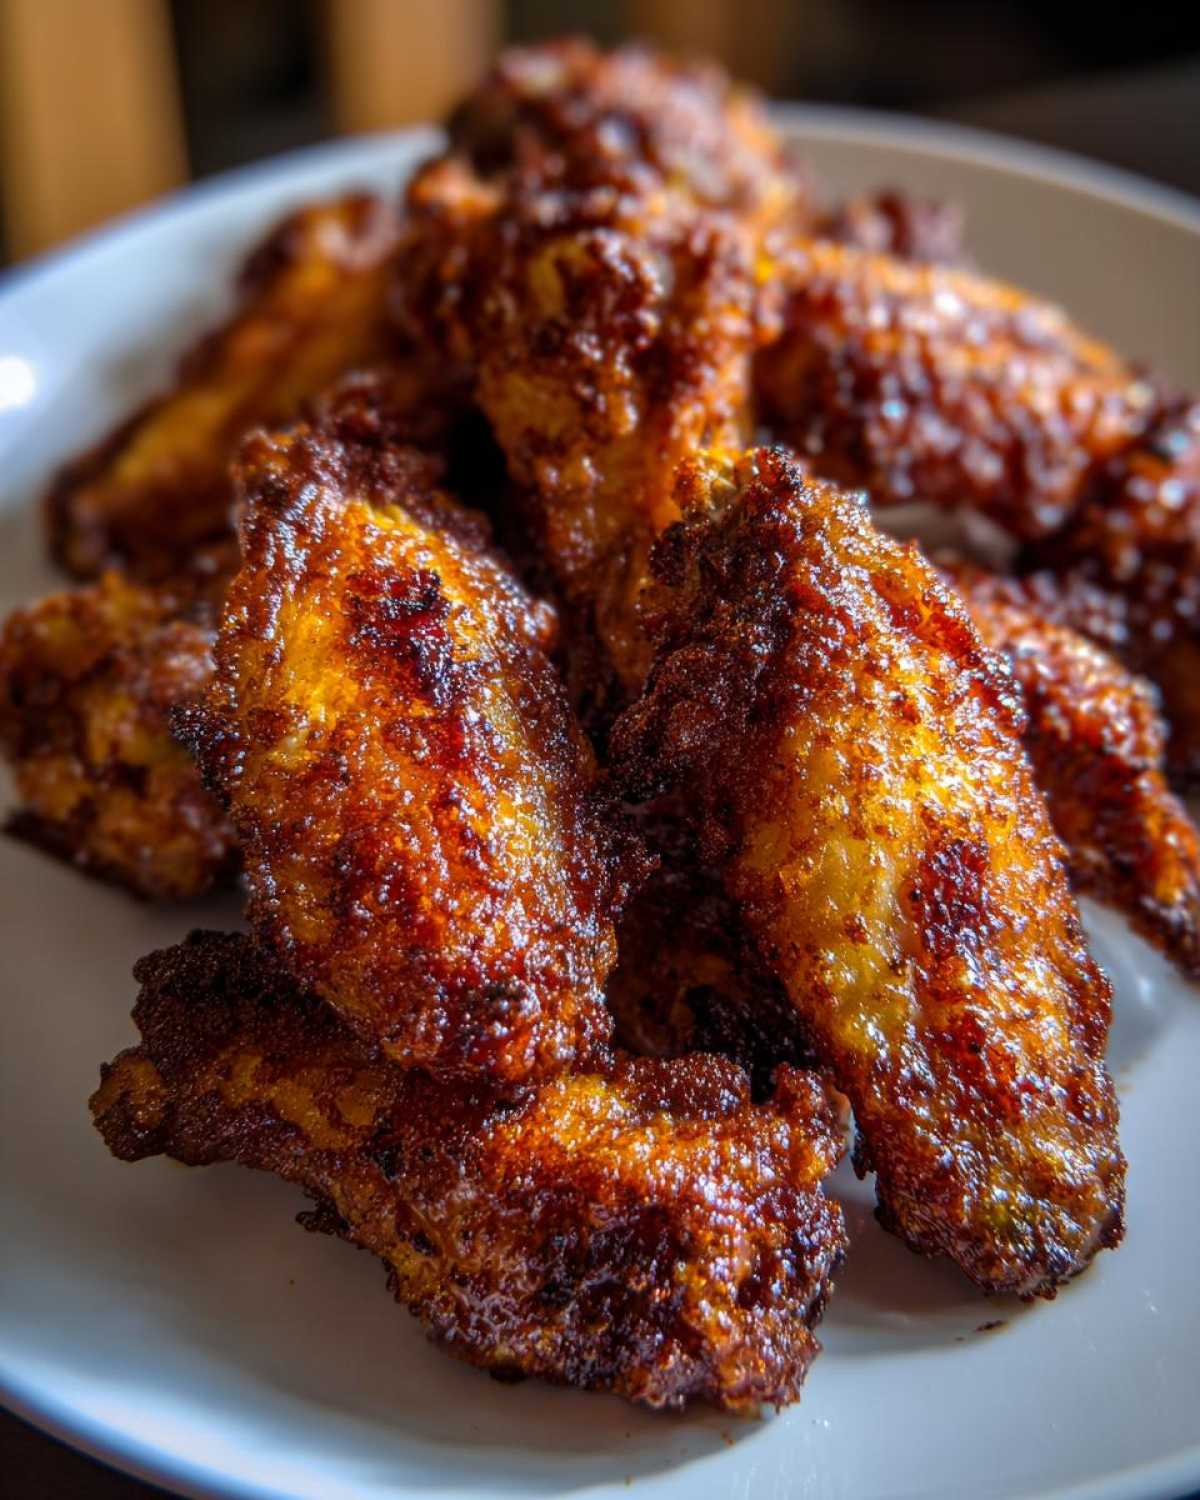
Why This Baked Chicken Wing Recipe Guarantees Crispiness
You think you know oven wings, but you don’t know *my* oven wings! Most people fail because they either don’t dry the skin enough or they skip the magic ingredient. This technique sounds simple, but it’s where we get restaurant-quality results without needing a scary vat of hot oil. We use science, baby! I wrote a bit more about the science on why this works so well, but let me break down the two main reasons these **chicken wing** snacks end up perfect every time.
- The Baking Powder Secret: This isn’t for leavening here; it’s for chemistry! Baking powder raises the skin pH, which helps dry out the skin layers faster. It’s like magic paste that turns into super-crispy armor while baking.
- Two-Temperature Baking: We start super hot to shock the skin into crisping up, then we lower the heat to gently cook the meat through without burning the crust. That slow finish keeps the inside beautifully juicy!
The Essential Dry Rub for Crispy Chicken Wings
Before anything goes near the oven, you have to treat those wings right. Seriously, grab a stack of paper towels and pat down every single piece until it feels almost tacky, not wet. If you skip this, you’re just steaming your wings! Once they are bone-dry, the dry rub comes in. It’s salt, pepper, garlic powder, and always, always that baking powder. Coating it evenly is literally the foundation for perfect **crispy chicken wings**.
Ingredients for the Ultimate Crispy Baked Chicken Wing
When it comes to setting up this recipe for success, you can’t just grab whatever is sitting open in the pantry. We need specific things to make these **chicken wing** morsels crispy enough to satisfy a crowd! Don’t worry, the ingredient list is short, and everything is pretty easy to find, but paying attention to quality really makes the difference.
Here is what you absolutely need for the base dry-rubbed wings. If you’re planning on adding one of those amazing sauces later, that’s on the next step!
- 2 lbs **chicken wings**, and trust me, separate them into flats and drumettes! It helps them cook evenly.
- 1 tablespoon baking powder—I always stress using the aluminum-free kind if you can find it. It just tastes cleaner in the final crust.
- 1 teaspoon salt, nothing fancy here, just good old table salt.
- 1/2 teaspoon black pepper, freshly ground is always best!
- 1/2 teaspoon garlic powder, this adds a necessary savory background note.
That’s it for the base! Seriously, it’s the baking powder that does the heavy lifting here to get you those incredible **oven baked wings** without the mess.
Step-by-Step Instructions for Perfect Oven Baked Wings
Okay, this is where the magic happens, and where most people mess up their **baked chicken wings no fry** attempts! It’s all about timing and setup. If you pay attention to the temperature shifts, you’ll get that amazing crackle every time. I’ve linked my main guide on oven baked wings if you want a visual walkthrough, but stick close to these steps, and you’ll be golden.
Preparing the Chicken Wing for Baking
First things first: Get that oven screaming hot! We preheat to 425°F (220°C). While it heats, you need your baking sheet ready. Line it completely with foil—this saves you the cleanup later, trust me. Then, put a wire rack right on top of that foil. Why the rack? Because we need air moving underneath the **chicken wing**! If the bottom sits in its own juices, you get soggy skin, and we absolutely do not want soggy wings here.
After you’ve tossed them in that baking powder mix we talked about, lay those coated wings out on the rack. They can’t touch! They need their personal space to get nice and crisp. If they are crammed together, they steam. Lay them out, single layer, and let’s bake!
Baking and Achieving Juicy Chicken Wings
Stage one is quick and furious: Bake them at 425°F for exactly 20 minutes. This blasts the surface dry. When that 20 minutes is up, pull them out carefully and flip every single wing. Now, we lower the heat down to 400°F (200°C). Then, bake them for another 20 to 25 minutes. This slower bake finishes cooking the meat perfectly. If you’re worried about doneness—and you should be, safety first!—always use a meat thermometer. You’re looking for an internal temp of 165°F (74°C) to guarantee **juicy chicken wings** that are completely safe to eat.
Flavor Variations: Beyond the Basic Chicken Wing
The beauty of starting with a perfectly crispy baked **chicken wing** is that the base is neutral; it’s just waiting for you to dress it up! Honestly, I keep a batch of these dry-rubbed wings ready to go, and then I decide the flavor based on what I’m craving or what I have around. That’s the secret to quick **game day chicken wings**—don’t pre-sauce them!
If you want that tangy city flavor, go for Lemon Pepper. If you want sticky, messy goodness, go for Honey BBQ. For the **honey garlic wings** flavor profile that everyone loves, you can use the base recipe and toss them immediately after they come out of the oven. I’ve got a full rundown on how to make my favorite sticky coatings over at honey soy glazed chicken wings, but the concept is the same!
Quick Homemade Wing Sauce Ideas
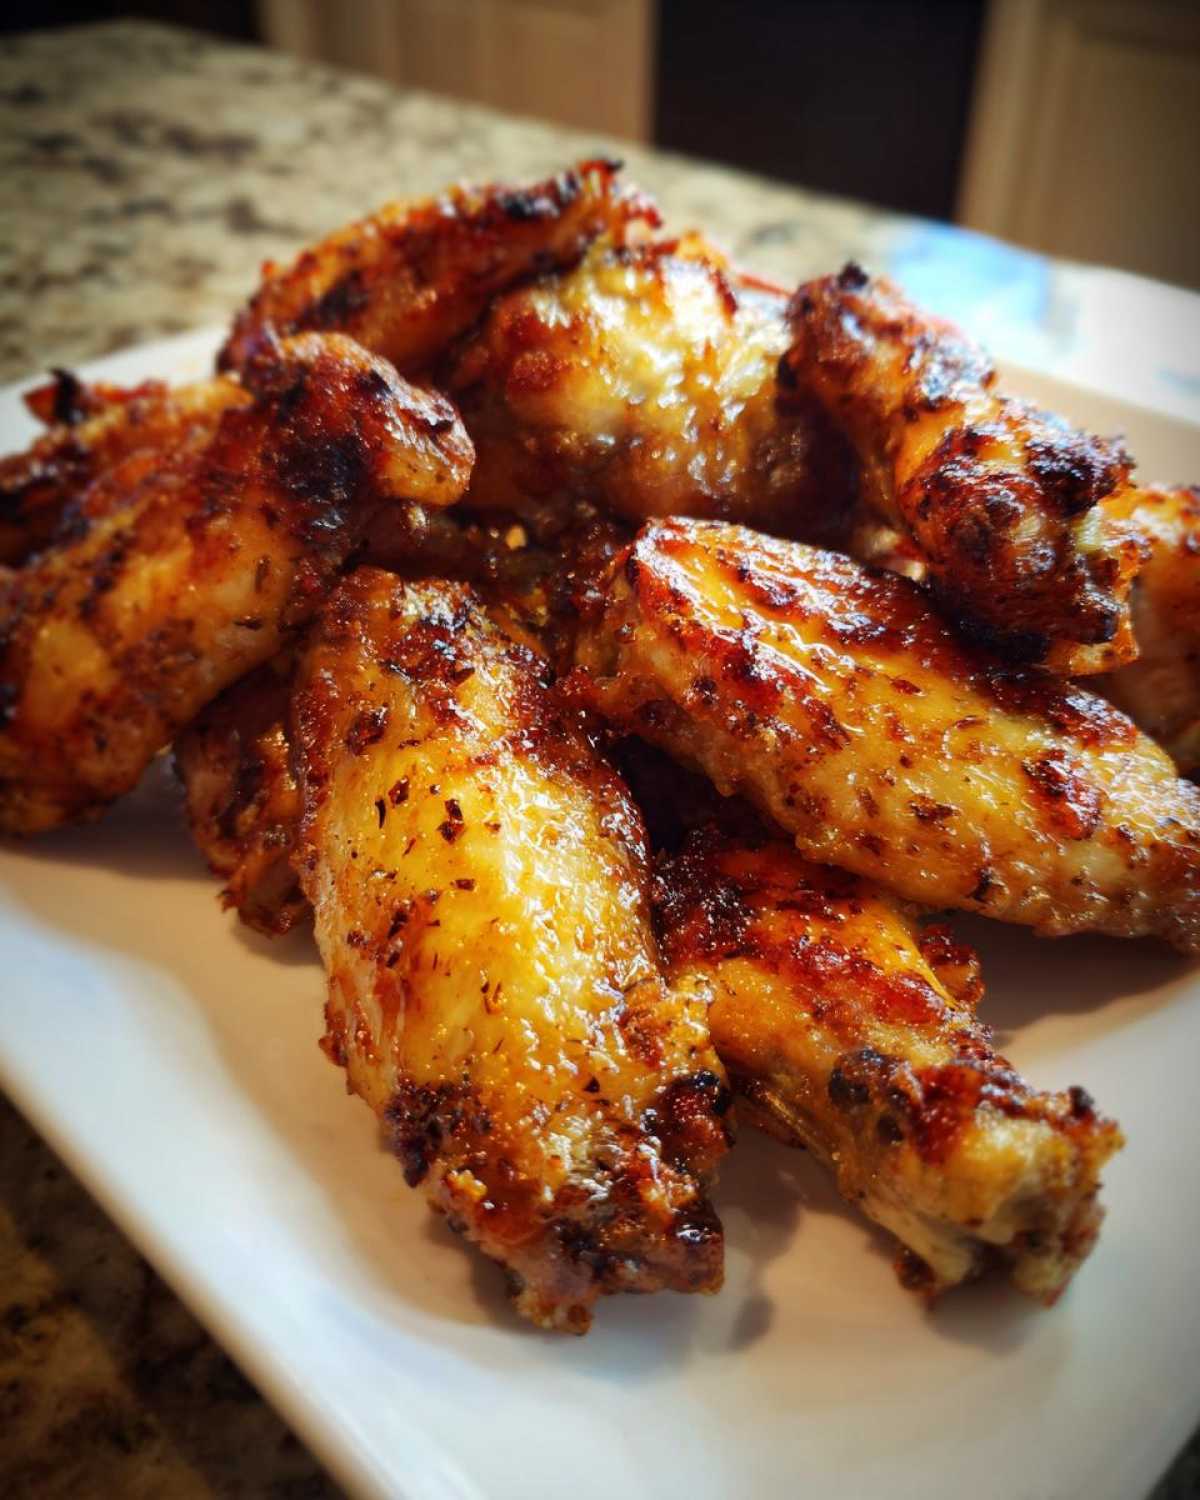
You don’t need a supermarket shelf full of bottles for great flavor. Seriously, you can whip up amazing customized coatings in minutes. You want that sticky coating to cling perfectly to those crispy wings, so wait until they are *just* out of the oven before tossing! I even keep a cheat sheet of my top homemade wing sauce ideas handy for last-minute party prep.
- Simple Lemon Pepper: Melted salted butter mixed with tons of fresh lemon zest, lemon juice, and a generous sprinkle of pre-made lemon pepper seasoning. It’s bright and tangy!
- Quick BBQ Glaze: Mix equal parts ketchup and brown sugar with a splash of apple cider vinegar and a dash of hot sauce. Warm it in a small pan until bubbly and thick enough to coat the **chicken wing**.
- Dry Rub Magic: Sometimes, I cheat and skip the sauce entirely! Just mix onion powder, smoked paprika, a little cayenne, and maybe some dried oregano. Toss the hot wings in that dry mix right off the rack. They taste incredible and stay super crunchy.
Making These Chicken Wings Ideal for Game Day and Parties
This is where this **easy chicken wing recipe** truly shines. Forget trying to deep fry 10 pounds of wings when the Big Game starts! That’s a recipe for disaster, not winning appetizers. Because we are using the oven method—the no-fry technique—we can easily double or triple this recipe without turning your kitchen into a grease pit. These are honestly the best **party appetizers chicken wings** you can serve.
The best part? Since they aren’t swimming in oil, they don’t leave that heavy, oily smell hanging in the air while people are trying to watch the score! I always make them in staggered batches. Bake the first batch, toss it in a dry rub so it stays crunchy, and keep it slightly warm in a very low oven (around 170°F) while the second batch cooks.
If you need more substantial **finger food recipes** for a huge crowd, I sometimes serve these alongside my easy chicken fried rice recipe, but honestly, these wings are usually the star! Just make sure you have plenty of napkins ready, because once people grab one, they won’t stop!
Tips for Success with Crispy Oven Roasted Wings
Even with the best recipe in the world, sometimes little things throw off the perfect crunch we’re aiming for with these **crispy oven roasted wings**. I’ve learned the hard way what *not* to do, and I want to save you the trouble! If you follow the main steps, you’ll be happy, but if you follow these bonus tips, your wings will be legendary.
First, let’s talk about the baking powder again. It *must* be regular baking powder, not baking soda. Baking soda is too alkaline and will give your **chicken wing** a distinct metallic or soapy taste, which is gross. Baking powder has the right balance of acid and base to do the job without leaving a weird flavor behind.
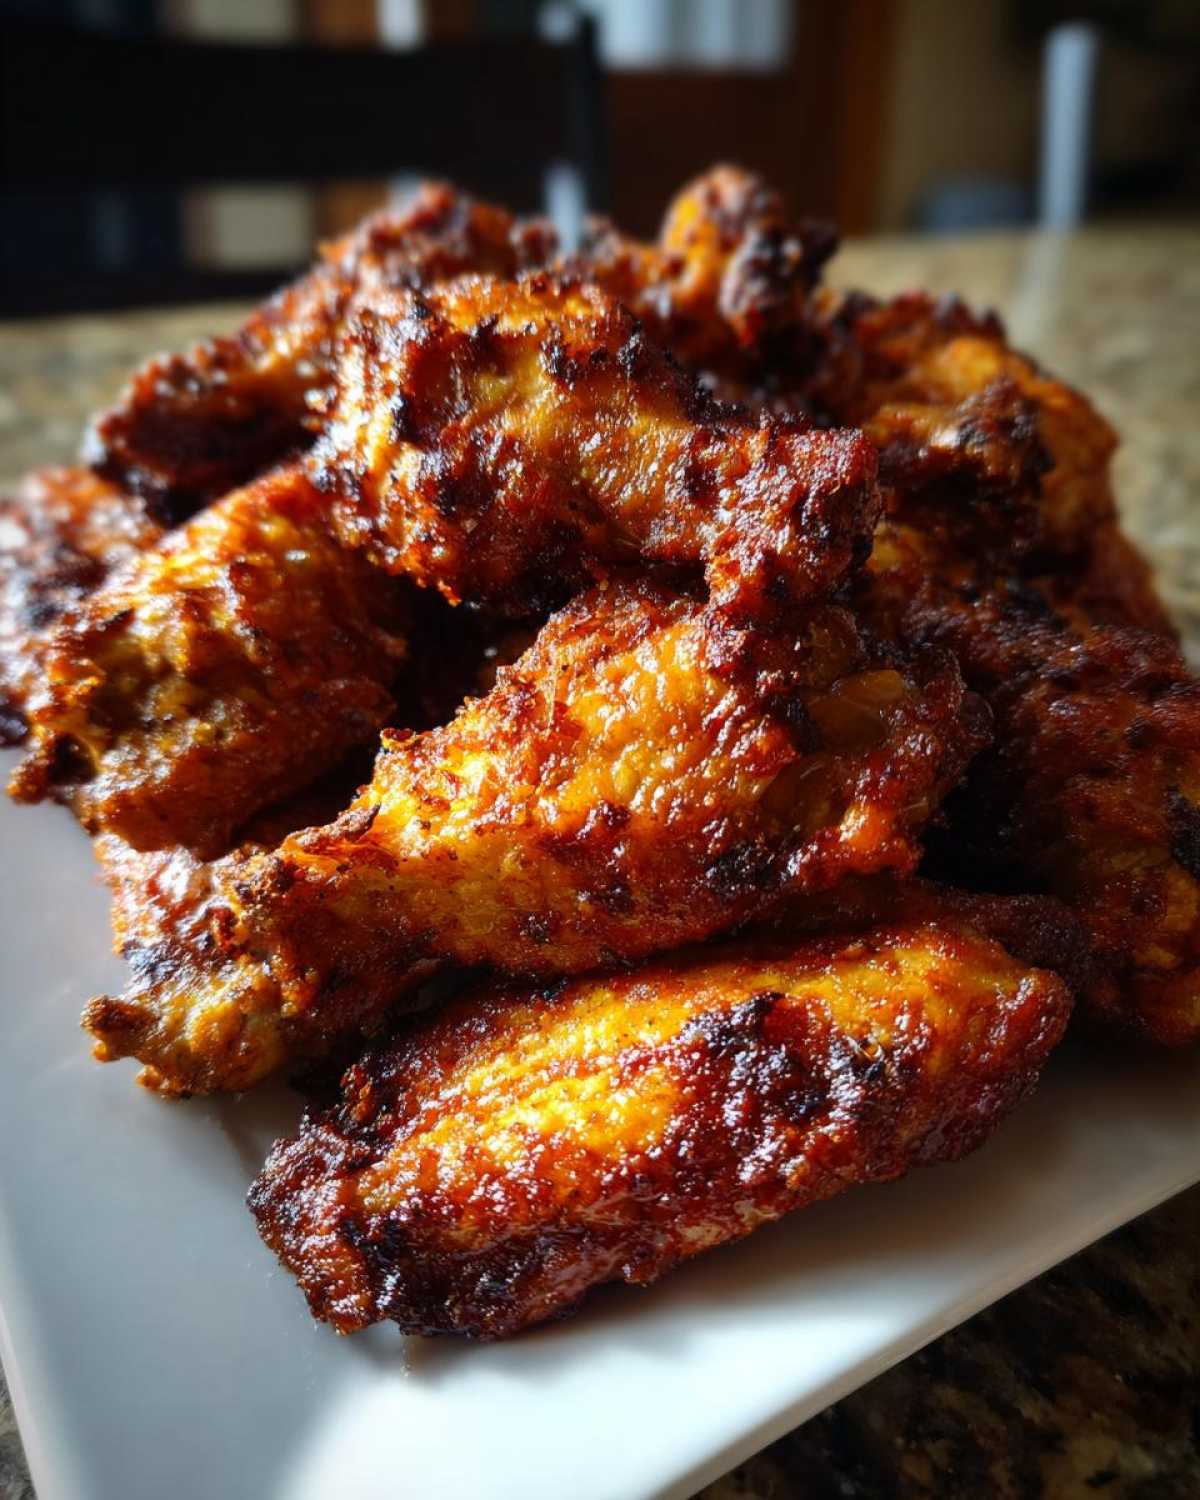
If you’ve seen my post on crispy oven roasted potatoes, you know I preach about airflow. Don’t overlap your wings! If you try to squeeze too many onto one rack just because you want to save time, those wings touching each other will steam and turn soft. If you have a big batch, you absolutely need two racks, or you need to work in two shifts. No exceptions if you want them truly crispy.
Also, if you are using flats, make sure they aren’t curling up too much on the rack. Sometimes the edges get too exposed and burn before the center is done. If you notice that happening during the first 20 minutes, just quickly rotate that specific flat around so a different part is facing the edge of the pan, or gently tuck it between a drumette if you have space.
Finally, one last piece of advice for truly **juicy chicken wings**: Don’t open the oven door too much mid-cook! Every time you let that heat escape, the temperature drops, and you slow down the drying process of the skin. Stick to the times I gave you, check that internal temp quickly, and trust the process. You’ve got this!
Storage and Reheating Instructions for Leftover Chicken Wing Portions
Now, let’s talk about the sad eventuality that you actually have leftovers of these incredible **chicken wing** snacks! Honestly, I find that hard to believe, but if you manage to save some, the goal is always to bring back that fresh-from-the-oven crunch. You absolutely cannot just microwave dried wings; you’ll end up with sad, rubbery disappointments, and we can’t have that!
First, if you’ve sauced them, they only have about 2 days maximum in the fridge. The sauce starts to break down the crispness pretty fast. If you left them plain with the dry rub—genius move—you can stretch that to 3 or even 4 days in an airtight container. Make sure they are completely cooled before putting them away, too. Putting warm food in the fridge just makes them sweat, and that leads right back to sogginess.
Reviving the Crunch: How to Reheat Wings Perfectly
If you want **crispy chicken wings** again, you need dry heat, not moist heat. That means the oven or the air fryer are your best friends here. Forget the microwave unless you enjoy chewy skin!
- The Oven Method (For Big Batches): If you made a huge batch for game day, spread all the leftover wings out on a clean, foil-lined baking sheet. Make sure they aren’t overlapping! Pop them into a 375°F (190°C) oven for about 8 to 10 minutes. You just want to hear them sizzle slightly and firm back up.
- The Air Fryer Method (For Quick Snacks): My favorite way! If you have an air fryer, toss the wings in there at 380°F (195°C) for about 4 minutes. They come out so close to freshly made that you’ll be shocked. This is my go-to for transforming last night’s **easy chicken wing recipe** into tonight’s snack!
If you cooked them dry and plan on saucing them tonight, wait until they are hot and crispy from the reheat process, *then* toss them in your homemade wing sauce. That way, the sauce warms up without having time to make the crust go limp. They really are the best **finger food recipes** because they reheat so well!
Frequently Asked Questions About Baked Chicken Wings
I know you might still have some questions floating around after all that talk about baking powder and two-temperature cooking! It’s totally normal. When you’re trying to achieve the best **chicken wing** texture without frying, details matter. I’ve pulled together the questions I get asked most often about this **easy chicken wing recipe** so you feel totally confident heading into the kitchen!
If you are planning a huge spread, remember that while these are the star, having another easy side dish like my famous easy chicken fried rice means everyone stays happy while the wings are getting their final crisp!
Can I use aluminum-free baking powder for this chicken wing recipe?
Oh, absolutely! In fact, I really hope you do! While regular baking powder works in a pinch if you’re desperate for **crispy chicken wings** right now, I noticed that conventional baking powder sometimes leaves a slightly bitter or metallic aftertaste when you bake meat with it. Aluminum-free baking powder is much cleaner tasting. It still performs the crucial job of drawing moisture out of the skin to create that lovely crispiness, but it does it without leaving any trace flavors behind. So yes, aluminum-free is my top pick for the best results!
How do I ensure my baked chicken wings stay juicy inside?
This is the number one concern people have when baking poultry—drying it out! Luckily, this recipe is designed specifically to prevent that. The key to super **juicy chicken wings** comes down to two things we discussed: controlling the environment and hitting the right temperature. First off, don’t overcrowd the rack; that ensures dry heat hits every part of the skin. More importantly, use a meat thermometer! Pull them out as soon as they hit 165°F (74°C). If you let them keep baking to 180°F because you’re worried they aren’t done, they *will* dry out. Trust the thermometer, not just the clock, and the inside will be perfectly tender while the outside is shattering!
Can I substitute the baking powder with cornstarch or flour?
Now this is a great question about substitutions! For a slightly different outcome, cornstarch can work similarly to help dry things out, but it won’t give you that super airy, bubbly crust that the baking powder creates. If you use cornstarch instead of baking powder, you might get slightly less aggressive crisping, but it’s a decent stand-in if you’re out! However, please avoid just using regular flour in the dry rub; flour tends to clump and burn at high temperatures before the wing is cooked, so I really suggest sticking to the baking powder or cornstarch for these **oven baked wings**.
How long can I soak the wings in the baking powder mixture?
That’s a really helpful question for meal prepping! As long as the wings are refrigerated and uncovered on the rack, you can actually let them sit for up to 24 hours before baking. Uncovered is important because covering them traps the moisture you’re trying to eliminate! Letting them sit in the fridge overnight lets that baking powder work its magic slowly on the surface of the **chicken wing**, resulting in an even crispier skin when they finally hit the oven the next day. It really helps elevate this into a fantastic option for ready-to-bake **party appetizers chicken wings**!
Nutritional Snapshot for This Chicken Wing Recipe
I always get asked about the nutrition since these **chicken wing** recipes avoid deep frying, which is a huge win! When we skip the oil bath, we cut out a massive amount of extra fat and calories right off the bat. That makes these incredibly **healthy chicken wings** compared to the restaurant version, even when we toss them in a sticky sauce later on. Keep in mind, these numbers are my best estimate based on the dry-rubbed wing before any sauce is added. Things like store-bought rubs or store-bought glazes can change the counts quickly!
Remember, what you add on top changes everything! If you decide to make a heavy BBQ glaze instead of a simple lemon pepper toss, factor in more sugar and more sodium. But for the base recipe on its own, here is the snapshot for a serving size of about 4 wings:
- Serving Size: 4 wings
- Calories: 280
- Fat: 18g (Note: Because we aren’t soaking them in oil, the fat content here is naturally occurring for the most part!)
- Protein: 27g
- Carbohydrates: 1g
- Sodium: 350mg
- Sugar: 0g
See that zero sugar? That’s the power of not deep-frying! These are perfect if you’re looking for a quick **quick chicken wing dinner** that keeps your macros in check. When you serve these up for your next party, you can feel good knowing that this foundational **chicken wing** recipe is far lighter than anything you’d order out. I always double-check that salt level because homemade rubs can sneak up on you, but this is a great starting point for the **best chicken wing recipe**!
Print
Ultimate Crispy Baked Chicken Wings (No-Fry Secret Technique)
- Total Time: 55 min
- Yield: 4 servings
- Diet: Low Fat
Description
Make incredibly crispy, juicy chicken wings in your oven without deep frying. This easy recipe uses a simple technique perfect for game day or weeknight meals.
Ingredients
- 2 lbs chicken wings, separated into flats and drumettes
- 1 tablespoon baking powder (aluminum-free recommended)
- 1 teaspoon salt
- 1/2 teaspoon black pepper
- 1/2 teaspoon garlic powder
Instructions
- Preheat your oven to 425°F (220°C). Line a baking sheet with aluminum foil and place a wire rack on top of the foil.
- Pat the chicken wings completely dry using paper towels. This step is crucial for crispiness.
- In a large bowl, toss the dry wings with baking powder, salt, pepper, and garlic powder until evenly coated. The baking powder helps draw moisture out and creates a crisp crust.
- Arrange the wings in a single layer on the wire rack, ensuring they do not touch.
- Bake for 20 minutes.
- Flip the wings over. Reduce the oven temperature to 400°F (200°C).
- Bake for another 20 to 25 minutes, or until the skin is deeply golden brown and very crisp.
- Remove from the oven. Toss immediately with your favorite sauce or serve plain with a dry rub.
Notes
- For extra flavor, toss the wings with a simple honey garlic sauce after baking.
- If you prefer a saucier wing, toss them in sauce only after they have cooled slightly to prevent the crispiness from softening too quickly.
- Use a meat thermometer to check for doneness; internal temperature should reach 165°F (74°C).
- Prep Time: 10 min
- Cook Time: 45 min
- Category: Appetizer
- Method: Baking
- Cuisine: American
Nutrition
- Serving Size: 4 wings
- Calories: 280
- Sugar: 0
- Sodium: 350
- Fat: 18
- Saturated Fat: 5
- Unsaturated Fat: 13
- Trans Fat: 0
- Carbohydrates: 1
- Fiber: 0
- Protein: 27
- Cholesterol: 90


Comments are closed.