
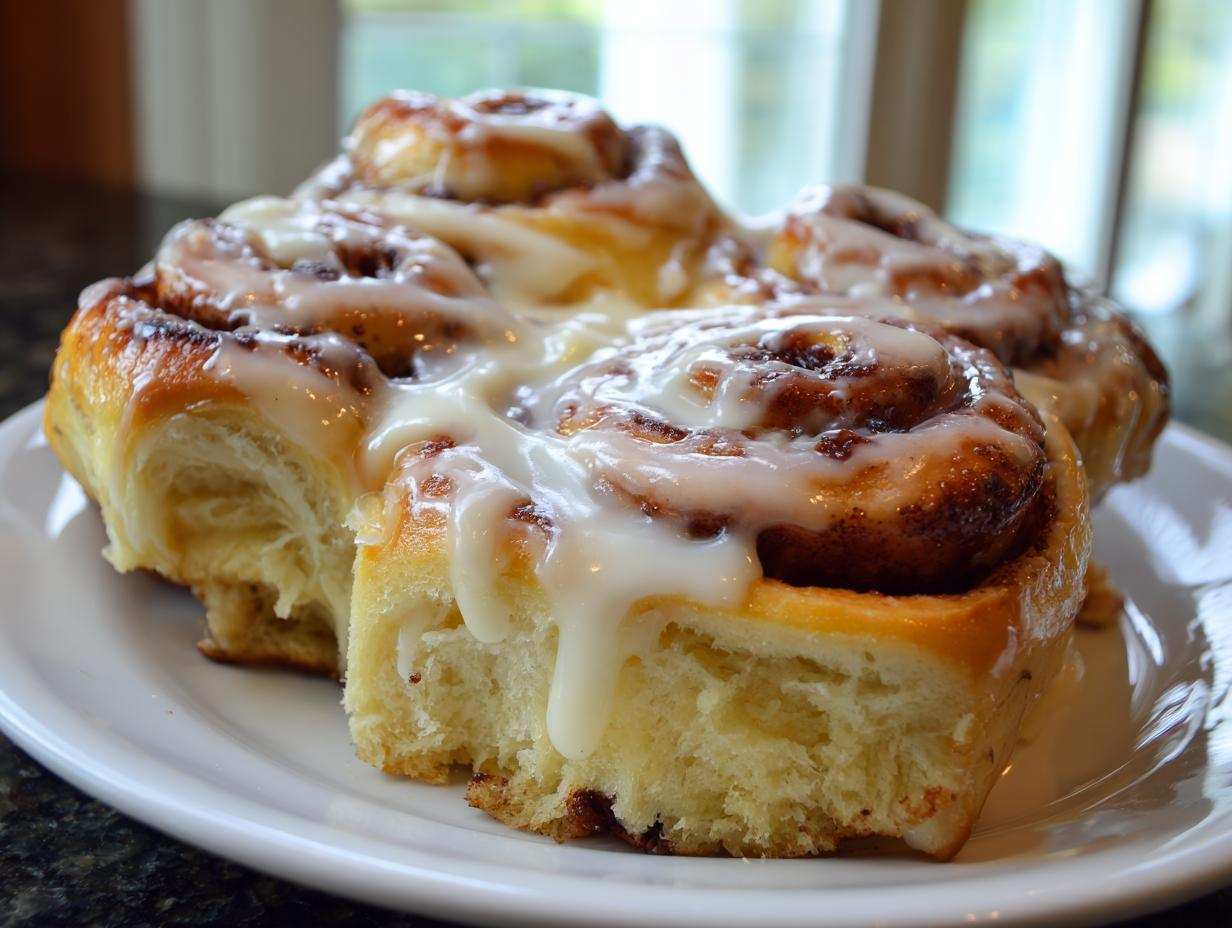
Oh my gosh, listen to me—nothing beats walking into your kitchen on a weekend morning and smelling fresh, warm cinnamon wafting everywhere, right? Forget those sad, dry rolls you get sometimes. We are not making those! I’ve tweaked and fussed and played around with yeast doughs for years, and I finally cracked the code. I’m sharing my absolute favorite homemade cinnamon rolls recipe that makes the softest, gooiesst cinnamon buns you’ve ever imagined.
The best part? We’re using a simple one-rise method. Yes, you heard me! We get that beautiful, lofty, bakery-style texture without waiting around forever. Seriously, this recipe makes you feel like a baking wizard, even if you’ve never tackled yeasted dough before. Trust me when I say these delicious rolls for breakfast will become your new standard!
Why You Will Make These Soft and Gooey Cinnamon Buns Again and Again
I know there are a million recipes out there for cinnamon buns, but honestly, this one stands head and shoulders above the rest. Why? Because it hits every single happy spot a sweet breakfast treat should hit. If you’re tired of rolls that taste like seasoned bread, you’re going to adore this texture.
- Unbelievably Soft and Fluffy Texture: I mean it—these are cloud-like! The dough stays tender and moist for days, not hours. These are truly the soft and fluffy cinnamon rolls you dream about.
- The One-Rise Miracle: Who has time for two long proofs? Not me! This recipe uses a simple, single rising period that gets you from mixing bowl to oven in under two hours total. It’s our secret to quick cinnamon buns!
- The Gooey Factor: We don’t skimp on that delicious filling. The mix of butter, brown sugar, and spice melts perfectly into the dough during baking, giving you those irresistible sticky, gooey centers.
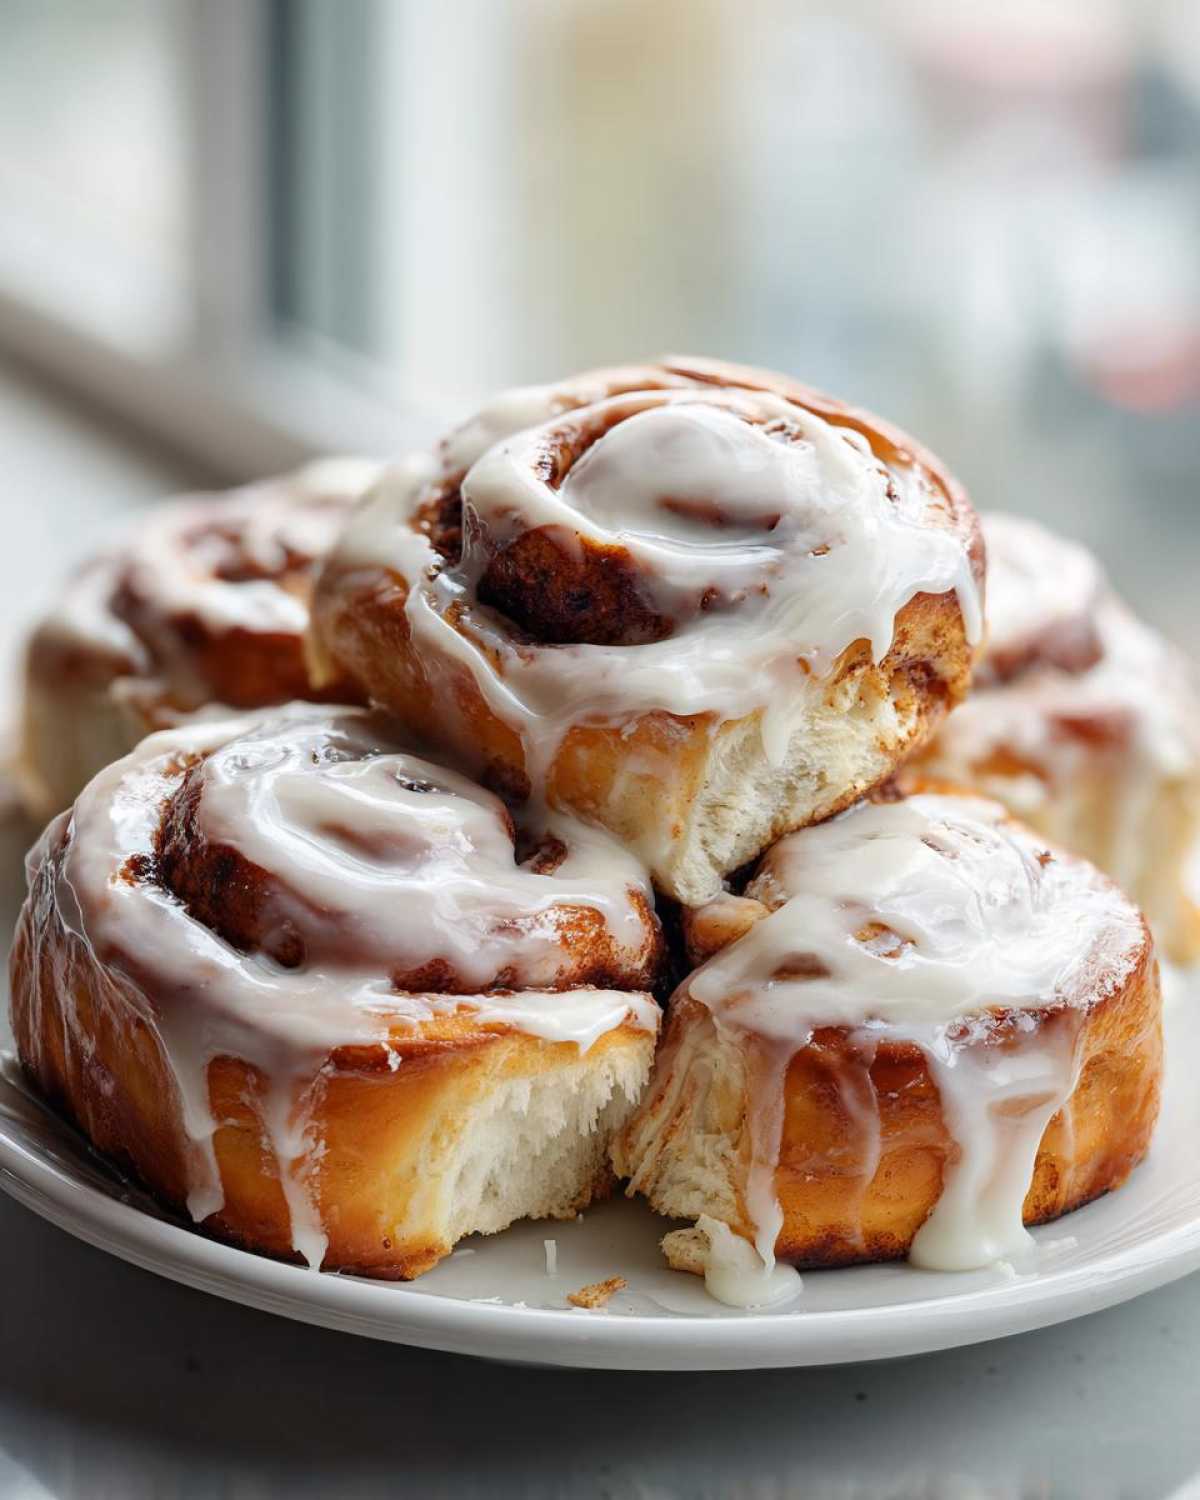
- The Frosting Sensation: That cream cheese frosting recipe? It’s tangy, rich, and spreads like a dream, turning them into bakery style cinnamon rolls right on your counter.
Essential Ingredients for Perfect Cinnamon Buns
Okay, to get these gooey cinnamon buns right, you need to treat your ingredients with respect. It’s not fussy, but following my list precisely is how we skip the tough, dry results and head straight for the “Best Cinnamon Rolls Ever” trophy! Everything needs to be ready when we start, especially milk and eggs, or the yeast gets grumpy.
- For the Dough Goodness:
- 1 cup whole milk, warm (It needs to be 105-115°F—finger test: warm but not hot enough to scald you!)
- 2 1/4 teaspoons active dry yeast (This gets the lift!)
- 1/2 cup granulated sugar, divided (We use some for the yeast and some for chewiness)
- 1/4 cup unsalted butter, melted
- 1 large egg, room temperature (Big tip: room temp eggs mix in way better!)
- 1 teaspoon vanilla extract
- 3 1/2 cups all-purpose flour, plus more for dusting
- 1 teaspoon salt
- For That Delicious Filling:
- 1/2 cup unsalted butter, softened (Not melted, softened! This is key for spreading.)
- 3/4 cup packed light brown sugar (Use light brown; it melts so much better than dark here.)
- 2 tablespoons ground cinnamon (Don’t skimp; this is the star!)
- For the Ultra-Rich Cream Cheese Frosting Recipe for Rolls:
- 1/4 cup unsalted butter, softened
- 4 ounces cream cheese, softened (Make sure this is soft, or your frosting will have lumps—trust me on this one.)
- 2 cups powdered sugar, sifted
- 1/2 teaspoon vanilla extract
- 1-2 tablespoons milk (Just enough to get it pourable)
Once you have everything measured out, you’ll be ready to tackle that dough. And hey, if you want the secret to the best-ever frosting consistency, check out my deep dive post on making smooth and tangy cream cheese frosting.
Ingredient Notes and Substitutions for Your Cinnamon Buns
I stick to whole milk mostly because the fat content helps keep these cinnamon buns soft. If you only have 2% or even skim milk, it’ll work, but you might lose just a tiny bit of richness. If you use Instant Yeast instead of Active Dry, just skip step one (the proofing step) and mix the instant yeast right in with the flour.
The most important thing to watch is the butter and cream cheese for the filling and frosting. If they are cold, they will drag the dough, tear it when you spread the filling, or leave you with lumpy frosting that looks messy. You want butter soft enough that a slight press leaves an indent, but solid enough that it isn’t greasy or shiny.
Also, use real cinnamon! Do not use the stuff that’s been sitting in your cupboard since 2019. Fresh cinnamon has the most incredible aromatic kick that makes these rolls taste like they came straight out of a high-end bakery.
Step-by-Step Instructions to Make Bakery Style Cinnamon Buns
This is where the magic happens, folks! We’re keeping it simple thanks to our one-rise method, which means less waiting and more eating. Make sure your milk is perfectly warm (105-115°F) before you start, otherwise, you’ll kill your yeast and end up with sad, flat dough.
- First, wake up that yeast! Combine the warm milk, yeast, and just one tablespoon of the sugar. Let it bubble happily for about 5 to 10 minutes.
- Next, we add the rest of the wet stuff: the remaining sugar, your melted butter, the room temperature egg, and vanilla. Give it a quick whisk—nothing too aggressive!
- In a separate bowl, always whisk your flour and salt together first. Then, slowly add the flour mixture into the wet stuff, mixing until it looks like a shaggy mess.
- Turn that shaggy mess out onto your floured counter and knead! You need to work that dough for a good 5 to 7 minutes until it’s smooth and snaps back when you poke it.
- Time to rest! Put it in a lightly oiled bowl, cover it up, and let it chill out for 60 to 75 minutes. It needs to double in size. This is our one and only main rise!
- While it’s puffing up, whip up that filling. Mix your softened butter, brown sugar, and cinnamon until it’s like a thick, fragrant paste.
- Punch the air out of the dough gently—don’t overdo it! Roll it into a big 12×18 inch rectangle. Spread that lovely filling all over, but leave a little gap at the far long edge.
- Roll this tightly into a log, sealing that little edge you left. Then, cut it into 12 equal rolls. I usually eyeball them at about an inch and a half thick.
- Arrange them snugly in a greased 9×13 inch pan. Cover them lightly and let them chill out for just 20 minutes while you heat your oven up to 375°F (190°C).
- Bake for 20 to 25 minutes. I know you want them dark brown, but stop when they’re just golden! Overbaking is the #1 enemy of soft rolls.
Pro-Tip for Maximum Goo: Before you place those cut rolls into the pan, try melting 2 tablespoons of butter and mixing it with 1/4 cup of brown sugar. Pour that sticky goodness right into the bottom of your baking dish first. When you place the rolls on top, that melted mix bakes right into the bottoms, making them super sticky and deliciously messy!
If you love a good breakfast bake, you should also check out my ideas for a cinnamon roll casserole or maybe my cinnamon swirl banana bread for another morning!
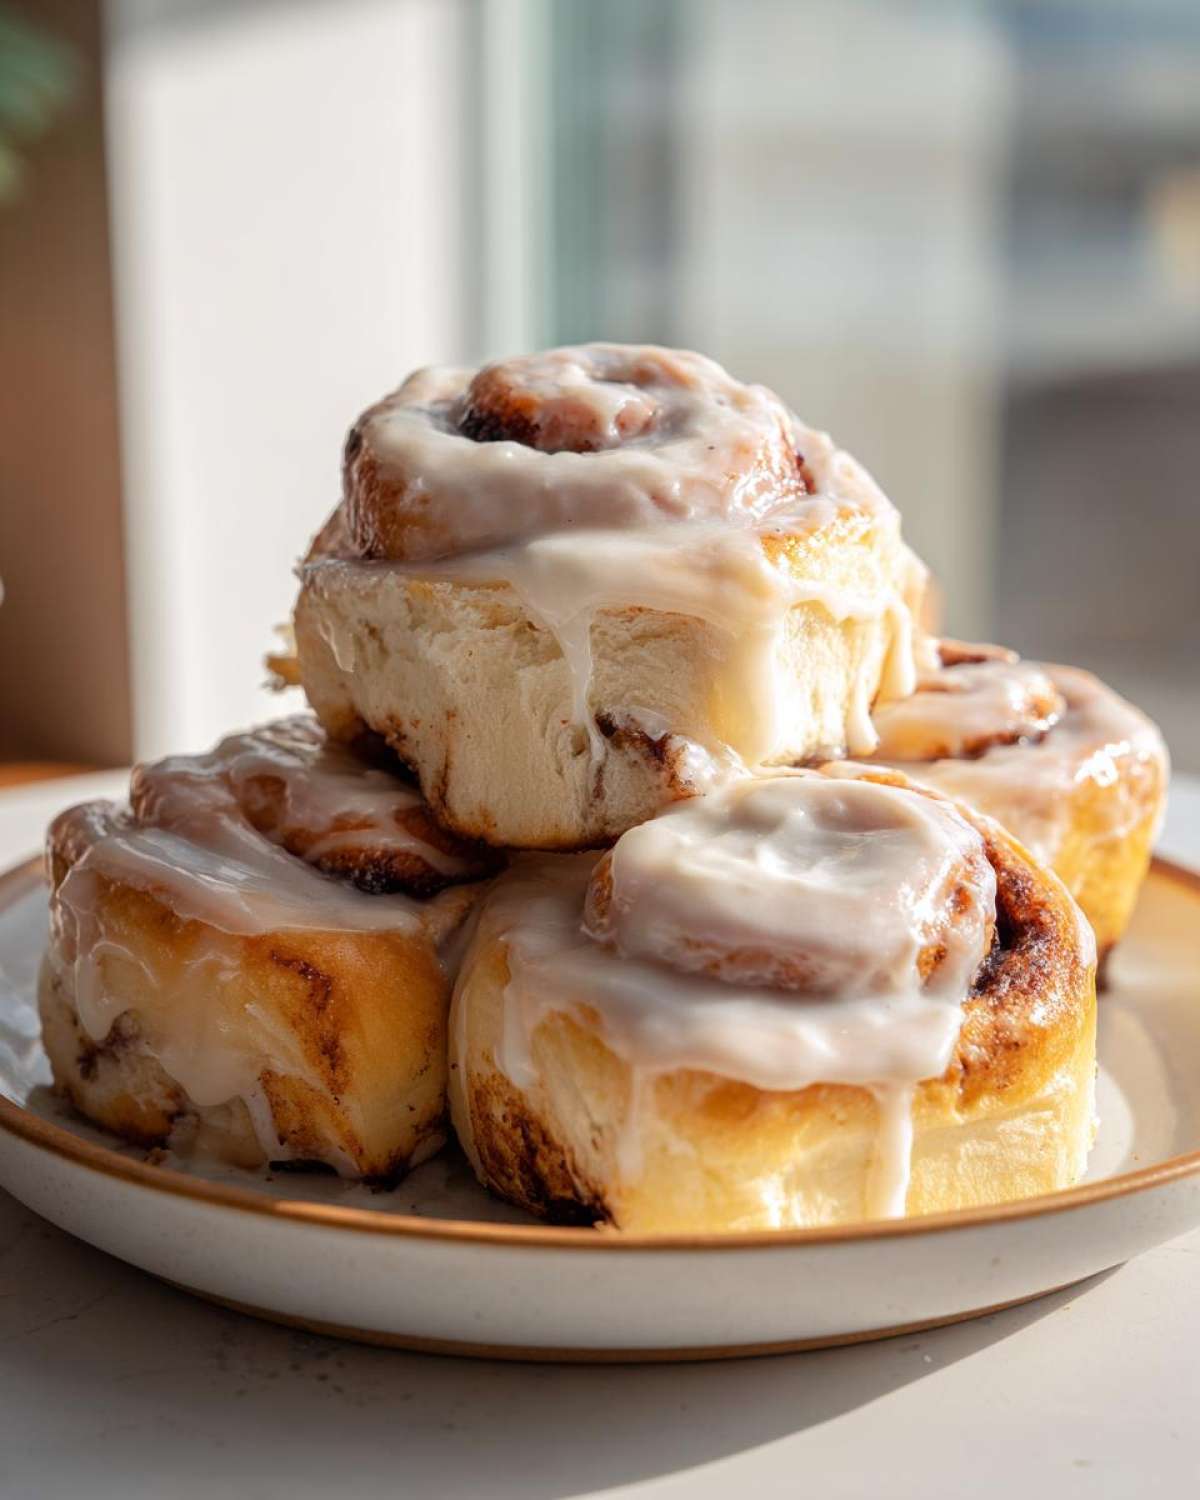
Tips for Achieving Soft and Fluffy Cinnamon Rolls
Achieving that melt-in-your-mouth softness is down to a few key moments. First and foremost, don’t rush the kneading. You need that gluten built up so the dough can hold all that filling without tearing, but you also need to stop kneading when it’s smooth—overworking it will make them tough later!
Next up is the baking time. I cannot stress this enough: pull them out when they look done, not when they look dark brown. They are still cooking from residual heat when they come out of the oven. If the sides look set and the tops are just beginning to turn golden, they are ready for the frosting. If you wait until they look “done done,” they’ll be dry five minutes later!
Finally, remember those room temperature ingredients? Warm milk activates the yeast beautifully, and a room temperature egg binds better into the dough structure. Little details like that are what separate a good roll from the absolute best!
The Secret to Rich Cream Cheese Frosting for Cinnamon Buns
Now that your cinnamon buns are beautiful and piping hot out of the oven, we need the grand finale: that luscious, tangy cream cheese frosting. Honestly, this frosting alone could probably be eaten with a spoon, but it tastes best pooling into those warm cinnamon swirls. The secret here is temperature control, just like with the dough!
You absolutely must use softened butter and softened cream cheese. I mean soft! If they are even slightly cold, you are going to end up with little white clumps of cream cheese swirling around in your otherwise perfect glaze. We want smooth, spreadable heaven here, not lumps. You can chill them later if you must, but start soft.
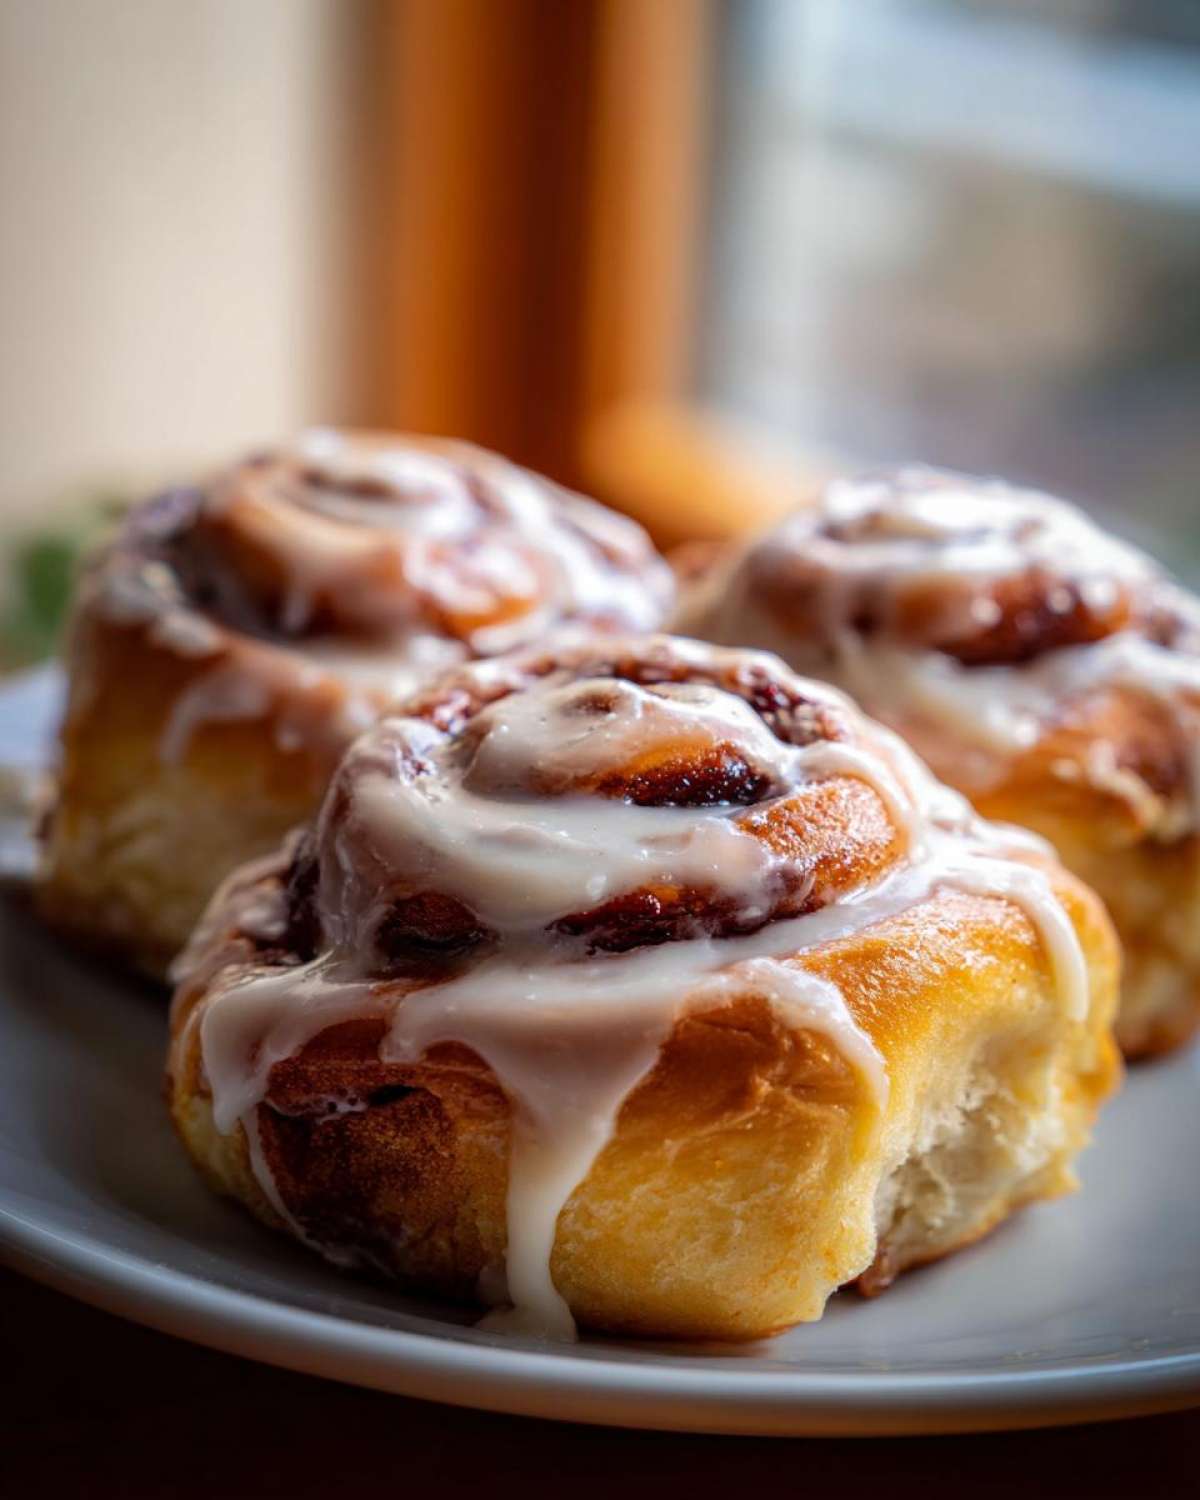
In your mixing bowl, beat the 1/4 cup of softened butter with the 4 ounces of softened cream cheese until it’s completely smooth and creamy. You’ll want to scrape the bowl down mid-way! Then, start slowly adding that sifted powdered sugar, one cup at a time. This keeps the sugar from puffing up and covering your kitchen in a white cloud!
Once the sugar is mostly mixed in, taste it. See what you think! Now, you add the vanilla extract. If it’s a little too thick for you—maybe you like a very thin drizzle—start adding milk, just one tablespoon at a time. Seriously, one tablespoon. It’s easy to thin it out, but if you add too much milk, you’ll end up with a glaze instead of the thick frosting you need to smother these homemade cinnamon rolls. Keep adding that milk until it pours slowly off your spoon. If you want to see how it compares to other icing recipes, check out my guide on easy vanilla buttercream!
Don’t wait! Grab a spatula and spread that glorious frosting right over the hot rolls. The heat melts the frosting just enough so it oozes down into all the crevices, which is exactly what gives you those incredible, gooey bites.
Storage and Reheating Instructions for Leftover Cinnamon Buns
If you manage to have any of these delicious rolls for breakfast left over—which, honestly, sometimes I don’t—knowing how to store and reheat them is crucial for keeping that soft texture intact! These aren’t the kind of rolls that taste good the next day if you just leave them on the counter uncovered. We need a gentle loving hand to bring them back to life.
For storing, you really have two options depending on how quickly you plan to eat them. If you think you’ll devour them within two days, keeping them right on the counter is fine. Just make sure they are tightly covered. You can use the original pan if the lid fits snugly, or carefully transfer them to an airtight container. Keep them at room temperature so the butter and cream cheese in that glorious frosting stay soft.
If you need them to last past 48 hours, into the fridge they go! Yes, the fridge tends to dry things out, but an airtight container minimizes air exposure. Just know that once refrigerated, you absolutely MUST reheat them before eating.
How to Reheat Cinnamon Buns for Maximum Goo
This is the step everyone gets wrong! You want to bring back that warm, melty texture, especially the gooey part at the bottom. Do not just throw them in the microwave for 30 seconds! That makes them rubbery.
For a single roll or two, the microwave is actually your friend, but you have to be gentle. Wrap the roll in a slightly damp paper towel and microwave it for about 15 to 20 seconds. The damp towel steams the roll slightly, restoring that wonderful moisture!
If you’re reheating a whole pan or most of the batch, use the oven—this is my preferred method for the best cinnamon rolls ever! Cover the rolls loosely with foil (this stops the frosting from burning or running off entirely) and warm them in a 300°F oven for about 10 minutes. Let them sit for a minute before tackling that frosting. They come out perfectly warmed through, soft, and tasting just as fresh as when they first came out of the oven!
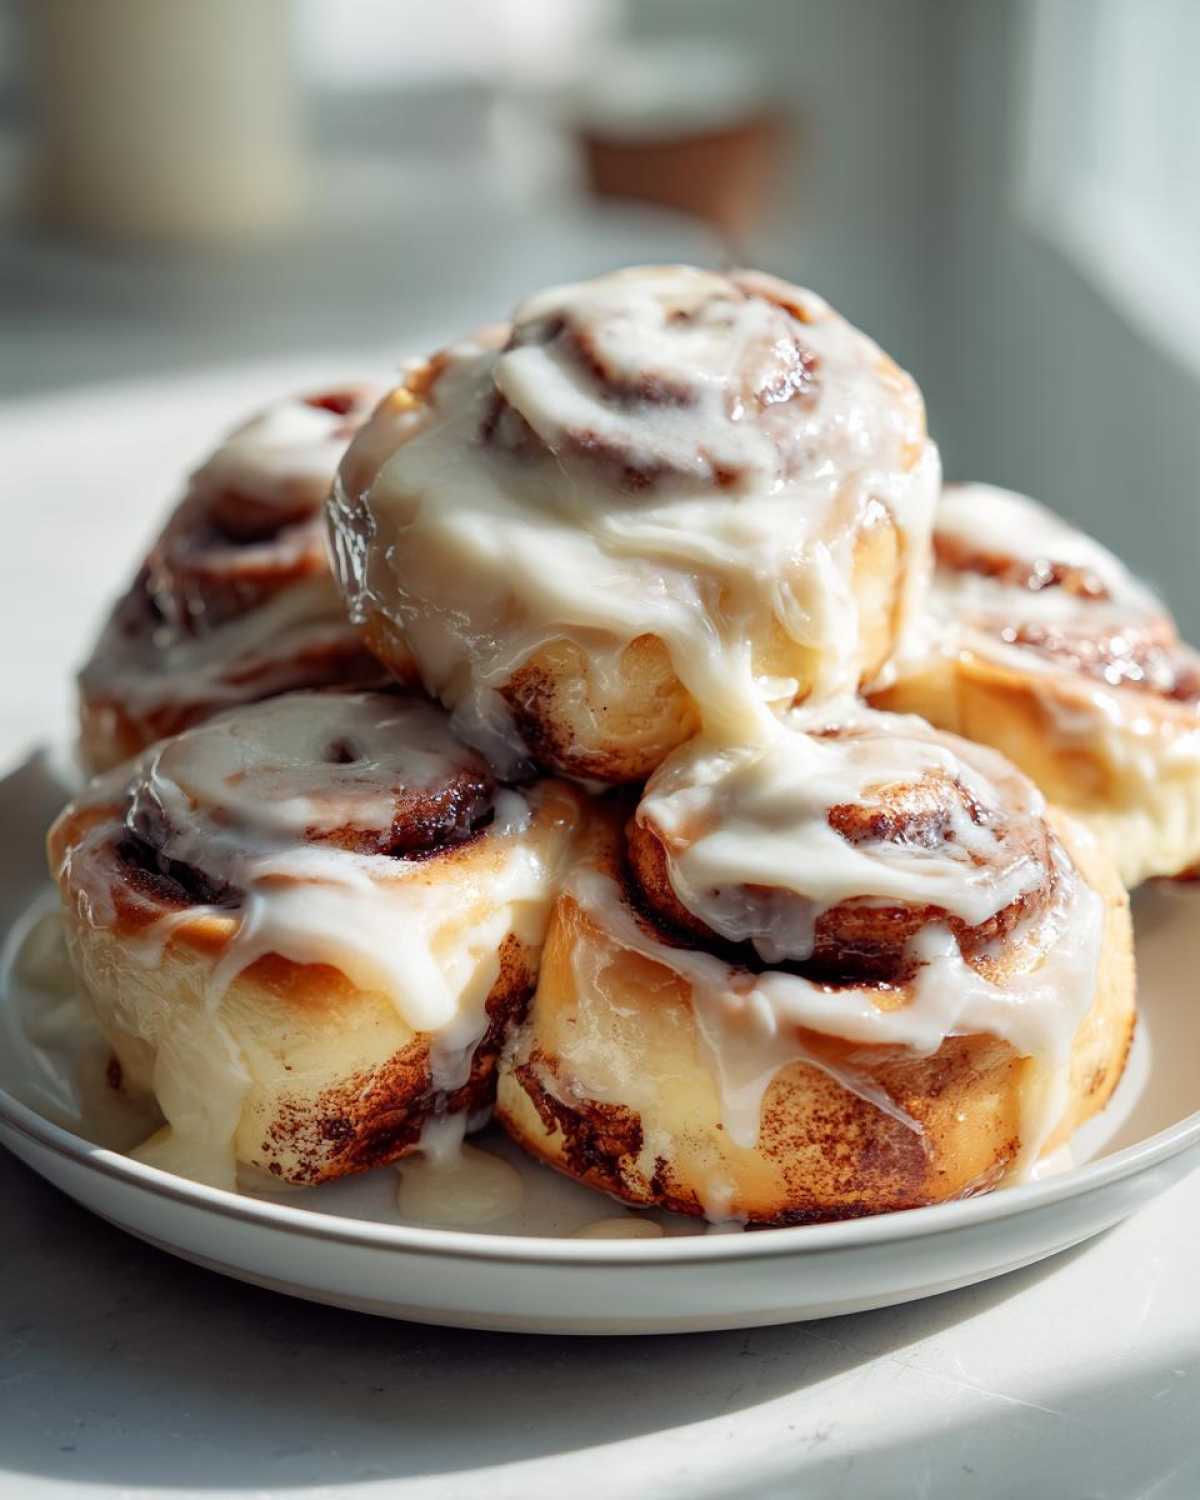
If you are freezing them, which is great for holiday baking prep, freeze them unfrosted. Wrap each cut roll tightly in plastic wrap and then put them all into a freezer bag. When you’re ready to bake, just thaw them overnight in the fridge, let them warm up on the counter for 30 minutes, and then follow the original instructions for the final rise and baking!
Delicious Variations on Classic Cinnamon Buns
While this base recipe for cinnamon buns is perfect as is—truly the best homemade cinnamon rolls recipe, if I do say so myself—sometimes you just want to shake things up! Baking is all about getting creative, and since we have mastered the fluffiest dough possible, making simple tweaks is super easy. You change one small thing, and BAM! You have a brand new breakfast pastry idea ready to go.
Don’t feel like you need a whole new recipe; just grab a few pantry staples and make these easy adjustments when you roll out that amazing dough. These small additions make a huge difference in flavor complexity!
Here are my favorite ways to dress up these gooey cinnamon buns for a special brunch or just because:
- Butter Pecan Style Rolls: This is a simple crowd-pleaser! Take your filling ingredients—the softened butter, brown sugar, and cinnamon—and right before you spread it onto the dough, fold in about 1/2 cup of roughly chopped pecans. The nuts toast up beautifully against the sugary filling. If you love that rich, buttery flavor, you might also want to check out my maple brown sugar cookies!
- Bright Orange Zest Rolls: Want a little wake-up call in your breakfast? Add the zest of one full orange directly into the dough when you add the flour and salt. Orange and cinnamon are just heavenly together. Then, when you make the cream cheese frosting, swap out one tablespoon of the milk for one tablespoon of fresh orange juice. It gives the frosting a subtle, bright tang that cuts through the richness perfectly.
- Cardamom Spice Swap: If you are feeling a little bit fancy and want something beyond the usual suspects, try adding 1 teaspoon of ground cardamom to your cinnamon and brown sugar filling mixture. Cardamom gives off this warm, slightly smoky perfume that pairs shockingly well with the brown sugar and vanilla in the frosting. It feels sophisticated but takes zero extra time! These variations ensure your routine weekend baking never gets boring.
Serving Suggestions for Your Homemade Cinnamon Buns
You’ve made the absolute best cinnamon buns in the world, they are frosted, and they are gloriously warm. Now what? Well, technically, you could just stand over the sink and eat them all standing up—I won’t judge you for it! But if you’re serving these stunning sweet breakfast treats up for company, or just trying to make Saturday morning feel extra special, presentation and pairing matter.
These rolls are rich, buttery, and sweet, so you want things served alongside them that offer contrast, whether it’s a bit of acidity from fruit or something strong to cut that sugar. We want balance on the brunch table, even when the star attraction is pure decadence!
Here are a few things I always put out when I serve my bakery style cinnamon rolls:
- The Coffee Factor: This one is non-negotiable. You need a strong, dark-roast coffee brewing. The bitterness of a great bold brew is the perfect counterpoint to that sweet, gooey frosting. It just cleanses your palate between bites.
- Fresh, Bright Fruit: Since these rolls are heavy, rich, and sweet, serving something light and fresh alongside them just makes sense. Sliced oranges, a bowl of fresh raspberries, or some crisp green grapes adds a necessary freshness and color to the plate. It’s a great way to make the meal feel complete.
- A Side of Savory: If you’re building out an entire brunch baking recipe spread, having something salty helps balance everything out. A small side of crisp bacon or maybe even some scrambled eggs keeps things from getting too sweet too fast.
If you need one more simple, slightly healthy thing to round out the table, try making a batch of these easy honey bran muffins. They aren’t nearly as decadent as the rolls, so they act as a nice, sturdy side item!
Honestly, though? Once you get the oven preheated and the smell of cinnamon fills your house, these homemade cinnamon rolls are the only supporting act they need. Go ahead, put the coffee on, and get ready for the best breakfast ever!
Frequently Asked Questions About Making Cinnamon Buns
When you’re tackling yeasted dough, I know questions pop up! It’s totally normal. Even though this is designed to be my easiest recipe for homemade cinnamon rolls—thanks primarily to that one-rise method—bakers still get nervous. I’ve gathered up some of the most common questions I get about achieving those perfect soft and fluffy cinnamon rolls.
Don’t be intimidated by yeast! Once you see how easily this recipe comes together, you’ll be adding this to your regular rotation of brunch baking recipes. If you want to skip ahead right to my dedicated post on shortening the process, check out my guide on one rise cinnamon rolls for more detail!
Can I use Instant Yeast instead of Active Dry Yeast in this cinnamon buns recipe?
Yes, absolutely! This is one of those tiny changes that makes baking easier. Active dry yeast needs that initial proofing bath with the warm milk and sugar to prove it’s alive, right? Instant yeast doesn’t need that step.
If you grab Instant Yeast, you can skip step 1 entirely! Just mix the instant yeast directly into your dry ingredients (your flour and salt) with the sugar. Then, proceed to step 2 and mix those dry ingredients into your wet ingredients. It saves about ten minutes of waiting, and the results for your sweet breakfast treats end up just as delicious!
How do I ensure my cinnamon buns stay soft and fluffy?
This is the million-dollar question! There are three things that guarantee you get those perfect, gooey cinnamon buns every single time. First, you have to manage the bake time. I promise you, pulling them when they look *slightly* underdone is better than leaving them in too long. That residual heat finishes the job!
Second, don’t skip the role of fat. We use a lot of butter and (in the frosting) cream cheese for a reason—the higher fat content physically inhibits gluten development, keeping the crumb tender. They just can’t get tough when they’re swimming in butter and sugar!
Third, and this is an easy one: Frosting them when they are hot. The heat melts that cream cheese frosting, allowing it to seep down into the gaps between the rolls. That melted sugar mixture locks in moisture, making them incredibly rich and yielding that perfect sticky bottom layer that everyone battles over!
Can I freeze these cinnamon rolls?
Freezing is a fantastic trick for making fresh holiday cinnamon rolls on demand! The best way to freeze these is *before* the final proofing stage. After you cut them into 12 rolls and place them in your greased baking dish, cover the whole thing tightly with plastic wrap, then another layer of foil, and tuck it into the freezer. They keep beautifully for up to three months this way.
When you want to bake them, pull the dish out the night before, keep it covered, and let it thaw slowly overnight in the fridge. Then, let it sit on the counter for about an hour before baking as directed (you might need to add 5 extra minutes to the bake time since the dough starts cold).
If you need a quicker fix, you can freeze them after they are baked and cooled, but you MUST frost them after reheating. Unfrosted rolls freeze better when baked.
Why are my rolls tough instead of soft?
Nine times out of ten, tough yeasted sweet roll baking comes down to two things: over-kneading or over-baking. If you knead the dough past the point of being smooth and elastic, you’ve developed too much gluten structure, which makes it chewy like bread crust instead of tender like a pastry.
Like I mentioned above, over-baking is the other major culprit. If you leave them in too long, you squeeze all the moisture right out. Remember, these are supposed to be tender rolls for breakfast—they should feel light and yielding when you give them a gentle squeeze on top!
Recipe Snapshot and Times for Quick Cinnamon Buns
For those of you who just need the hard facts—how long it takes and how many yummy treats you get—here is the rundown! I made sure this recipe delivers amazing results without demanding your whole day. Because these are quick cinnamon buns that use the one-rise method, the total time flies by!
This is fantastic news for anyone who wakes up craving bakery style cinnamon rolls but doesn’t want to start baking at 5 AM!
- Prep Time: 20 minutes (Once you get your ingredients out, mixing goes fast!)
- Cook Time: 25 minutes
- Total Time: 1 hour 50 minutes (Yes, that includes the time for the dough to rise. Incredible!)
- Yield: 12 generous servings (You might want to double this if you have hungry people around!)
You get a dozen of these incredible, rich rolls ready to eat in under two hours. That pace makes these perfect for a spontaneous weekend treat or even a weekday surprise!
Print
Ultimate Soft and Gooey Homemade Cinnamon Rolls with Cream Cheese Frosting
- Total Time: 1 hour 50 min
- Yield: 12 servings
- Diet: Vegetarian
Description
Make soft, fluffy, and gooey homemade cinnamon rolls using a simple one-rise method, topped with rich cream cheese frosting.
Ingredients
- 1 cup whole milk, warm (105-115°F)
- 2 1/4 teaspoons active dry yeast
- 1/2 cup granulated sugar, divided
- 1/4 cup unsalted butter, melted
- 1 large egg, room temperature
- 1 teaspoon vanilla extract
- 3 1/2 cups all-purpose flour, plus more for dusting
- 1 teaspoon salt
- 1/2 cup unsalted butter, softened (for filling)
- 3/4 cup packed light brown sugar (for filling)
- 2 tablespoons ground cinnamon (for filling)
- 1/4 cup unsalted butter, softened (for frosting)
- 4 ounces cream cheese, softened (for frosting)
- 2 cups powdered sugar, sifted (for frosting)
- 1/2 teaspoon vanilla extract (for frosting)
- 1-2 tablespoons milk (for frosting)
Instructions
- Activate the yeast: In a large bowl, combine the warm milk, yeast, and 1 tablespoon of the granulated sugar. Let stand for 5-10 minutes until foamy.
- Mix the dough: Add the remaining granulated sugar, melted butter, egg, and vanilla extract to the yeast mixture. Whisk briefly.
- Combine dry ingredients: In a separate bowl, whisk together the flour and salt. Gradually add the flour mixture to the wet ingredients, mixing until a shaggy dough forms.
- Knead: Turn the dough out onto a lightly floured surface and knead for 5-7 minutes until smooth and elastic.
- First Rise (One Rise Method): Place the dough in a lightly oiled bowl, turning to coat. Cover the bowl with plastic wrap and let it rise in a warm place for 60-75 minutes, or until doubled in size.
- Prepare filling: While the dough rises, mix the 1/2 cup softened butter, brown sugar, and cinnamon in a small bowl until combined into a paste.
- Shape the rolls: Punch down the risen dough gently. Roll the dough out on a lightly floured surface into a 12×18 inch rectangle. Spread the cinnamon-sugar filling evenly over the dough, leaving a small border on one long edge.
- Roll and cut: Starting from the long edge opposite the border, tightly roll the dough into a log. Pinch the seam closed. Cut the log into 12 equal rolls (about 1 1/2 inches thick).
- Second Rise (Proofing): Arrange the rolls in a greased 9×13 inch baking dish. Cover loosely and let them rest for 20 minutes while you preheat the oven to 375°F (190°C).
- Bake: Bake for 20-25 minutes, or until the tops are golden brown.
- Make frosting: While the rolls bake, beat the 1/4 cup softened butter and cream cheese until smooth. Gradually beat in the powdered sugar and vanilla. Add milk one tablespoon at a time until you reach a spreadable consistency.
- Frost: Remove the rolls from the oven and immediately spread the cream cheese frosting generously over the hot rolls. Serve warm.
Notes
- For extra gooey bottoms, melt 2 tablespoons of butter and mix with 1/4 cup of brown sugar. Pour this mixture into the bottom of the baking dish before placing the cut rolls inside.
- If your kitchen is cold, place the covered dough bowl inside a turned-off oven with the light on to create a warm proofing spot.
- Do not overbake the rolls; they should still look slightly pale on the sides to remain soft.
- Prep Time: 20 min
- Cook Time: 25 min
- Category: Breakfast
- Method: Baking
- Cuisine: American
Nutrition
- Serving Size: 1 roll
- Calories: 450
- Sugar: 45g
- Sodium: 320mg
- Fat: 22g
- Saturated Fat: 13g
- Unsaturated Fat: 9g
- Trans Fat: 0.5g
- Carbohydrates: 58g
- Fiber: 2g
- Protein: 6g
- Cholesterol: 55mg


Comments are closed.