
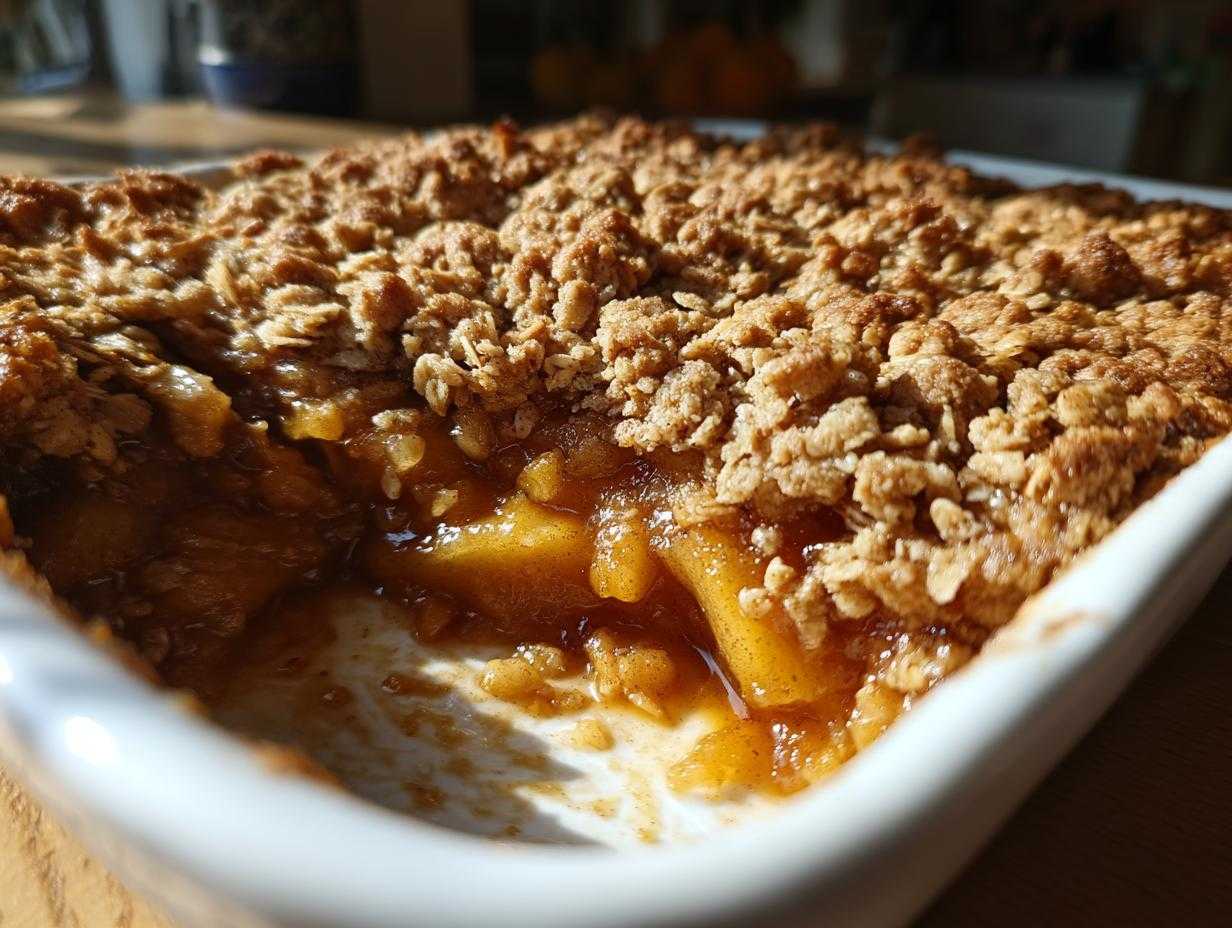
Oh my goodness, when that crisp, cool air starts hitting, what’s the first thing you crave? For me, it’s something warm bubbling in the oven, spilling out the most incredible smell of cinnamon and baked fruit. That’s why I’m so excited to share my absolute go-to apple crisp recipe. Forget those complicated crumbles with ten steps; this is the real deal—the Classic Old Fashioned Apple Crisp. It’s honestly foolproof, which is why it’s been my go-to for everything from easy weeknight treats to holiday potlucks for years now. I even use the filling flavors sometimes over in my base for my apple cinnamon overnight oats! Trust me, once you try this buttery oat topping over sweet, tender apples, you won’t look back. It just defines cozy autumn for me!
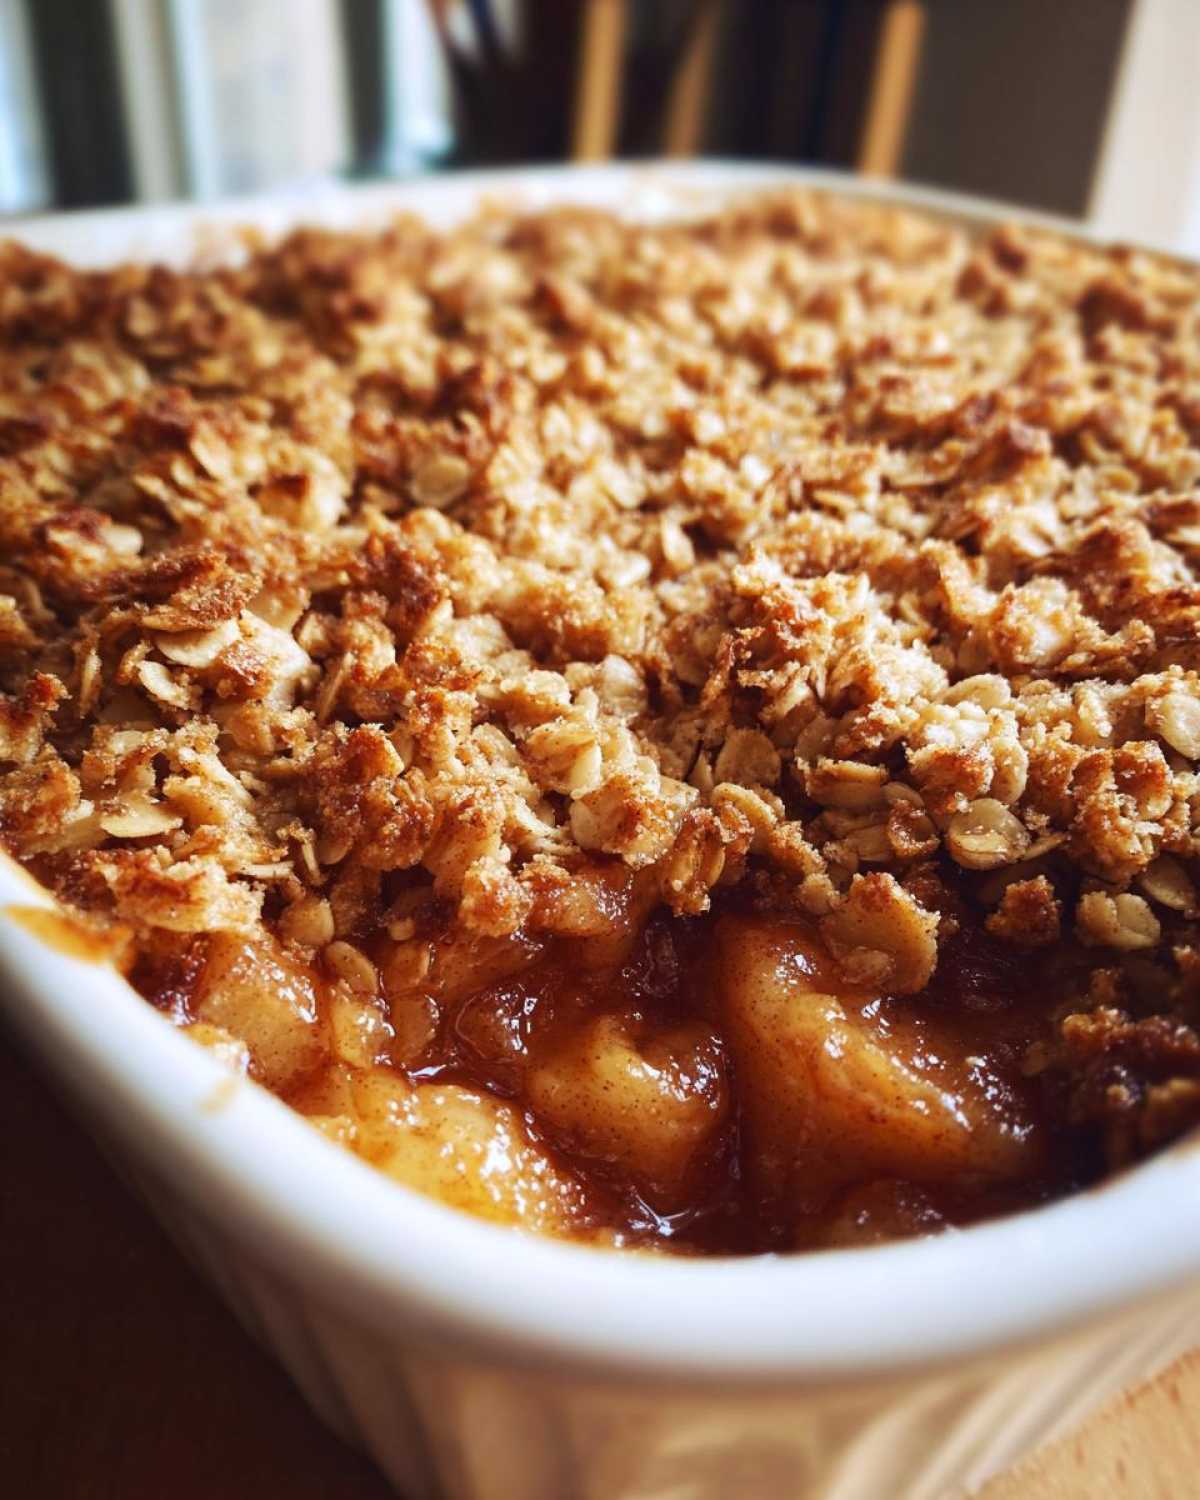
Why This is the Best Apple Crisp Recipe You Will Make
I know, everyone claims they have the *best* recipe, right? But this one truly delivers the magic consistently. If you need a foolproof, soul-soothing comfort food dessert that doesn’t take up your whole afternoon, you’ve hit the jackpot. I’ve made this so many times, I could practically assemble it in the dark! It’s everything you want in an apple dessert, and the combination of cinnamon and apple is irresistible. You can even use some of these flavors in my apple cinnamon oatmeal baked casserole when you want a breakfast version!
- The apples come out perfectly sweet and tender—never mushy!
- The topping is rich, buttery, and stays just the right amount of crunchy.
- You barely have to dirty any dishes; it’s shockingly simple!
It’s such a reliable bake, especially when company drops by unexpectedly. You can whisk this together faster than it takes to decide which movie to watch!
Quick Prep for a Foolproof Crisp Recipe
Seriously, the prep time is just 15 minutes. That’s unbeatable! You’re not waiting around peeling tiny almonds or zesting a dozen fruits. We just toss the apples in their spices and then make the topping. It stands up as a true foolproof crisp recipe. If you can stir ingredients together in a bowl, you can nail this bake every single time. It’s great for those Tuesday nights when you need a warm treat ASAP.
Achieving the Perfect Buttery Oat Topping Dessert
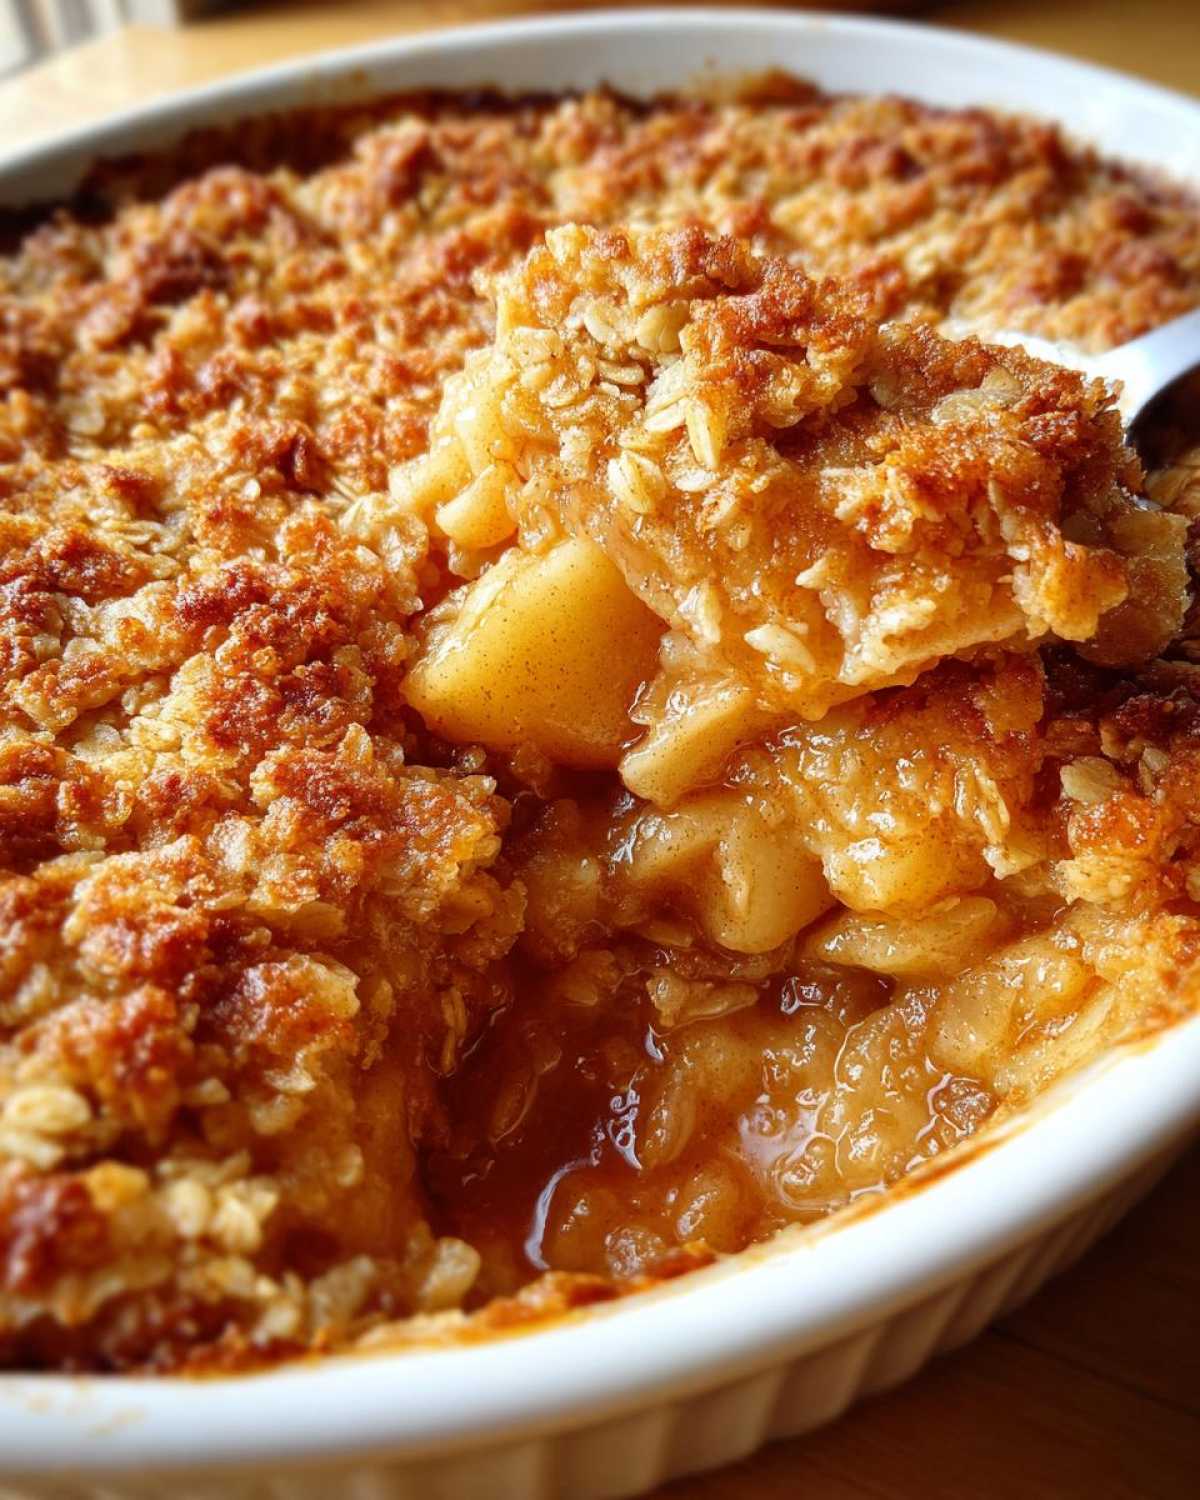
This is where most crisps fail—they bake up soggy! Not this one. We use cold butter cut into tiny pieces with the flour and oats. The goal is to keep that butter from melting too soon in the oven, which lets the topping bake up golden and crunchy. You want that delicious, slightly sandy texture that crumbles perfectly with a scoop of ice cream. That amazing texture is what makes it such a fantastic buttery oat topping dessert.
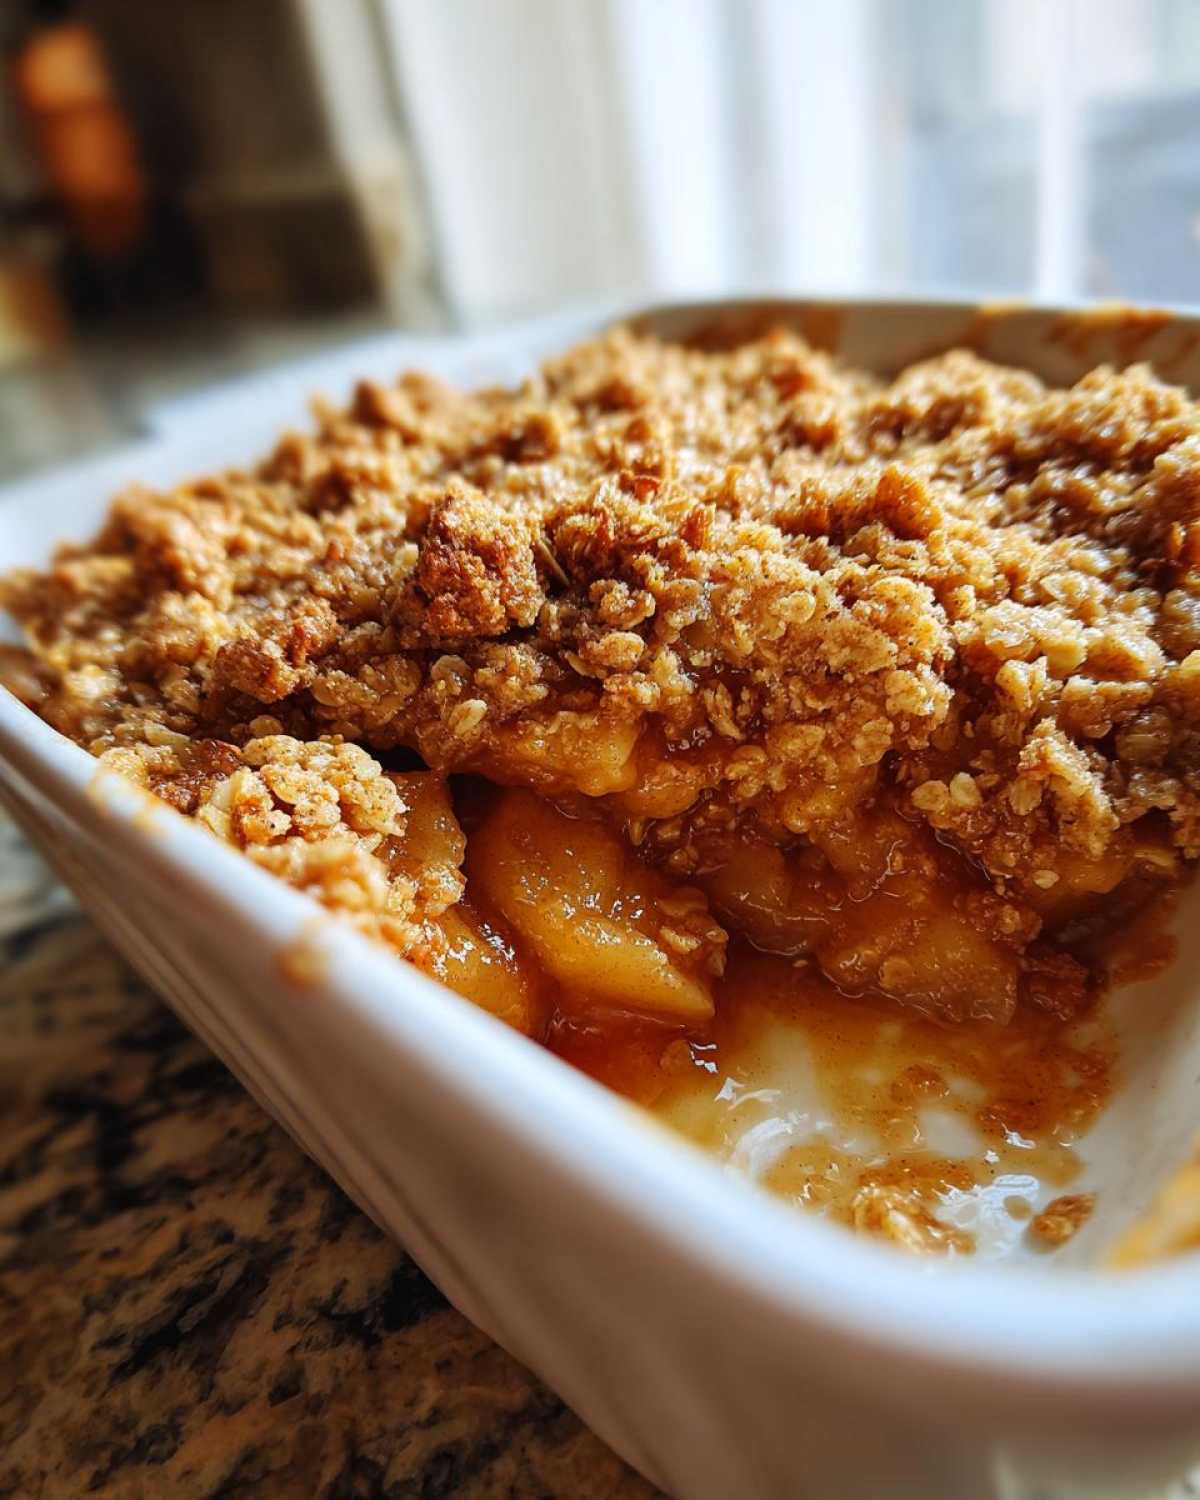
Ingredients for Your Old Fashioned Apple Crisp
Getting the ingredients right is half the battle toward making the best apple crisp imaginable. Since this is an Old Fashioned Apple Crisp, we are keeping things simple—no fancy extracts or obscure additions needed! You probably have everything sitting in your pantry already, which is another win for cozy autumn treats. Just make sure your butter is properly cold for the topping, that’s important!
Here’s exactly what you need to gather before you start mixing:
- Six medium apples—you must remember to get them peeled, cored, and sliced! I love using a mix of Granny Smith and Honeycrisp.
- A quarter cup of granulated sugar for the fruit layer.
- One tablespoon of all-purpose flour—this helps thicken up those apple juices.
- One teaspoon of ground cinnamon and a quarter teaspoon of ground nutmeg for that classic warmth.
- One tablespoon of fresh lemon juice to balance the sweetness.
- For the topping, you need one cup of good old-fashioned rolled oats.
- A half-cup each of all-purpose flour and packed light brown sugar for that delightful crunch.
- A final half teaspoon of ground cinnamon and a quarter teaspoon of salt for the topping mix.
- And the star: a half cup (that’s one full stick!) of cold unsalted butter, which you must cut into small pieces before you start the crumble process.
If you’re looking for other simple bakes using pantry staples, check out my easy honey bran muffins recipe!
Expert Tips for the Ultimate Apple Crisp Recipe
You know, making an apple crisp sounds easy, and it is, but making it *great* takes just a couple of little secrets! If you want that perfect scoop where the apples aren’t swimming in liquid and the topping stays perfectly golden, listen up. These tips are what take this from good to the best apple crisp recipe you’ll ever need. My focus is always on balance—we want deep apple flavor without that watery bottom. It’s the difference between a home run and just okay, frankly! If you love deep fall flavors, you might also enjoy getting some inspiration from my carrot cake recipe!
Choosing the Right Apples for Your Apple Crisp Recipe
This is my number one tip for texture! Don’t use just one kind of apple unless you absolutely love that specific flavor. I always grab Granny Smiths because they hold their shape beautifully and give you that necessary tartness. But Granny Smiths alone can be a bit sharp, so I lighten the load by mixing them half-and-half with something naturally sweeter, like Honeycrisp or Braeburn. When you stir in that bit of lemon juice, you get these perfectly sweet and tender apples that don’t turn to complete mush during baking. It’s the best combo, promise!
Ingredient Notes and Simple Pantry Ingredient Dessert Swaps
If you don’t have nutmeg, just skip it, though it does add depth to our cinnamon apple crisp. But here’s a fun swap: if you happen to have pecans or walnuts hanging around, chop up a half cup and mix them right into that oat topping! That adds an extra layer of crunch we all crave. The beauty of this dessert is that it’s truly a simple pantry ingredient dessert. No fancy shopping trips needed. If you want your topping extra rich, sometimes I sneak in a tablespoon of melted butter there, too, right along with the cold butter pieces—it really boosts the flavor!
Step-by-Step Instructions for the Easy Apple Crisp Recipe
Okay, this part is so quick—I promise! We only have two main bowls to worry about, making this a genuinely easy apple crisp recipe. It’s all about getting those warm spices evenly distributed before we move on to the crunchy part. Remember, we preheated the oven to 375 degrees F and lightly greased that 8×8 dish before we even started peeling! That preparation is the key to keeping everything flowing smoothly in the kitchen, similar to how I organize my easy chicken fried rice prep.
Preparing the Sweet and Tender Apples Filling
First up, let’s load those sliced apples into a big bowl. I need you to toss everything together—the granulated sugar, the little bit of flour, that teaspoon of cinnamon, the nutmeg, and the lemon juice. Make sure every slice gets coated nicely! The lemon juice isn’t just for flavor; it really helps keep those apples looking bright and stops them from oxidizing while you work on the topping. Now, spread that spiced fruit mixture out in an even layer across your baking dish. Don’t pile it too high in the center!
Creating the Crunchy Oat Topping Dessert
Time for the best part: the crunch! Grab a second, medium-sized bowl. Mix up your oats, the flour, the brown sugar, that final half teaspoon of cinnamon, and the salt. Now, this is where technique matters for that perfect oat topping dessert. Take your cold butter pieces and drop them in. You need to use your fingertips—or a pastry blender if you have one—and work that butter right into the dry mix. You should stop mixing when you have coarse crumbs, about the size of small peas. Don’t overdo it! We need those little butter pockets to melt into delicious golden pieces while baking.
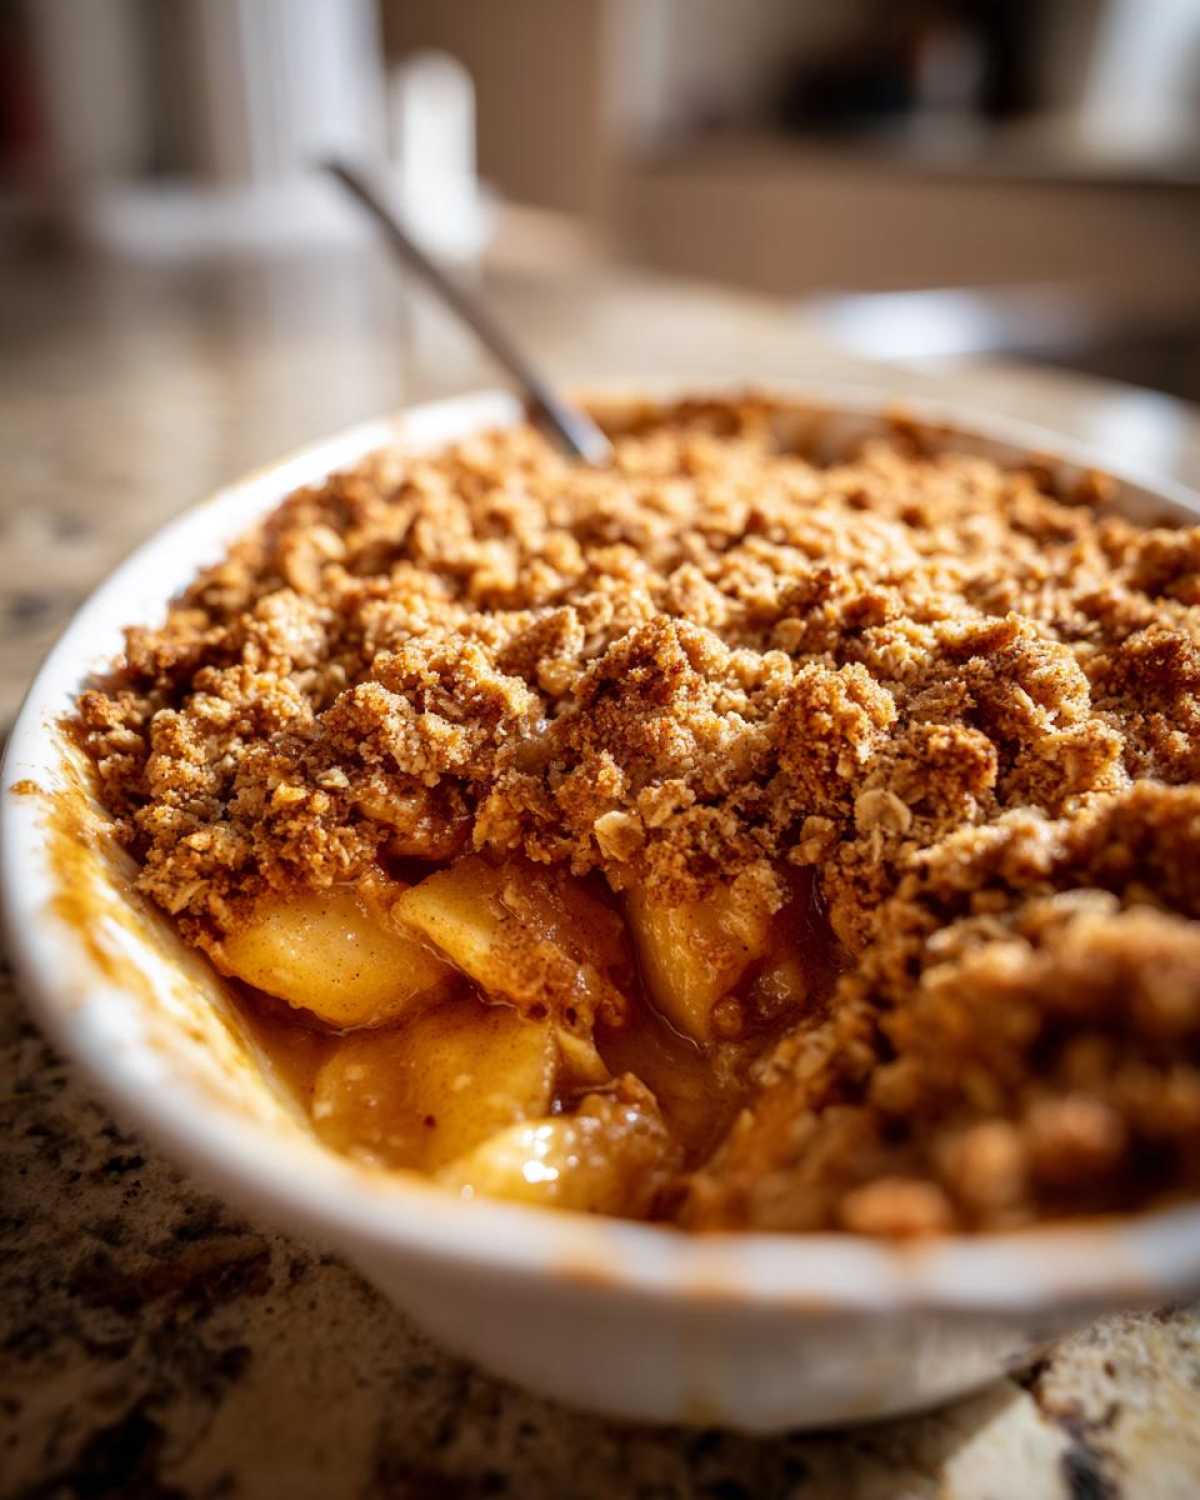
Baking Time and Temperature for the Apple Crisp Recipe
Once you’ve sprinkled that lovely crumble over the fruit, it’s time for the oven! For this apple crisp recipe, we’re keeping the temperature firm at 375 degrees F. You’re going to let this bake for about 35 to 45 minutes. Don’t just walk away, though! You need to watch for the signs that tell you it’s done. The topping should be beautifully golden brown—not pale, but rich looking. More importantly, stick a fork gently into the apples in the center. They should feel soft and tender when you pierce them. That perfect bake ensures you get the best apple crisp every time!
If you are curious about getting maximum crispness on roasted things, I used the same high heat method for my crispy breakfast potatoes!
Serving Suggestions for This Family Favorite Apple Crisp
The crisp is fantastic right out of the oven, but honestly, it’s just a vehicle for toppings! This Family Favorite Apple Crisp really sings when you pair it with something cool and rich. Of course, a big dollop of whipped cream is always welcome, but my personal rule is that it absolutely must have ice cream. Letting that scoop gently melt over the warm, buttery oat layer is just heaven on earth in a bowl. I swear, the first time my husband tried it, he told me it was the only dessert he ever needed!
The Best Apple Crisp Ice Cream Topping Pairing
If you’re aiming for pure autumnal delight, skip the vanilla sometimes—though vanilla is classic! I really love matching the spices in the crisp with a really good salted caramel. The salty-sweet contrast against the warm apple and cinnamon is spectacular. For a lighter pairing, a homemade cinnamon whipped cream is incredible. That perfect apple crisp ice cream topping is what makes serving this feel like a special occasion, even if it’s just a Tuesday night dessert. If you need other easy sides for your meal, check out my easy egg bites recipe!
Storage and Reheating Instructions for Your Apple Crisp Recipe
So, what happens when you inevitably have leftovers of this amazing apple crisp recipe? Don’t panic! The apples are so tender they hold up nicely. You can definitely keep it covered at room temperature for about a day if your kitchen isn’t too hot, but I always put the rest in the fridge. That topping likes to absorb moisture, so reheating is key to bringing back that fresh-baked crunch! If you want to see another one of my favorite recipes that keeps well, take a peek at my pork steak recipe with a sweet soy marinade!
When you’re ready for round two, skip the microwave entirely if you can. While the microwave is fast, it steams that crisp topping and makes it gummy. Instead, pop a serving (or the whole dish!) into a 350-degree oven for about 10 minutes. That low, slow heat warms the fruit right through and crisps up that buttery oat layer again. It tastes almost exactly like the first time!
Frequently Asked Questions About Making Apple Crisp
When you’re making a classic like this, sometimes little questions pop up! I wanted to address a few things I always get asked about making sure this turns out to be the perfect cinnamon apple crisp for any occasion. I hope these help you feel super confident as you pop this into the oven for your next batch of cozy autumn treats!
Why is my apple crisp topping soggy on the bottom?
That’s the worst, isn’t it? Usually, a soggy bottom means one of two things happened. Either your butter wasn’t cold enough when you made the topping, or your apples weren’t balanced right. If you use very watery apples or skip the tablespoon of flour in the apple layer, those juices run wild and steam the bottom layer of oats! Make sure you’re using firm apples and that you’re cutting in that cold butter until you get proper coarse crumbs, not just mixed-in flour.
Can I make this apple crisp recipe ahead of time?
You certainly can! For the best crispness, I suggest keeping the apple mixture in the baking dish and storing the crumbly oat topping separately in a sealed container in the fridge. When you’re ready to bake, just sprinkle the topping on top of the cold apples and add about 10 to 15 minutes extra to the baking time since the fruit layer is cold. This guarantees that golden, crunchy top!
Do I have to use nutmeg in this recipe?
Nope, you absolutely don’t have to! Nutmeg just adds a nice little depth that complements the cinnamon beautifully, but if you don’t keep it stocked, you won’t ruin the dessert. Feel free to double the cinnamon instead, or throw in a tiny pinch of ground cloves if you want something else warm. The most important flavor here is the brown sugar and cinnamon mix!
Can I add nuts or dried fruit to the topping?
Oh, yes! Adding nuts is a fantastic way to enhance that texture even more. If you add nuts, I recommend mixing a half-cup of chopped pecans or walnuts right in with the oats and flour. If you want to add dried fruit, like raisins or dried cranberries, stir them into the apple mixture so they plump up while baking, rather than putting them on top where they might burn. This is one of my favorite ways to switch things up when I serve my creamy comfort potato soup!
Nutritional Estimates for This Classic Fall Baking Recipe
I’m happy to share the estimates for this wonderful dessert, although you know me—I’m usually focused more on flavor than counting every little thing! I’m not a nutritionist, so please take these numbers as a general guide for this batch of Fall Baking Recipes. The exact totals can change depending on the size of your apples or how much butter you just happen to work into the topping (if you know what I mean!).
If you follow the recipe exactly for six servings, here’s a rough idea of what you’re looking at, per serving:
- Serving Size: 1 serving
- Calories: Around 350 (It’s a rich dessert, but oh so worth it!)
- Sugar: About 30g
- Fat: About 18g
- Carbohydrates: Around 48g
- Protein: Around 4g
Remember, this is a hearty, old-fashioned treat, so it’s best served warm with that scoop of ice cream on the side—which, of course, adds to the final tally! For another comforting dish that keeps well, check out my easy crockpot steak bites recipe—though that one is definitely more savory!
Print
Classic Old Fashioned Apple Crisp
- Total Time: 55 min
- Yield: 6 servings
- Diet: Vegetarian
Description
Make this easy, foolproof apple crisp with a buttery oat topping. It is a perfect comfort food dessert for any season.
Ingredients
- 6 medium apples (like Granny Smith or Honeycrisp), peeled, cored, and sliced
- 1/4 cup granulated sugar
- 1 tablespoon all-purpose flour
- 1 teaspoon ground cinnamon
- 1/4 teaspoon ground nutmeg
- 1 tablespoon lemon juice
- 1 cup old-fashioned rolled oats
- 1/2 cup all-purpose flour
- 1/2 cup packed light brown sugar
- 1/2 teaspoon ground cinnamon
- 1/4 teaspoon salt
- 1/2 cup (1 stick) cold unsalted butter, cut into small pieces
Instructions
- Preheat your oven to 375 degrees F. Lightly grease an 8×8 inch baking dish.
- In a large bowl, combine the sliced apples, granulated sugar, 1 tablespoon flour, 1 teaspoon cinnamon, nutmeg, and lemon juice. Toss gently to coat the apples evenly.
- Spread the apple mixture into the prepared baking dish.
- In a separate medium bowl, mix the rolled oats, 1/2 cup flour, brown sugar, 1/2 teaspoon cinnamon, and salt.
- Cut in the cold butter using a pastry blender or your fingertips until the mixture resembles coarse crumbs.
- Sprinkle the oat topping evenly over the apples.
- Bake for 35 to 45 minutes, or until the topping is golden brown and the apples are tender when pierced with a fork.
- Let the crisp cool for at least 15 minutes before serving.
Notes
- Serve warm with vanilla ice cream or whipped cream for the best flavor.
- For a richer topping flavor, substitute half of the butter with melted coconut oil.
- If your apples are very tart, add one extra tablespoon of brown sugar to the apple mixture.
- Prep Time: 15 min
- Cook Time: 40 min
- Category: Dessert
- Method: Baking
- Cuisine: American
Nutrition
- Serving Size: 1 serving
- Calories: 350
- Sugar: 30g
- Sodium: 150mg
- Fat: 18g
- Saturated Fat: 11g
- Unsaturated Fat: 7g
- Trans Fat: 0g
- Carbohydrates: 48g
- Fiber: 4g
- Protein: 4g
- Cholesterol: 45mg


Comments are closed.